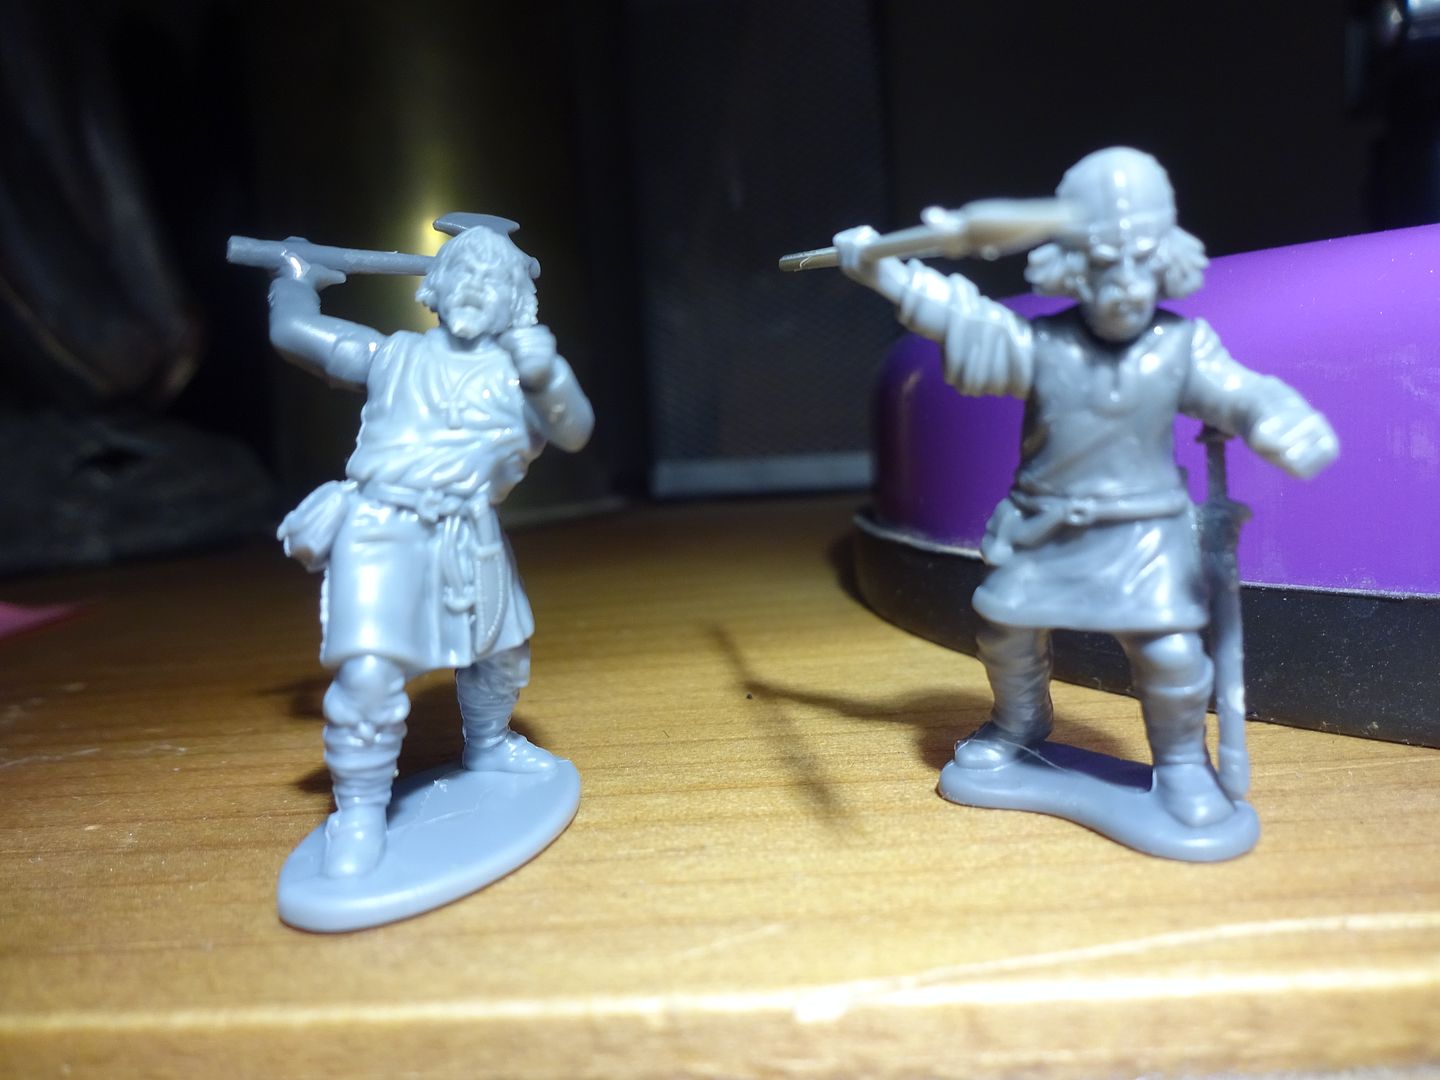
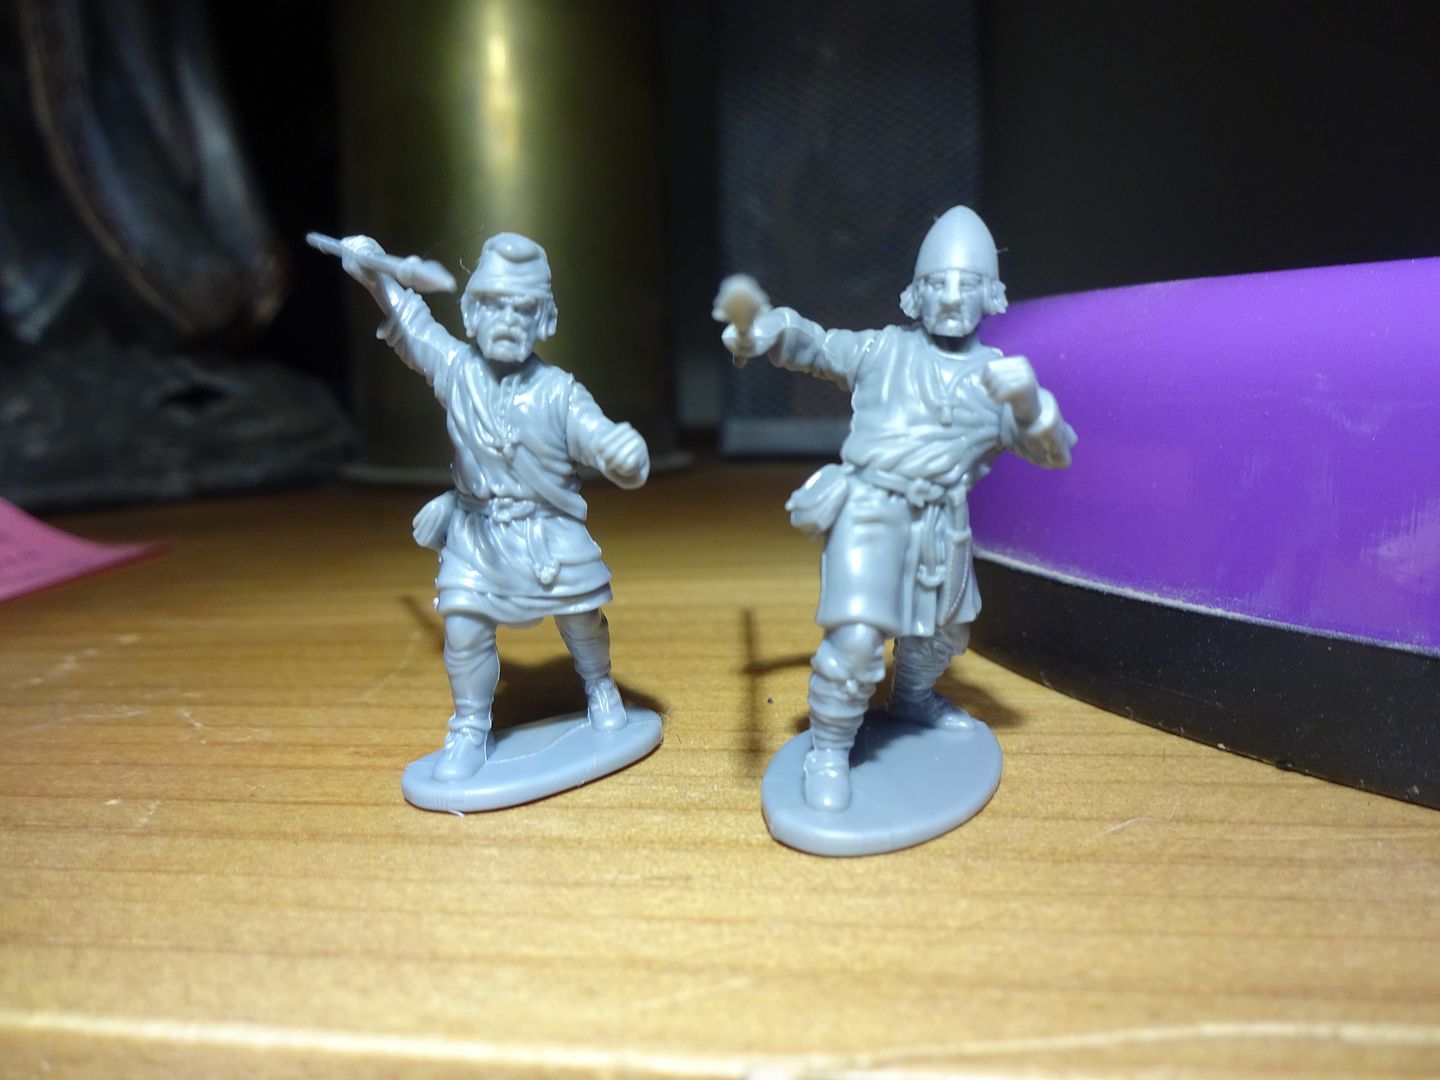
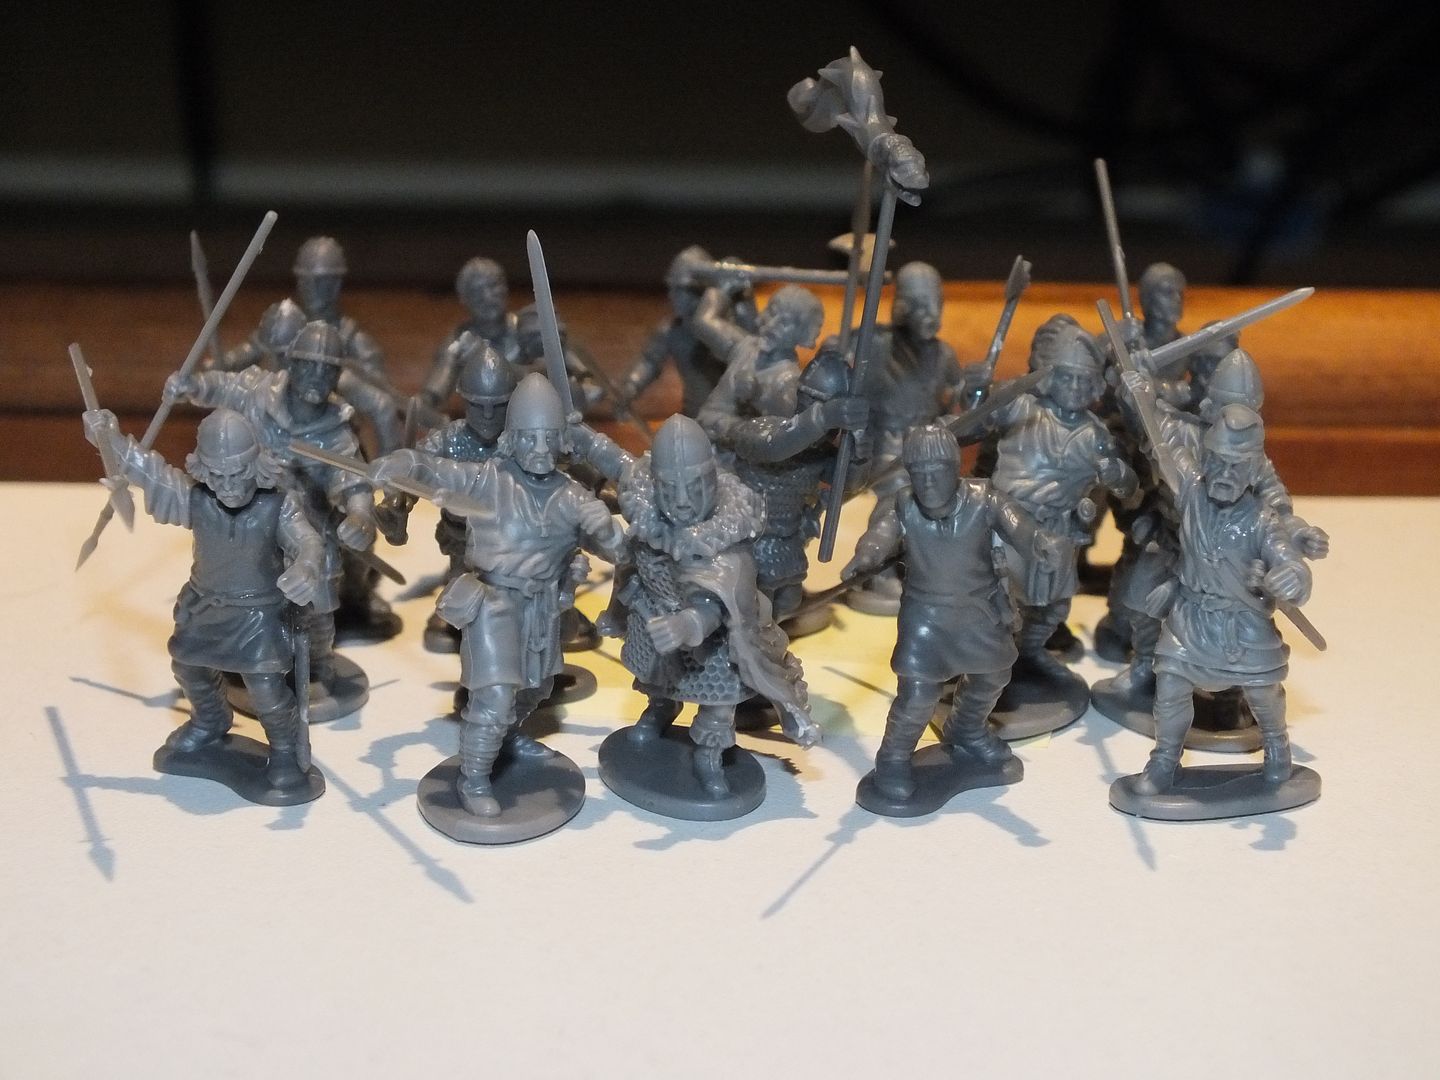
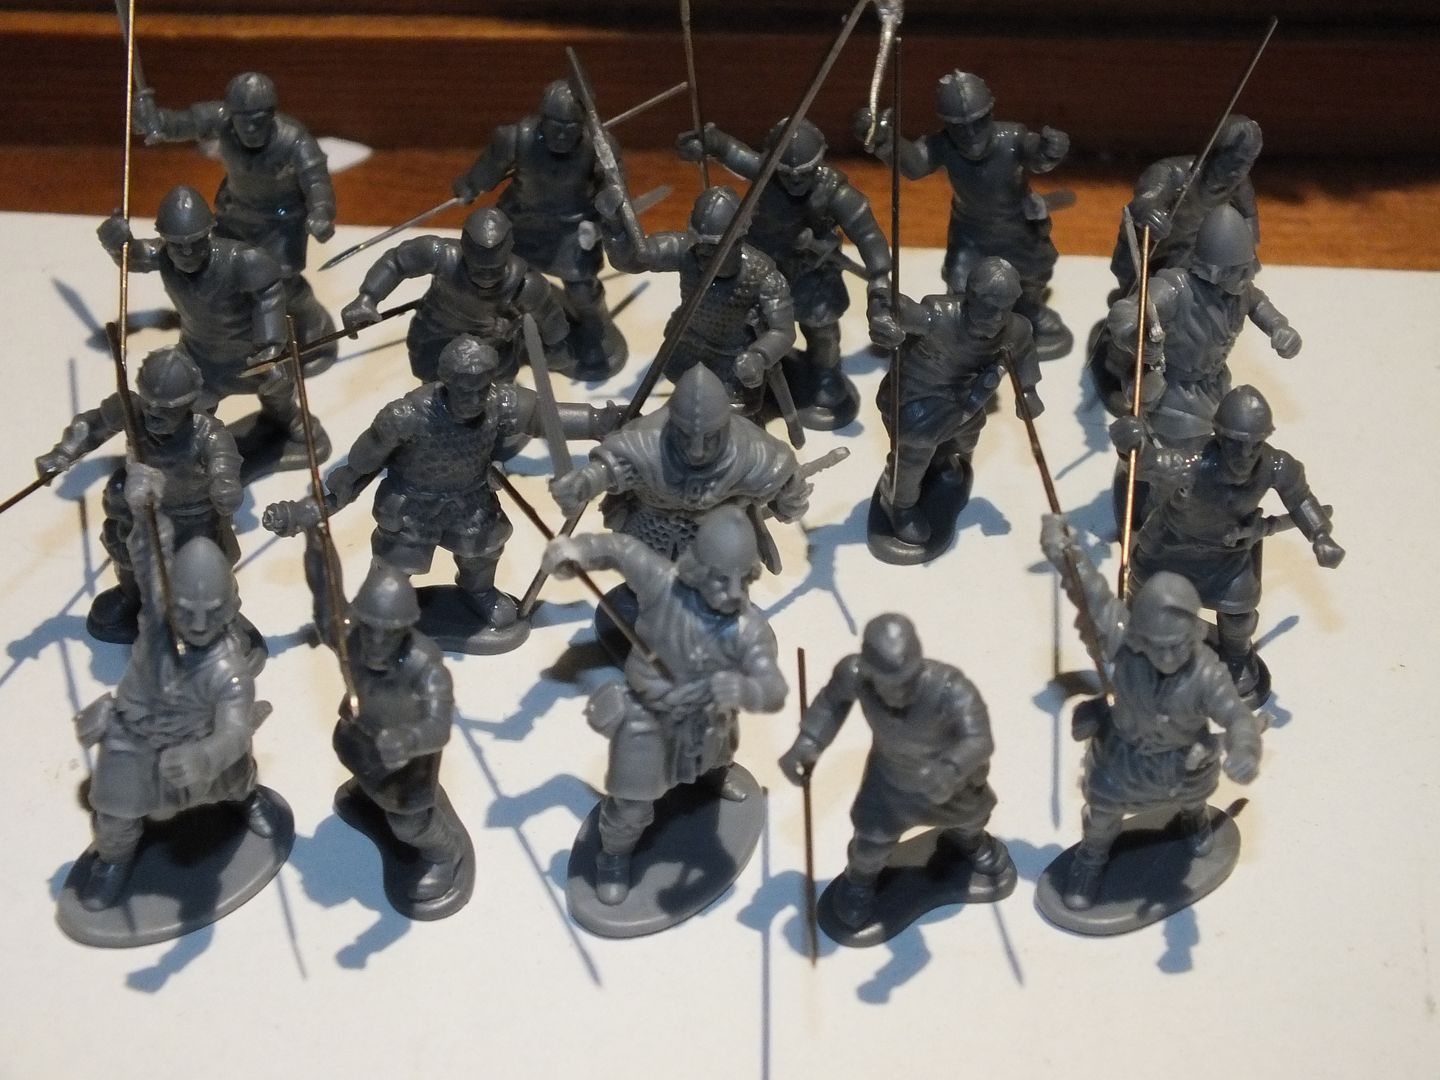
Sword & Spear Second Edition Review
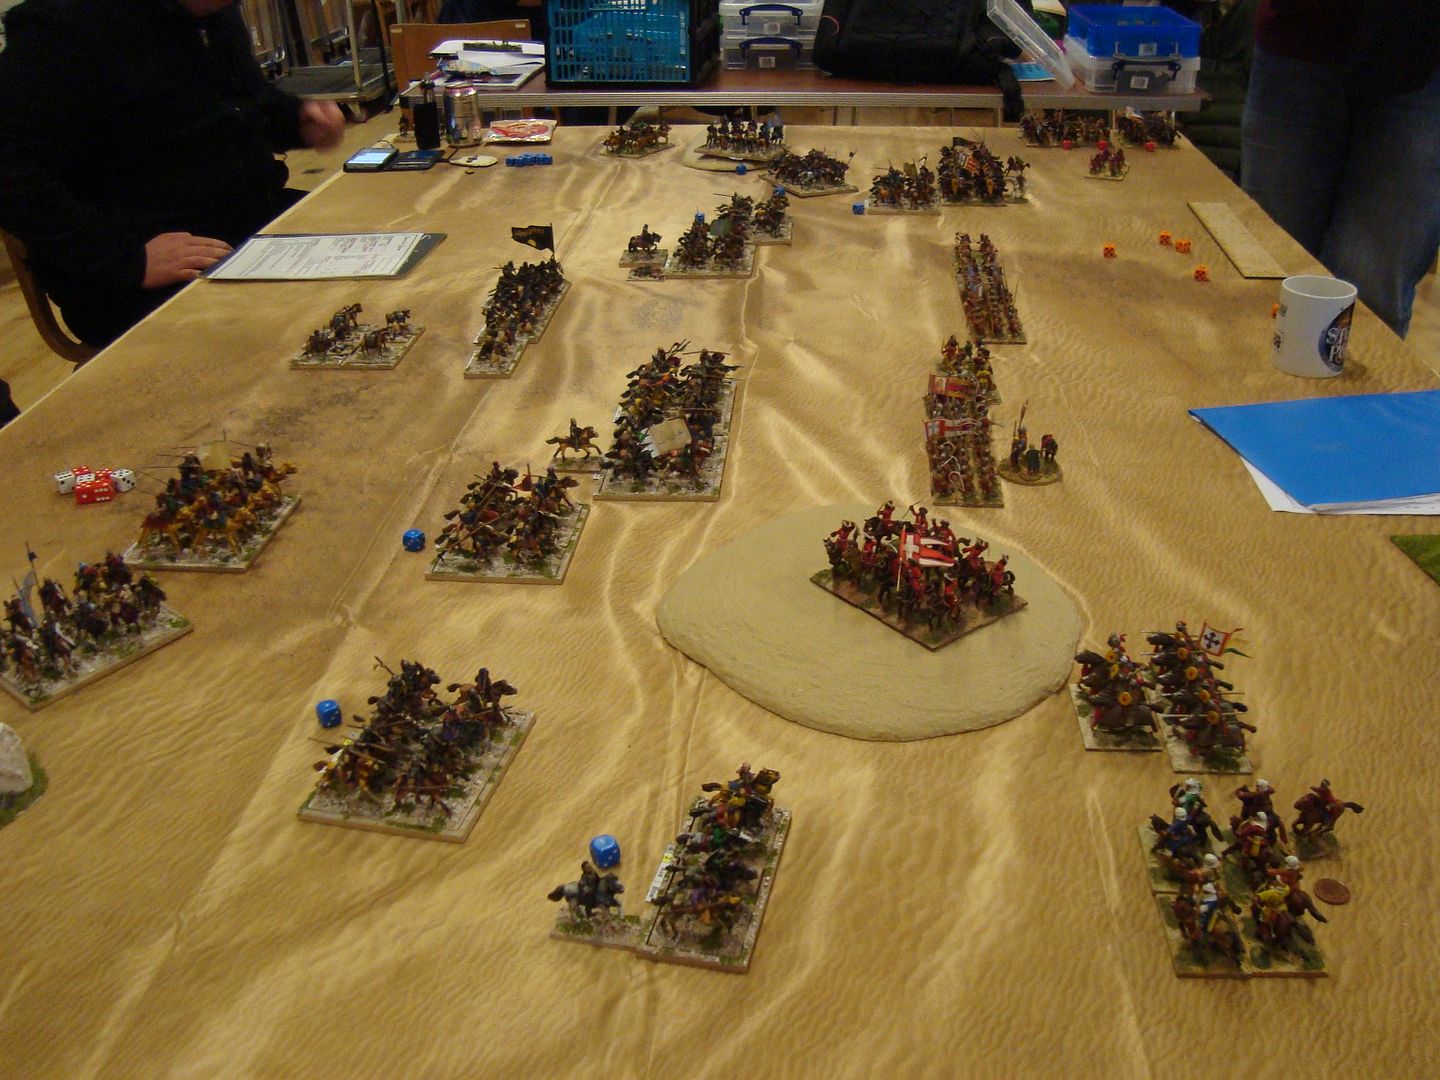
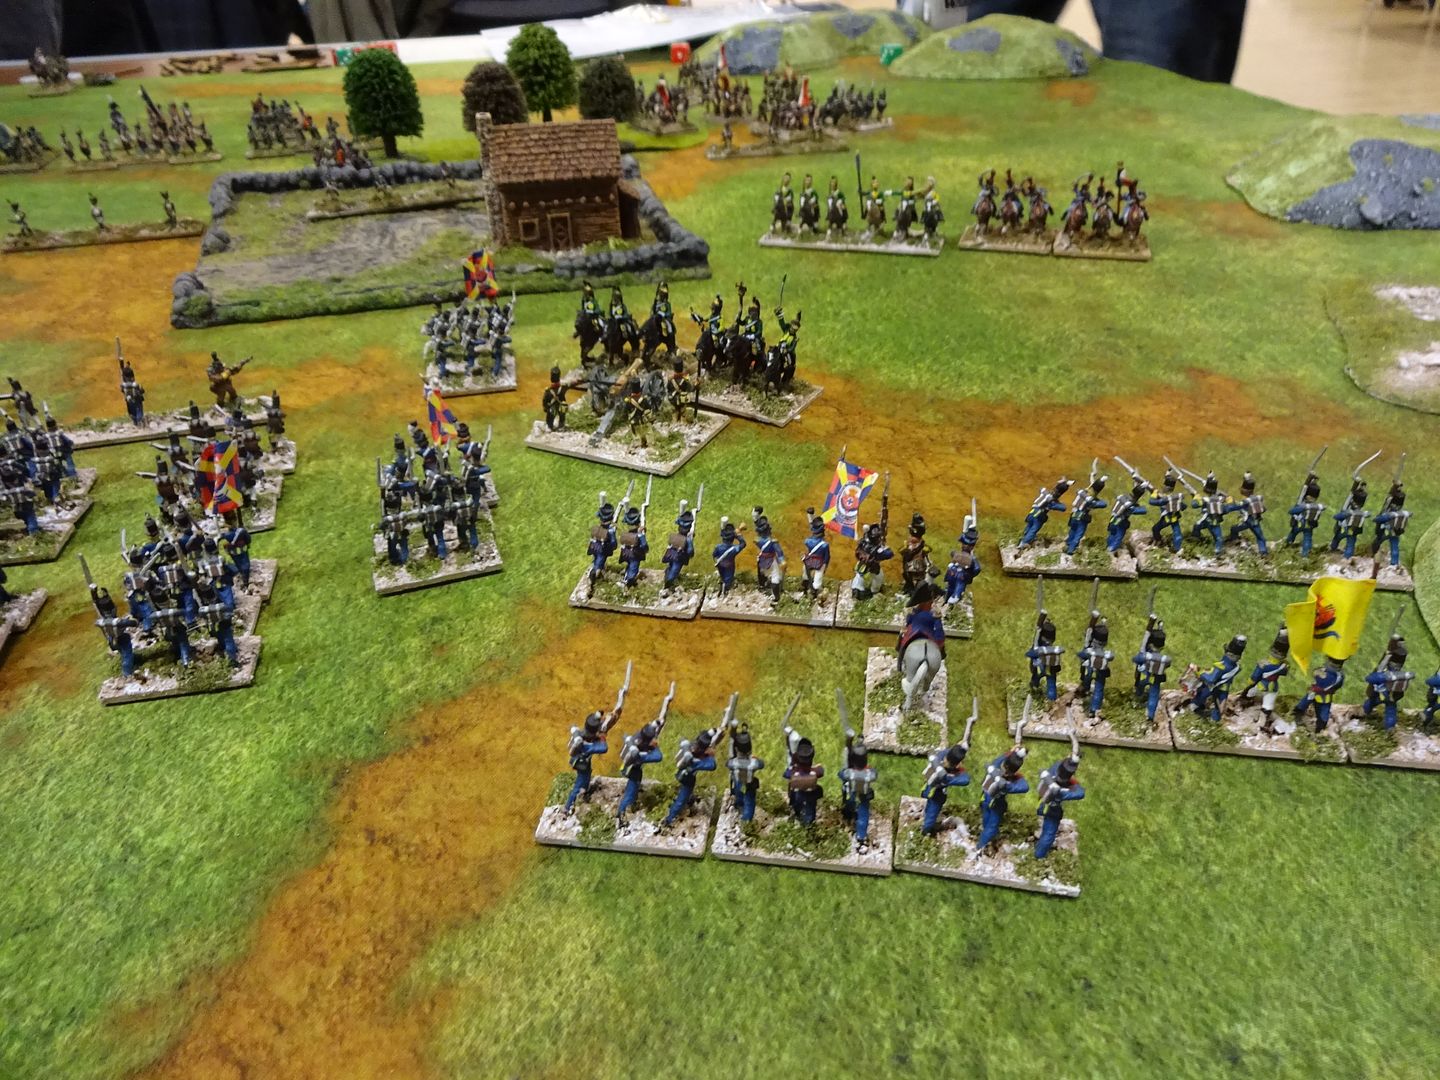
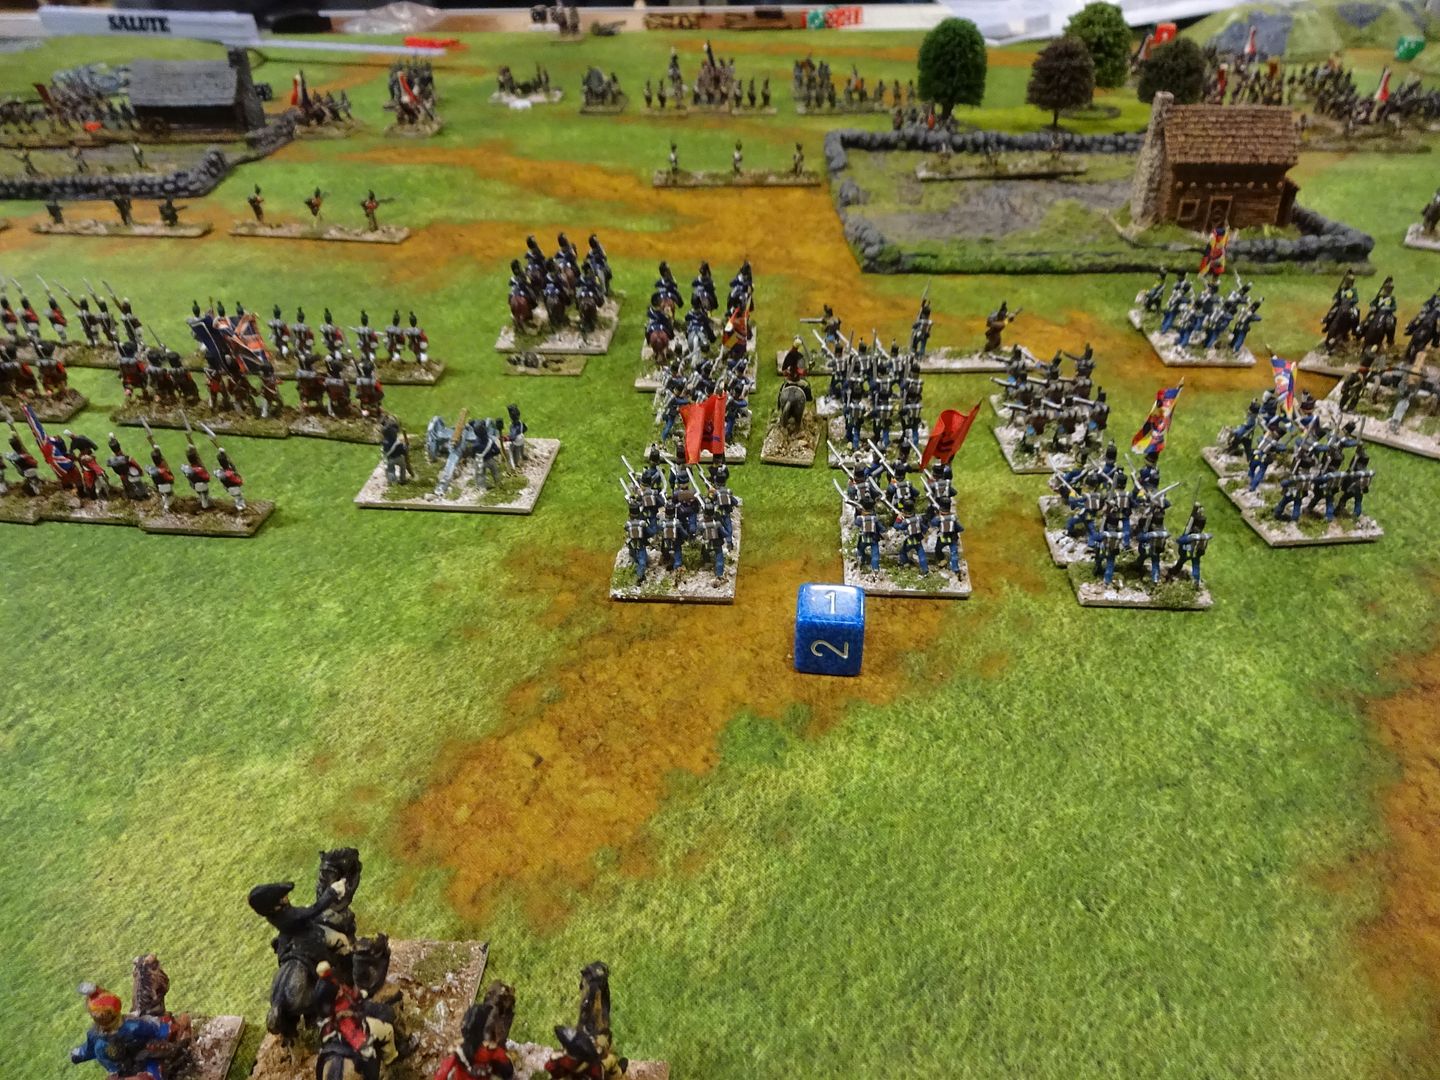
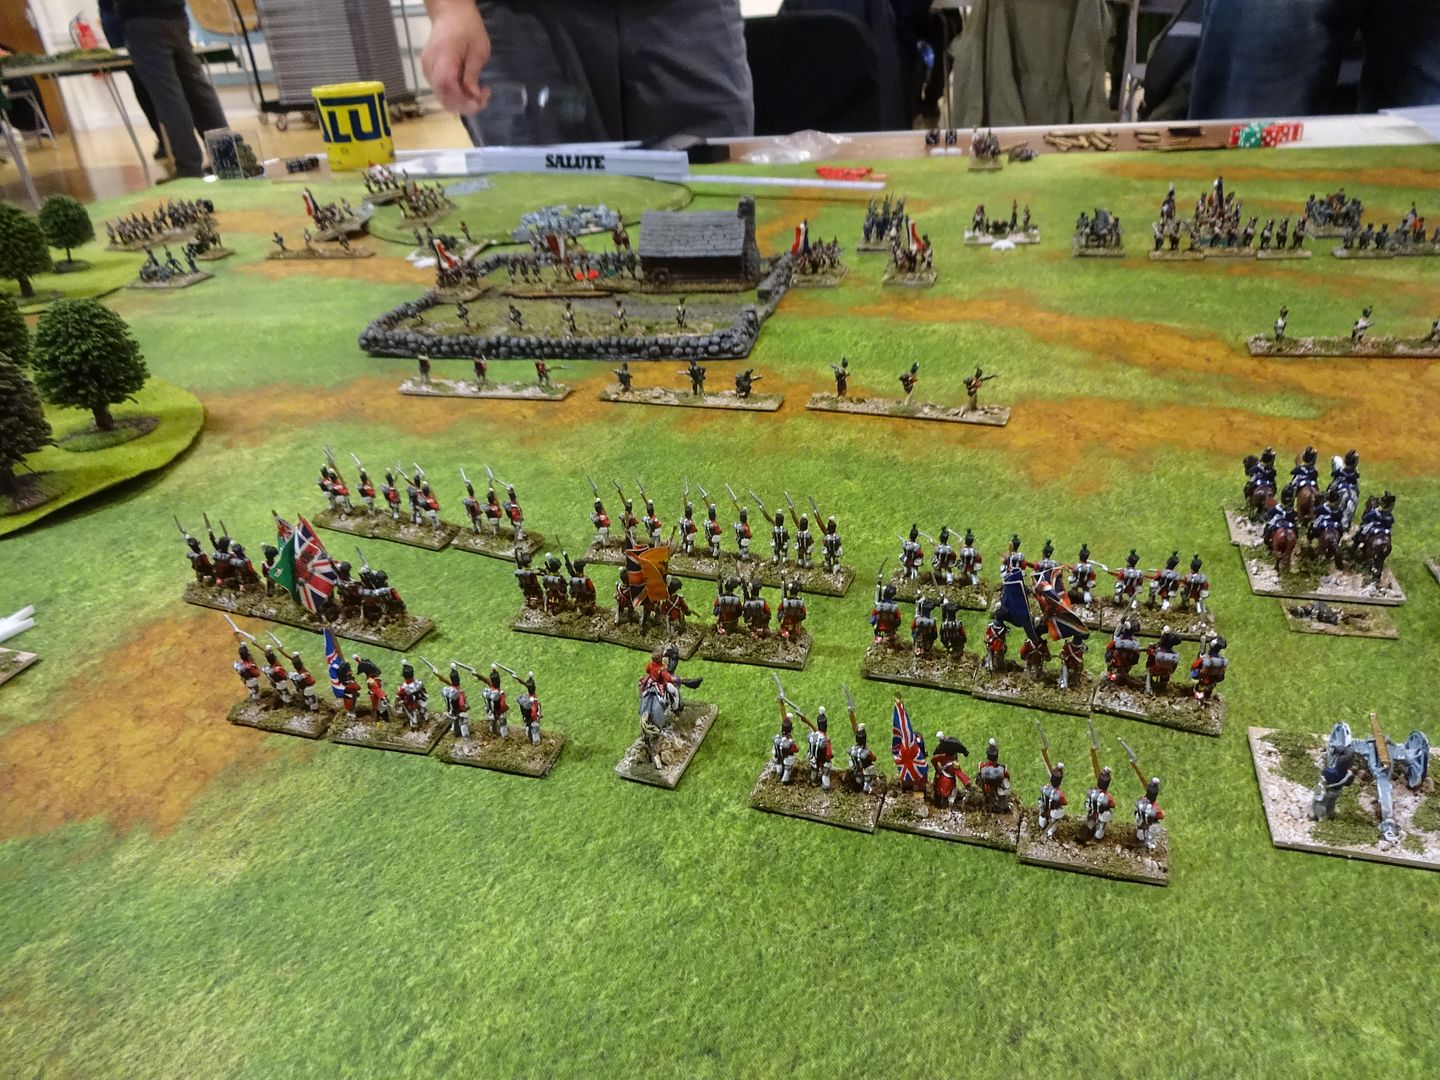
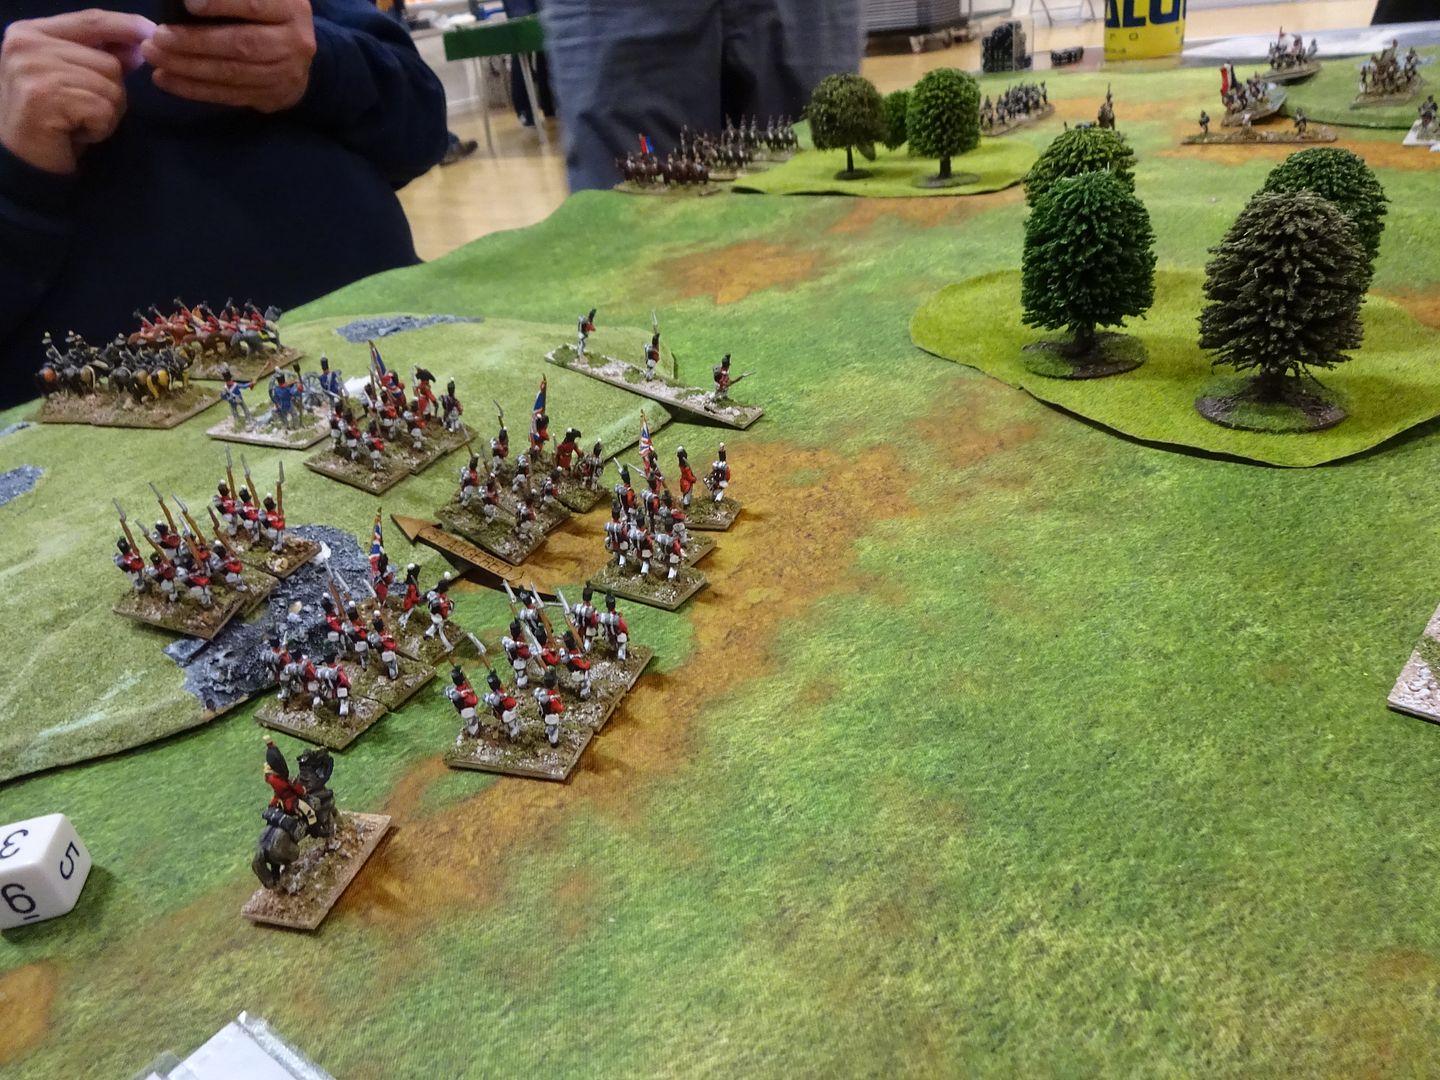
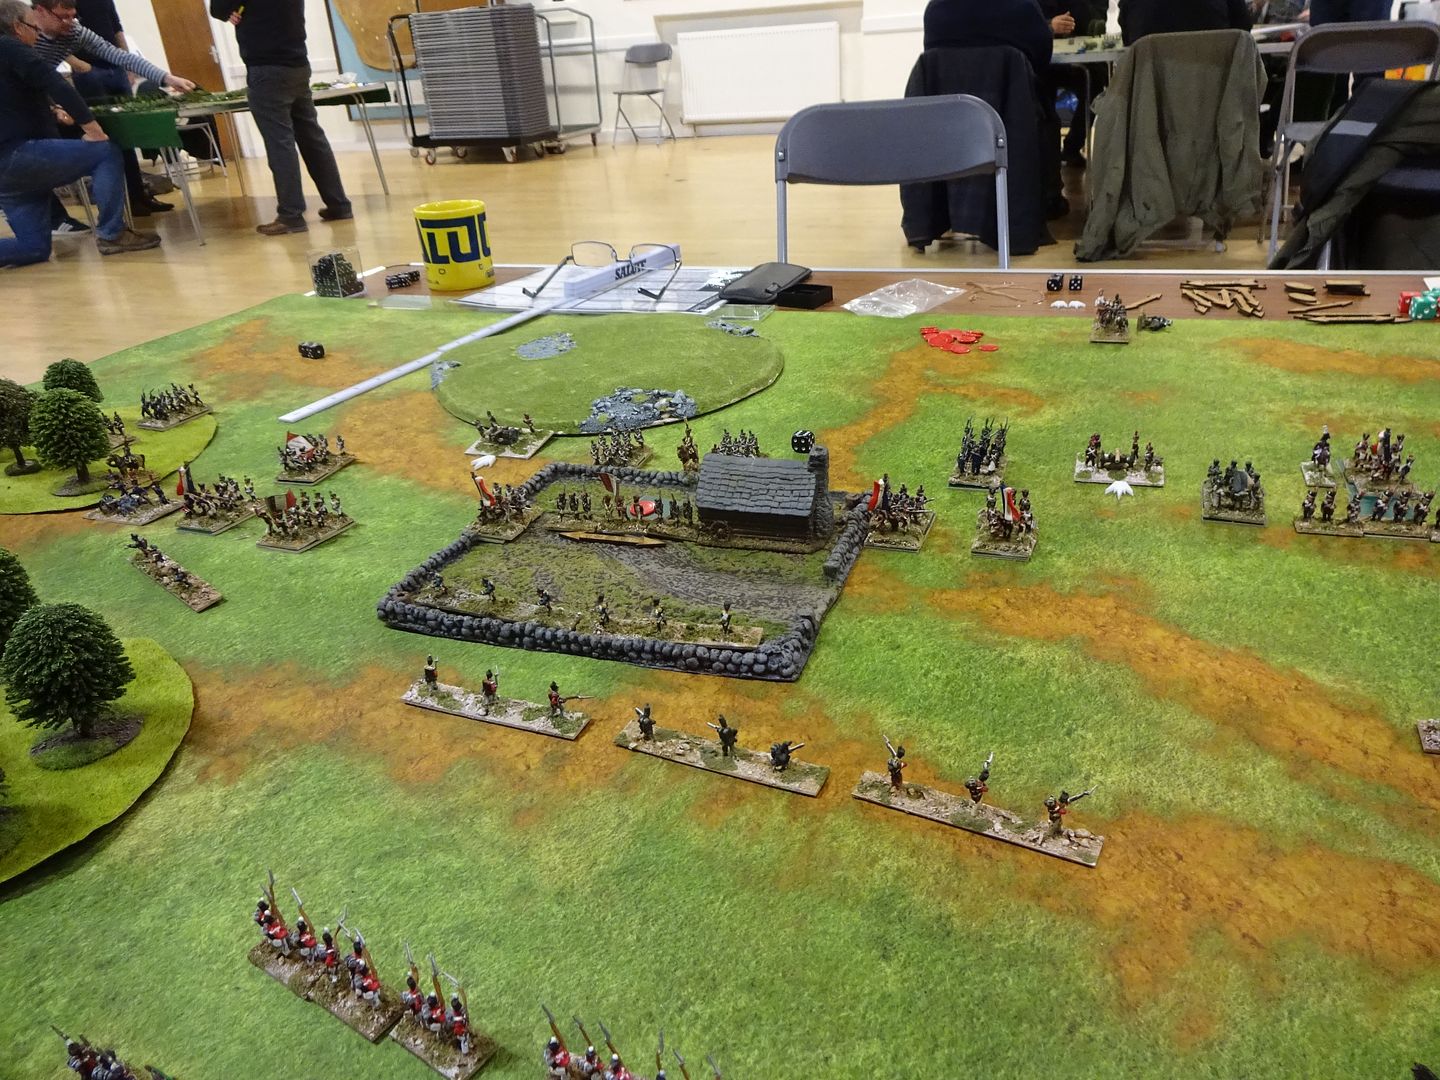
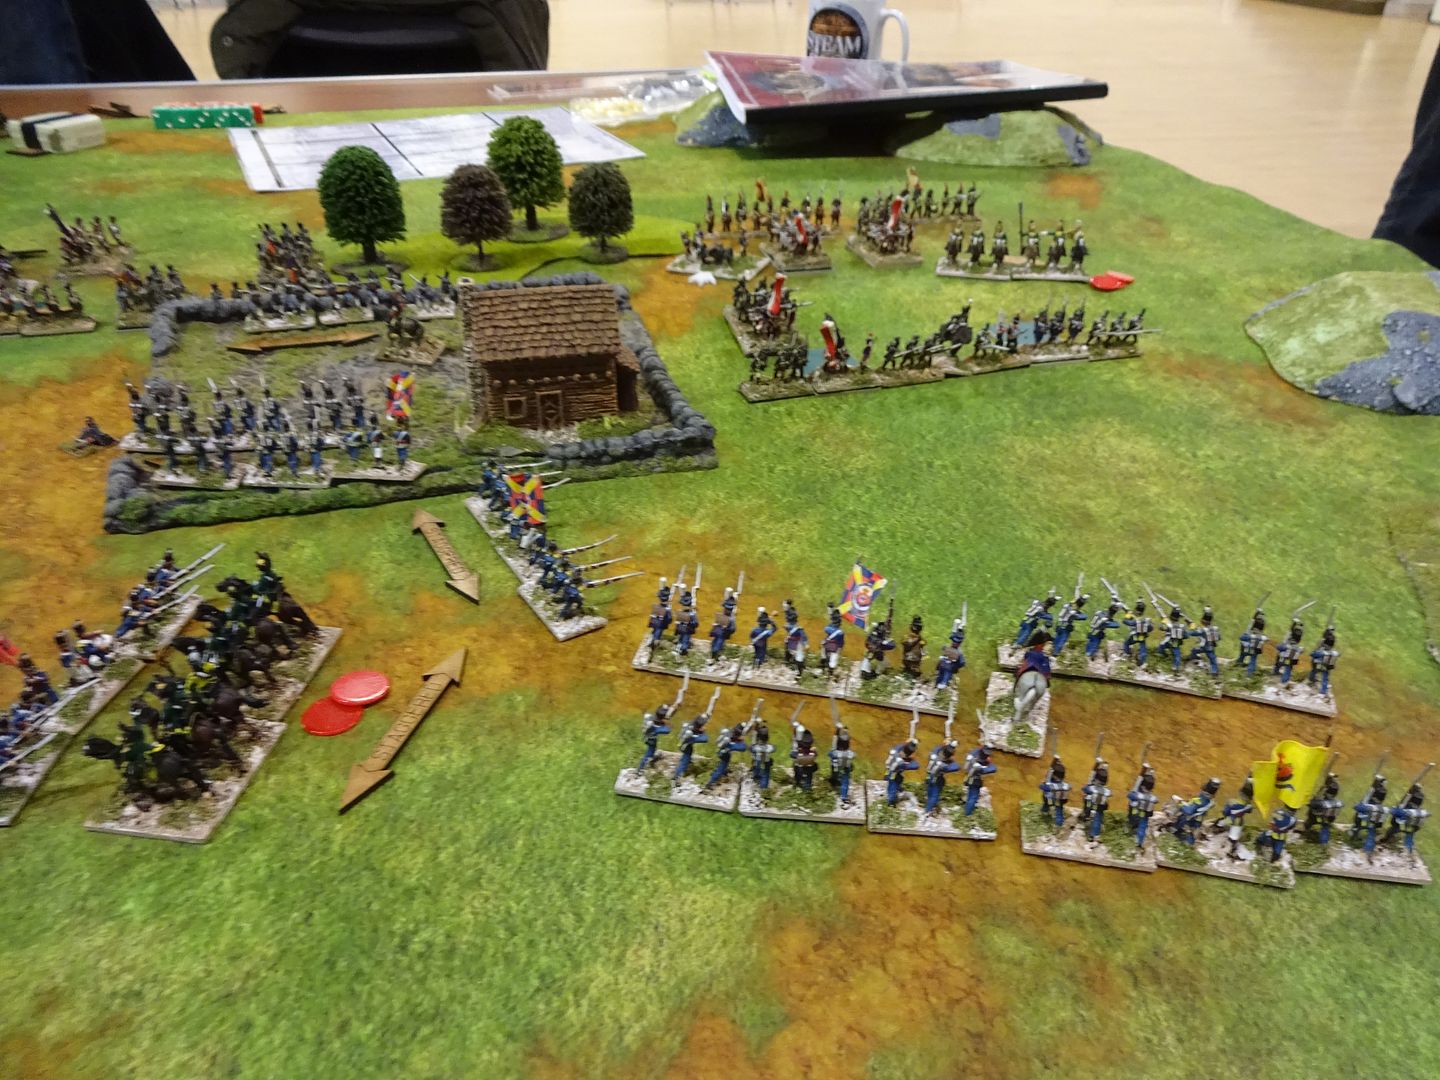
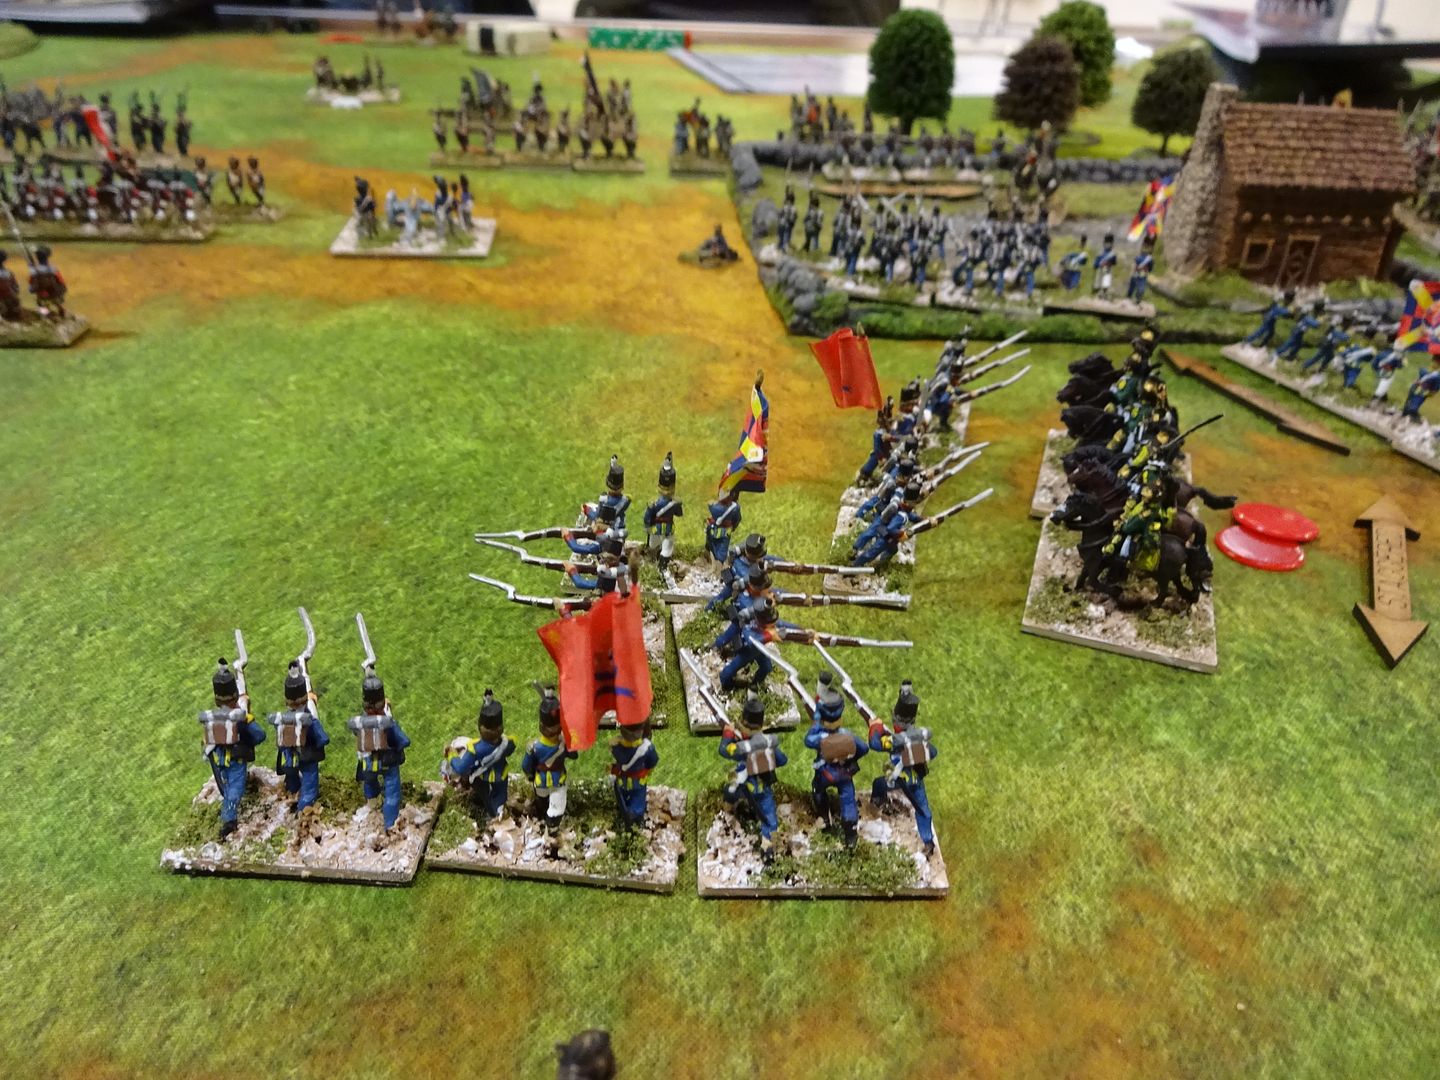
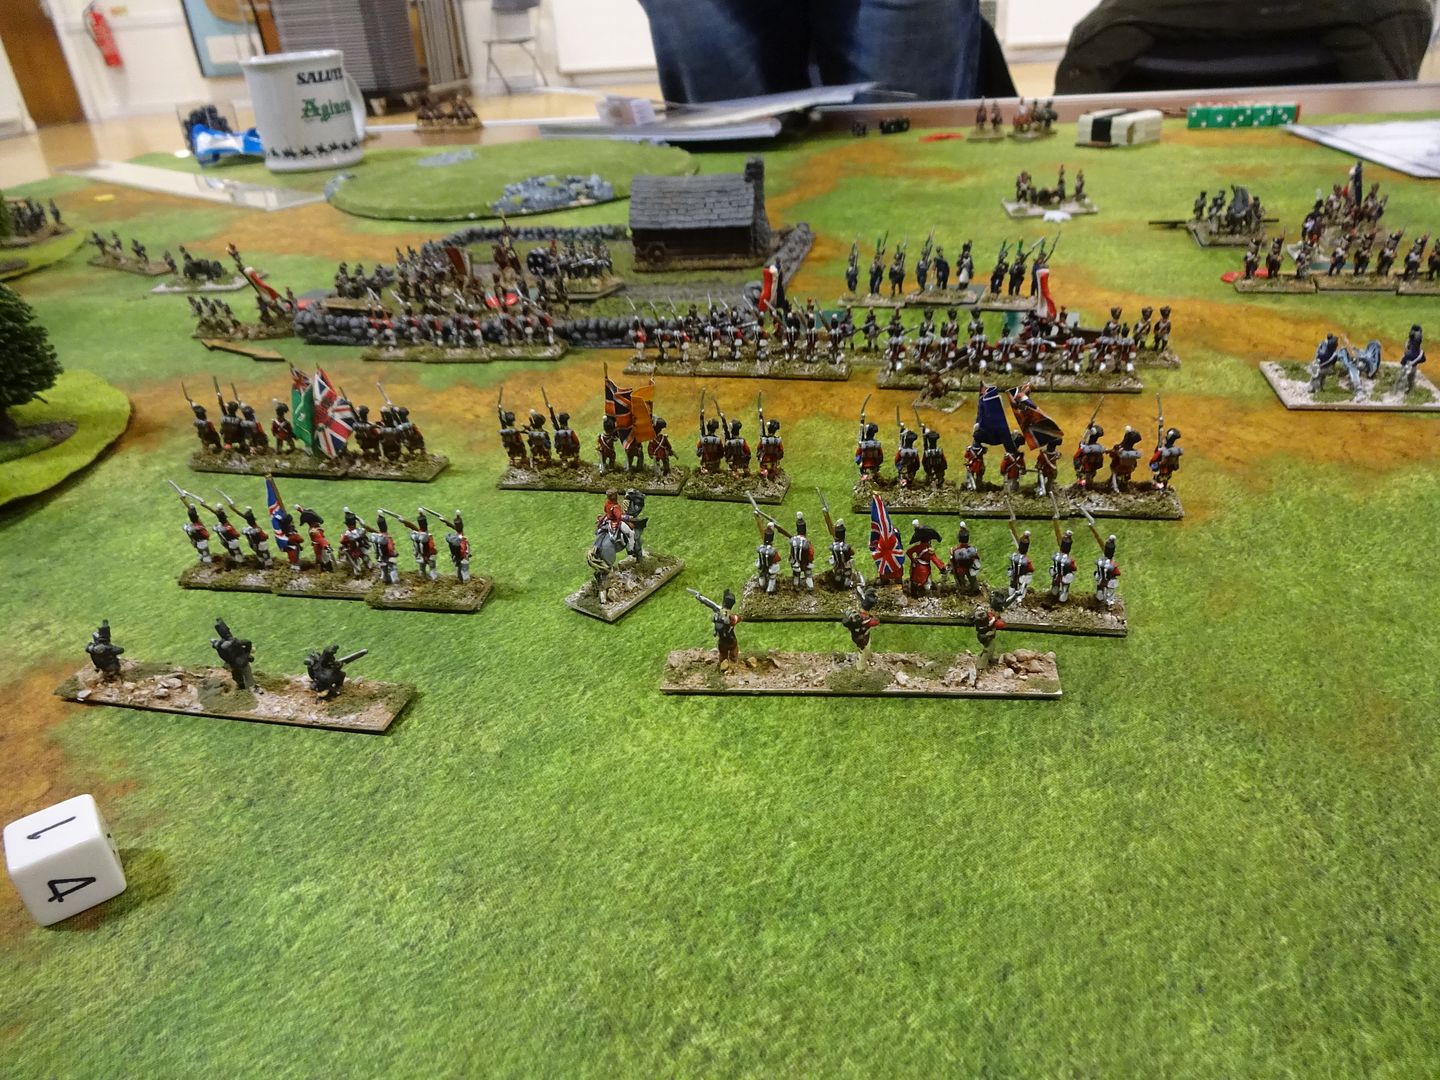
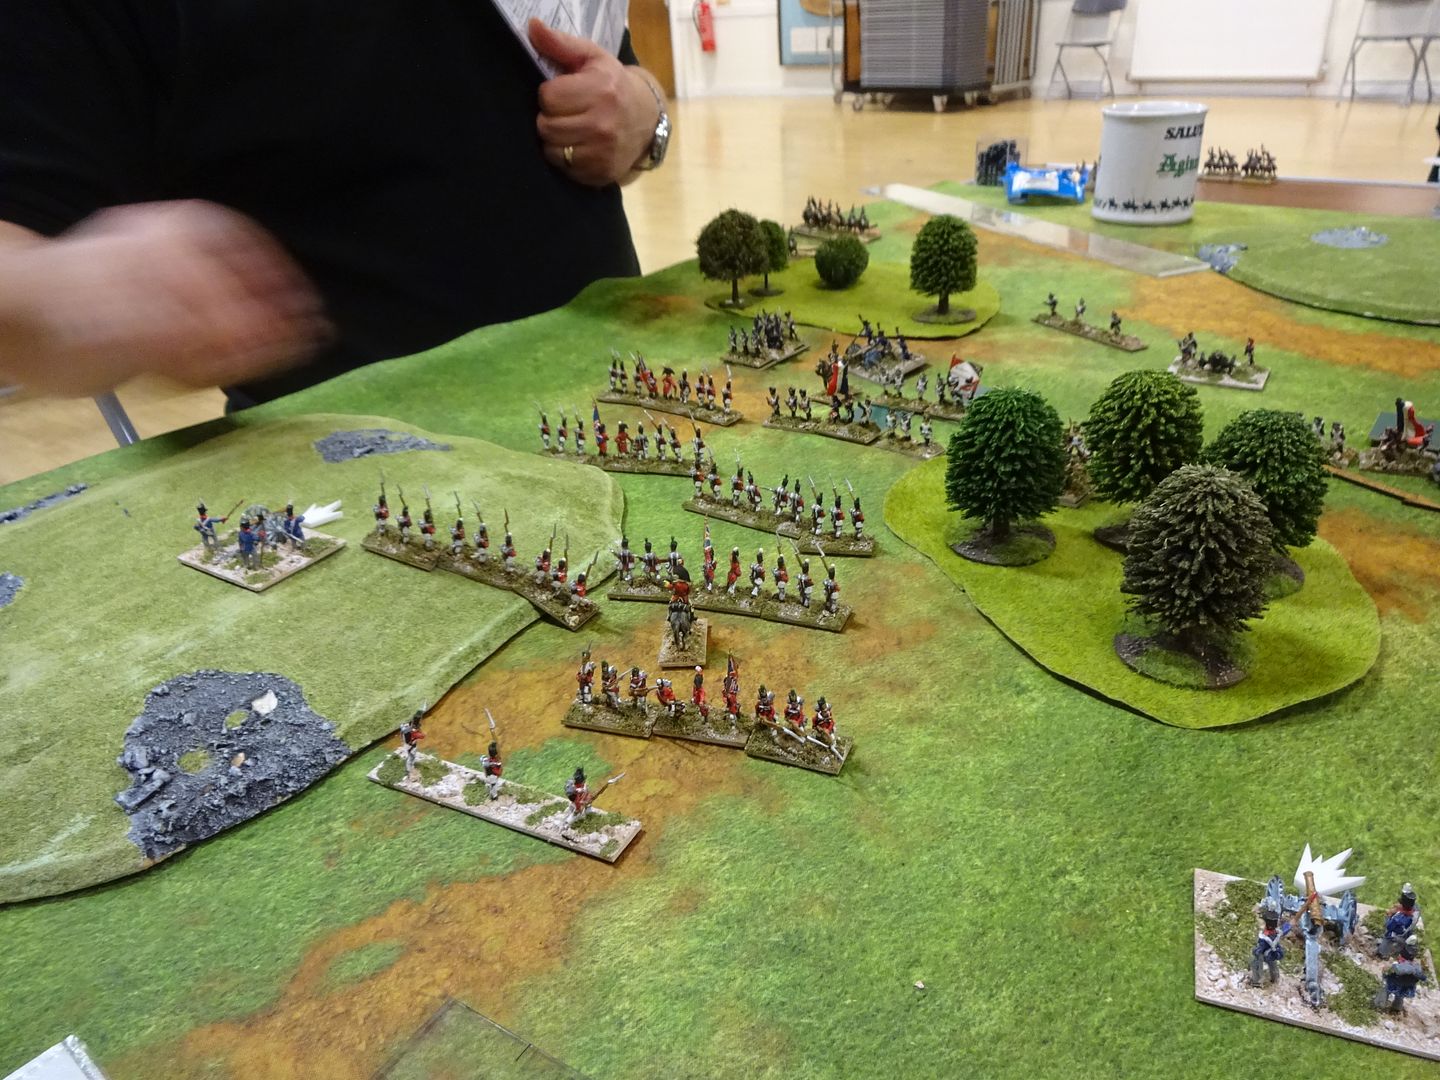
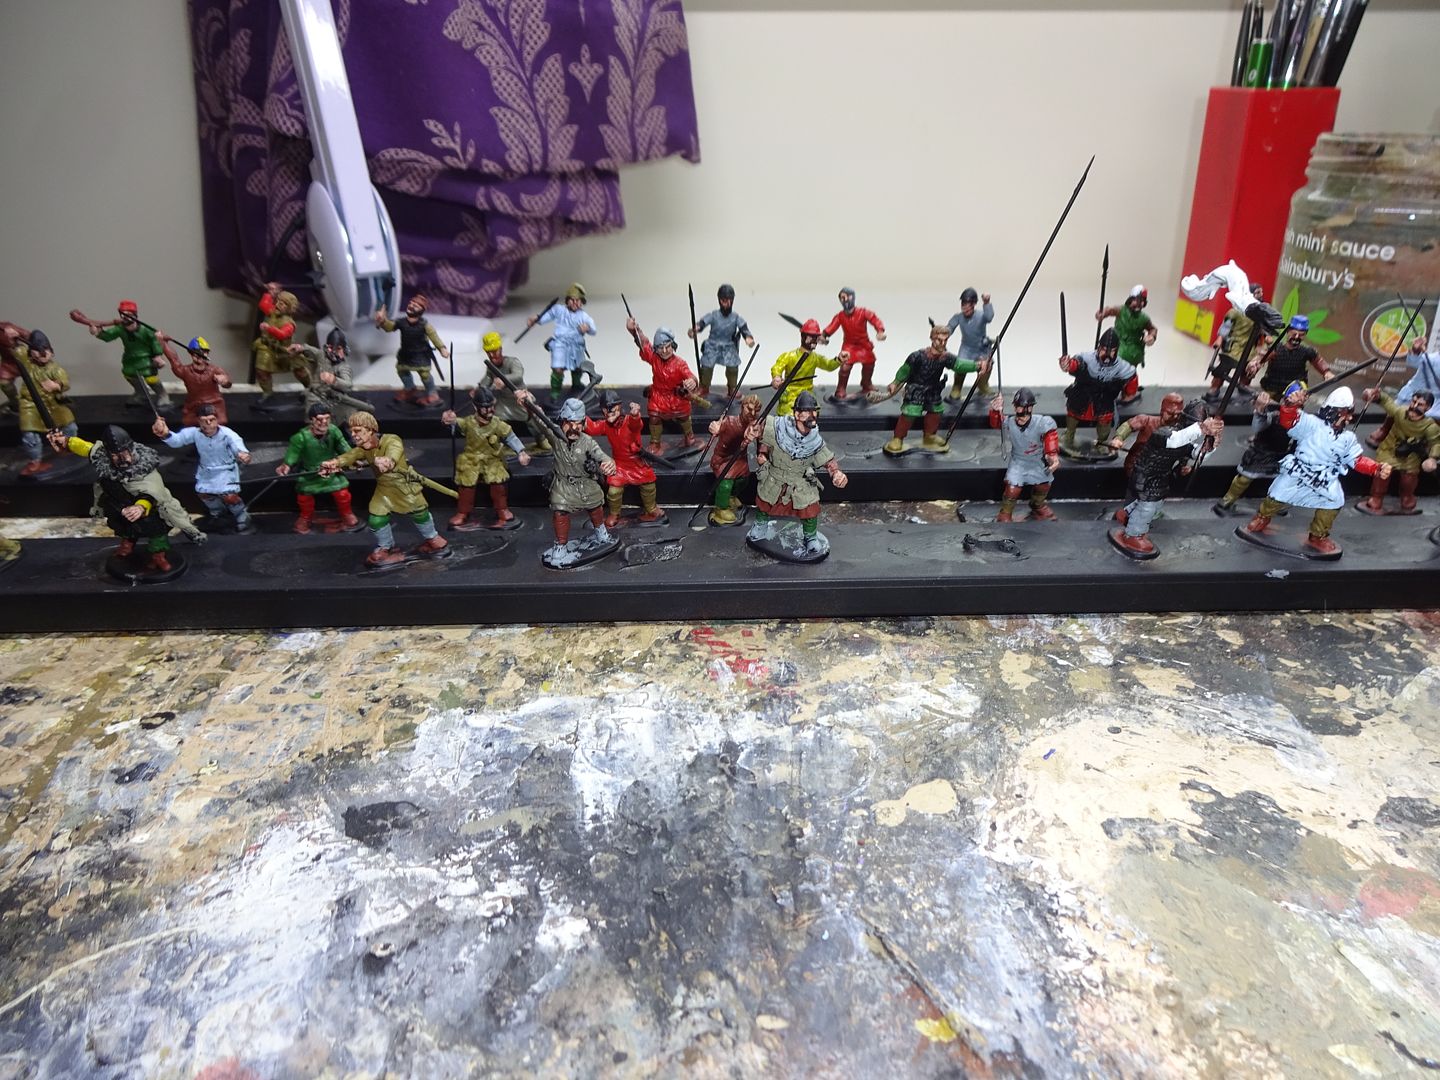
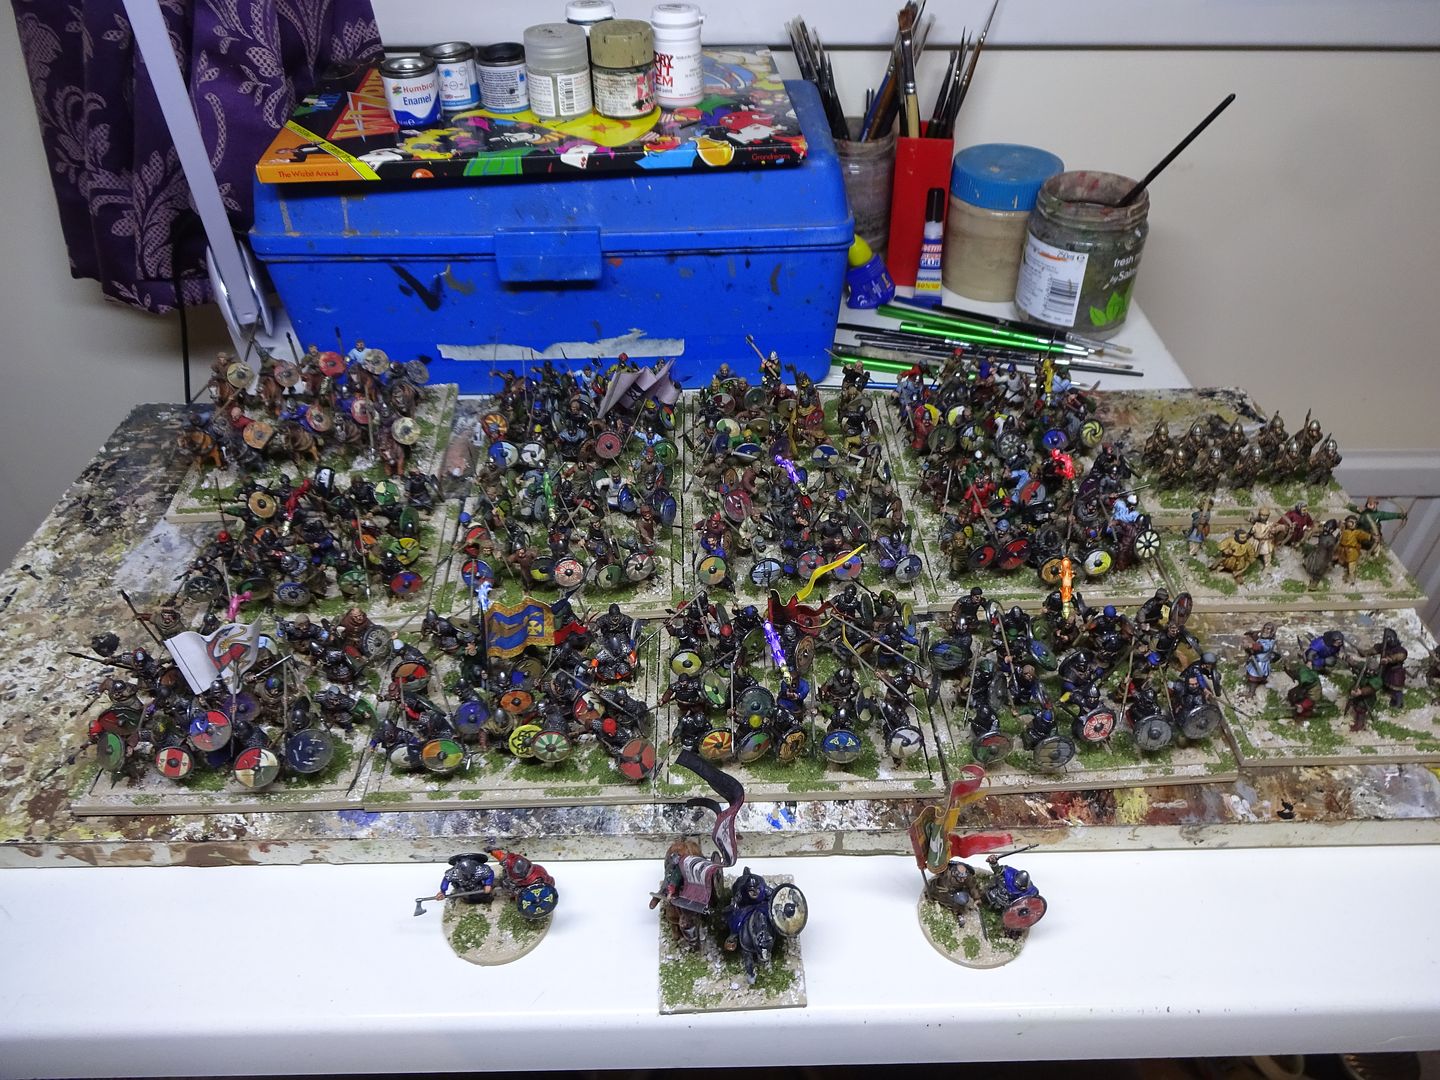
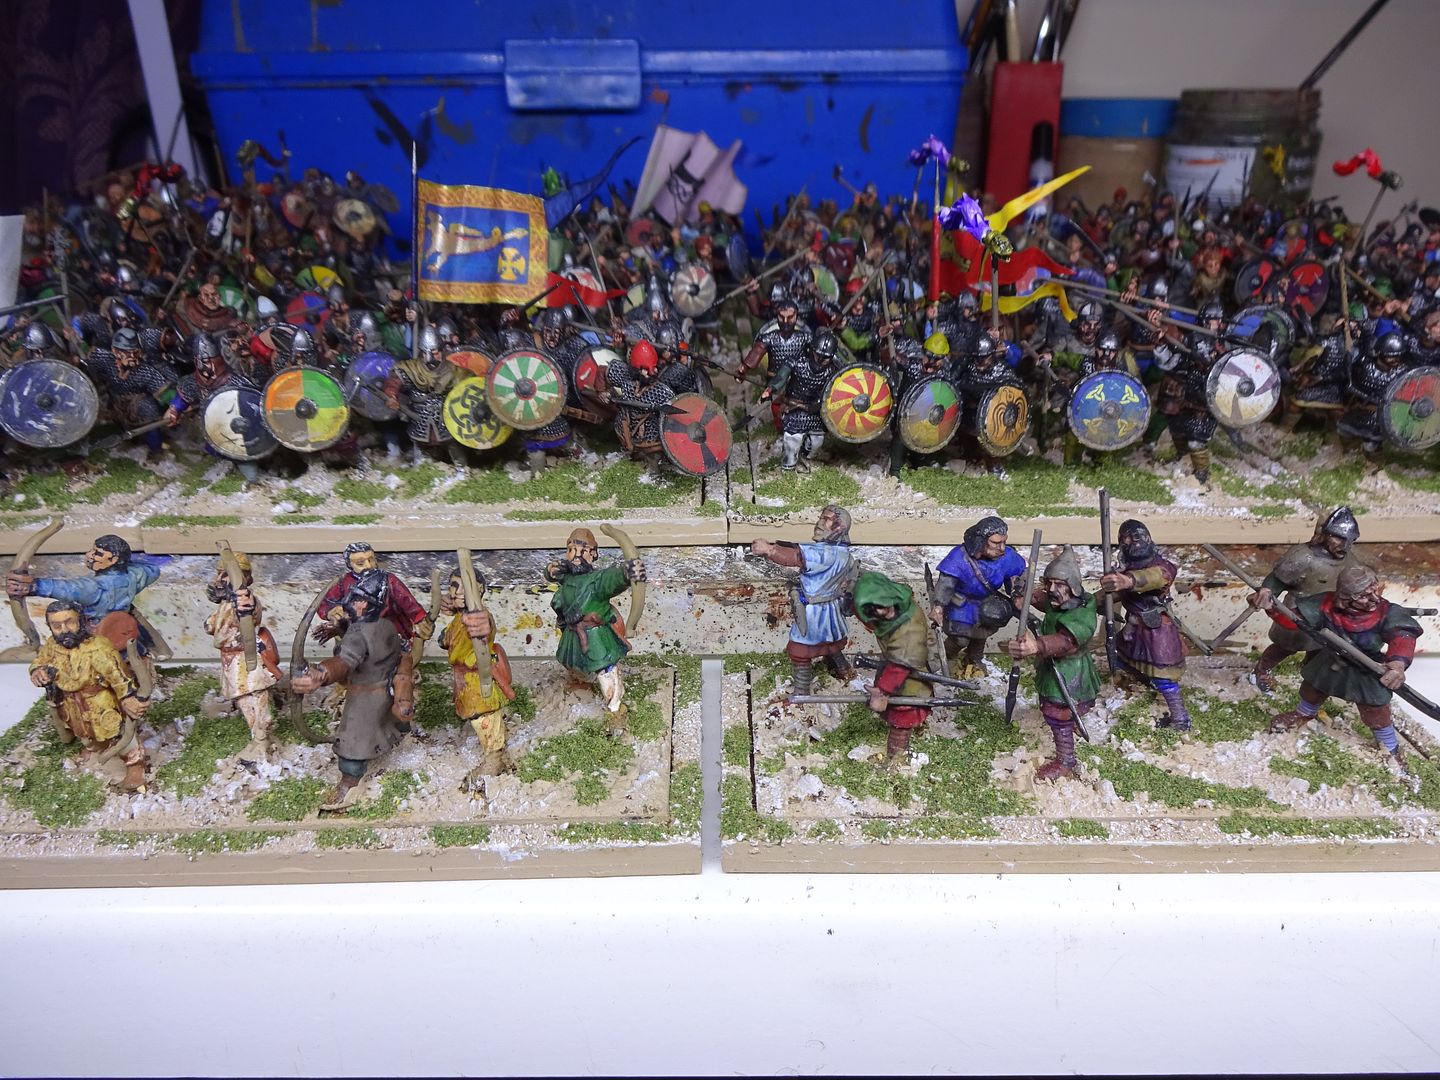
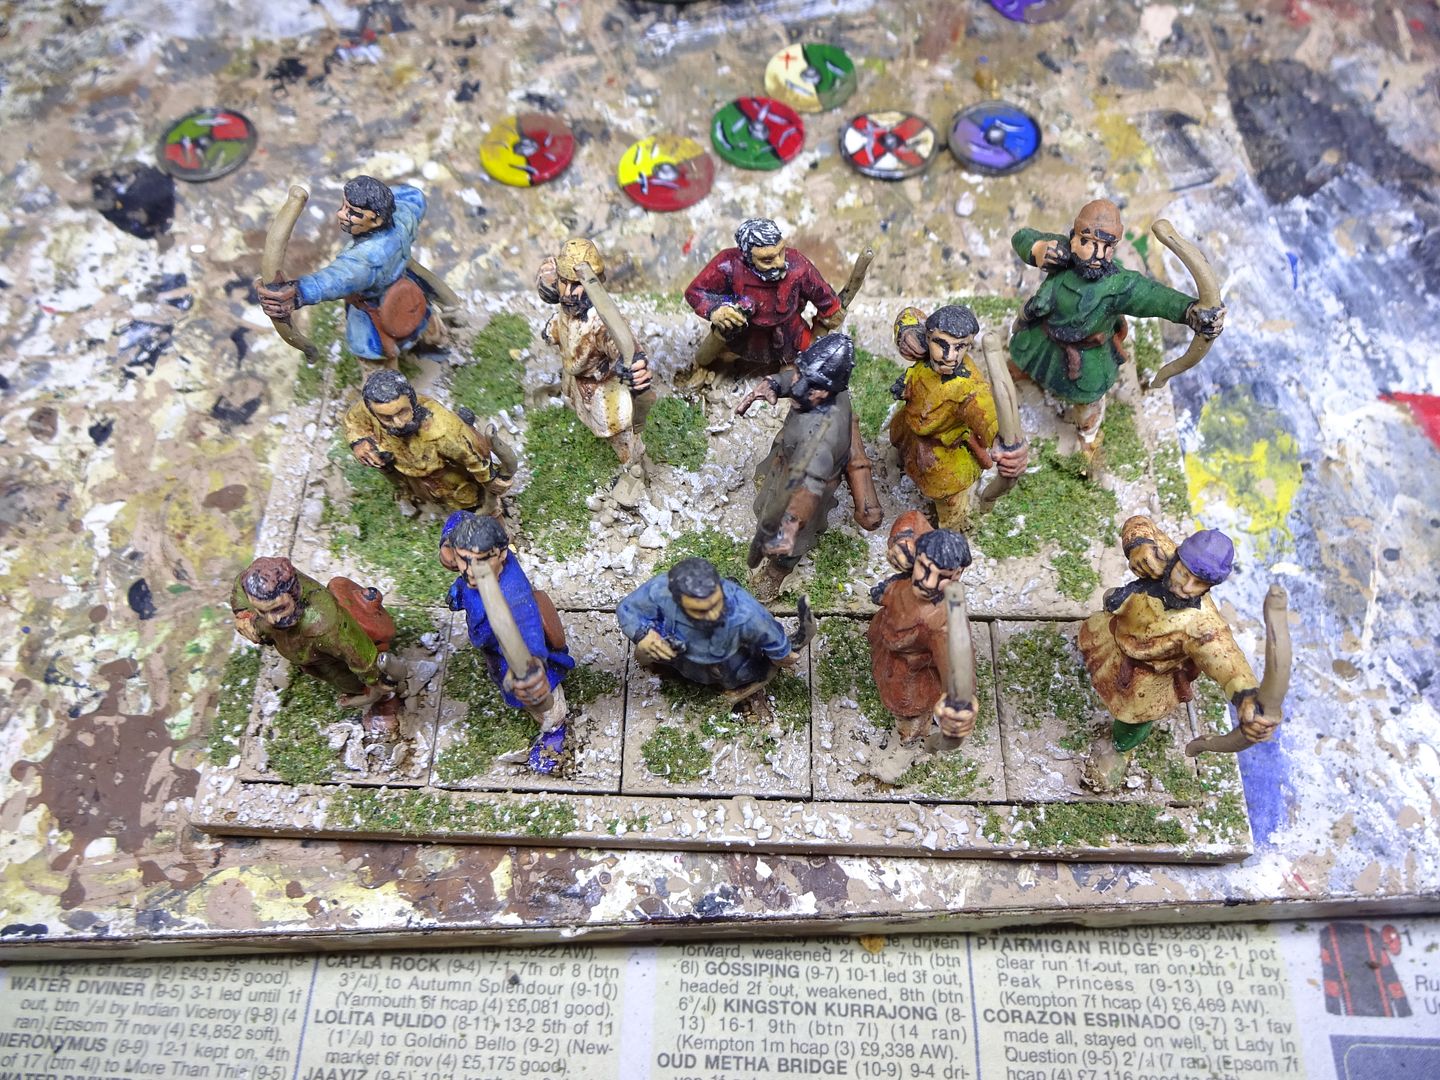
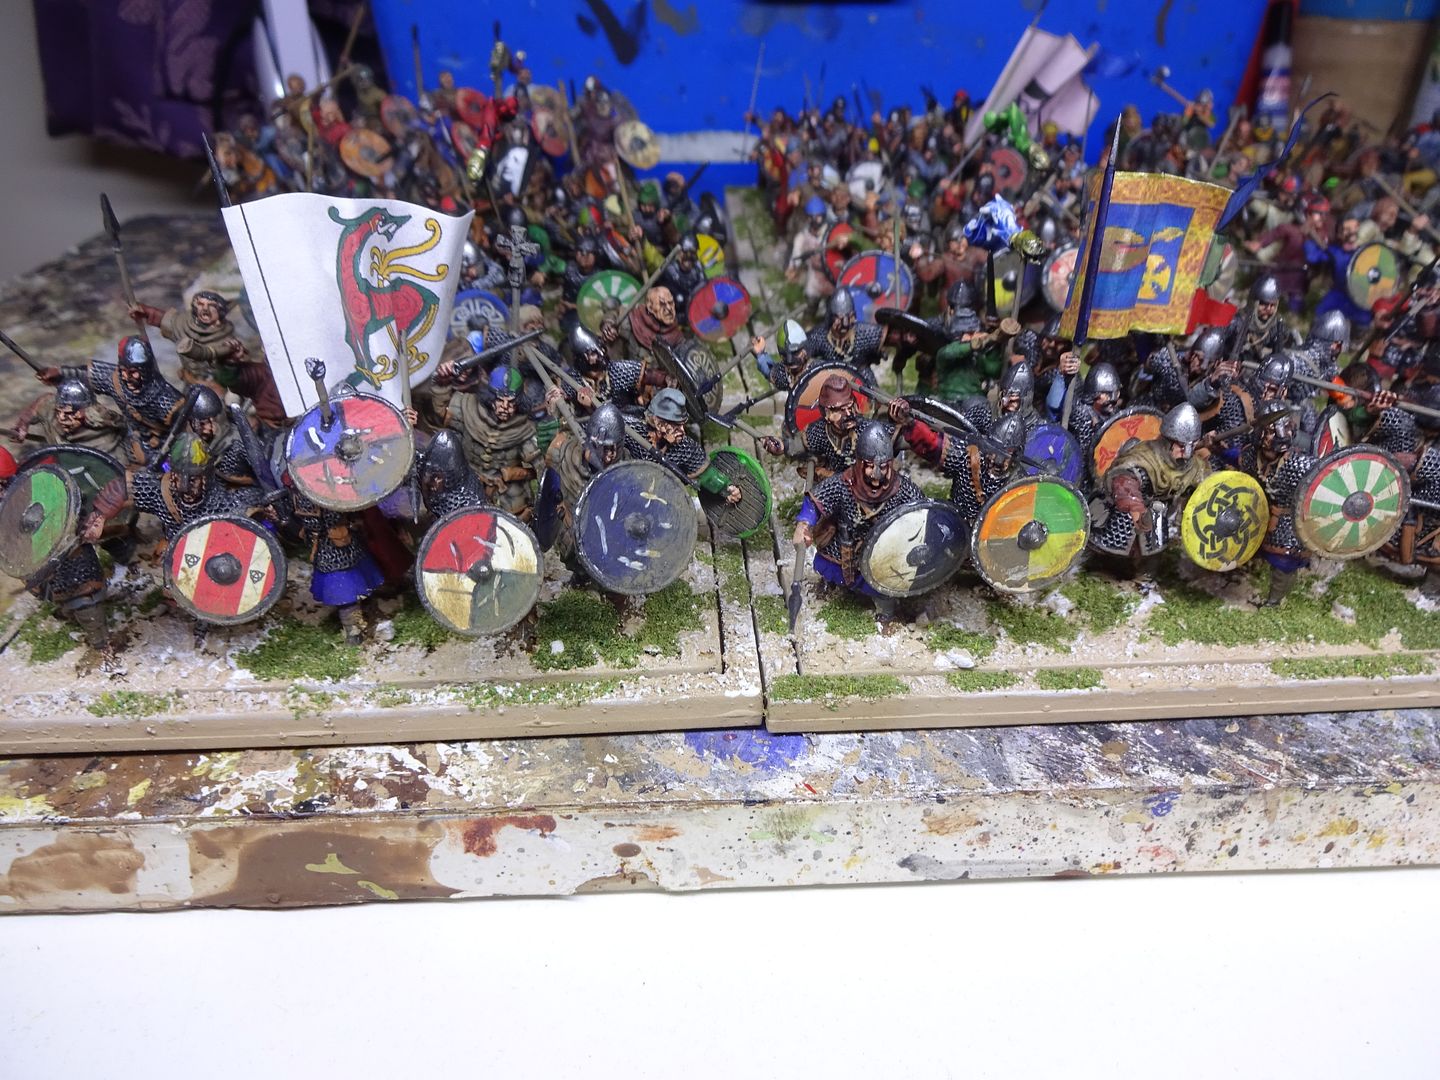
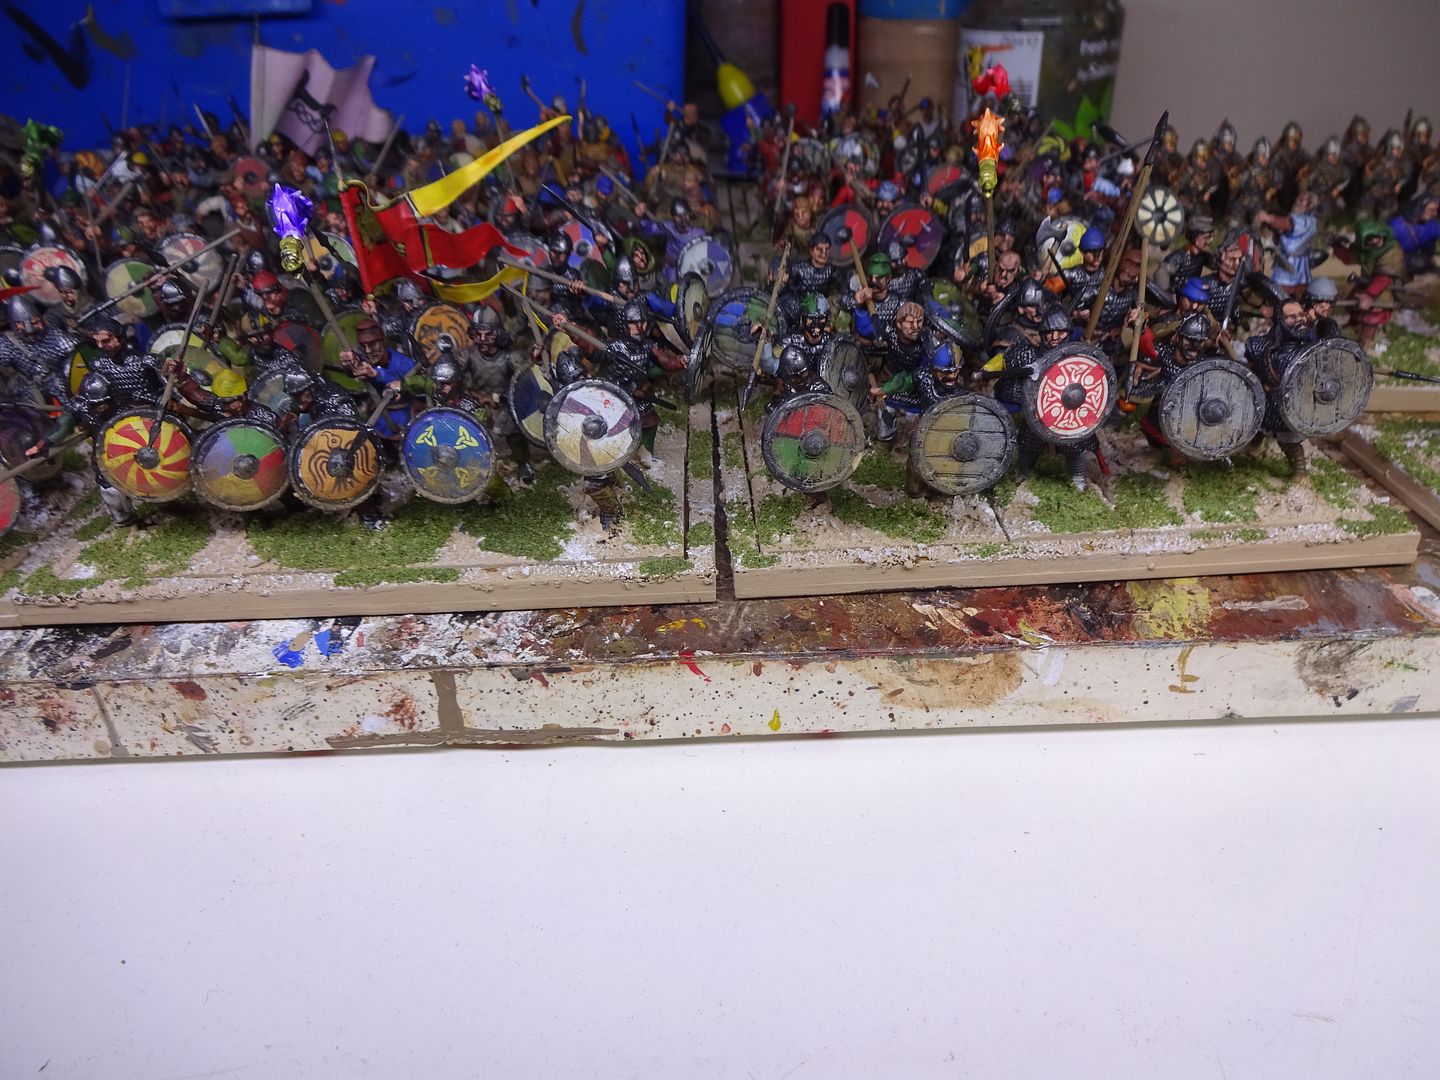
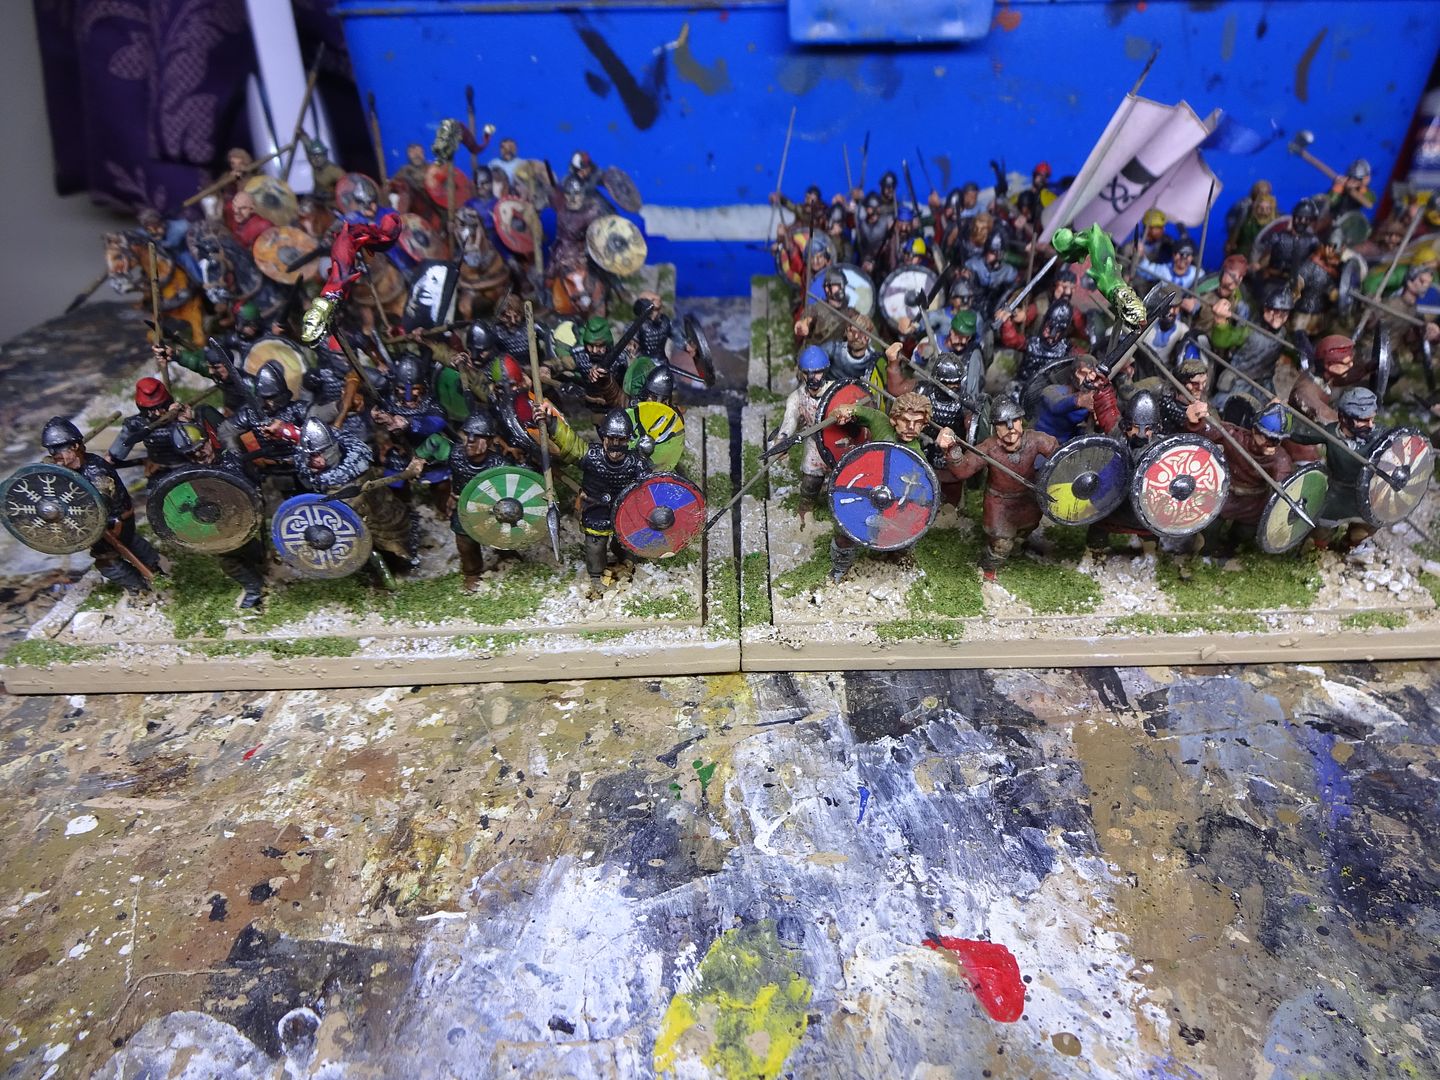
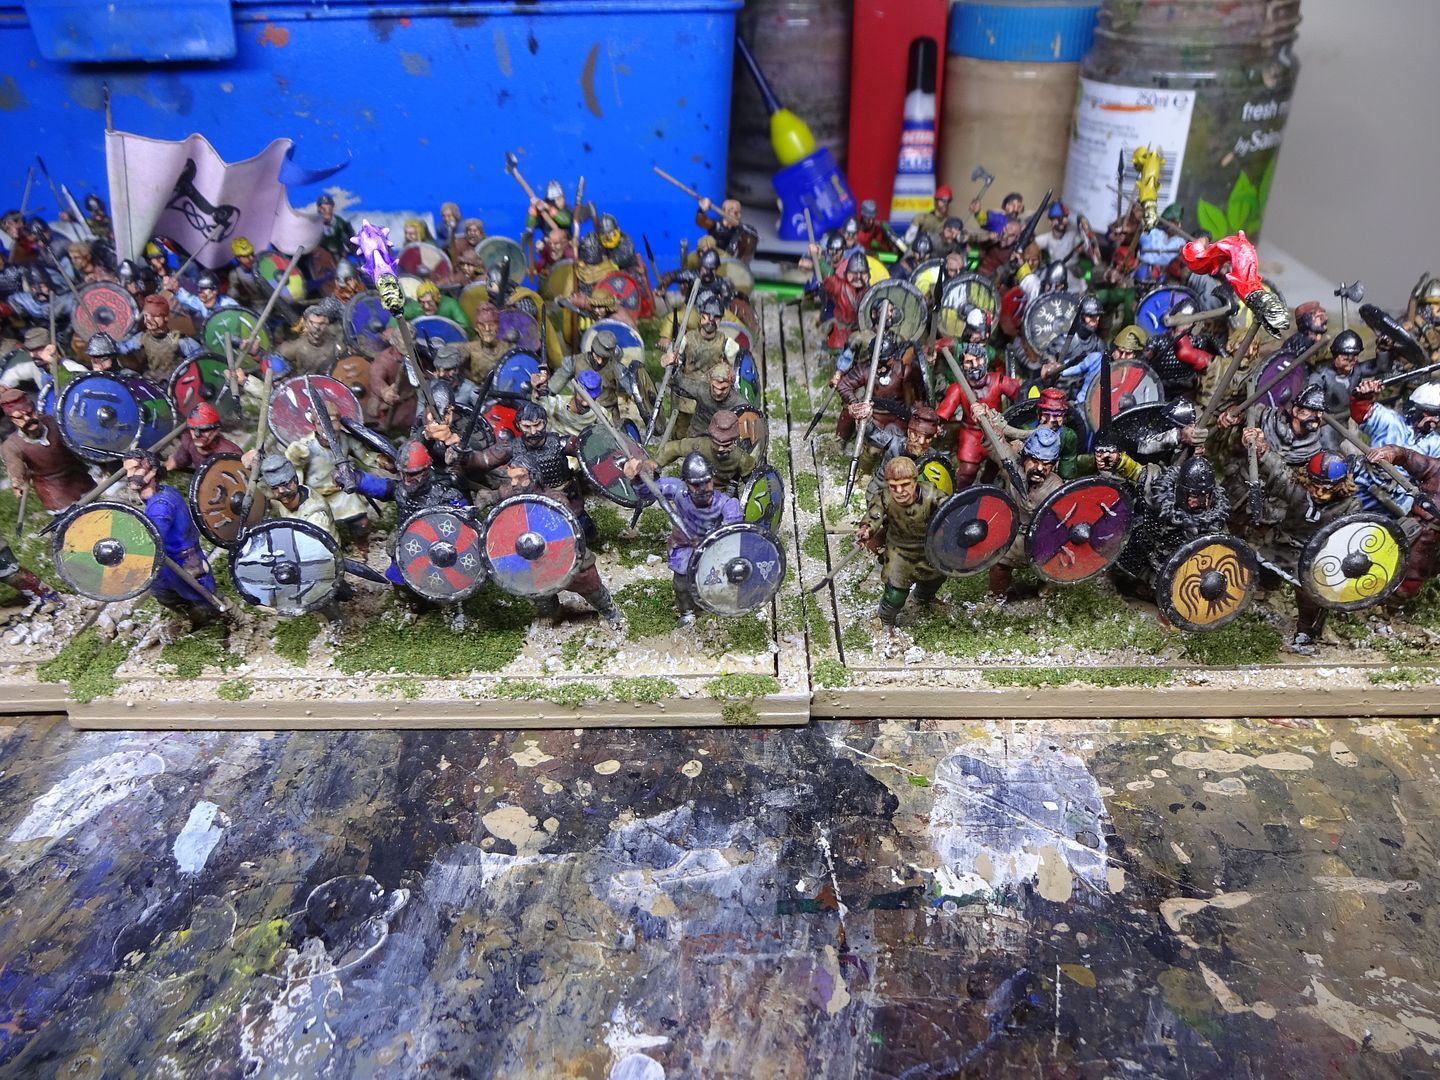
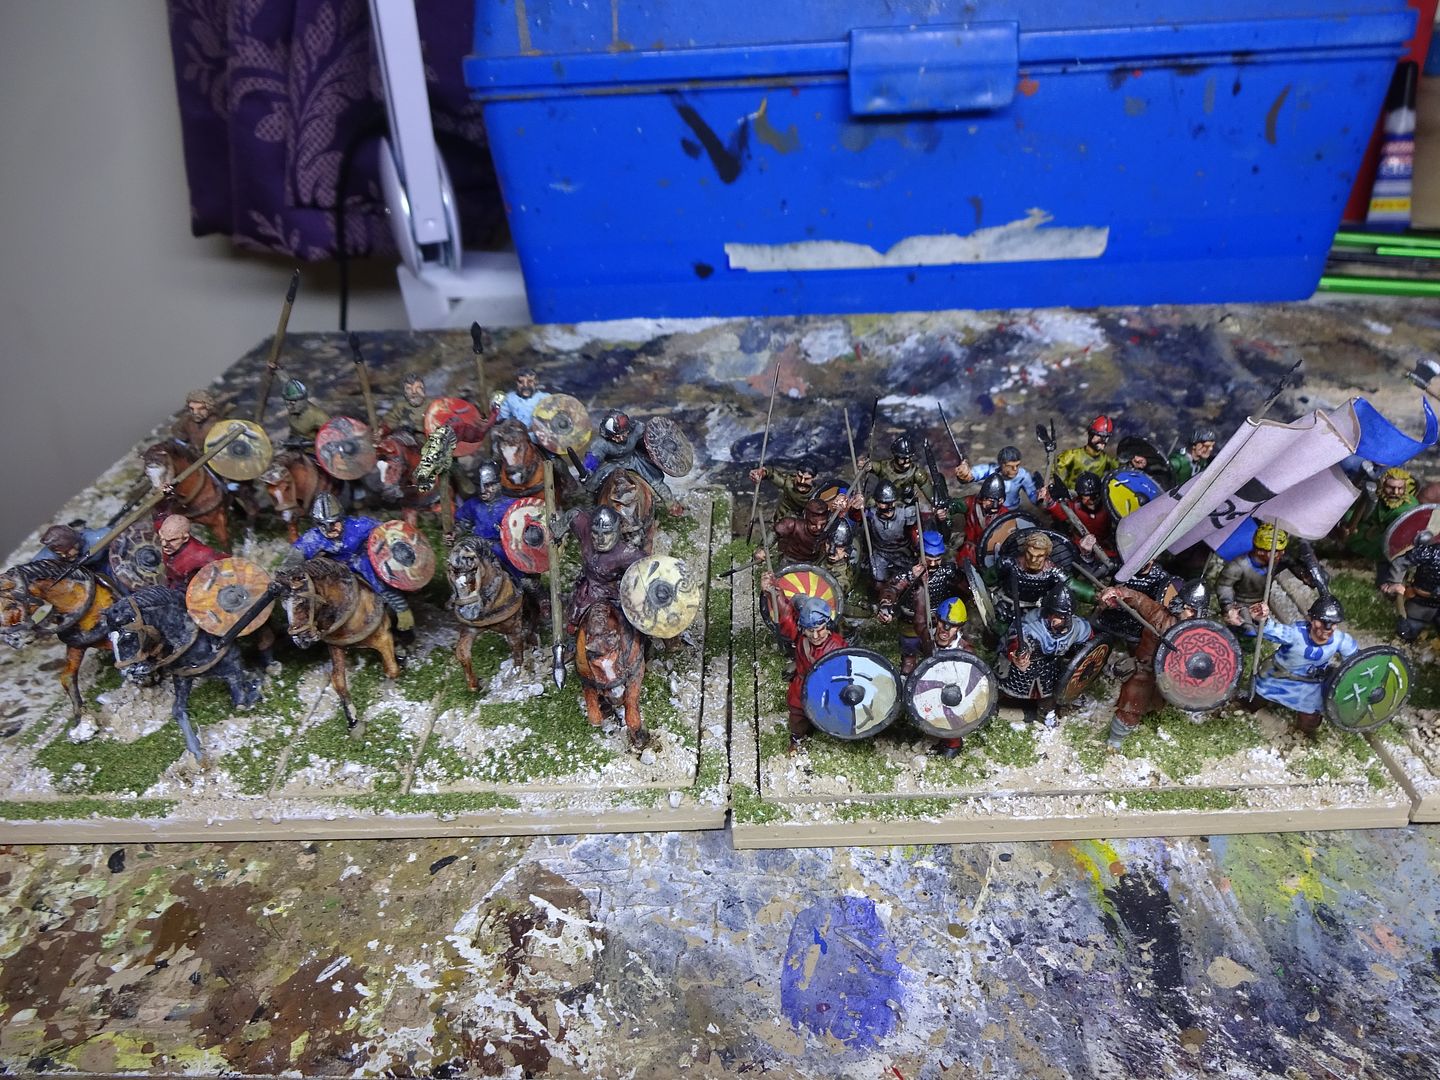
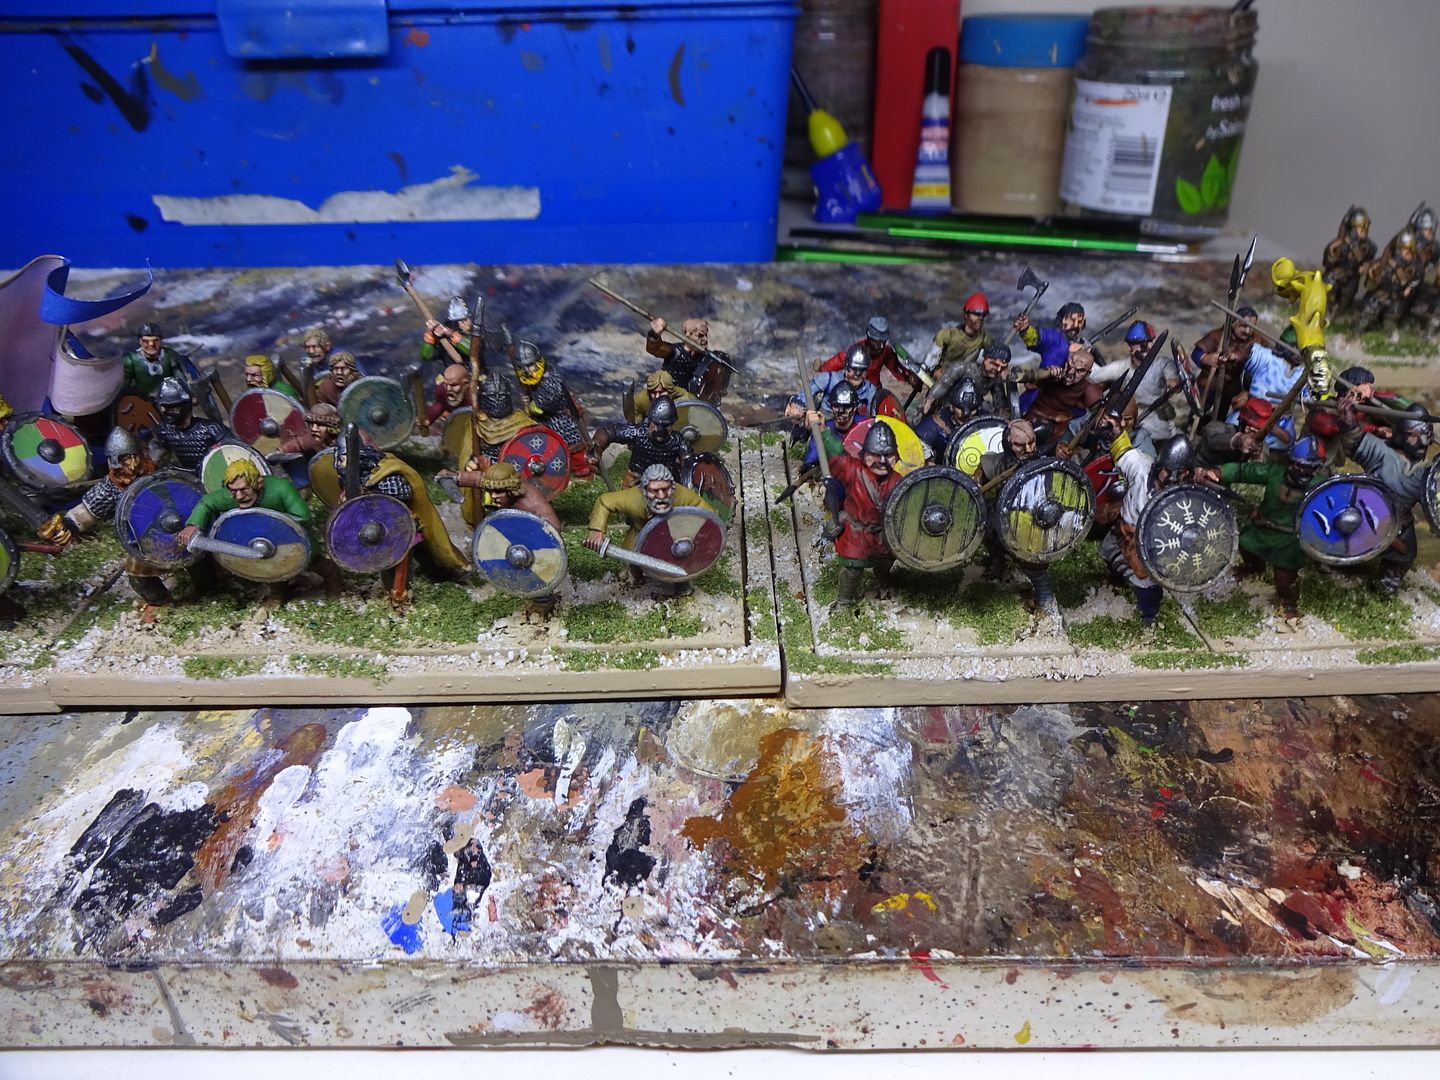
1000 point each side, deployed. 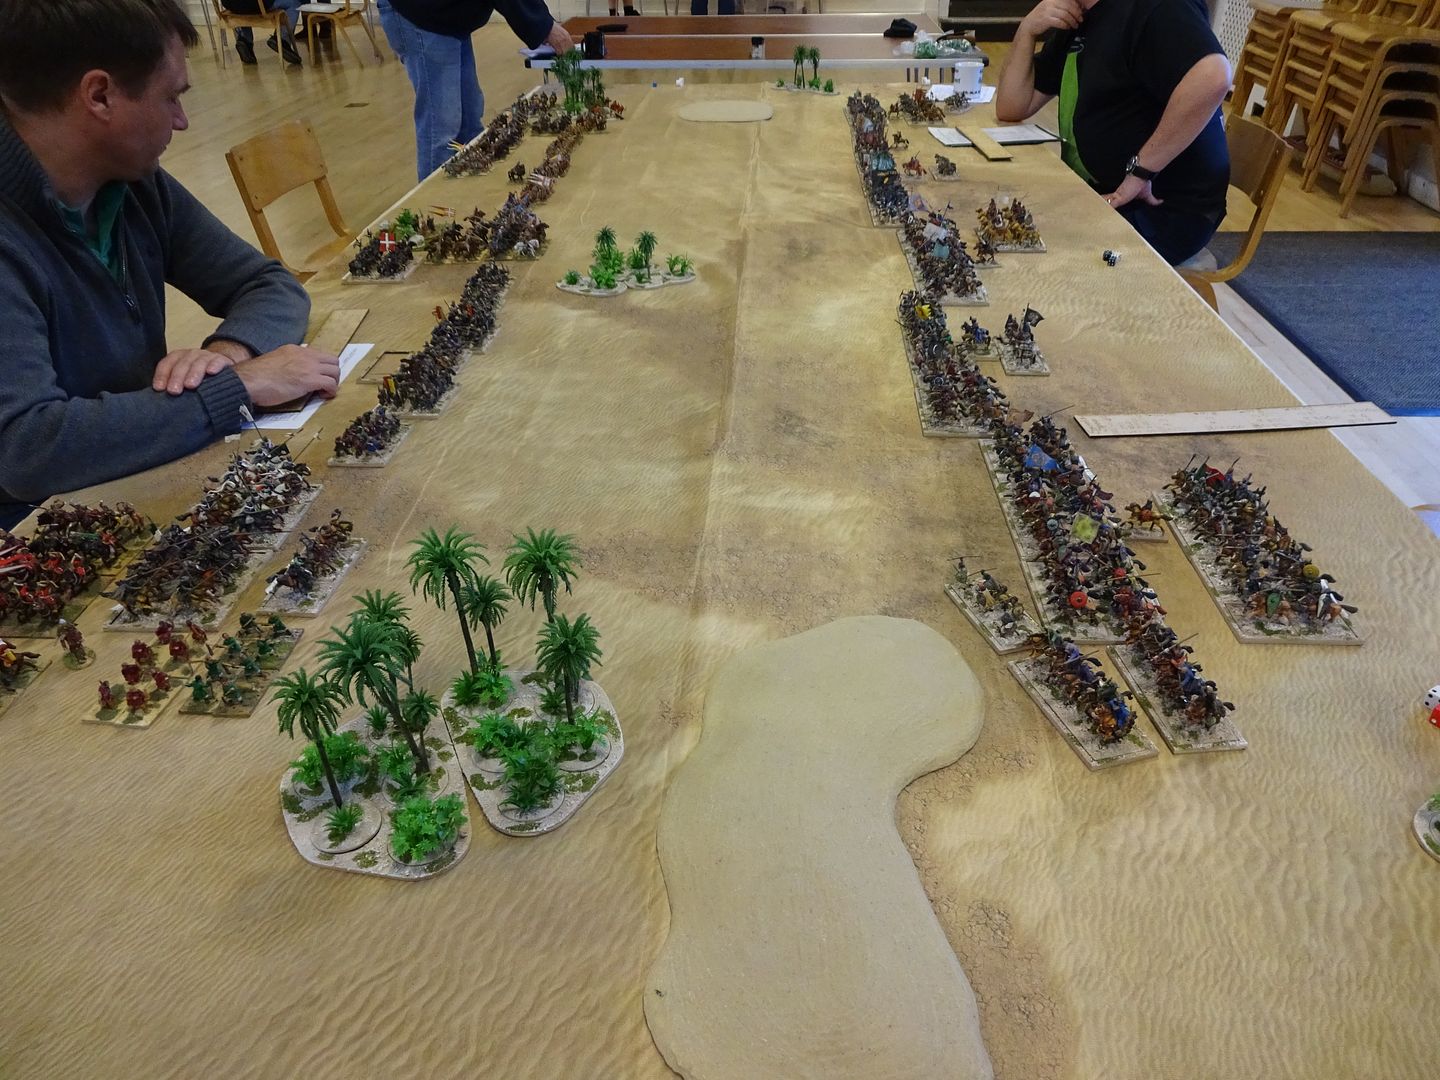
I used to play a lot of ancient & Medieval back in the day with WRG 6th edition rules, then fast play DBA and then DBM arrived and became the standard set of go to rules, with extensive army lists covering every conceivable army that marched to war. Then DBMM came out and no one played it at the club, although we stuck with DBM, new comers felt DBM chess like and complicated jargon within the rule book.
A few of us attempted Tactica, which was a good stop gap, but eventually ancient & medieval became a pretty much unplayed period at the Club. Then Warhammer Historical came about and released Hail Caesar, then others followed, all trying to get the ultimate rule set. Gipping Beast introduced Saga as a Skirmish/ Small unit set, and have recently brought out Swordpoint. We found a Kings of War Historical set on the web, we tried them and thought these would work for us.
Then, about four year ago, Mac introduced me to a set called Sword & Spear, so, I looked them up and purchased a set. And the rest as they say is history!
Now with it’s much better written second edition, with army lists downloadable from the S&S website, a Forum and Face Book page for any questions, etc, I have enjoyed the rules immensely. These will be good for competition play, as it would enable different armies from differing epochs to fight as they class troops simply.eg Heavy Foot with Armour and Spear.
http://polkovnik.moonfruit.com/sword-spear/4583102656
The rule book is forty eight pages, with twenty nine pages covering the rules, with FAQ pages and nine popular armies. With lots of explanations and diagrams of various situations. The rules are broken down to concise easy to find sections, from the set of the battlefield right through to some scenarios. It has a very good index for looking thing up, when a query arises.
S & S can be used with any basing sizes as the combats see units fighting Offset. The rules also use DU’s which are Distance Units, and are used for shooting moving and command radius, and is 1 DU is equivalent to half the width of the frontage of a base. Although, if you use differing base frontages, as I do, then decide what your DU will be. My 28mm DU is 60mm and my 15mm is 40mm (15mm armies are based as DBM).
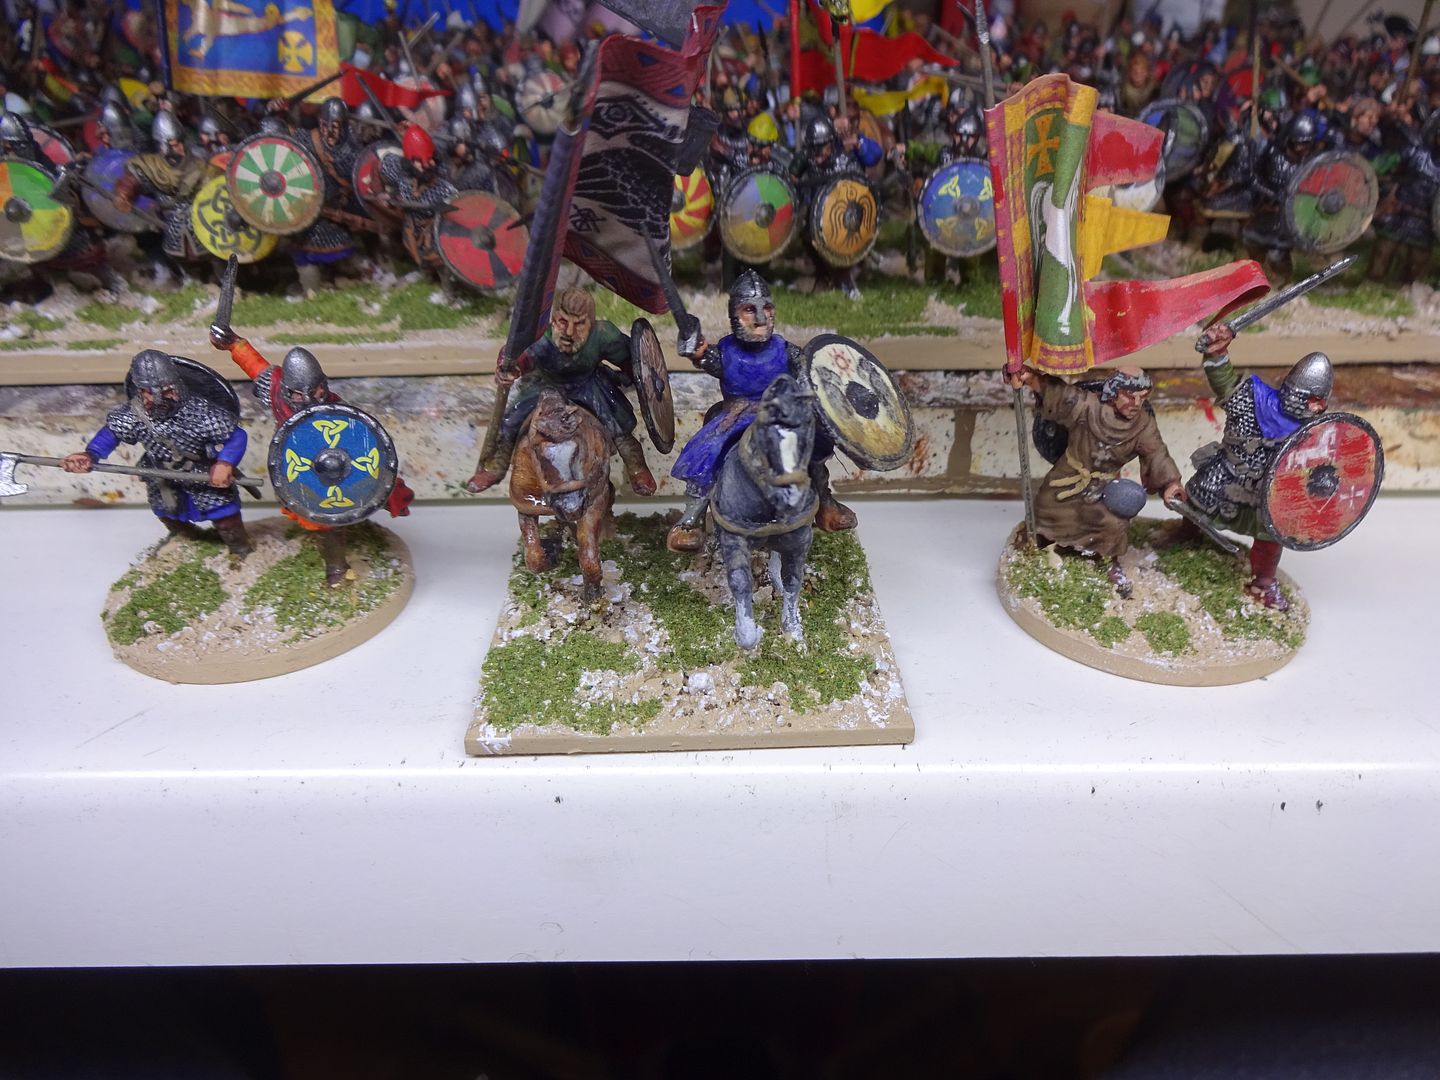
Each Army requires commanders and they can have a general and captains, at differing points costs, which both do the same thing in reducing the Discipline of units, when attached, which in turn makes it easier for the unit to do things. The General has a command radius of 8 DU, and the Captains 4 DU.
The units are very generic, with extra traits dependant on type, so Knights, Bow armed Cavalry are all classed as Cavalry, but the knights have an impact ability and the Bow armed Cavalry have a shoot ability. The army builders point up the army for you and a normal evening game would be approx. 400 – 600 points, but I would suggest smaller games of 300 – 400 points to get used to the rules.
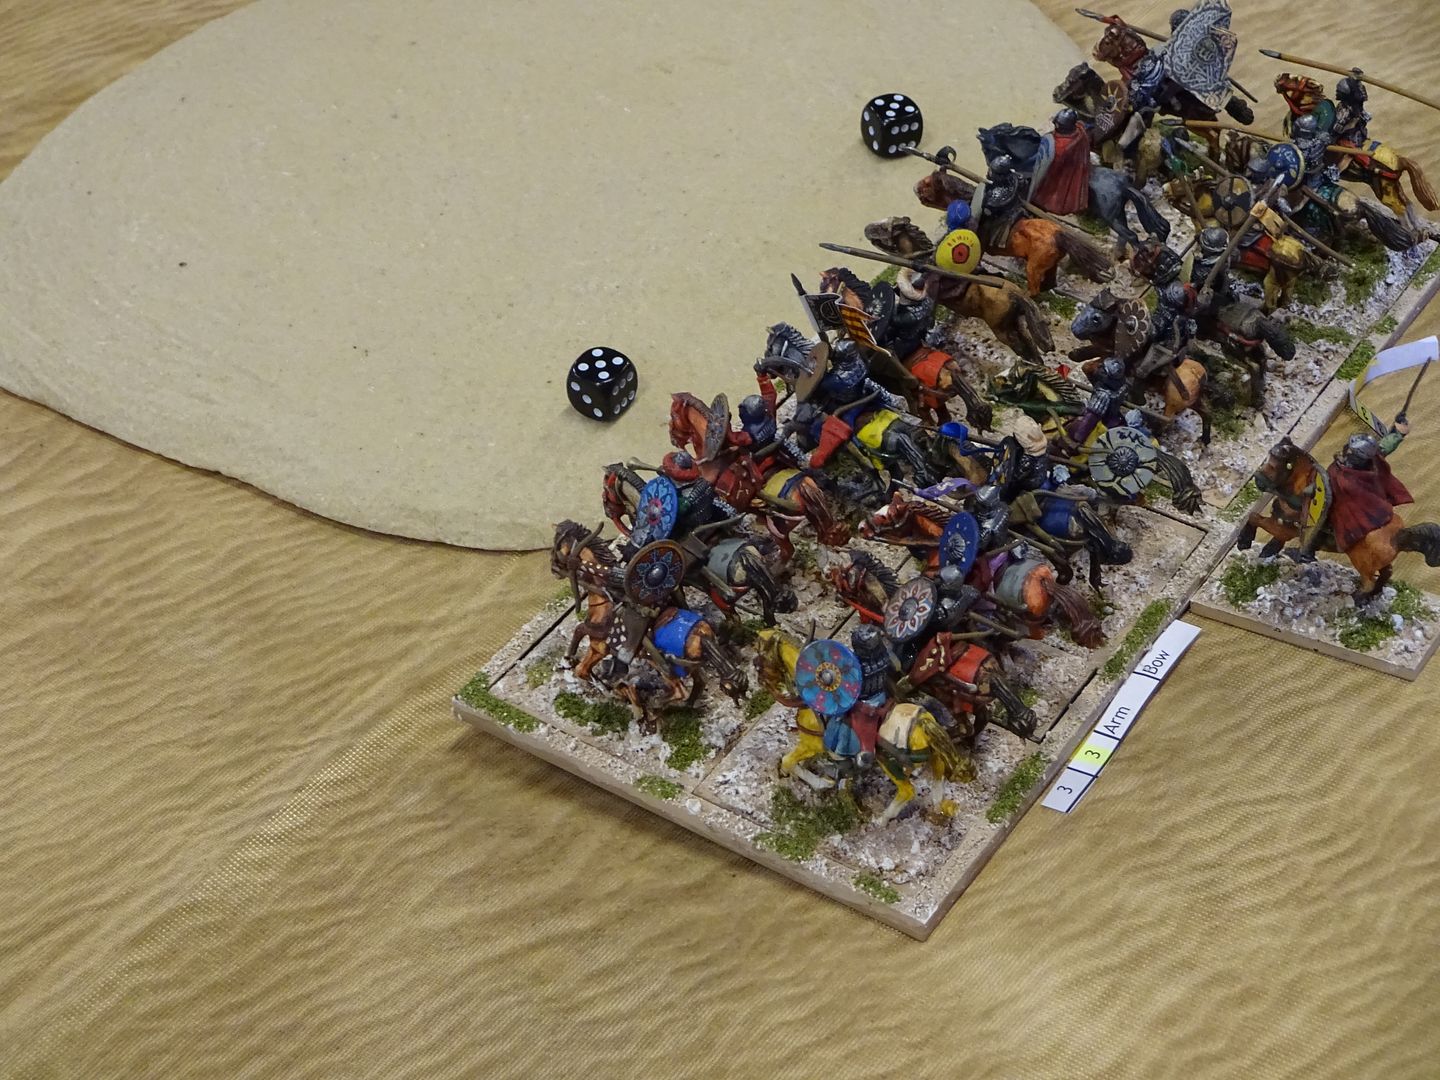
The Stat line is broken down thus, Type, Discipline, Strength, Protection, Missile, Other.
Type – All mounted is Cavalry, except Light Cavalry, Heavy, Medium and Light foot, Elephants and Artillery.
Discipline – The units Morale status from 3 (good Quality) to 6 (levy). This can be adjusted by commanders. The better the Discipline (lower number), the easier to manoeuvre.
Strength – This is your fighting quality (how many dice you roll for shooting, defending from shooting, Melee and most importantly, how many kills the units takes before routing.
Protection – This allows the player to adjust combat dice, dependant on level of protection or lack of it.
Missile – If unit has a shooting capability, this tells you, with what, Javelins, Bow, etc.
Other – This is normally an ability, like Impact (for knights)
At the pre-game set up you both roll for terrain. This done with players choosing and placing terrain pieces determined by dice rolling. Then you “Scout” each others army by secretly taking dice from your army dice pool and adding it to your Light Horse. Whoever loses deploys first!
The game is normally six turns long and each turn is broken down into phases controlled by the dice. Each player has a different colour and each unit has a dice in the bag. Each phase is played by drawing dice from a bag and for a normal game seven dice are drawn, the player that has the most dice drawn this phase, is the aggressor this phase. He then rolls his dice and assigns them to his units he wishes to activate and the number on the dice must equal or beat the unit’s discipline. The lower the discipline the better quality the unit. Once dice are allocated the other player then rolls his dice and allocates them next to his units he wants to activate. A unit cannot be activated unless a dice has been placed with the unit.
EG: Mac takes 7 dice from the bag, 4 red (Mac’s colour) and 3 white. The red dice is the aggressor this phase. Mac rolls his 4 dice, rolling 5,5,2,1 (I know, Mac only rolling one 1!). The 1 cannot be used and is placed in a unused dice pile and goes back into the bag when all the dice are collected at the end of turn. The 2 can be used to move his knights straight forward as the general is attached to the unit, Discipline 3 minus 1 (gen Attached). The 5 he could place with any unit of discipline 3 or above or he could put both 5s with one unit to give that unit a bonus (see below), or a natural 6 will also give a bonus. The opponent then rolls his dice 6,5,4 and places his dice next to his units he wishes to activate. Whoever gets the most dice will be the aggressor for that phase, even if they assign less dice than the opponent. Once all units have done everything and the phase completed, all dice are turned to show 1. These units cannot receive dice in further phases of the turn.
Bonus dice to units:
1 Distance Unit (known as DU)
1 Shooting DU extra (Distance)
1 Extra dice in shooting or melee
These bonuses are a nice touch as you can stay out of normal charge or shooting range until the opponent puts one or more bonus dice with a unit.
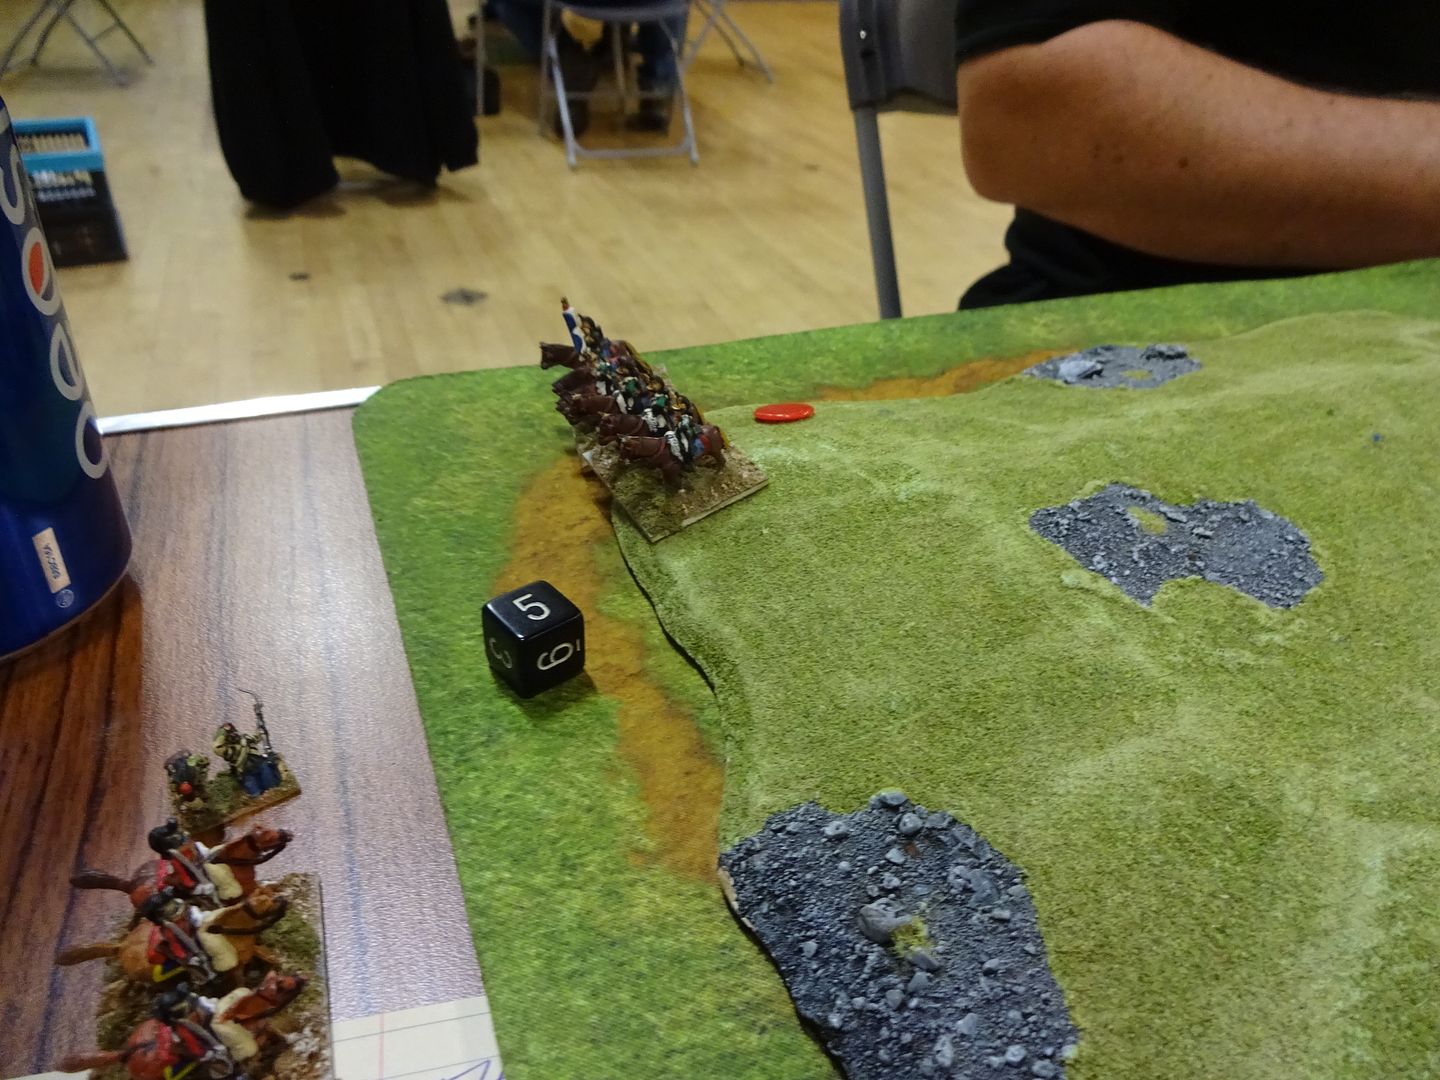
Once all dice are assigned for this phase, the lowest assigned dice goes first. From the example, Mac would move his knights (2) up. If dice for both armies are the same, (5 in this example), the side who are the aggressor this phase goes first. To charge or manoeuvre (anything other than straight ahead) or move & Shoot you would need 1 more than your Discipline. All distances are measured in DU (distance units) which is half the unit’s frontage. With this type of DU, you can play the rules in any scale. Each unit does all its requirements before moving on to the next unit. ie: move, move and shoot, charge and melee.
Shooting and melee use the same dice mechanics. Shooting is done by measuring the DU between the shooter and target and is straight ahead. Take shooters strength (normally 3 or 2), this is the amount of dice you roll against the opponent’s strength. Any adjustments are made (if the target is armoured, it can adjust one of the shooters dice by one spot). The dice are now paired off, any of the shooter’s dice which double the target’s dice cause a kill and any that are higher but not double, cause a discipline test, which needs to be equal or above targets Discipline stat.
EG: My Archers, Strength 3, move and shoot at Mac’s heavy foot, so lose one dice for moving. I roll two dice 6,4 and Mac rolls four dice (strength of heavy foot is 4), 5,1,1,1. Paired off the 6 can be adjusted down to 5, as Mac’s Heavy Foot is armoured. Even if Mac adjusted my 4 to a 3 it would still double his 1 so Mac will take one kill.
When a unit charges into contact with enemy, it contacts, then slides, so that the centre figure is touching a corner (this is done to stop the corner to corner contacts and only allows two units to contact a unit’s frontage), or as near as possible.
Melee uses various dice:
1 – Unit Strength in dice (strength 3 uses 3 dice)
2 – Impetus. This means it has a dice assigned to it this phase. (most units receive an extra dice, Fresh Cavalry, Elephants and fresh Large units of foot get 2)
3 – An extra dice for each of the following, extra friends in contact with enemy, in the flank of the enemy, doubles, a D6, etc.
You could roll anything from two dice up to eight or nine, dependant on the above factors. Both players work out how many dice they need, both roll, and the highest four dice from each player become the combat dice. Pair these off against your opponent’s and then both adjust your opponent’s dice by 1 if you are armoured or 2 if heavy armoured (these dice can only be used to negate the opponent’s combat dice, ie: draw combat). You can though, add 1 to one of your dice if opponent is unarmoured, to win a combat.
EG: Mac’s heavy armoured foot charge my unarmoured archers, both have dice assigned to them, Mac’s Heavy foot have a two 5s and my archers have a 6. The Heavy Foot are Strength 4 (4 dice) plus 1 dice as they have impetus (which means a dice is assigned to them) and 1 more dice as they have a double, totalling six combat dice. The archers are Strength 3 (3 dice) plus 1 dice as they have impetus (which means a dice is assigned to them) and 1 more dice as they have a six, totalling five combat dice. These dice are rolled by each player and top four are paired off. Heavy Foot highest four dice are, 6, 5, 5, 4 and the Archers highest four dice are 6, 6, 3, 3. The first two 6s are negated, the archers second 6 is reduced to a 5 by the Heavy Foot being armoured, so negates those. The archers are unarmoured (LP-Lacking Protection) so, the Heavy Foot can ADD 1 to one of his dice, so the Heavy Foot’s third dice is a 5 and by making this a 6 doubles the archers 3 and creates a kill. The Heavy Foot’s last dice is higher than the Archers last dice, so the archers must take a discipline test their discipline is 4, they roll a 3, which is a fail and they take another kill. The Archers receive two kills in this round of combat.
When units get whittled down and receive kills to the value of their Strength, they rout and are removed from play. All units within 1 DU either side and their movement DU to the rear take a discipline test, receiving kills on failure. Commanders also have a chance of dying in combat, when all the opponents dice beat all the unit’s dice that he is attached to on a roll of a 6 (5 or 6 if cavalry). If this happens, all units test within the commanders command radius (4 DU for Captains and 8 DU for a General).
All the assigned dice are now turned to show 1. This is done to show the unit has been activated in a previous phase. Then commanders are moved if required.
There are two ways to lose your “kills”. The first and most common way is with a commander attached to a unit and in the “clean up” end phase of the turn. Take the units strength add kills and then subtract the commanders influence (-1), take a discipline test if the dice is equal or greater than the total, remove a kill. EG: The archers have two kills and a commander is moved to that unit. Discipline of unit is 4 plus 2 kills, totals six and the commanders influence reduces total required by -1 to a 5. A roll of 5 plus is required to remove one kill.
The other way is to assign a dice equal or greater than the unit’s strength and kills and do nothing for the whole phase and then the unit loses one kill. A 6 will always lose a kill if kills and strength are greater than 6.
When the army reaches a demoralization point, normally a third of army points, then each unit takes a discipline test, taking a kill on failure. The army will break when it reaches half its army points.
After a few plays I found the play sheet was not required. Most who play the rules have their reservations about them, but once played are normally hooked by them. The fantasy version is the same with magic (Shooting) and monsters added to the base set of rules.
