Search This Blog

Wednesday 27 May 2020

Into Byzantium. 28mm Sword & Spear rules

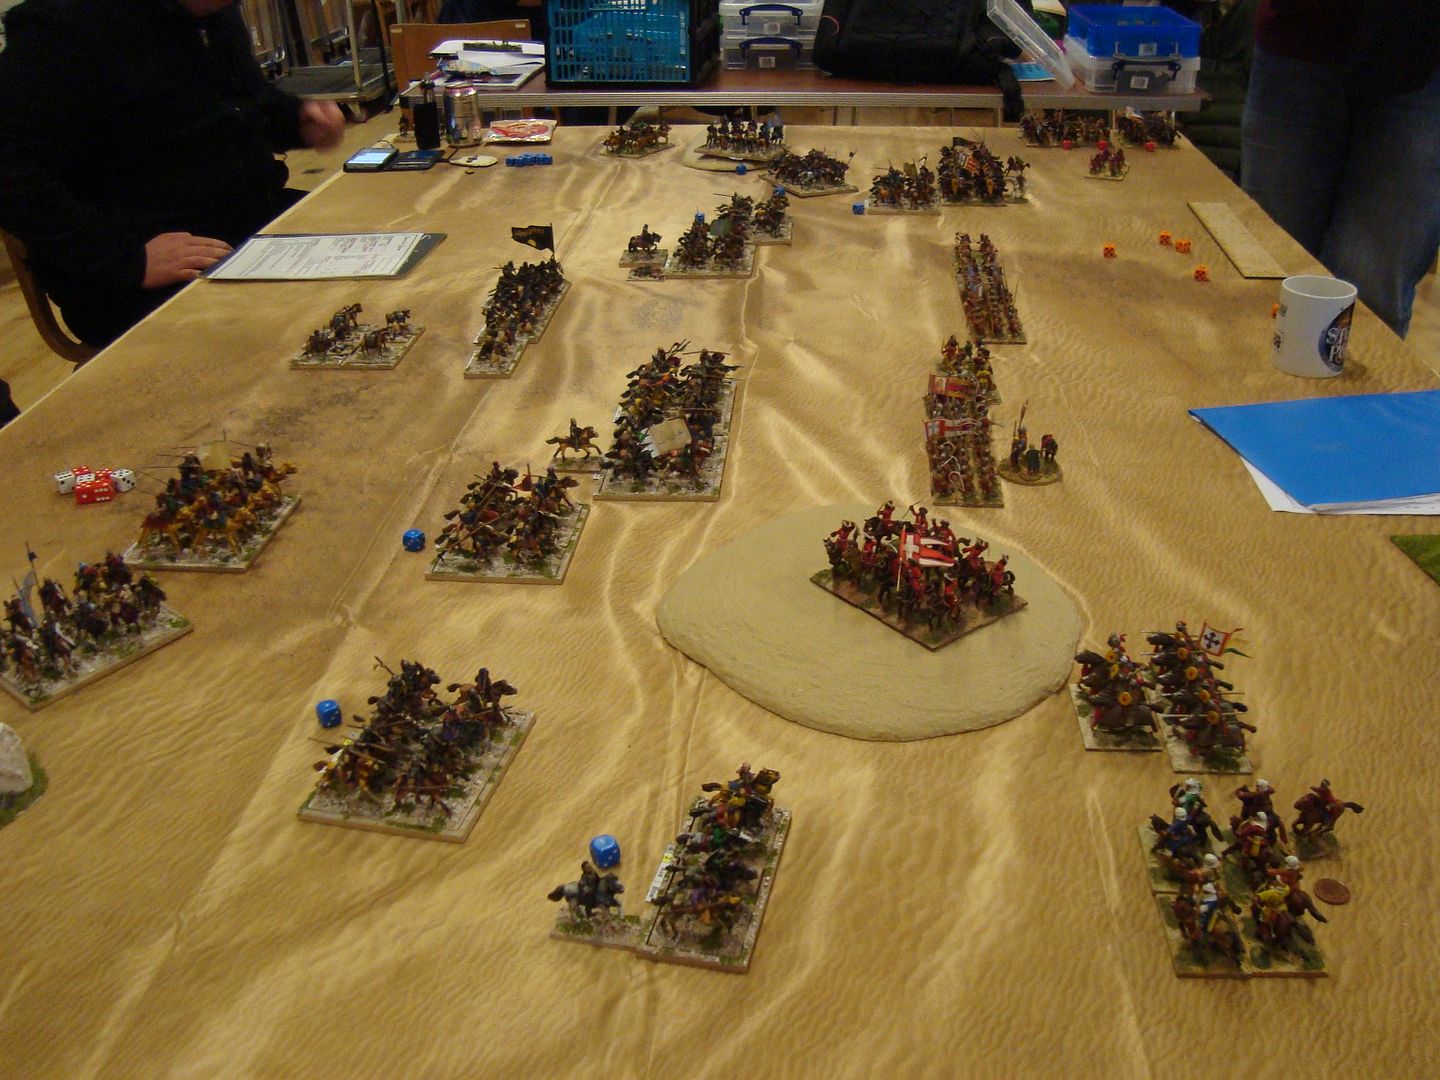
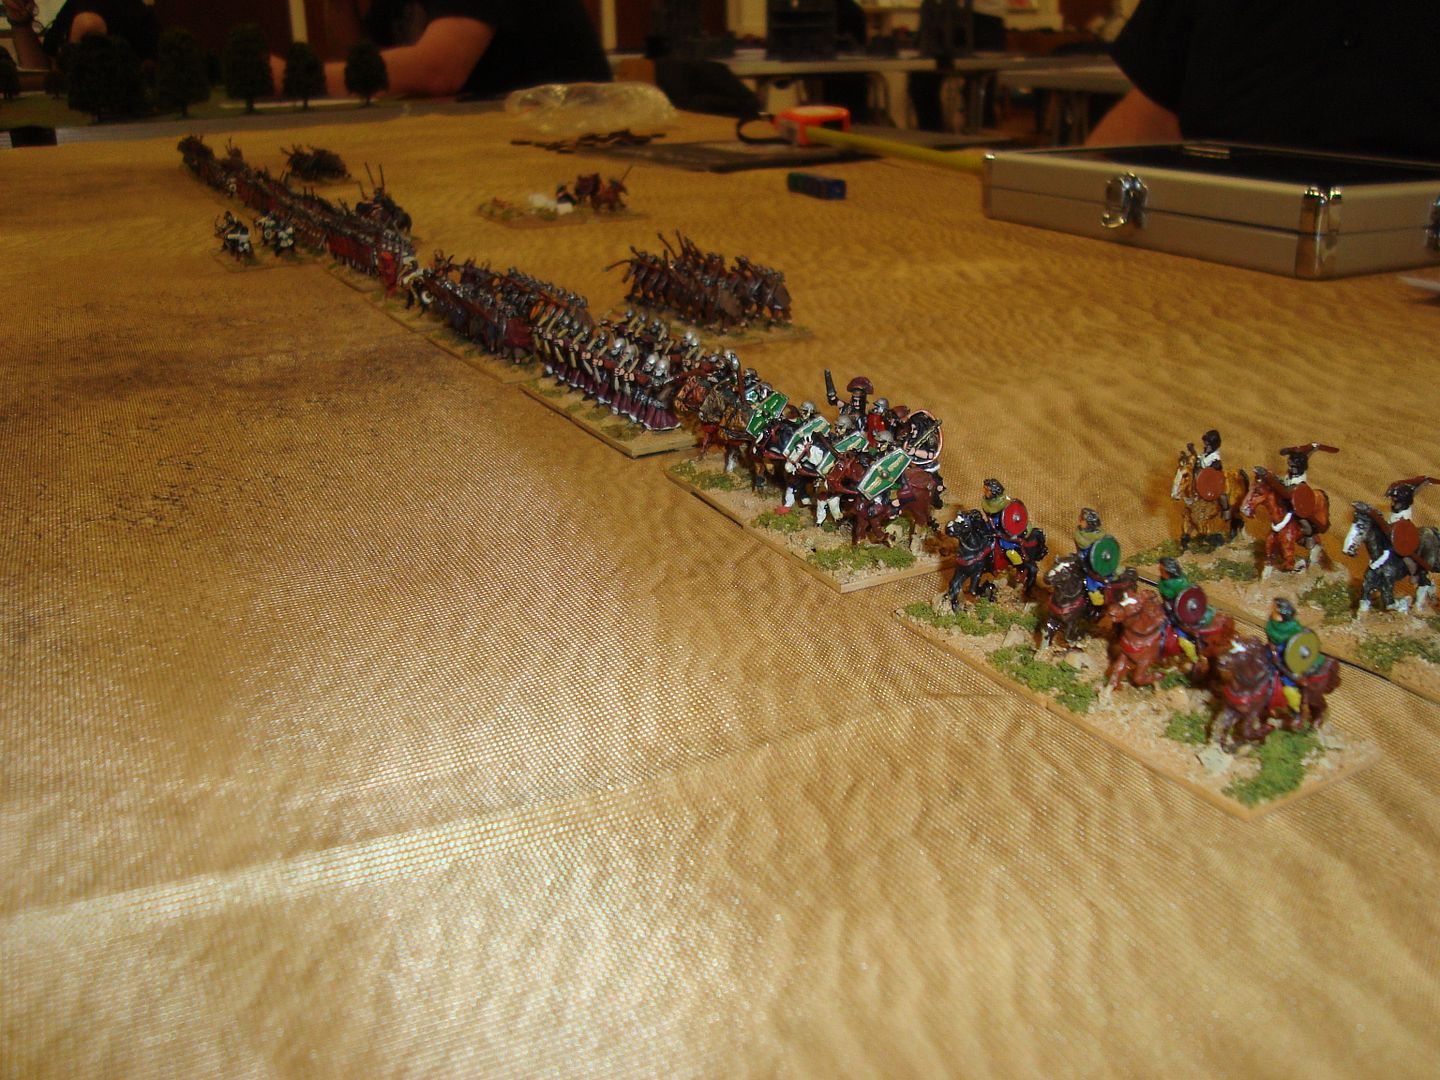
It is 1279 and the The great Byzantine dynasty has been on a steady decline since the fall of Jerusalem, nearly 100 years before to Salah ad-Din or as Western Europe new him, Saladin. The Seljuk Turks had been raiding Outremer for hundred of years and have now unified to take on the great Christian dynasty, still a major player in the area.

At this period, Byzantium relied on a lot of Mercenary allies, which at best would fight and at worst would not turn up when required to muster and defend the empire.

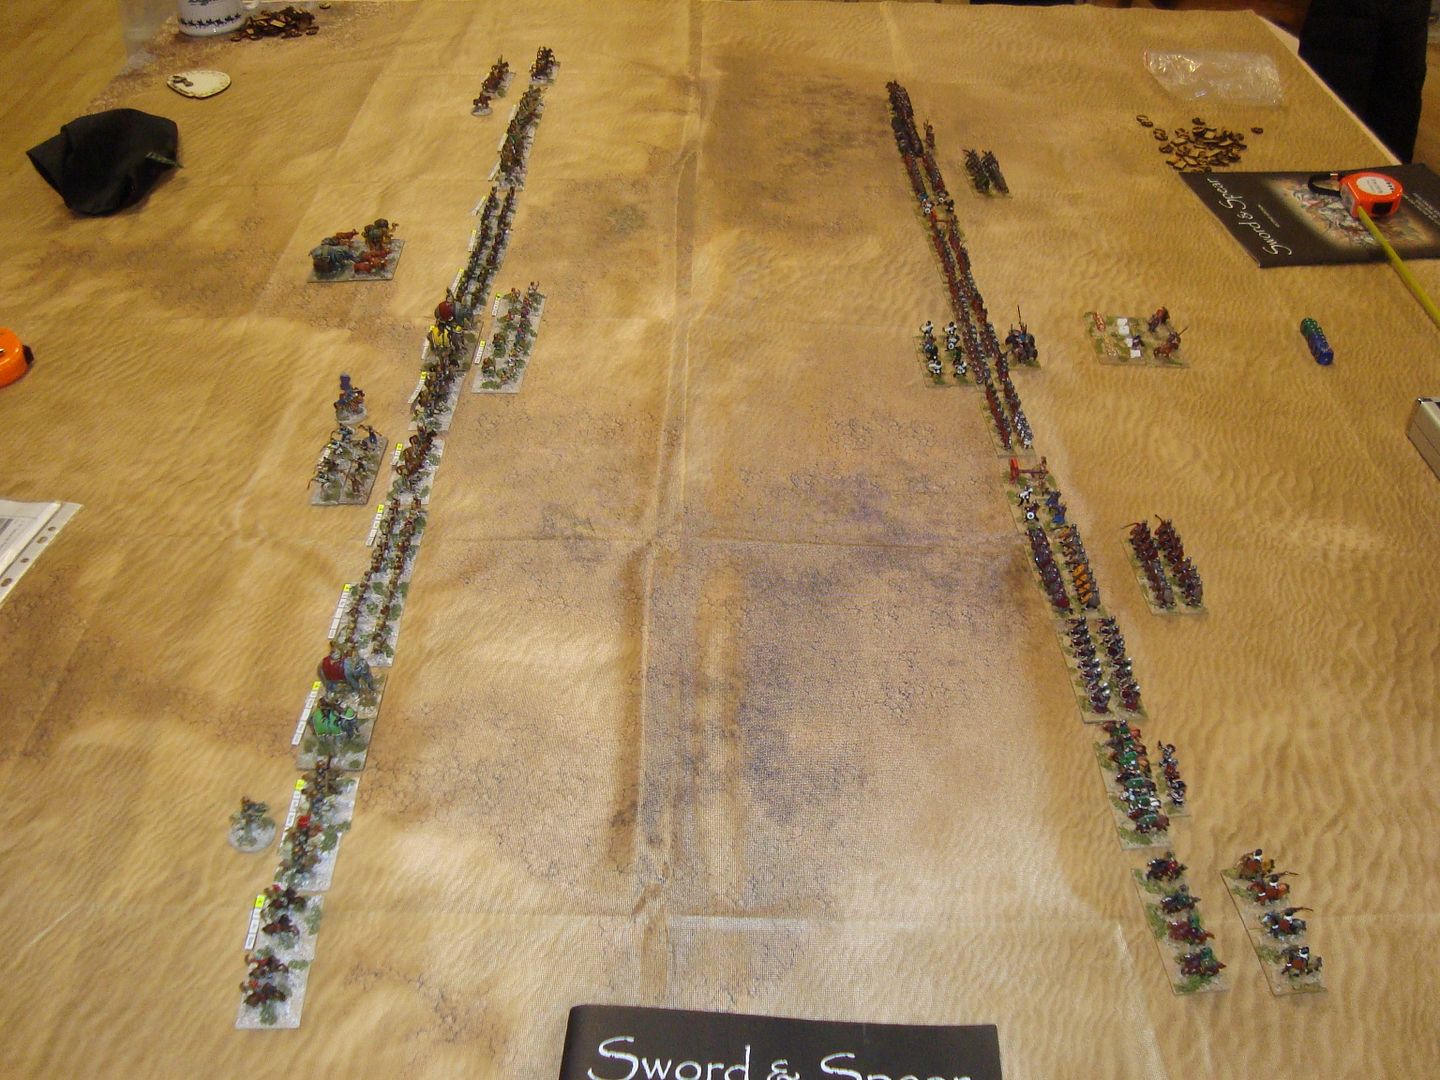
We play our bigger game on longer tables, this one was 8 1/2 foot x 5 foot. The Seljuk Turks are various manufacturers, as are Alan's army.

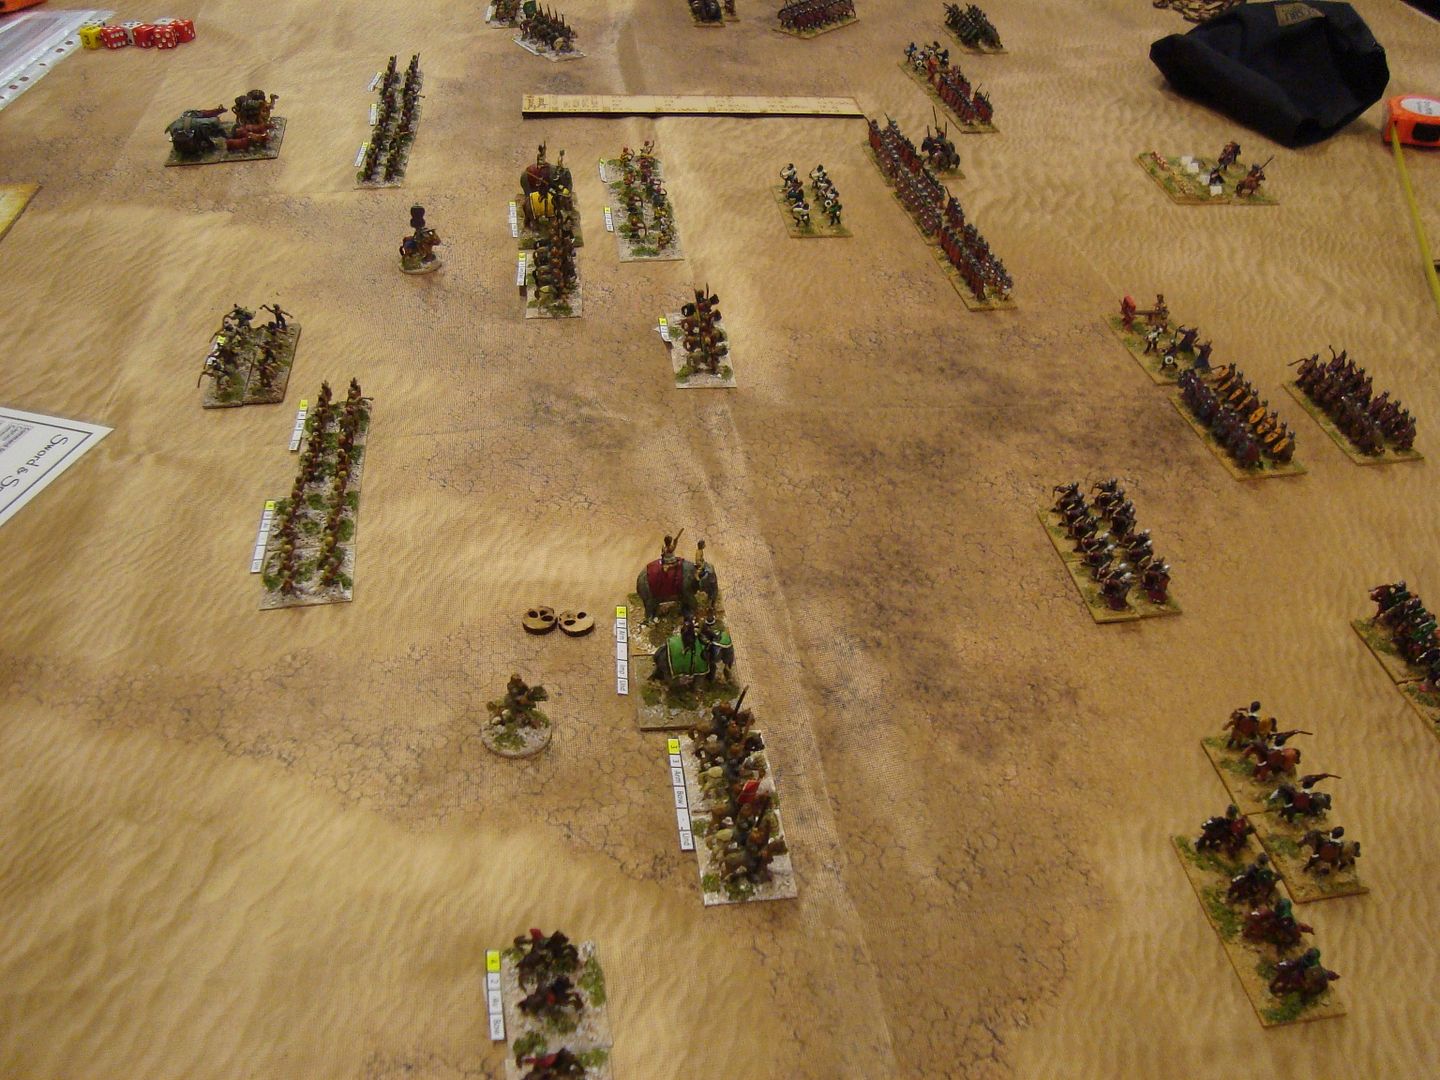
The Turkish spawling army head for Constantinople after over coming the outlying Christian garrisons and patrols. The Turkish army is 596 points in Sword and Spear rules.
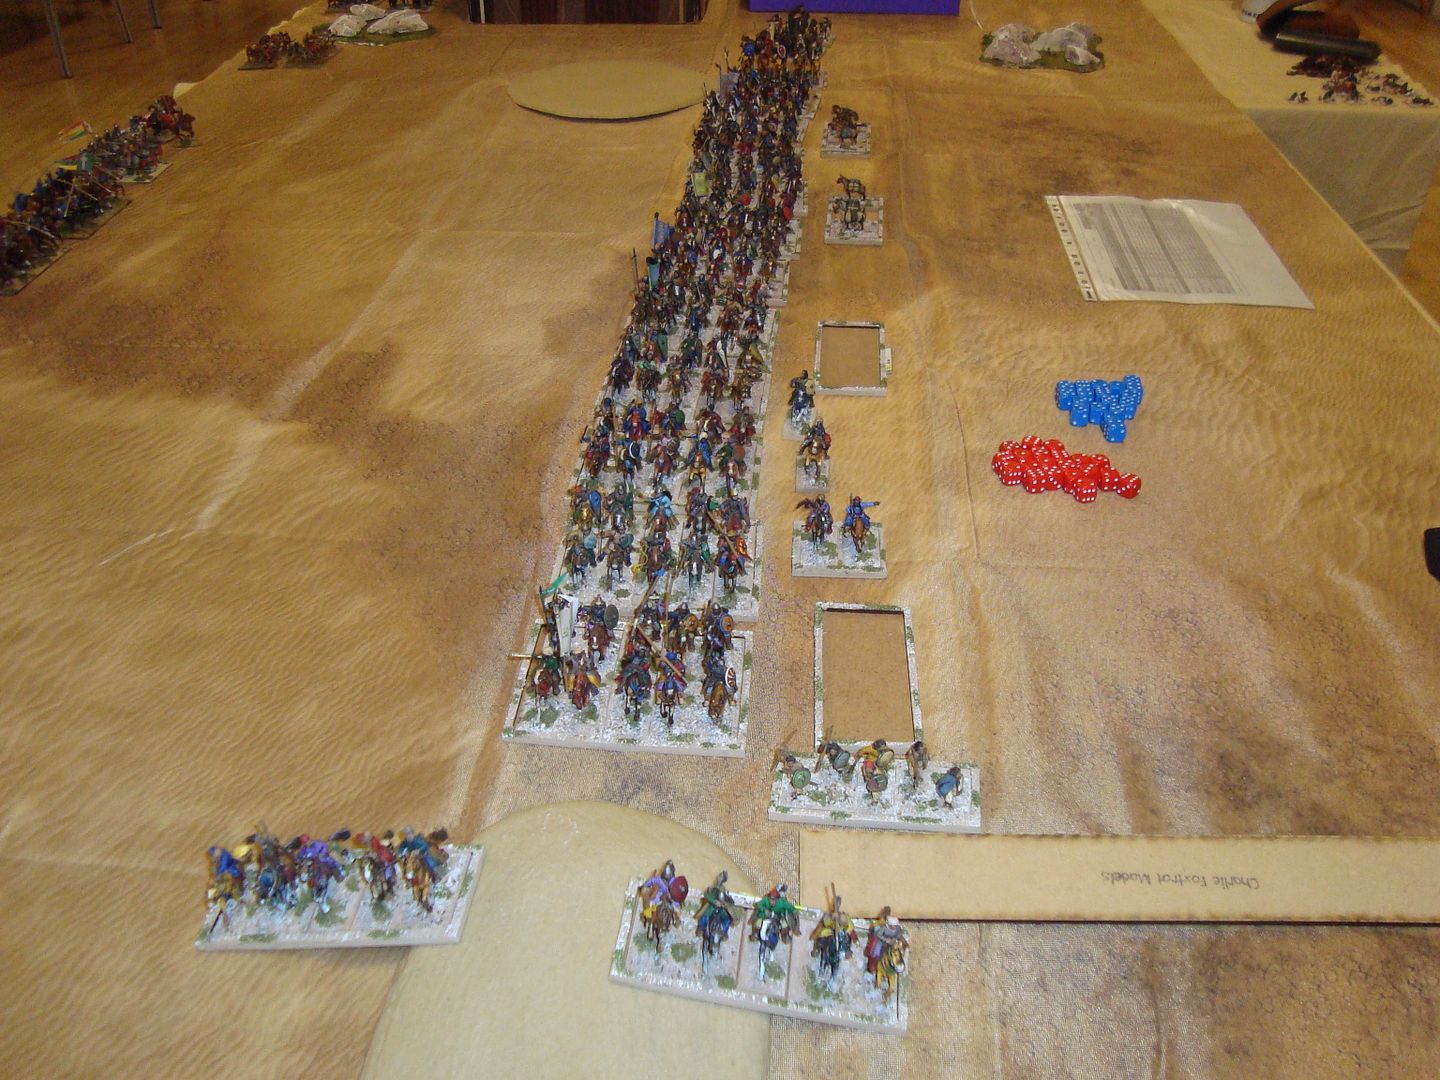
 photo DSC06744_zpspzlczzkh.jpg

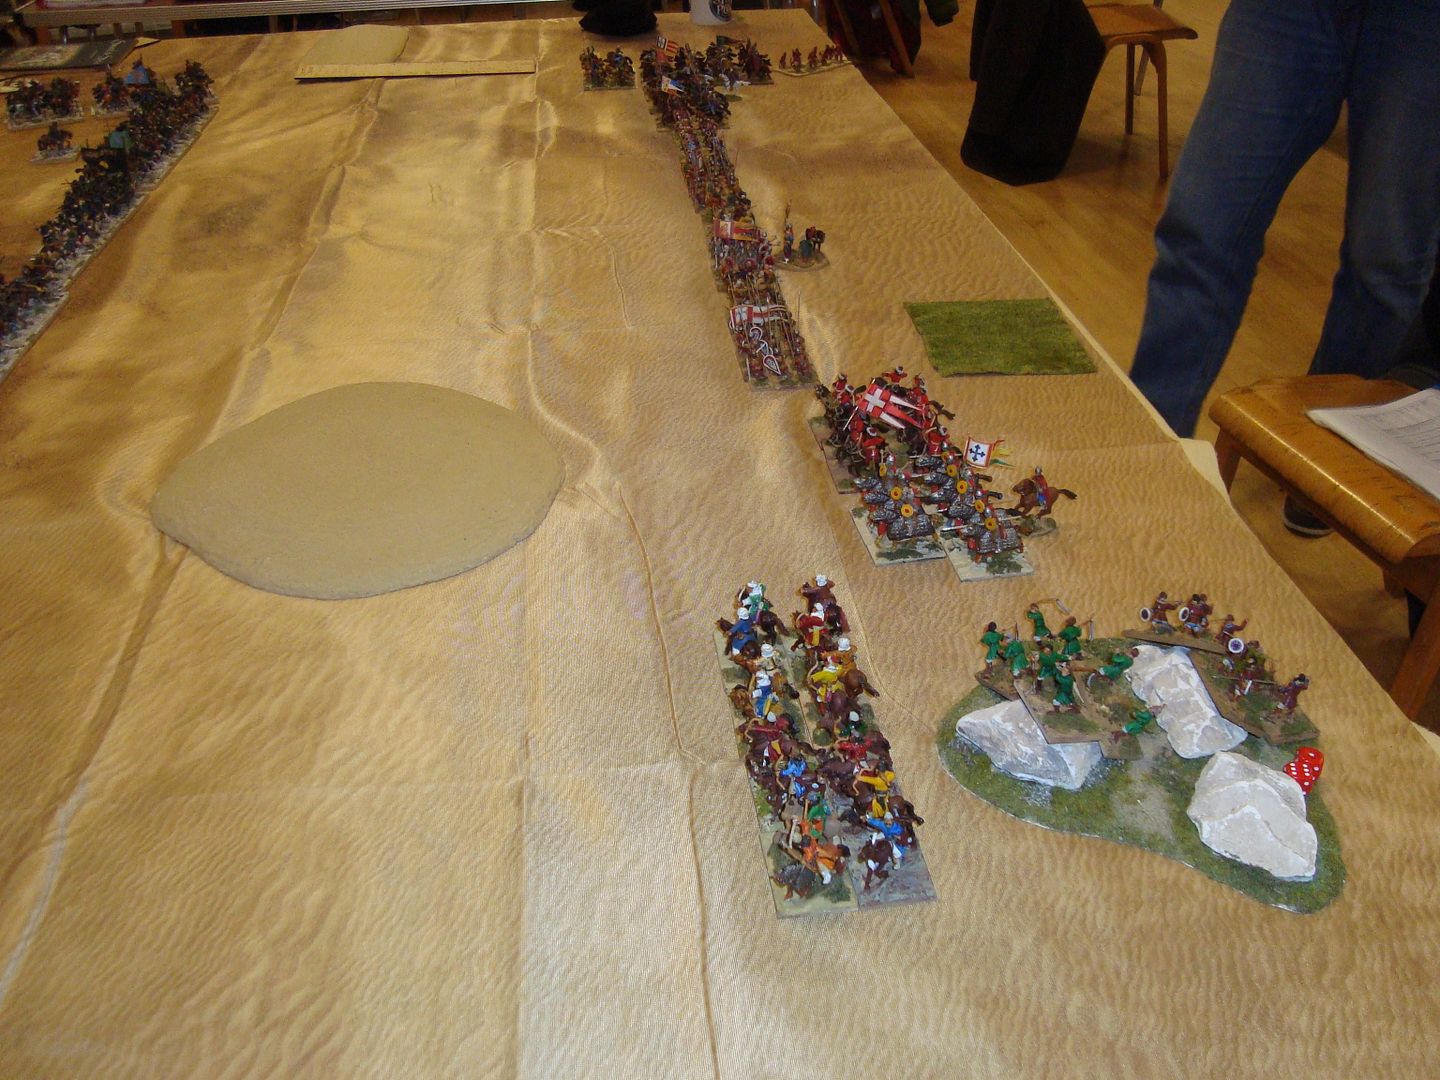
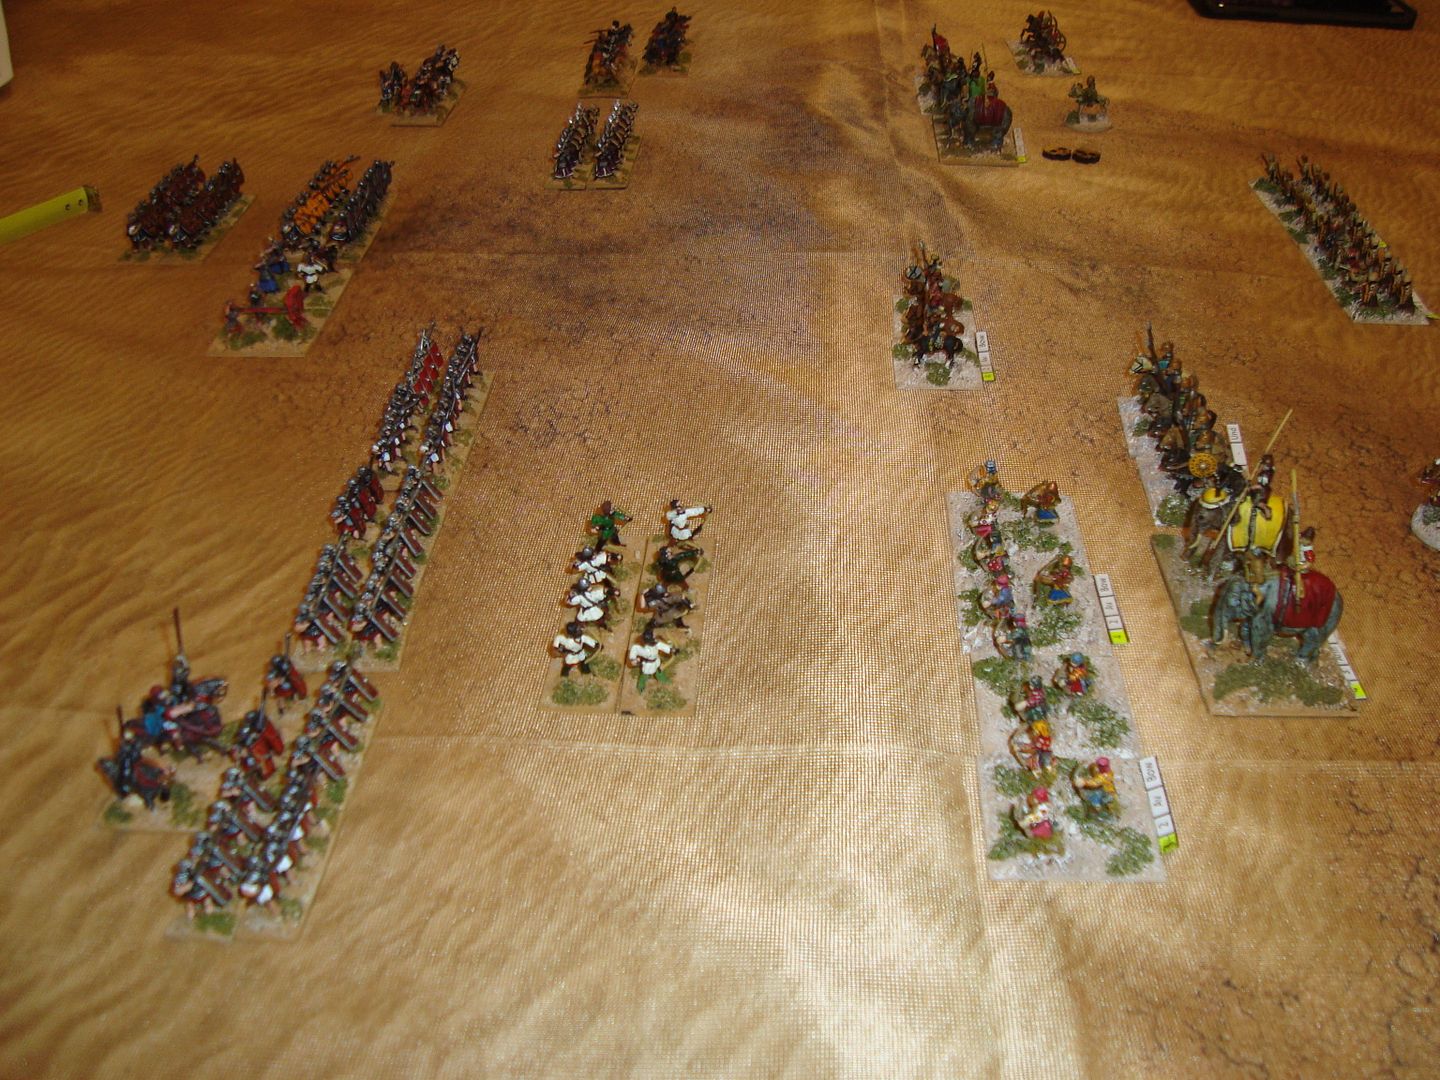
Hearing of this substantial force heading his way the Emperor musters his army to meet the foe on a plain just North of Aleppo. With 594 points and many mercenary units in his force.
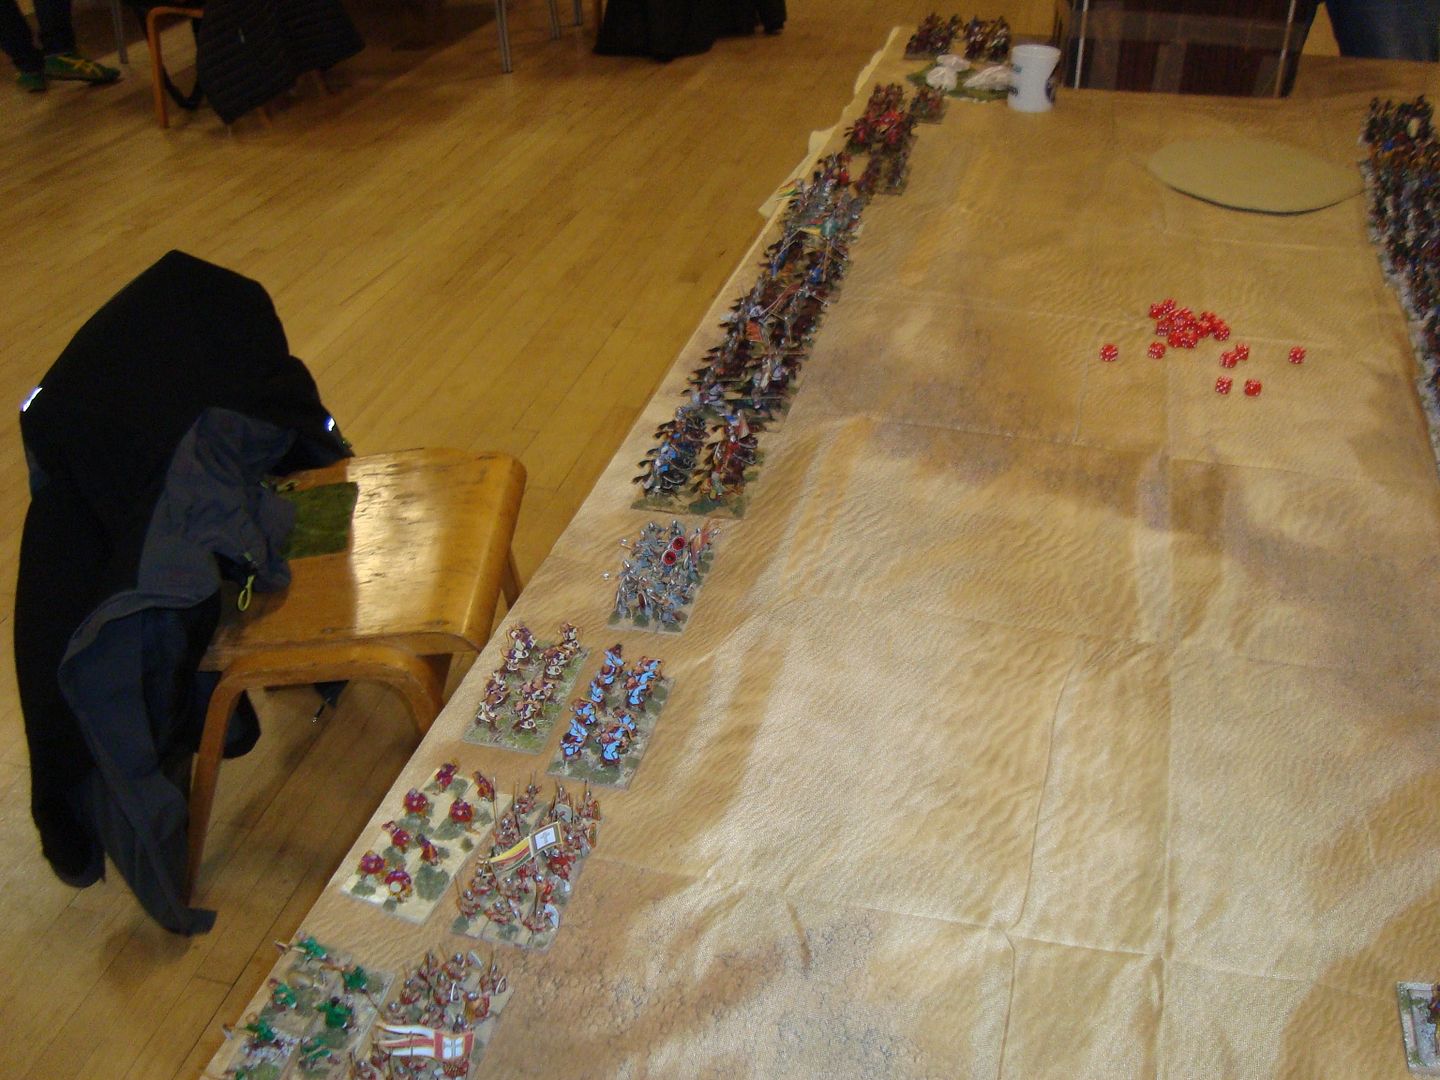
 photo DSC06746_zpsxem87tub.jpg

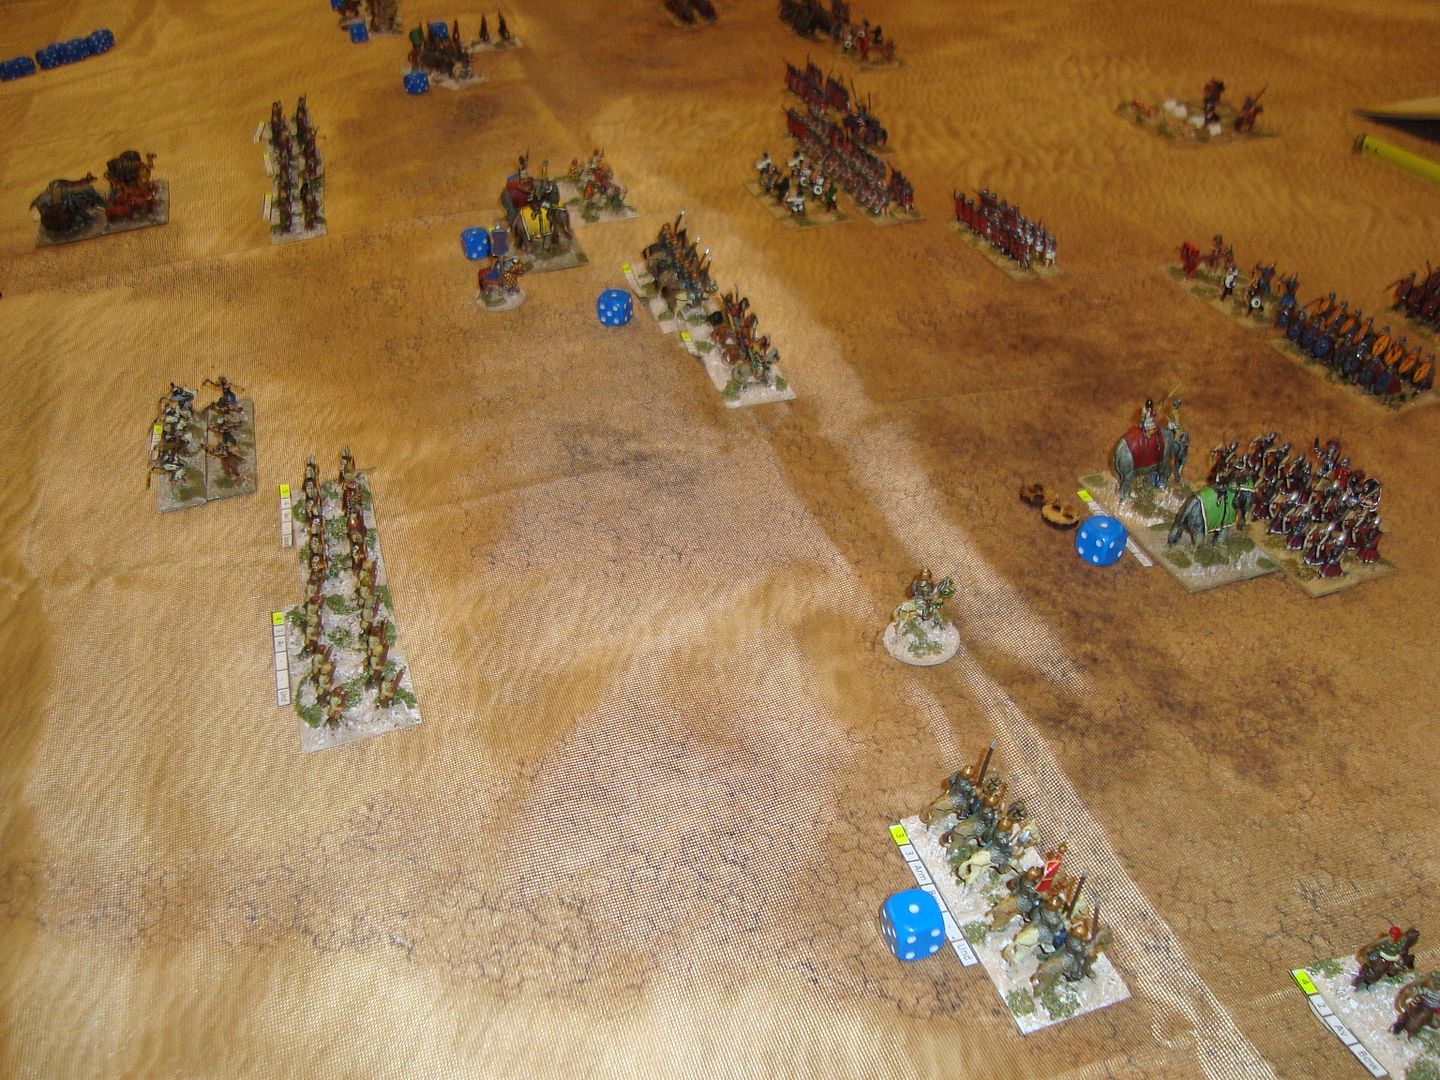
With the Emperor's many scouts and he was fighting on a battlefield of his choosing, he watched as the Seljuks deployed for battle and the deployed to counter.
Seljuks Deploy
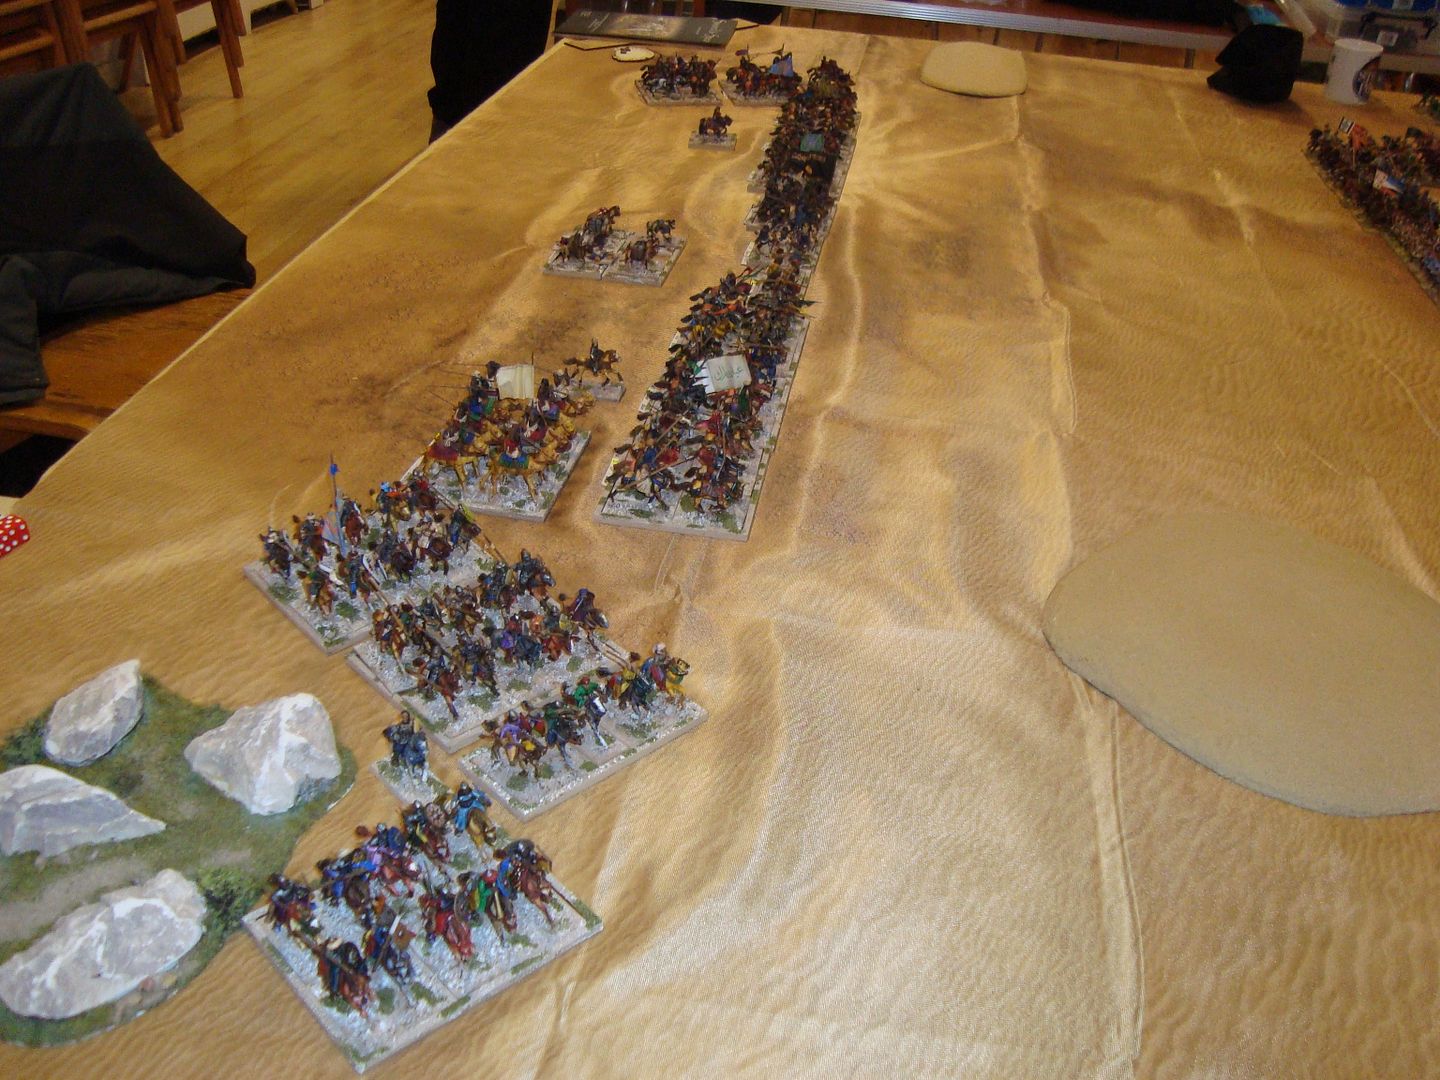
 photo DSC06748_zpsfgwmnn01.jpg

Byzantines deploy
 photo DSC06750_zpsalilzypd.jpg

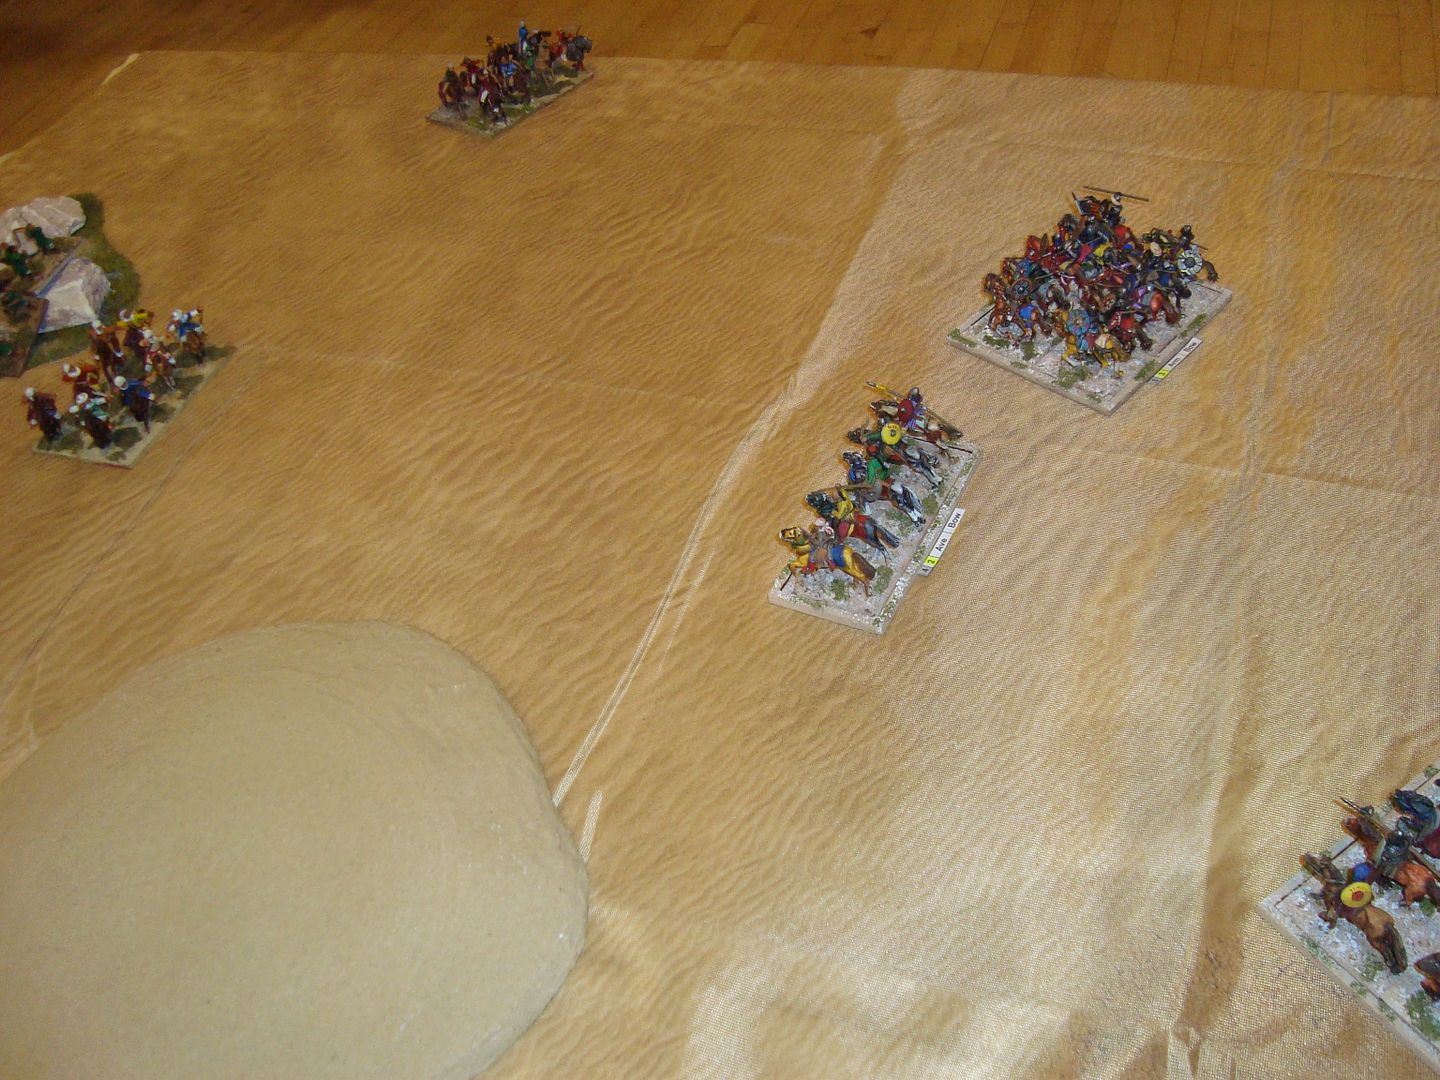
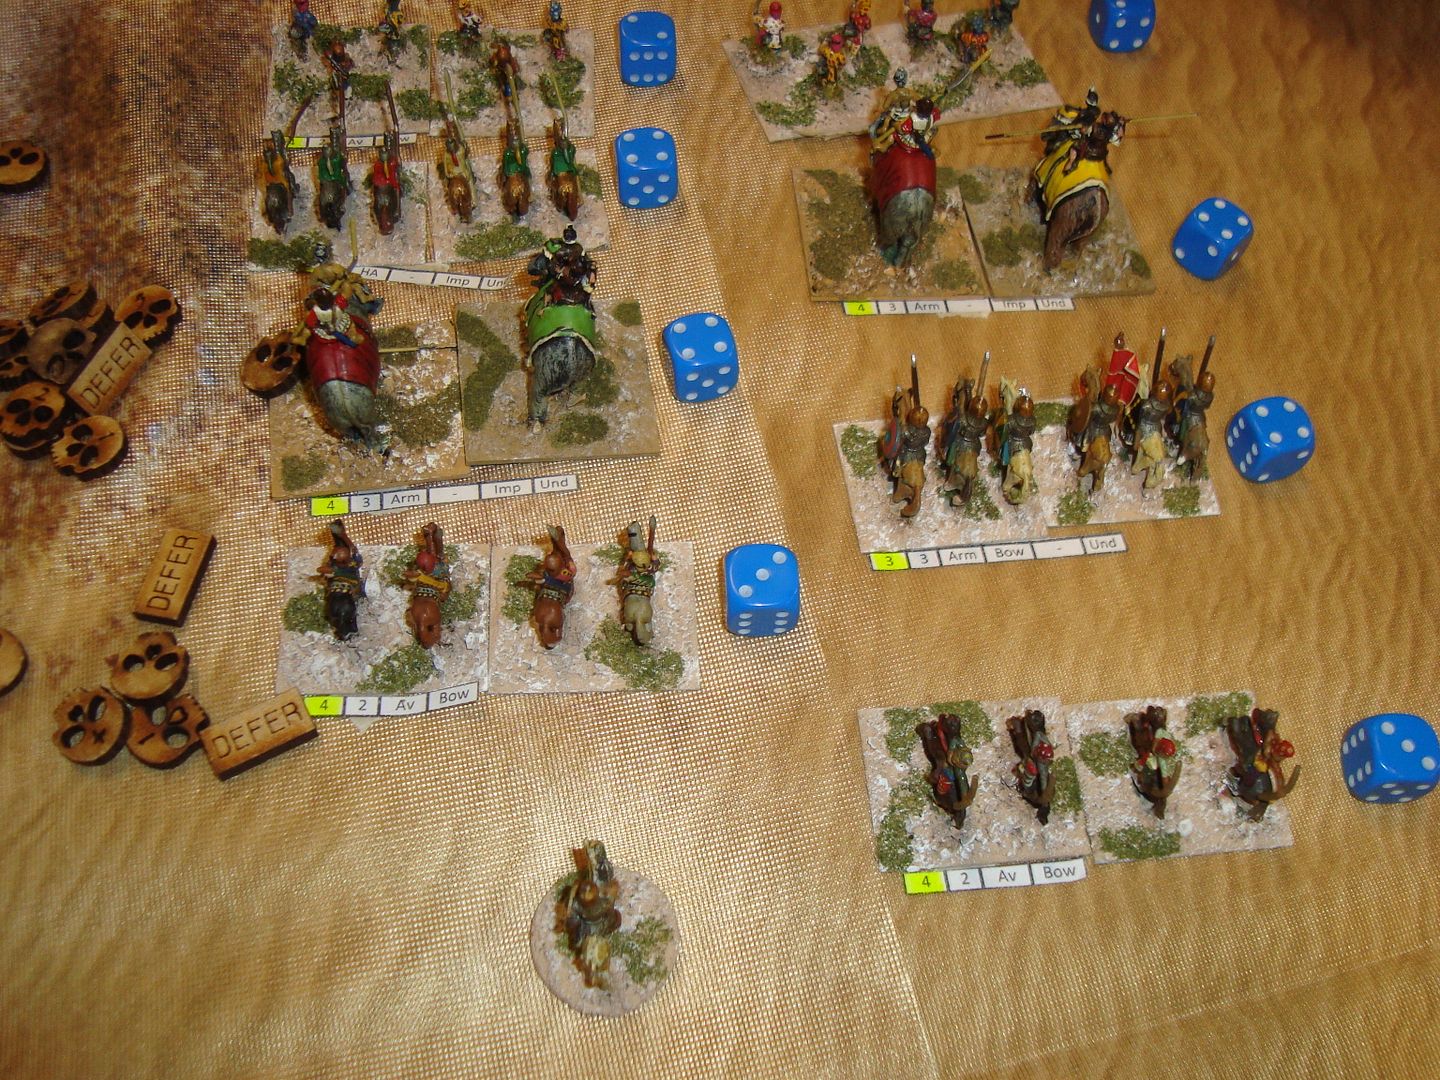
Turn 1-The Seljuks made the opening move and deployed out to the flanks. The Byzantines send out their light horse to counter and deadly shooting (Turks bad dice) from their Light Horse, scatters one unit of LH on the Seljuks left. First blood to the Christian army.
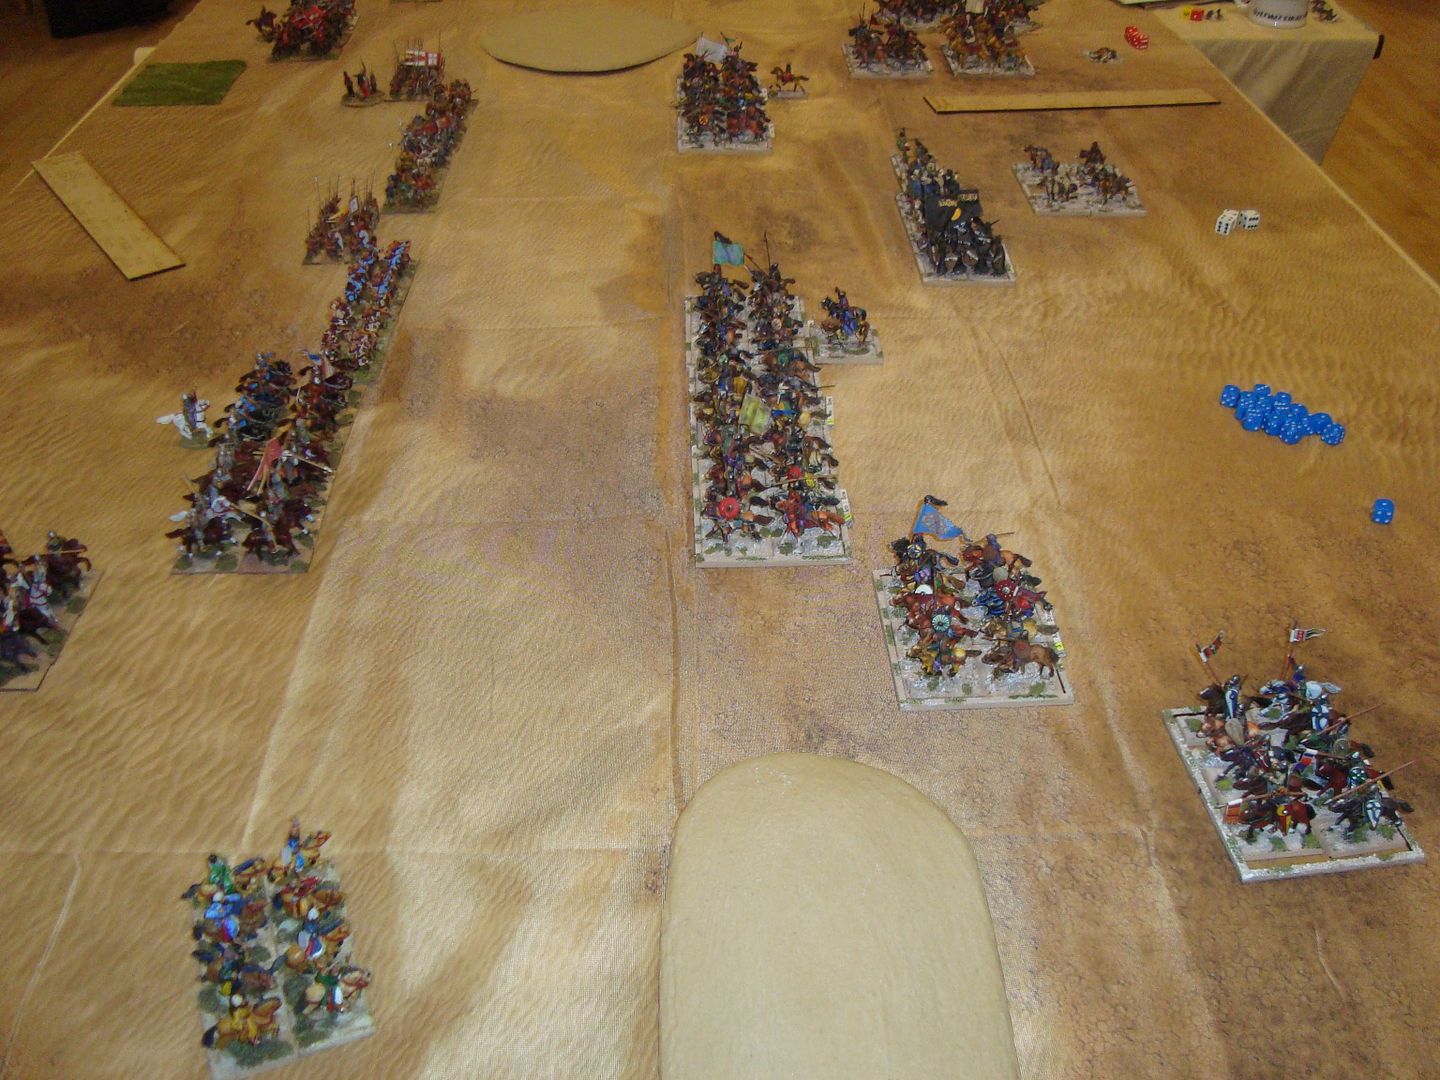
 photo DSC06754_zpstwihekky.jpg

 photo DSC06755_zpsuzgvjerw.jpg

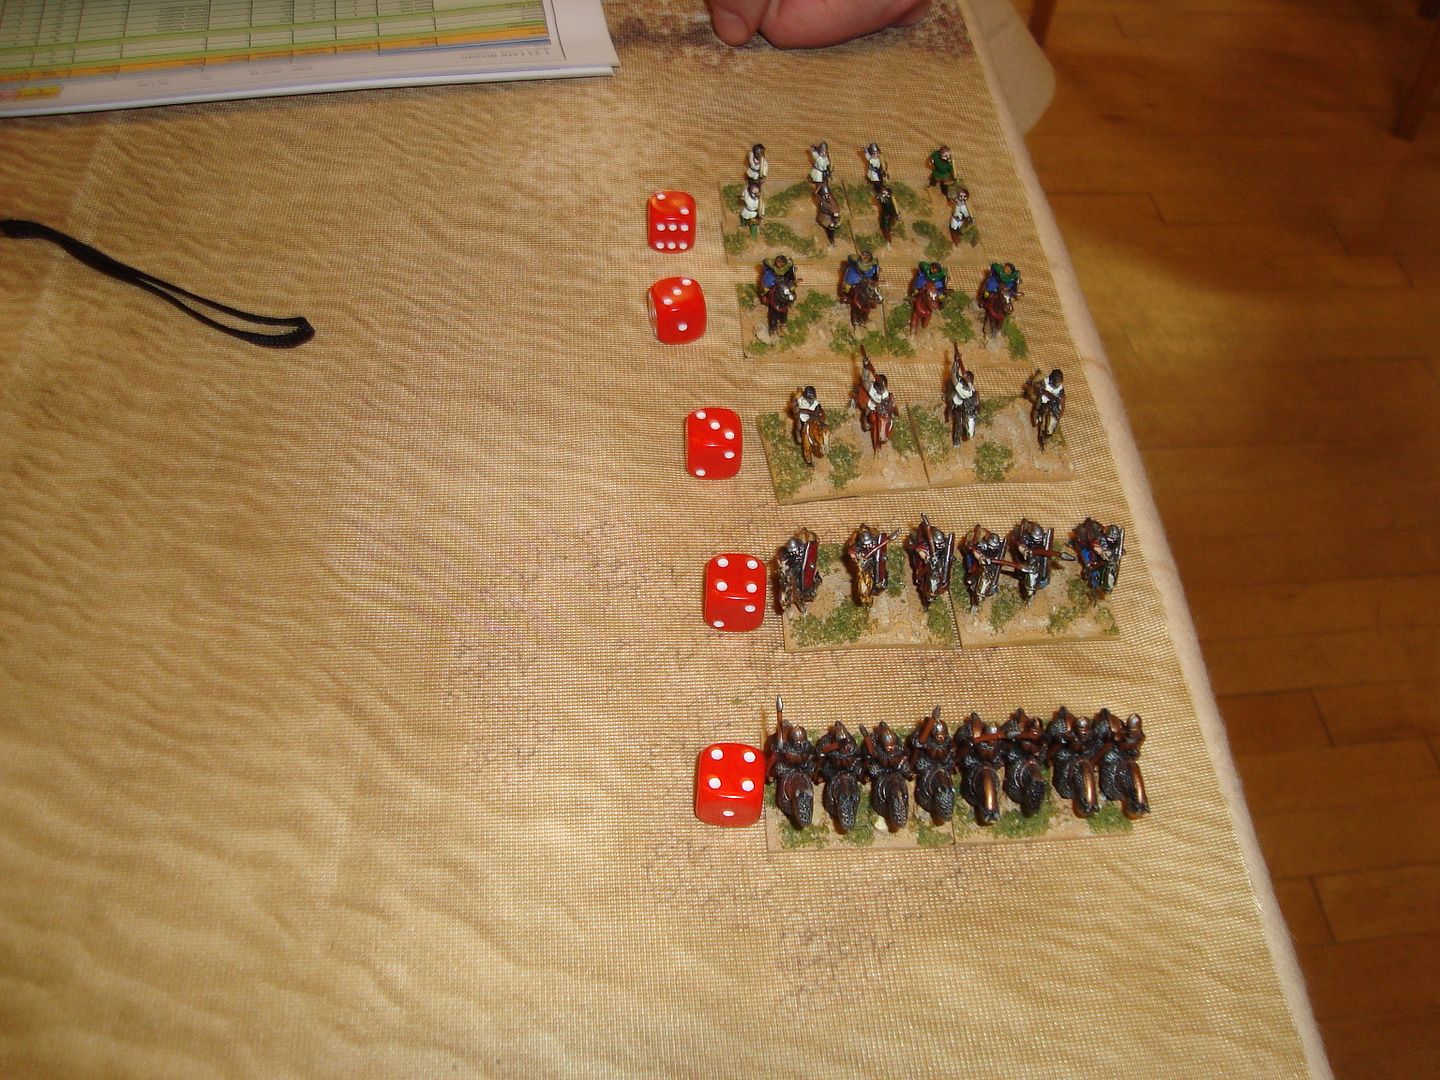
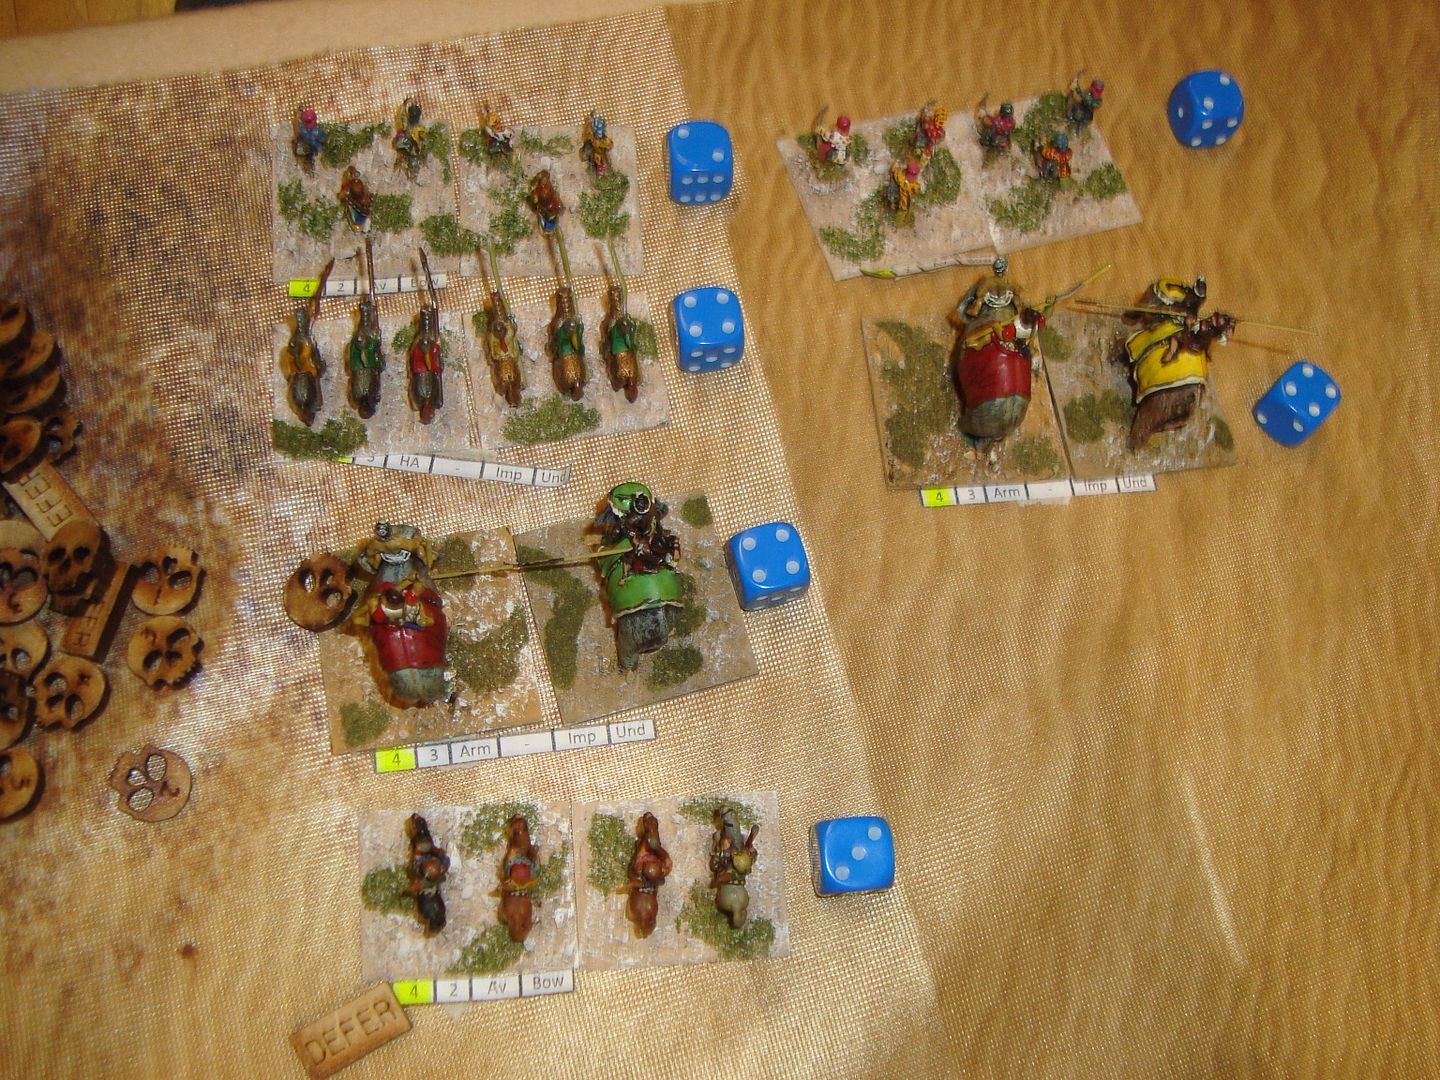
Casualties Turn 1
 photo DSC06753_zpsxoxuklg4.jpg

Turn 2-The Seljuks move up in the center and take out a unit of archers with some accurate shooting and a gap appears the the Christian Center. Along the line the Seljuks are getting ready to coordinate their next move
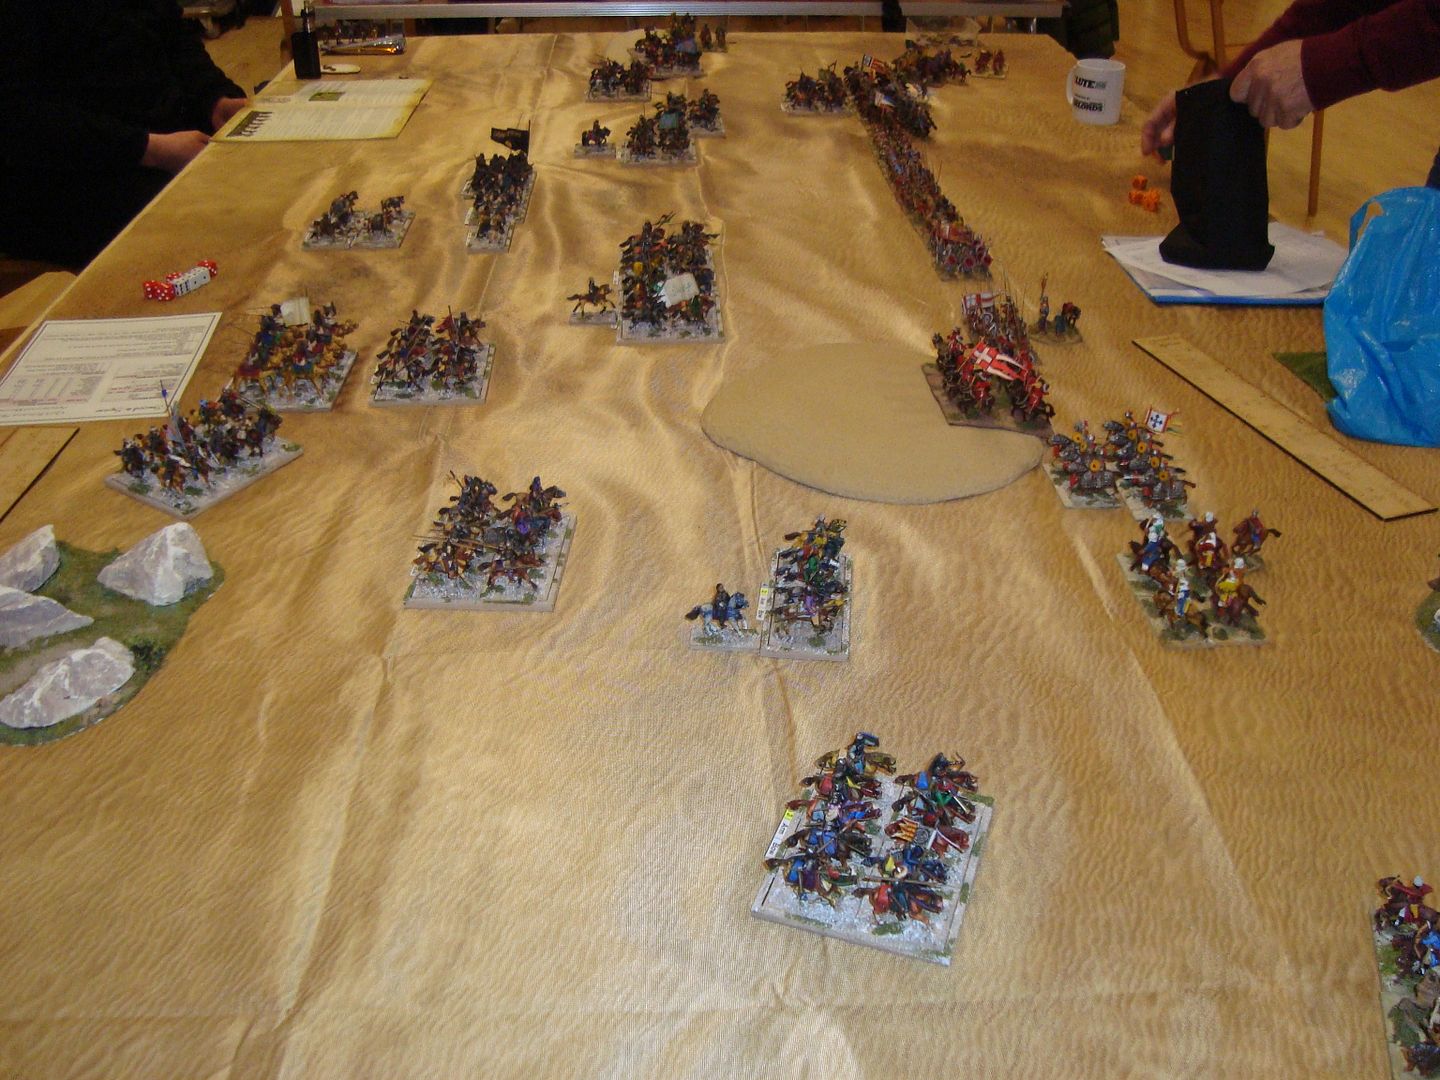
 photo DSC06758_zpsrdotdea7.jpg

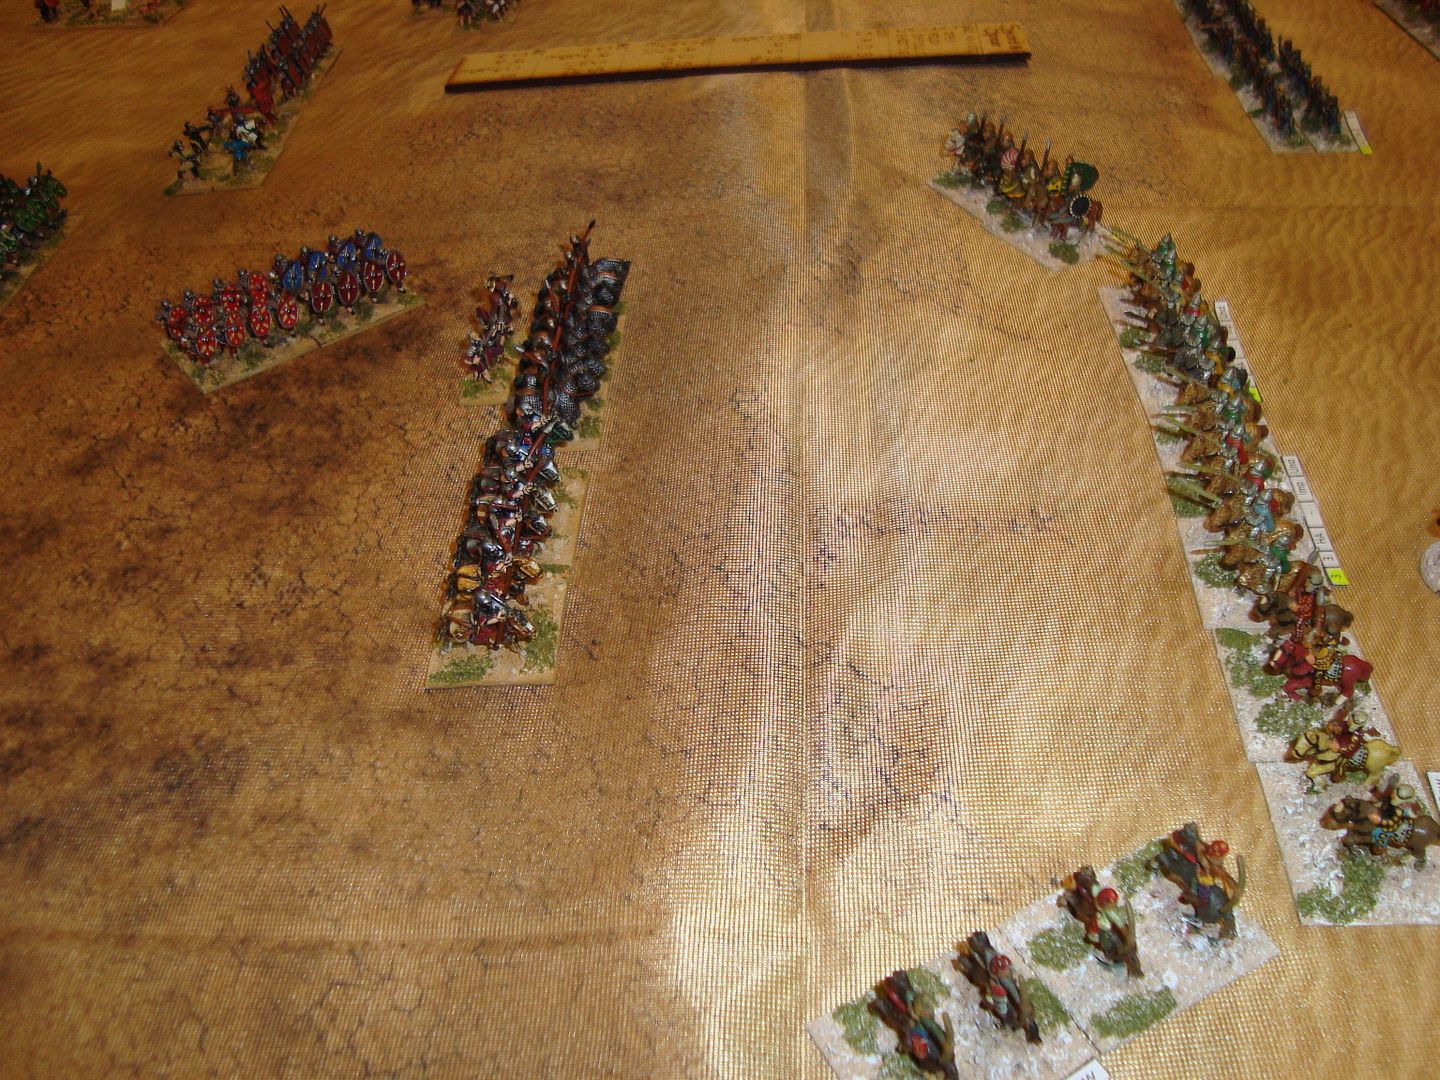
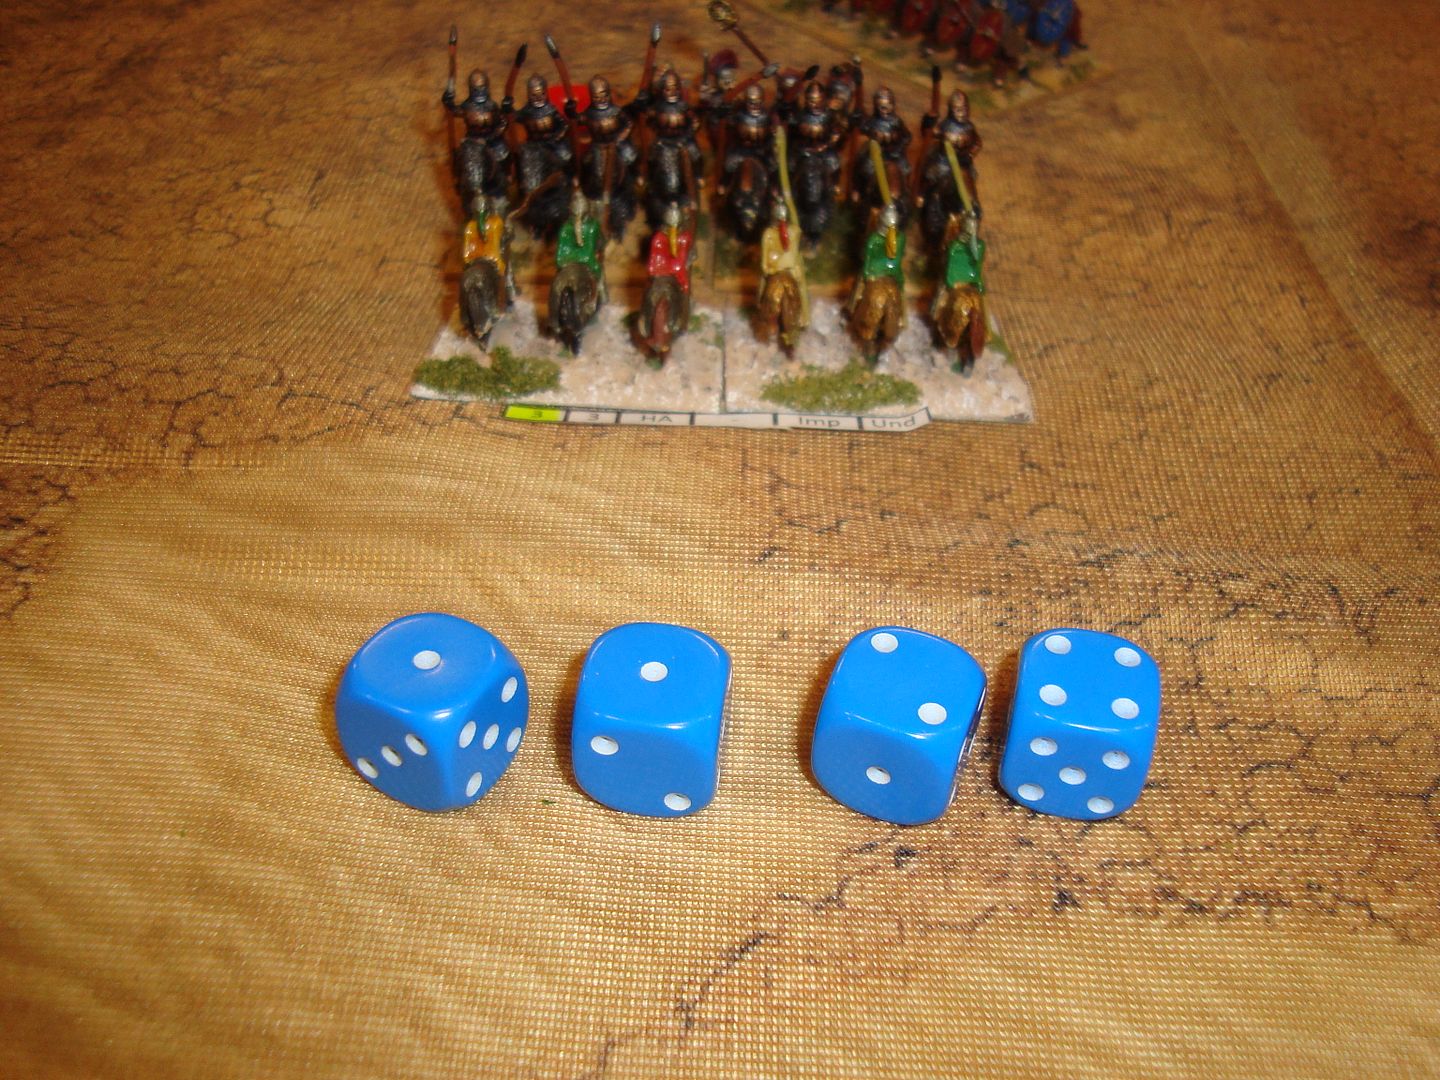
As the Christian knights move up their formations, a unit of Seljuk armoured cavalry could not contain their enthusiasm and charged into was was the best unit on the table, and with great combat dice caused 2 casualties ( 1 more and that unit would break). The Byzantine Captain also survived the Commander casualty test.
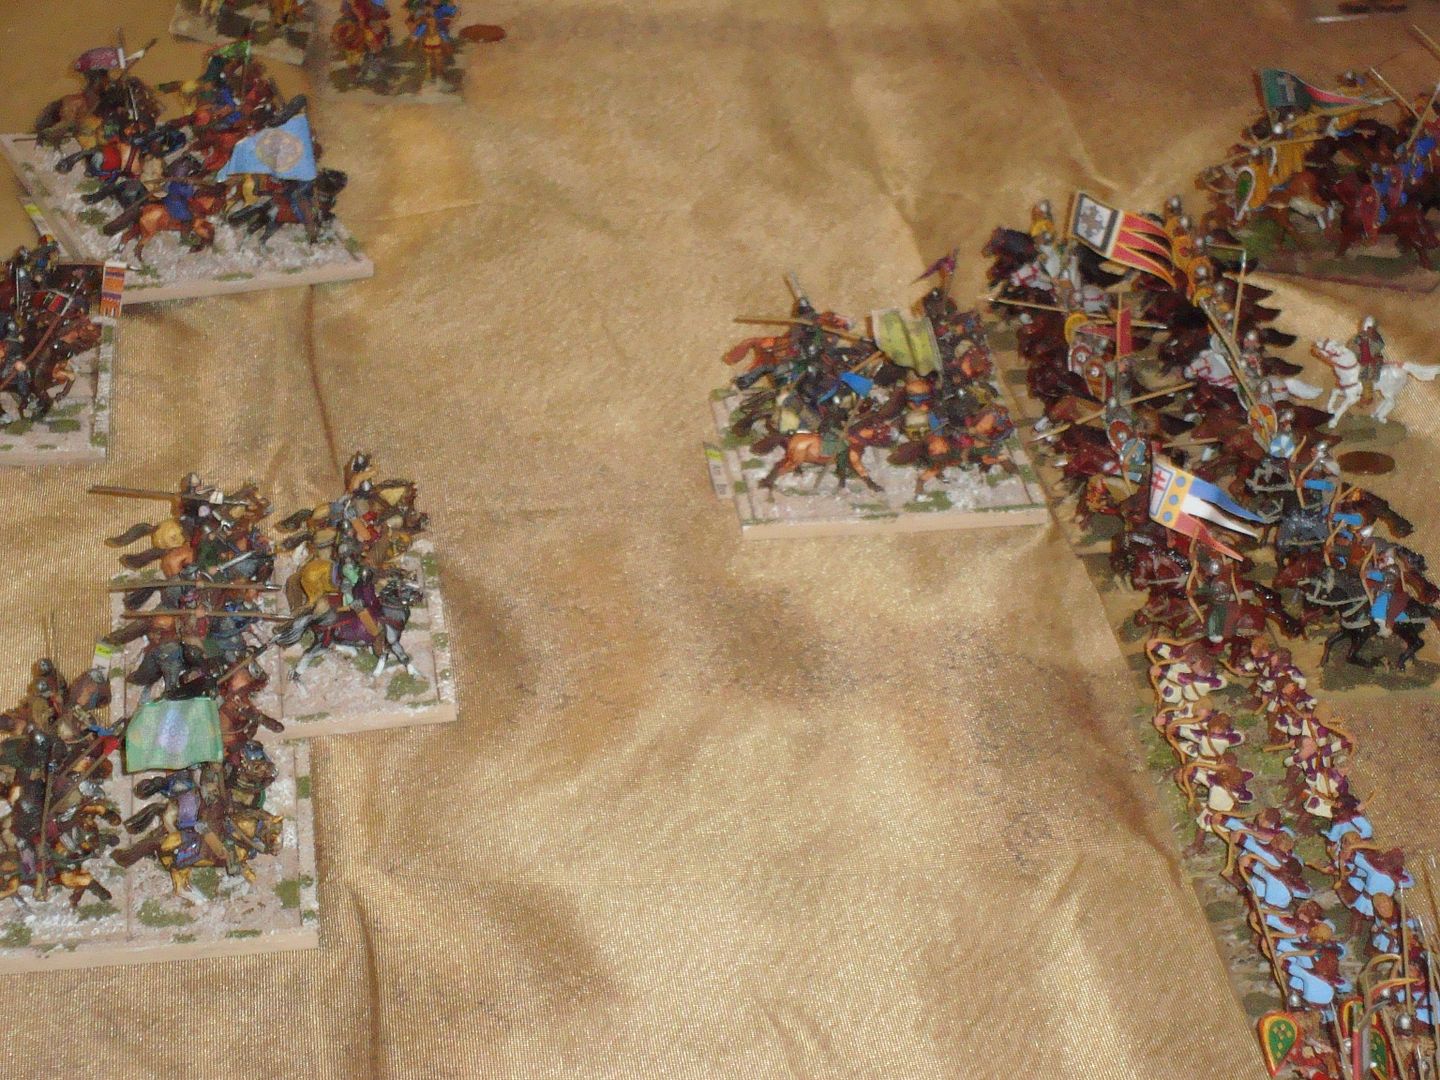
 photo DSC06759_zpsysihitot.jpg

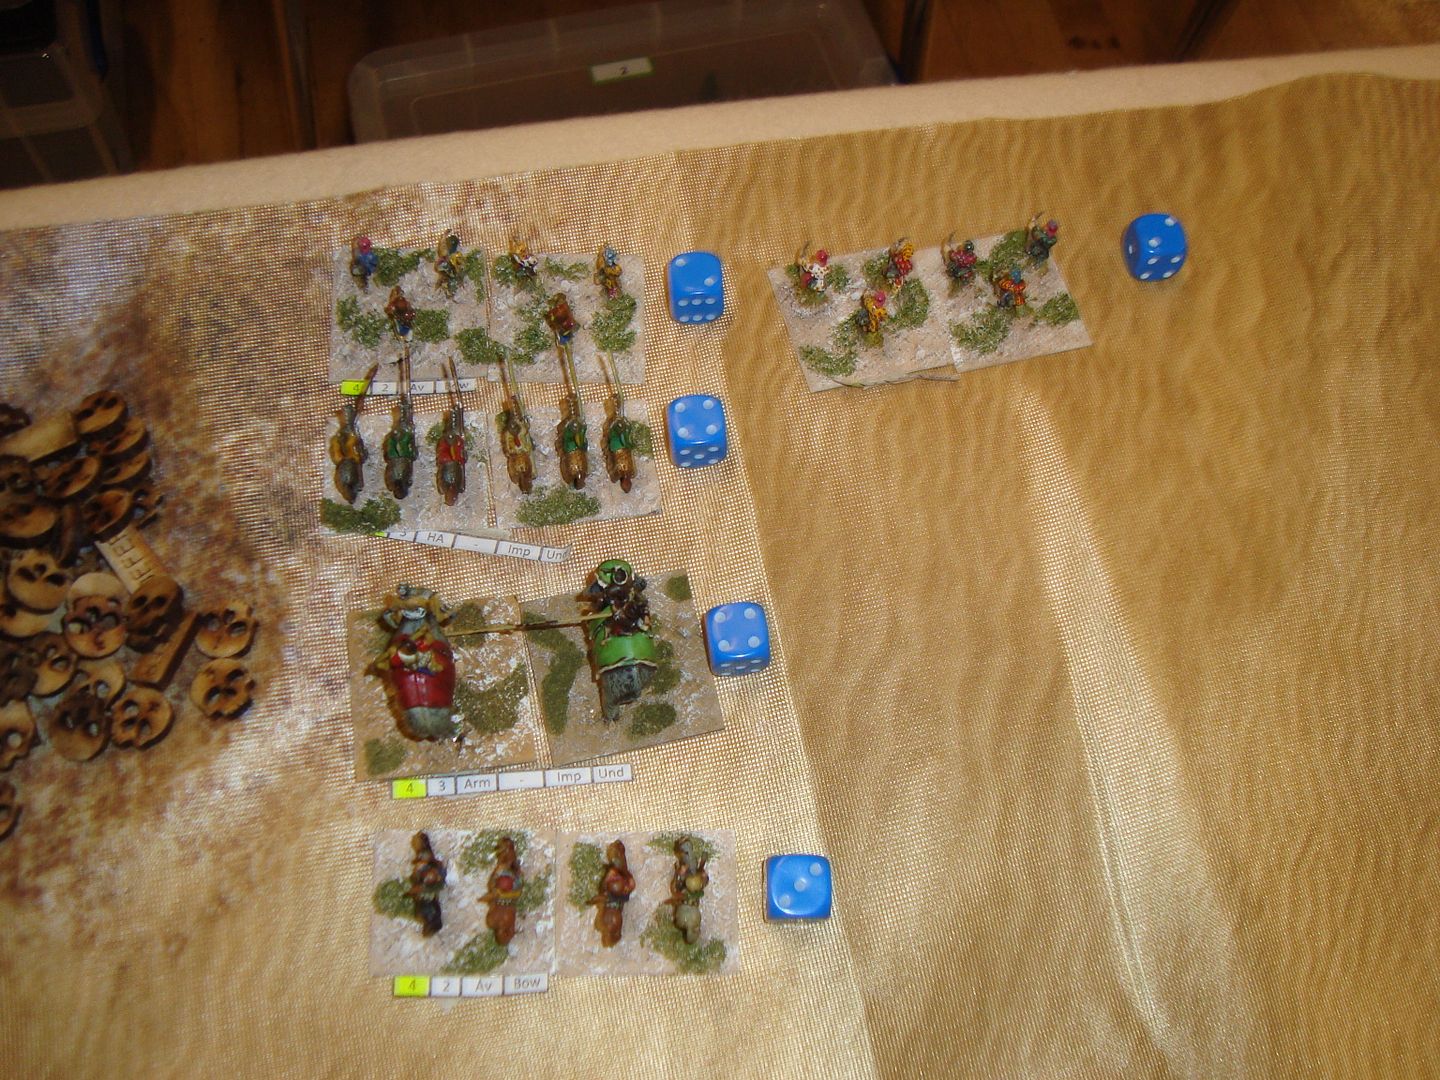
Christian Casualties Turn 2
 photo DSC06757_zpshj1mc6vs.jpg

Turn 3 - Saw the Seljuks pushed their left and initiate melee the the knights again. The Christian orange dice rolls can be seen just behind where, a moment ago a units of mounted knights stood!
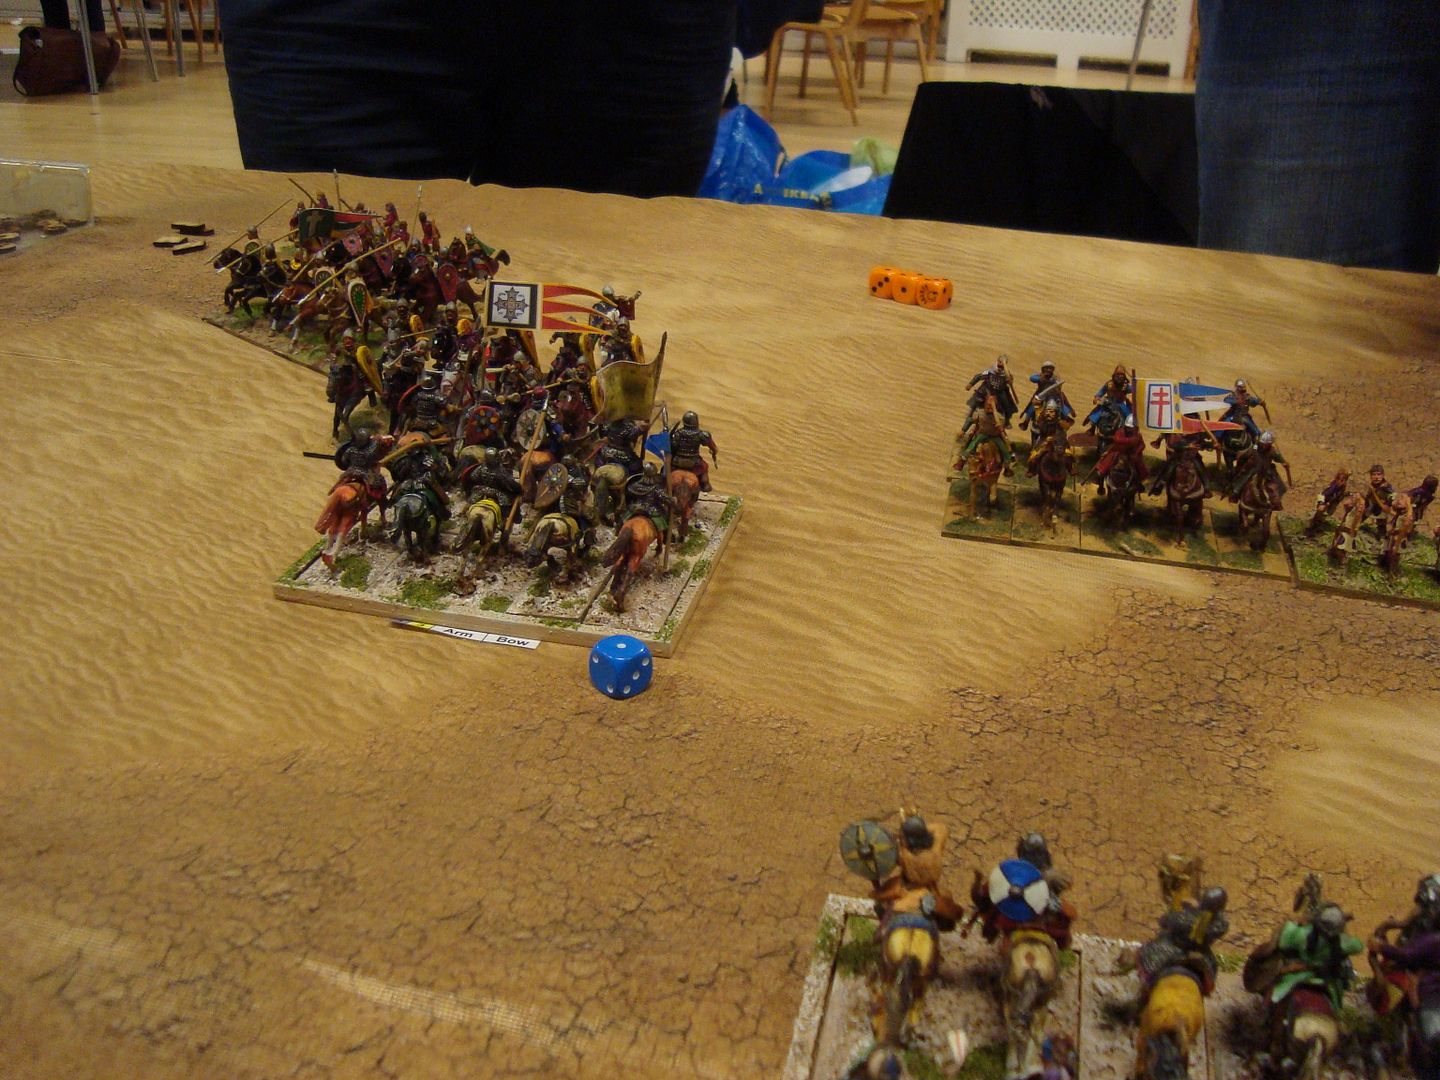
 photo DSC06762_zpshot0plv3.jpg

The Seljuks pursued into the unit to the left in the pic and caused a casualty. The day was looking bright for Allah!
On the Turkish right it was ebb and flow with light casualties on both sides
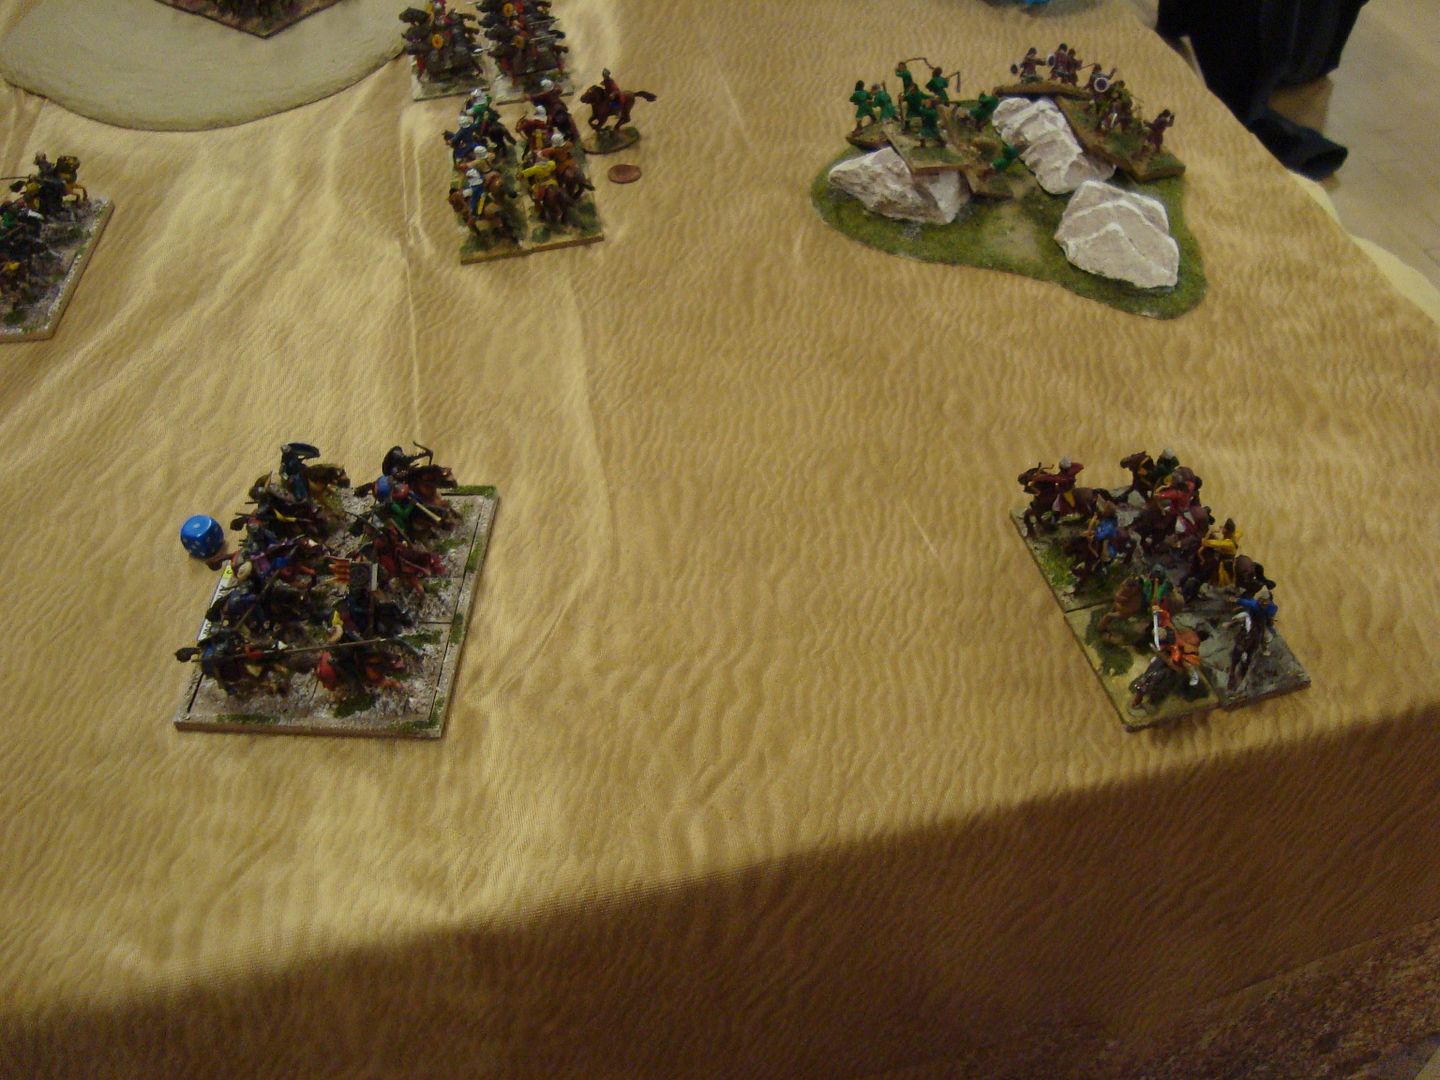
 photo DSC06763_zpsq4ofgnvt.jpg

End of turn Situation:
 photo DSC06764_zpsncaldv0n.jpg

The Seljuks were pressing the Christian right
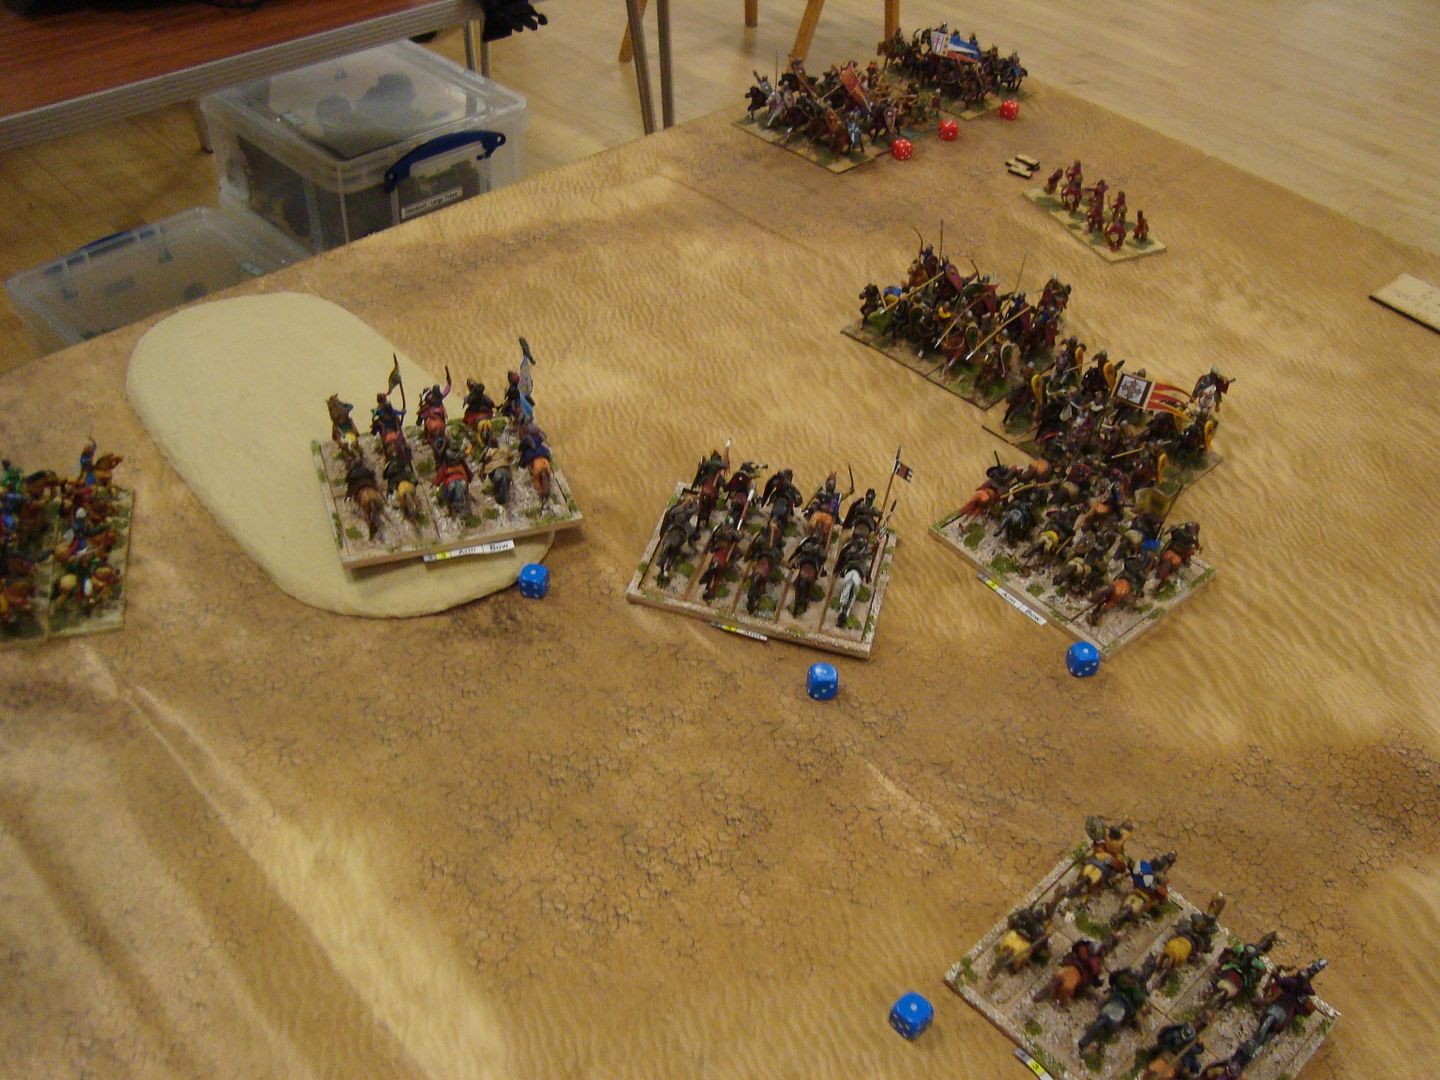
 photo DSC06765_zpsvx7iaz0t.jpg

Christian Casualties were building, End of turn 3 (11 points)
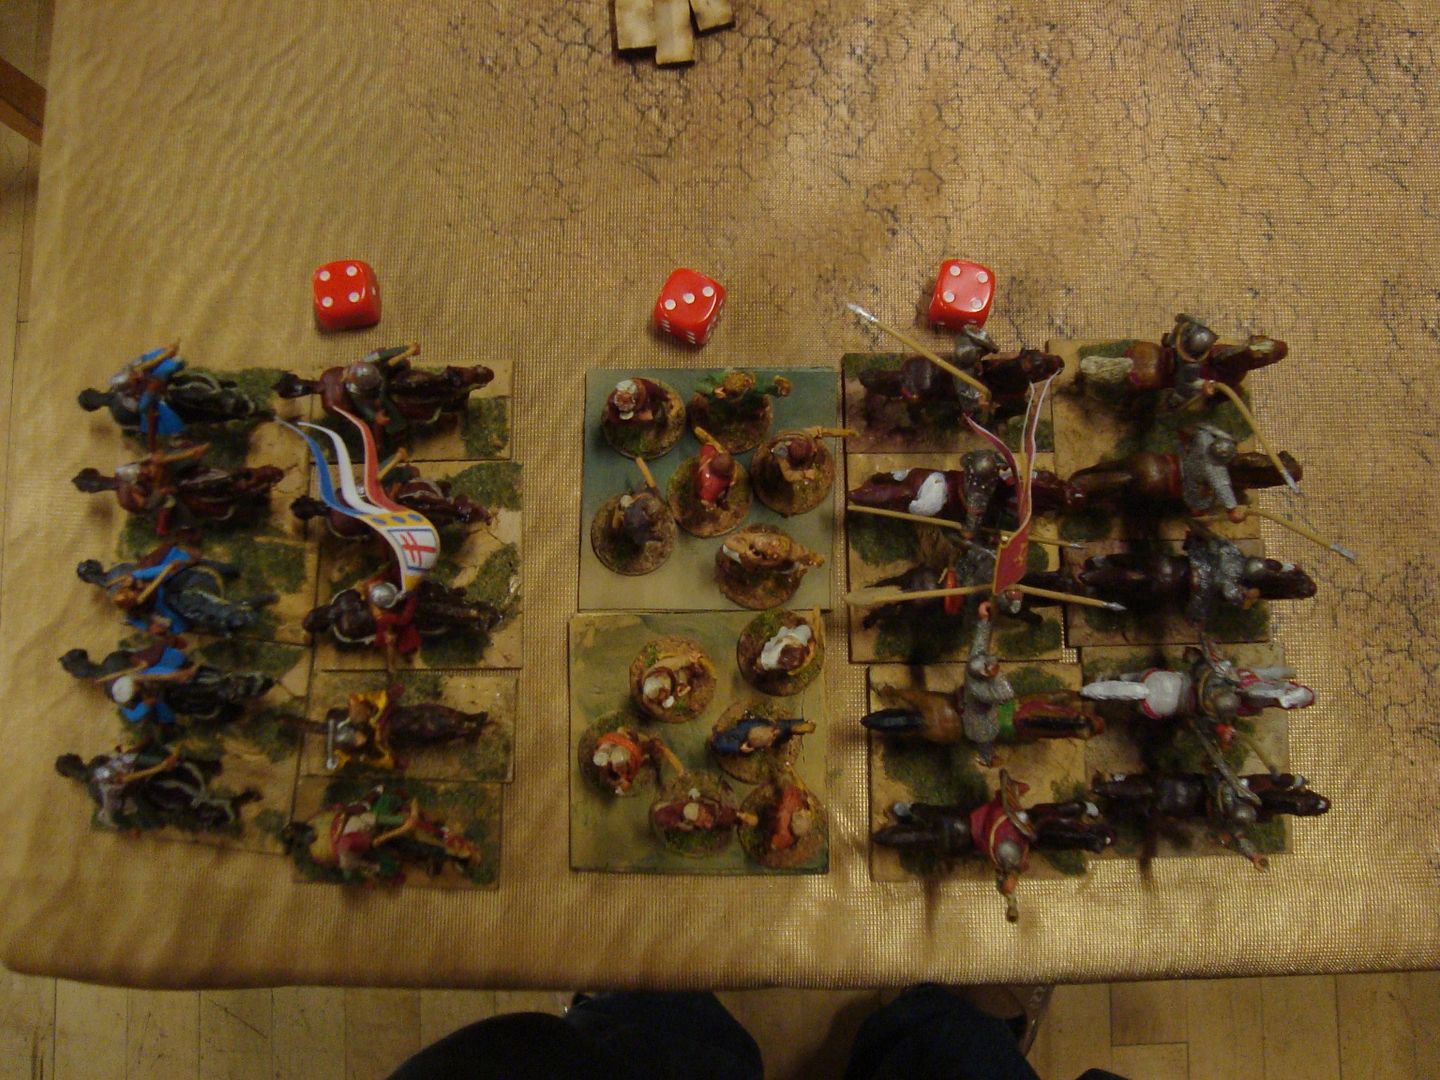
 photo DSC06766_zpseypbhjru.jpg

Turn 4- The Turks had a really good round and shot away two more units, leaving a big split in the Christian line. Unable to plug it as the Emperor had committed his reserve units to bolster his far right flank.
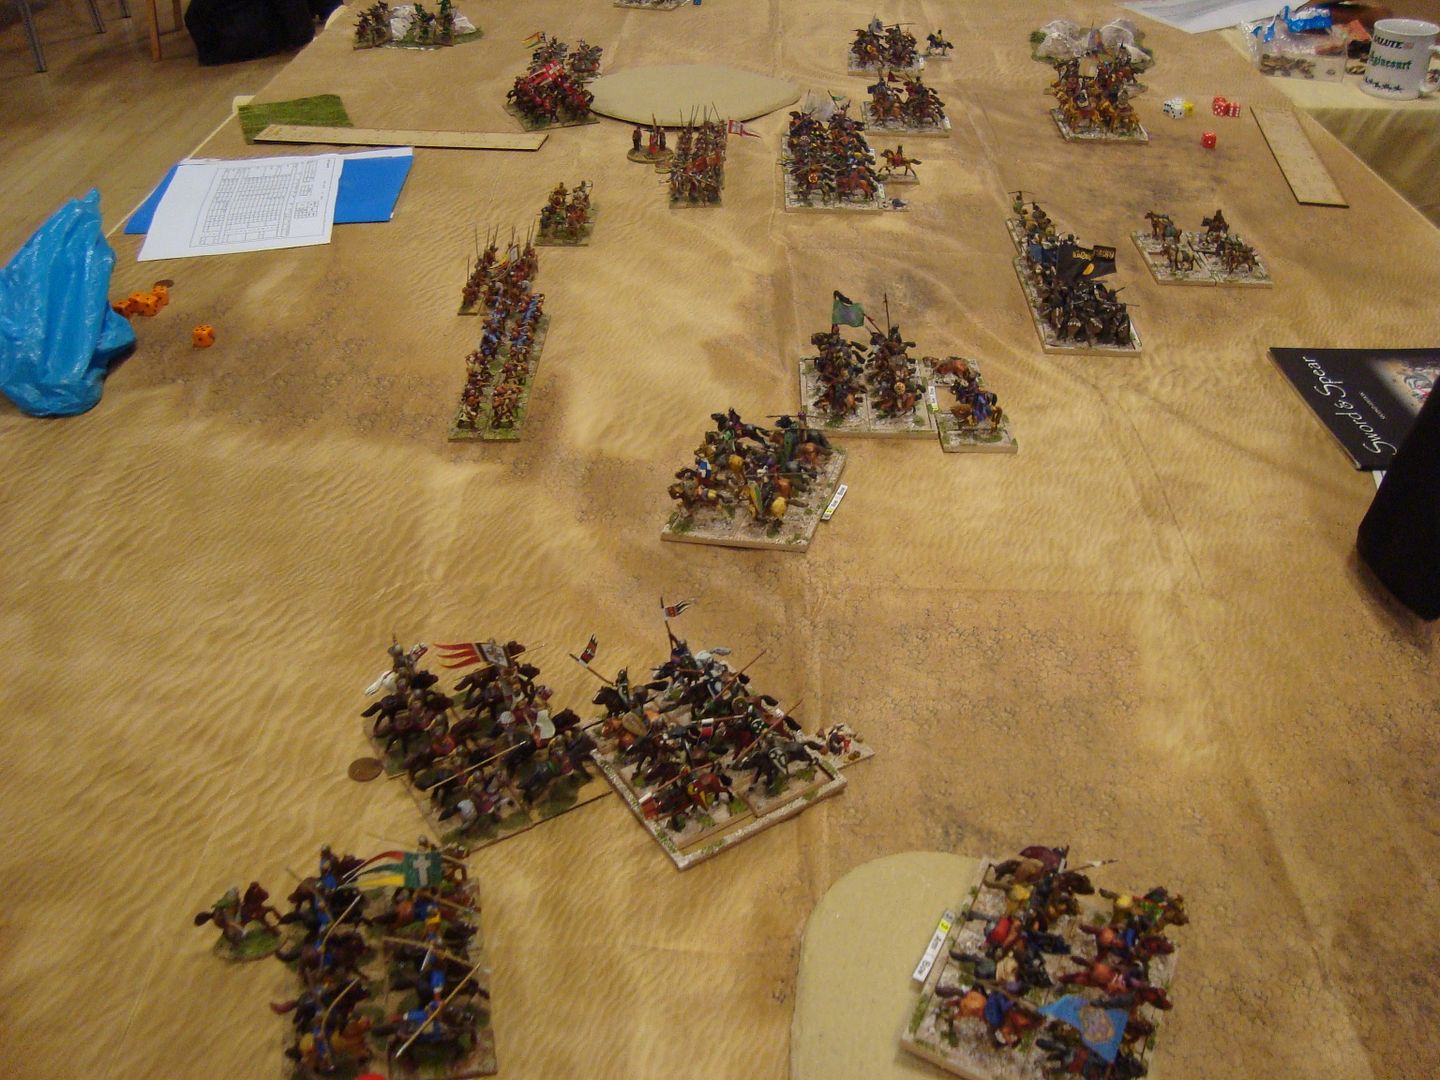
 photo DSC06770_zpsvdczxw6n.jpg

The Turks start to push back the light horse on their right.
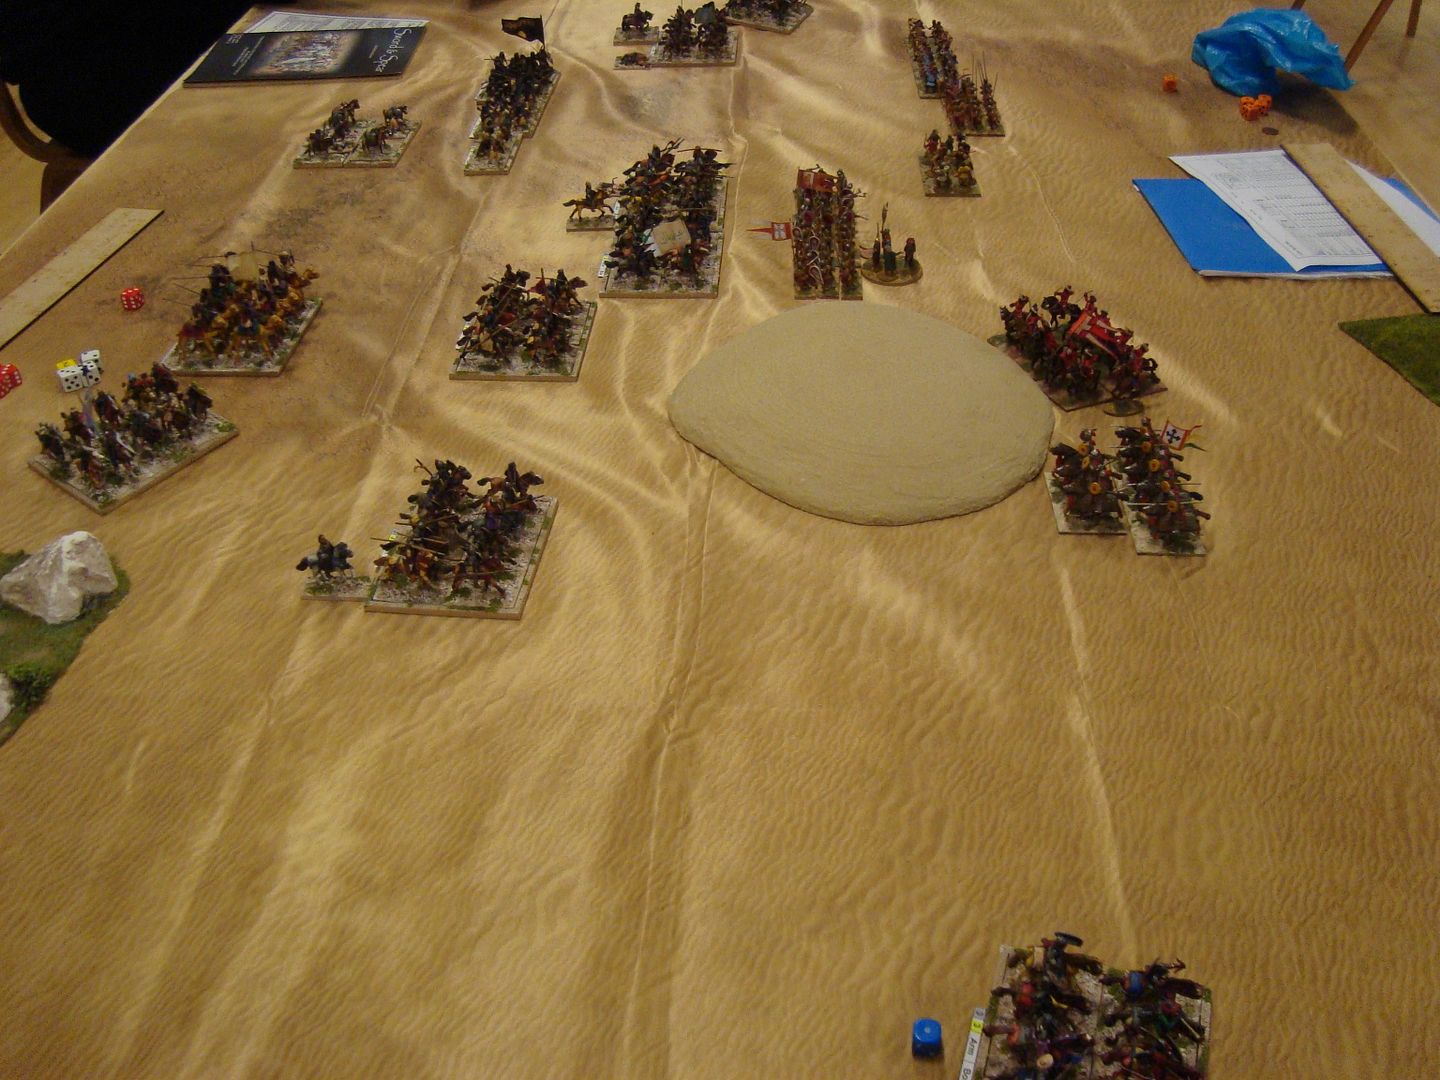
 photo DSC06771_zps6aps8yfm.jpg

Both armies centers were still holding firm
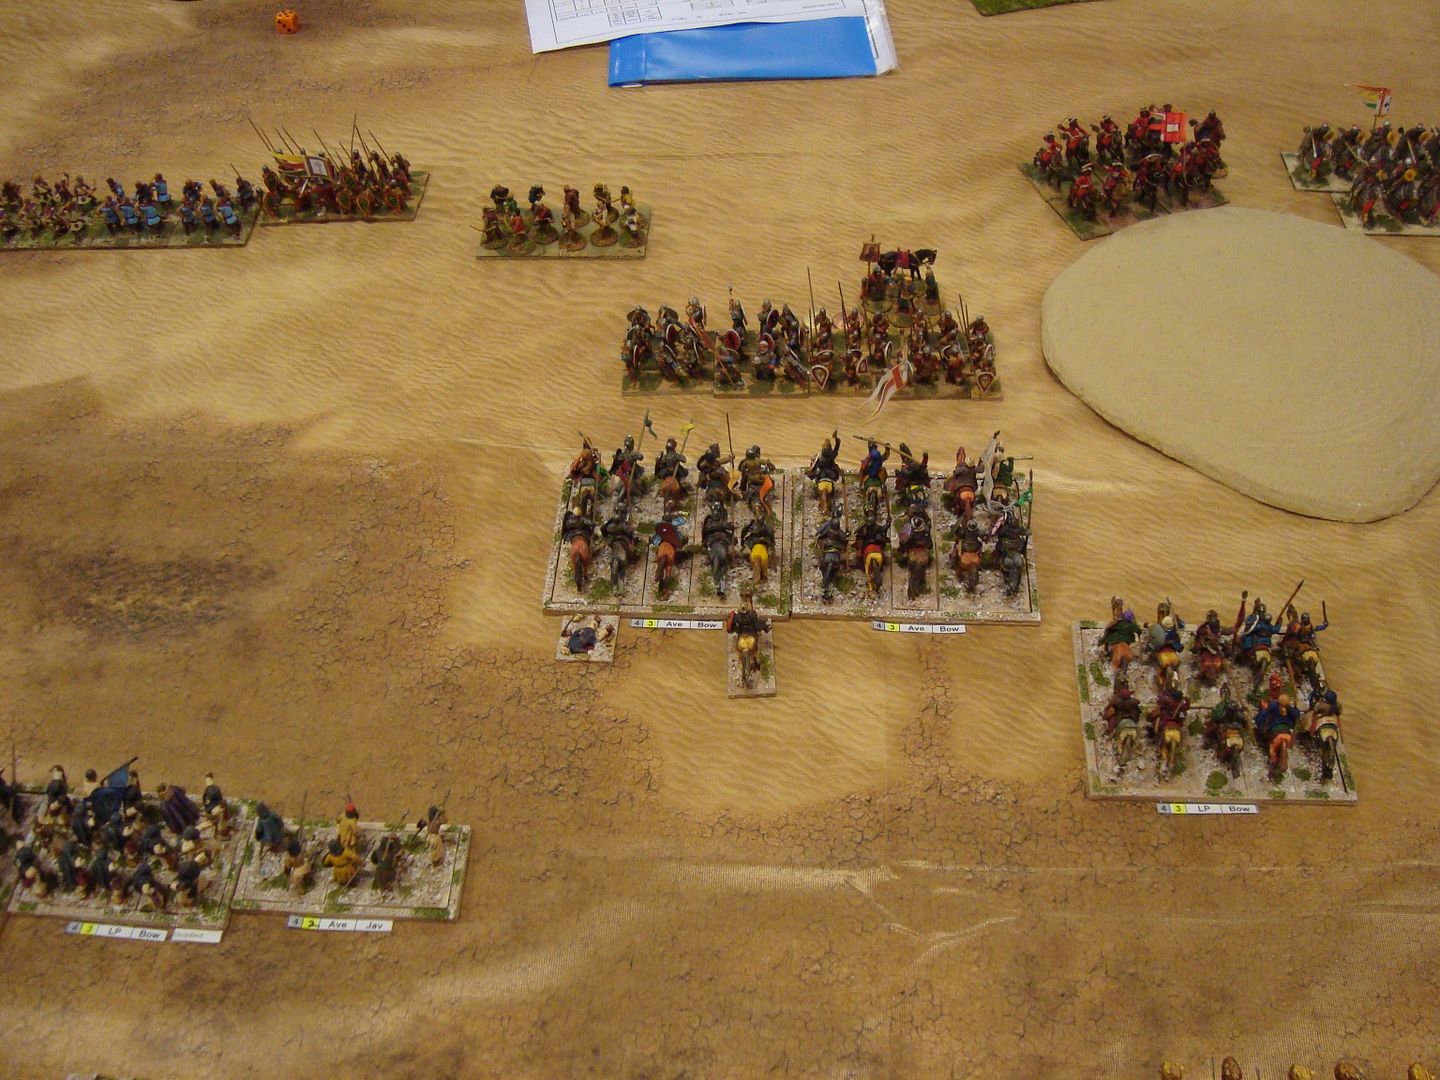
 photo DSC06772_zpsiq8lc1vg.jpg

Christian Casualties end of turn 4 (17 points)
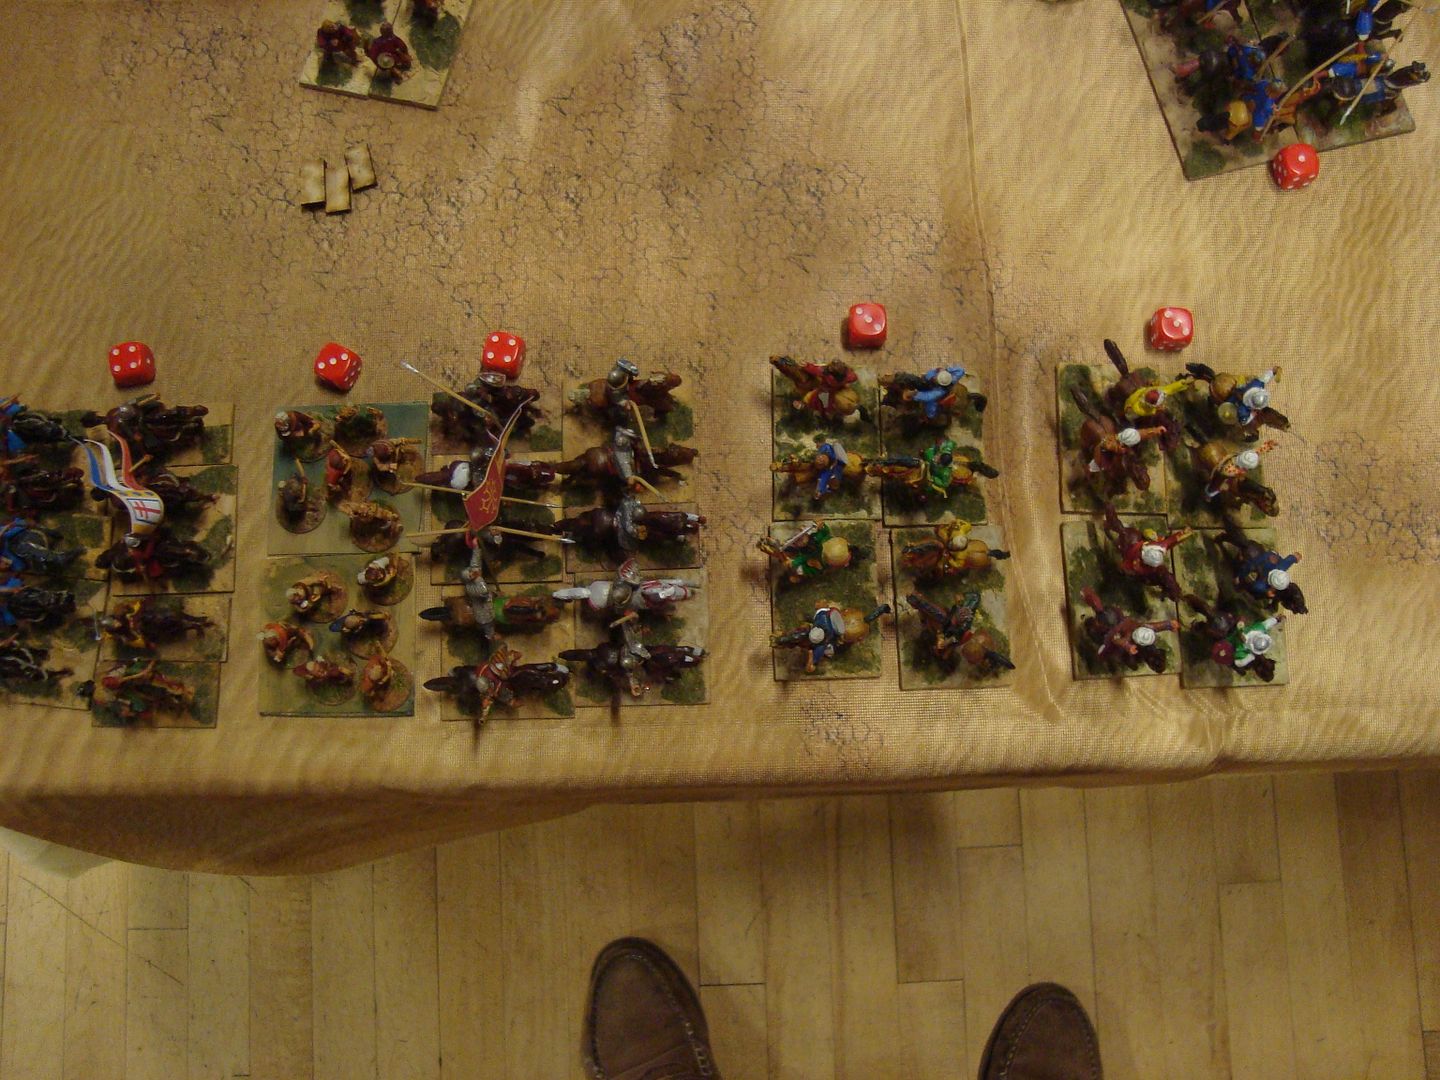
 photo DSC06769_zpsujxj6ivn.jpg

Turkish Casualties end of turn 4 (10 points)
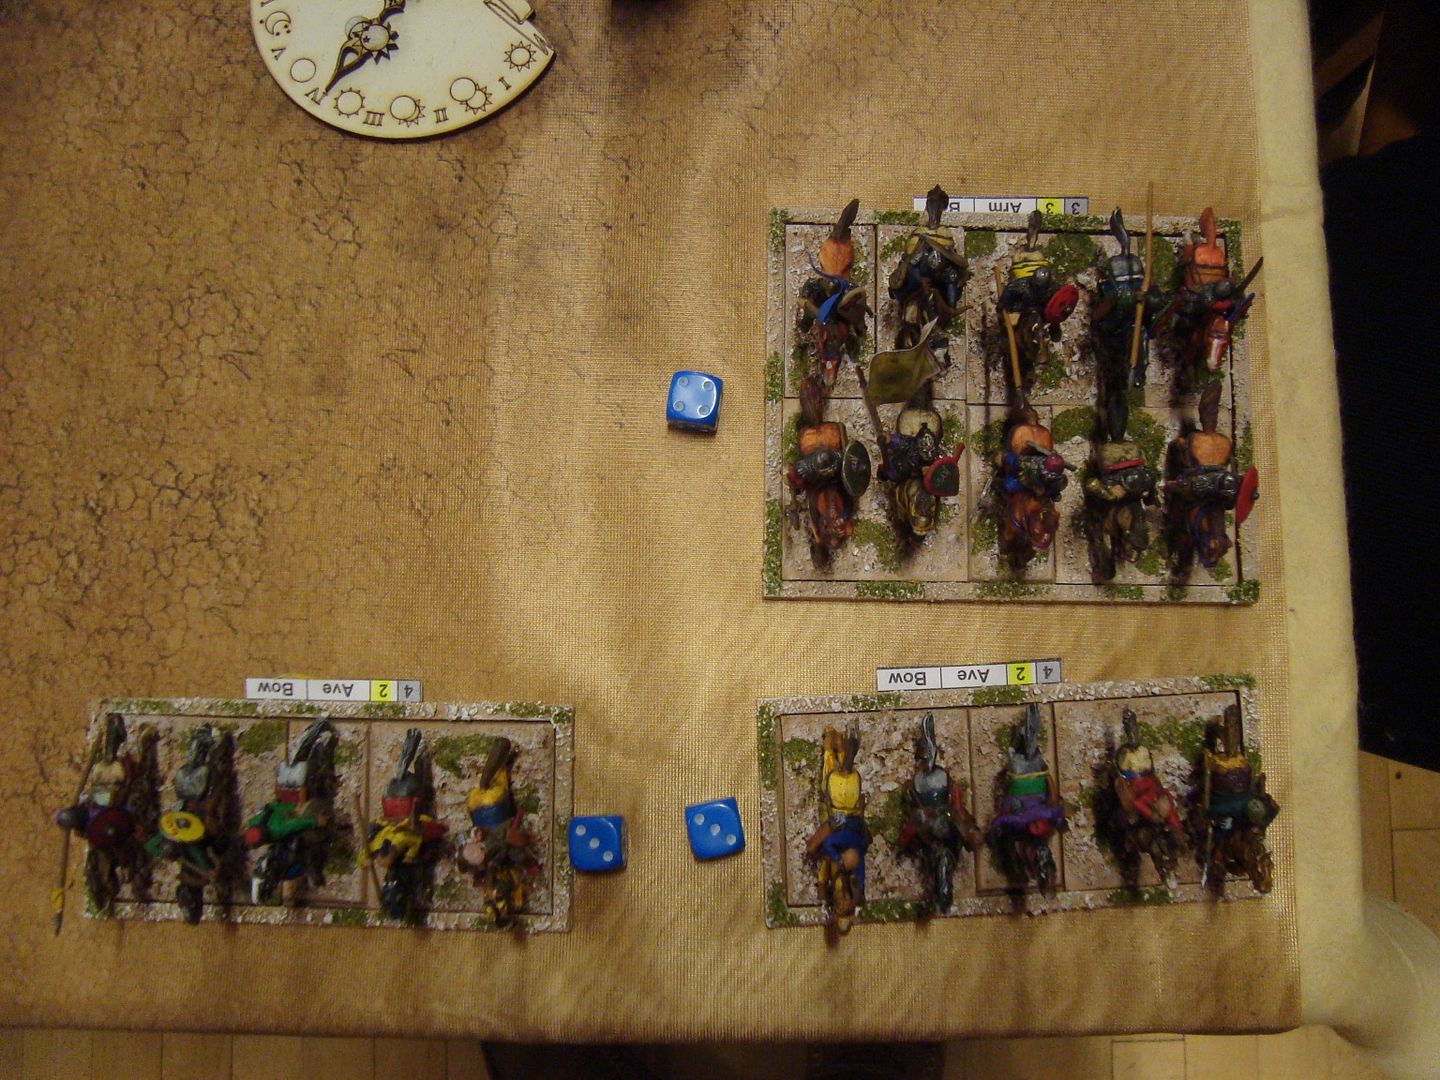
 photo DSC06768_zpssvhlgfs3.jpg

Turn 5 - The Turks had a very good round and before all the dice were drawn the Emperor capitulated and through himself to the mercy of the Turkish commander
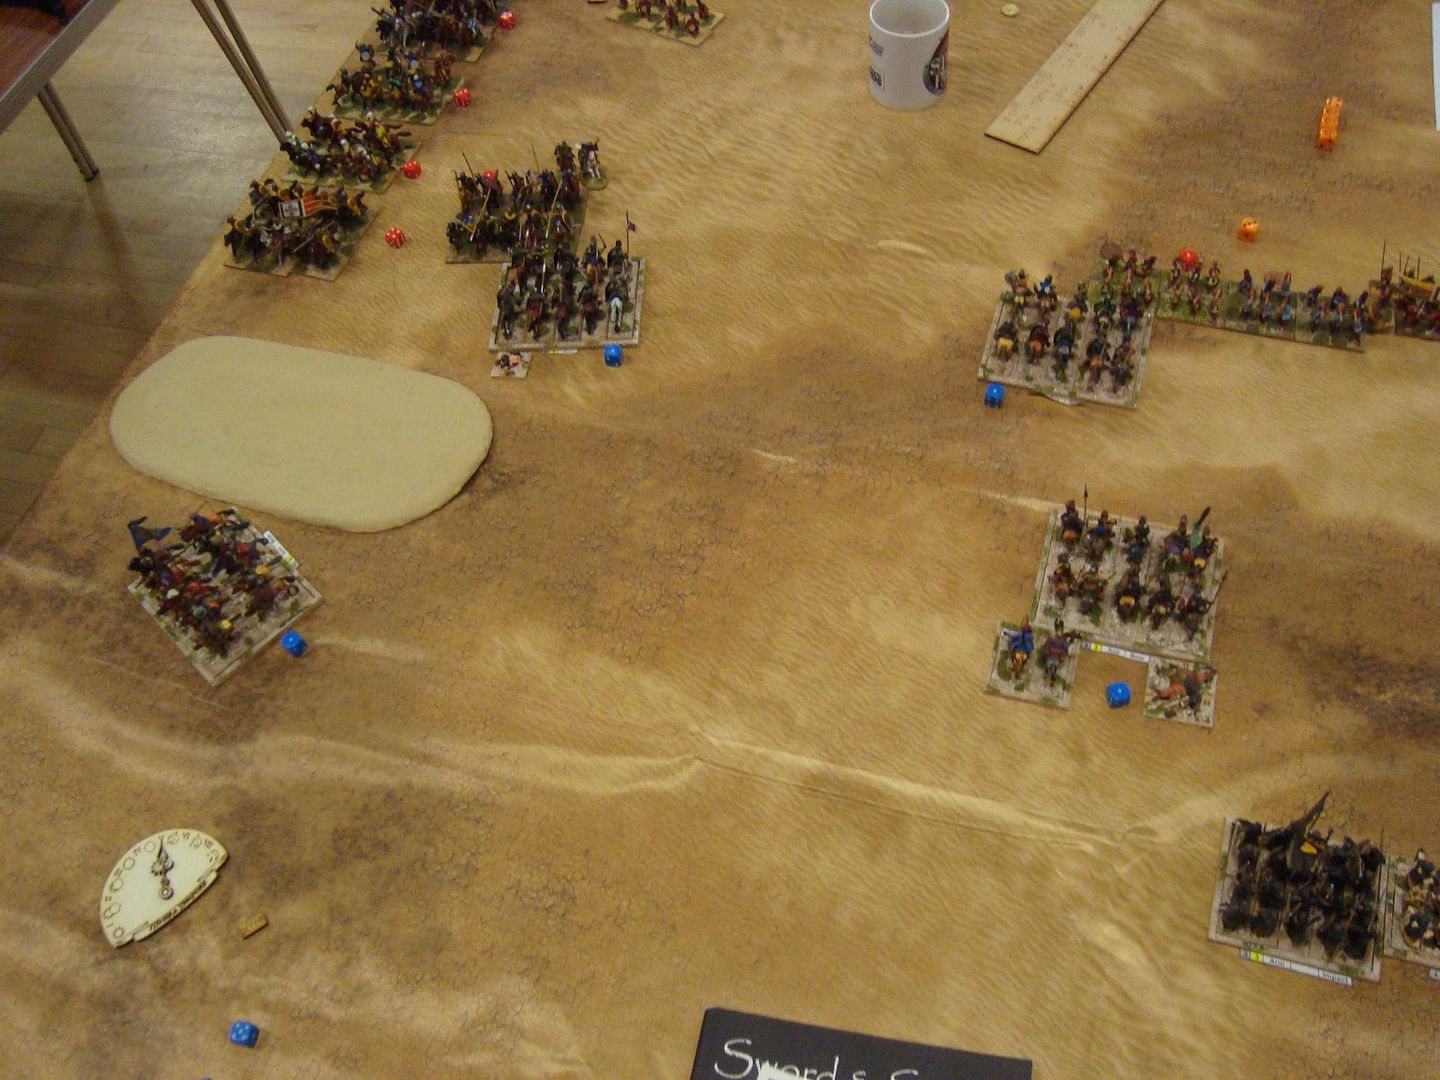
 photo DSC06774_zpsiaucpauk.jpg

The Turks were combating all along their line
 photo DSC06774_zpsiaucpauk.jpg

A great game that was closer than it looked. Many thanks to Alan for the game

Notes from Alan, post game

Great pix Phil, and a very tight game with the big clashes mainly going the Turkish way. We have found that these cavalry army games can be very brutal, the armies move fast and cavalry v cavalry is bloody with the follow-ups. But win or lose, putting out big 28mm armies from this very colourful era is always a pleasure. Good news is you can play these big games and get a decision in an evening

In the game, from the Byzantine pov the crack Latinikon (Franks) really did not turn up for the game, and collapsed in short order (I think they are commanded by Arsene Wenger) and too few of the other crack Byzantine units put the big hits in when needed (my Turkopoloi ran after taking a few shots - I reckon Phil's Turks bribed them). As to nationalities tonight I fielded Turks, Bulgars, Varangians (Vikings & English), Franks, Pechenegs, Cumans, Arabs and Armenians plus a few Byzantines ;)

The Turks are a tough foe as although unit for unit the Byzantines are (potentially) better, the huge Turkish shooting capability means you often are carrying a wound into action (no longer fresh) and so their cheaper cavalry can survive the hits and put in a succession of shocks themselves. The Byzantine heavy foot is also formidable, but slow, and by the time it got into action it really was too late to matter.

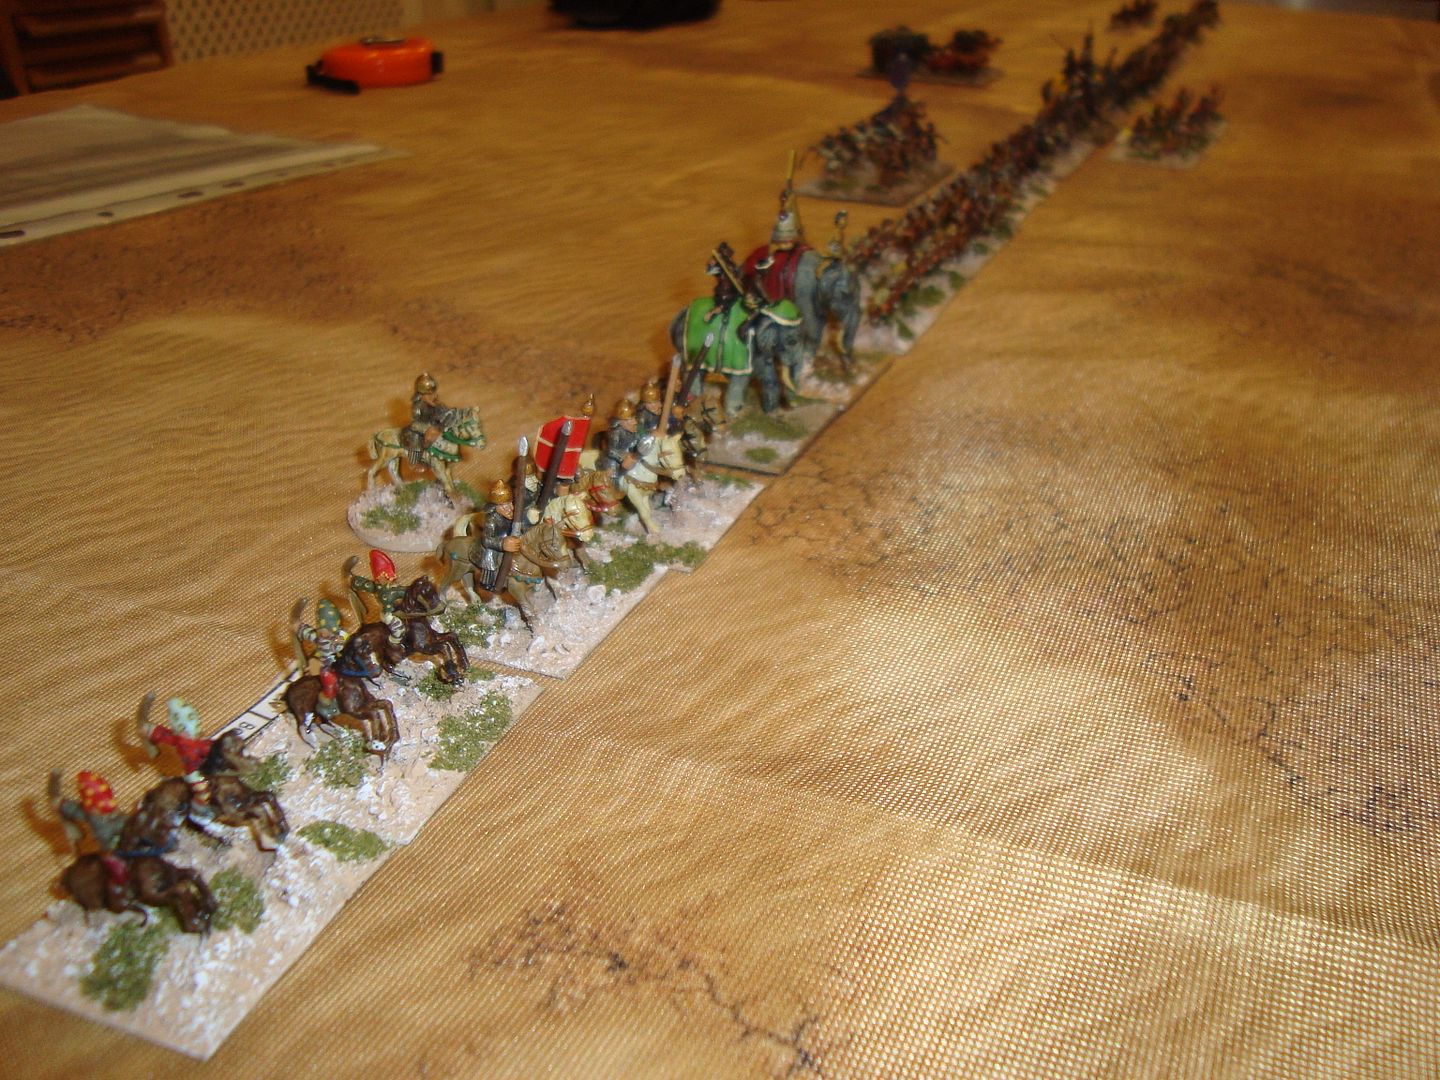
Interestingly by this period the Byzantines themselves were mainly using Peltastoi as foot in the field - good quality medium massed archers - and those I used acquitted themselves quite well in the game, I think a big bag of them is a must at Salute! The poor quality militia archers I experimented with were just fodder to the Turk shooting.
Monday 18 May 2020

15mm Romans Vs Sassanid Persian- Sword & Spear rules

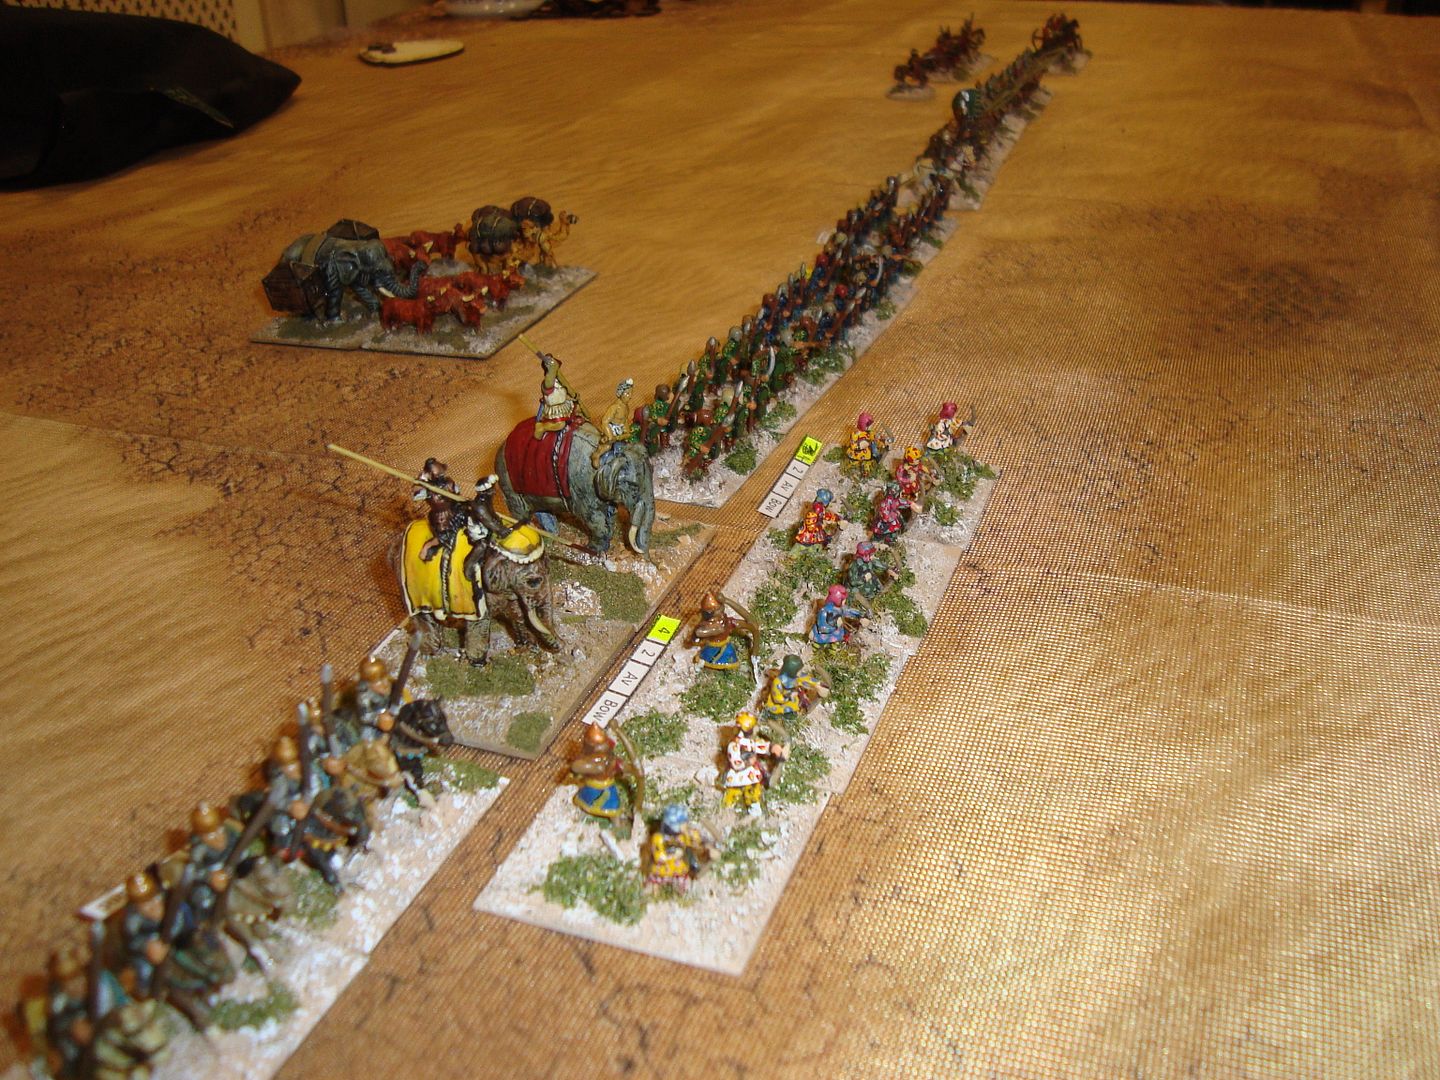
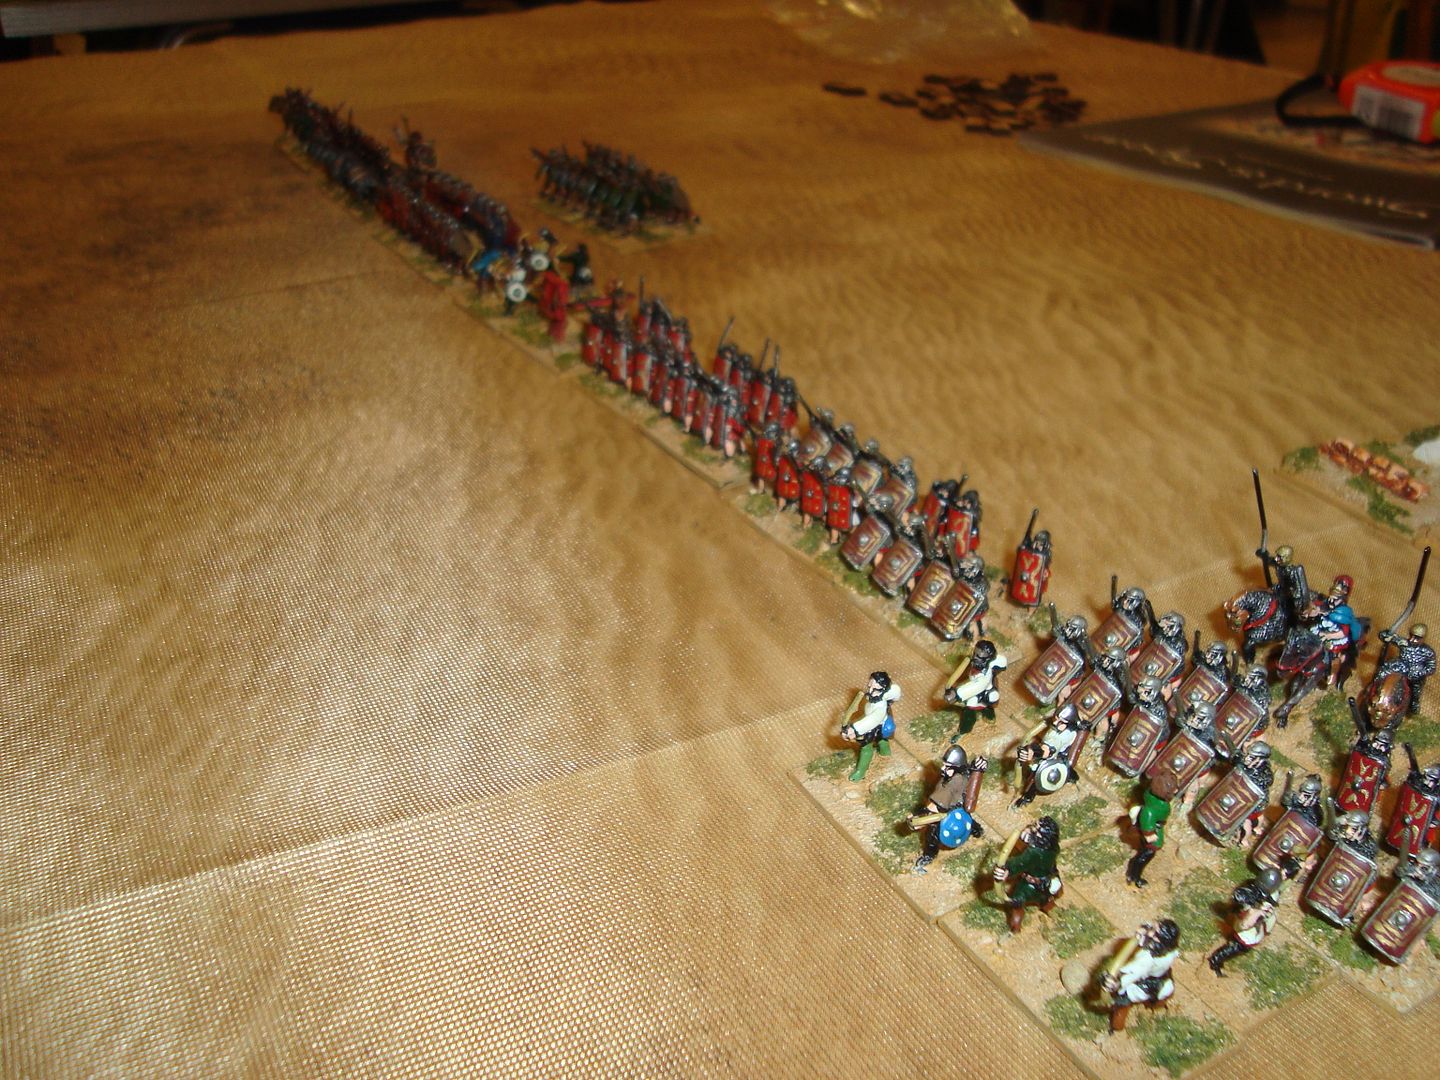
A couple of years back,we broke out another couple of ancient armies for a bit of Sword & Spear. My Achaemid Persian stepped in as Sassanids.
We also went bigger form our usual 400 points. Persian 560 points and Roman 548 Points.

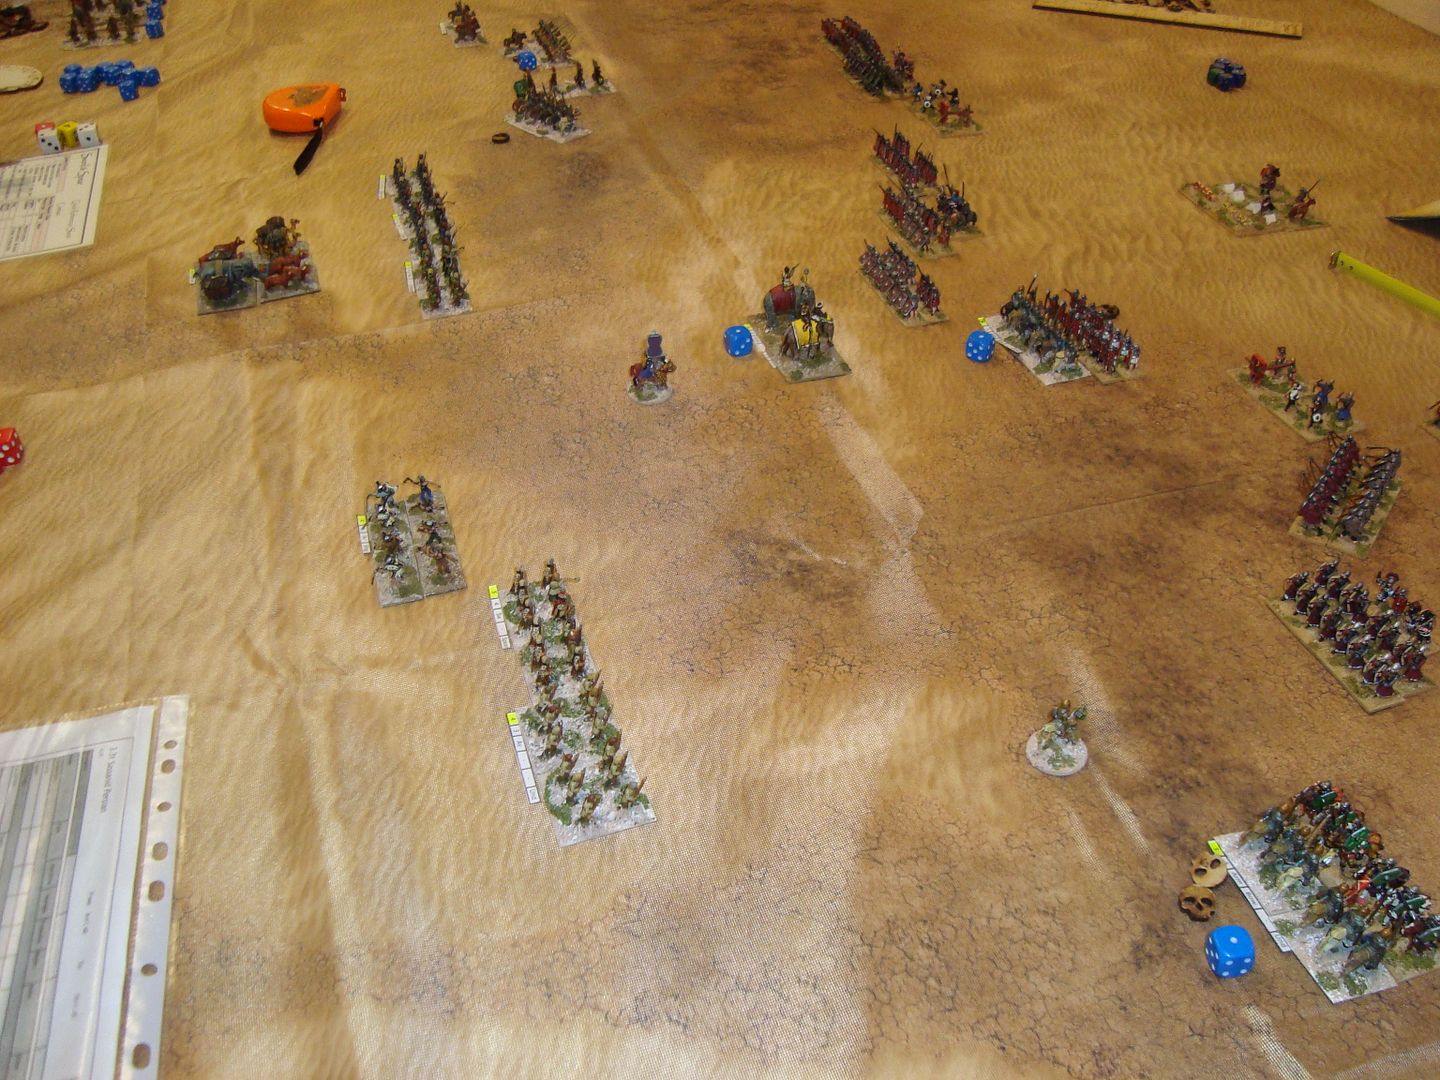
The set up. Did not use terrain this time (just get stuck in and for Harry to learn the rules), which suited the Persians, hmmmm open gound.

We both used camps which are handy to have for command and an extra dice in the bag and allocation of "bonus dice" Romans had 18 dice (Red) and Persians 20 dice (Blue).

Romans on the right of Picture
 photo DSC06621_zpscsfiqime.jpg

Persians:
 photo DSC06622_zps7yrzahvk.jpg

 photo DSC06623_zpsndrqawaw.jpg

Romans:
 photo DSC06624_zpstb1uttfh.jpg

 photo DSC06625_zpse9vvepwa.jpg

Turn 1: bits of maneuvering from both sides, Romans fire their Ballistas at long range against my Uber light Horse Romans firing continually every turn and did not cause one casualty against this unit all night.
 photo DSC06627_zpsuqm3oedo.jpg

 photo DSC06629_zpshjwhfcld.jpg

Enveloping the Roman Cavalry on Persian left flank
 photo DSC06628_zps0cp5mmyc.jpg

Turn 2: Persians lose some light foot and a unit of Cataphracts on the left, to very bad combat dice! And I charged so had impact rule!
 photo DSC06631_zpsfxec1mhr.jpg

The Persian right had successful combat and took out four Roman units
End of turn 2:
 photo DSC06634_zpsysgzz1sg.jpg

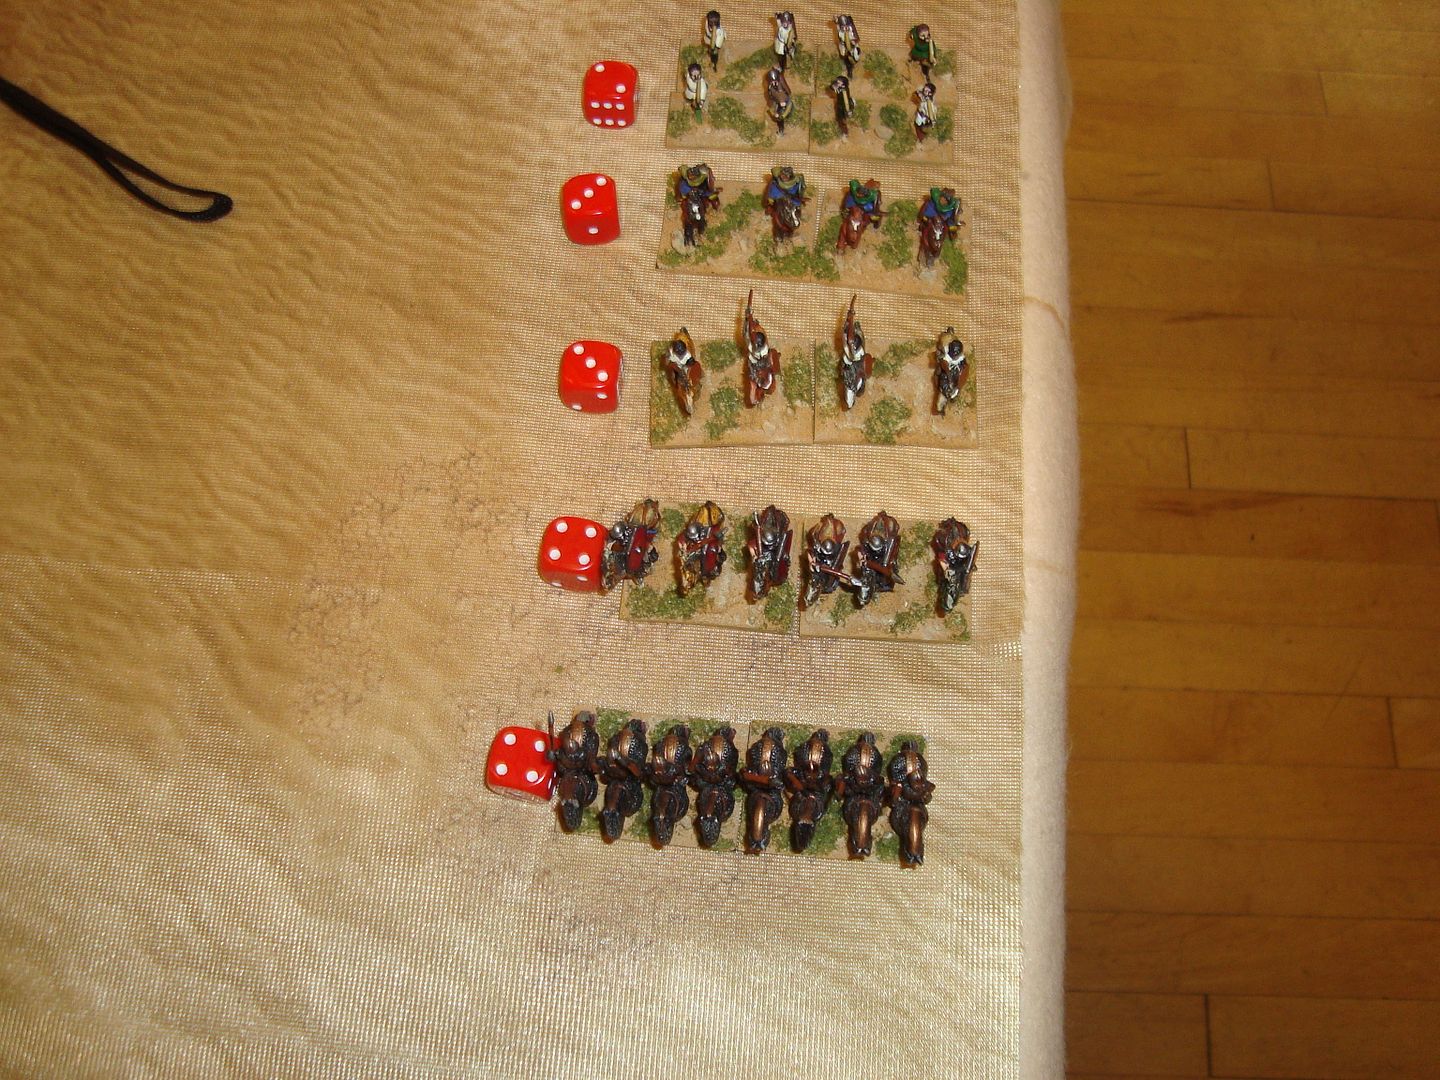
Roman Casualties
 photo DSC06638_zps5ujtytdh.jpg

Persian Casualties
 photo DSC06637_zpsmvbochns.jpg

Turn 3:
 photo DSC06636_zps4th3xzj7.jpg

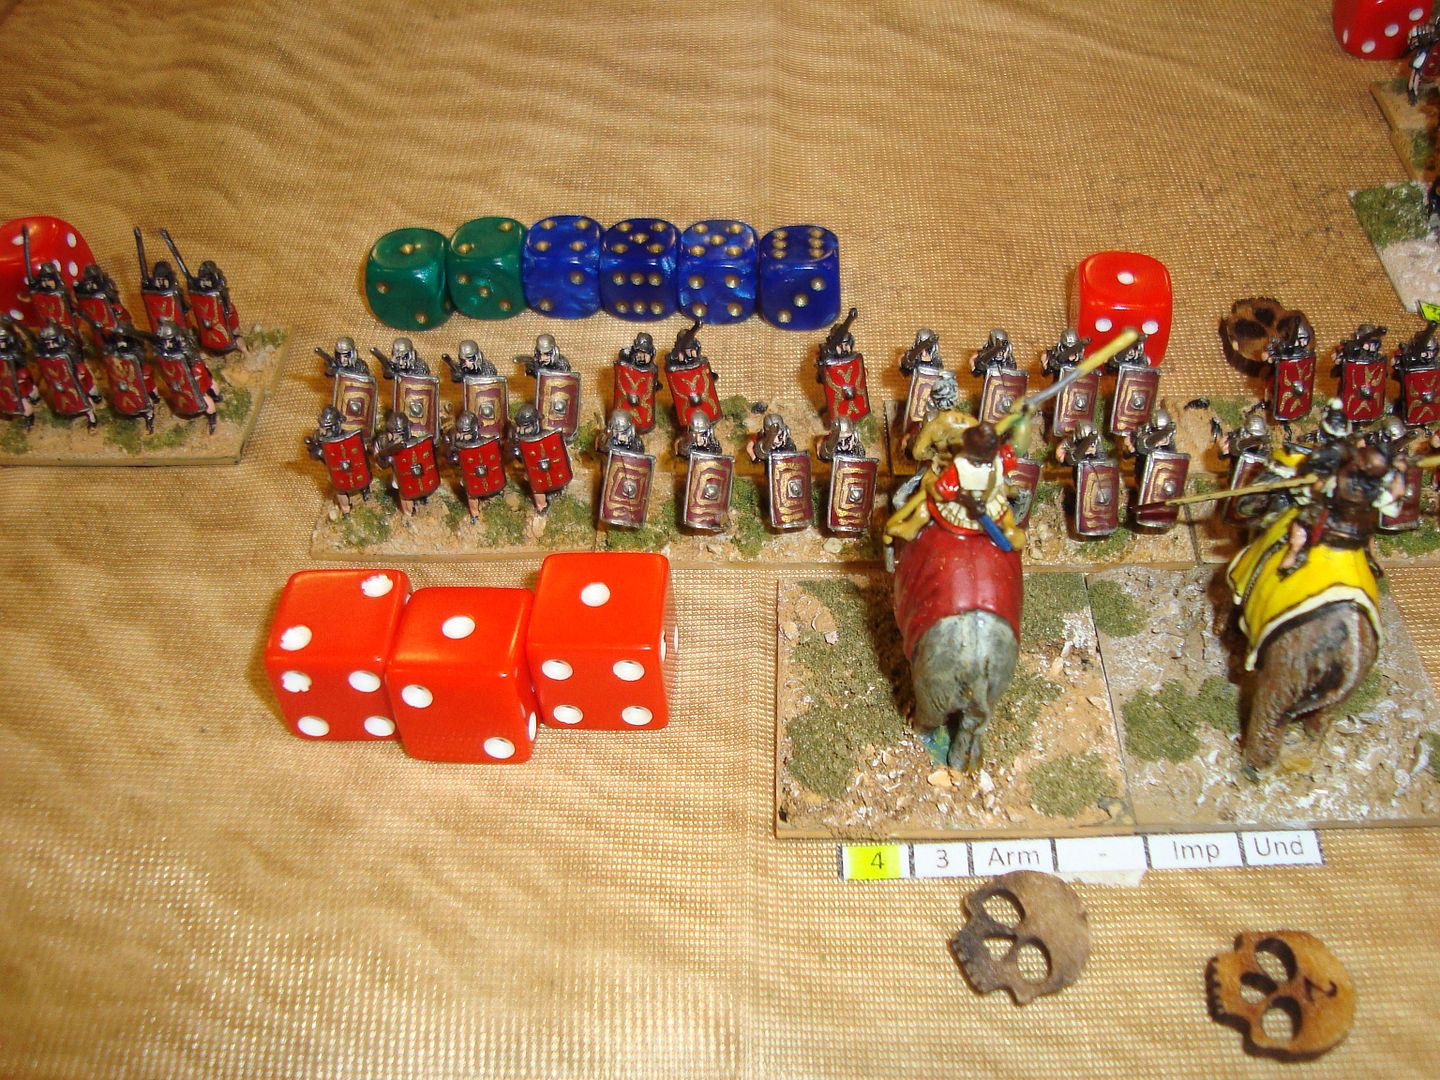
Persian were starting to roll bad combats, even lost one unit of Elephants to archers IN COMBAT!
 photo DSC06641_zpsj9enycz9.jpg

Roman Casualties were building too!
 photo DSC06642_zpsq1lal47s.jpg

Turn 4:Disaster after disaster for the Persians in combat
 photo DSC06640_zps74b8esbz.jpg

No Roman casualties this turn, only more Elephants!
 photo DSC06641_zpsj9enycz9.jpg

Turn 5 saw more combats along the line and both sides reaching the first morale stage (1/3 losses), The Roman Infantry were plodding across the battlefield to the Persian infantry but we ran out of time for a sixth turn, so called it a draw with a pyrrhic victory to the Romans

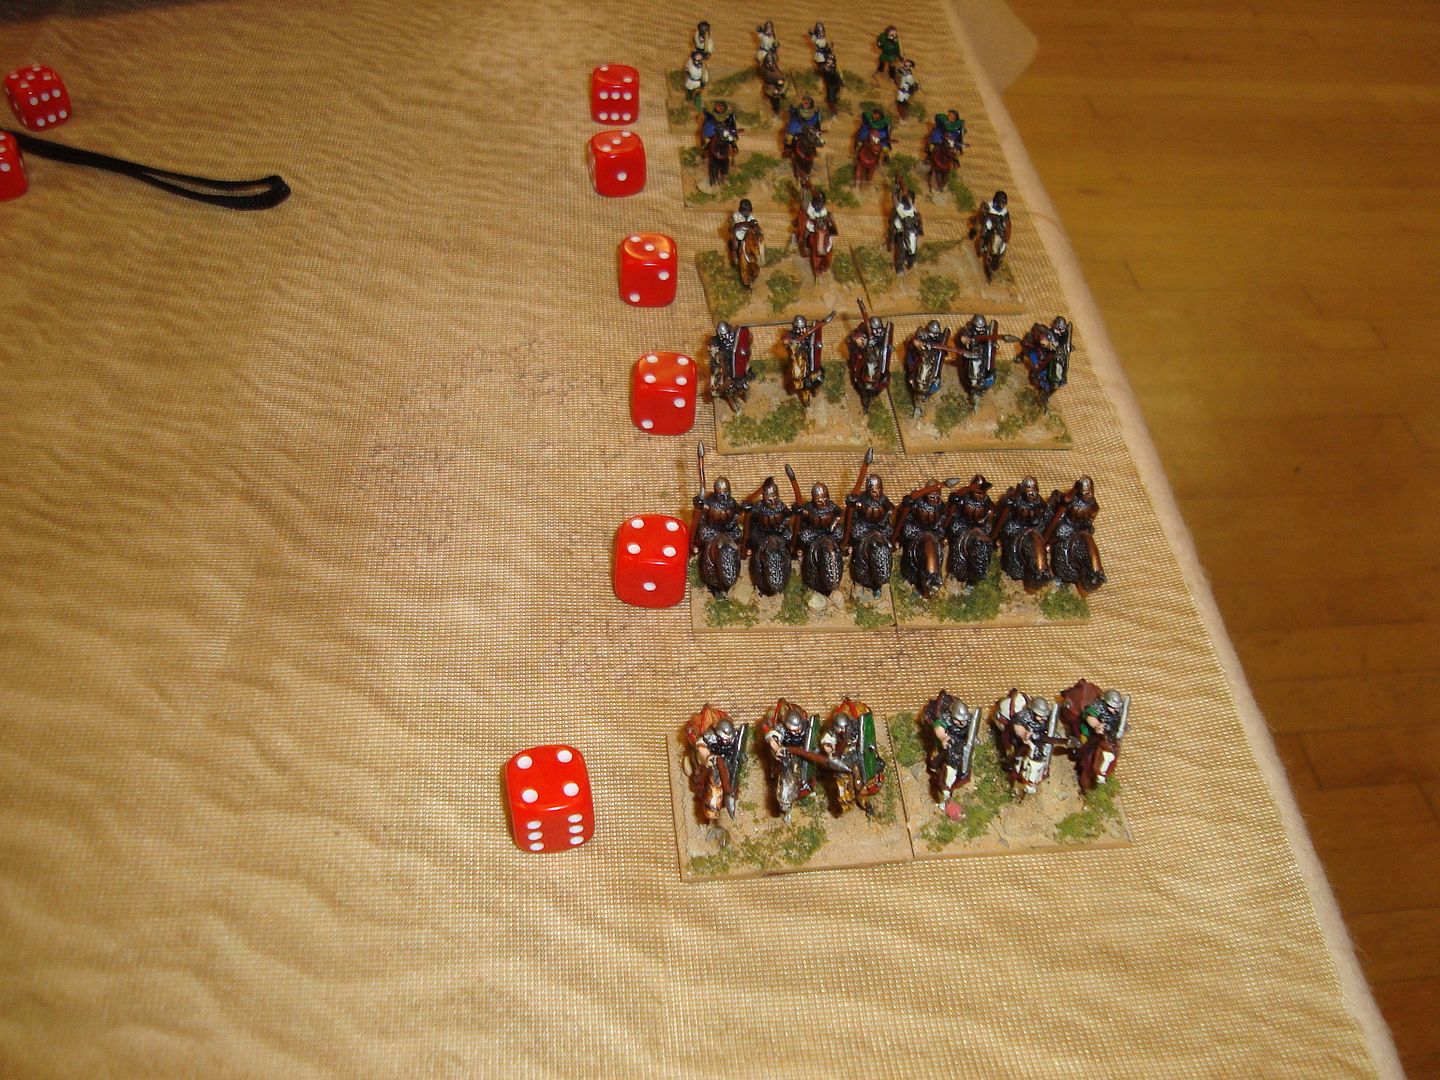
Roman Casualties (20 points lost)
 photo DSC06644_zpslqoxl07g.jpg

Persian Casualties (26 Points Lost)
 photo DSC06646_zps4ofjurzy.jpg

Saturday 9 May 2020

Take the Station & Hold. 20mm WWII - Rapid Fire rules

 photo DSC06577_zpsxvrhofxz.jpg
Played a small Club night game using Rapid Fire, where we both had to come on and take the station. Dave had an Armoured German Battalion 3x PIVs 3x Panzer Jaegers and I had an Armoured American Battalion, 3x 76 Shermans, 2x Jacksons (newly painted and yet to be blooded), 2x M10 Wolverines. We diced for which end we came in from, Germans won and would take the closest end to the station and also went first.

The table. Taken from the German entry end
 photo DSC06543_zpswufq8yvr.jpg

My forces, Wolverines were still in the box
 photo DSC06544_zpsrrvycfs7.jpg

 photo DSC06545_zpsafassv7k.jpg

Turn 1 - German move fired and missed with two PIVs
 photo DSC06548_zps2ho6im3t.jpg

Turn 1 -American
 photo DSC06547_zpsiqcehldg.jpg

Turn 2 - Germans start to occupy station area
 photo DSC06550_zps5viyce5o.jpg

Turn 2 - American move up and go on the offensive.
 photo DSC06552_zpsyuj1xmw6.jpg

M36 takes out another HT and 5 of it's crew
 photo DSC06553_zpsbkyobg8f.jpg

Turn 3 - German's move in to the pinch point around the station and one Grenadier company occupy the building unseen. Firing with all three PIV and two of the PJg & again missed with all.
 photo DSC06566_zpsx68mm3hd.jpg

Turn 3 - American move up in the middle and flank out to the right with a 76, HT Company and 2 M10s
 photo DSC06567_zpsjce36dp4.jpg

Dead eyed yank strikes again
M36 causes a heavy damage to a PIV in the middle
 photo DSC06568_zpszmfsllac.jpg

The M10 Heavy damage another PIV in the wood
 photo DSC06569_zpsqjgbdaek.jpg

Turn 4 - German PIVs fail morale and retire to cover, Pzr Jgr destroys the US AT section & it's crew and missed with the other one in the middle of the formation
 photo DSC06571_zpsox24hdva.jpg

Turn 4 - American, a 76 finishes off the already damaged PIV in the center
 photo DSC06572_zps10ba9vjs.jpg

M36 Heavy damages a SP 75mm arriving up the road,
 photo DSC06573_zpsqvxg1eae.jpg

Turn 5 - German take another Morale check for the PIV Co. OK this time. The Pzr Jgr move into the road and fires at an unsuspecting Sherman, only to see the paint get scratched with a light damage. The PIV on the hill fired at a HT in the wood and missed.
 photo DSC06575_zpsht7mwf9s.jpg

Turn 5 American 76 Fires and destroys a Pzr Jgr in the ctr
 photo DSC06576_zpsamllvtju.jpg

And the 76 that took damage returns fire and yes you guessed it destroys the Pzr Jgr
 photo DSC06580_zpskitzwq5w.jpg

The M10 on the right flank then concentrate their fire on their previous target and cause another Heavy Damage which combined with the previous HD, destroys it
 photo DSC06579_zpsisistrzv.jpg

Dead eyed dick in one of the M36 which hit with every shot took out the SP 75mm and it's crew.
 photo DSC06581_zpsufafbidu.jpg

The Yanks on the right flank also caused some serious damage destroying 2 MMG platoons and the 76 on the right flank (top of the Pic), destroyed a HT with a short barreled 75mm
 photo DSC06582_zpsxxgaflzw.jpg

 photo DSC06583_zpsteeb2ite.jpg

Turn 6 - Saw the Pzr Jaeger Company fail morale and rout off. The German player conceded the game.

The American dice rolling was as unbelievably good as the German's rolling was dire.

The Germans lost 2 PIV 1 Pzr Jaeger a SP75mm, a HT 75mm and 18 infantry (20 for a morale test)

The American lost a Towed 57mm AT Gun and 6 men


It was an embarrassing win for me