I was talking to Michael Hopper,the other day (via email), author of some fantastic Napoleonic scenario books, about Russia 1812 and he sent this Scenario, one of three using these forces below, with some infantry, etc in the later scenarios.
The Grand Armee had been on the march in the extreme Summer heat, for two weeks since it crossed the Nieman River Russia (Modern day Belarus), and at a town Southwest of Minsk was the battle of Mir 9th July 1812, Where two large cavalry forces clashed to control the town of Mir and the supply route to Minsk. This is a rear guard all cavalry action and will be a challenging scenario for most gamers that play Russian.
At the actual battle the Russian Cossacks under the command of Count Matvei Platov set an ambush. The fighting was vicious and tenacious as there was no love loss between the two neighbouring nations. The battle was reinforced during the day, by more cavalry on both sides and ended due to failing light and leaving 500 dead Polish troops on the field, compared to the Cossack's 25 dead.
Count Matvei Platov

Our game was played using 15mm figures, having to proxy A few polish lancers with French. All the Polish are of the same morale status of regular, and the Russians have a lot of second rate troops. We have allowed a plus 1 to the dice on the first turn of a charge, and we allowed a plus 1 for rear support for the game as there was no love loss between the two nations.
Purple dice are the units stats.White and red dice are the combat dice.
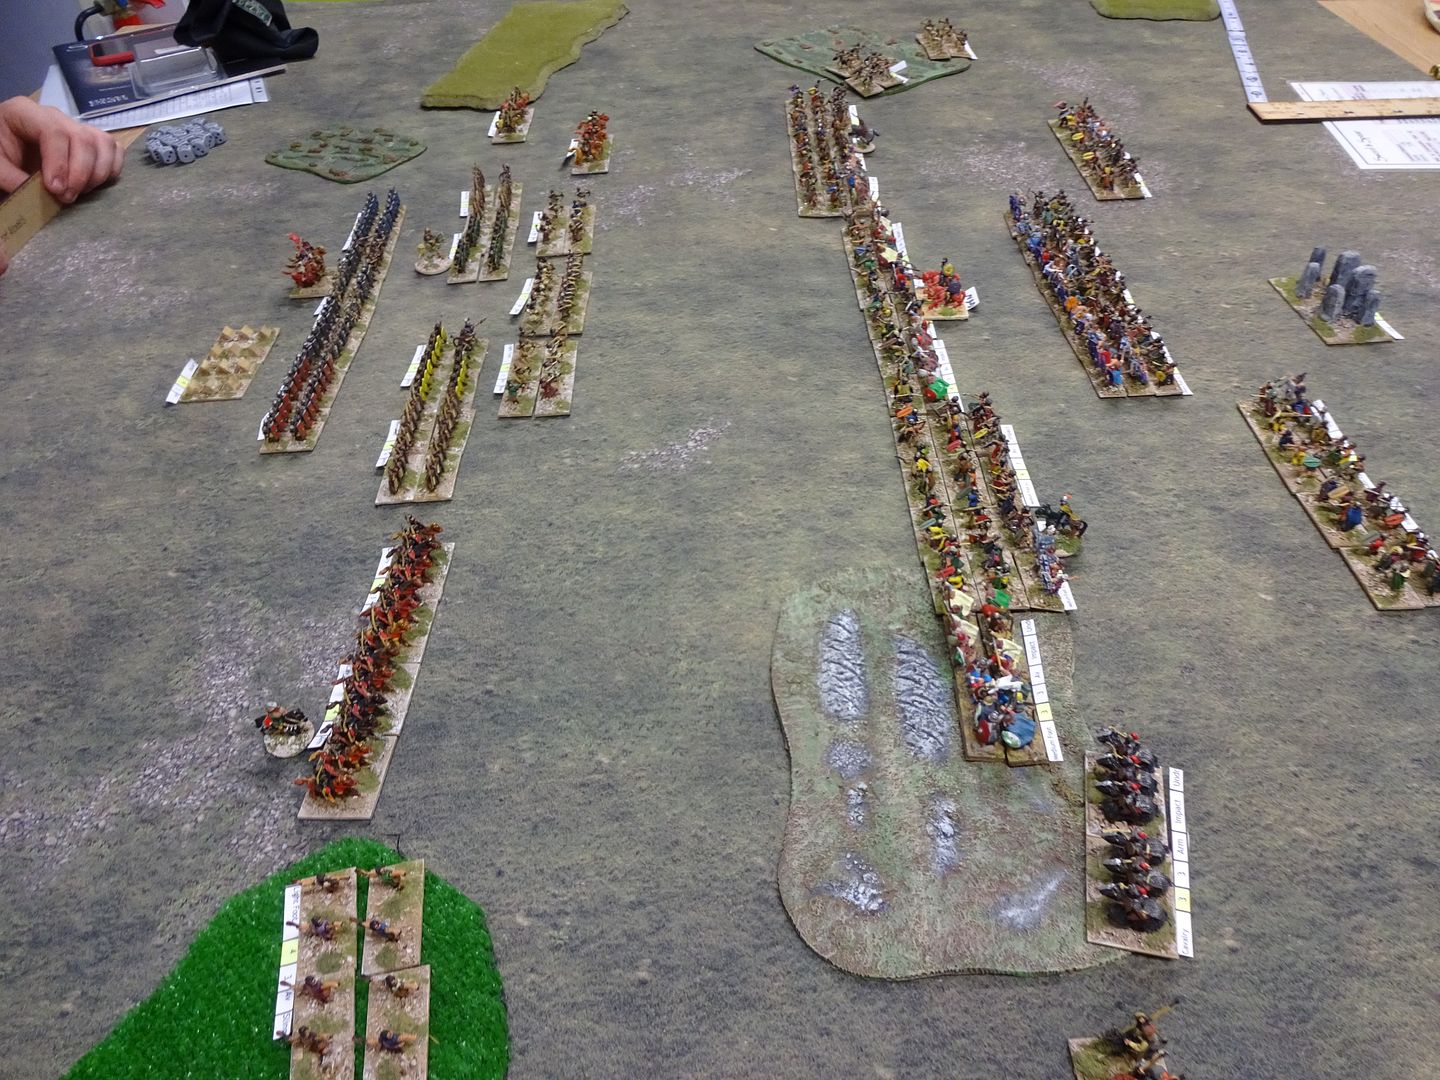
Deployment, Polish (on left) have deployed east of the Village of Turno and the Cossacks deployed to protect Mir.
.JPG)
Polish
.JPG)
Turn 1:
The Russian Horse Artillery on the road fire at the cavalry on the heights and claim first blood
.JPG)
.JPG)
Turn 2:
The Polish come off the heights and are charged by the keen Cossacks
.JPG)
Each move the Polish make towards the town, is countered with a charging Cossack Regiment.
.JPG)
Overview
.JPG)
The Polish cause 5 kills on the poor Rated (FMR3) Cossacks, which is destroyed/routed outright
.JPG)
And the "rout" causes a stagger on the unit behind
.JPG)
The Polish Lancers then use the breakthrough charge (Pursuit), losing the plus 2 (1 for first charge and 1 for rear support), and hit the Raw rated (FMR2) Cossacks
The draw causes one kill on each and a reroll.
.JPG)
In the re-roll, the Cossacks receive 2 kills destroying the unit. 2 units gone for the Cossack by turn 2.
.JPG)
On the Cossack right, things weren't going any better! First Cossack unit went into Fall Back and took 2 kills (these are the Don Cossacks so 3 Frontal Morale Rating).
.JPG)
And the Polish Breakthrough took a unit Crimean Tatars out of the game
.JPG)
The Russians had to take Divisional Morale and passed.
End of turn 3.
.JPG)
Turn 4
Most units were Blown and needed to reform
.JPG)
Turn 5:
Saw some manourering and a Polish unit in Column tried to capture Platov, We did a dice roll and they failed to capture this turn.
.JPG)
The Horse Artillery tried to move and would fire next turn.
.JPG)
Turn 5 also saw the arrival of the Polish (French proxies) in the Village of Turno
.JPG)
End of turn 5, Could Russian reserves arrive in time.
.JPG)
Turn 6:
The Russian Reserve arrive on table
.JPG)
as the Polish move swiftly along the road (We gave any road movement an extra 3" of movement in column)
.JPG)
The Polish player waited for his reserve but got his forward units into favourable positions.
End of turn 6
.JPG)
could the Russians get an advantage and hit the Polish first.
.JPG)
The Polish manoeuver
.JPG)
End of Turn 7. The Russian 1st Division under Illovavsky failed the Divisonal Morale and broke..JPG)
Turn 8:
The next couple of moves were crucial and the Russians must win some combat to push the Polish away from the town and Platov.
The Russians lost the initiative roll, which was not what they needed.
The Kiev Dragoons FMR5, were hit by the Lancers, but managed to destroy them and brokethrough
.JPG)
in the breakthrough the Dragoons took two casualties and had to Fallback
.JPG)
And fell back off table, once again we put our spin on it, if they pass their morale, they can come back on the table a D6 of moves!
.JPG)
Turn 9:
The Lithuanian Uhlans FMR4, Charged home
.JPG)
And in turn destroyed the Lancer unit causing 4 kills. The Lithuanian Uhlans then recalled back out of the fight, as it would fight Blown if contacted by the Polish.
.JPG)
End of Turn 9
.JPG)
Turn 10:
the Russians won initiative and needed fight there way out of the corner. So the remaing Hussar units charged to give the Uhlans and Dragoons(due back on table turn11) a breathing space.
.JPG)
And when you have one of those days. Hussars take 2 kills and Fallback.
.JPG)
Like I said! 6 kills destroyed the other Hussar unit.
.JPG)
End of turn 10. The Russian 2nd Division Passed it's Morale.
.JPG)
Turn 11:
The Dragoons arrive back, but it was to late for the Russians. They were boxed in. The only saving grace was that Platov escaped to fight another day.
.JPG)
Mir was captured and history turned upside down because of terrible dice rolling on my part.
.JPG)
Last turn, no narrative needed
.JPG)
.JPG)
.JPG)
The game is very difficult, almost impossible on paper for the Russians to win this one. But the Polish opponent had only ever had one game before and I walked through all his options each turn, but does not excuse my dice.
In reality the Cossacks "ambushed" the Poles, so perhaps 2 turns of hidden movement to outflank may be in order with some dummy chits to confuse the Poles.
A fun game all the same. We both found out a lot more about Cavalry in shako II
.JPG?width=1920&height=1080&fit=bounds)
.JPG?width=1920&height=1080&fit=bounds)
.JPG?width=1920&height=1080&fit=bounds)
.JPG?width=1920&height=1080&fit=bounds)
.JPG?width=1920&height=1080&fit=bounds)
.JPG?width=1920&height=1080&fit=bounds)
.JPG?width=1920&height=1080&fit=bounds)
.JPG?width=1920&height=1080&fit=bounds)
.JPG?width=1920&height=1080&fit=bounds)
.JPG?width=1920&height=1080&fit=bounds)
.JPG?width=1920&height=1080&fit=bounds)
.JPG?width=1920&height=1080&fit=bounds)
.JPG?width=1920&height=1080&fit=bounds)
.JPG?width=1920&height=1080&fit=bounds)
.JPG?width=1920&height=1080&fit=bounds)
.JPG?width=1920&height=1080&fit=bounds)
.JPG?width=1920&height=1080&fit=bounds)
.JPG?width=1920&height=1080&fit=bounds)
.JPG?width=1920&height=1080&fit=bounds)
.JPG?width=1920&height=1080&fit=bounds)
.JPG?width=1920&height=1080&fit=bounds)
.JPG?width=1920&height=1080&fit=bounds)
.JPG?width=1920&height=1080&fit=bounds)
.JPG?width=1920&height=1080&fit=bounds)
.JPG?width=1920&height=1080&fit=bounds)