Search This Blog

Saturday 25 July 2020

Bloody Albuera 1811 - 15mm Shako II rules

Spain 16th May 1811. Marshall Beresford and his Anglo- Portuguese & Spanish Allies fought to prevent the French army under Marshall Soult relieving the city of Badajoz.

The deployment pictures are from the first time we set the game up, then they switch between the run through game and the game at Crisis show in Antwerp 2018.
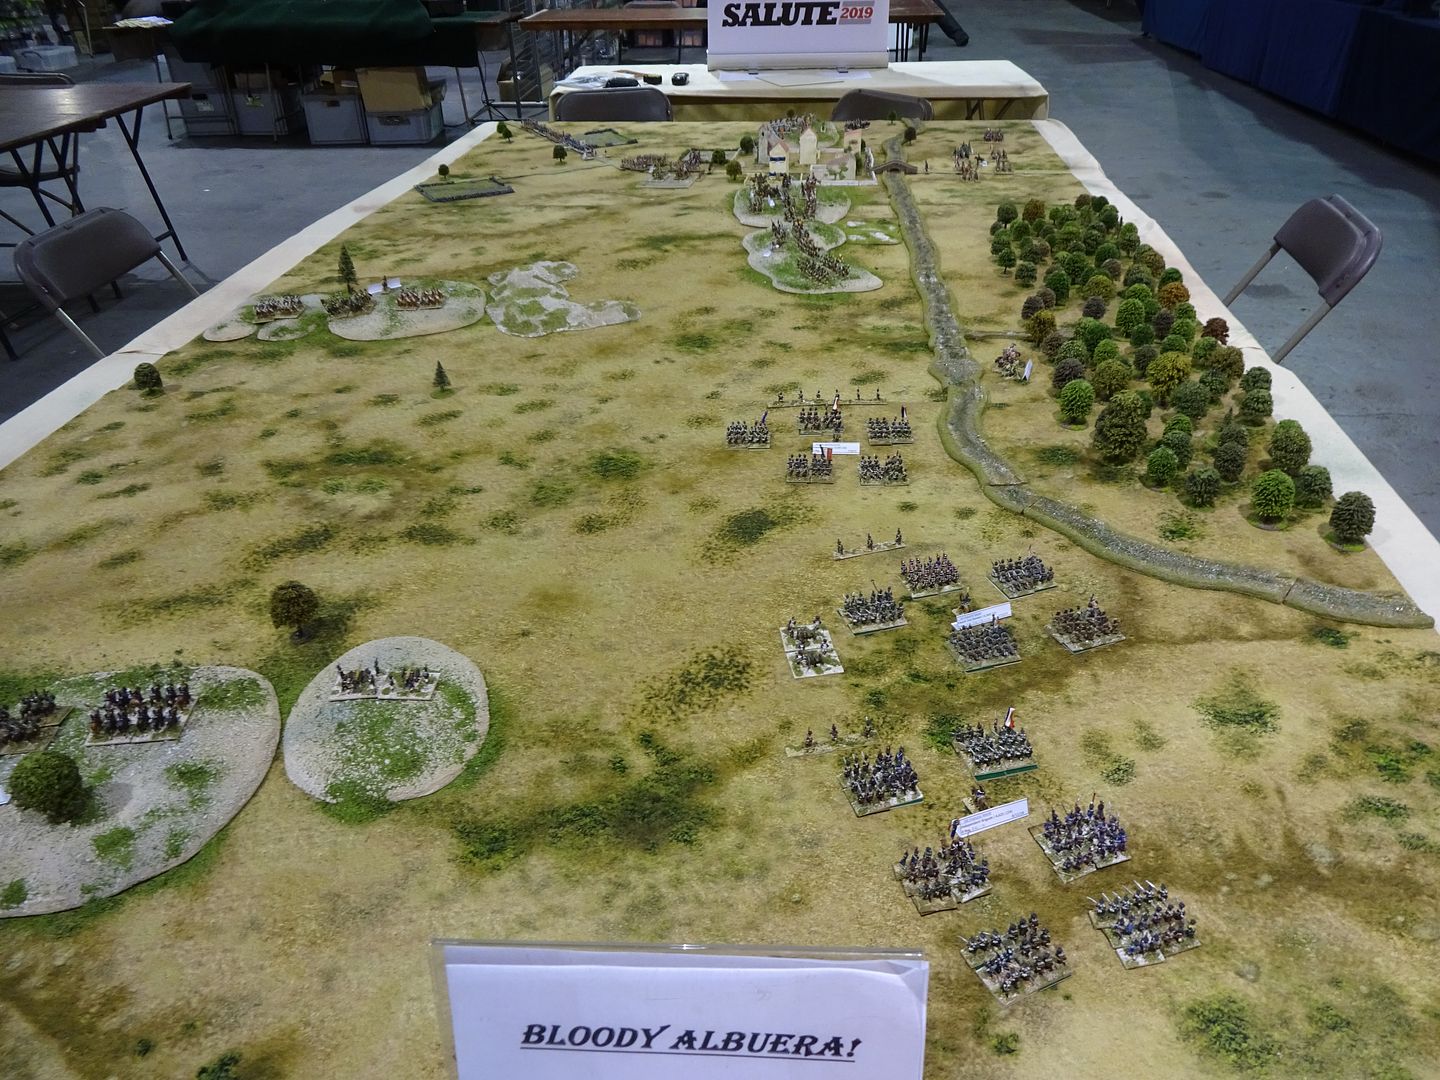
 photo DSC02892_zpst3nfj1ls.jpg

15mm figures, all from my collection, using Shako II rules.I doubled the size of the units.
The scenario is from Fields of Glory.
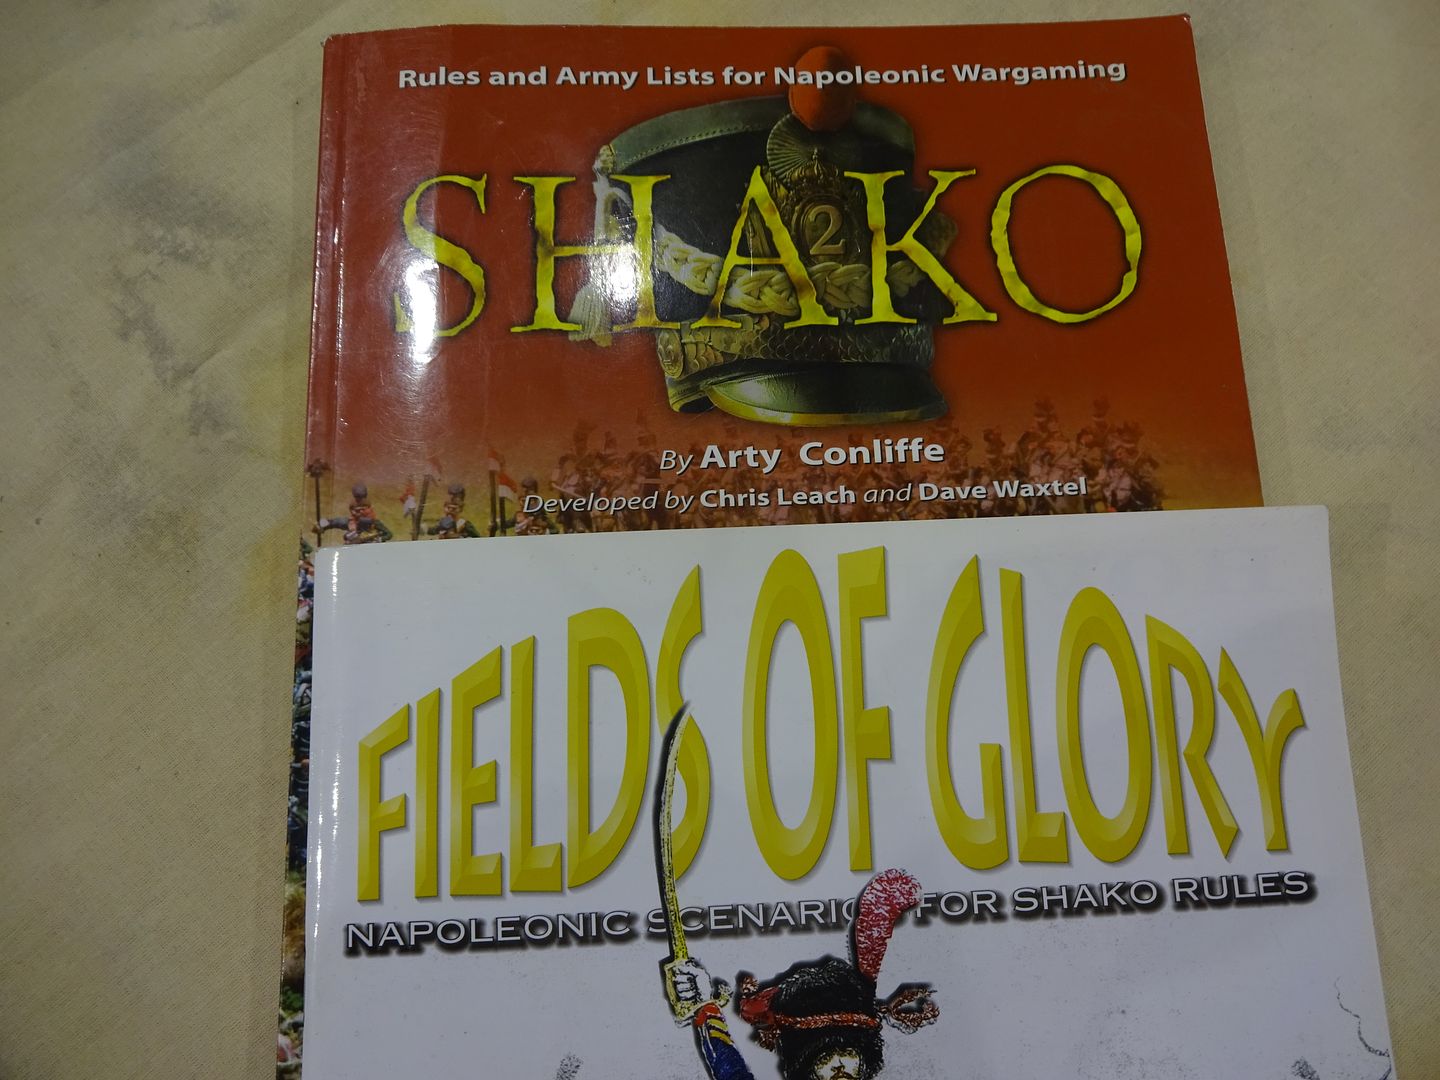
 photo DSC02890_zpsivcwxrhk.jpg

The game has 12 turns and the French objective is to occupy Albuera town by turn 12 and break three of the Allied Divisions. The Anglo/Allied commander has to prevent this to win.
We rolled each turn to see if we had the downpour that happened on the day!
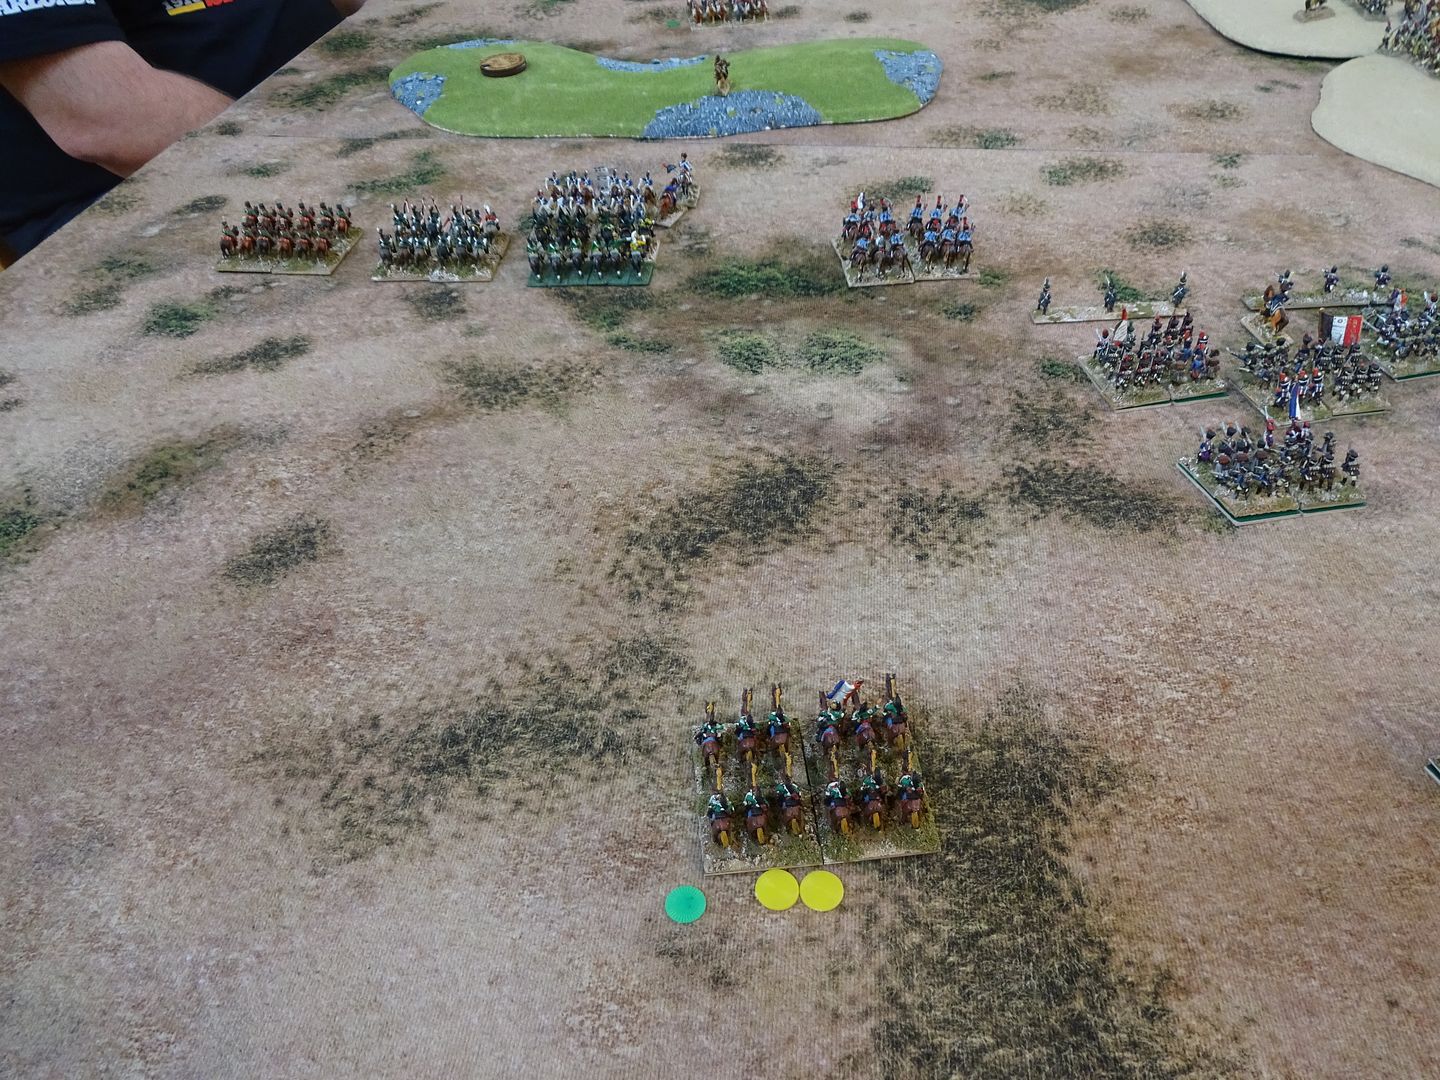
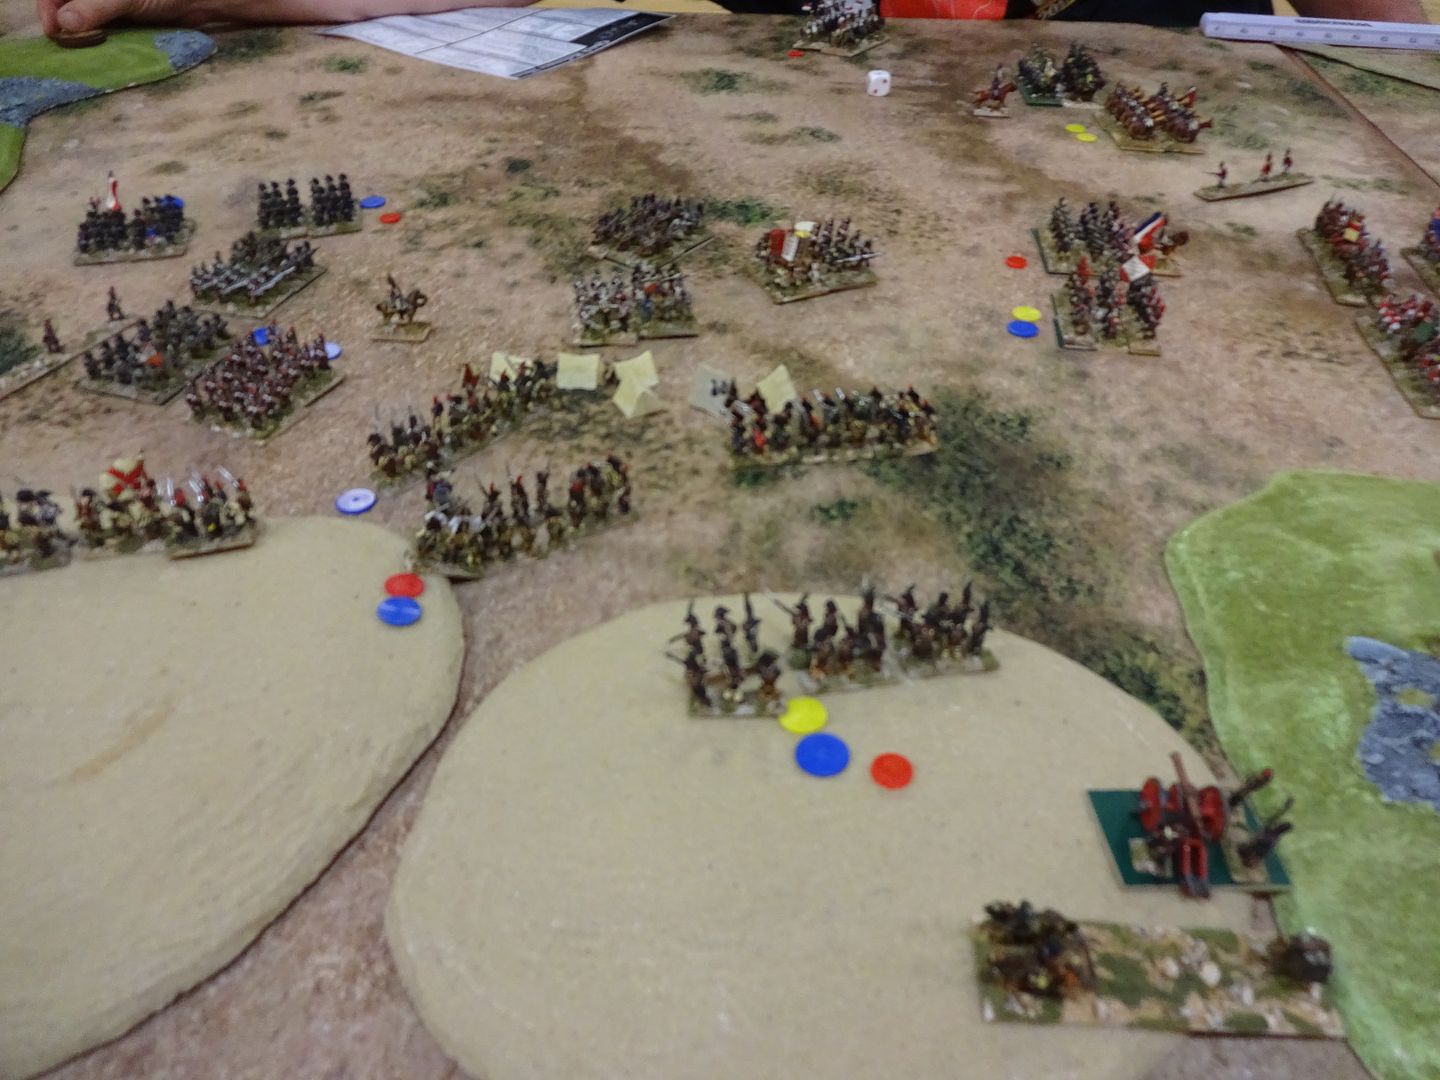
Blue counters are staggered units (Shaken), Red and yellow are wounds, Green are blown cavalry! 

Deployments.
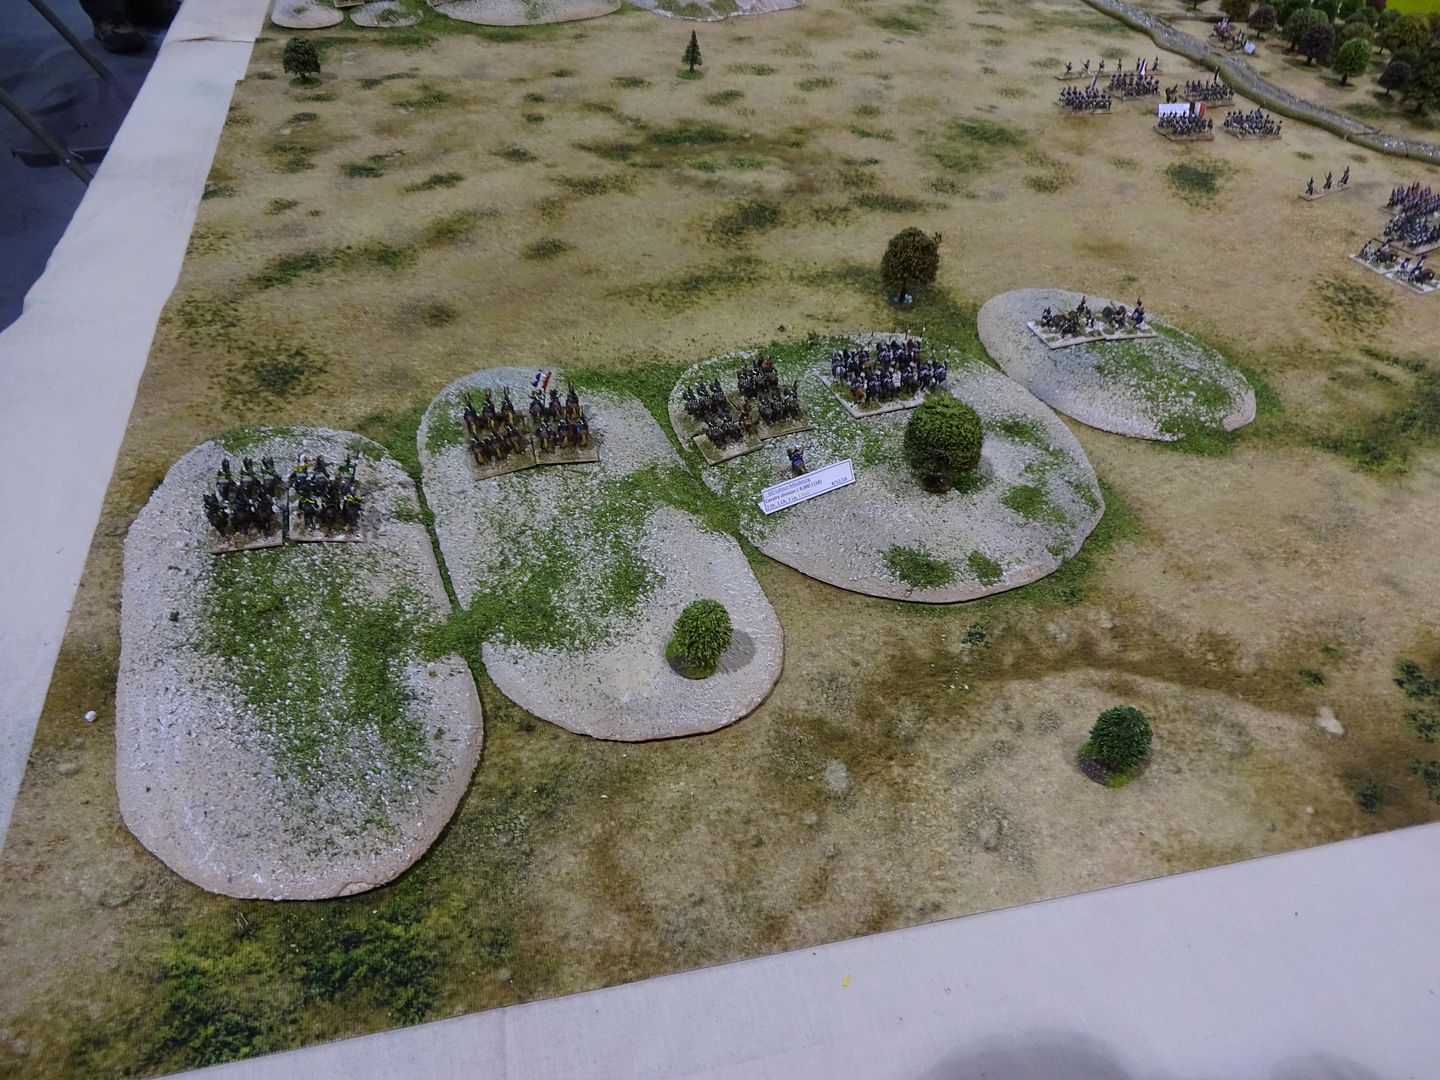
British Right Flank - British/ Portuguese Cavalry Brigade
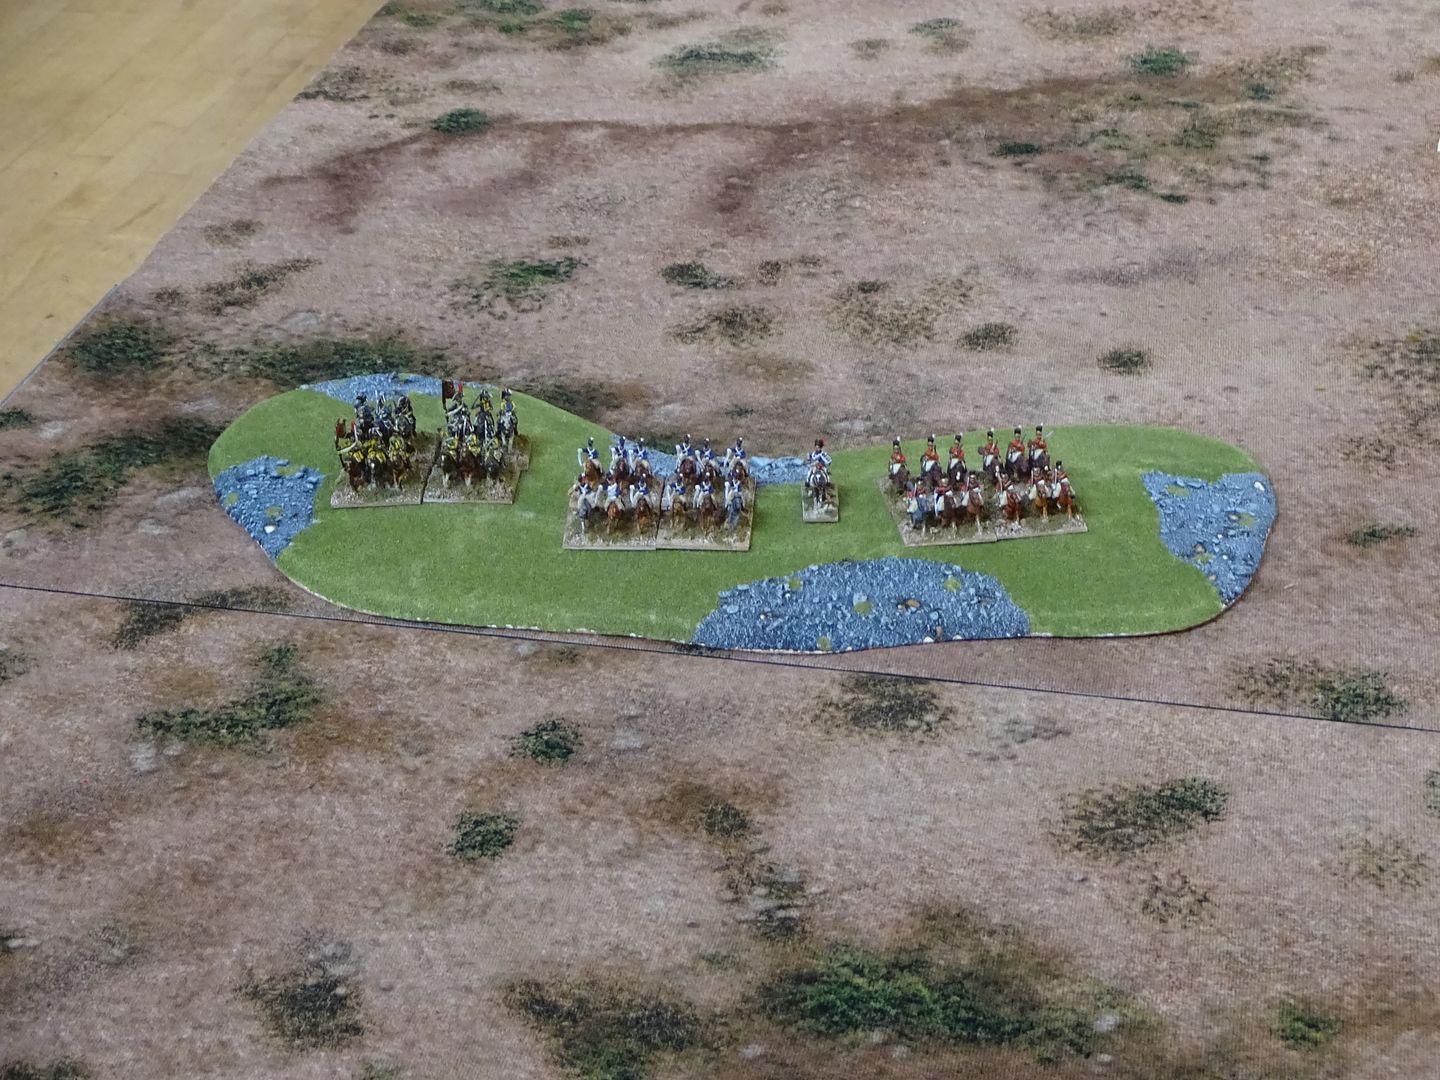
 photo DSC02133_zps84b2teuc.jpg

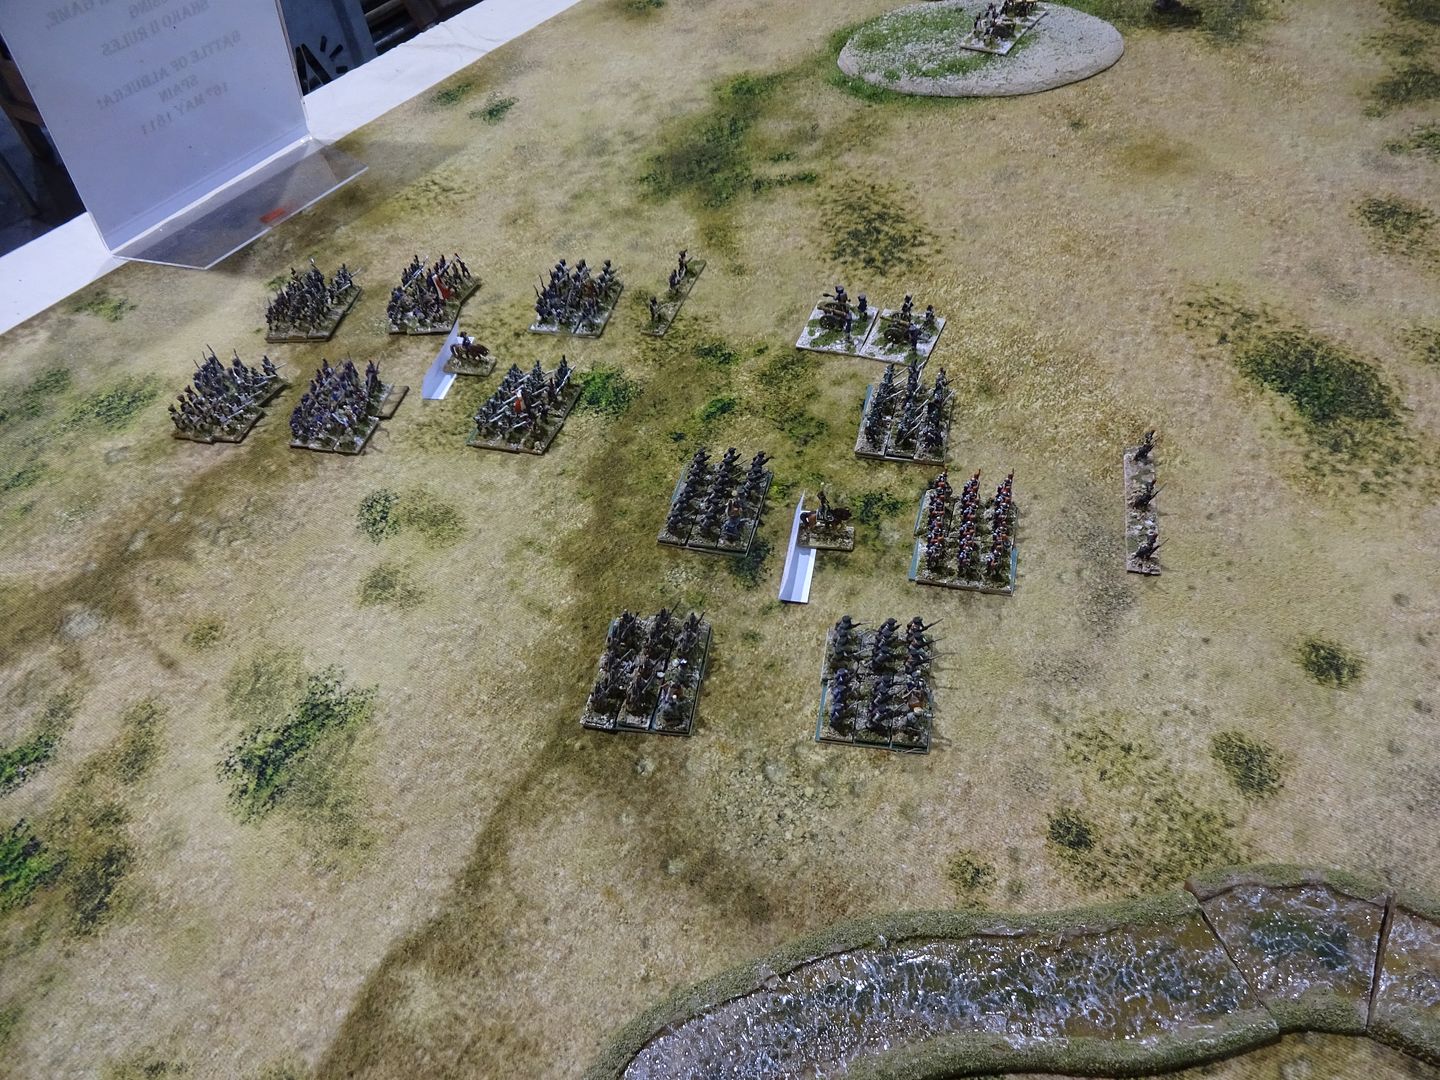
British Right Centre - The two Spanish Divs of Ballesteros & Zayas
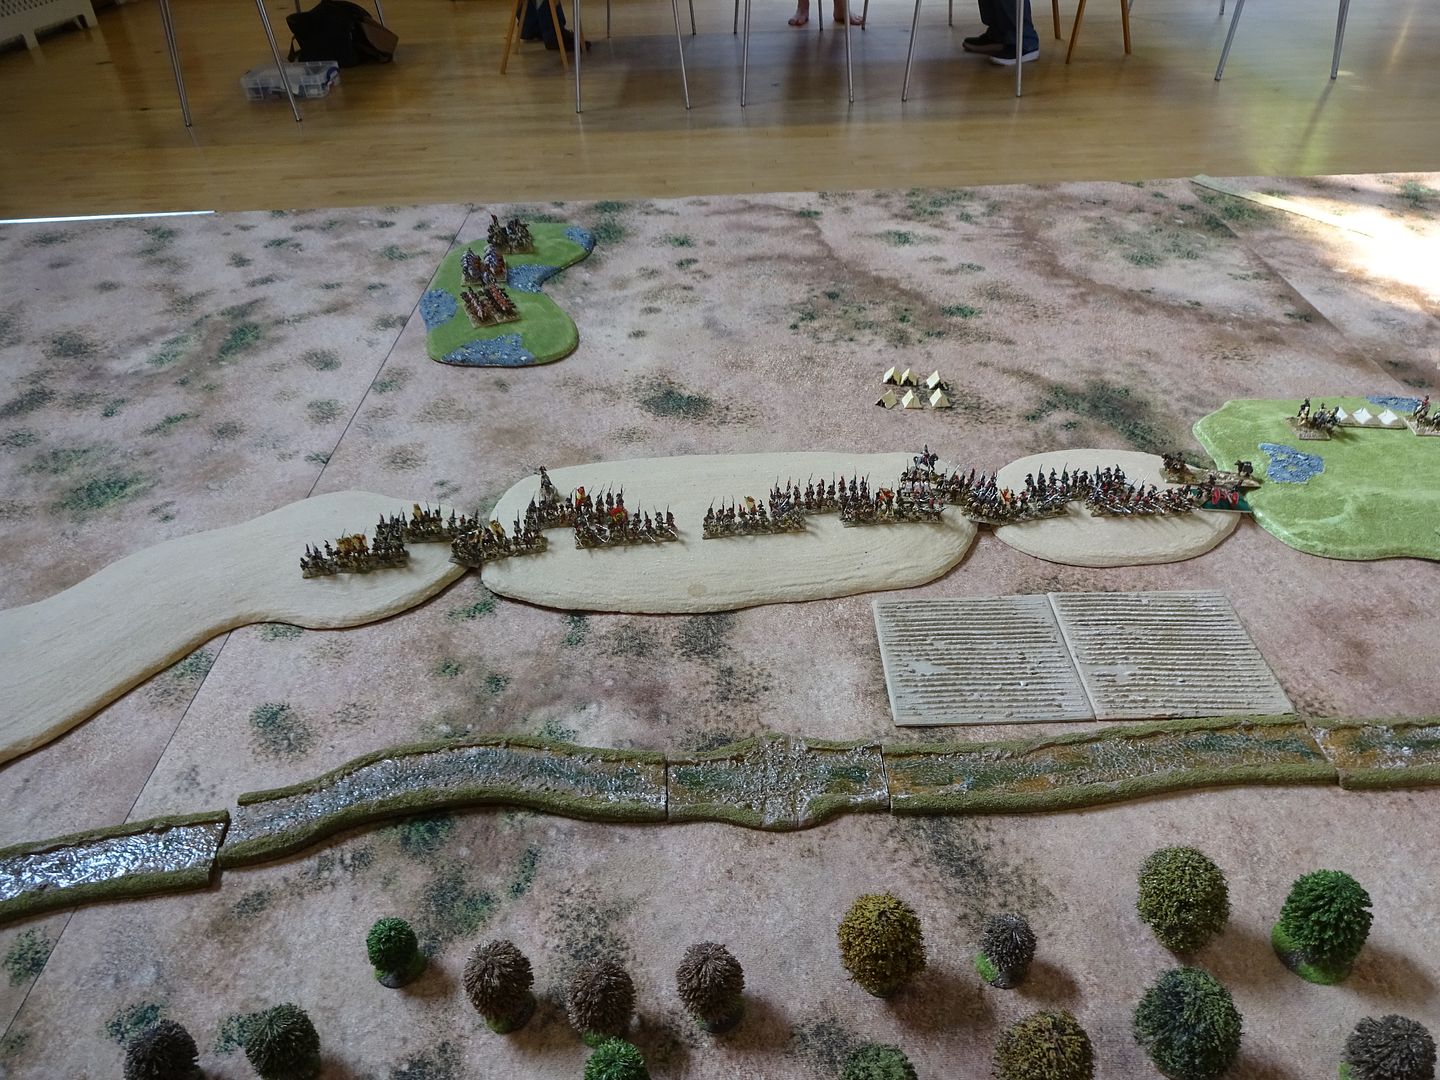
 photo DSC02131_zpsflx5gblq.jpg

British Centre -Stewart in the pass, Hamilton on his left on the heights, Alten's KGL in Albuera town
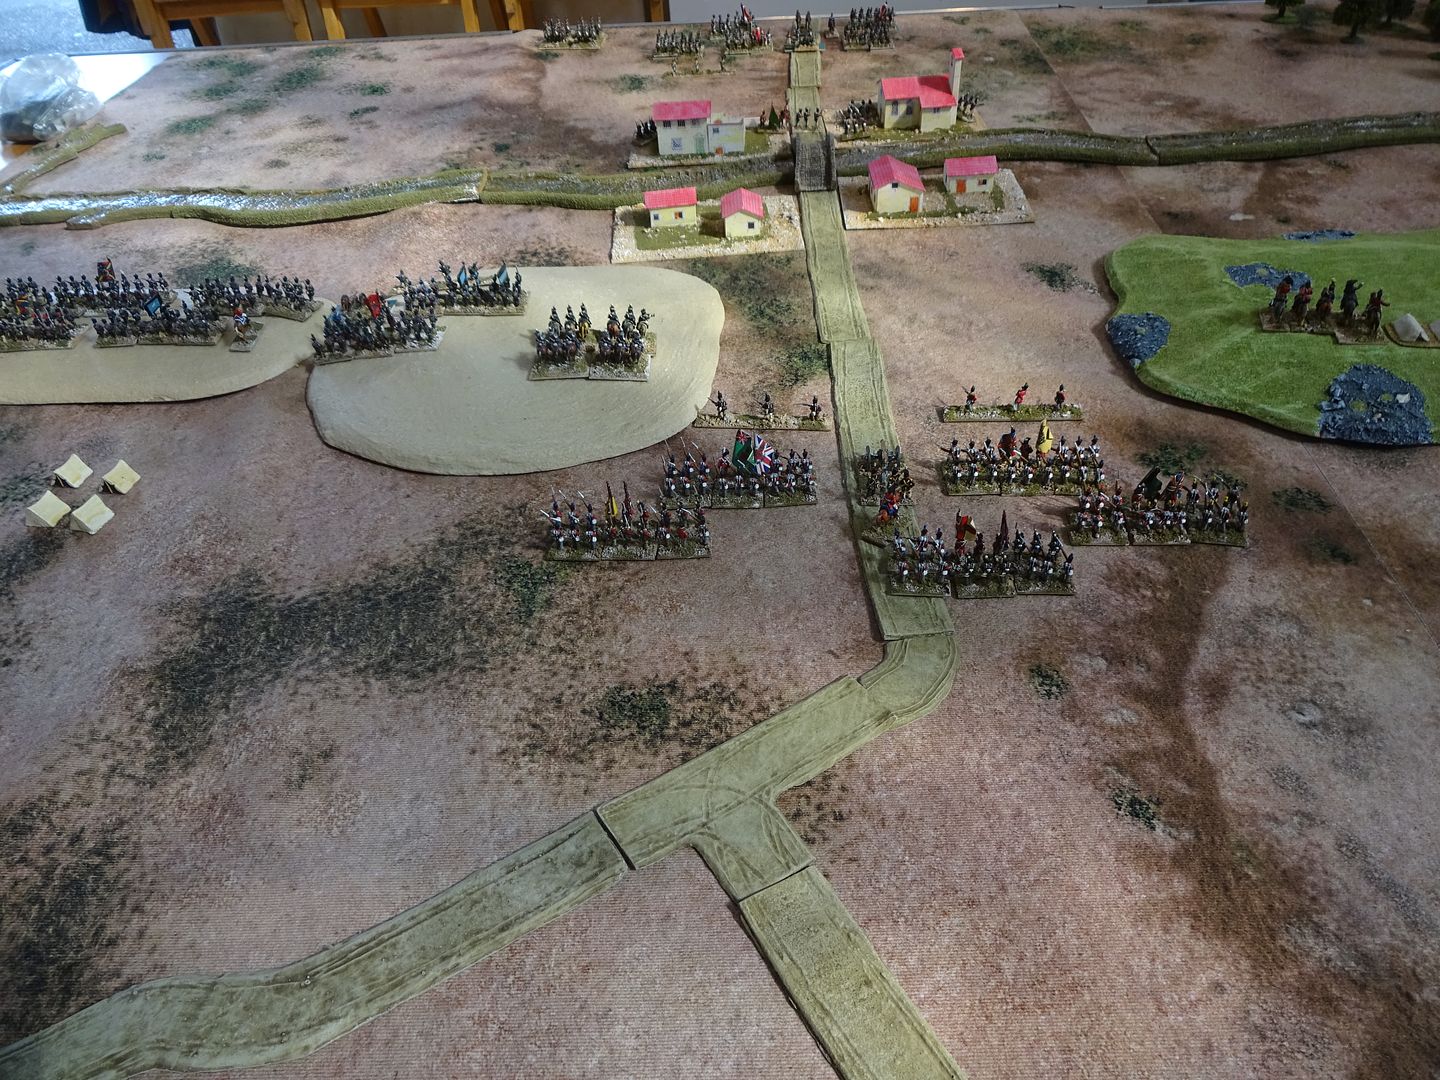
 photo DSC02136_zpsgcltr2fj.jpg

Albuera town Occupied by the Kings German Legion, Stewart's 2nd Div occupy the pass with Hamilton's Portuguese Div. on the heights to the right of the pic. Beresford's command post on the green hill. The French Div of Godinot in the foreground.
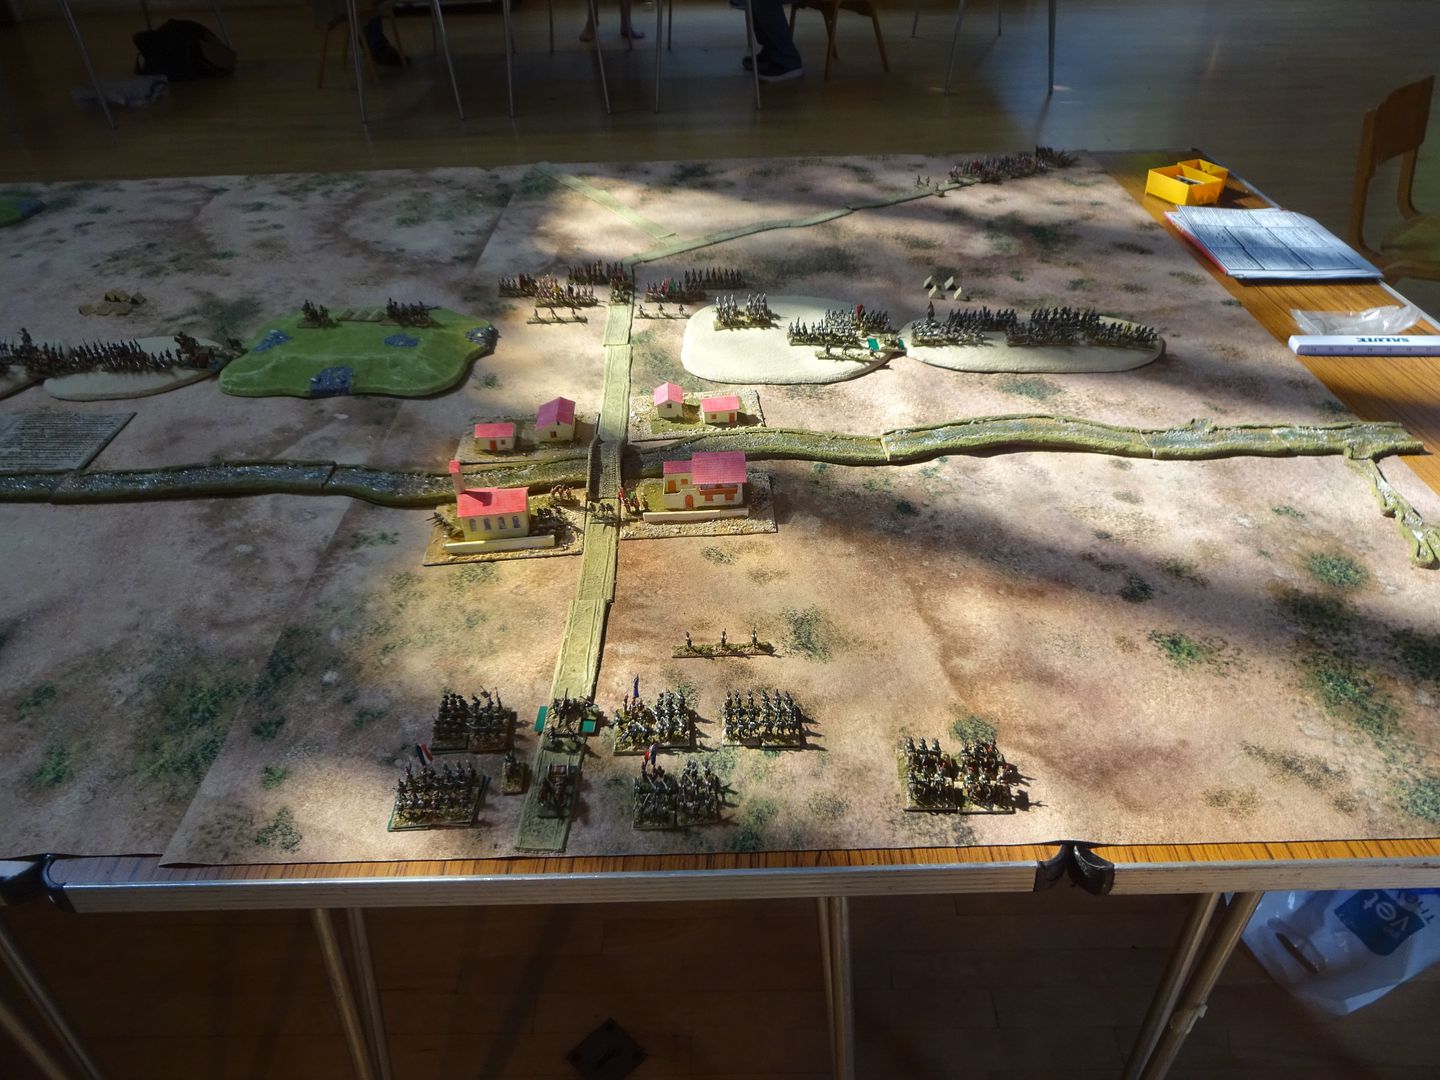
 photo DSC02130_zpsgumdzast.jpg

Cole still approaching the battlefield
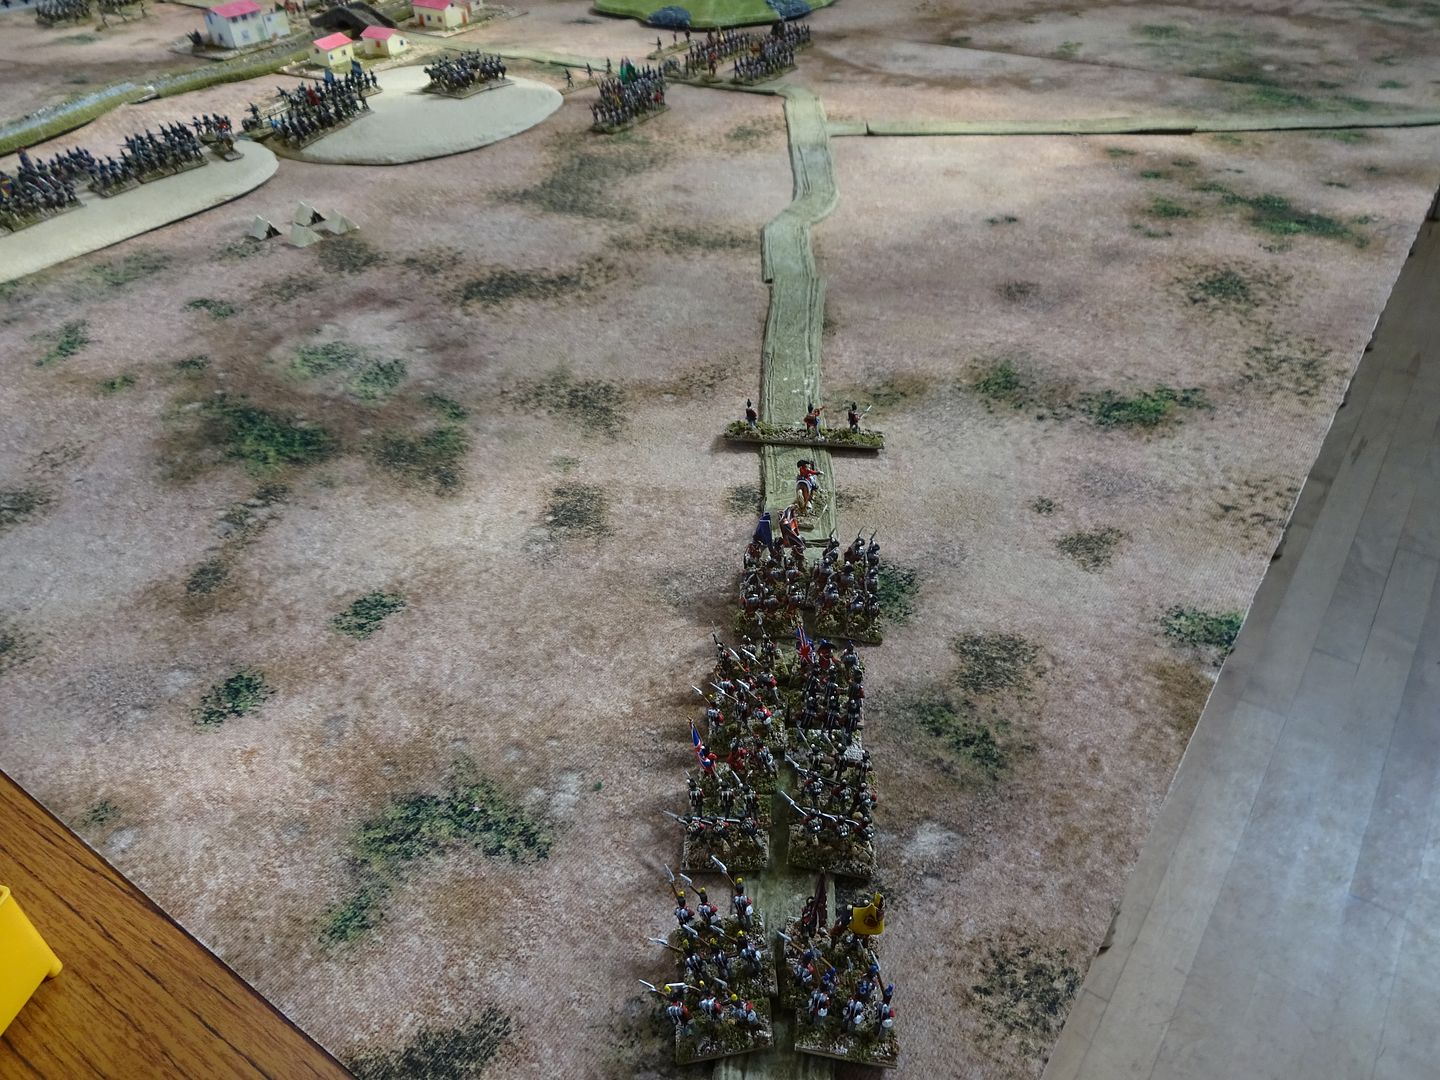
 photo DSC02137_zpspglg3gz9.jpg

French Left The main French attack plan was to feint an attack on Albuera with their main force attacking from the allies right flank.
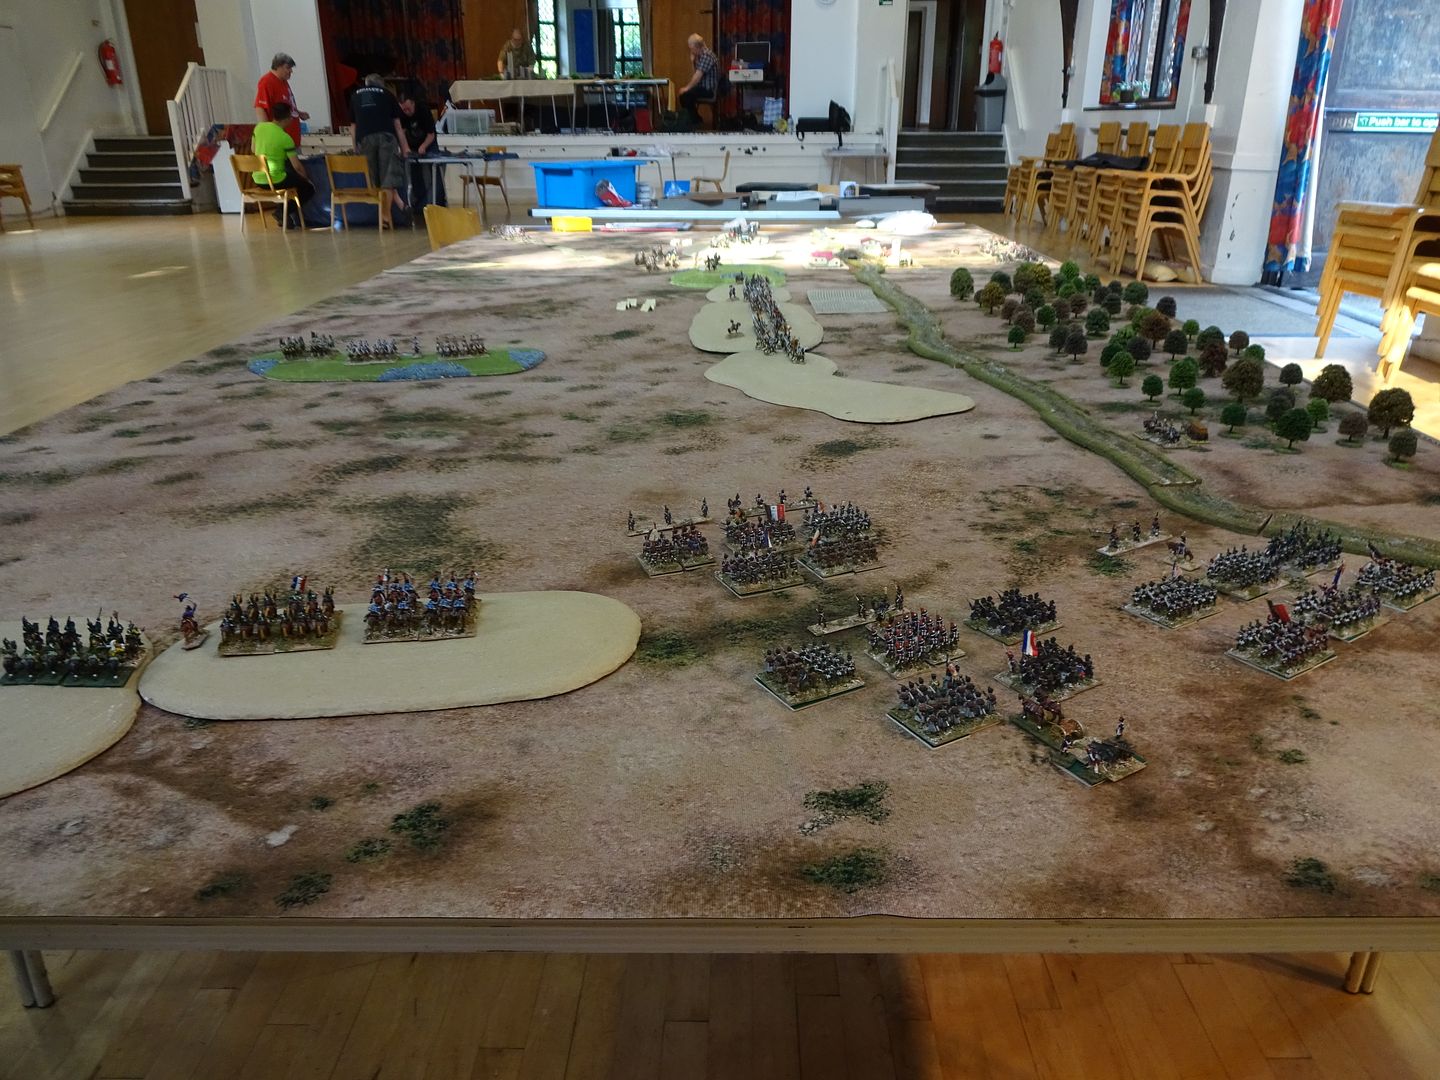
 photo DSC02135_zpsefuvm6ge.jpg

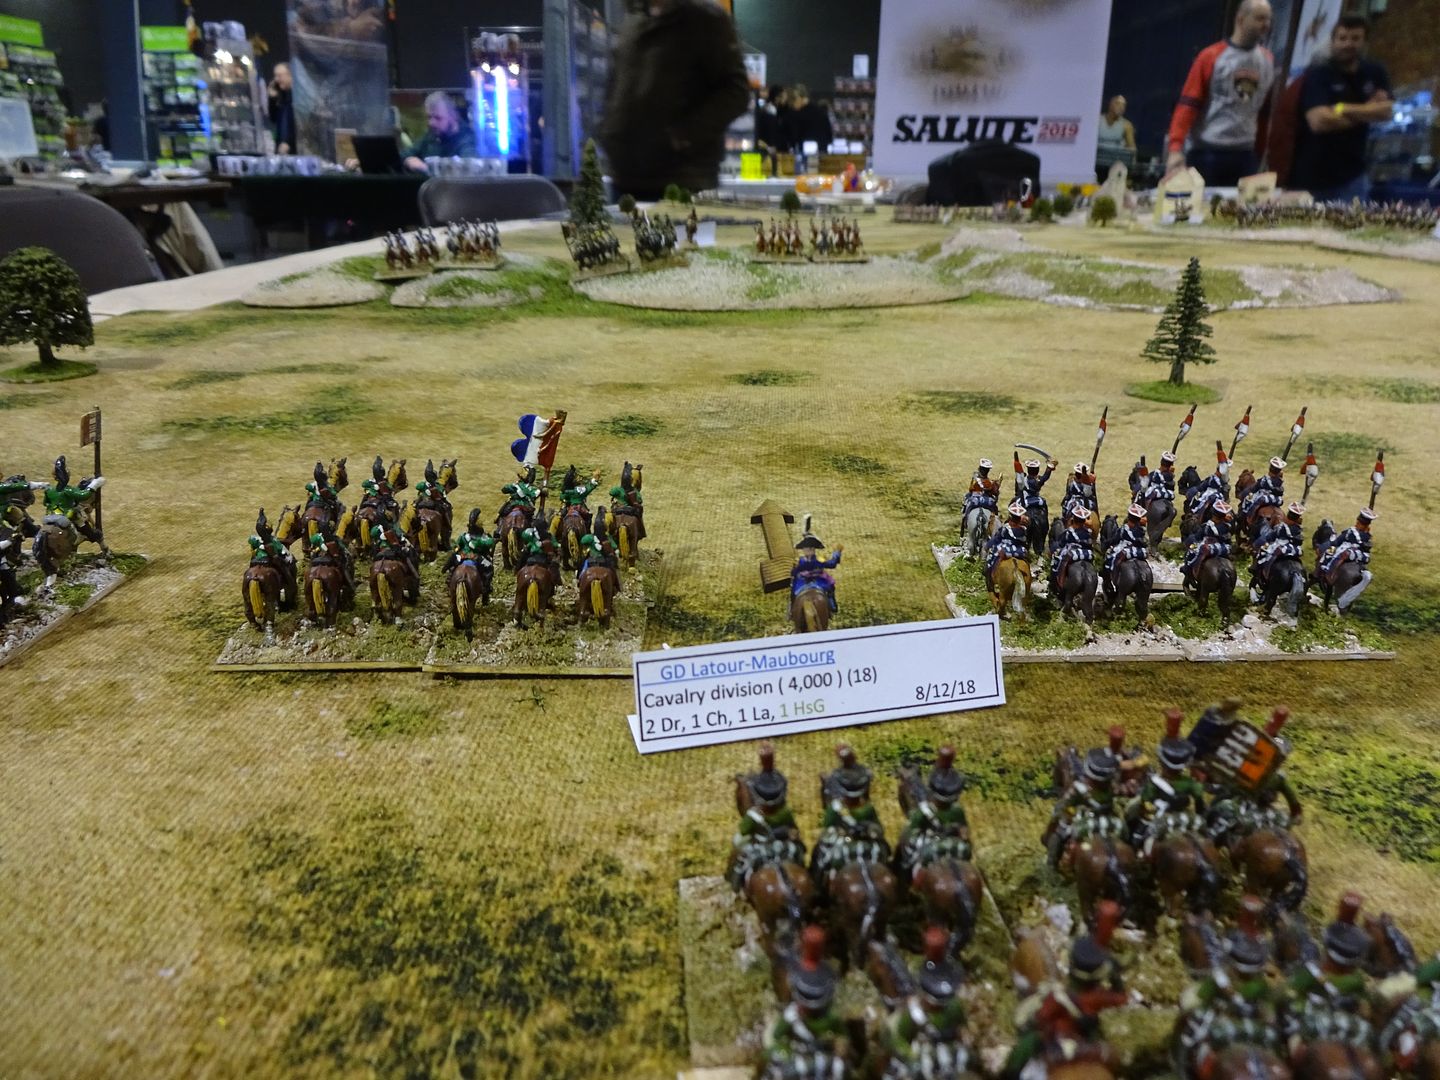
French Left flank - Cavalry Division. British Cavalry Division on the heights across the valley, with the Spanish Divisions to the right in the pic
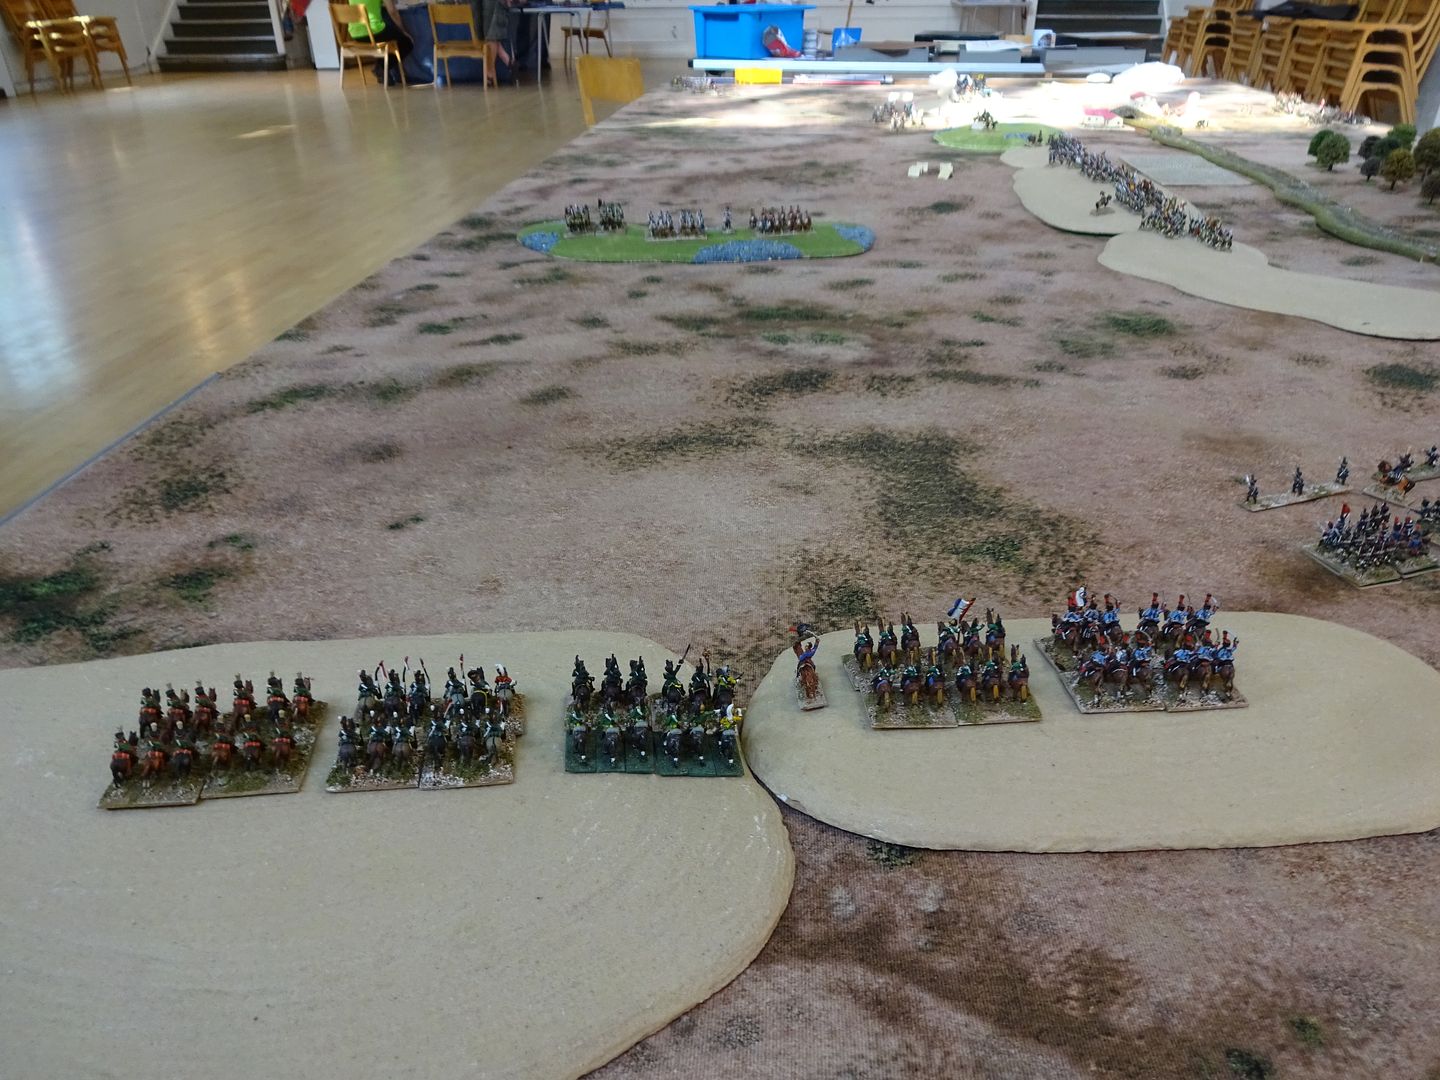
 photo DSC02134_zps0byytnv0.jpg

Top left is the french cavalry Div. of Latour-Maubourg. Then are the division's of Girard, Gazon & Wrele. Soult's Command post in the foreground
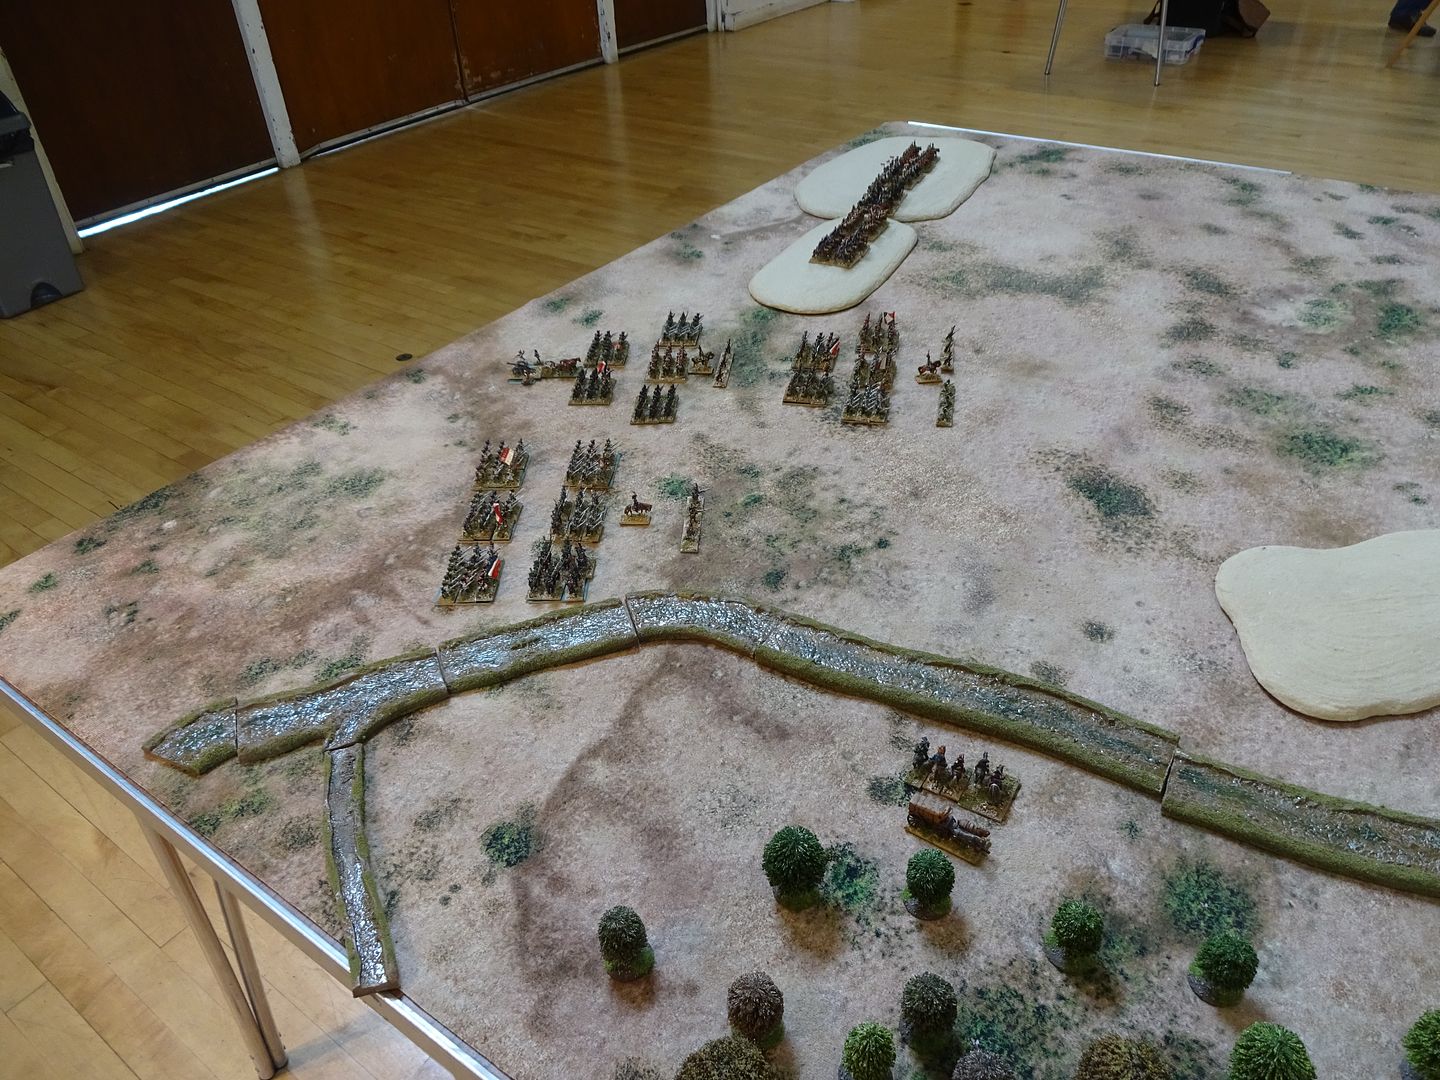
 photo DSC02132_zpse4jfvprb.jpg

 photo DSC02896_zpsemzkb2iz.jpg

 photo DSC02895_zps30idkpl5.jpg

Turn 1 - French Cavalry Advance into the valley.
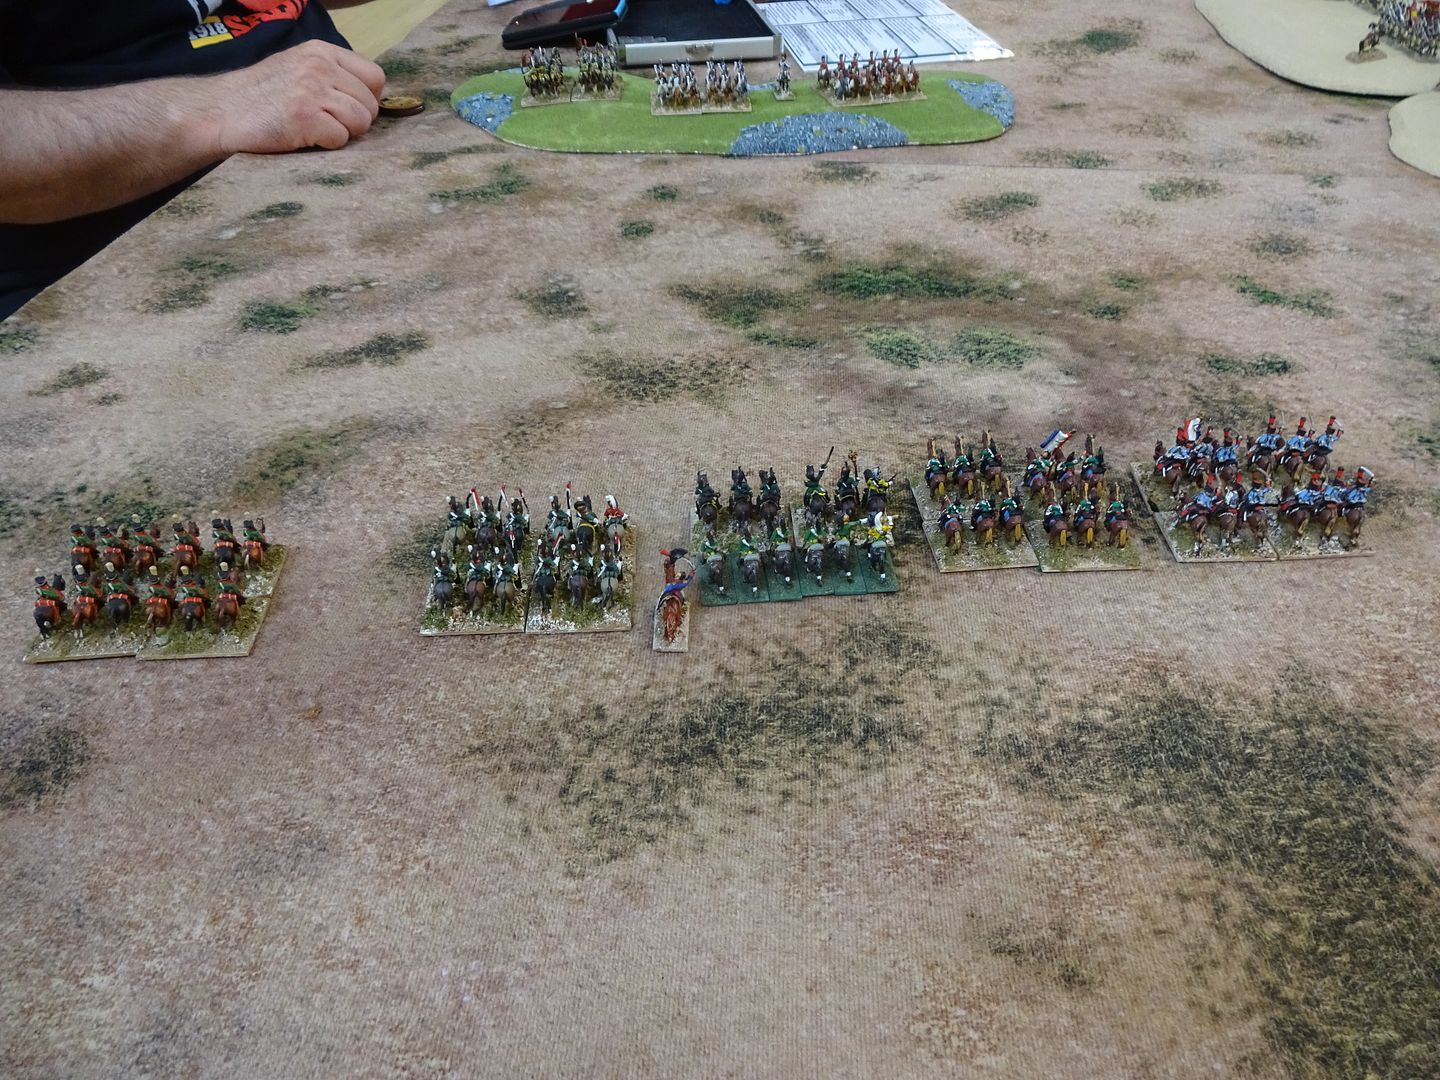
 photo DSC02140_zpsruuf5cgu.jpg

 photo DSC02908_zpsgjsekvv2.jpg

Girard, Gazan & Wrele advance to their right.
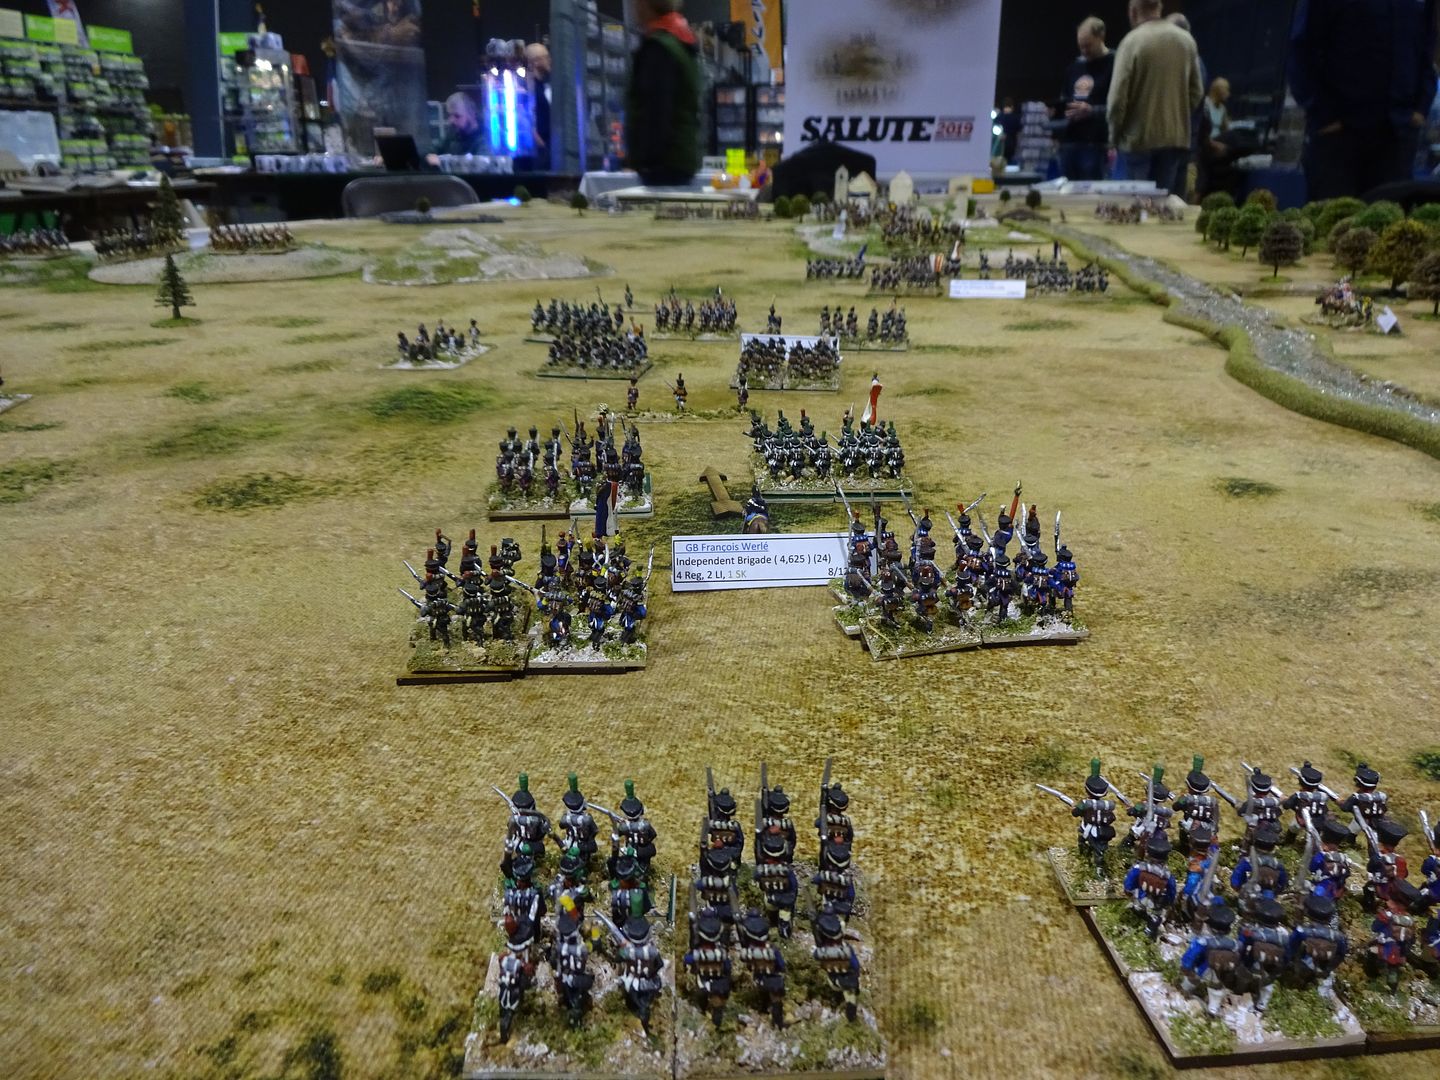
 photo DSC02907_zpsugek3ncf.jpg

Turn 2 -The British Cavalry charge in typical fashion the Dragoons hit and cause 2 kills on one of the French Dragoon units, causing them to fall back. The British Dragoon Regt decided it prudent to recall back to the safety of the rear slope, leaving the Portuguese Light Cavalry to their fate!
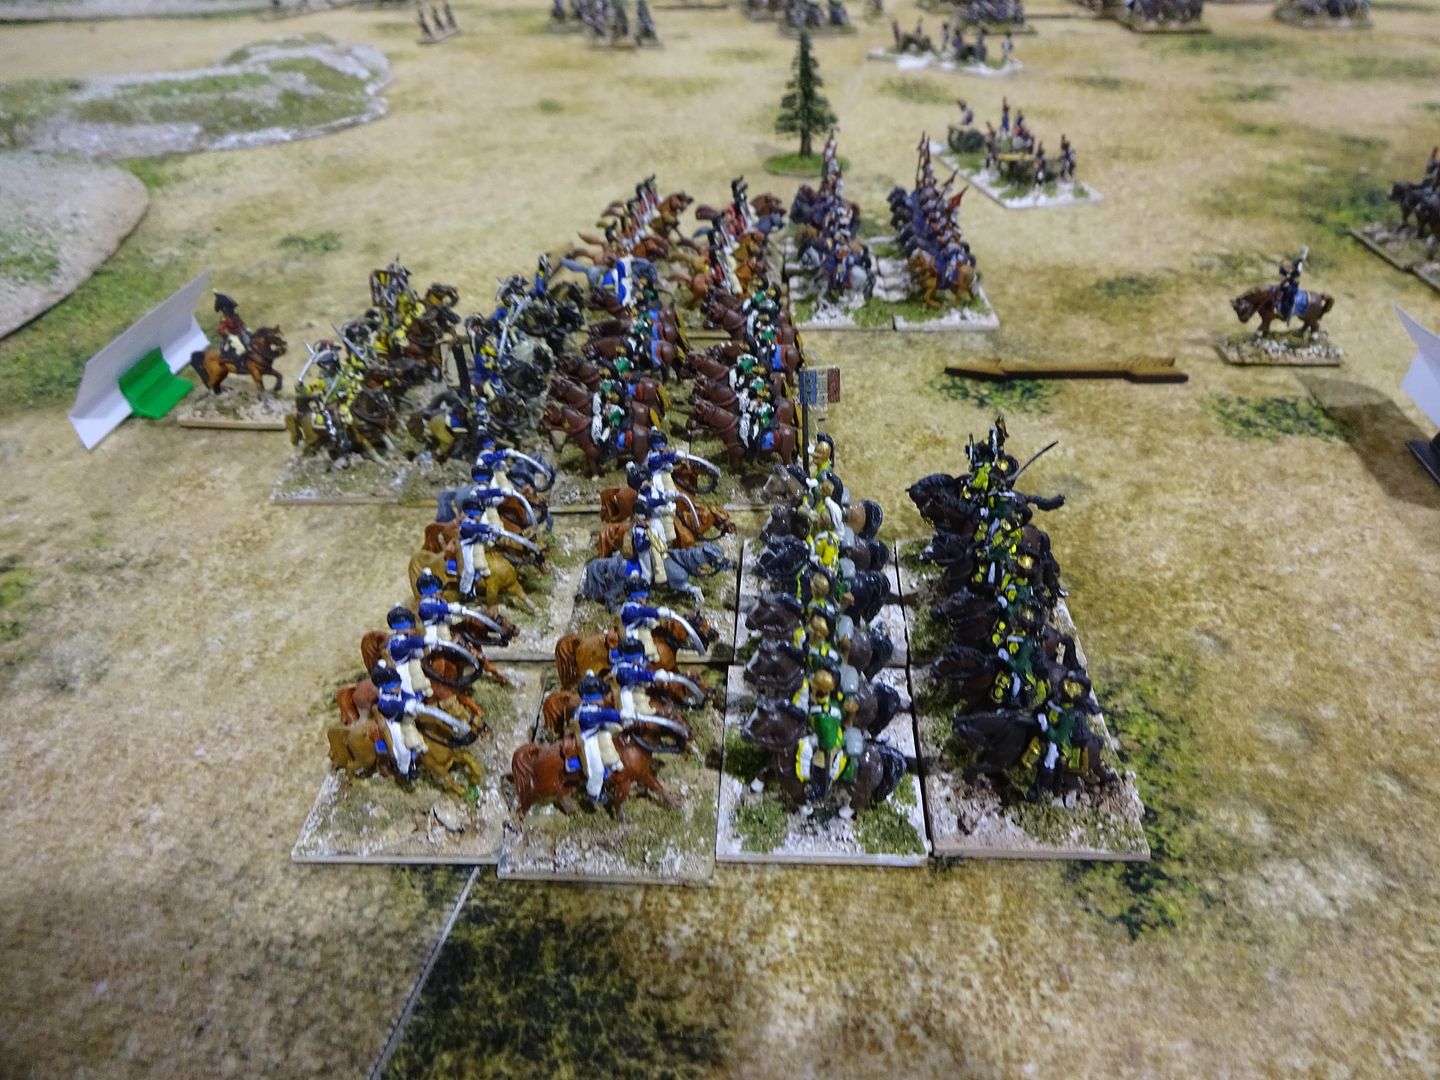
 photo DSC02909_zps2aax3yn8.jpg

 photo DSC02147_zpsu5dnsea7.jpg

That's the British Dragoons,that is!
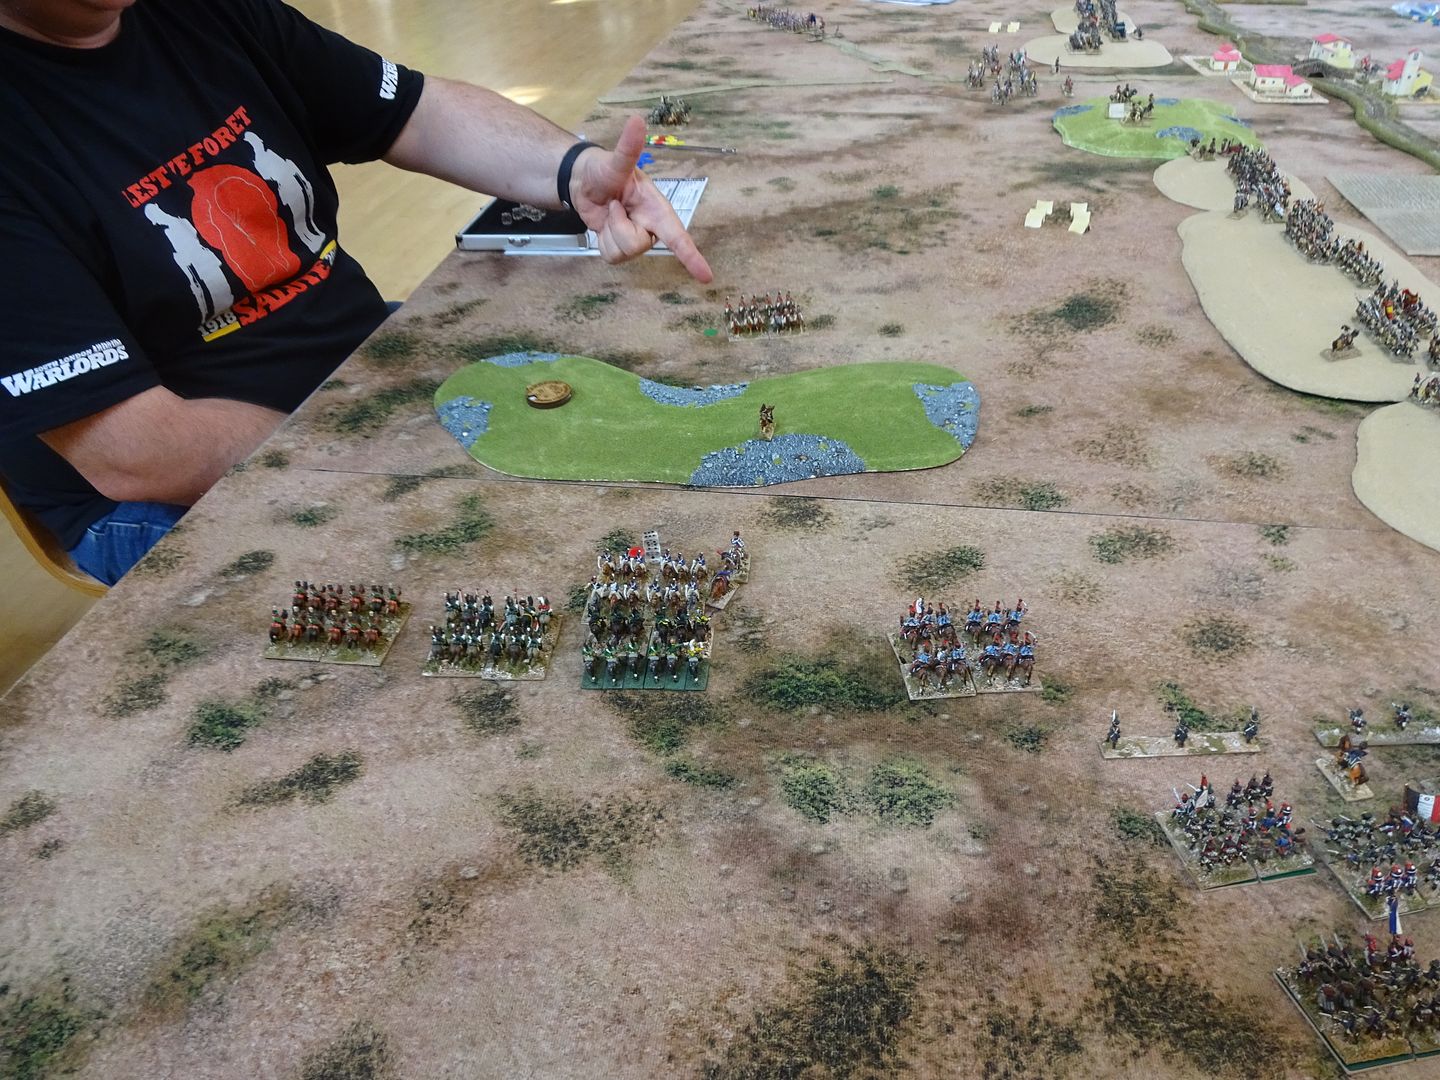
 photo DSC02148_zpsvlsvkurz.jpg

Meanwhile, the French infantry plod on towards the Spanish right flank
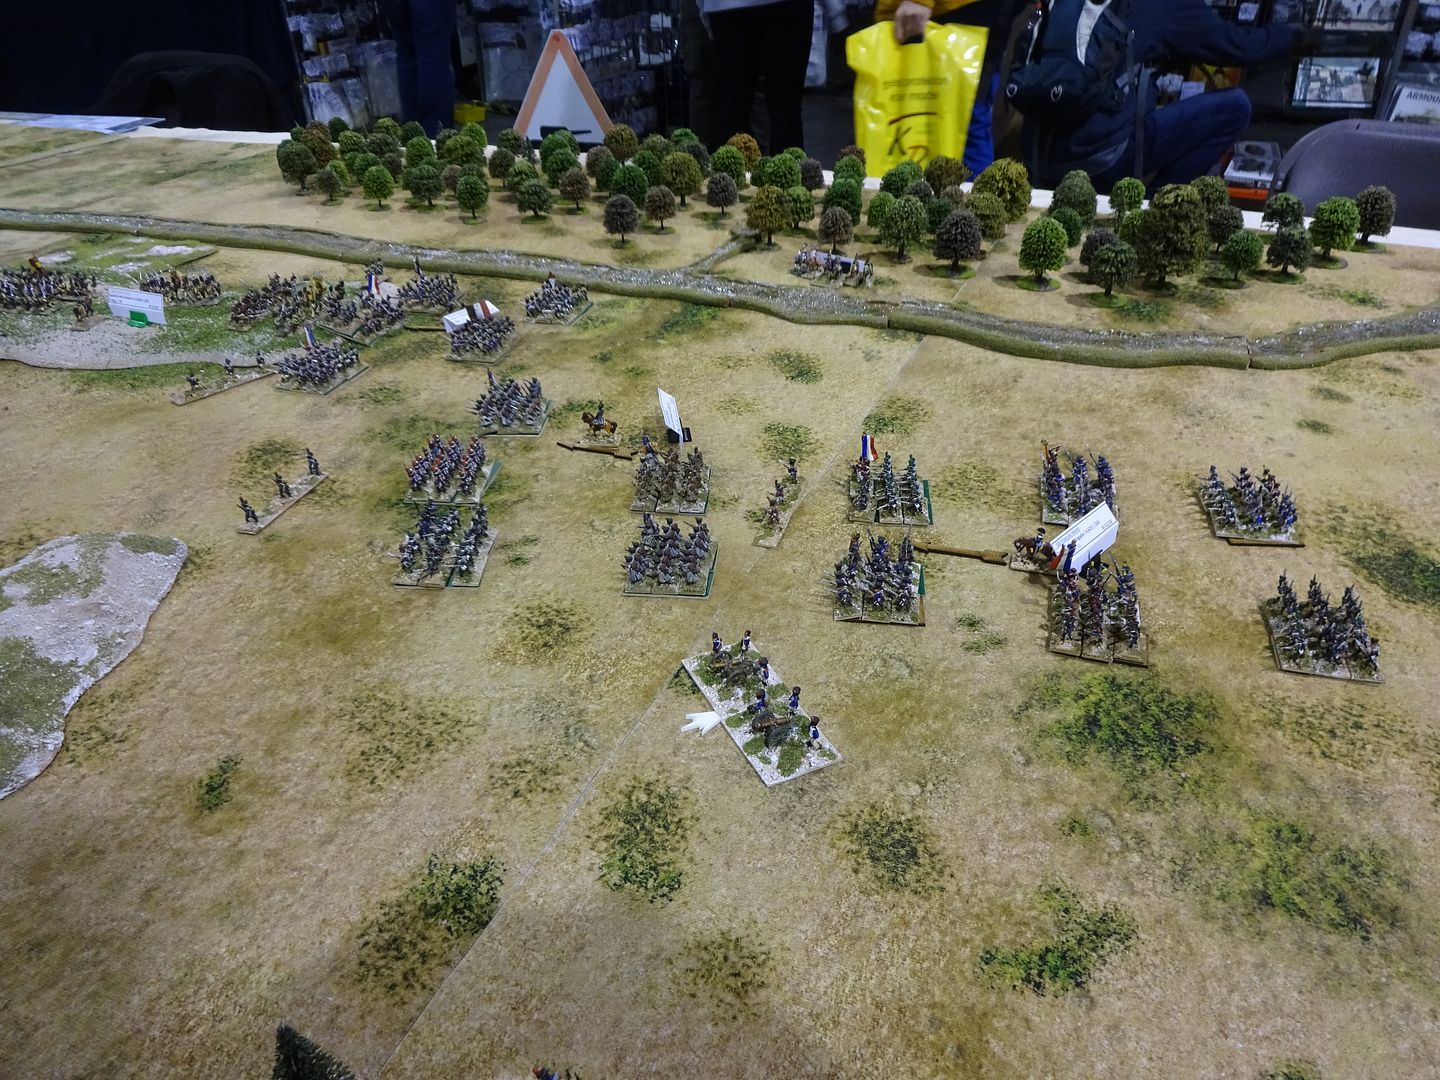
 photo DSC02910_zpsqpw5wvz7.jpg

The British Division of Cole is marching as fast as they can.
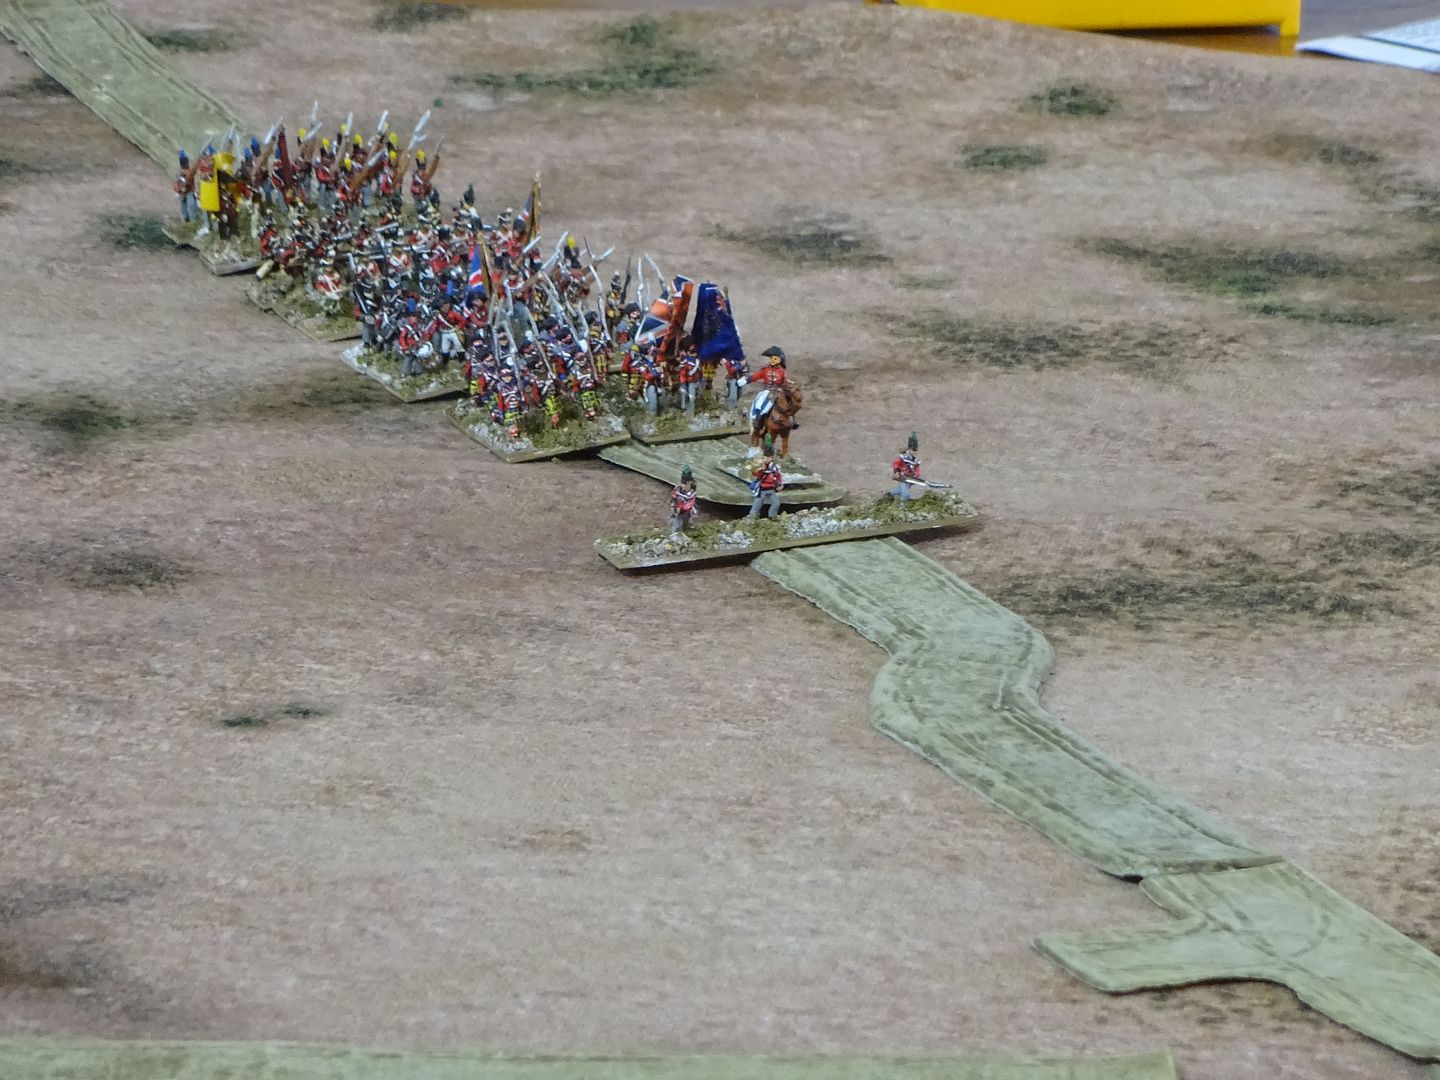
 photo DSC02151_zpstcxraaaj.jpg

Turn 3 - Saw the French columns of Girard hit Zayas' Spanish Division and saw the Division lose 3 of his 5 Battalions in the two turns.
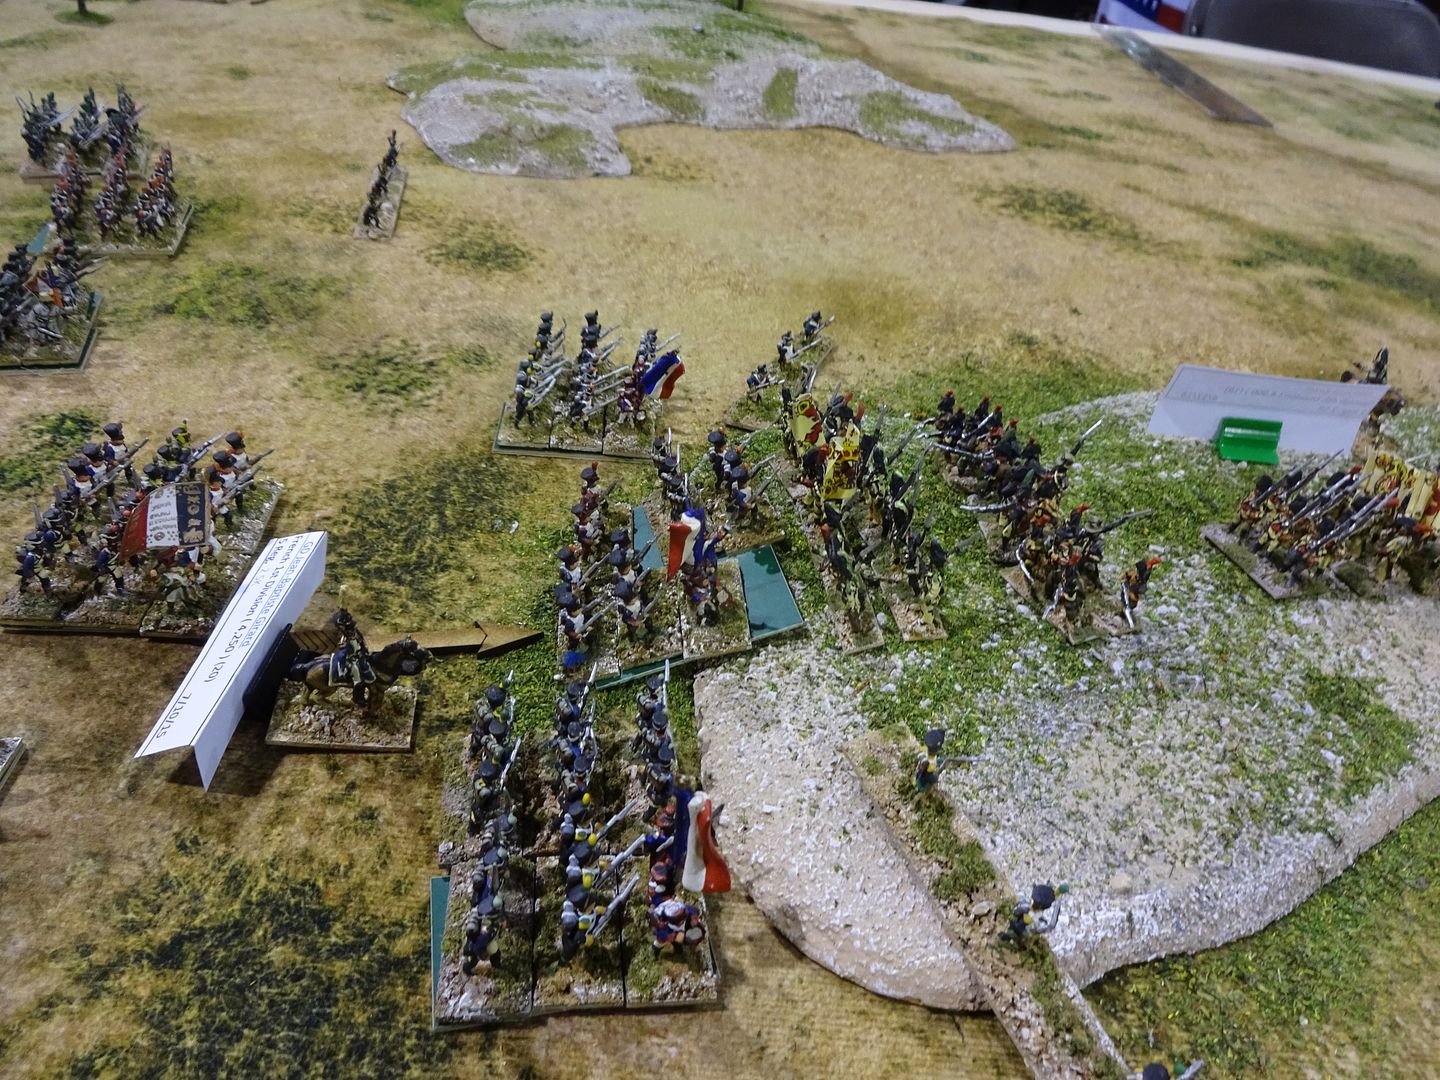
 photo DSC02912_zpsa14tbpar.jpg

Albuera town is now being assaulted by the French Div of Godinot!
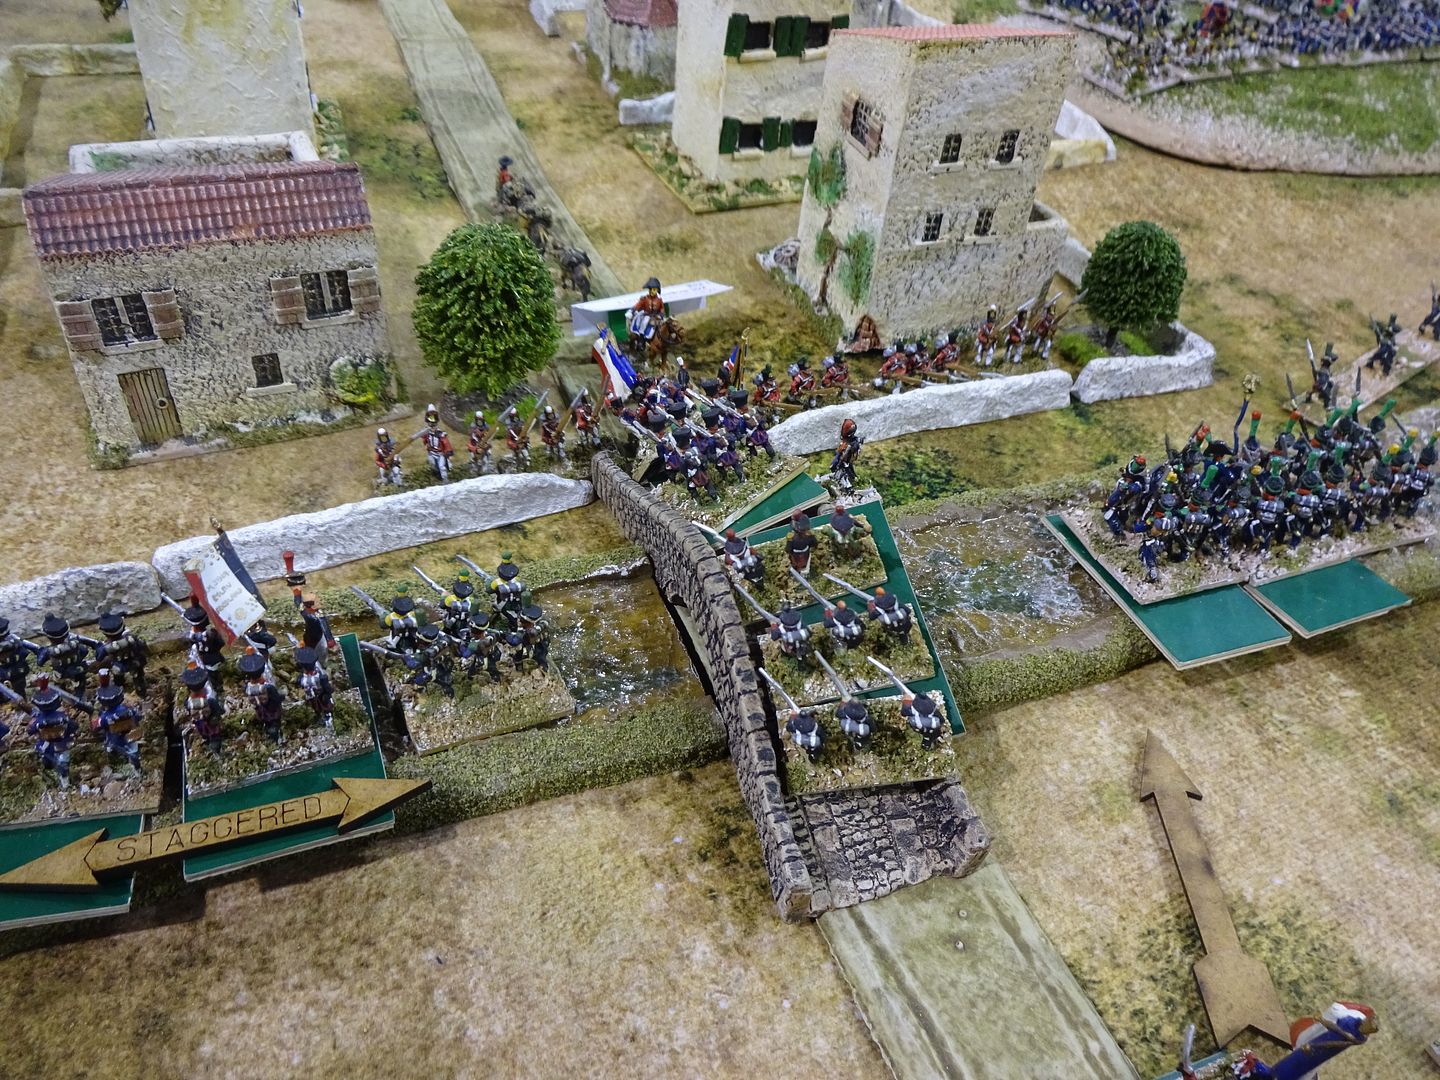
 photo DSC02914_zps6goqfzsr.jpg

Turn 5- Zayas Spanish Division on the High ground, continued to take hits, but has managed to start turning his units to face.
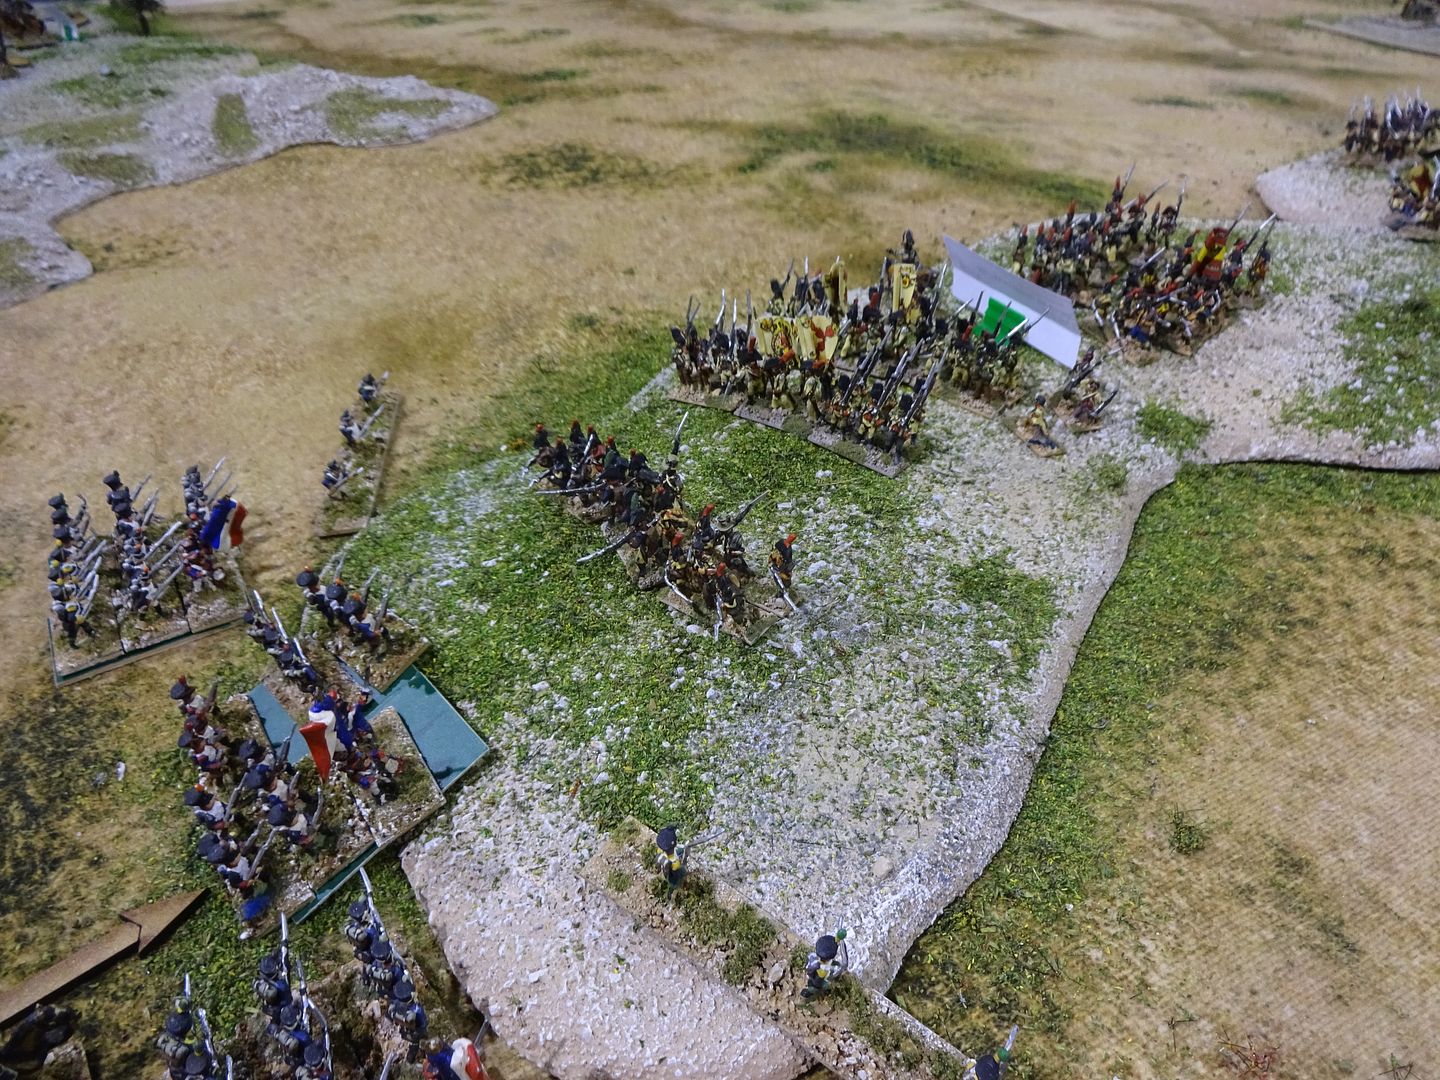
 photo DSC02917_zpspw2t0rky.jpg

The Portugese Light Cavalry were destroyed in turn 4 and the British light dragoons fell back as the British Dragoons now reformed tried to stem the tide of French Cavalry and allow the British Lights to reform further back towards Albuera.
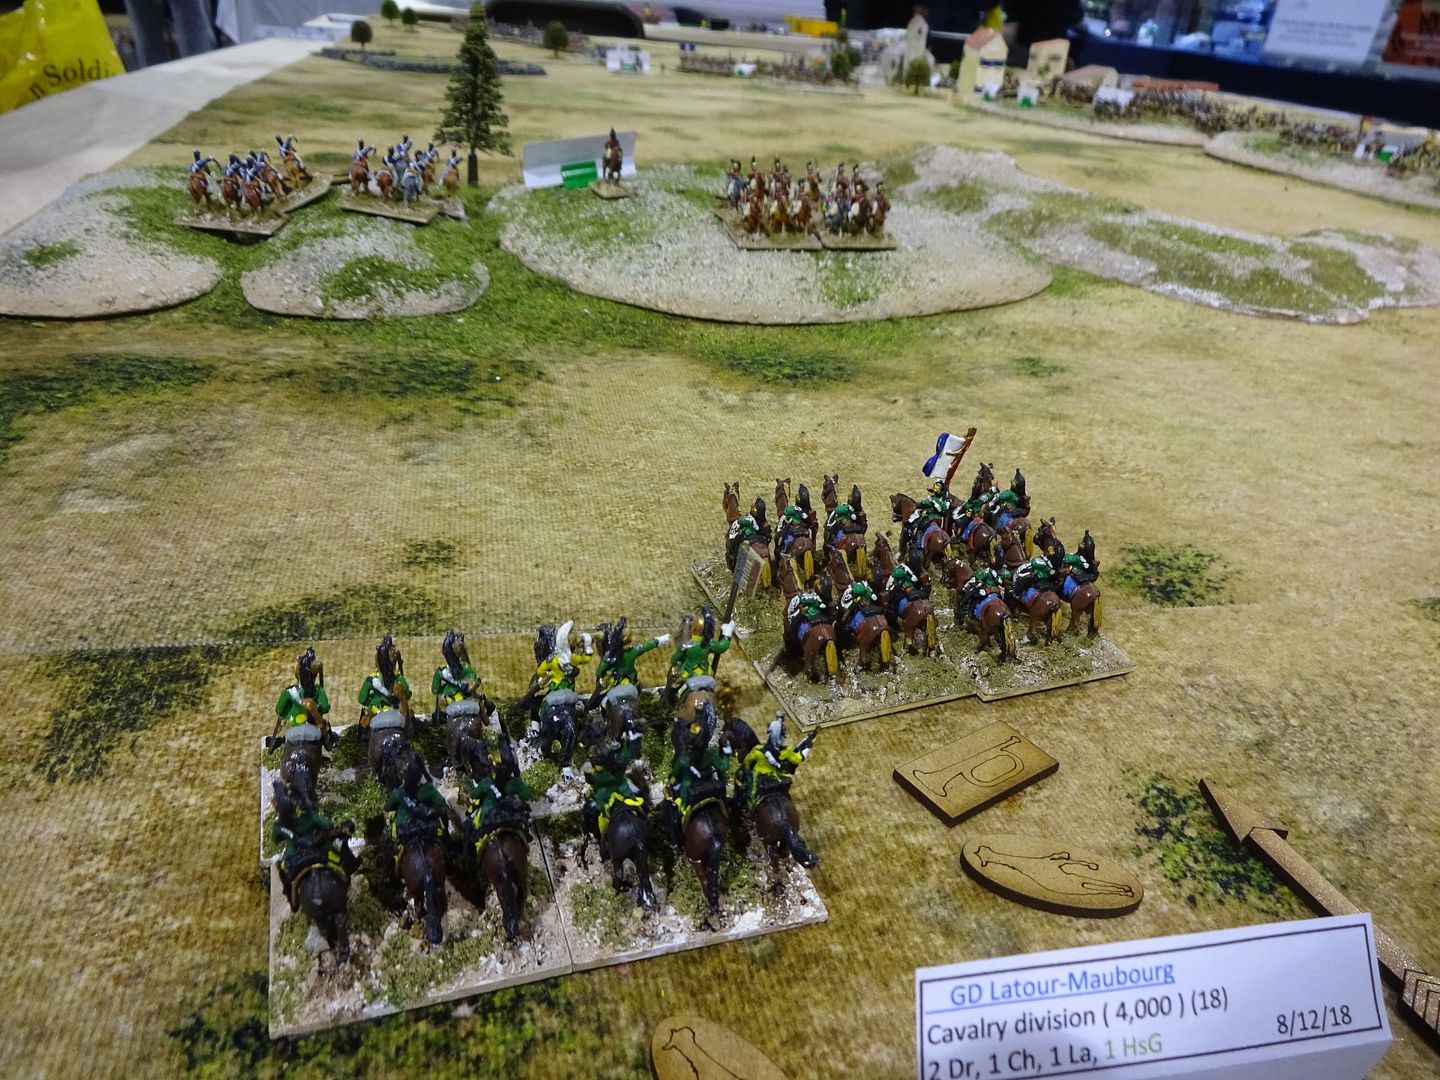
 photo DSC02918_zpsyqnetfwd.jpg

Amazingly, the Spanish were holding and making it hard work for the French on the ridge
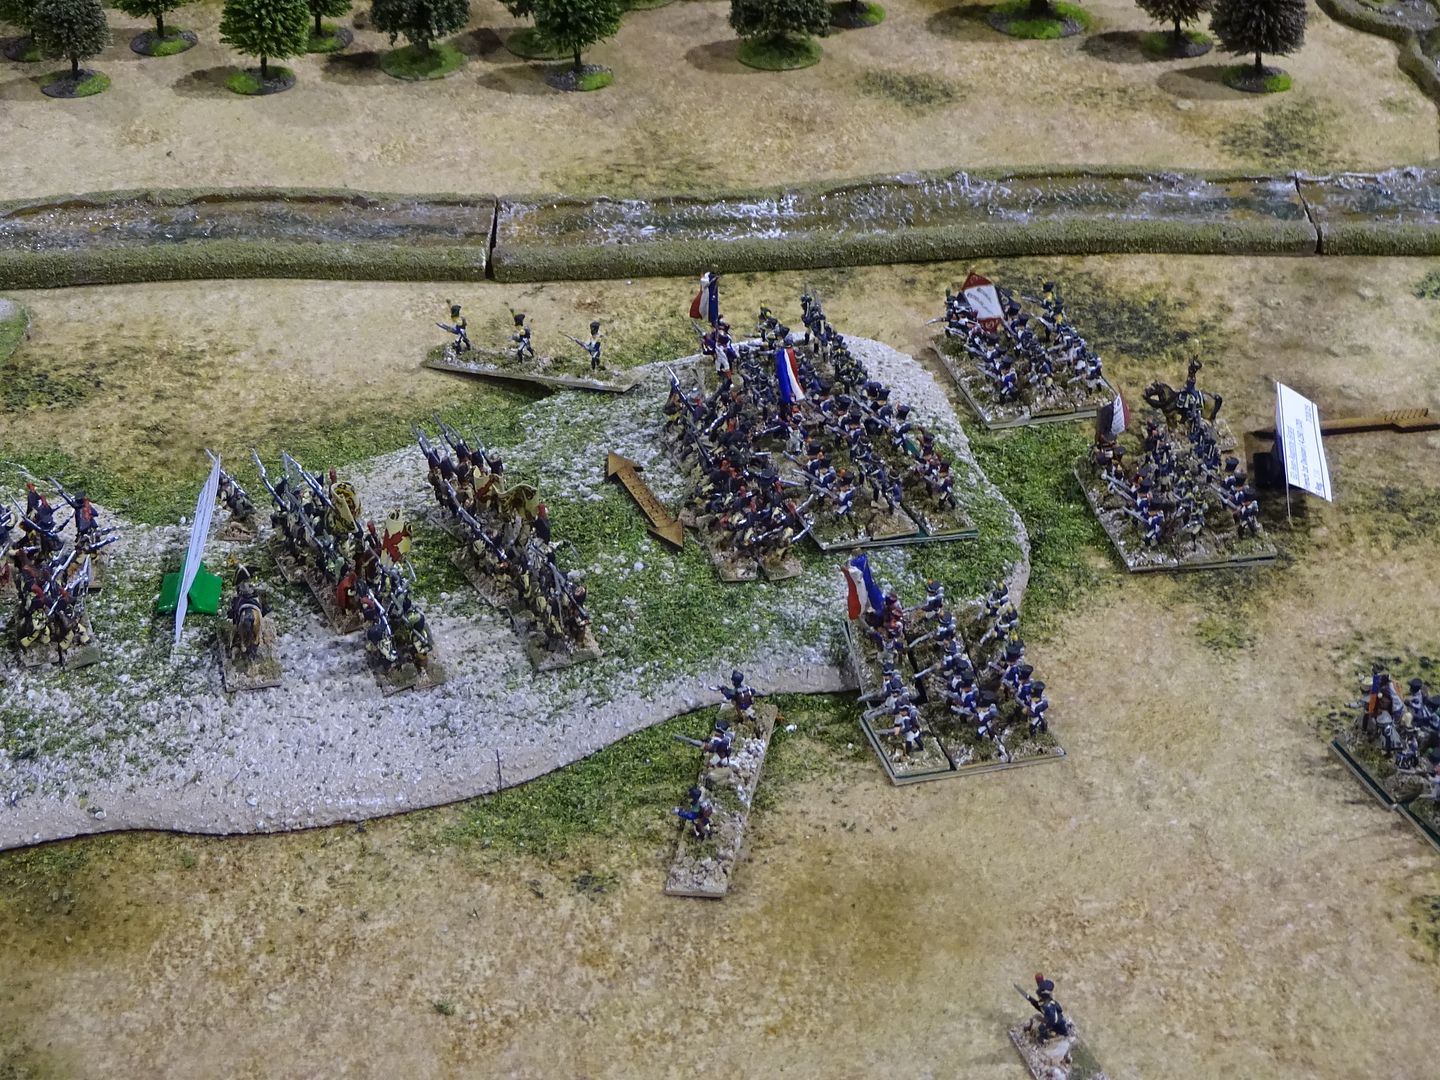
 photo DSC02921_zpsmtv8too8.jpg

And in turn slowing the French advance.
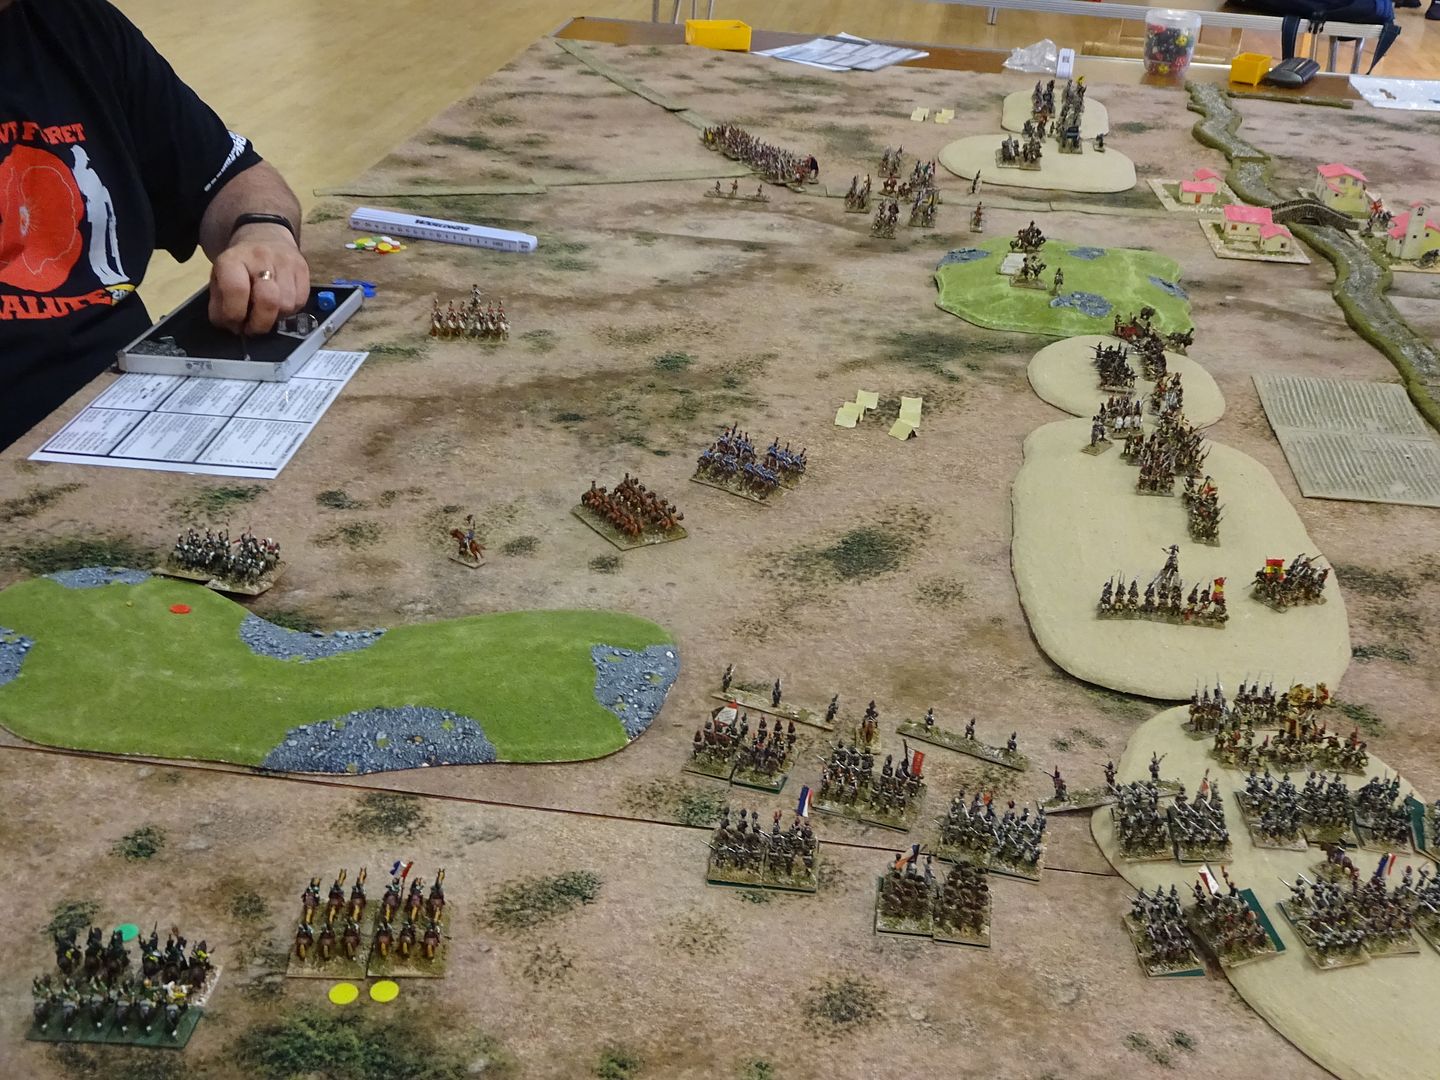
 photo DSC02160_zps0ewl21c4.jpg

Cole was now ready to deploy his Division and stem the French waves that would be arriving soon.
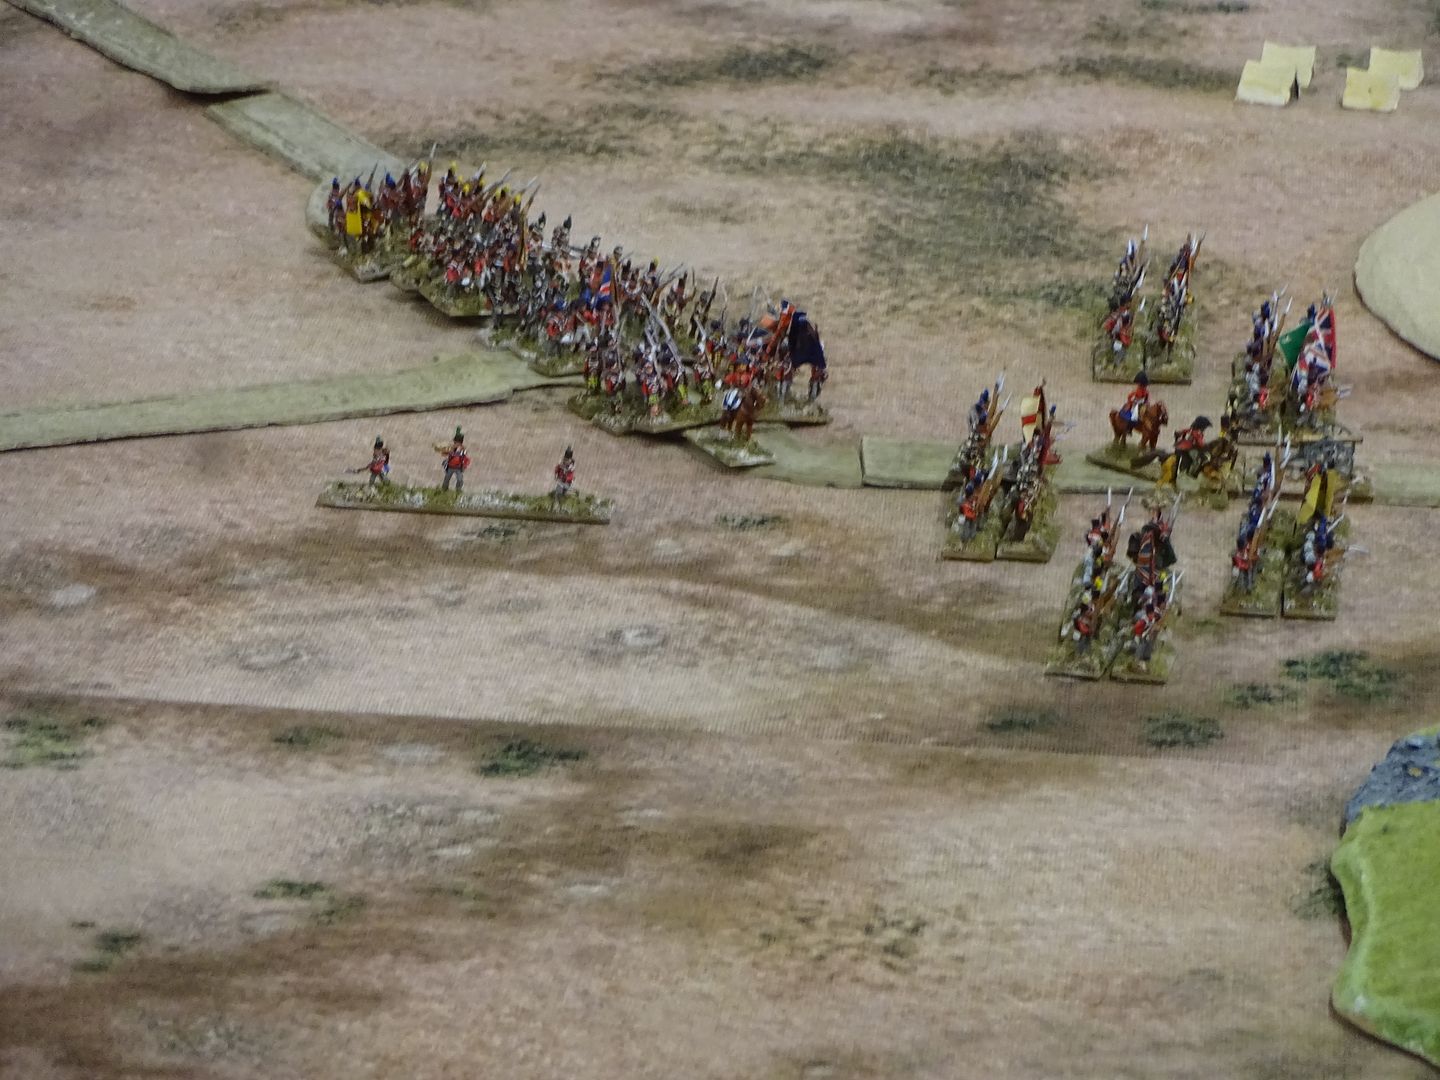
 photo DSC02159_zpslkcukmai.jpg

Turn 6 - Downpour!
The Spanish had slowed the French and Cole was forming line of battle to the rear of the British Front line

Turn 7 - Albeura town is under pressure and the Garrison are close to breaking.
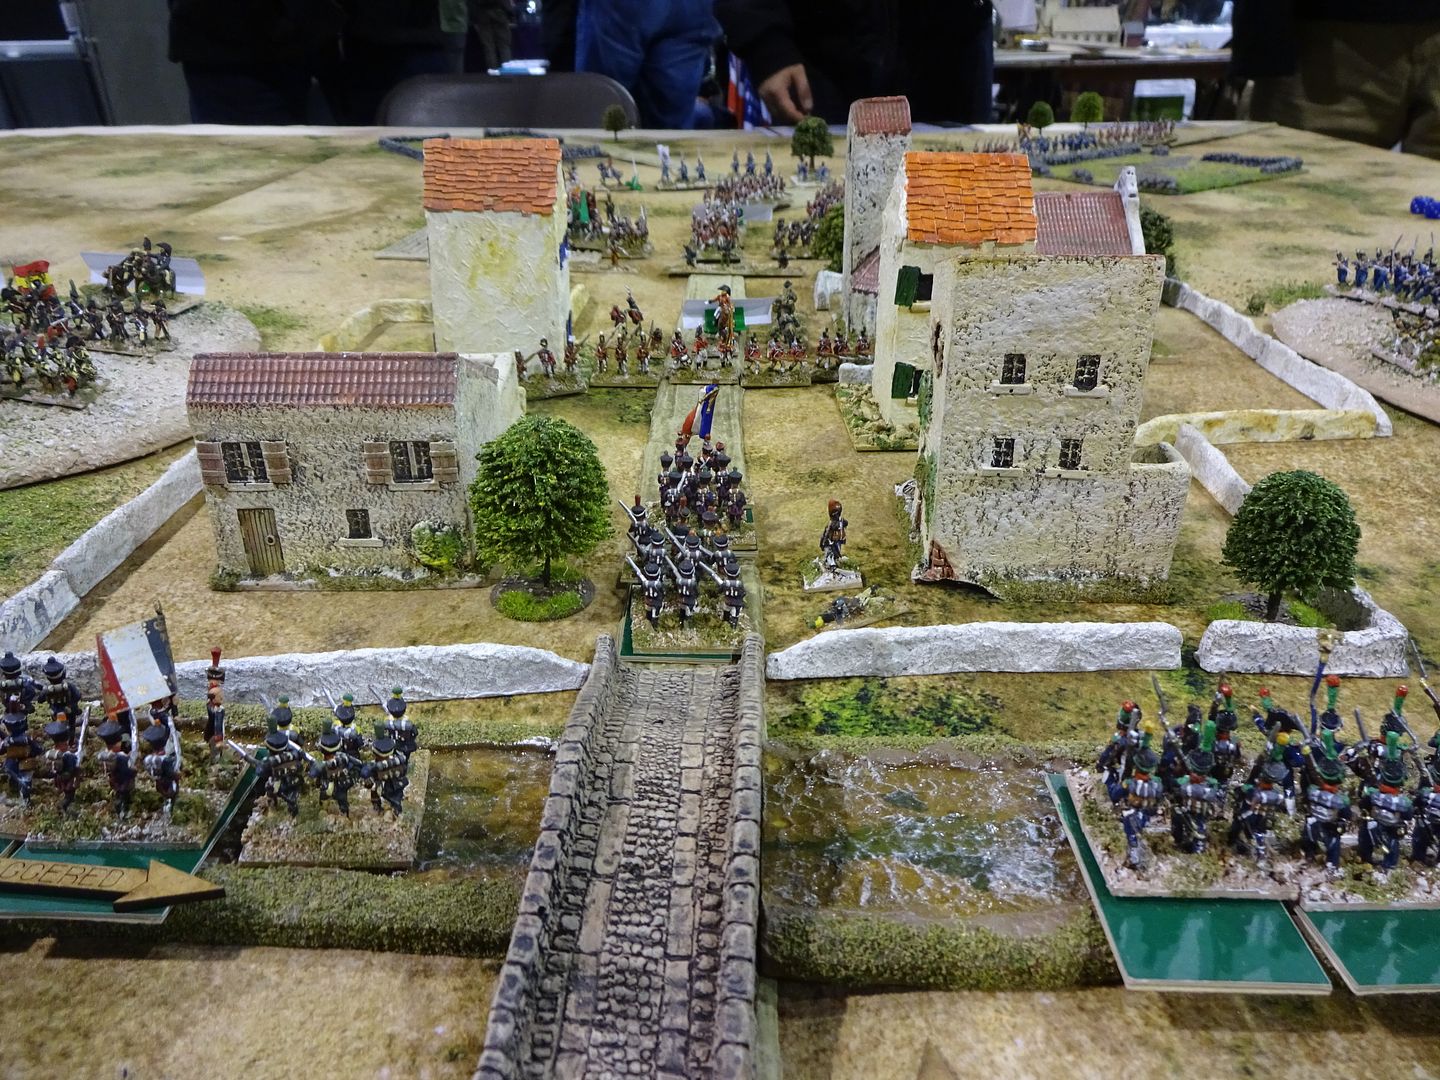
 photo DSC02916_zps2hs5hc8y.jpg

Zayas Spanish on the ridge are now taking casualties and starting to rout, causing morale checks to other units as they go! And the French push on.
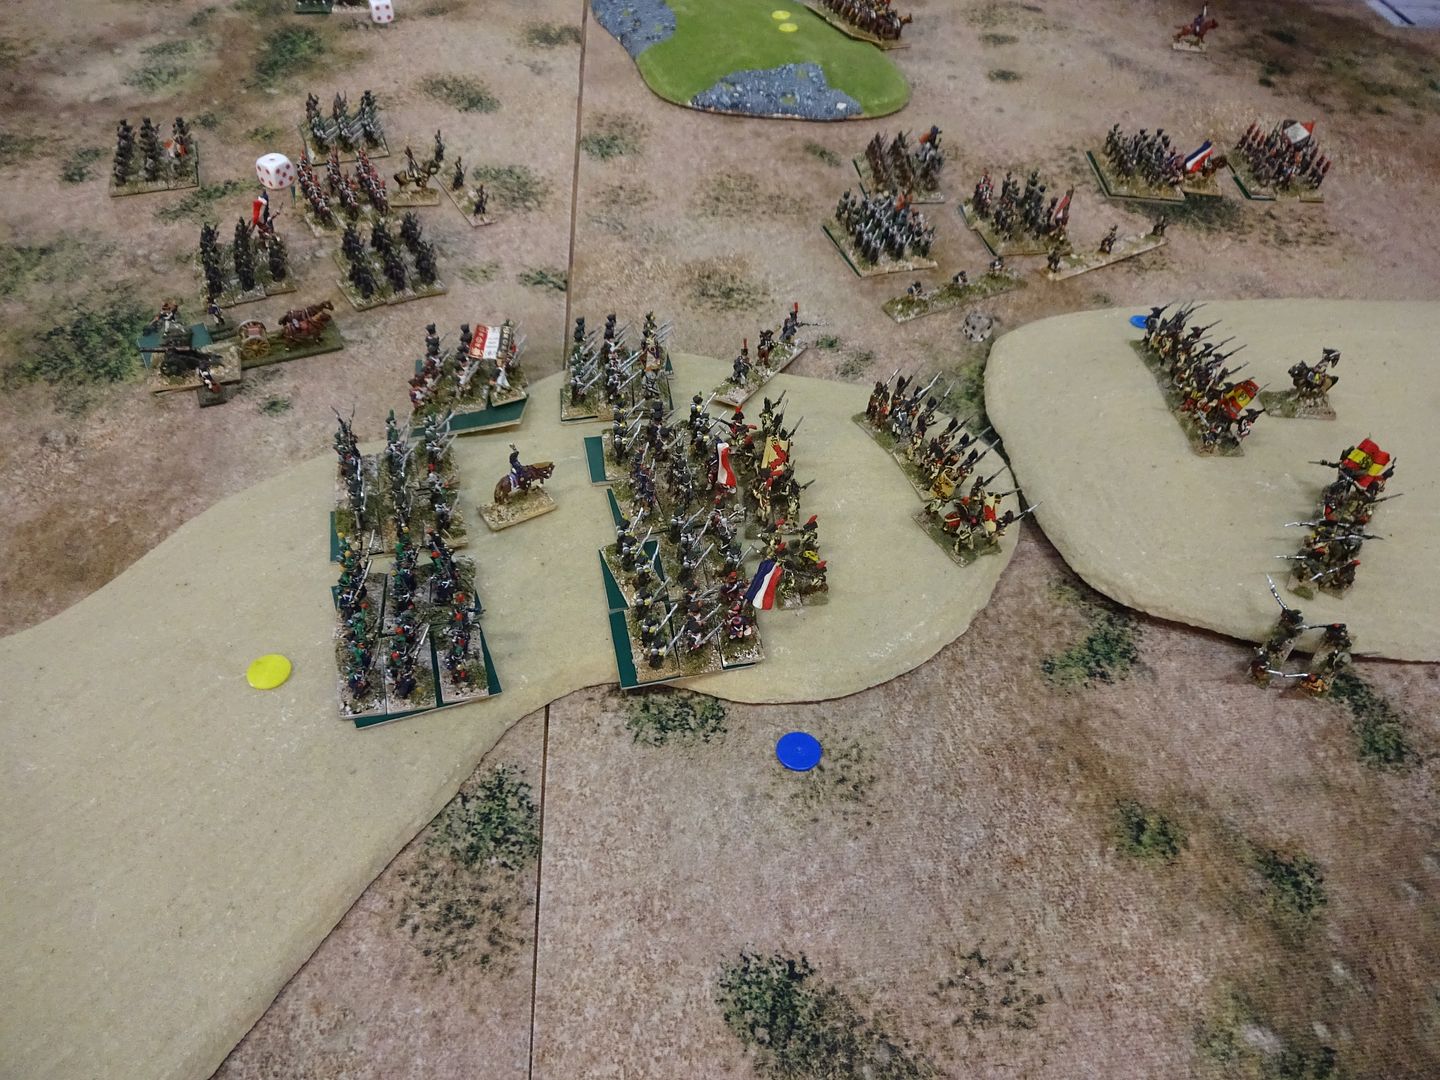
 photo DSC02166_zpsnqcjfbkg.jpg

The French Divisions are now heading into the valley behind the Spanish
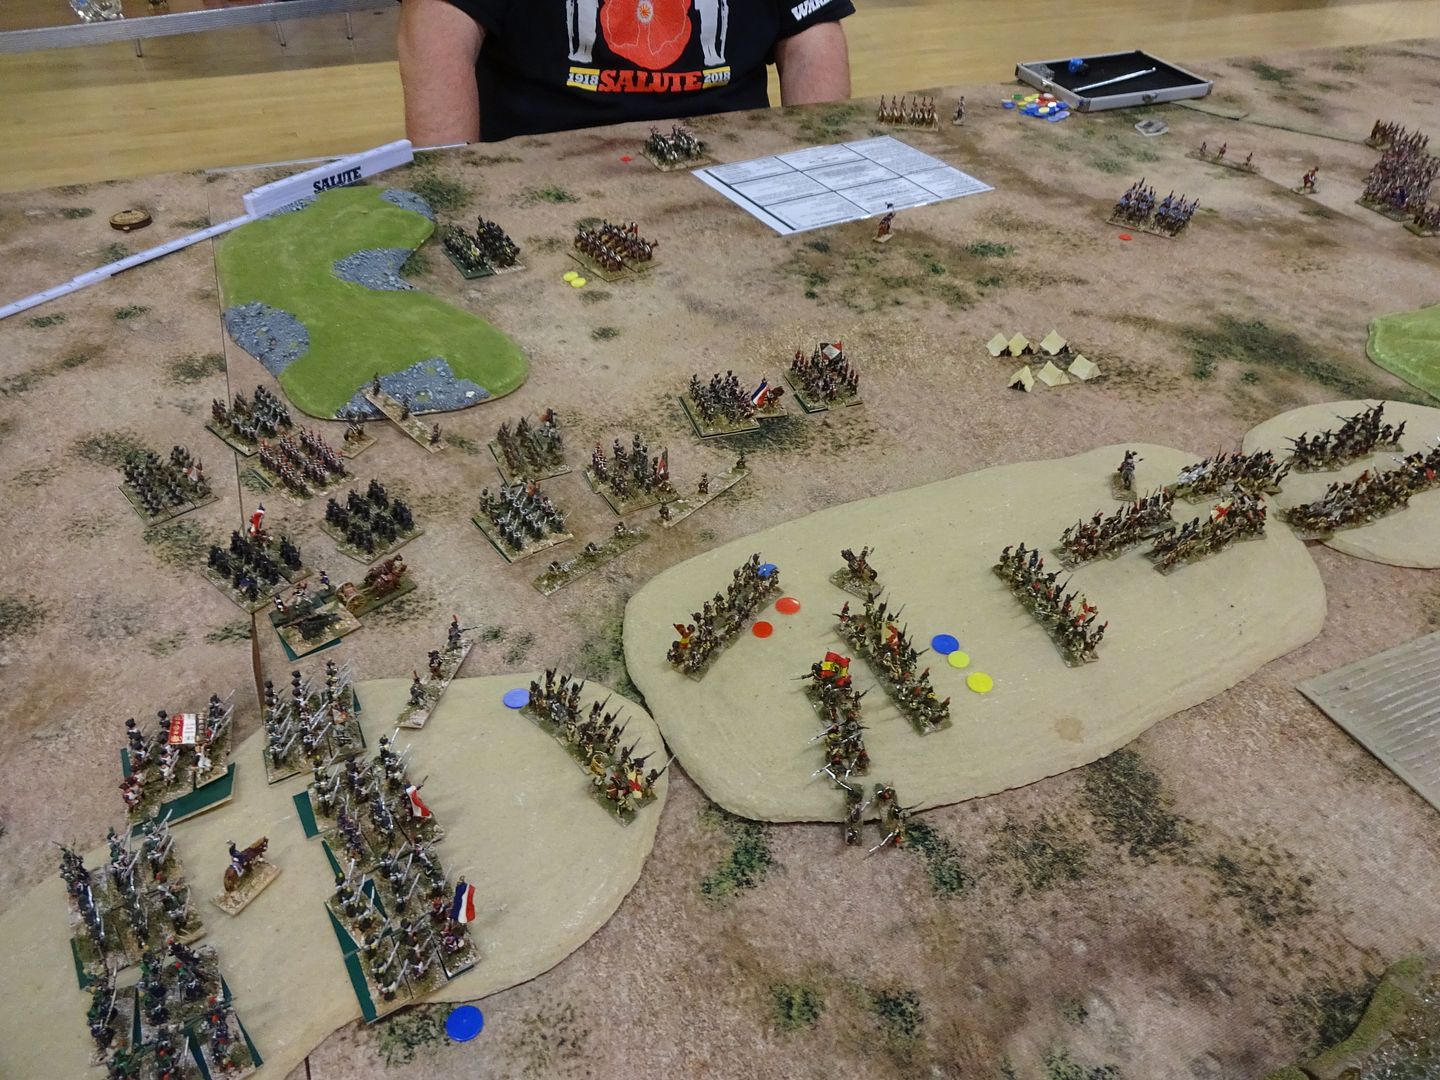
 photo DSC02168_zpsavf9dep4.jpg

Cole Division is forming with the British Dragoons staying out of trouble (top left)
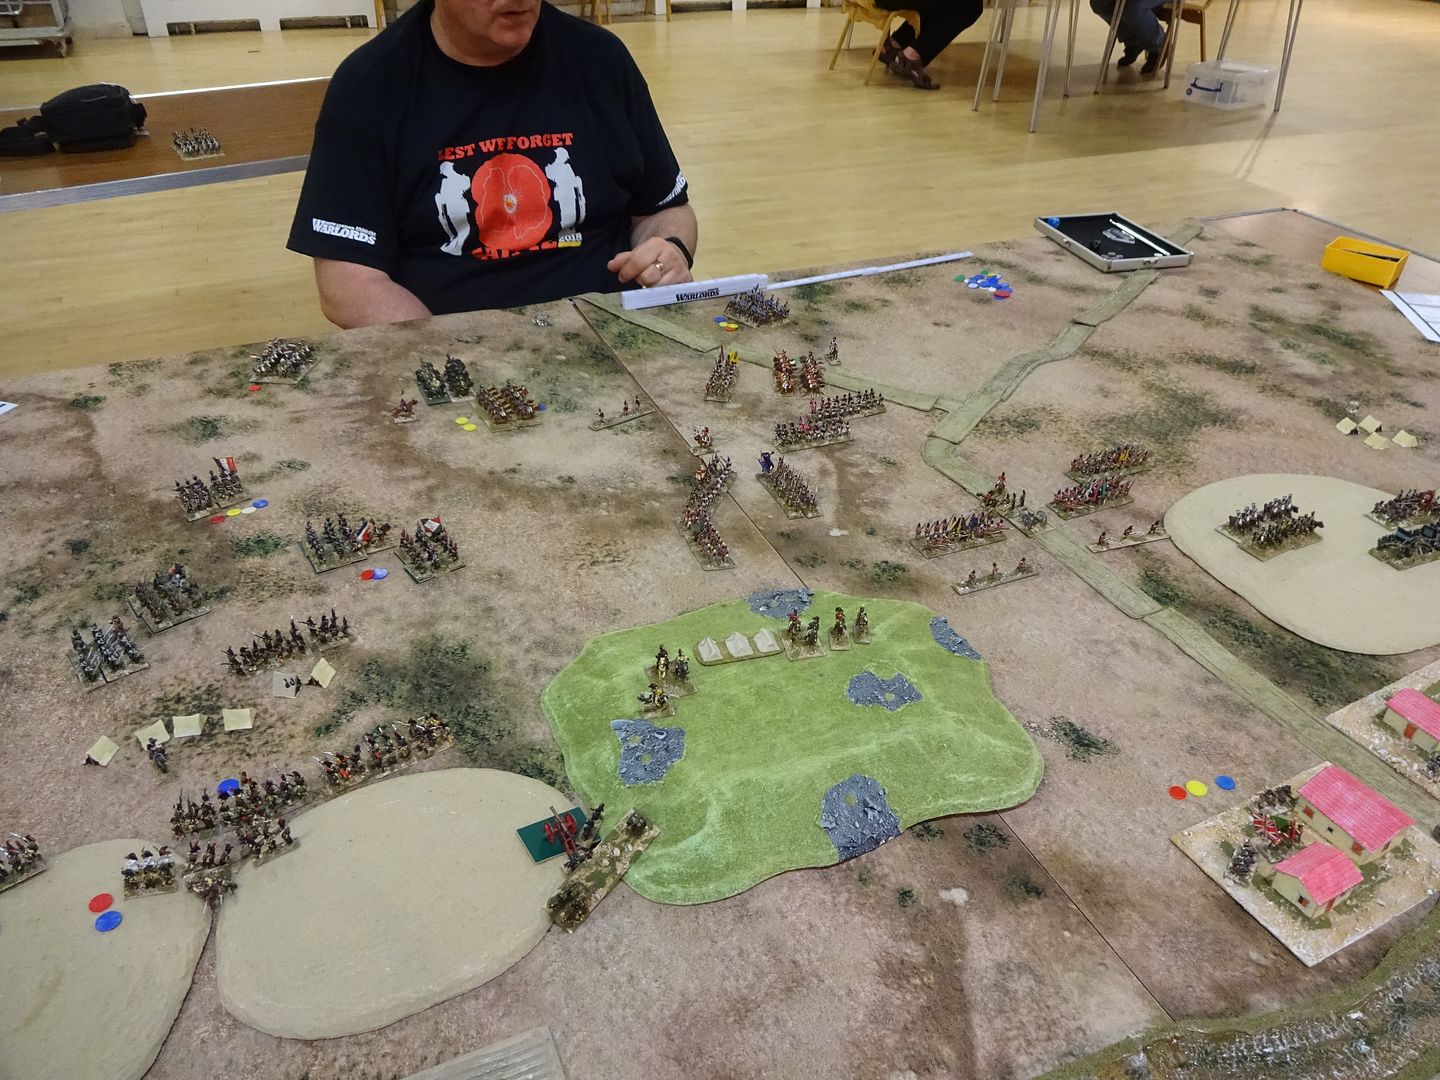
 photo DSC02183_zpsknqidck3.jpg

Turn 8 -
The French Hussar unit took some kills from musketry
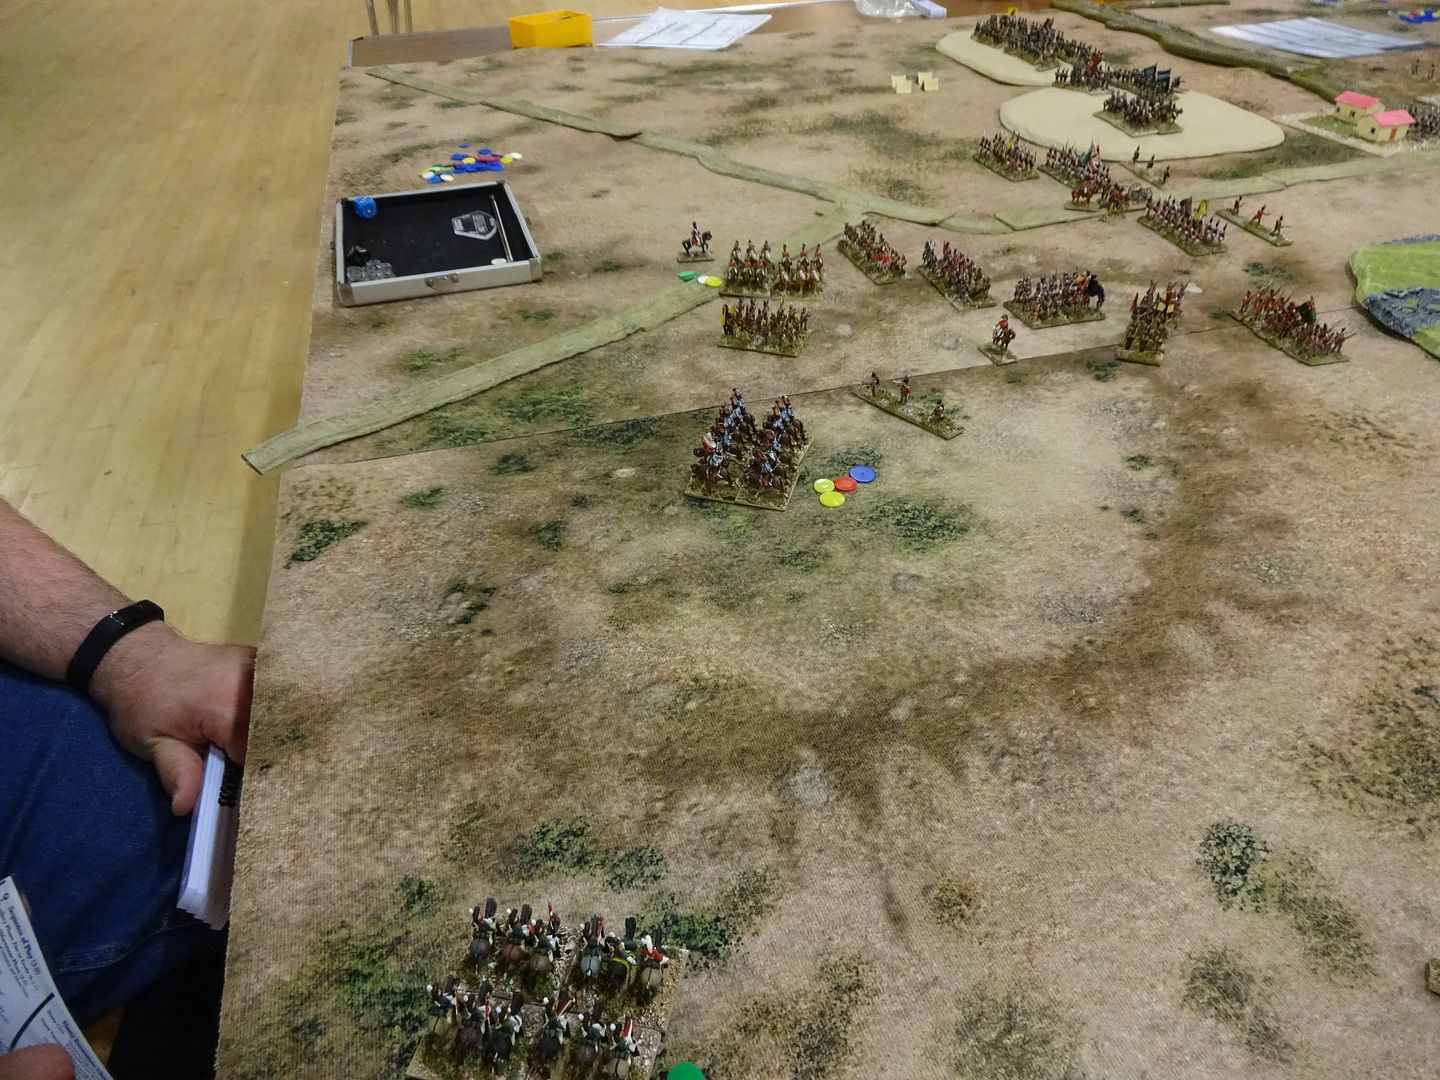
 photo DSC02172_zps9d9lnrs1.jpg

The Spanish are now being completely outflanked
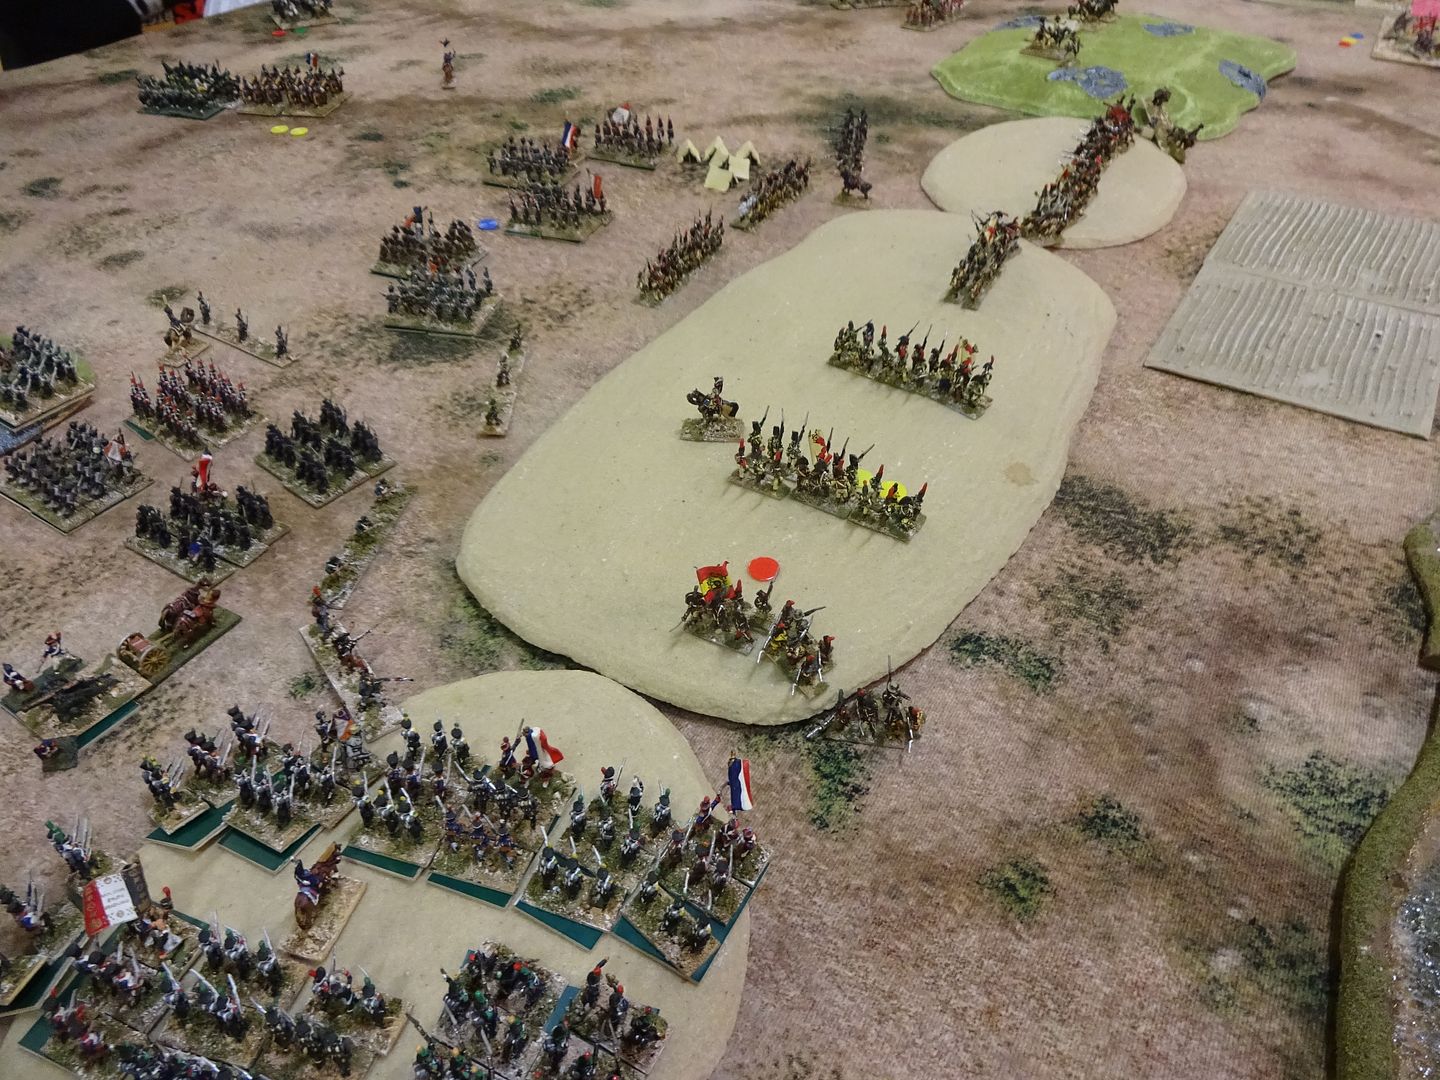
 photo DSC02173_zpsw6rmcbkc.jpg

In Albuera Alten has been pushed back to the rear town sector, as the fight of Albuera town intensifies!
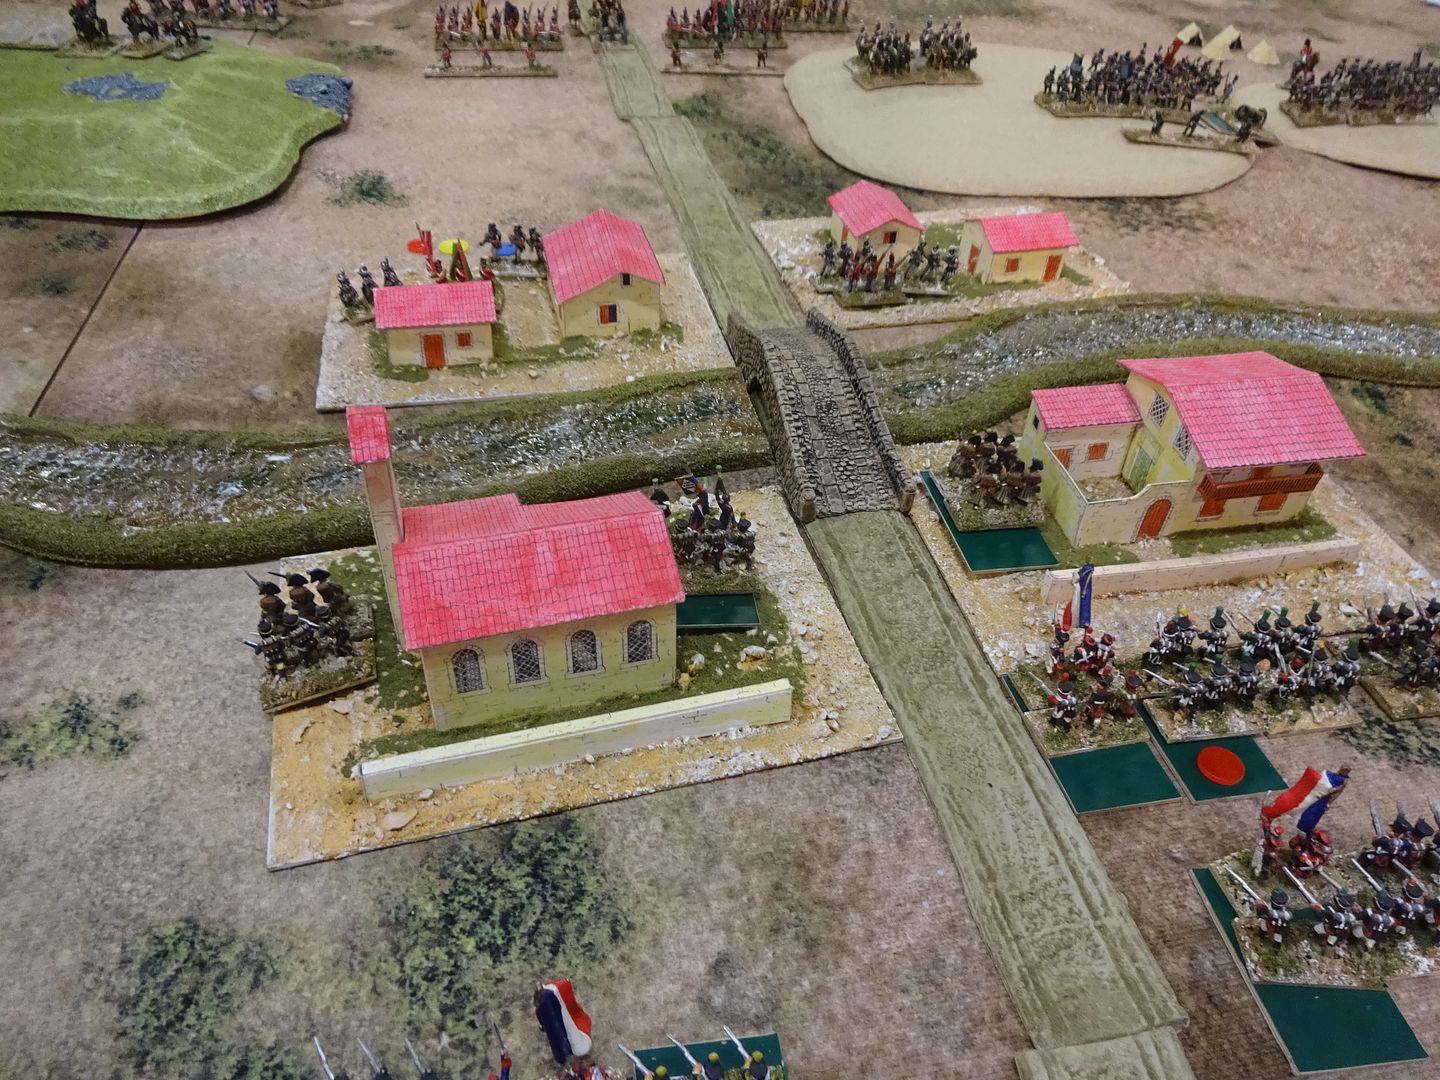
 photo DSC02174_zpsfcypbfte.jpg

After another successful melee, the British Dragoons managed to find the safety of Cole's Division.
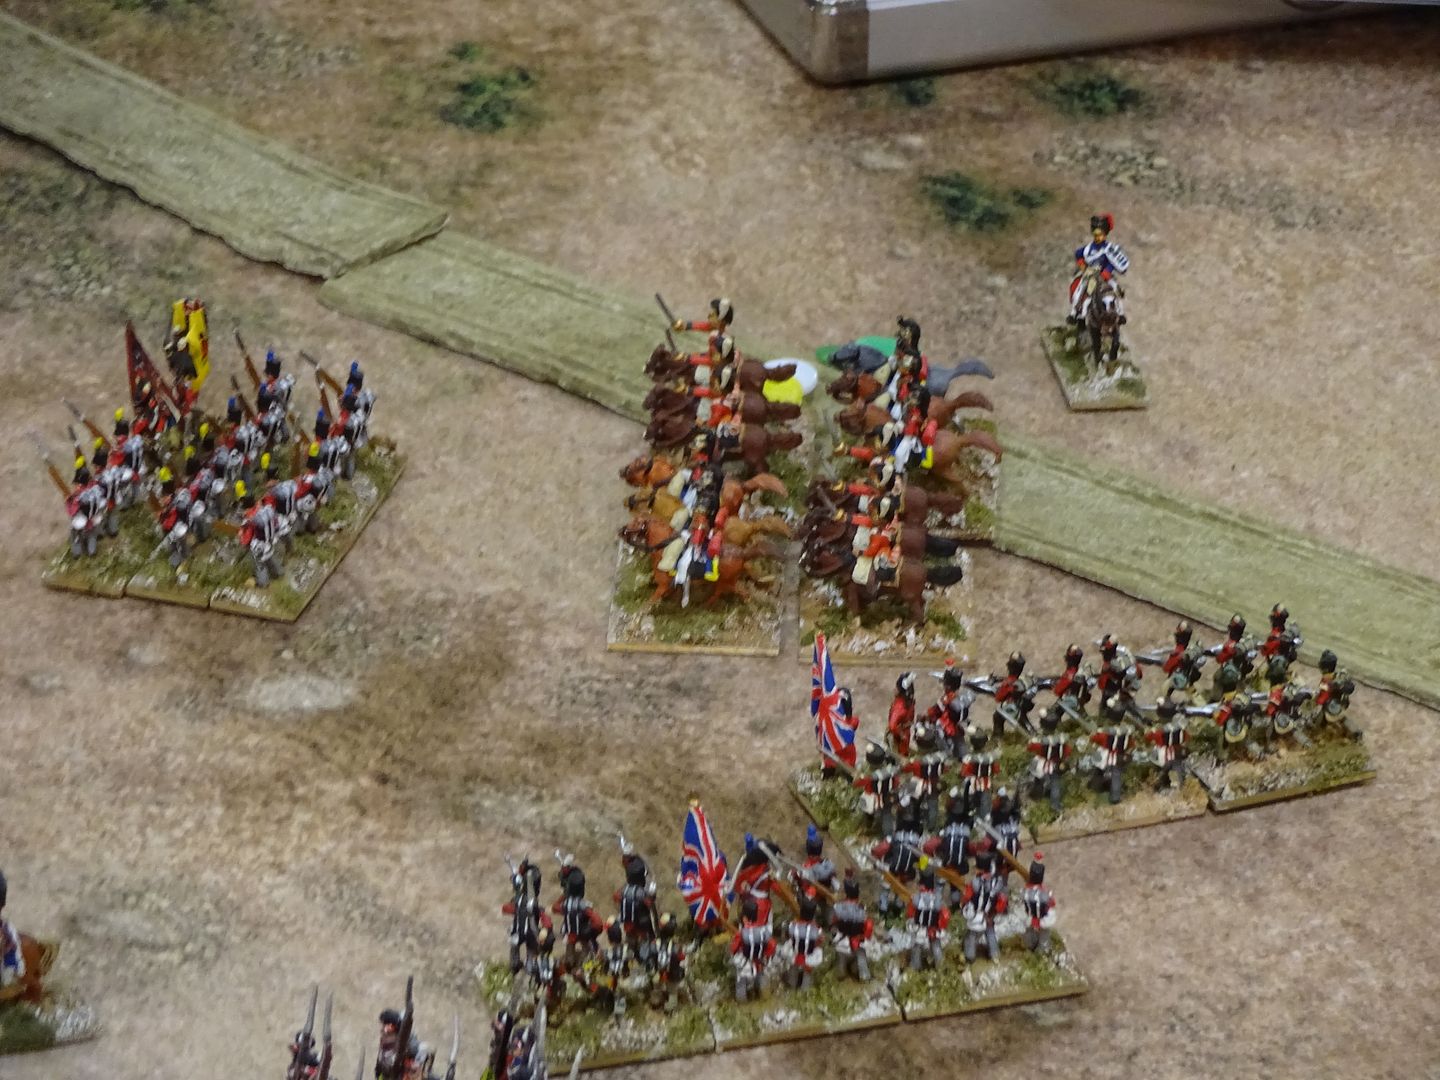
 photo DSC02176_zpslxw6s7ef.jpg

Turn 9 -Bloody fighting continues in Albuera town, but the French units cannot move though the town until all sectors are clear
of enemy.
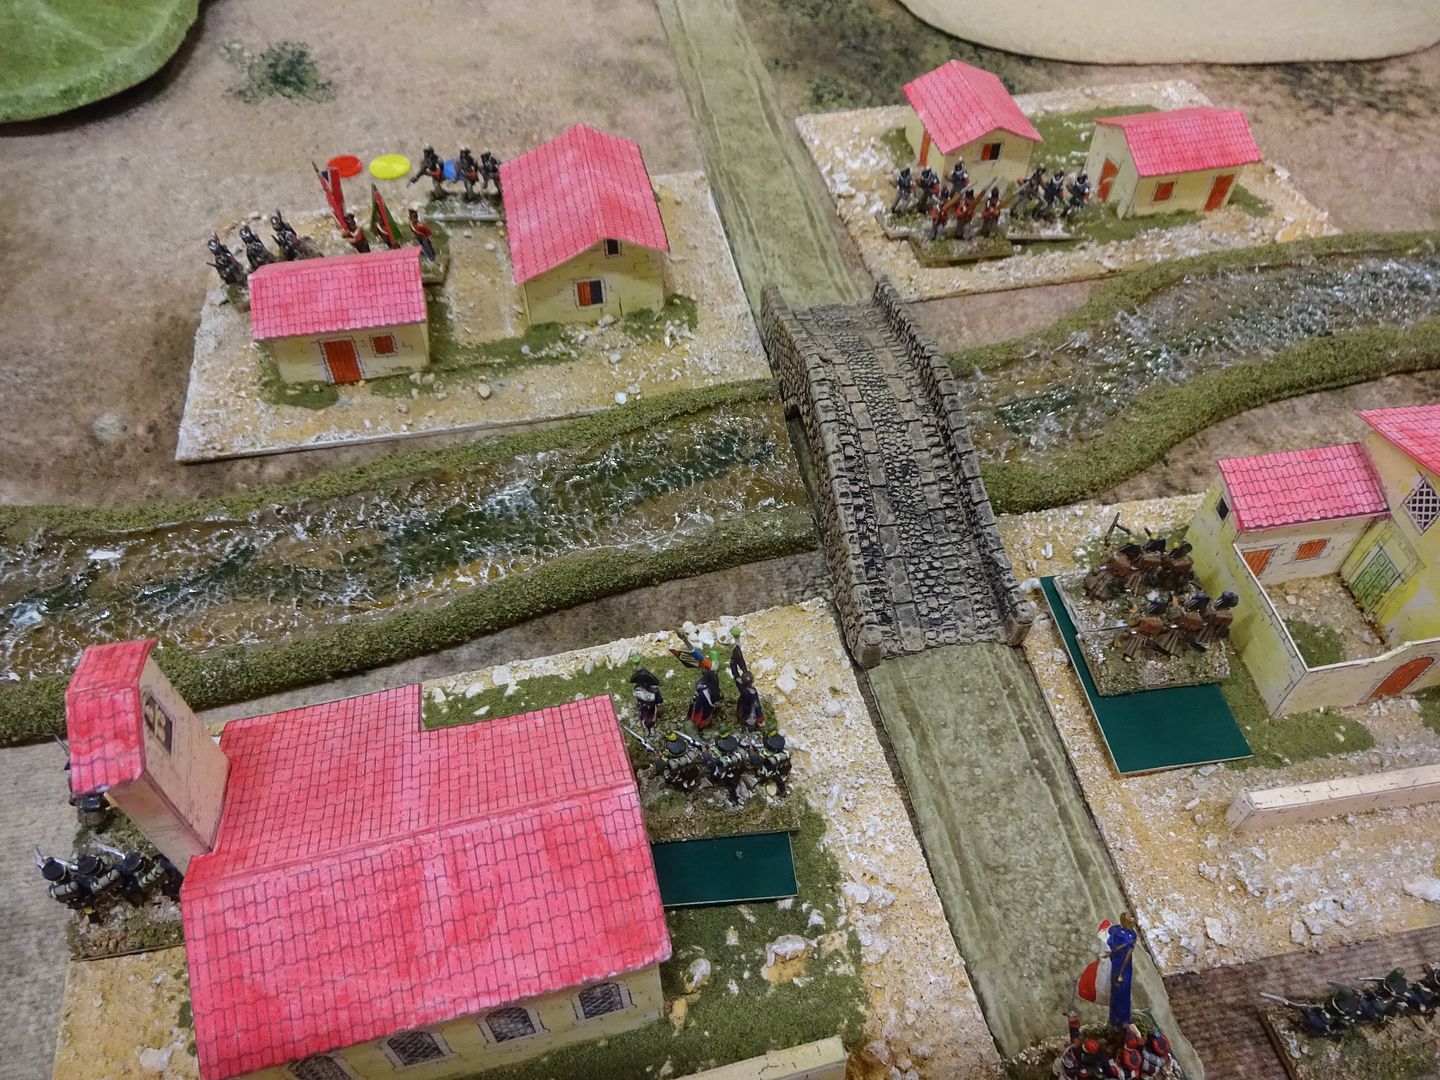
 photo DSC02178_zps0rrumsyu.jpg

The Spanish of Ballesteros decide to charge the French in the valley
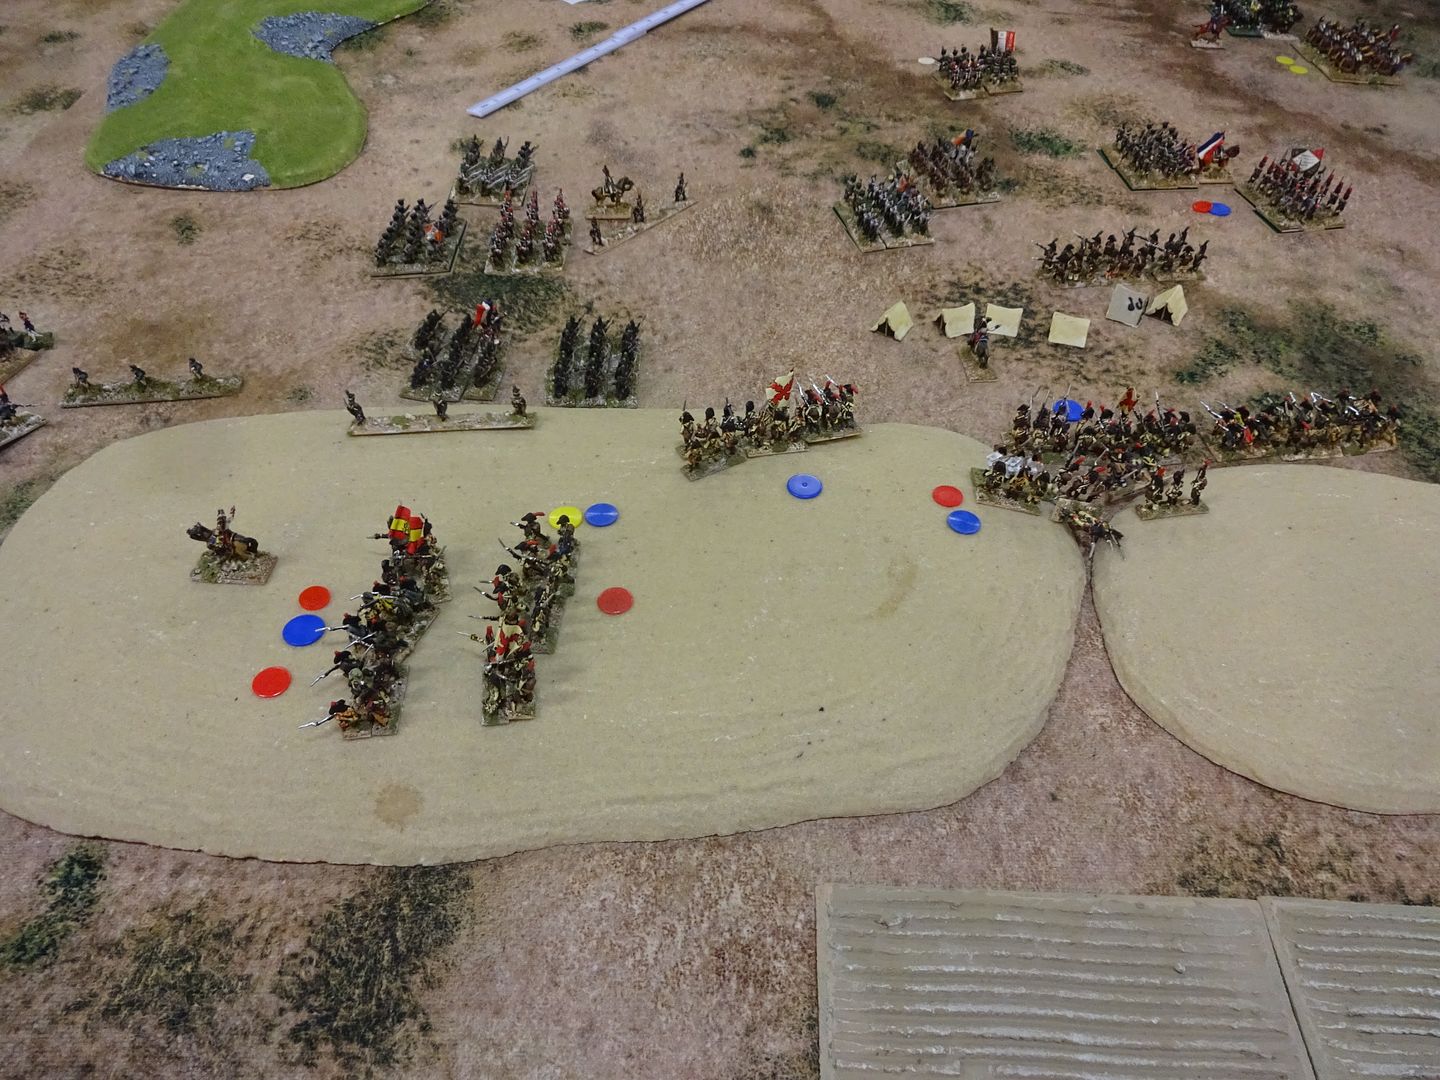
 photo DSC02180_zpsziwij31a.jpg

and managed to force one unit to fall back
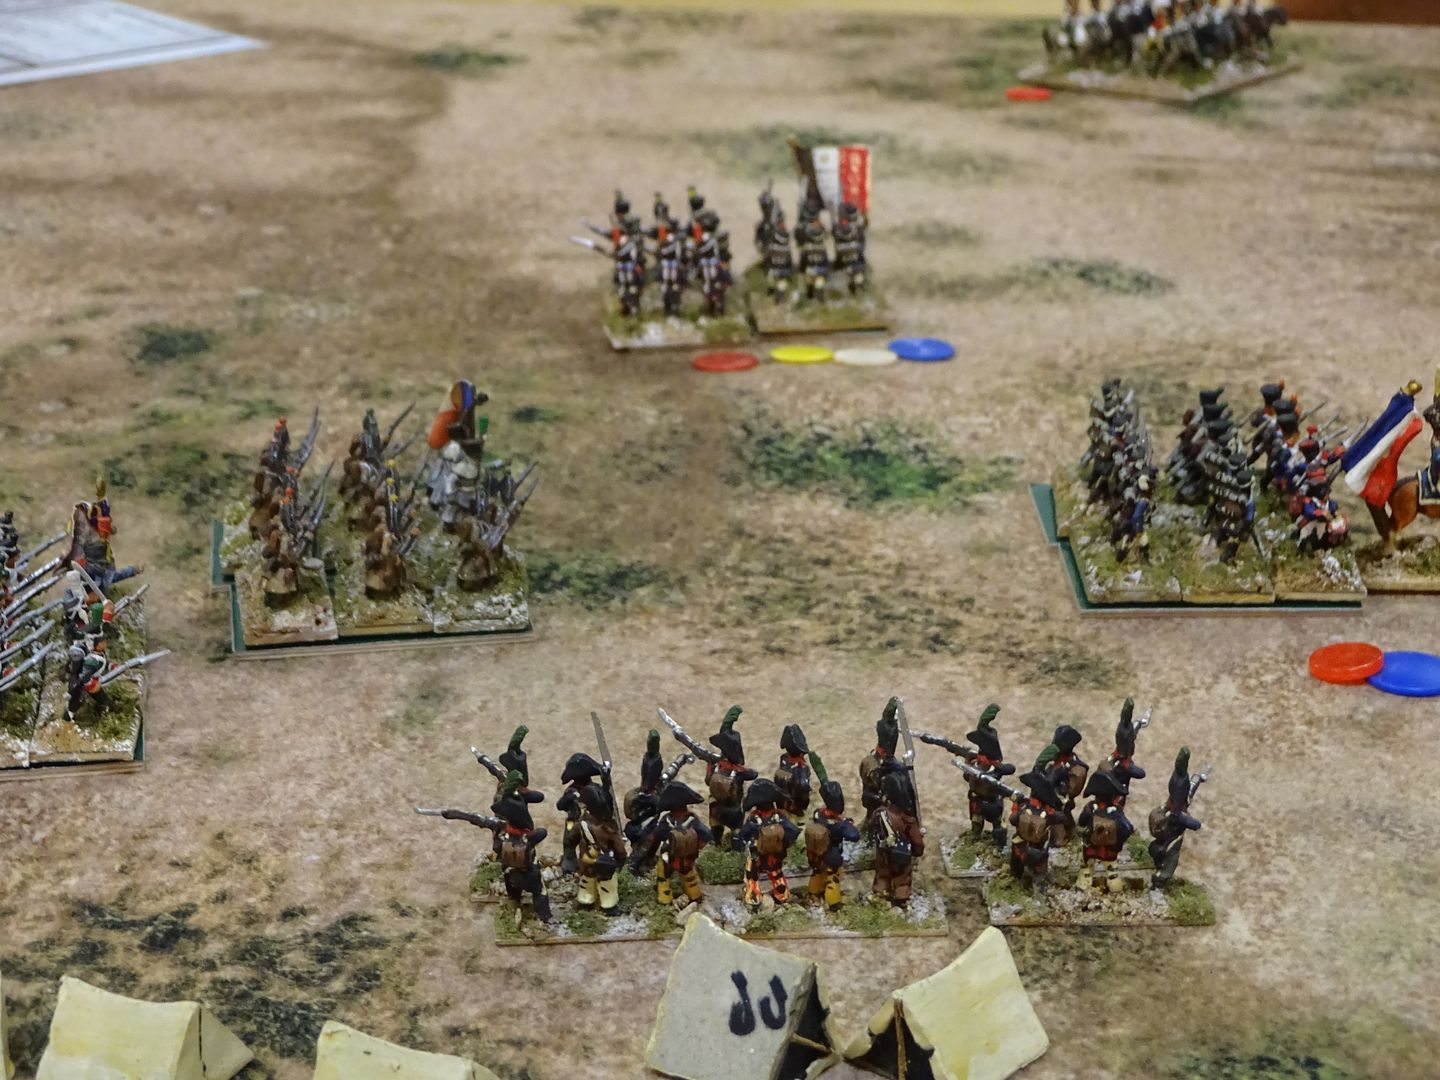
 photo DSC02181_zpsilr5zvnf.jpg

Chaos in the valley
 photo DSC02183_zpsknqidck3.jpg

Turn 10 - Was not good for the French with lots of staggered units, even the Grenadiers
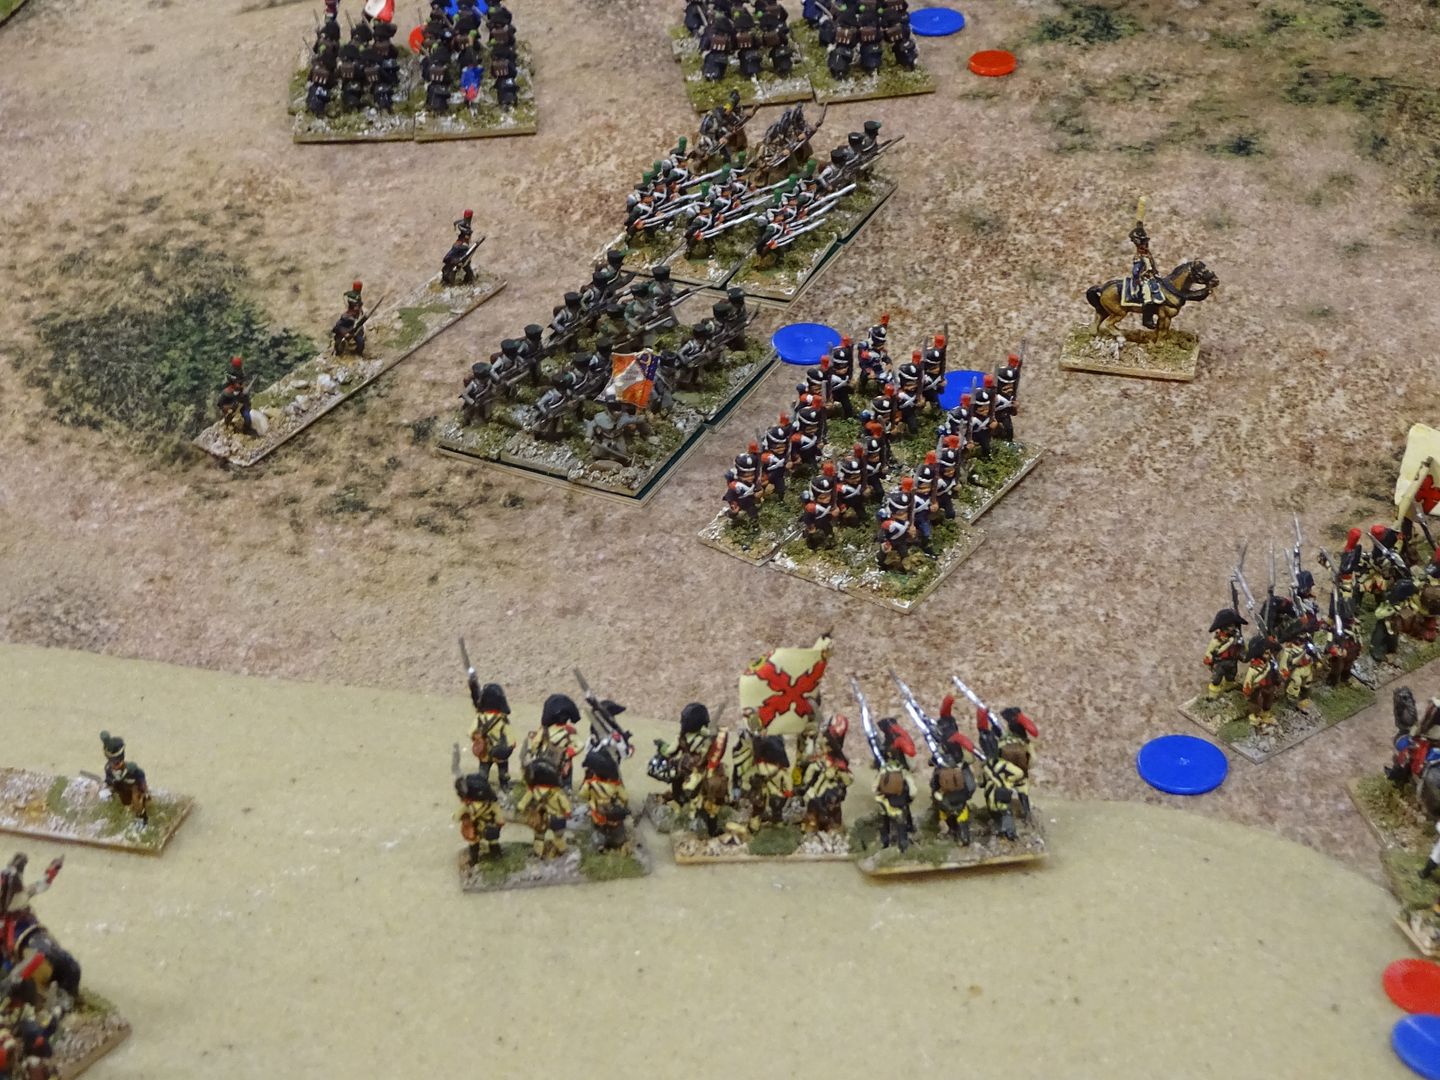
 photo DSC02185_zps7nnm5cmi.jpg

 photo DSC02186_zpsmchio0fc.jpg

Turn 11 & 12 - With Cole's Division Deployed in the valley and fresh, and Godinot got pushed back from the town, and his Division broke from taking 50% casualties and poor dice for morale. The French left flank would now be facing more fresh British and Portuguese units. Soult decided to pull back and take the fight to the Allies on another day!

An Anglo/Allied Victory.


Saturday 18 July 2020

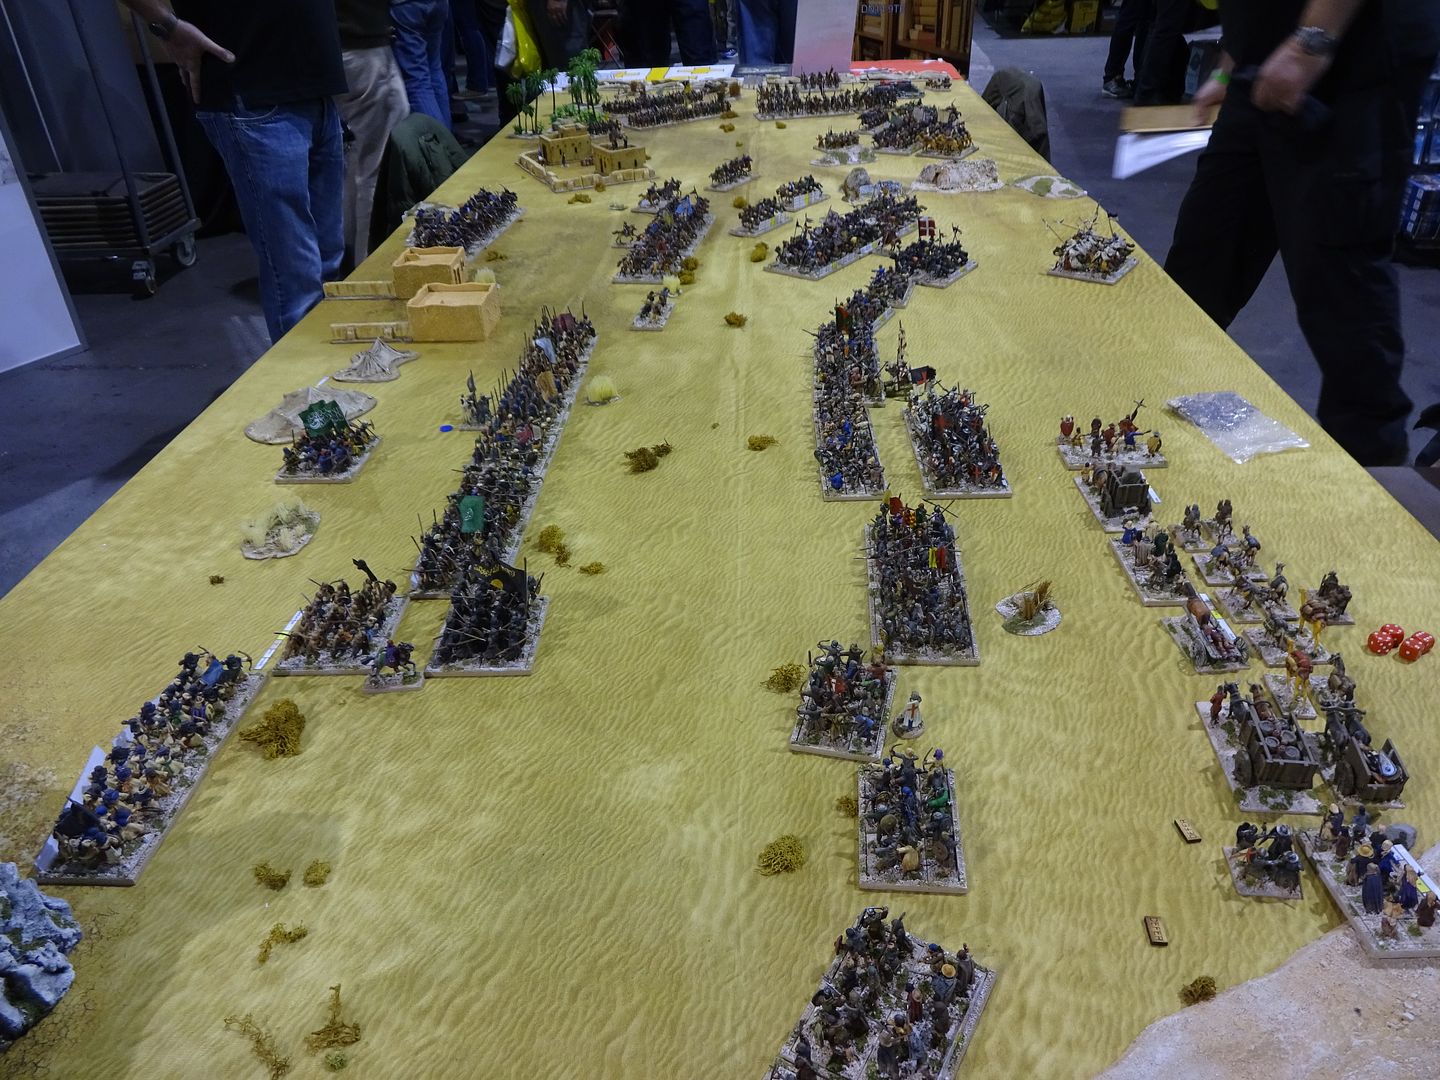
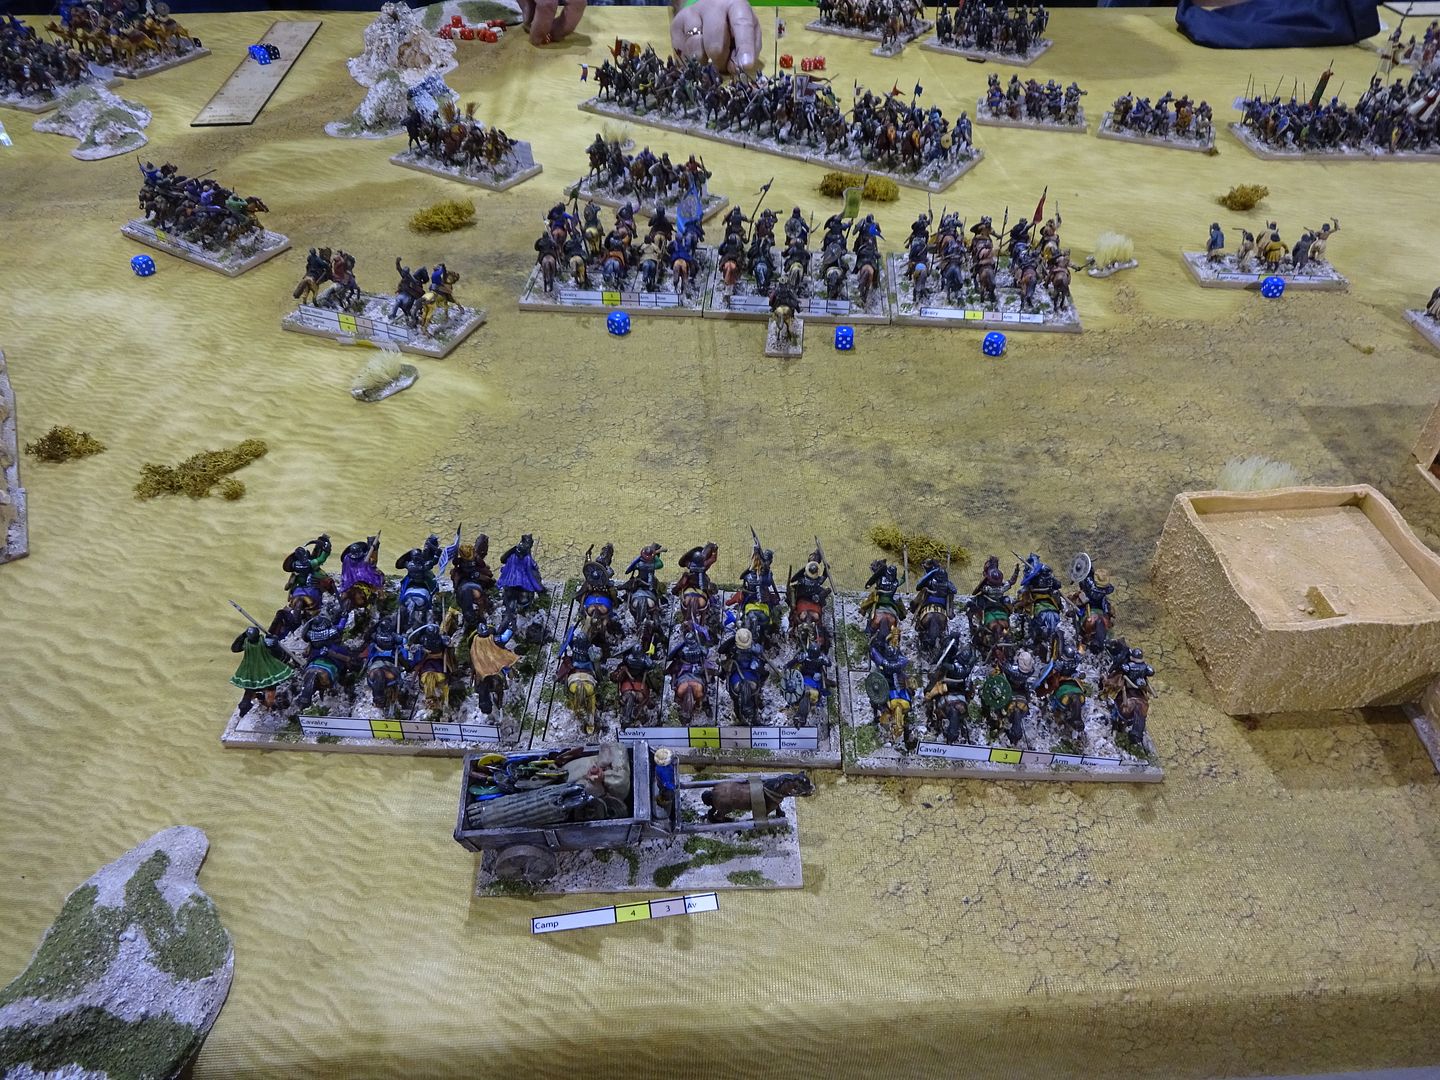
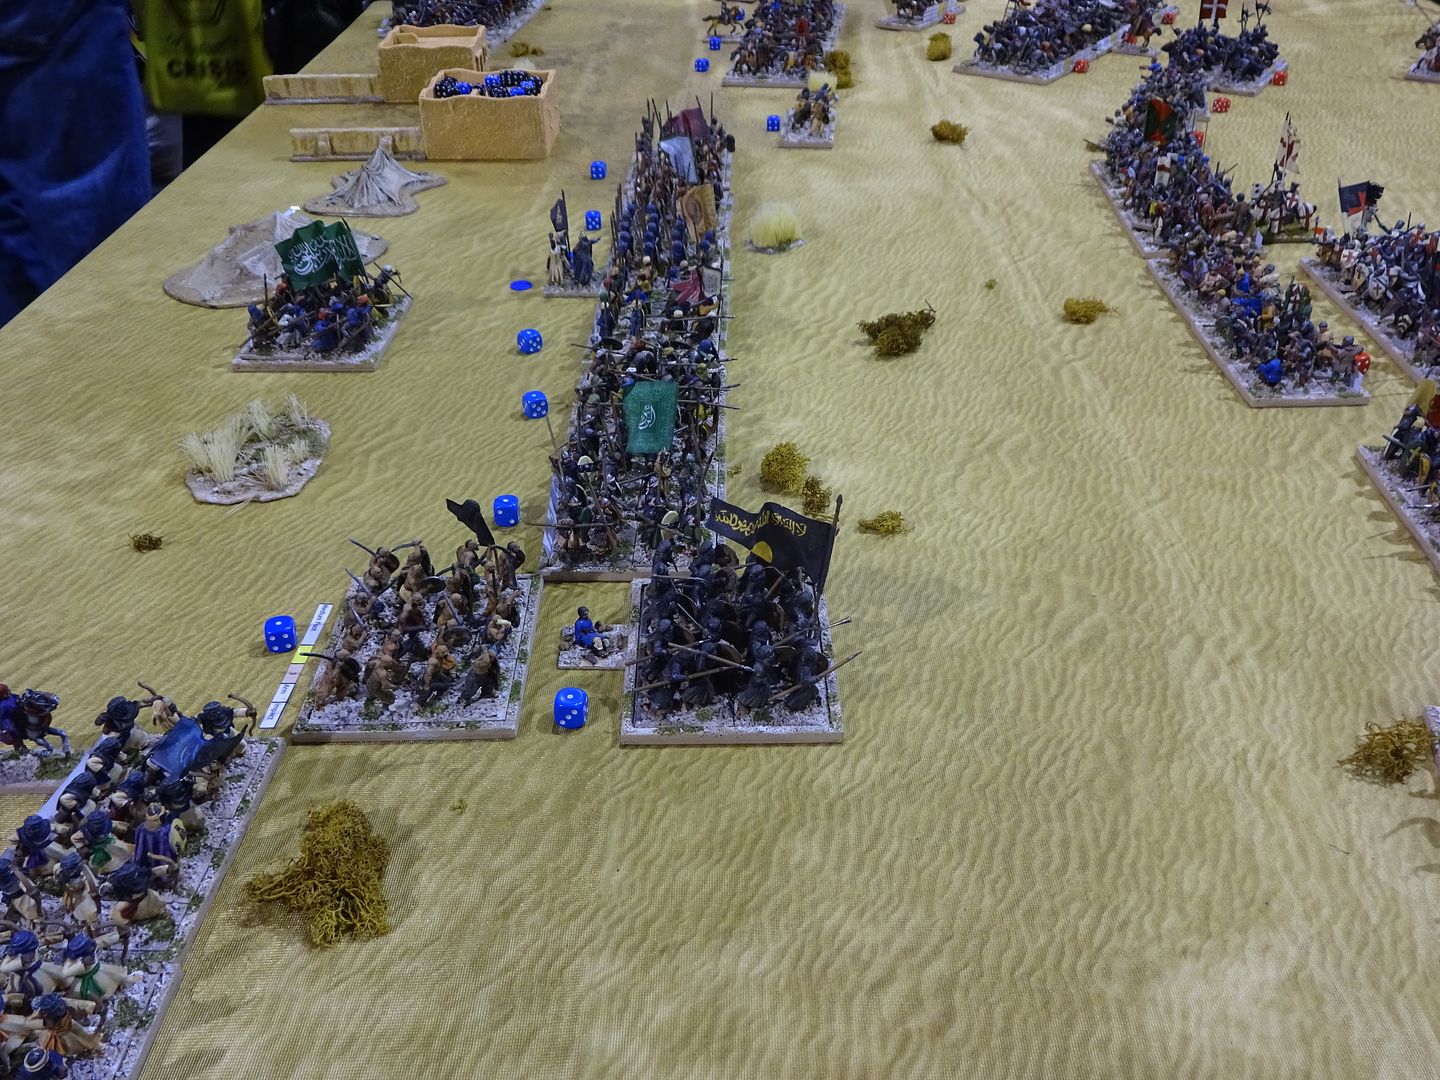
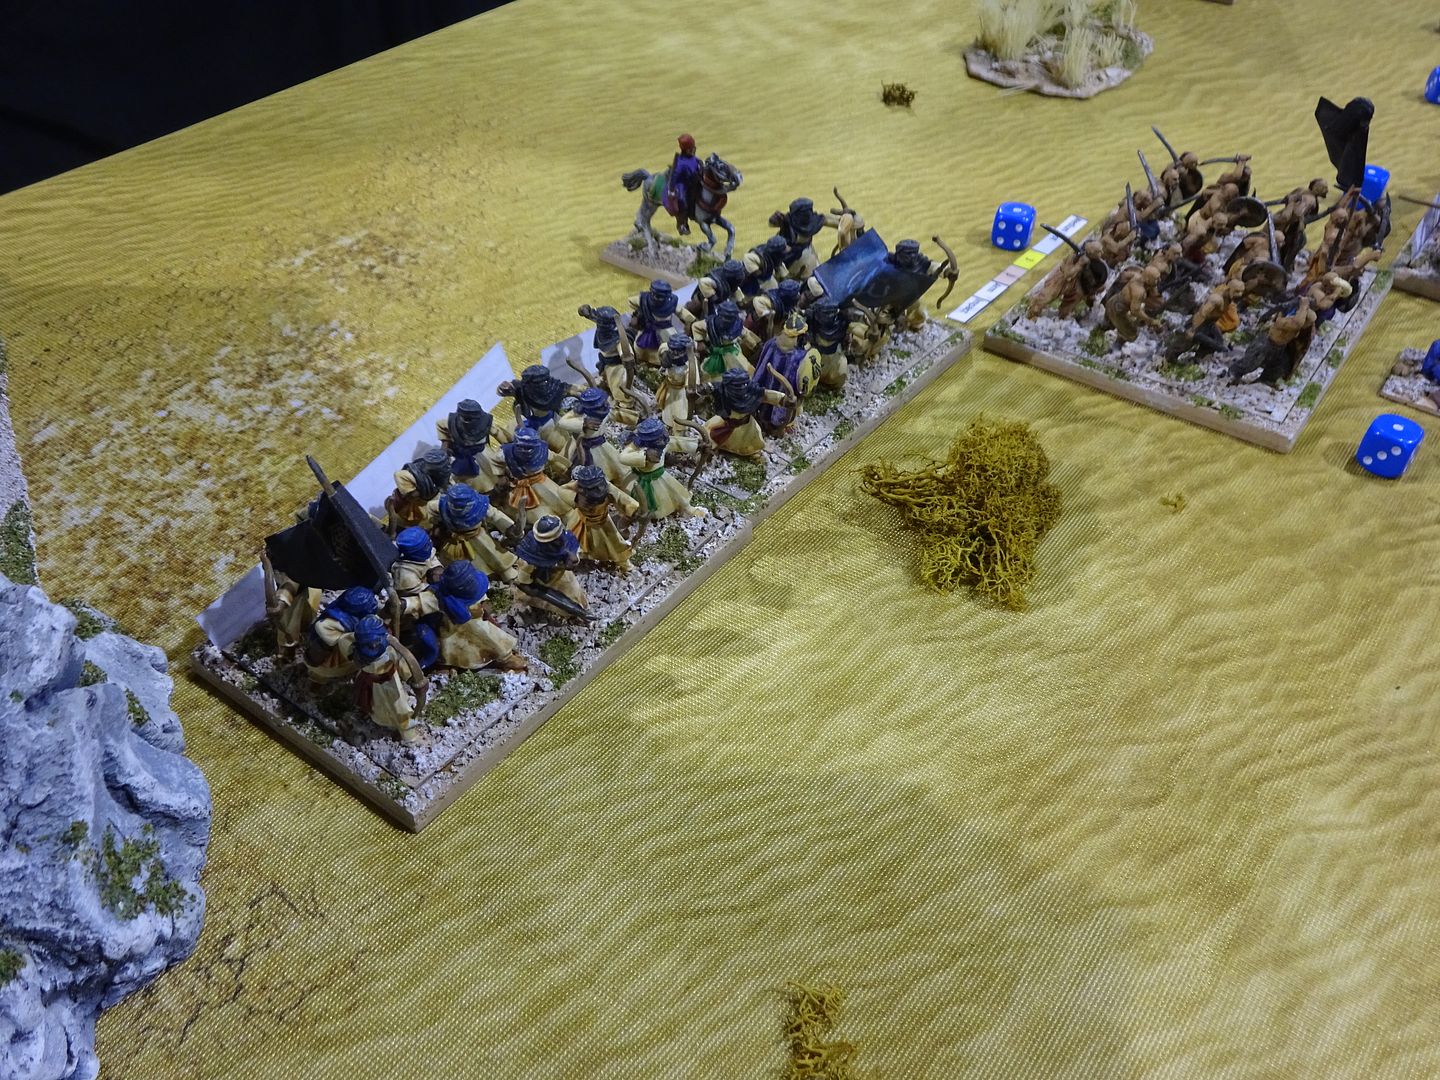
2nd Crusade - 1200 points - 28mm - Sword & Spear rules

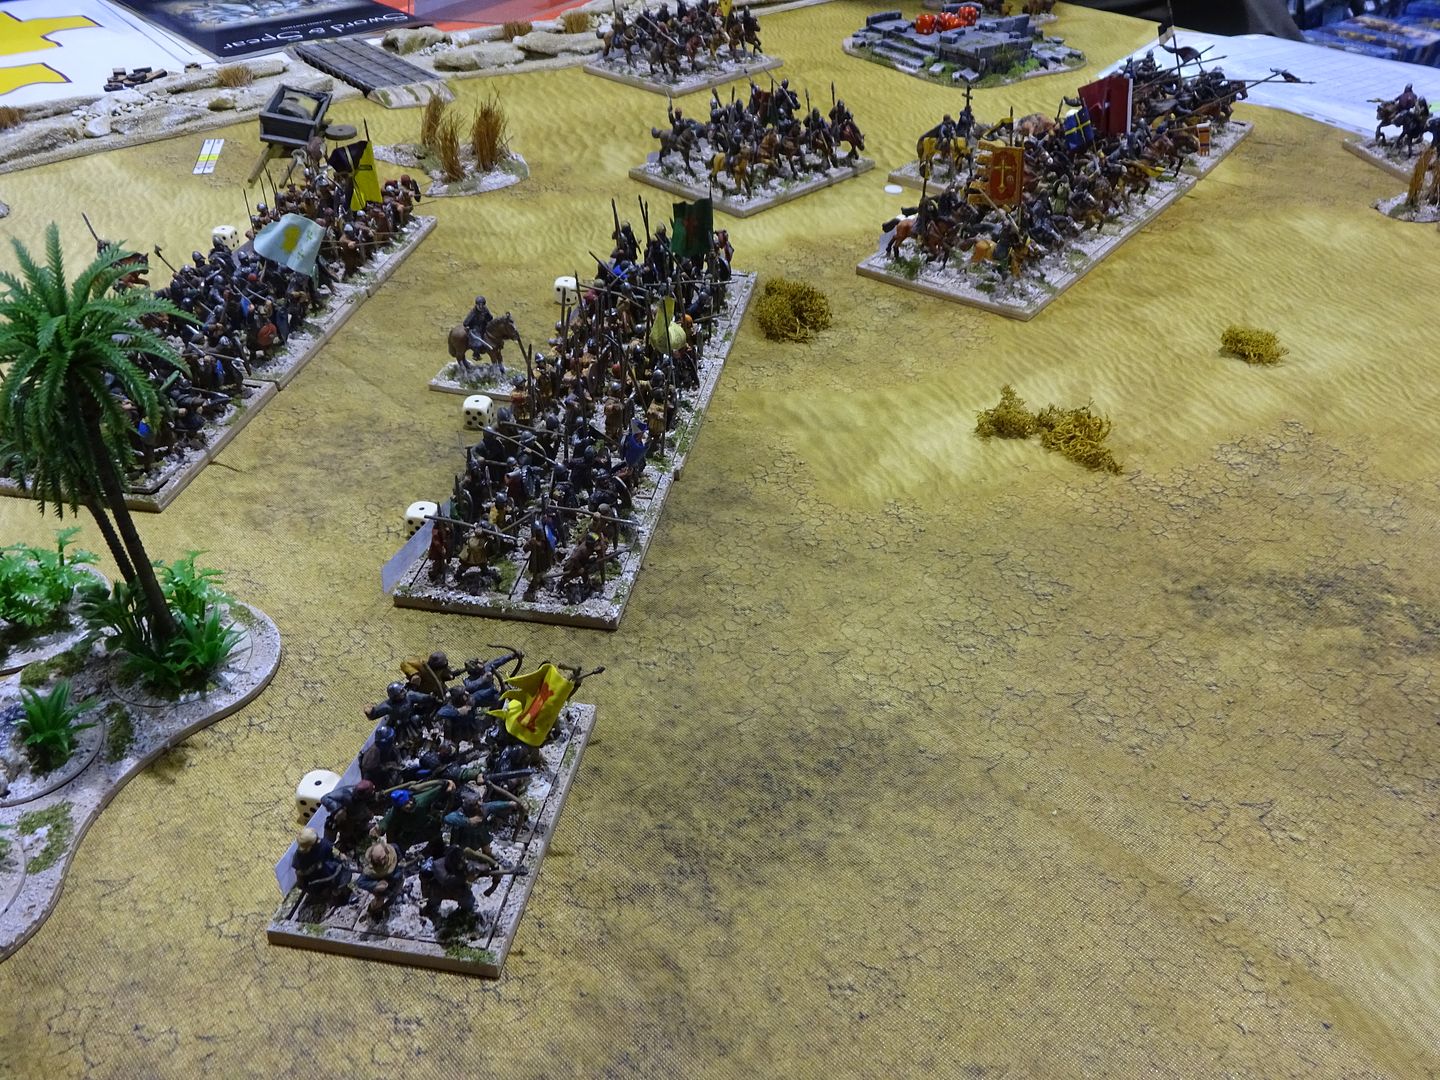
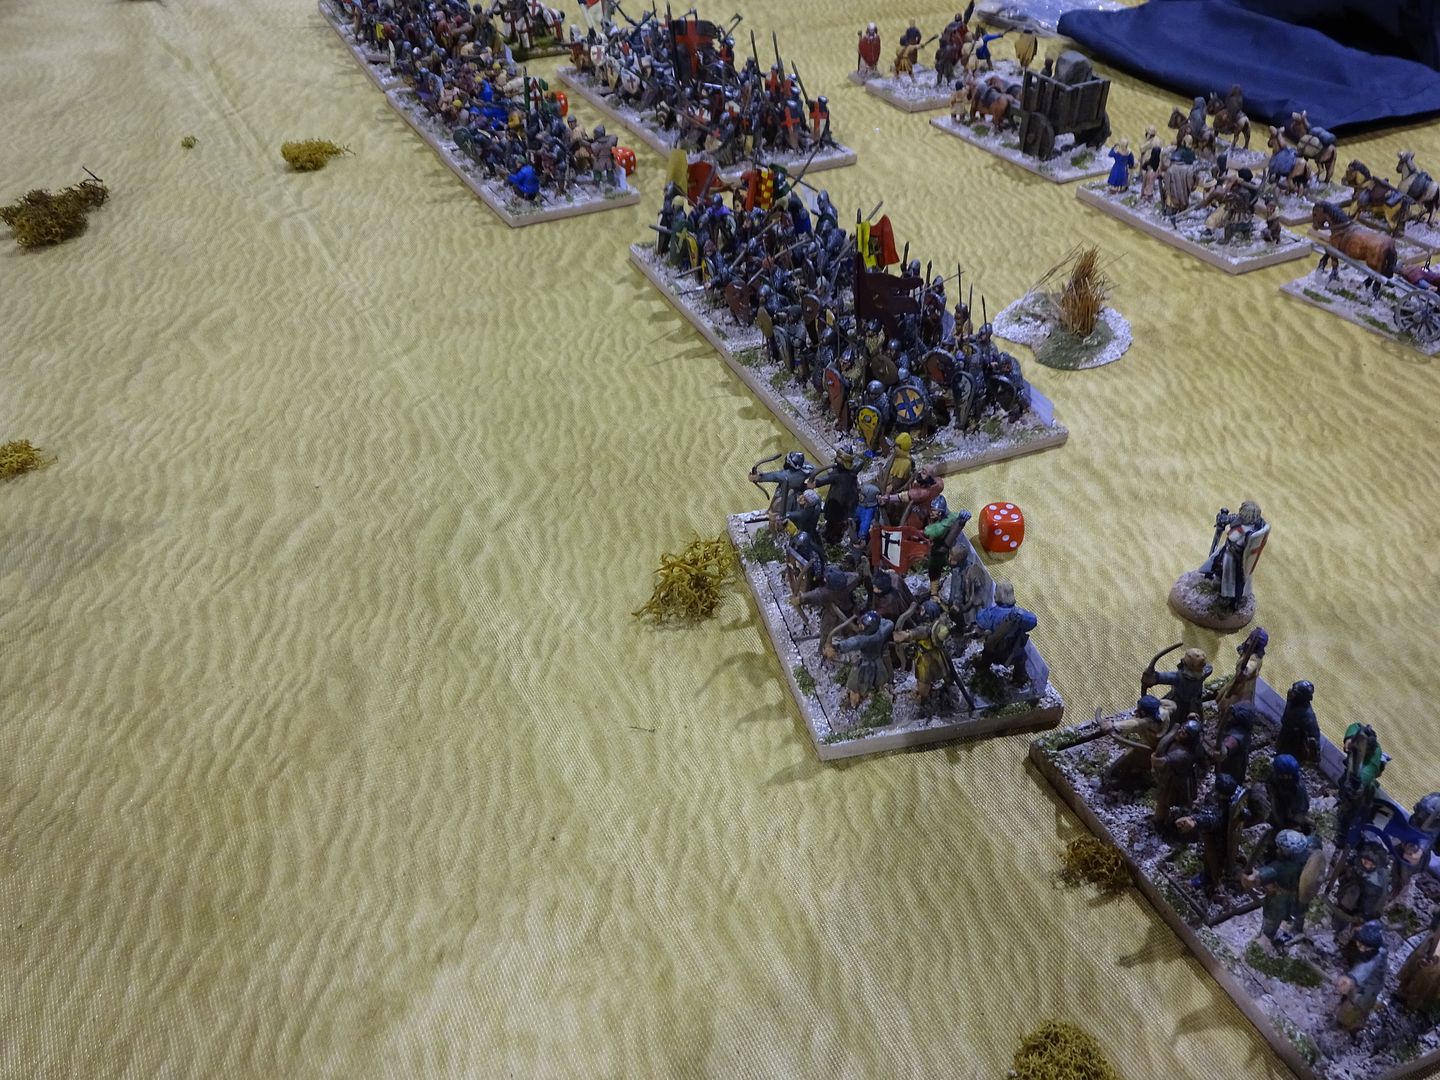
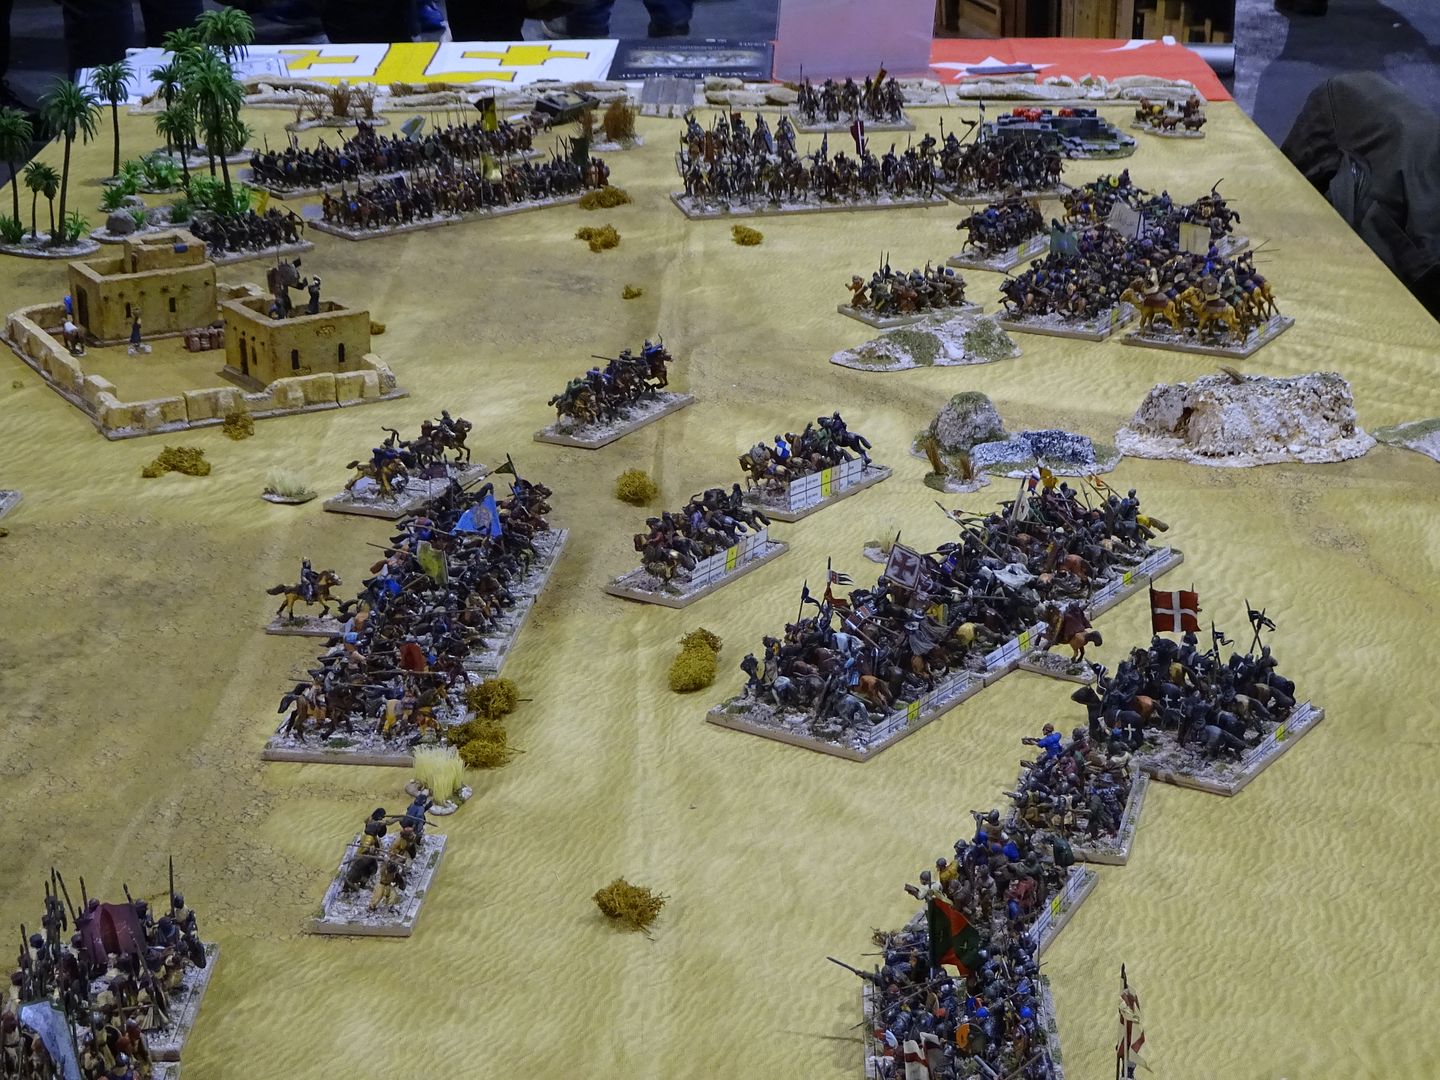
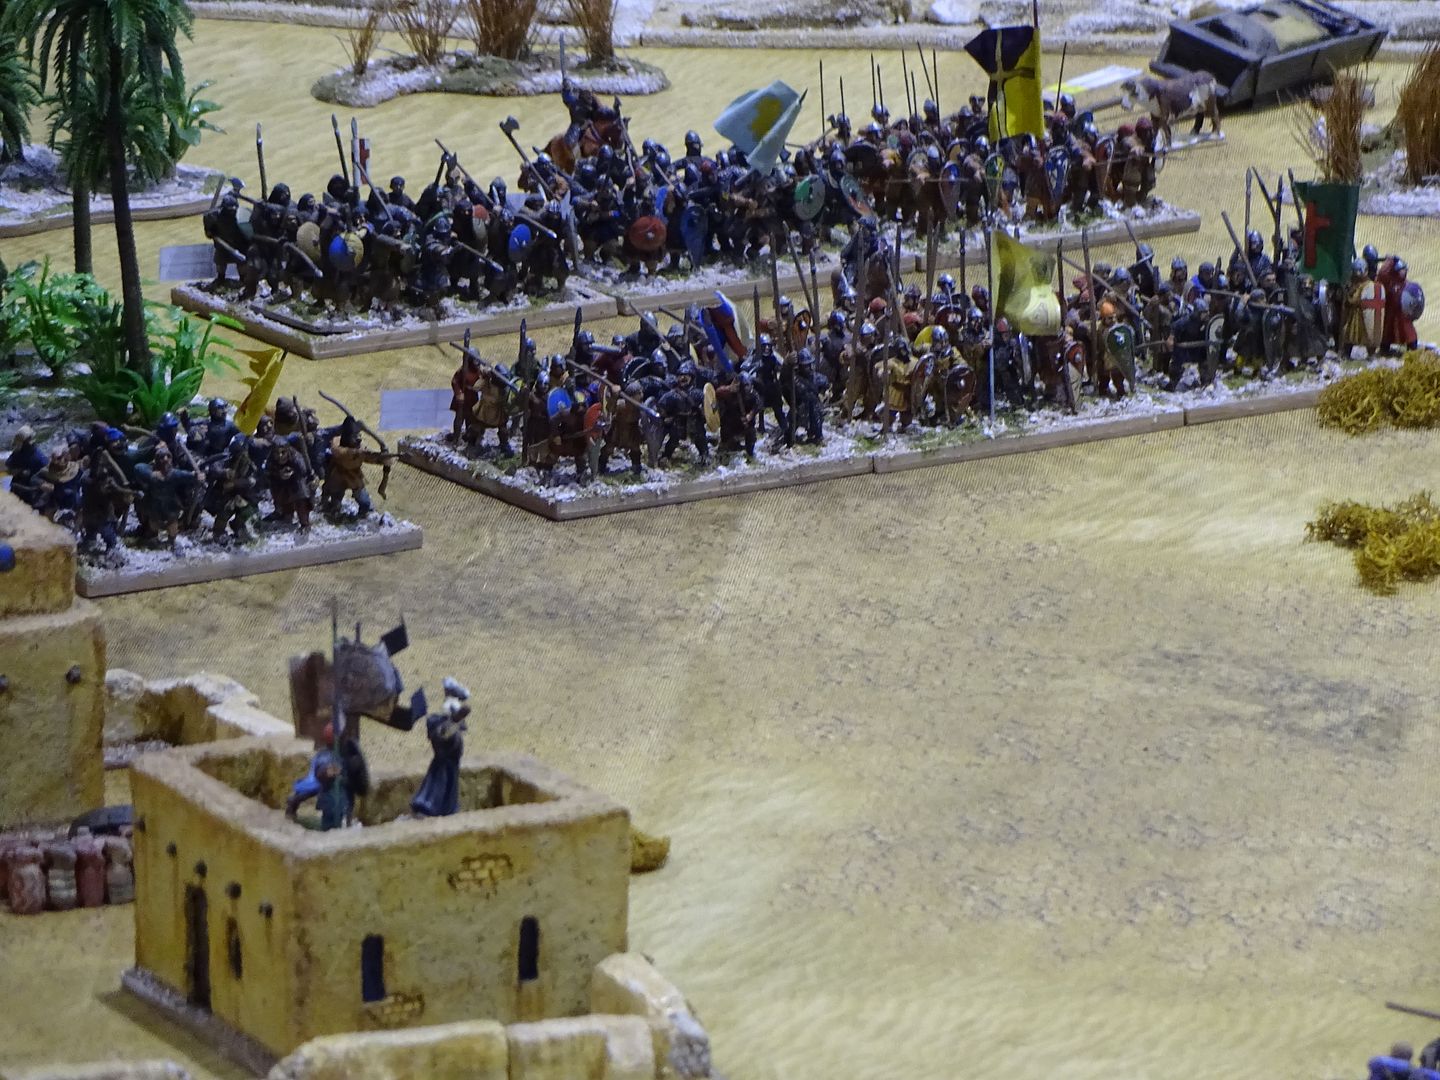
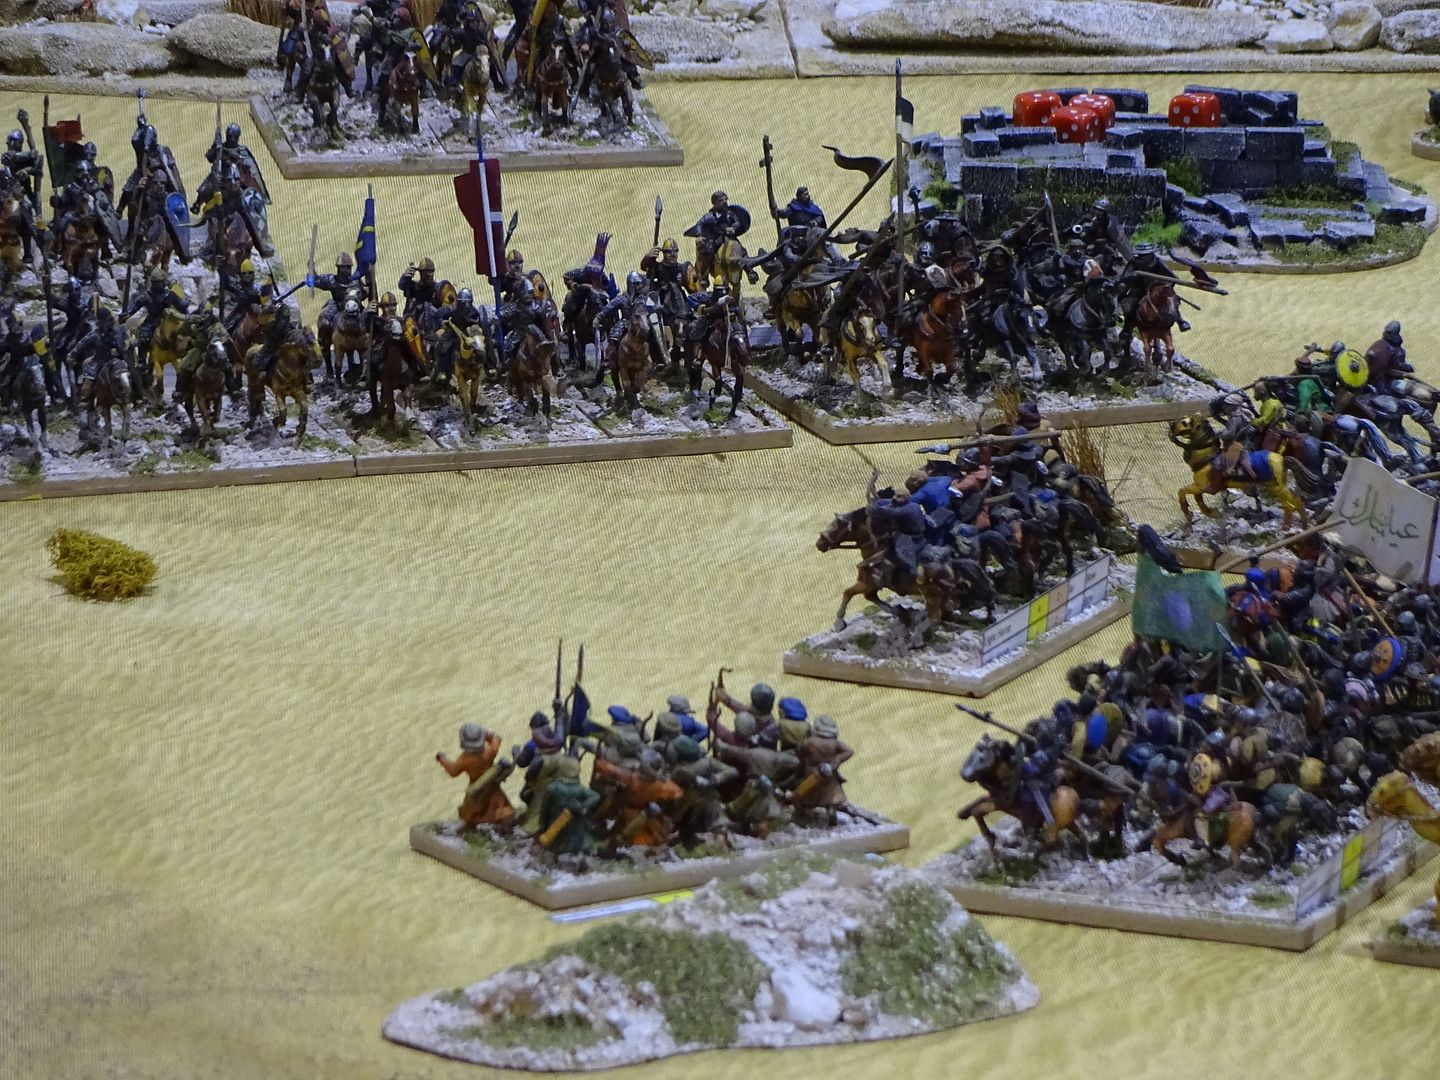
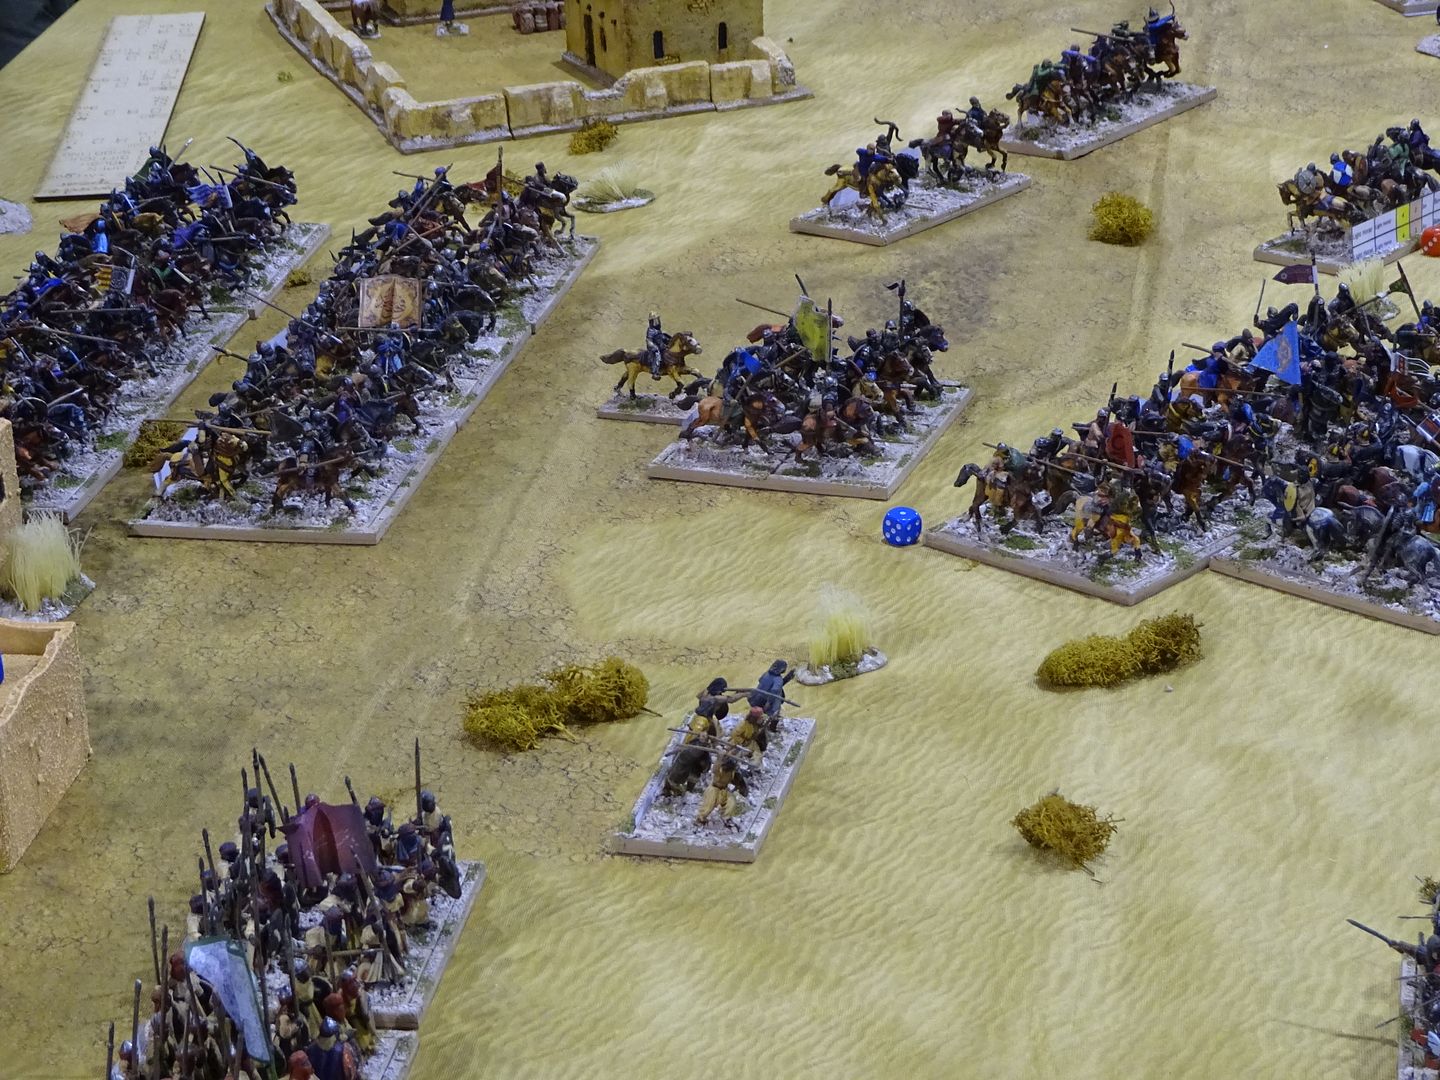
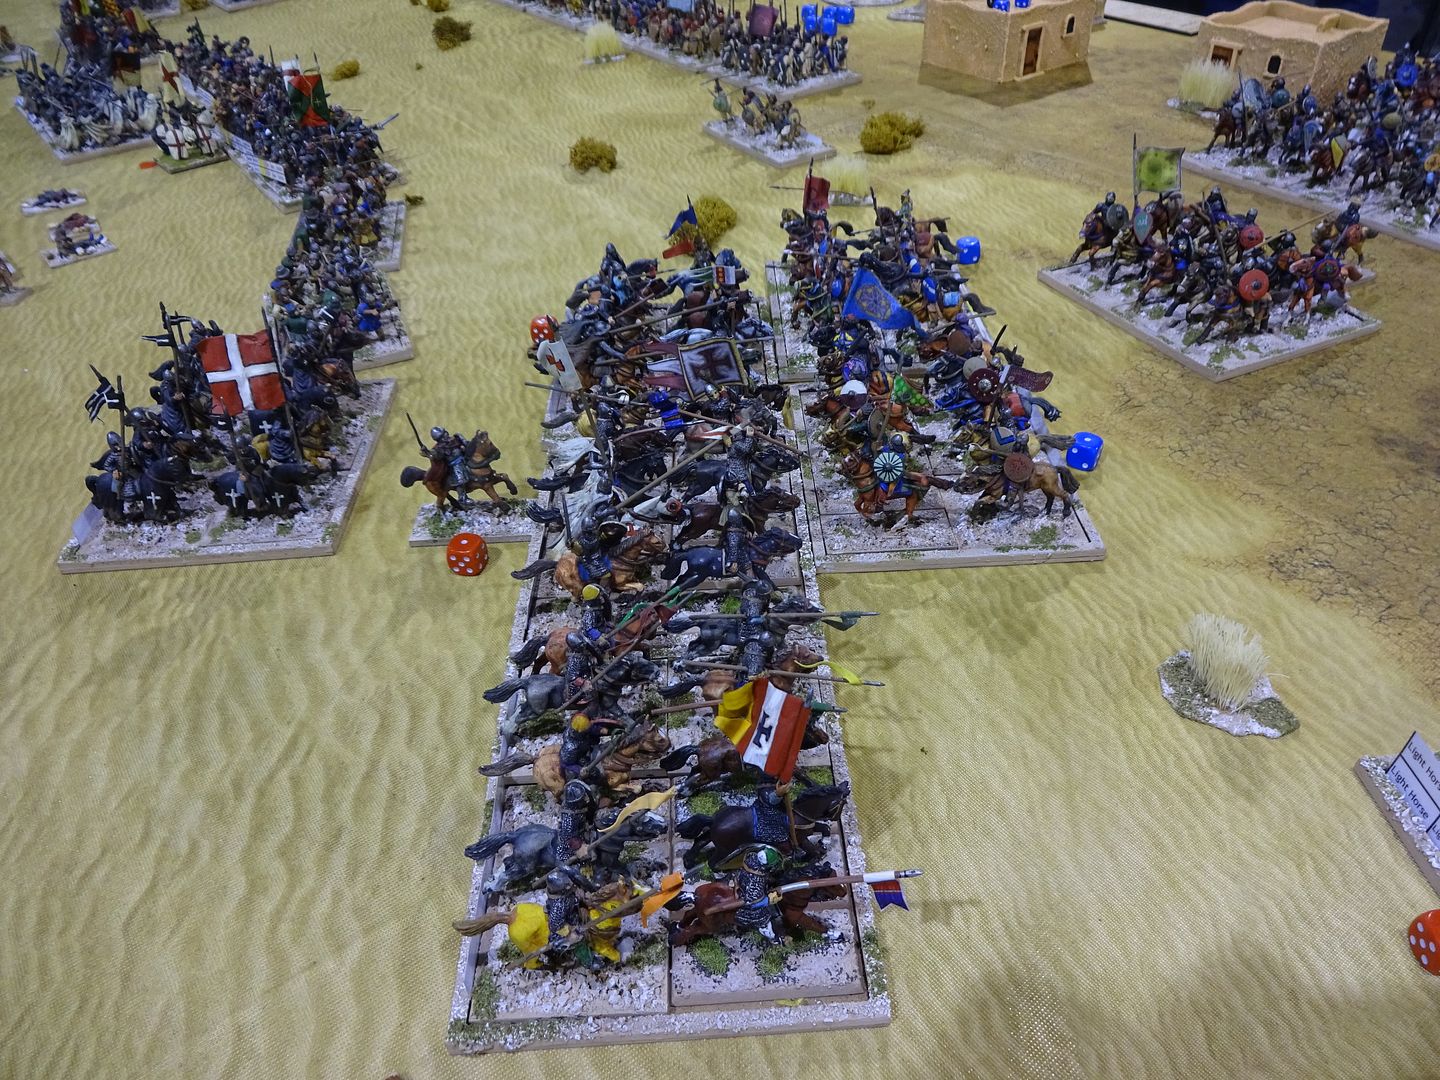
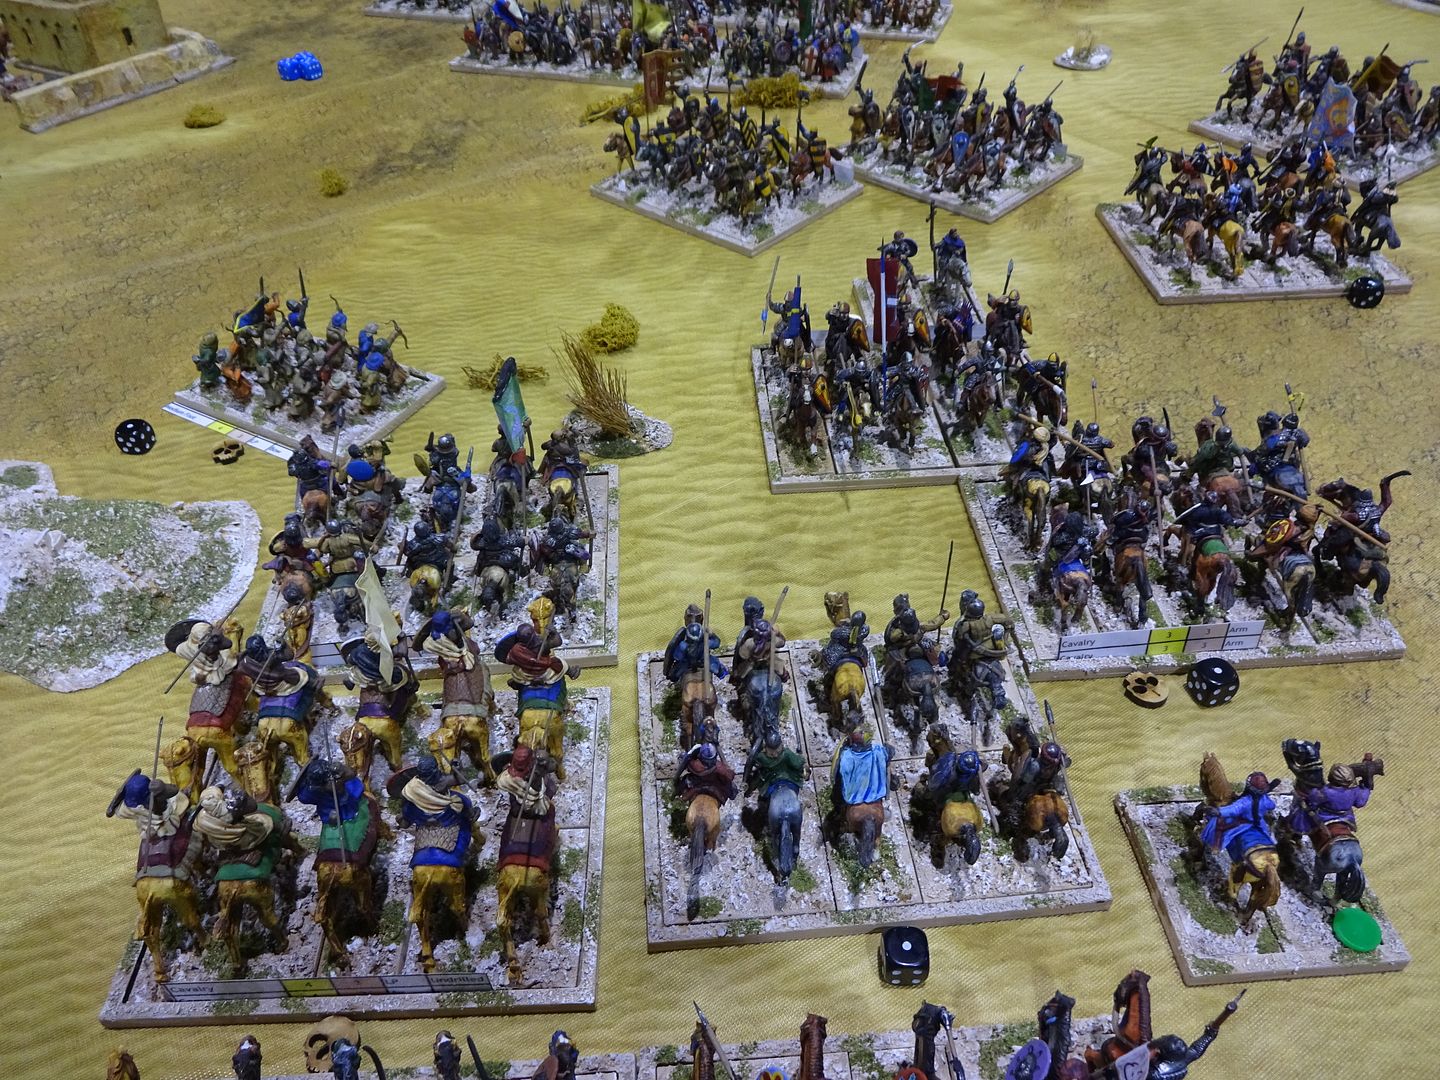
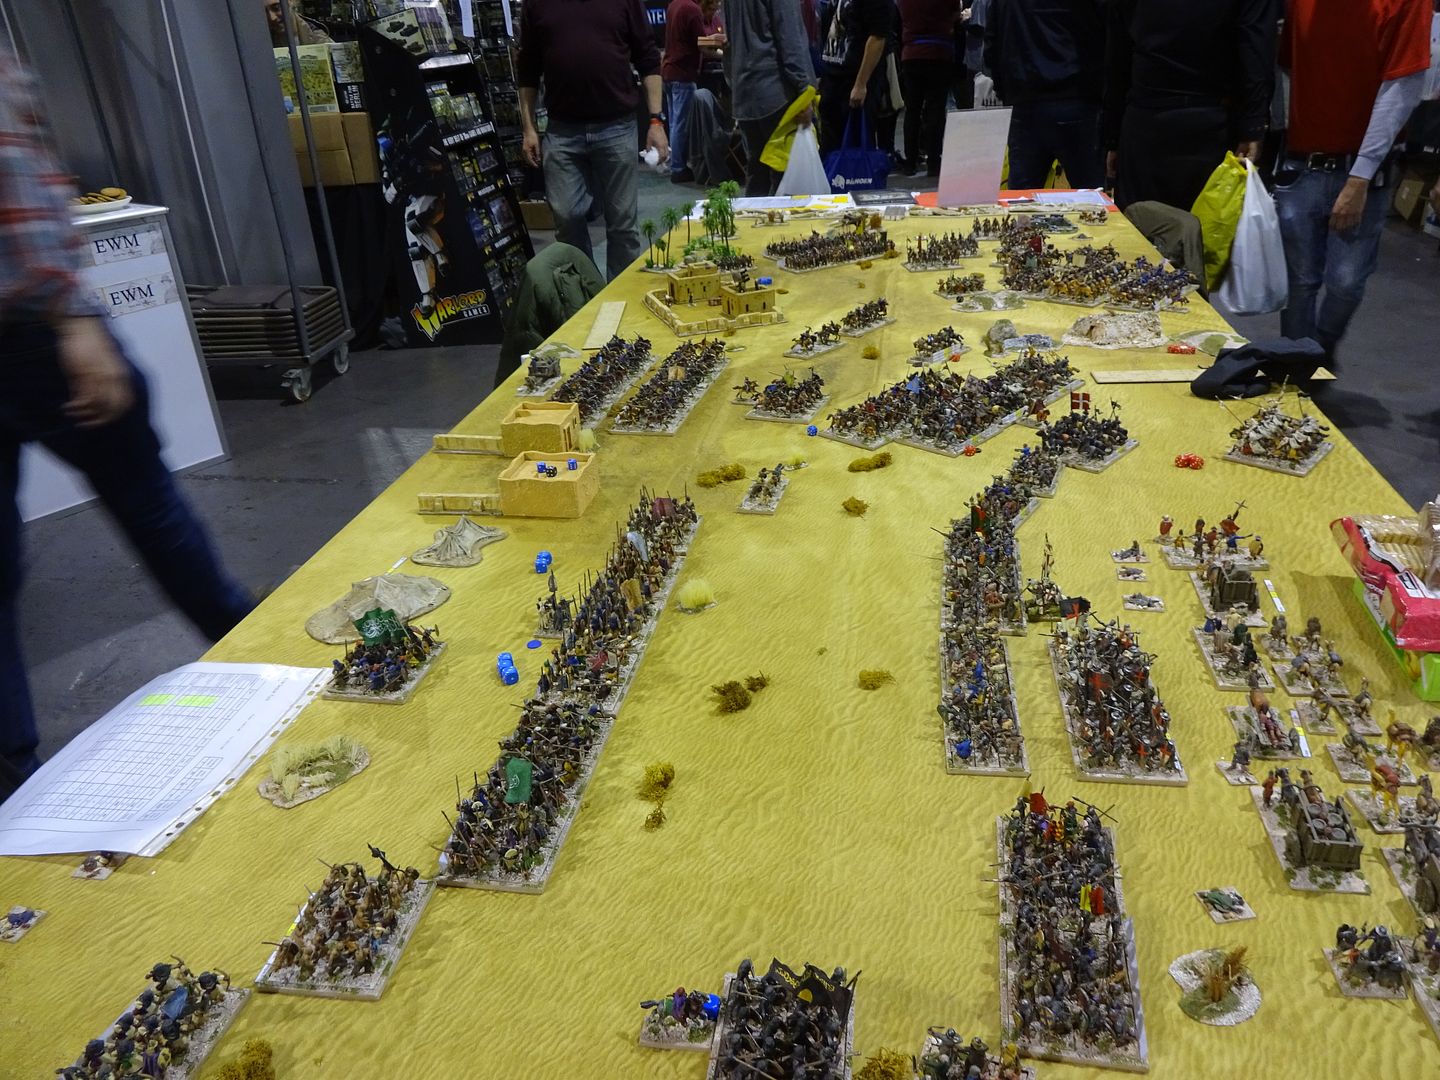
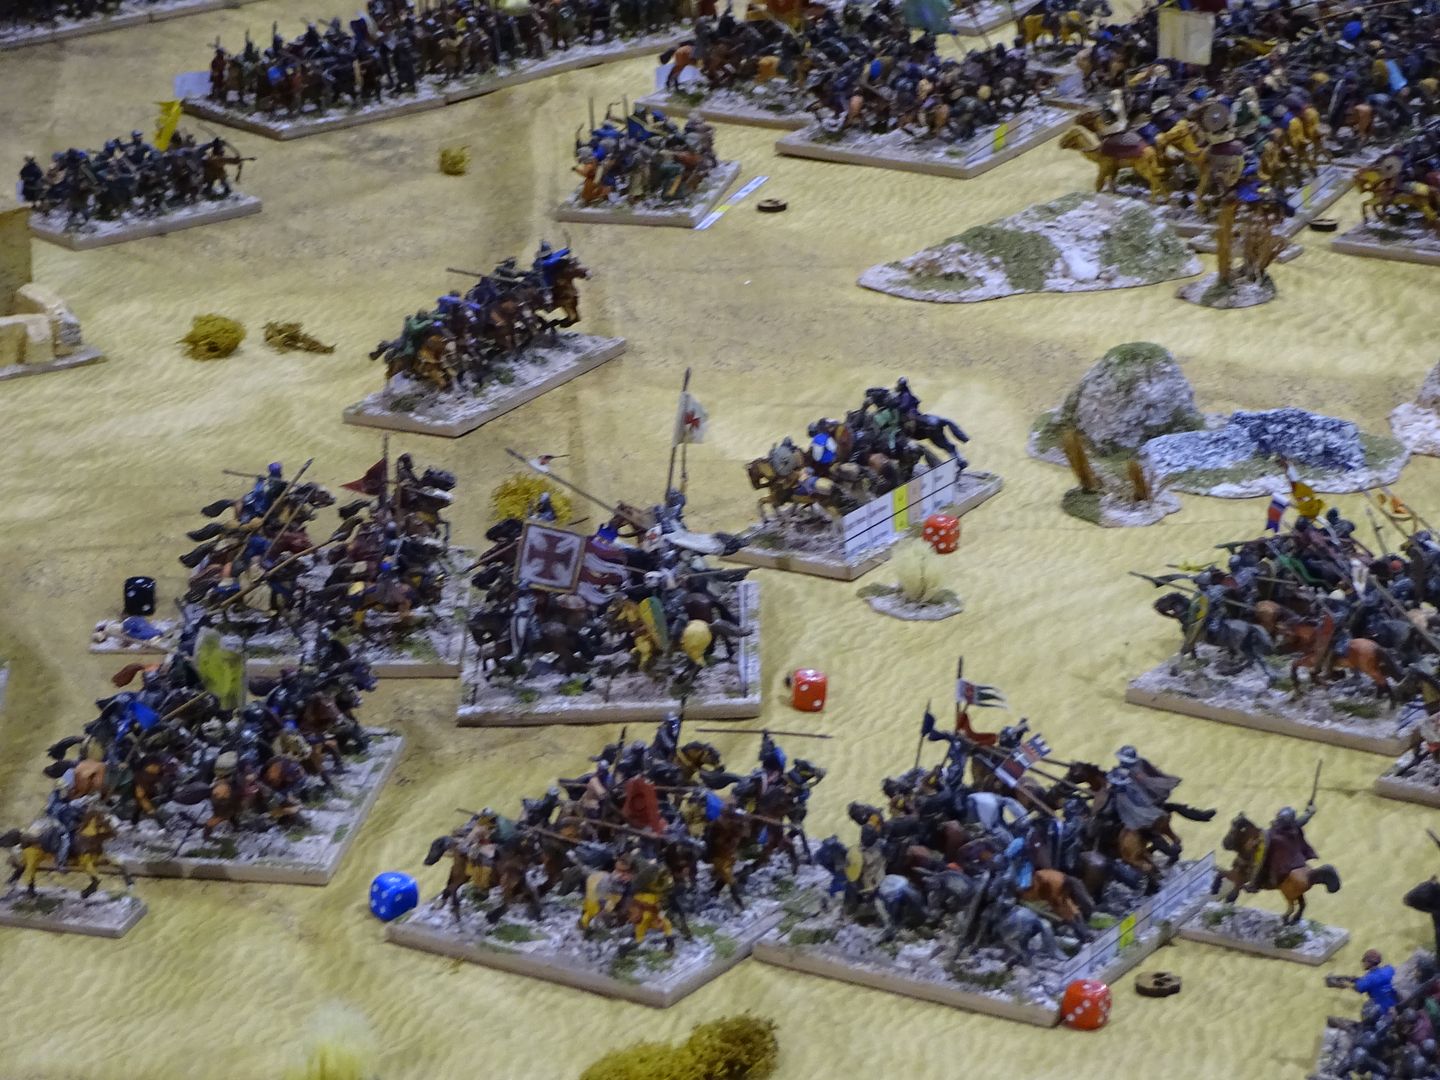
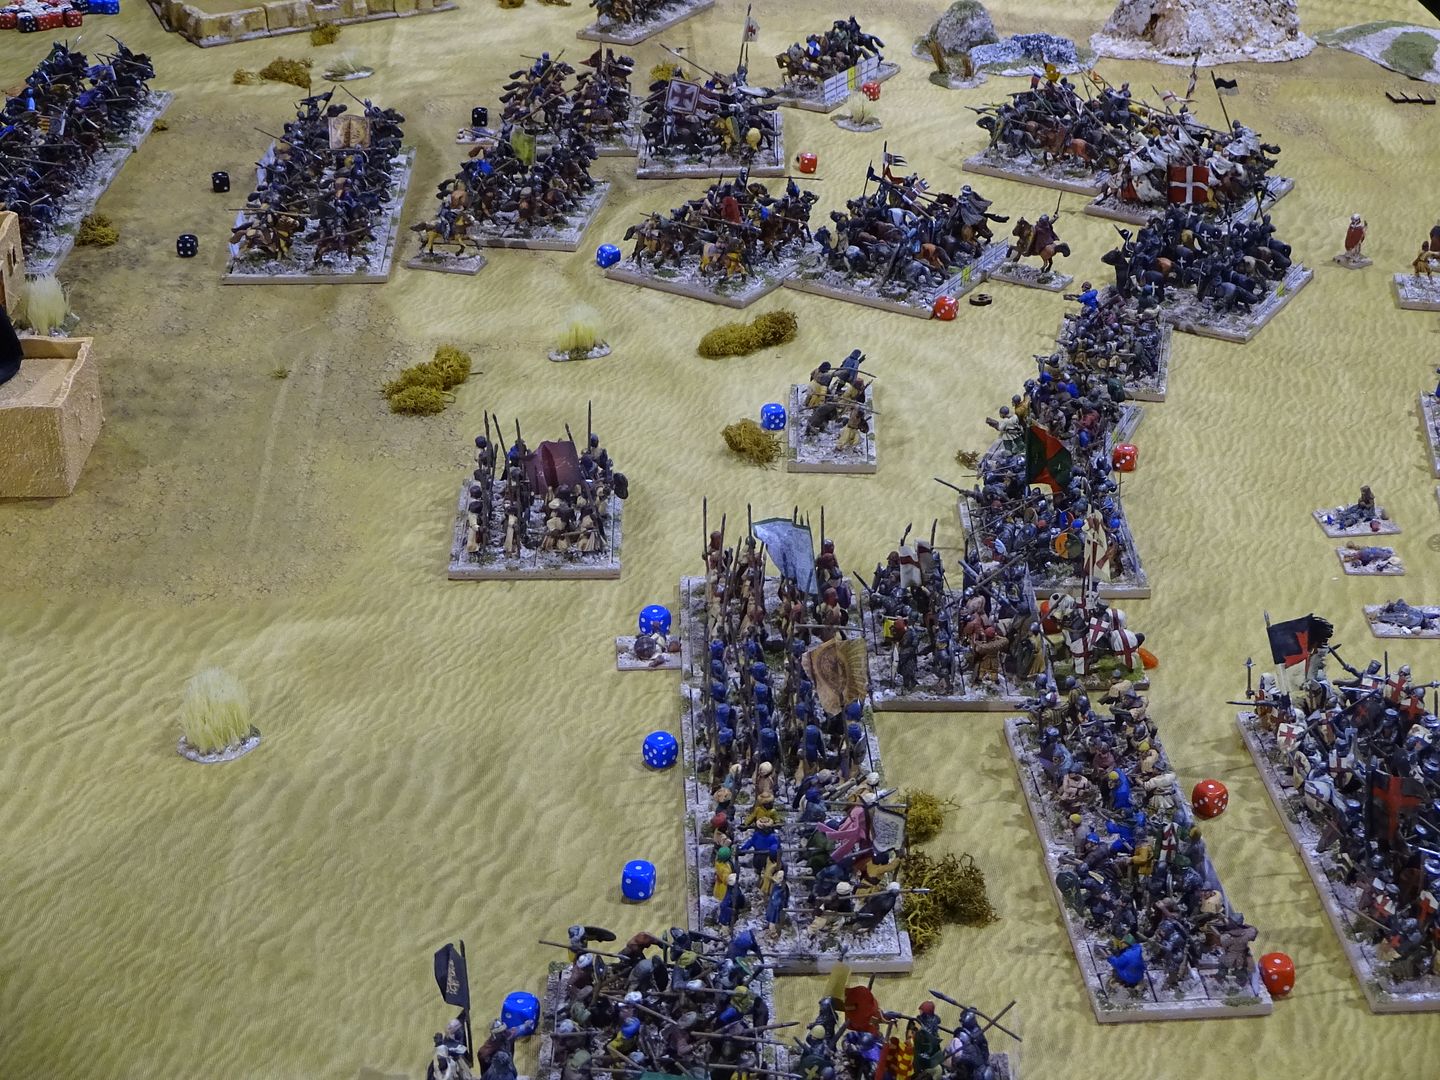
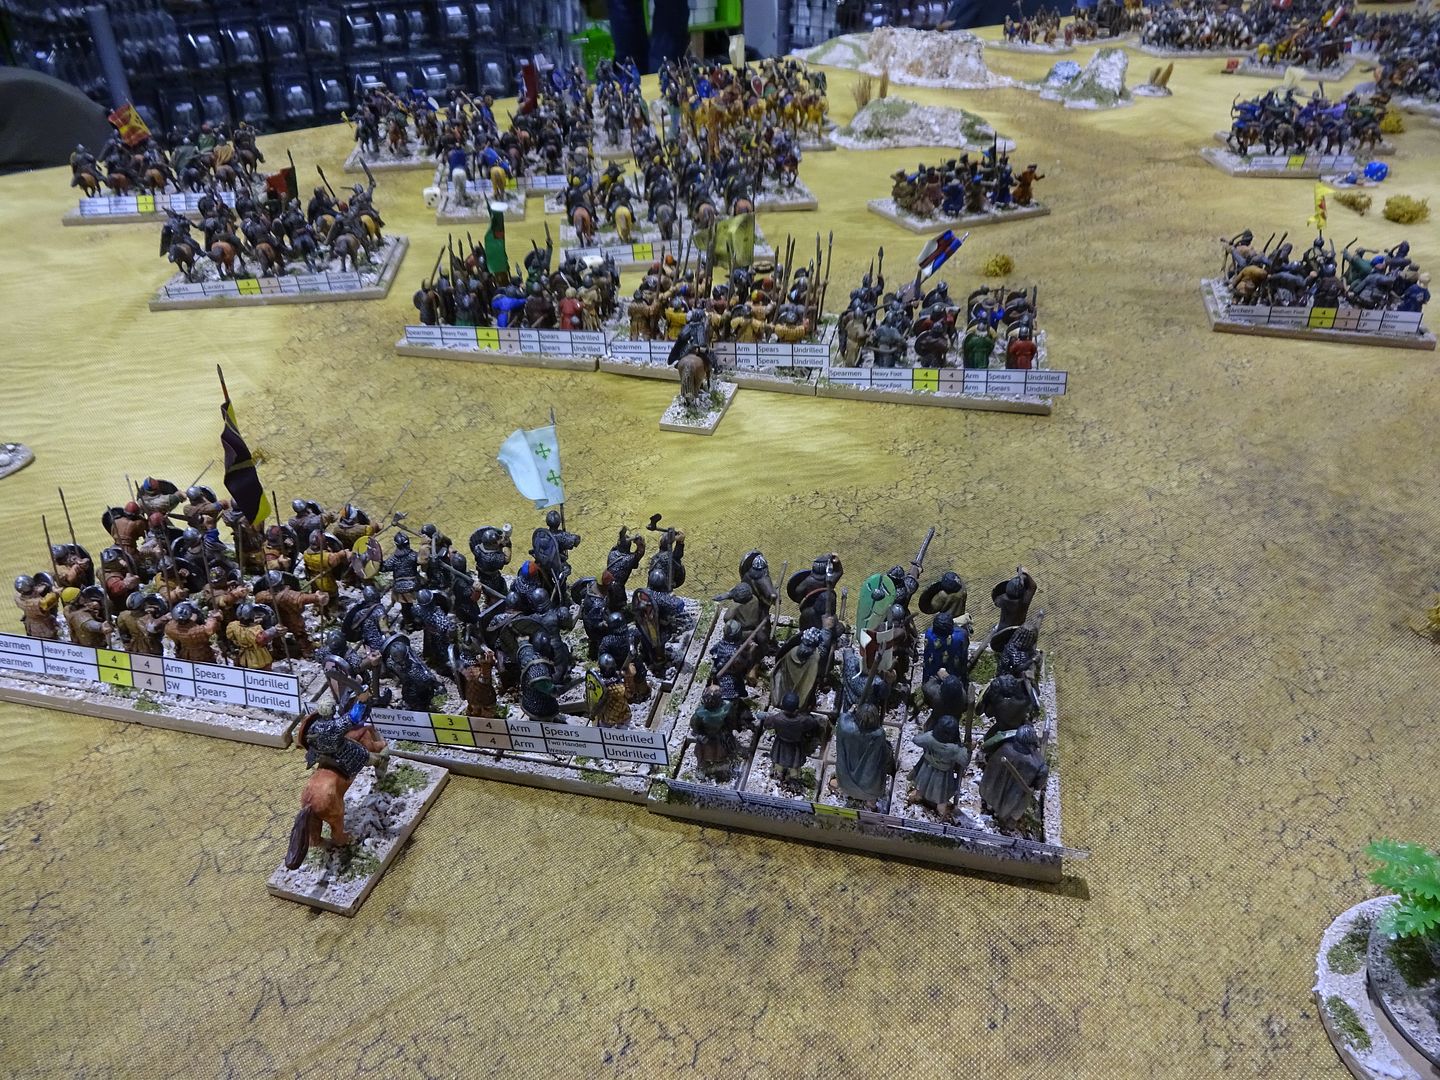
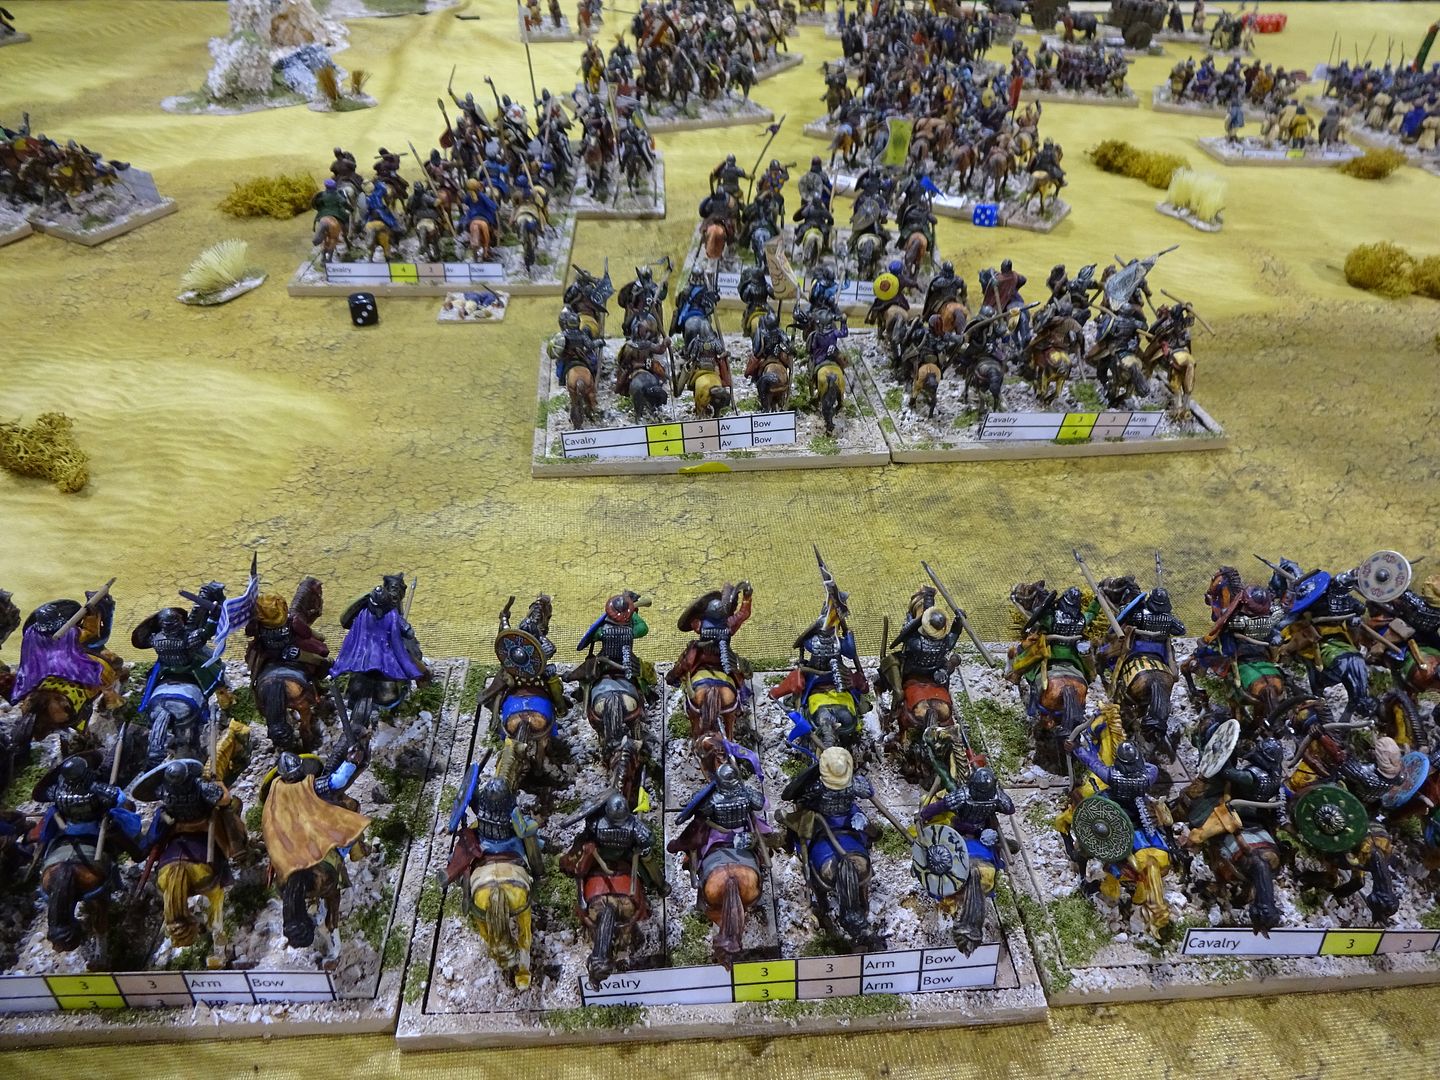
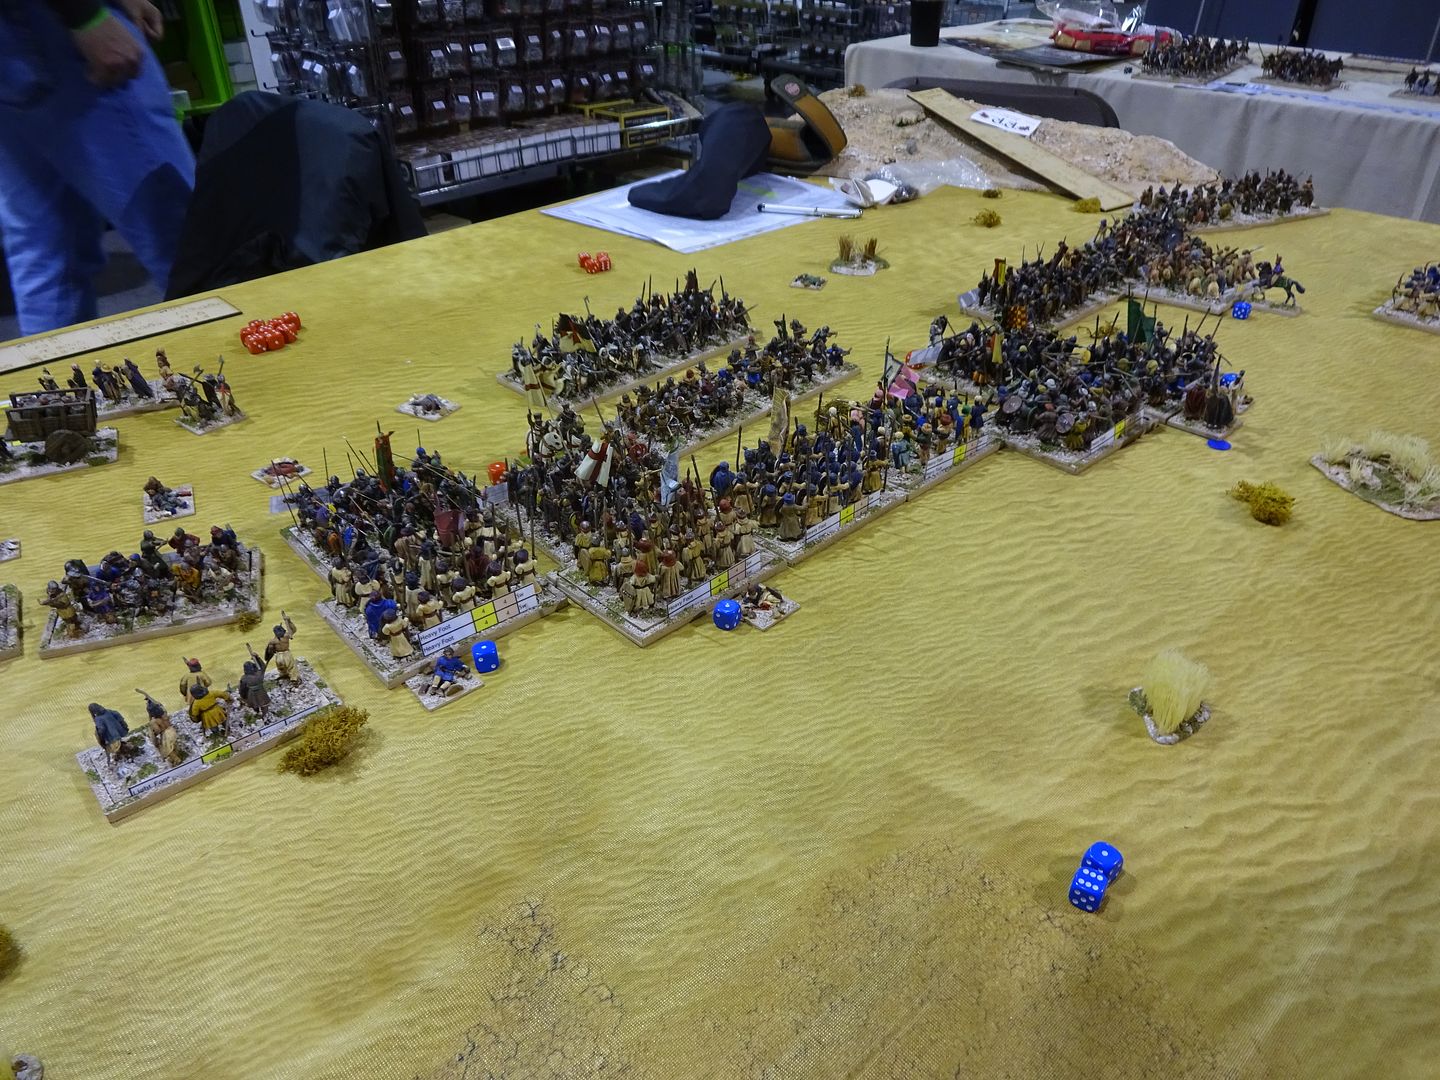
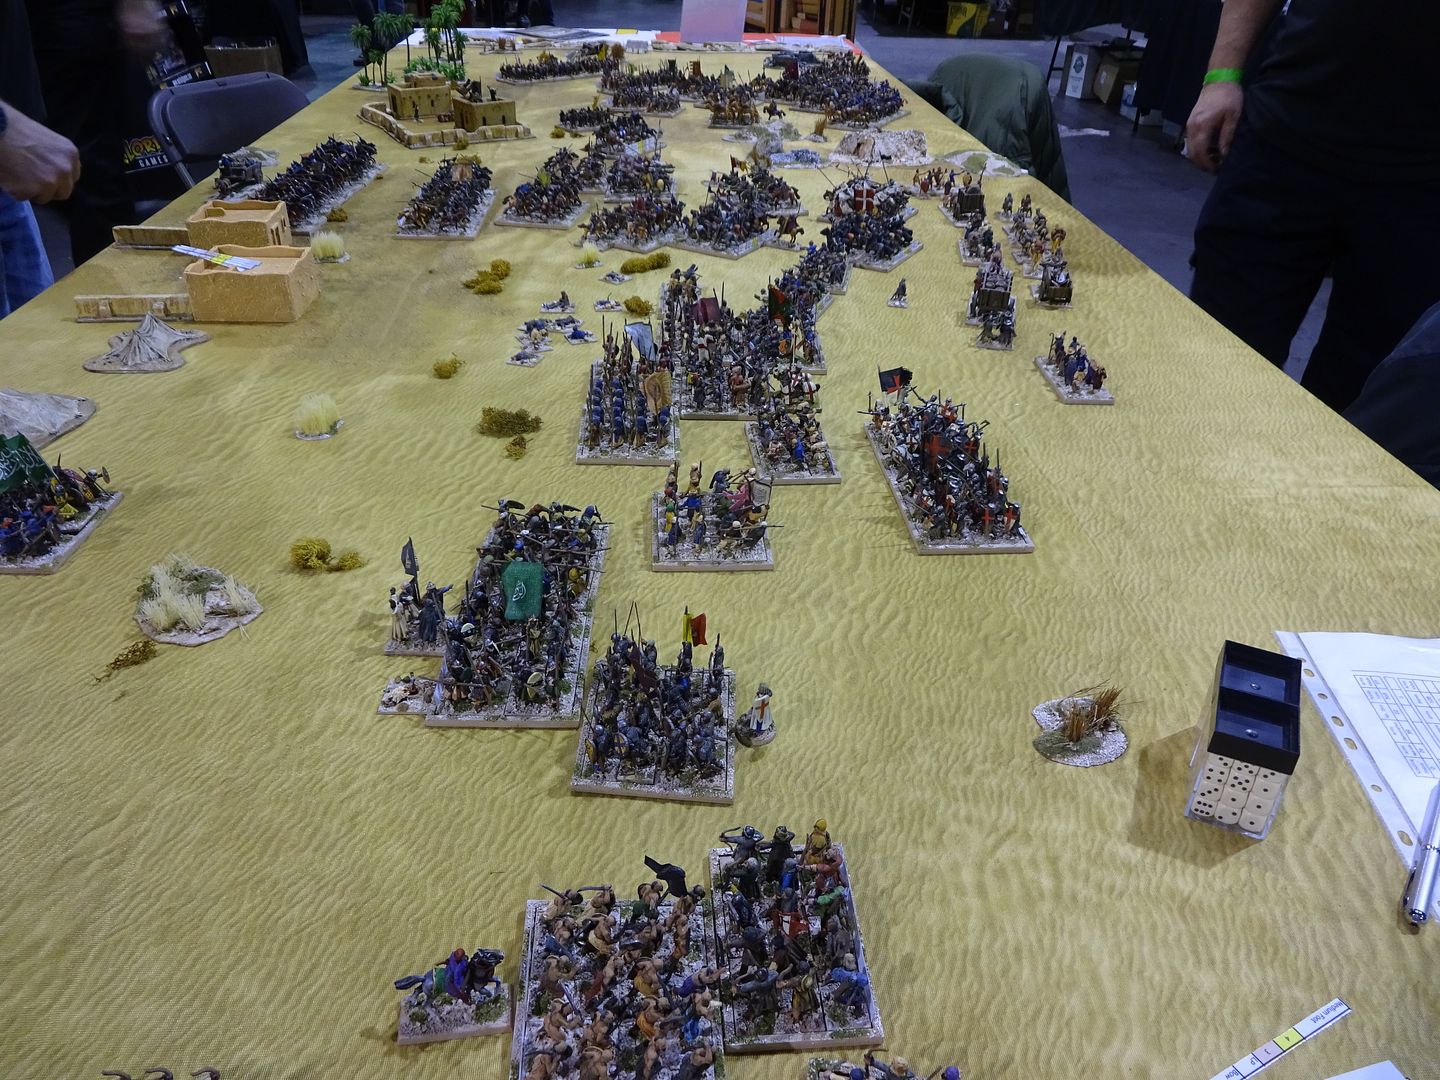
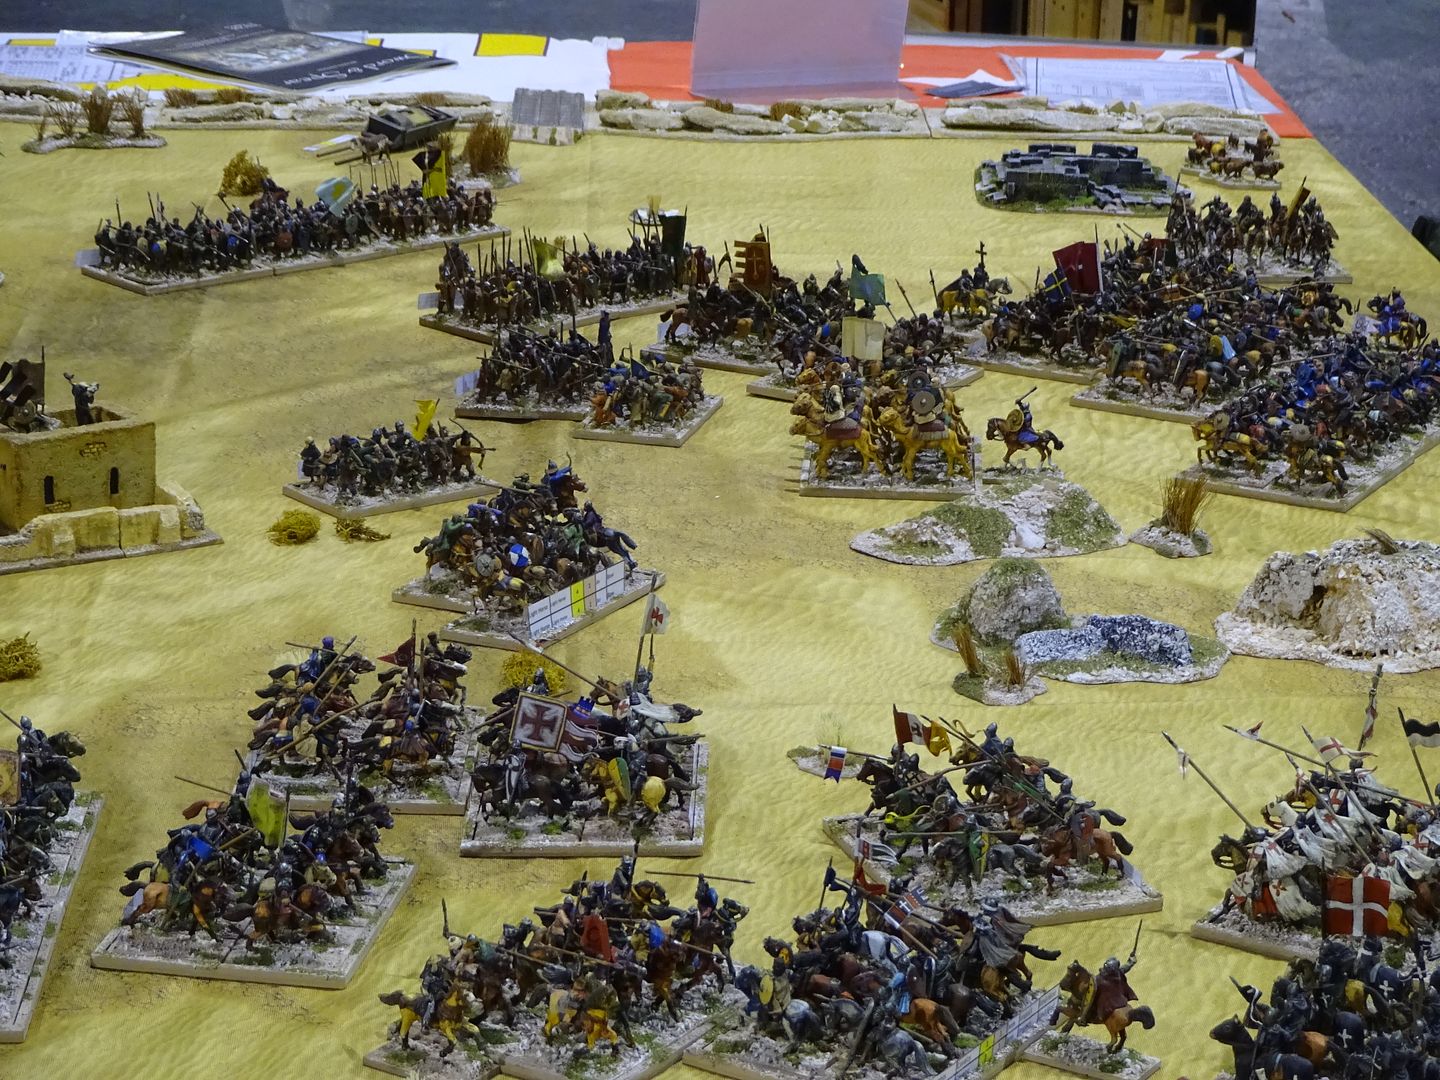
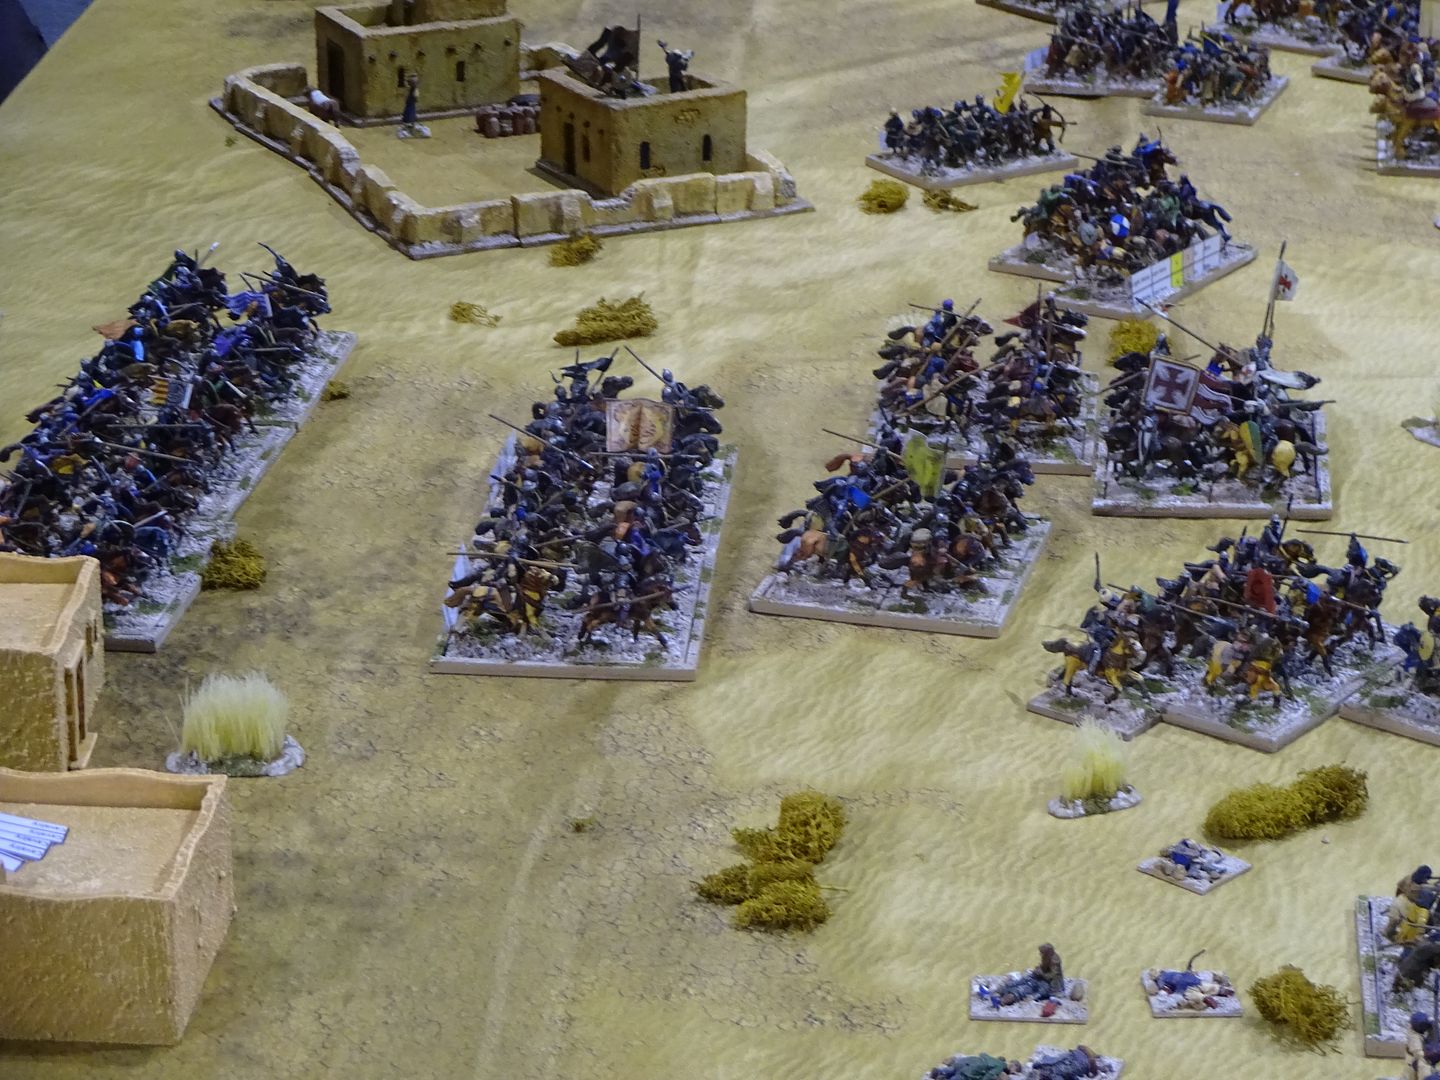
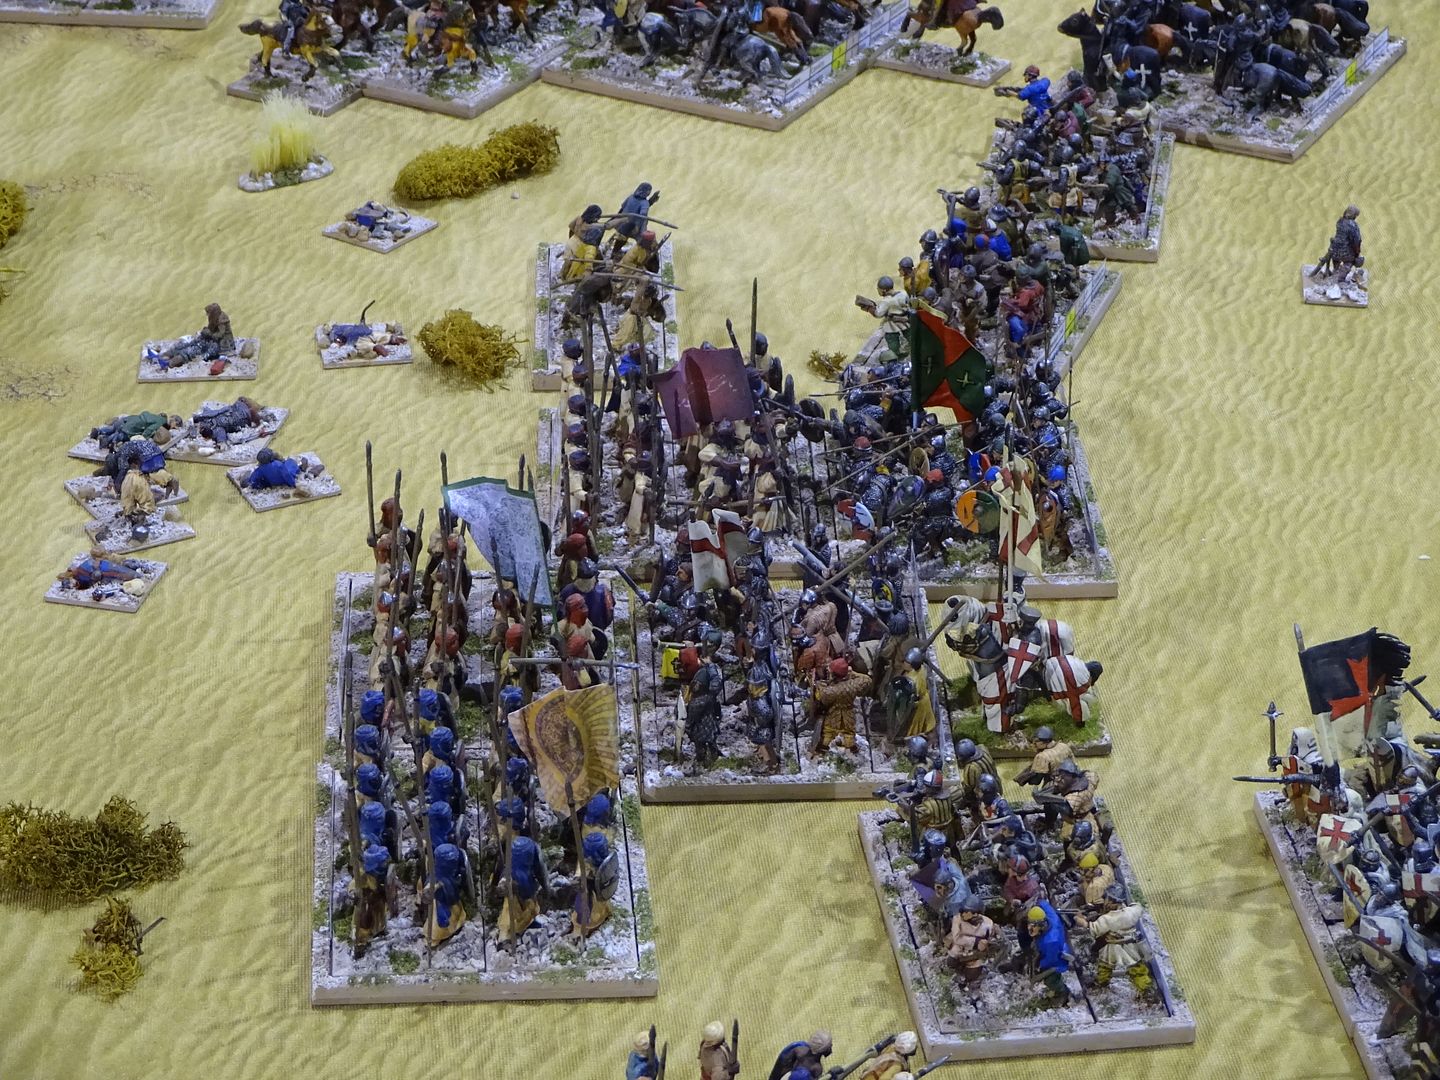
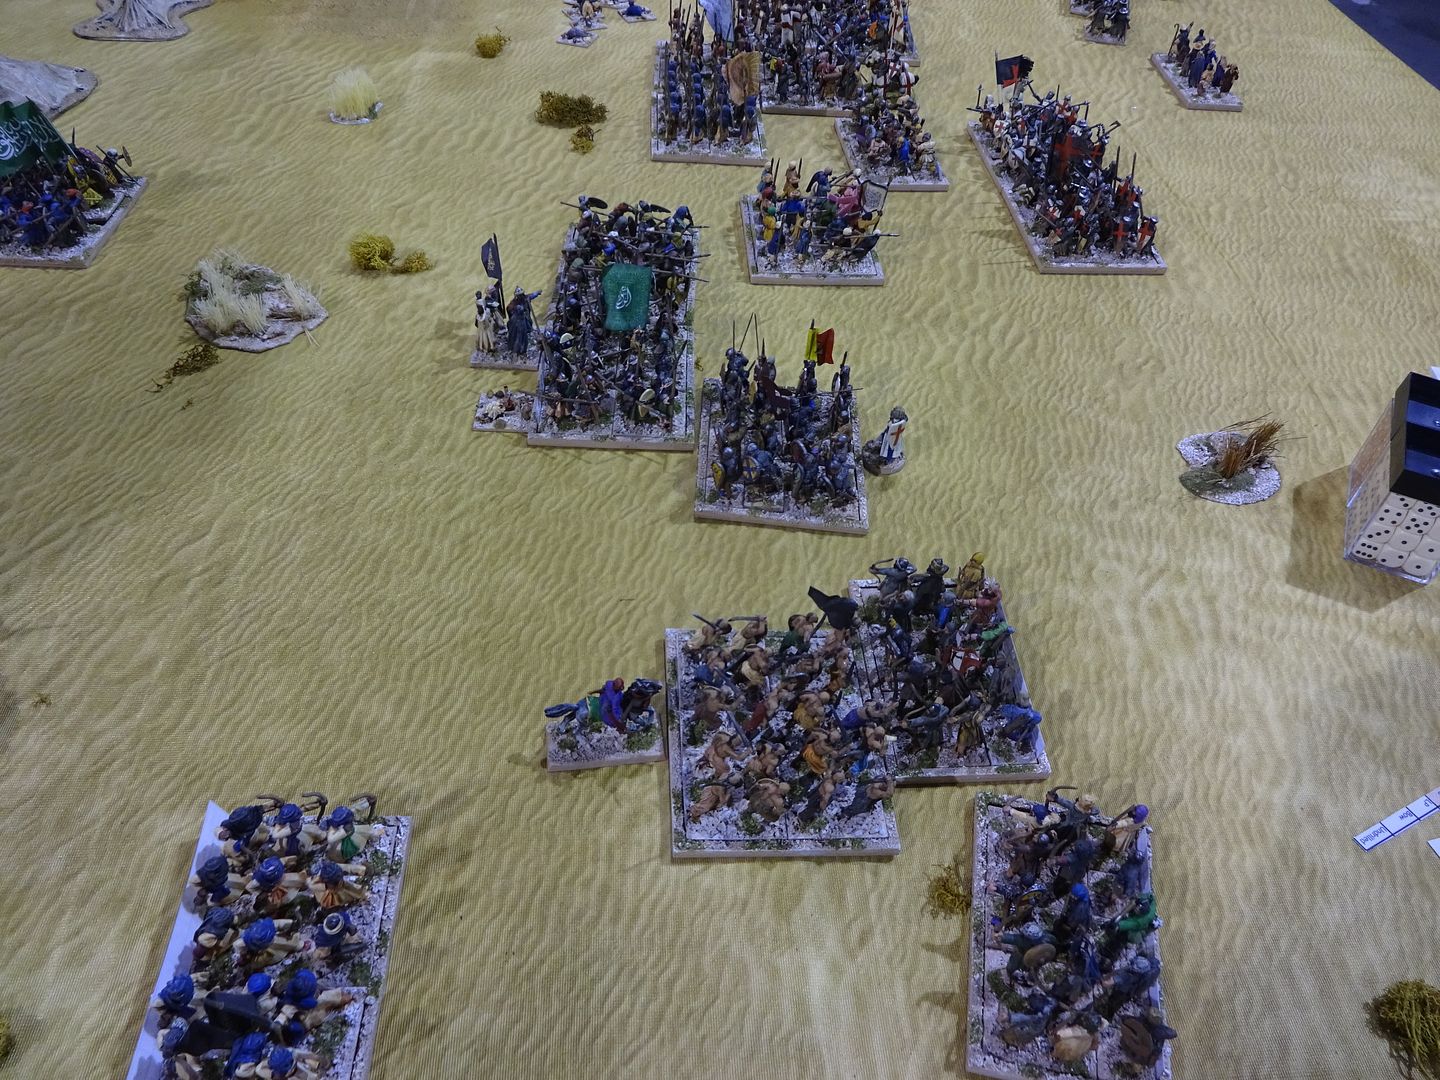
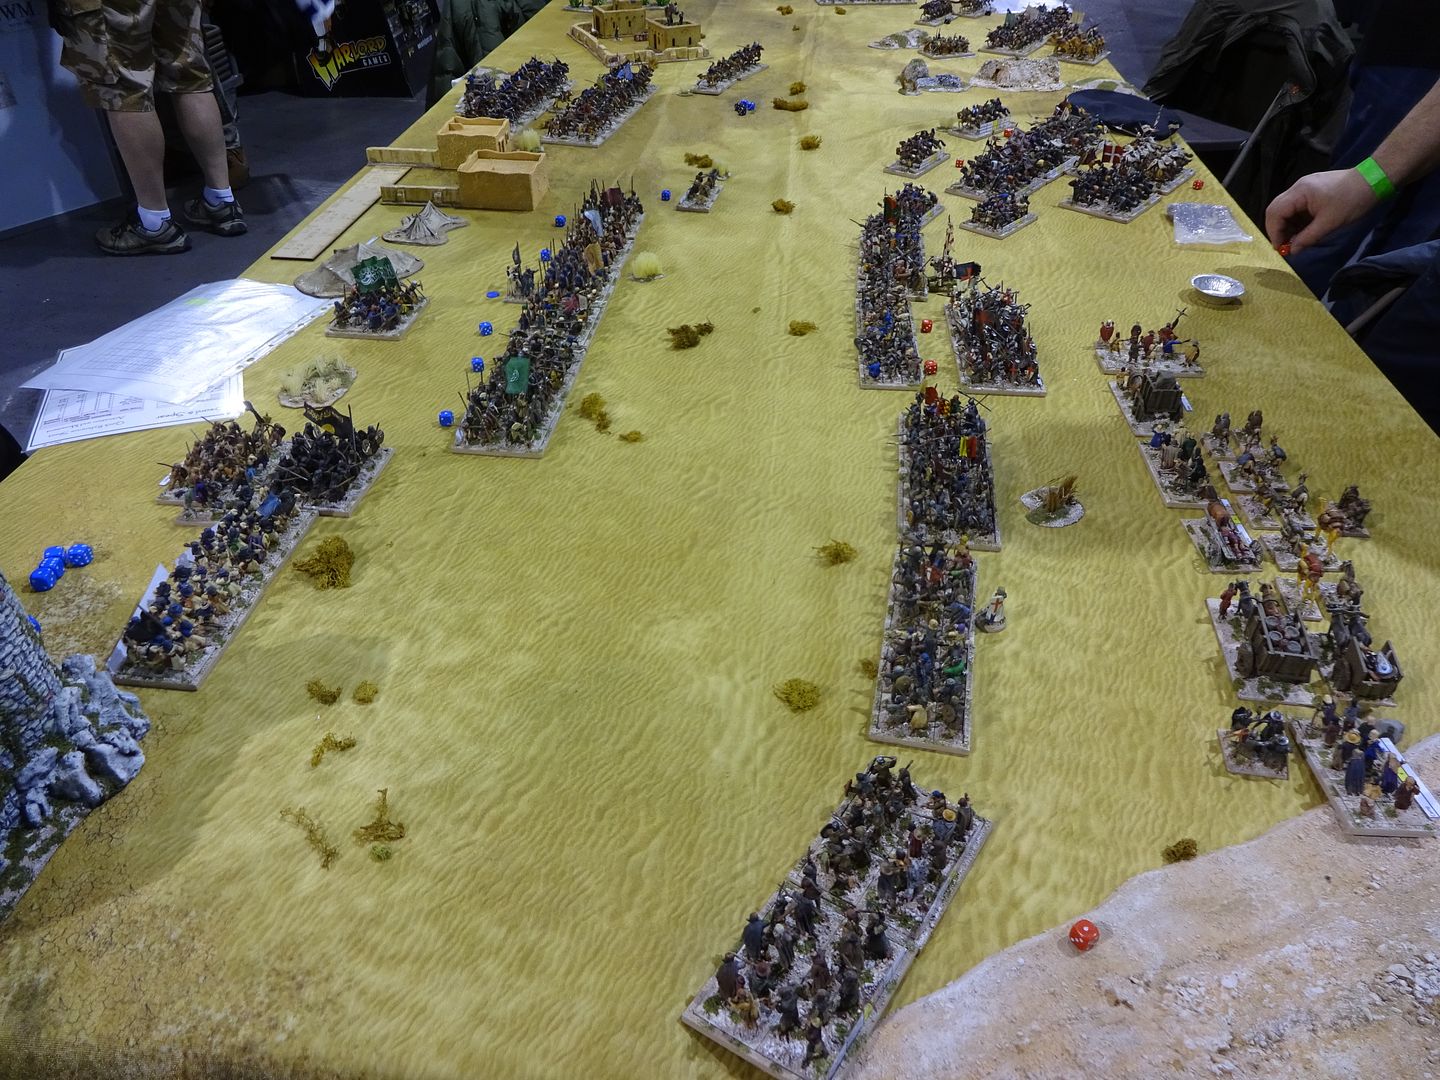
Back in 2017 the Club sent two games to Crisis in Antwerp, a Dalek game put on by JT, Ivan, Kevin, Peter and Tim and we (Stephen D, Harry, Dave B, Paul W and myself put on a Sword and Spear Crusades Demo game in 28mm and there was just under 1200 points each Side.

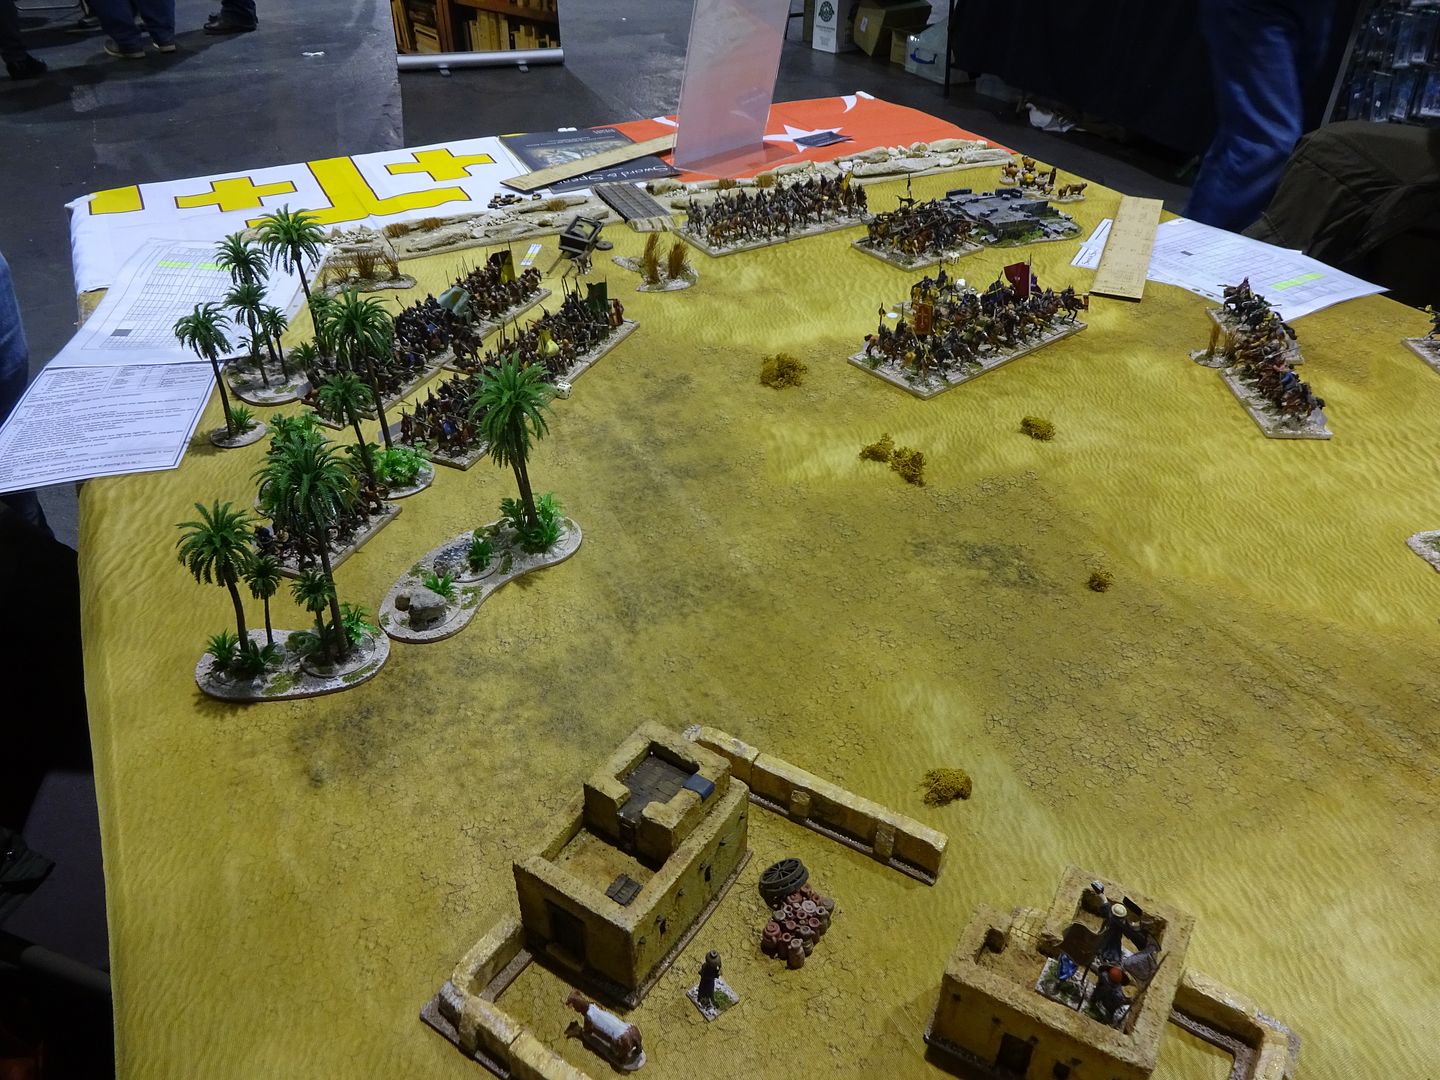
There were approx 500 Infantry and 300 Cavalry on the table, all painted by myself and all from my own Collection. This collection has grown since then by another 100 or so figures. Figures by various sources, Perry, Foundry, Gripping Beast, FireForge, Buildings are Hovels and Scratch built, trees from Internet and the tree bases from Charlie Foxtrot Models.

This was a demo game, showcasing the S&S rules, played on a 12 foot x 5 foot table. We did run through some of the mechanics and allowed members of the public to play a turn of play, if they wanted too!

The Crusaders were split into two commands 350 points to protect the Pilgrims and a relief force from Jerusalem of 810 points. The Turks were split into three commands of 400 points each.

We have played a smaller version of this game. The Pilgrim column moves randomly each turn of 6" plus one D average of Movement, unless the Muslims get a unit to within 10" which will reduce any units to just a D6 of movement, which will see breaks in the the column, which in turn causes "panic" as those affected pilgrims move away from the enemy to get the better movement once more. We also rolled on the appearance of the Seljuk Turkish forces, starting with a 6 and getting better each turn (any 1s rolled and the Turks miss a go). All troops "march" at 6" to try and keep up with the Pilgrims, until enemy get within 12" inches when they can turn to face on a roll of a D6 (1 is a fail to turn). The relief force start rolling for it's appearance the turn after all Turkish forces are on table and then need to roll a double to appear, and then a D Average for Cavalry and a D 4 for appearance of units, every turn after.

The back story: A large group of pilgrims are on their way to the holy land, protected by foot soldiers and Knights of Outremer. They have just left the safety of a hilly area and are making their way across the last open area before they get to their final destination, Jerusalem.

Turn 1 - Pilgrims roll and get a 2, so move the column 8 inches. The Turks roll for each command and roll two 1s and a 4 (no show this turn, and cannot roll for two commands, due to the roll of 1)

Turn 2 - Pilgrims move 9 (rolled a 3) The first Turkish force turns up at the far end of the table on a roll of a 6 (could have rolled a 5 or 6).

Turn 3 - Pilgrims roll a 2, move 8". The Turks then roll two 6s for the remaining commands so are placed on the table in their respective deployment areas.

Turn 4 - Our game starts proper. Pilgrims roll a 2, move 8". The relief force rolls double 4, then a 5 for Cavalry and a 3 for Infantry to deploy this turn
photo DSC01390_zps8sbkhwni.jpg

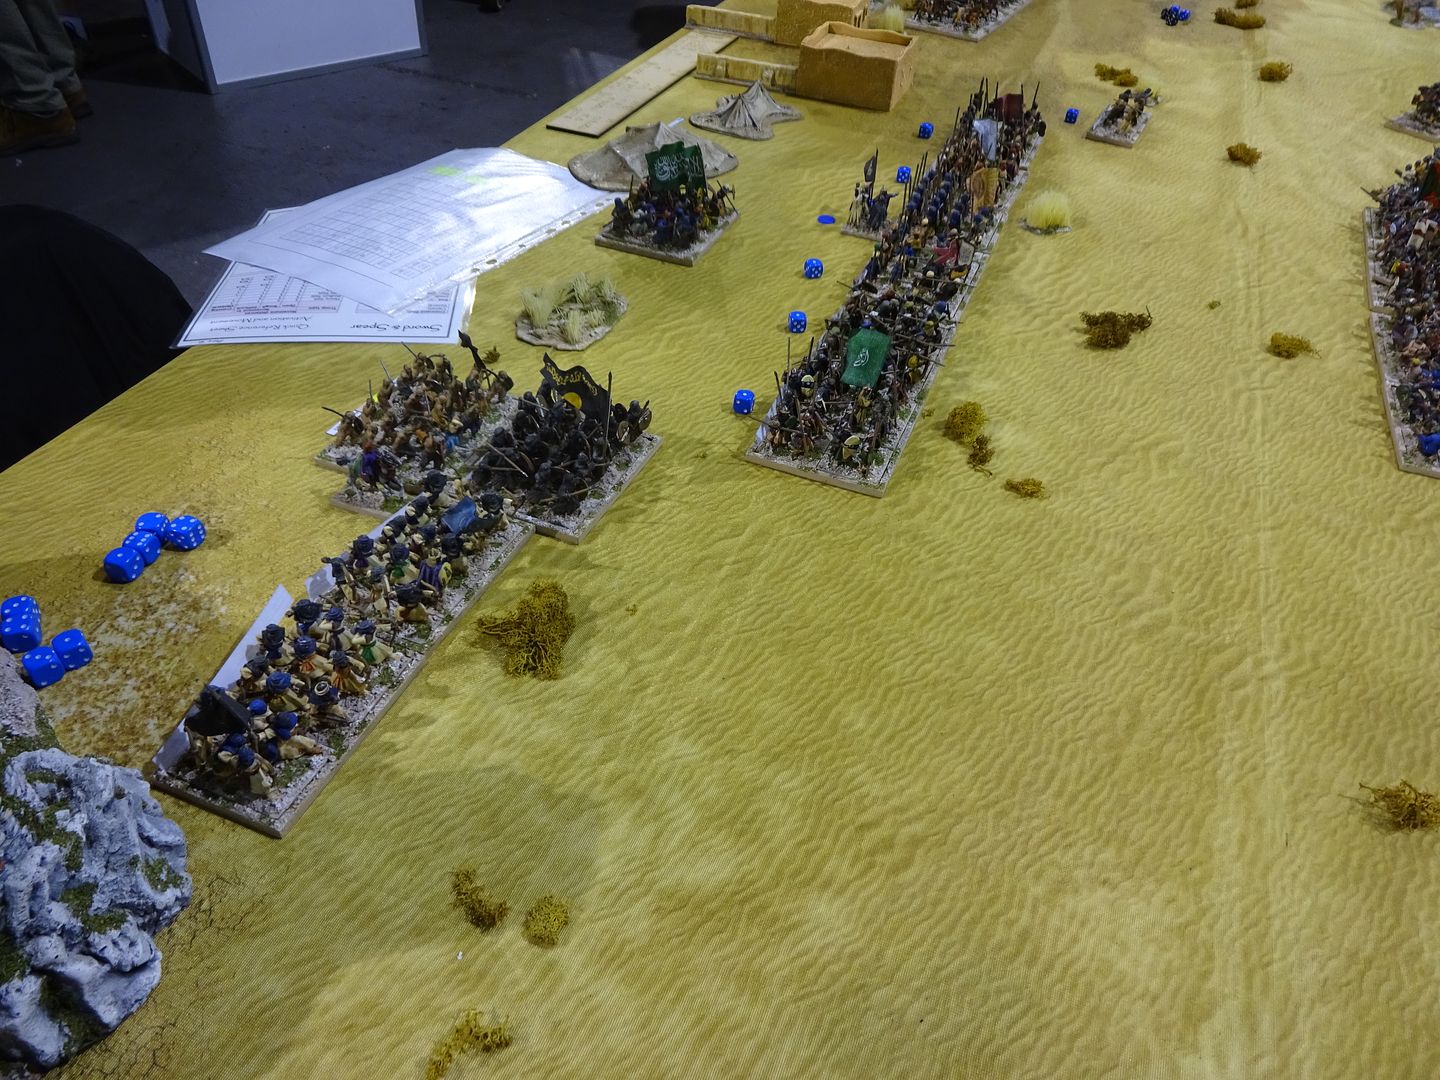
Turkish right Command
photo DSC01391_zpsmcxoskgx.jpg

Turkish Center Command
photo DSC01393_zps4ybyicgm.jpg

Turkish Left Command
photo DSC01394_zpsuo5ug41c.jpg

Turn 5 - The Turks will send all their first line unit in.
photo DSC01403_zpsqncslv6s.jpg

Center
photo DSC01396_zps35jzj4zn.jpg

Turkish Right
photo DSC01399_zpsegy6uxjz.jpg
photo DSC01400_zps6tiwvnhq.jpg

Turkish Left
photo DSC01402_zpsld2piiu7.jpg

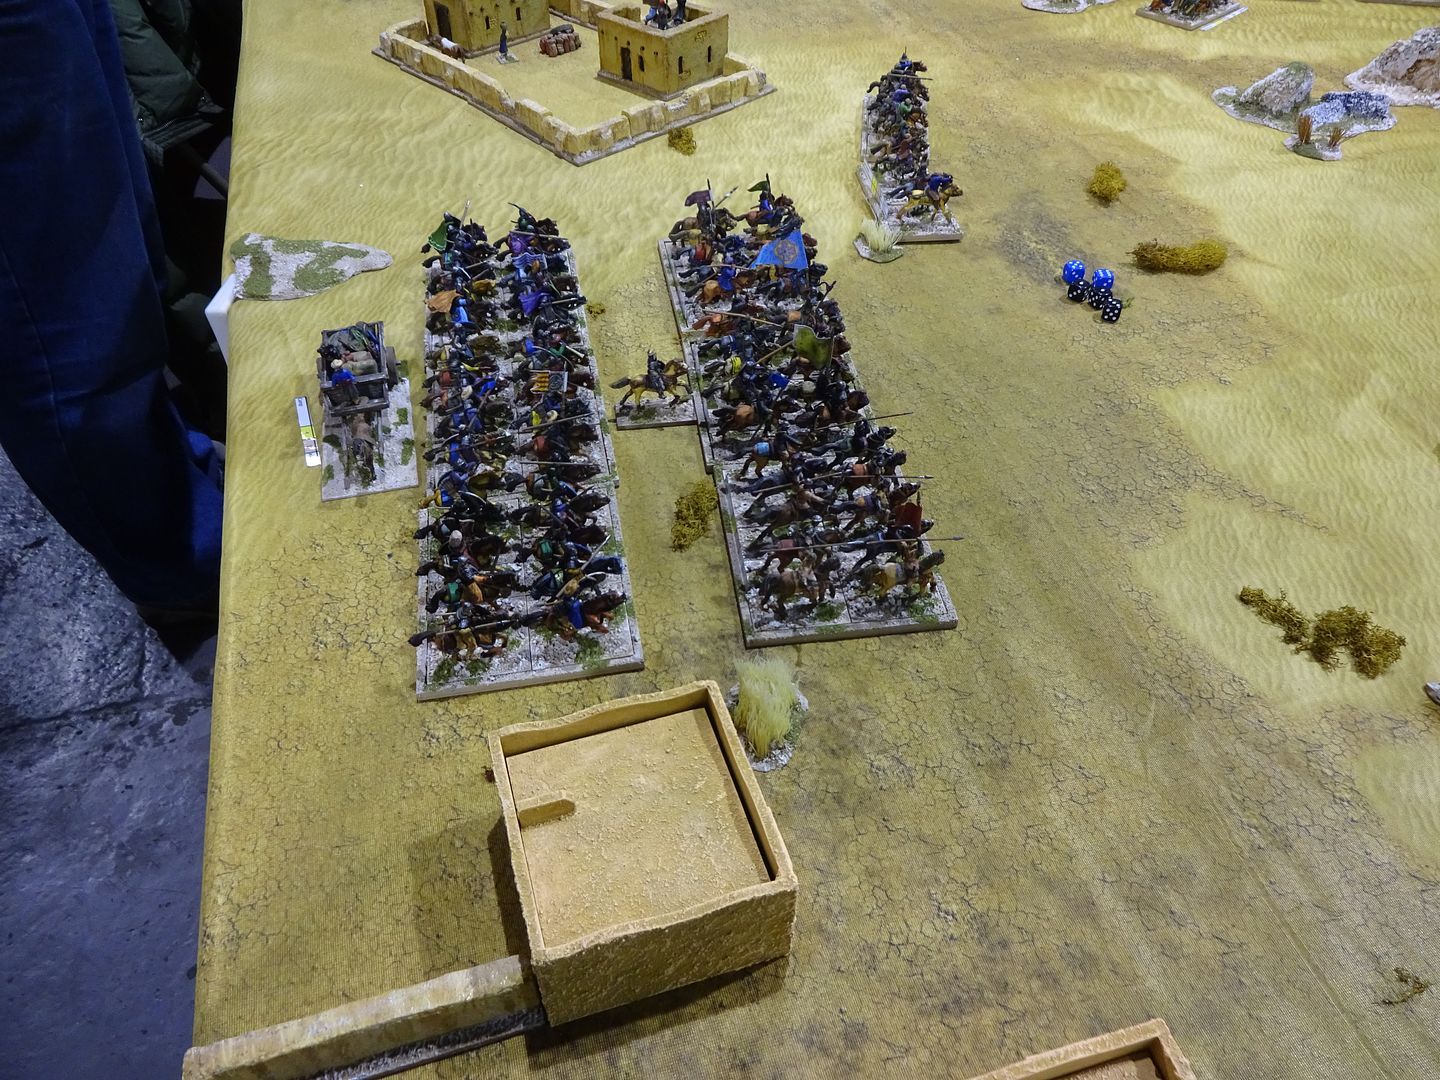
The Crusaders prepare for the onslaught.
photo DSC01401_zpsrvfyajcn.jpg

Turn 6 - Pilgrims roll another 2, 8" move. The relief force rolls a 2 for Cavalry and a 1 for Infantry to deploy this turn.

Both sides' Light Horse are in the thick of it!
photo DSC01404_zpsk4y1760h.jpg

At this point, we placed all the relief force on, as we were running out of time, so here are some eye candy of the rest of the game. The Pilgrims failed to get to the promise land as they all began to panic over the next three turns and had to move away from the enemy!
The Relief force get organised
photo DSC01406_zpsl2d74edk.jpg

photo DSC01405_zpsfr9hd3lz.jpg

The scrap in the middle, no units were dying
photo DSC01408_zpsptikab55.jpg

photo DSC01409_zpshtxcwfbh.jpg

photo DSC01410_zps2ojaz2bv.jpg

photo DSC01407_zpsflyibzni.jpg

Turn 8 - Final turn
photo DSC01435_zpsacdm9ajb.jpg

photo DSC01436_zpscjr3dmvf.jpg

photo DSC01437_zps6uidmwjm.jpg

photo DSC01438_zpstjwivndz.jpg

photo DSC01439_zpskba0qa5q.jpg

photo DSC01440_zpsrazqecvw.jpg

photo DSC01441_zpstexges4a.jpg

photo DSC01442_zpsezg17plk.jpg

photo DSC01443_zpsoyupzii7.jpg

photo DSC01444_zpsmxlaonj7.jpg