The Hundred Days, also
known as the War of the Seventh Coalition, marked the period between Napoleon's
return from eleven months of exile on the island of Elba. (re:Wiki)
The lead up to the Battle of
Waterloo was made up by a series of manoeuvres by Napoleon to try and outwit the
Allies as to where he would strike. Napoleon attempted to split the Prussians
under Blucher and the British/ Dutch/ Belgian forces under Wellington and took
the customary “Central Position” and fought two battles on the 16th
June at Ligny, Napoleon took on Blucher and at Quatre Bras against Wellington he
sent Marshall Ney, with orders to take Quatre Bras as quickly as possible and
sever the line of communication
between the Allies.
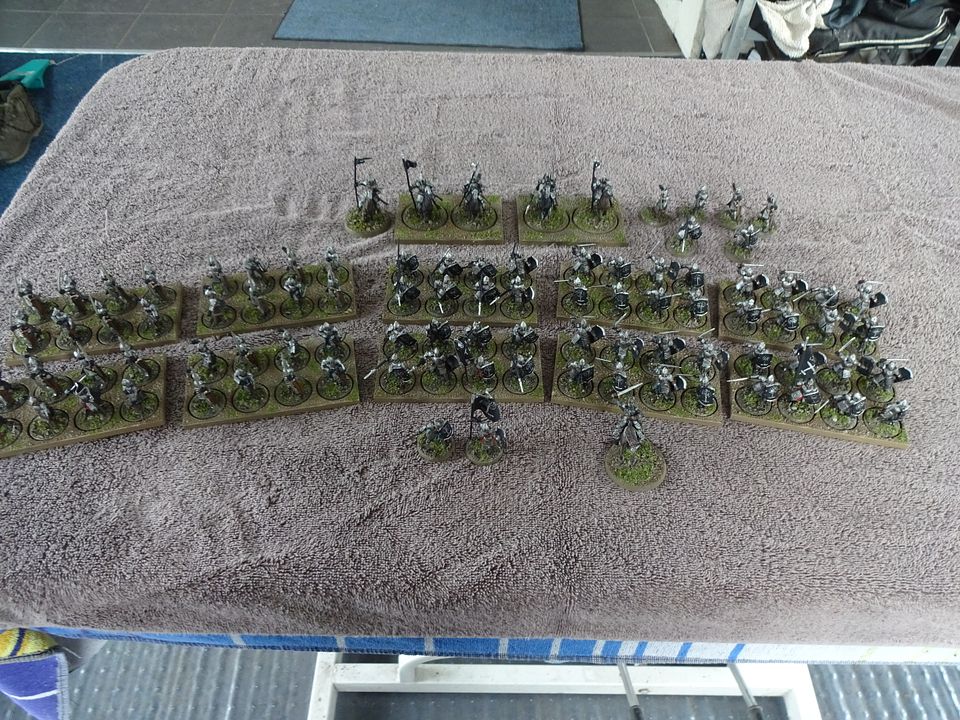
In the melee combats the white dice are the combat stats with modifiers and the red & blue dice are the random dice rolls. All Figures are 15mm and are from my collection. Building are 10mm from Battlescale.
_4uqHALj9ZBeeCtbHD7W2B6.JPG?width=960&height=720&fit=bounds)
Here is our take on Quatre Bras, a
scenario by Michael Hopper and using Shako II rules. This is a modified
scenario similar to the one in the rulebook.
I played Marshall Ney and my good
friend Rob played Wellington and the British deployed first.
_xbbxy2PN2GFnpwj5HrvuHn.JPG?width=590&height=370&fit=bounds)
Wellington deployed the Nassaus under Perponcher in the Bois de Bossu (Bossu woods) Brunswick to their right and Picton's 5th division holding the left flank. Altern's 3rd division would arrive turn 2 and the Guards of Cooke would arrive turn 7 or later, depending on how many Allied units break, as they would be routing down the road the Guards are using, marching towards the battle.
Ney deployed left to right Jerome, Foy and Bachelu. Pire (cavalry) would arrive turn 1 and Kellerman's Heavy Cavalry would arrive turn 7.
Turn 4
Jerome is pushing his French through the Bossu, but the Nassau are making it very difficult
First contact with the Brunswickers in the center. The white "flash" is a failed volley marker. First unit to Break.
The French Columns destroy the first Dutch unit. The figure on the round base donates the unit is Staggered (Shaken).
Turn 5
Bachelu starts to get organised as he crosses the stream.
Foy continues to press the Allied center
Alten has been ordered to support Perponcher
First French unit to Break, from Foy's division
Turn6
Foy's division pushes on its fight with Brunswickers
_uvmYkdgJLEaVN7vJasoJt4.JPG?width=590&height=370&fit=bounds)
Bachelu now makes contact with Picton's left
_4CSLXnXUL3wxP5J7sCEpaD.JPG?width=590&height=370&fit=bounds)
Picton's artillery if Broken
2nd Rate (SR)Brunswickers are collapsing, but the front line is holding fast & Break another French unit
SR Dutch of Perponcher Broken
End of Turn 6, The French Columns have broken the Brunswickers line, but the Black Cavalry should plug the gap.
The French left in the Bossu wood are finding the Nassau a tough nut to crack
Turn 7
Kellerman's Cuirassiers ride past Ney and onto Glory.
The Brunswick Hussars charge the French exposed fatigued (House Rule) column, and subsequently Break!
The Nassau Charge a French column in the Flank and Break it
Dutch Hussars are Broken when charging behind the wood
Turn 8
Brunswick Lancers fail a charge and forced to Fall-back, and Break in the rally phase.
The Dutch Hussar Brigade passed it's turn 7 50% divisional check, so one last ditch charge in turn 8. The first combat was tied, the second round broke the Hussars.
End of Turn 8
Turn 9
The fight for Bossu wood
_vH3v776jCw2owaYwgxCWKN.JPG?width=960&height=720&fit=bounds)
Picton's lads are holding the Allied left, causing French casualties.
Turn10
Kellerman hits home
_qXHNNd8CSVpPqykPT7LrEn.JPG?width=960&height=720&fit=bounds)
The French are getting a foot hold in Bossu
_8kZpGwtCGys121WxKxCN2X.JPG?width=960&height=720&fit=bounds)
Various melees in the center in which another Brunswick unit Breaks, causing the whole division to Break (75% losses)
_bk8vmDcxZsEnrcbDjJbRvC.JPG?width=960&height=720&fit=bounds)
The Cuirassiers Break some Hanoverians
Brunswickers Breaking back to Brussels
The end of turn 10
_dNydQefjkiWh8kikQX4N2f.JPG?width=960&height=720&fit=bounds)
_fVGguGSiRovQhQwPKRB9Wq.JPG?width=960&height=720&fit=bounds)
_4gmWgXzhFs5y8f1F6WKTRk.JPG?width=960&height=720&fit=bounds)
Turn 11
Saw the French Reorganising for one final push and one melee pushed a unit in Fall-back
_3zVCuo6gXEhtks5x46hdzF.JPG?width=960&height=720&fit=bounds)
_3BZc9EhHdMzsSeFAdwDesW.JPG?width=960&height=720&fit=bounds)
_5rqNVfDH7cKT4y3RRU9rm1.JPG?width=960&height=720&fit=bounds)
_irHHWdAdXJ7Cq3WSHGuqY2.JPG?width=960&height=720&fit=bounds)
_9YrZNLQUxfFbB5gBnzoz75.JPG?width=960&height=720&fit=bounds)
_9ZVLqaXQmjBAV61tyqBAED.JPG?width=960&height=720&fit=bounds)
Turn 12 (last turn)
The British finally got some decent melee dice and halted the French.
CONCLUSION & POINTS.
Victory
Conditions
For each formation removed:
·
3 points (Jerome)
·
2 points (Bachelu, Foy, Perponcher, Brunswick, Alten,
Cooke)
·
1 point (Piré, Kellermann, Merlen)
At end of game:
·
1 point is awarded to the French for interdicting the
Nivelles – Quatre Bras road; either by being on it or across it (A2-A3-B3).
·
2 points are awarded for holding Quatre Bras (either
side)
Both Sides
§ Major Victory: hold Quatre Bras and score
3 or more points more
§ Victory: hold Quatre Bras and score
2 points more
§ Minor Victory: hold Quatre Bras and score
1 point more
The French Broke the Brunswickers (2 points) and Merlen (1 point)
The British still held QB Village (2 points)
Result was a hard-fought draw
_2VUAuankfJCgHy17sZAGC9.JPG?width=960&height=720&fit=bounds)
_jphJa1jPVh4Vwwi6u4AybU.JPG?width=960&height=720&fit=bounds)
_nSezL3WXnEkYKKfZyjFvxT.JPG?width=960&height=720&fit=bounds)
_ehqsJX9gzqknSFTcPGb7vW.JPG?width=590&height=370&fit=bounds)
_57piBZ1ojcQ8mMh3MmBQEc.JPG?width=590&height=370&fit=bounds)
_2khKScJfT34bRs2cbYGddT.JPG?width=590&height=370&fit=bounds)
_gaEYJXsq7ZF8x5ubn1YQEC.JPG?width=590&height=370&fit=bounds)
_jp1jG1MozaGAeu3J6nnykN.JPG?width=590&height=370&fit=bounds)
_jR3r3srEwueQm5aEVsLjVQ.JPG?width=590&height=370&fit=bounds)
_2iKPmM3GKKhAd1KxHjcDya.JPG?width=590&height=370&fit=bounds)
_ifENyeGYrqPKqCdcWshnHb.JPG?width=960&height=720&fit=bounds)
_oQZb86Zi88LPx8TEcTjrYZ.JPG?width=960&height=720&fit=bounds)
_6bR5DLj15aL4LgfruTBd19.JPG?width=960&height=720&fit=bounds)
_hLavEGzrD8b1ruQoSoxy8h.JPG?width=960&height=720&fit=bounds)
_thMjVnLrxUrwngv8emUELK.JPG?width=960&height=720&fit=bounds)
_gSL3cUfiNVkzk5UCKN4zJ1.JPG?width=960&height=720&fit=bounds)
_385kC1CnmPgE2341NTFnek.JPG?width=960&height=720&fit=bounds)
_6FEUau9vKyYrHxYVVJreD7.JPG?width=960&height=720&fit=bounds)
_kkcMxbdB55ub9KbV6rqji9.JPG?width=960&height=720&fit=bounds)
_nZT7GbNjPLnDBNWg8Q5CEE.JPG?width=960&height=720&fit=bounds)
_841rzjrqRkrdsz2aXr2nBW.JPG?width=960&height=720&fit=bounds)
_82mVMMFKFyY6YvaXjpgfoV.JPG?width=960&height=720&fit=bounds)
_wNpTfGN7sXgkFD4z9QfLkQ.JPG?width=960&height=720&fit=bounds)
_sfGKjSegfTZxmNzZQjuYCG.JPG?width=960&height=720&fit=bounds)
_m65xagbTGzmM4X41R7oo9x.JPG?width=960&height=720&fit=bounds)
.jpg?width=960&height=720&fit=bounds)
.JPG?width=960&height=720&fit=bounds)
.JPG?width=960&height=720&fit=bounds)
.JPG?width=960&height=720&fit=bounds)

.JPG?width=960&height=720&fit=bounds)
.JPG?width=960&height=720&fit=bounds)