Search This Blog

Wednesday 22 April 2020

English Civil War, 28mm using 1644 Rules

Twas early 1643 and The Kings forces are on the march to London, when they find forces of Parliament in their way. Battle ensues.

We used 1644 rules by foundry. Still a great set of rules and stand the test of time.

The two battalia set out their forces. Royalist's on the right are from my collection, parliament force was form Paul Williams collection.
 photo DSC06479_zps6ykahqhs.jpg

Royalist Dragoons move to a copse in the center of the battle
 photo DSC06471_zps6km0ed0x.jpg

Parliaments Dragoons counter this and a stalemate ensues for the entire battle
 photo DSC06472_zpsebibr2pw.jpg

GIVE FIRE! Dash it wet powder
 photo DSC06477_zpskd7ssmbm.jpg

Sir Thomas Tyldesley's foote move forward at a brisk pace receiving casualties from both cannon and musket.
 photo DSC06475_zpskiokex5x.jpg

Sir Thomas Blackwell's foote supporting Tyldesley's left hold to allow the horse to advance around the copse and threaten the Parliament's centre
 photo DSC06476_zpseouskhvc.jpg

The King urges his troops forward
 photo DSC06478_zps04oyudek.jpg

Parliament's Heavy horse are preparing to charge the Royalist's left wing
 photo DSC06480_zpstuhgateb.jpg

Royalist, Sir Arthur Aston's Brigade of Foote Horse and Dragoons
 photo DSC06481_zpsu8rmdjs3.jpg

Sir Thomas Tyldesley's foote are close to charge range and still have good caommand!
 photo DSC06482_zpskqszx7dn.jpg

Royalist horse are in position, but are now threatened by another Parliament horse Regiment beyond the copse
 photo DSC06483_zpspmcq5hrd.jpg

A stand off on the left, no one wanted to commit until the far flank was decided.
 photo DSC06484_zpsmhda3hhq.jpg


Tydesley's charge in push the opposing regt back. in the next turn the royalists get the upper hand and routs the parliament regt.

The day is lost for parliament as the cannon and regt to it's right failed command test so were fixed in place. Their flank would be rolled up by the Royalists.
 photo DSC06485_zpslbkwejyd.jpg

On to Turnham Green
 photo DSC03704_zpsuspzh0iz.jpg


Monday 20 April 2020

Fatimid Egyptian vs Byzantines - Sword & Spear rules

Byzantium, the prize of prizes. Once again we head into Byzantium.
From a couple of years ago, 28mm Fatimids from my collection and Byzantines from Alan Patrick's

500 Points using Sword and Spear Egyptians had 16 dice and Byzantine had 15 dice.

Egyptians won scouting and Byzantines placed first, The set ups
Byzantine:
 photo DSC05766_zpsla4jnkhj.jpg

 photo DSC05768_zps8kkee8ck.jpg

Fatimids:
 photo DSC05767_zps9dvqxroq.jpg

 photo DSC05769_zpsrq5xf1np.jpg

Turns 1 and 2 were of position and manoeuver.

Turn 3 saw the first clash:
Franks smash into a Ghilmen unit and caused only one casualty and received 1 Casualty
 photo DSC05770_zpsabkwklf9.jpg

Fatimids also lost 2 light horse units to shooting
 photo DSC05771_zps25irbyyq.jpg

Turn 4 & 5:were very bloody for both sides and I forgot to take pics for turn 4,

Turn 5
 photo DSC05776_zps1mpl5jjs.jpg

The Fatimids were getting the better of the combats and the Byzantines were close to breaking.
 photo DSC05779_zpsgxweisxd.jpg

 photo DSC05780_zpsreksfibh.jpg

The Fatimid Infantry were pushing the Byzantines center.
 photo DSC05781_zpslh91ojvg.jpg

The last of the Byzantine cavalry, about to receive a charge.
 photo DSC05782_zpsp88kxwwo.jpg

The end of turn 5 saw the tide possibly turning in favour of Byzantium
Here are the casualties:
17 points, Discipline tests were all passed
 photo DSC05774_zpsbjpwk4fb.jpg

19 points and a Captain failed 3 Discipline tests. The units that failed took a casualty
 photo DSC05775_zpspxkbbtkj.jpg

Last turn - 6:
Fatimids got the luck of the draw. Everything that could charge, did so!
 photo DSC05784_zpsablab64v.jpg

 photo DSC05785_zpscktxidcr.jpg

 photo DSC05786_zpsm87vc28v.jpg

Even the camelry moved up.
 photo DSC05787_zpslea6cz4i.jpg

Along the line, there would be combat
 photo DSC05788_zps9pkvxiyw.jpg

The last turn, the Byzantine lost another 2 units which took them over half their army points and they broke. A Fatimid Egyptian victory. caused by bad dice rolling on the Byzantine side of the table. Although the Egyptians rolling was just as appalling in the early stages of the battle.

A hard fought enjoyable game.

Sunday 12 April 2020

French vs Austrian - Shako II rules

I had been dabbling in various sets of Napoleonic rules, such as General de Brigade, Principles of War, Black Powder (1 game, although I was always drawn back to Shako, so when the new set of rules for Shako II came out I bought a set and here was our first game with the new set. I believe they were published in 2008, but I did not get my set until 2016, considering the last time we played was about two or even three years before that using Shako I, the rules came back pretty quickly. Not many pics, enjoying it to much!
 photo DSC05533_zpsiggjnczx.jpg

The D4s are Div nos. The D6s you see are Div Initiative dice.We used a couple of "pick up" armies from the rules, 1809 I think

The counters are Blue/ yellow= Staggered. Green/ White = Artillery fired this turn. Red = Failed Volley and Fallback. Green on cav = Blown.

Deployment. We both decided against better judgement to use 5 Divisions each. In doing this we were taking Div Morale at losing 2 units!
 photo DSC05523_zpstoamliru.jpg

French Cav Div (Right Flank)
 photo DSC05524_zpskdmk5csf.jpg

1st, 2nd and reserve Divs (Center)
 photo DSC05525_zps6vf4t6bn.jpg

3rd Div (Left Flank)
 photo DSC05526_zpsyj2glk5a.jpg

Austrian Right
 photo DSC05527_zpsqgec6m9m.jpg

Austrian Center
 photo DSC05528_zpst7pv8xv9.jpg

Austrian Left
 photo DSC05529_zpsbqflwij4.jpg

Initial Moves
 photo DSC05531_zpsplwayl4y.jpg

One of the central French divs move in!
 photo DSC05532_zpsb9ijprem.jpg

French 2nd Div one move away from contact.
 photo DSC05533_zpsiggjnczx.jpg

French left getting staggered by artillery
 photo DSC05534_zpssbarcac0.jpg

Lots of Cav Melees
 photo DSC05535_zpsnn5u8a3j.jpg

Center, sees the Austrians starting to buckle
 photo DSC05536_zpshm8kvopk.jpg

French 2nd divs Elite punch a hole in the enemy's line!
 photo DSC05537_zpsrjfnfyta.jpg

French 3rd div taking on Austrian left.
 photo DSC05538_zpsowa2uc5h.jpg

The end game finished with the Austrian center starting to buckle with divisional morale test causing 2 demoralised divisions,
I have a lot more games to add soon.


Monday 6 April 2020

Snipe 27th October 1942

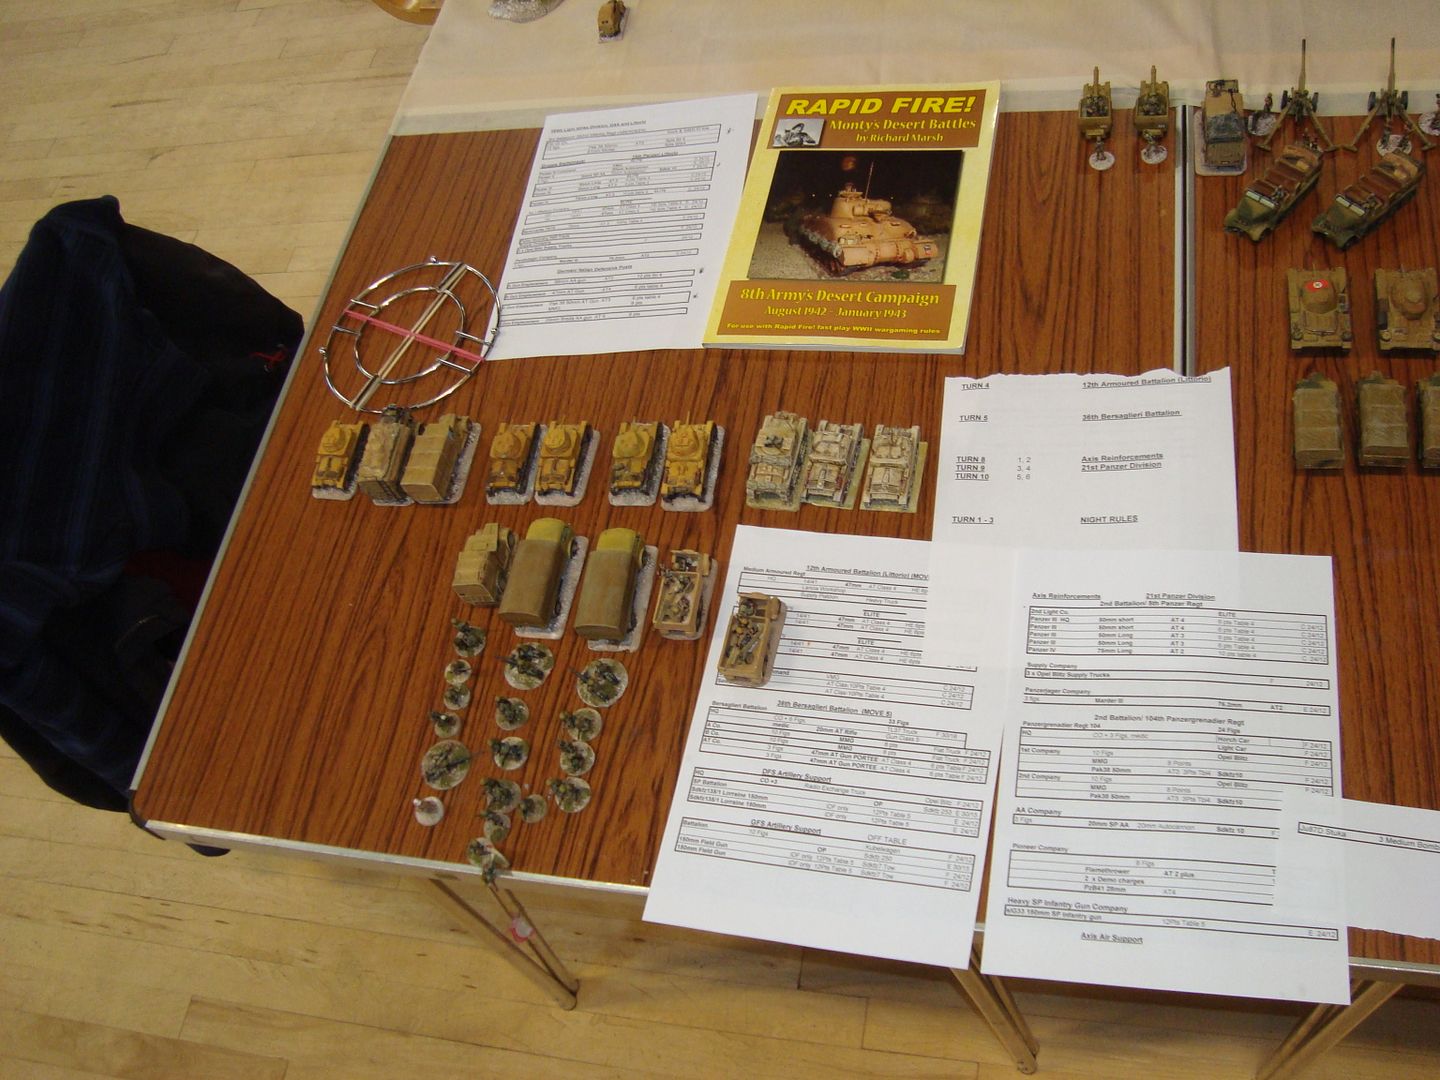
A couple of years ago, Big Jim and I played "Snipe" on the Bank Holiday at our clubs Big Game Day. Jim picked the scenario and we both gathered our forces for the day.From Rapid Fires' Monty's Desert Battles Page 60.
 photo DSC03984_zpsab41b6aa.jpg

Al the terrain and Axis Forces were from my collection and Jim supplied the British.

The first three moves were night moves and nothing much happened, but, on turn four, all hell let loose form both sides. Not many pics I am afraid, but hopefully enough to get a feel of the intensity of the game.

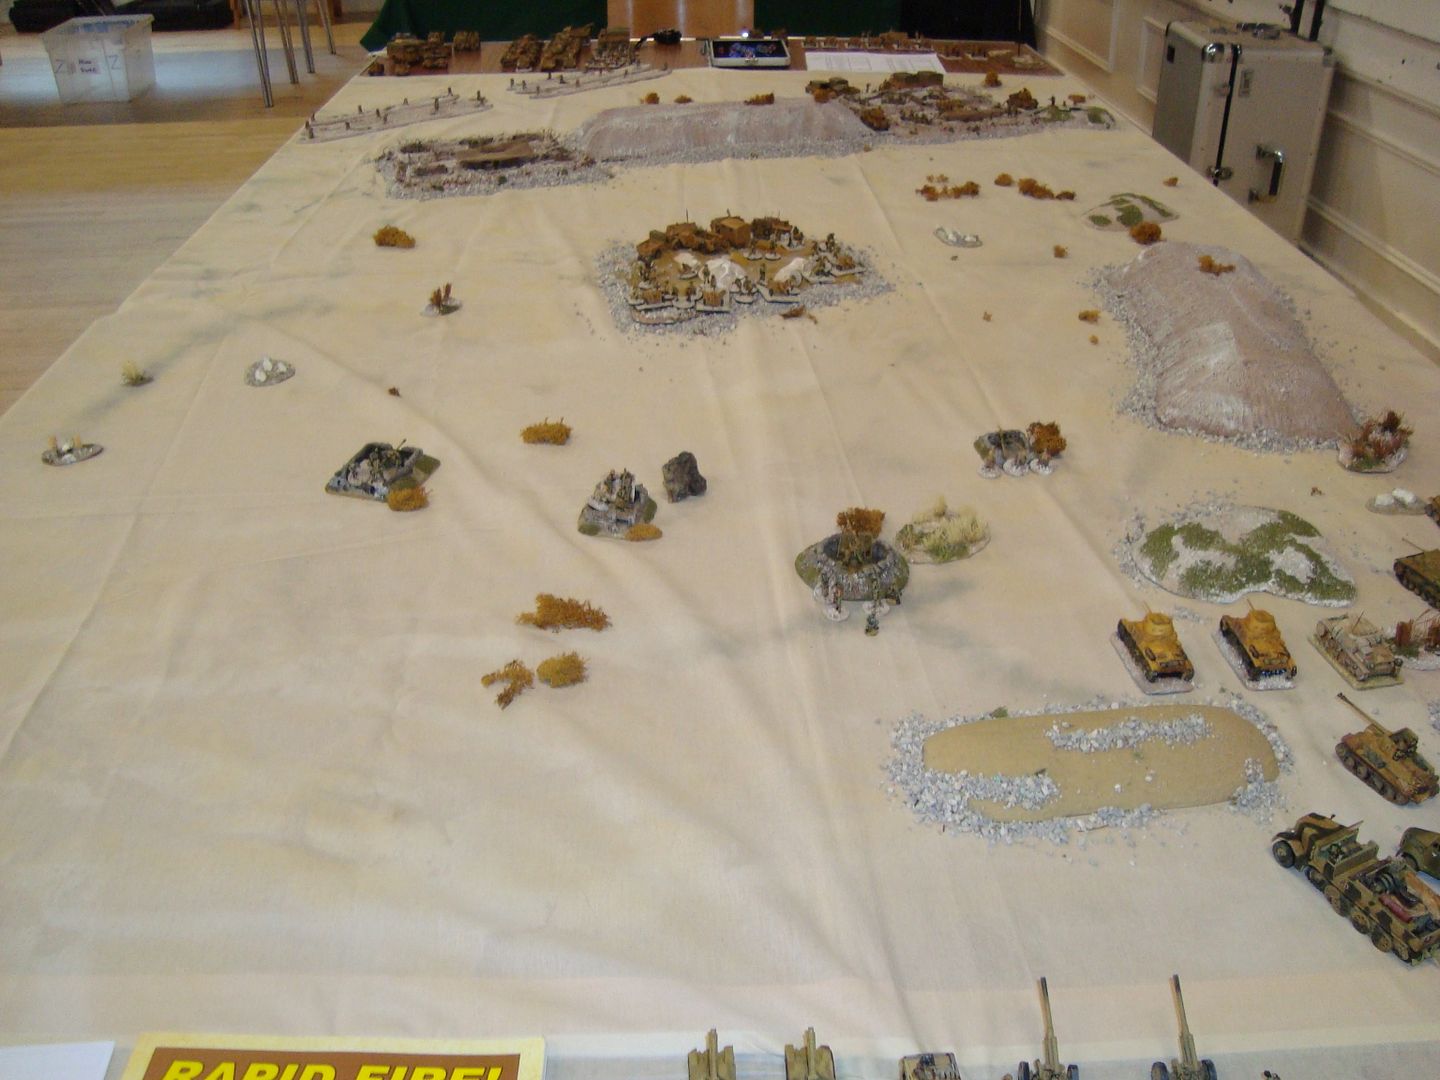
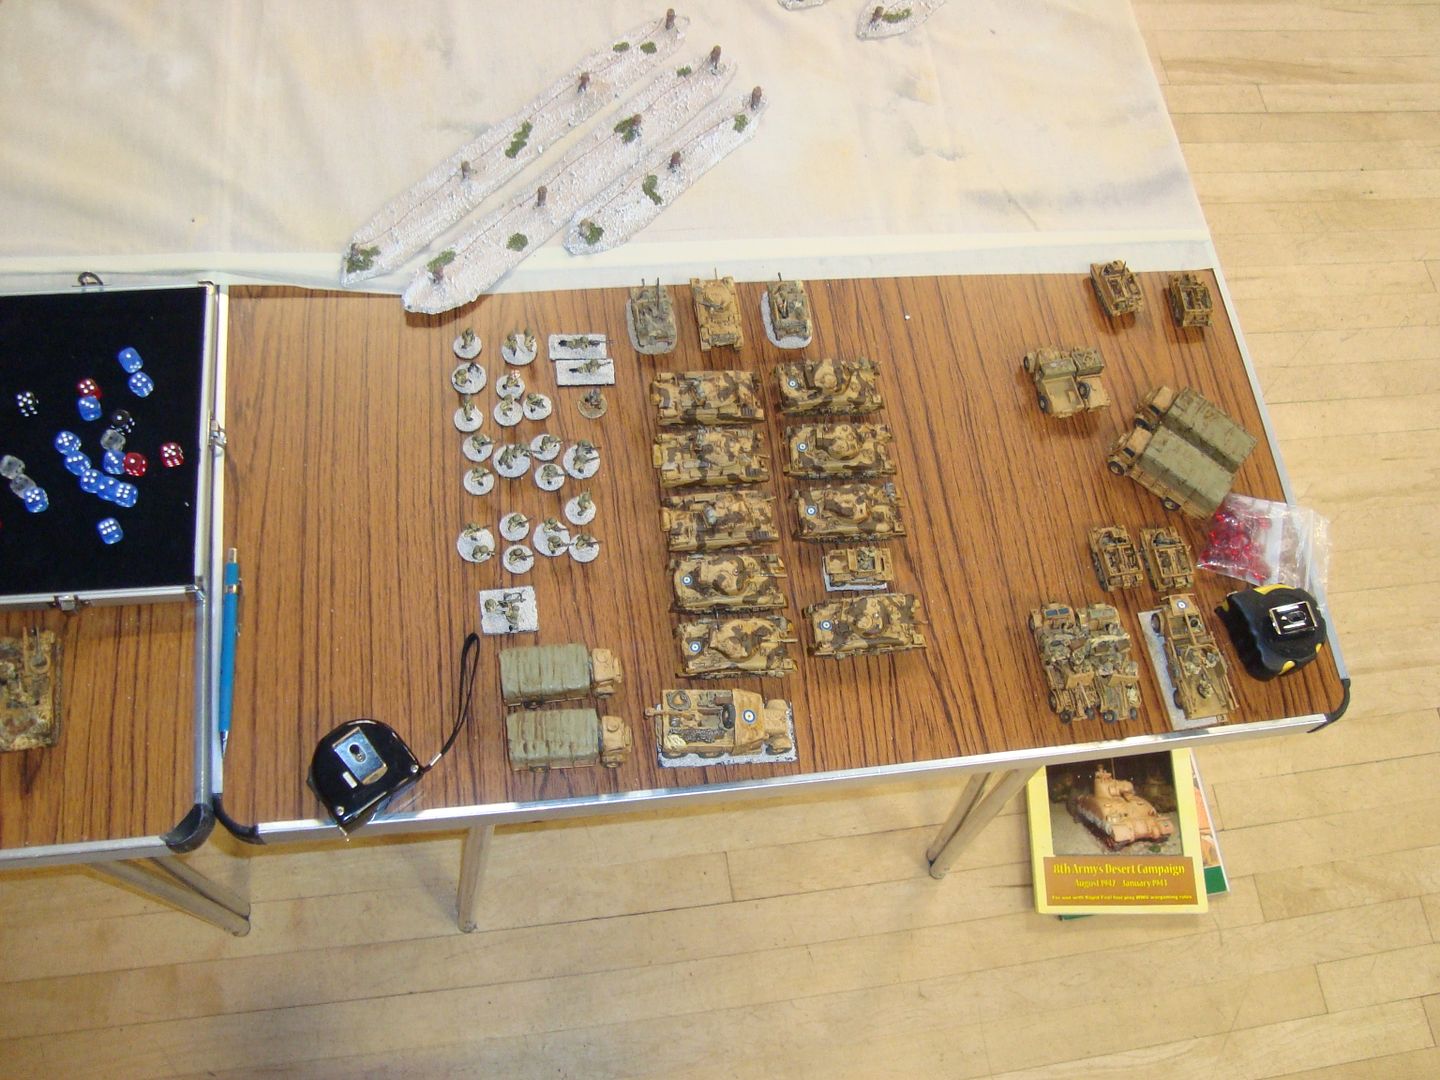
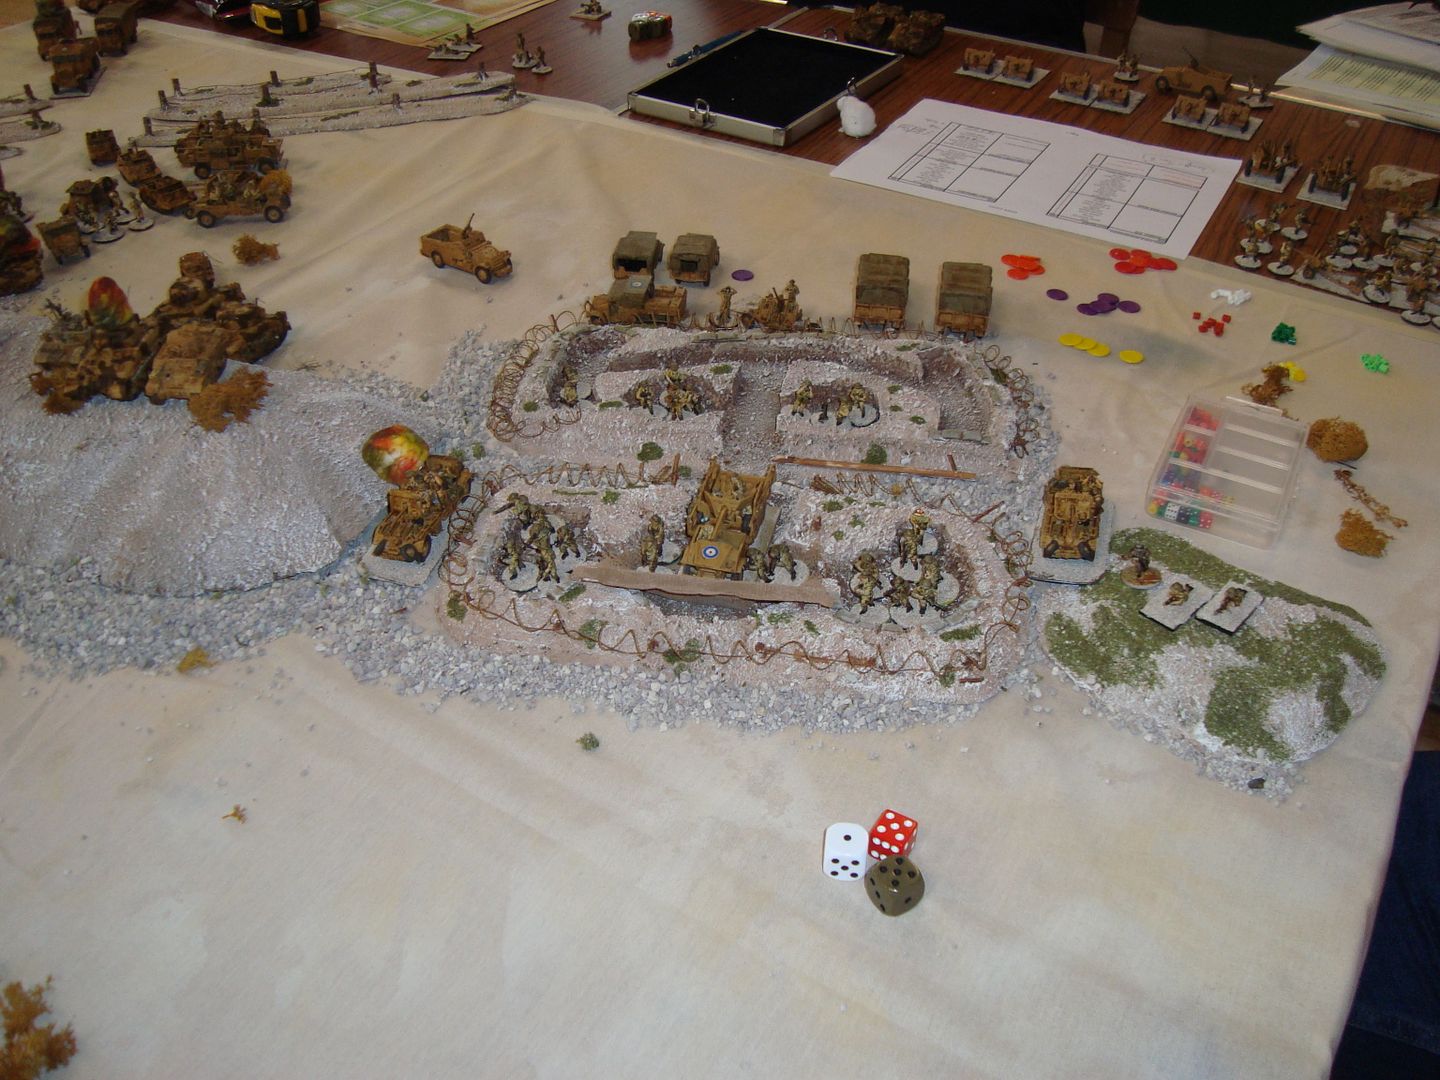
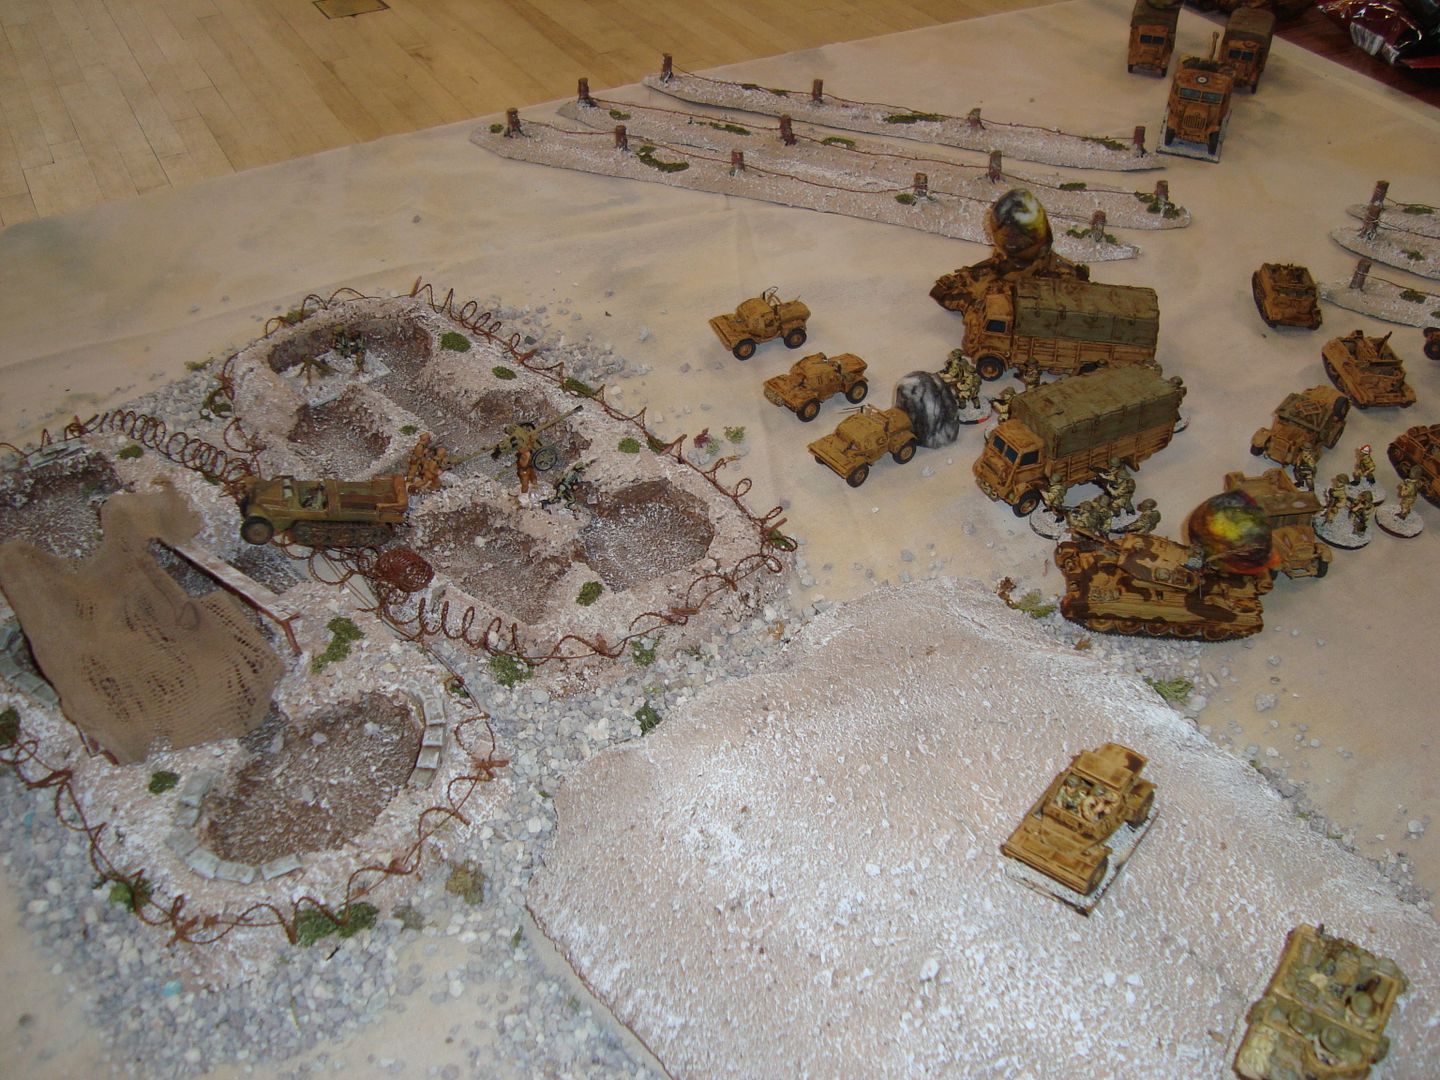
Pre-game deployment:

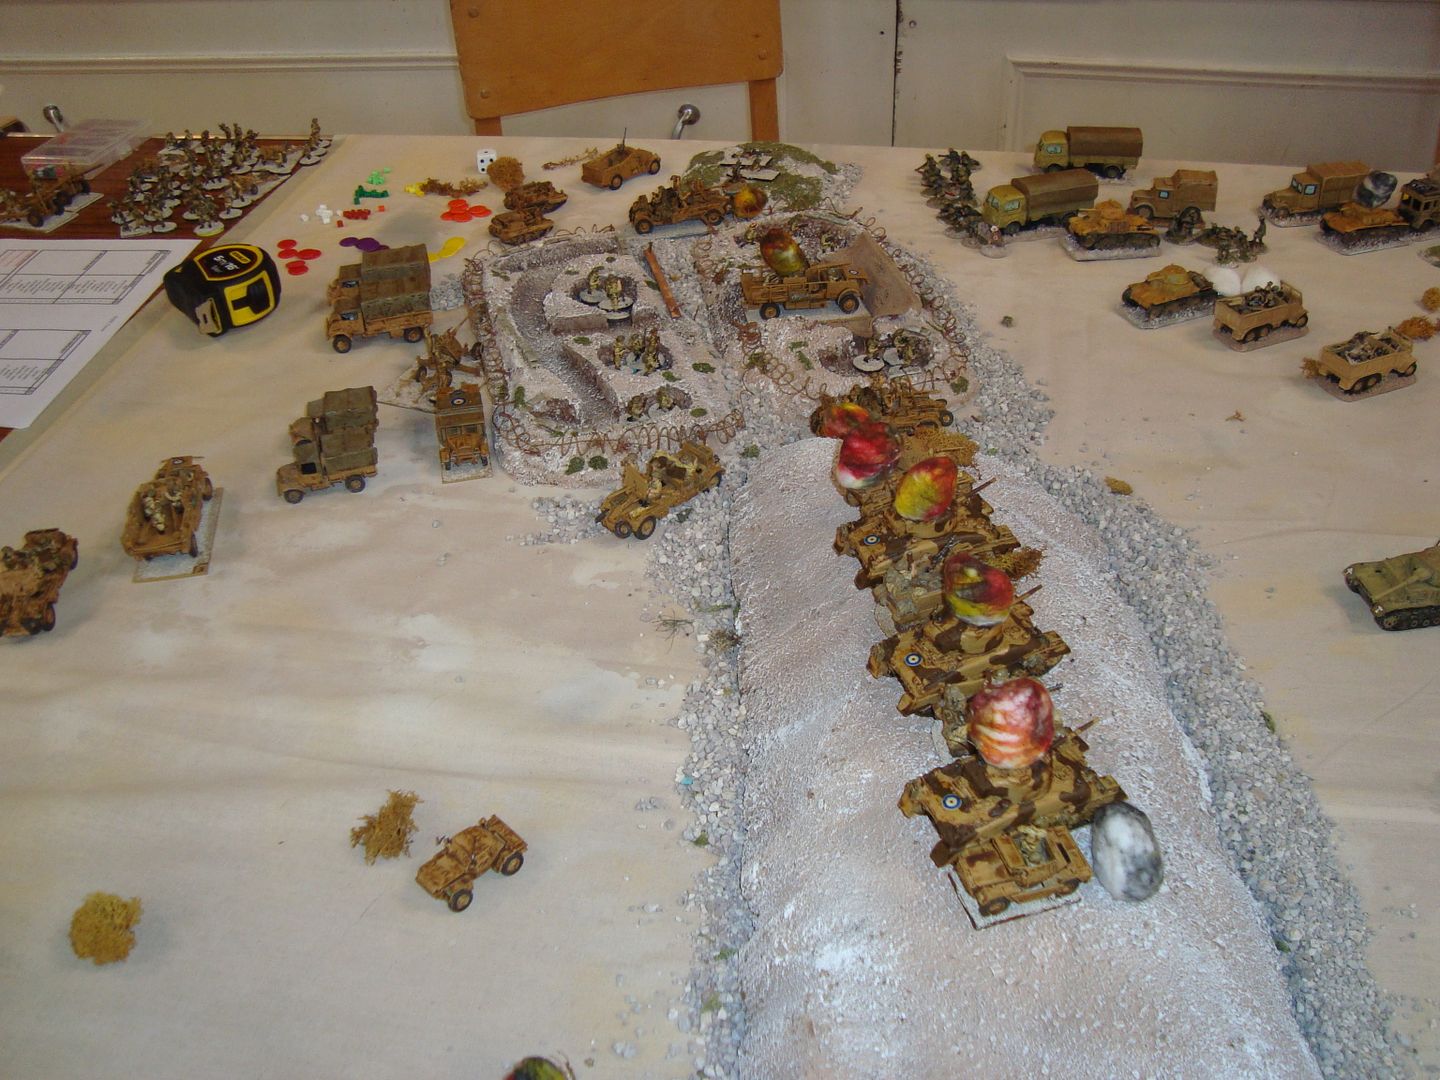
The 2nd Rifle Battalion were deployed in the Snipe ( a hard cover depression in the centre of the table). The Germans had deployed an FlaK 88, PaK 38, a 20mm AA gun and a 47mm AT gun in hard cover dug in positions close to the Snipe. Gruppe Steifelmayer deployed close to the German end of the table. At the British end of the table were two large positions either end of a ridge. "Stirling" occupied by Brits and "Aberdeen" occupied by a small Battalion of DaK. The brits only avenue on to the table was through a 4 inch gap in a Alamein minefield.The German 12th Armoured(Littorio) entered on turn 3 The Italian Bersaglieri entered on turn 5 and the German 21st Panzer Division, reinforcements entered on turn 8.
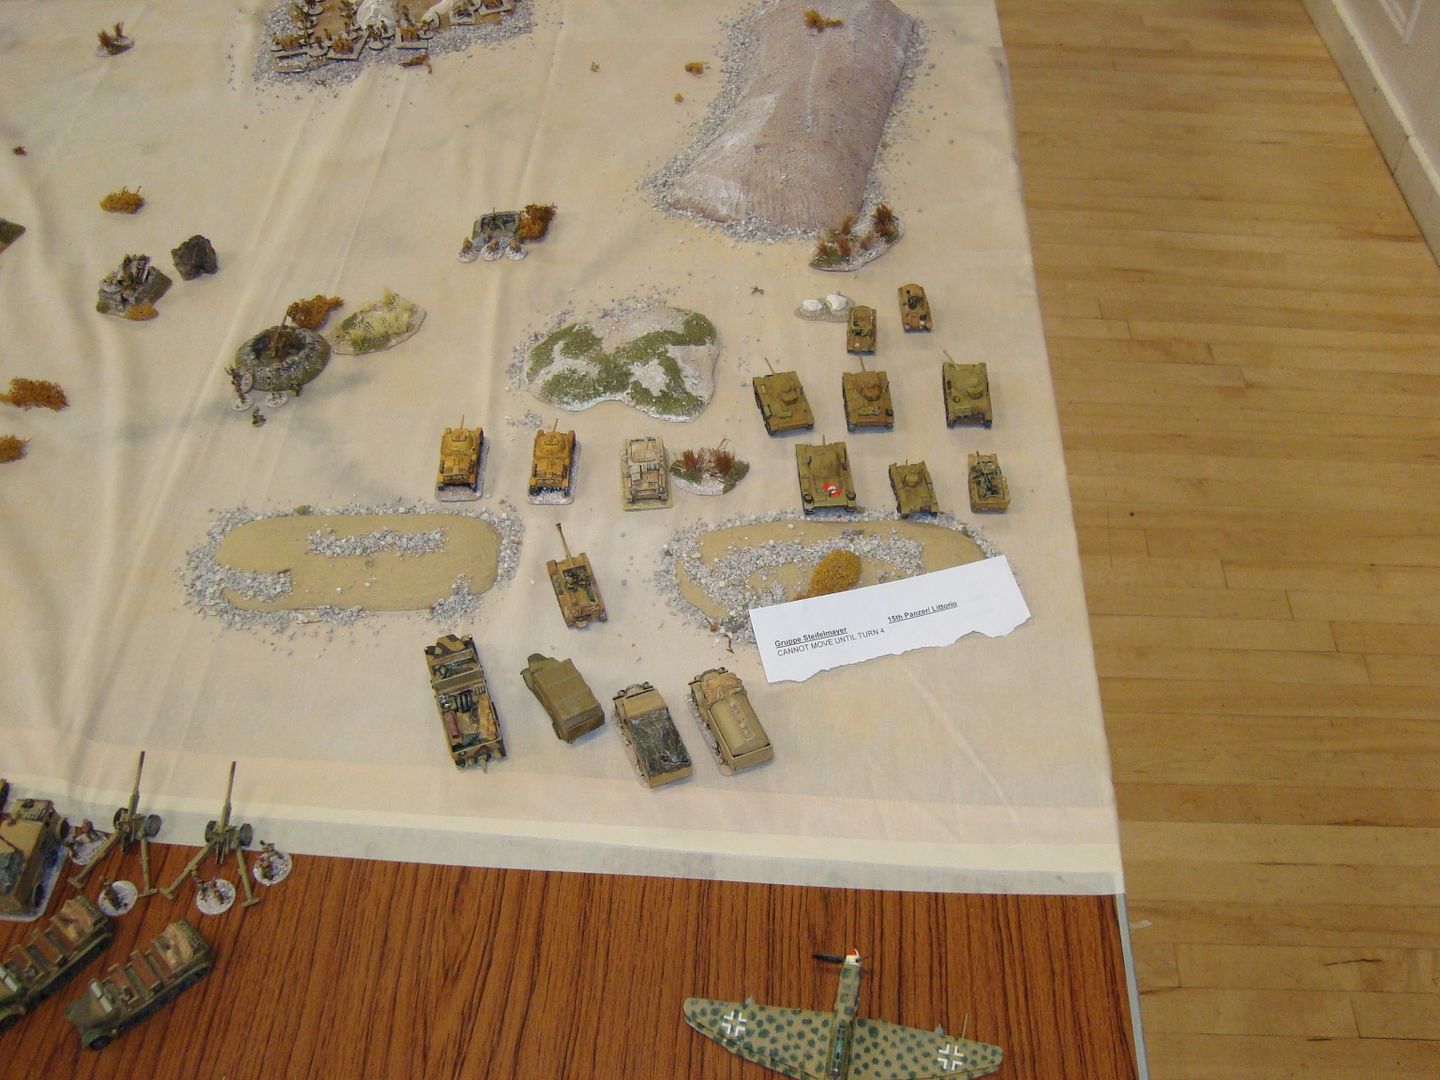
Gruppe Steifelmayer
 photo DSC03965_zpsf4066f71.jpg

The German 12th Armoured(Littorio) and Italian Bersaglieri Regt
 photo DSC03966_zps12a1108b.jpg

German 21st Panzer Division
 photo DSC03967_zpsb627c325.jpg

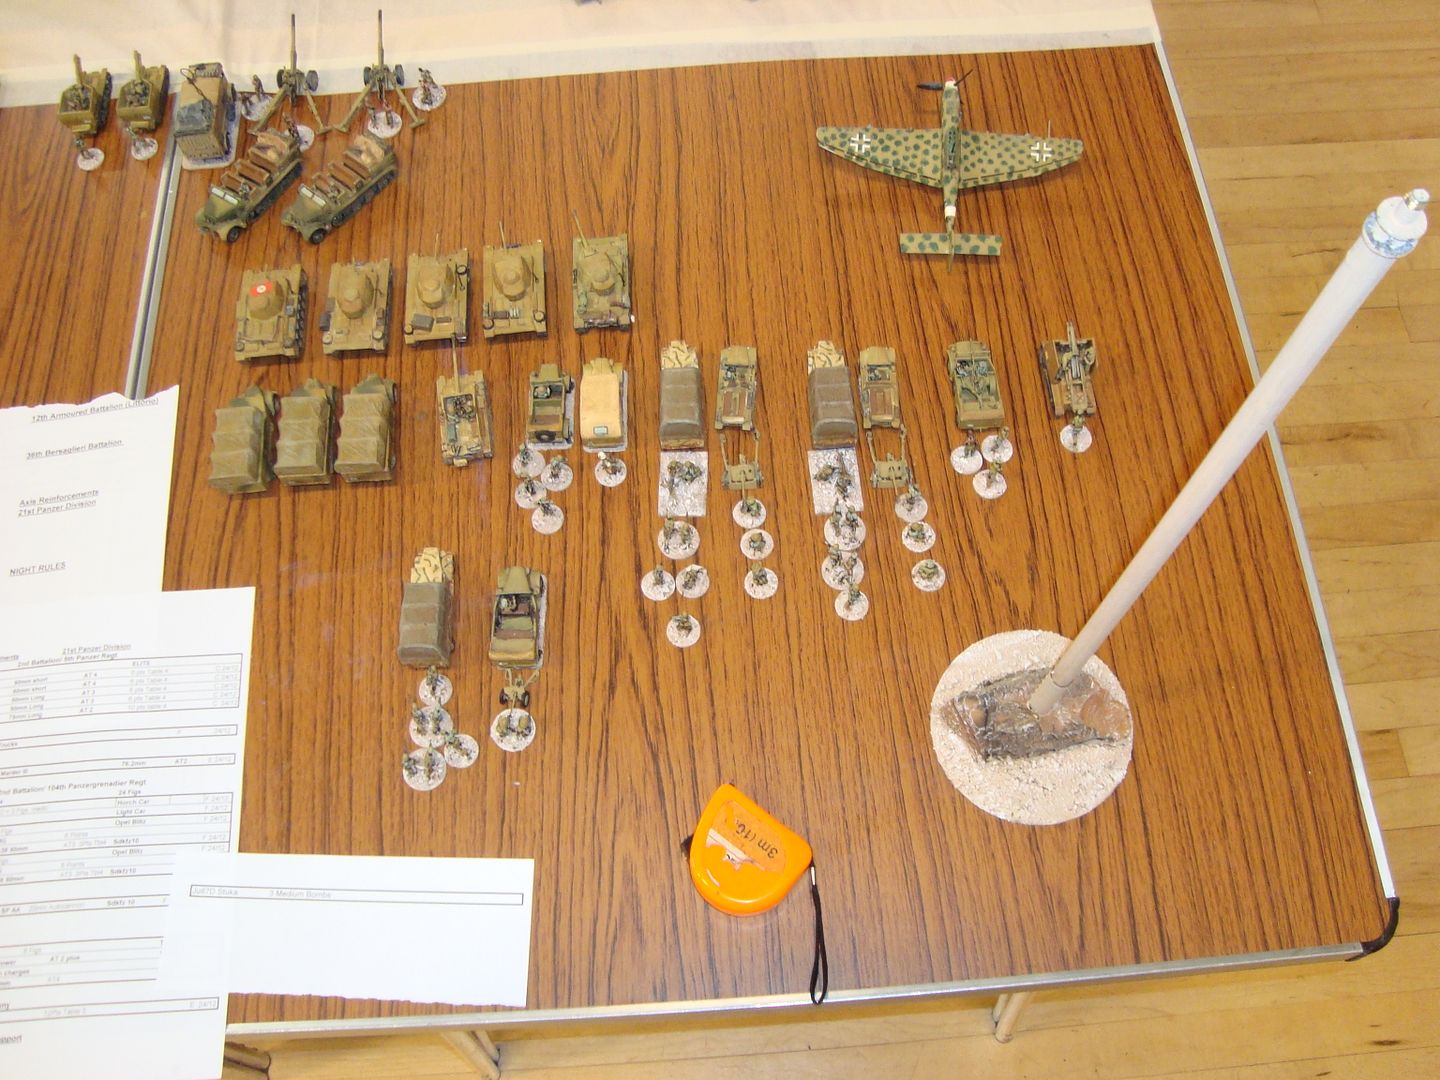
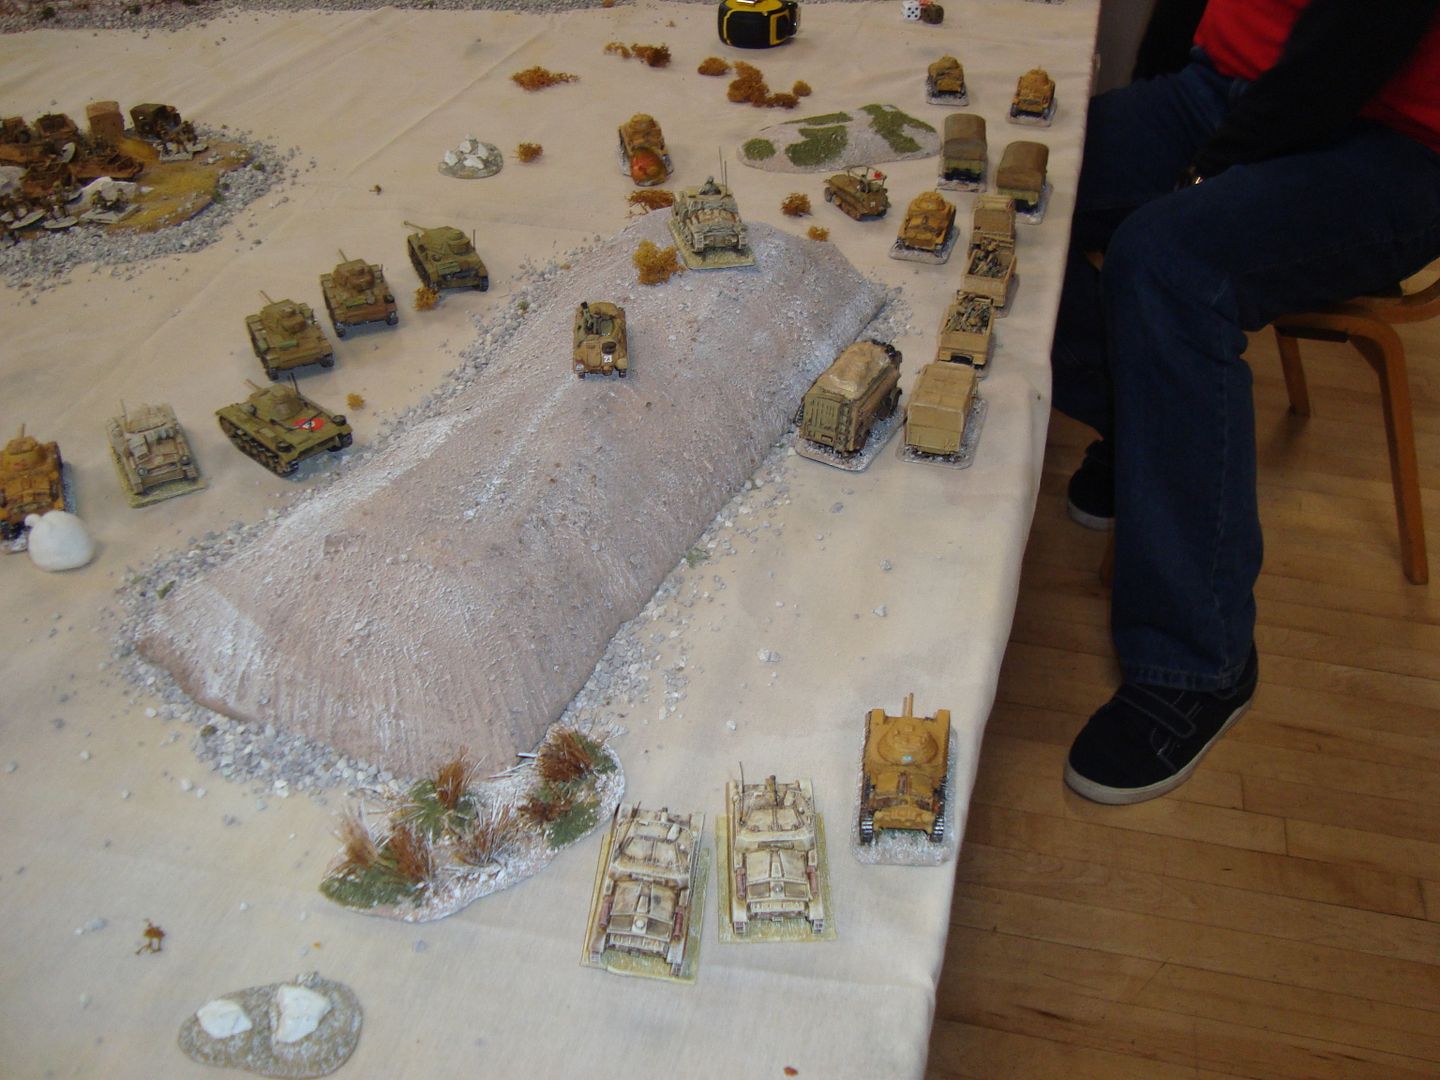
Table from German end, Aberdeen on left of far ridge and Stirling on right.
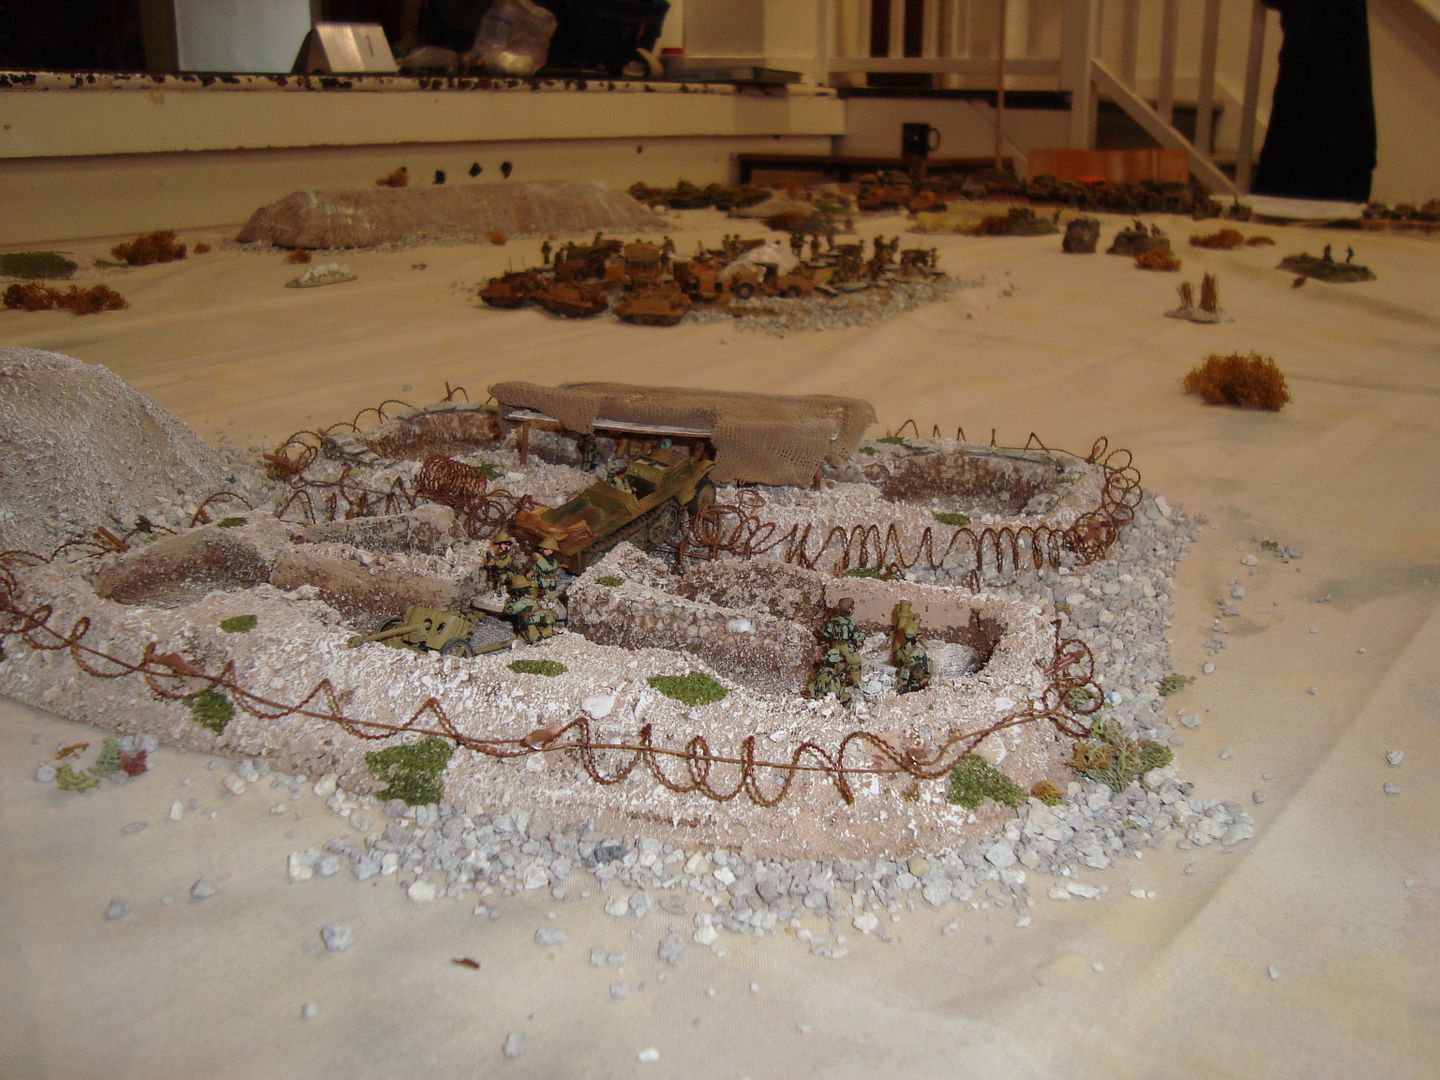
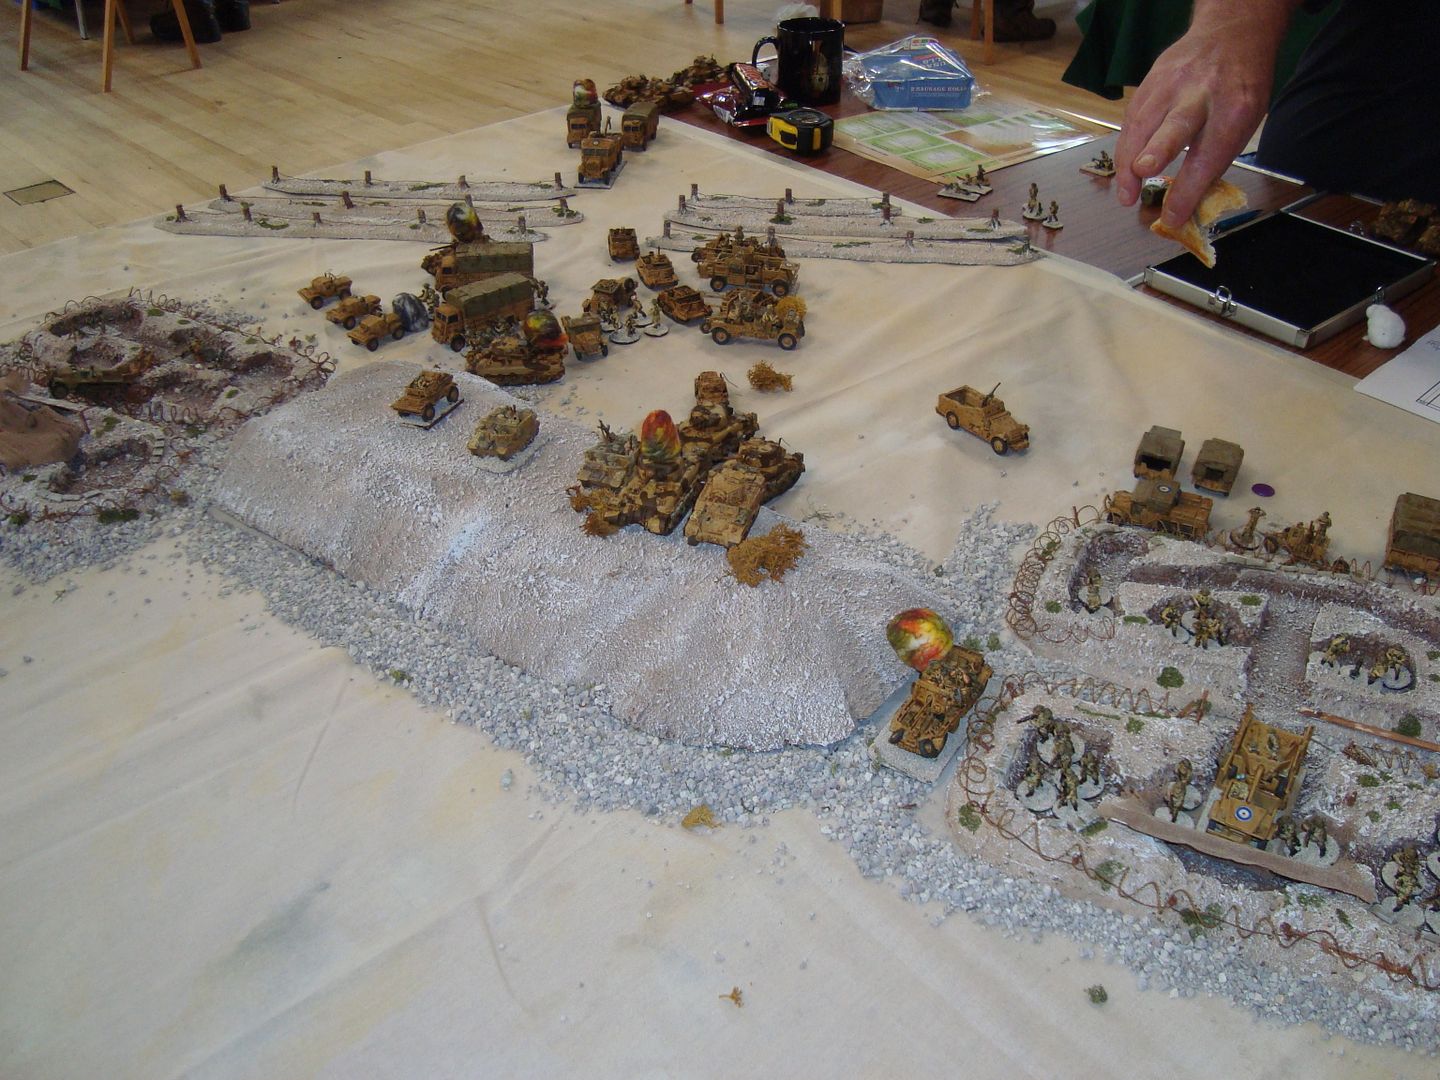
 photo DSC03968_zps722b193d.jpg

"Aberdeen"
 photo DSC03969_zps8f19ffe4.jpg

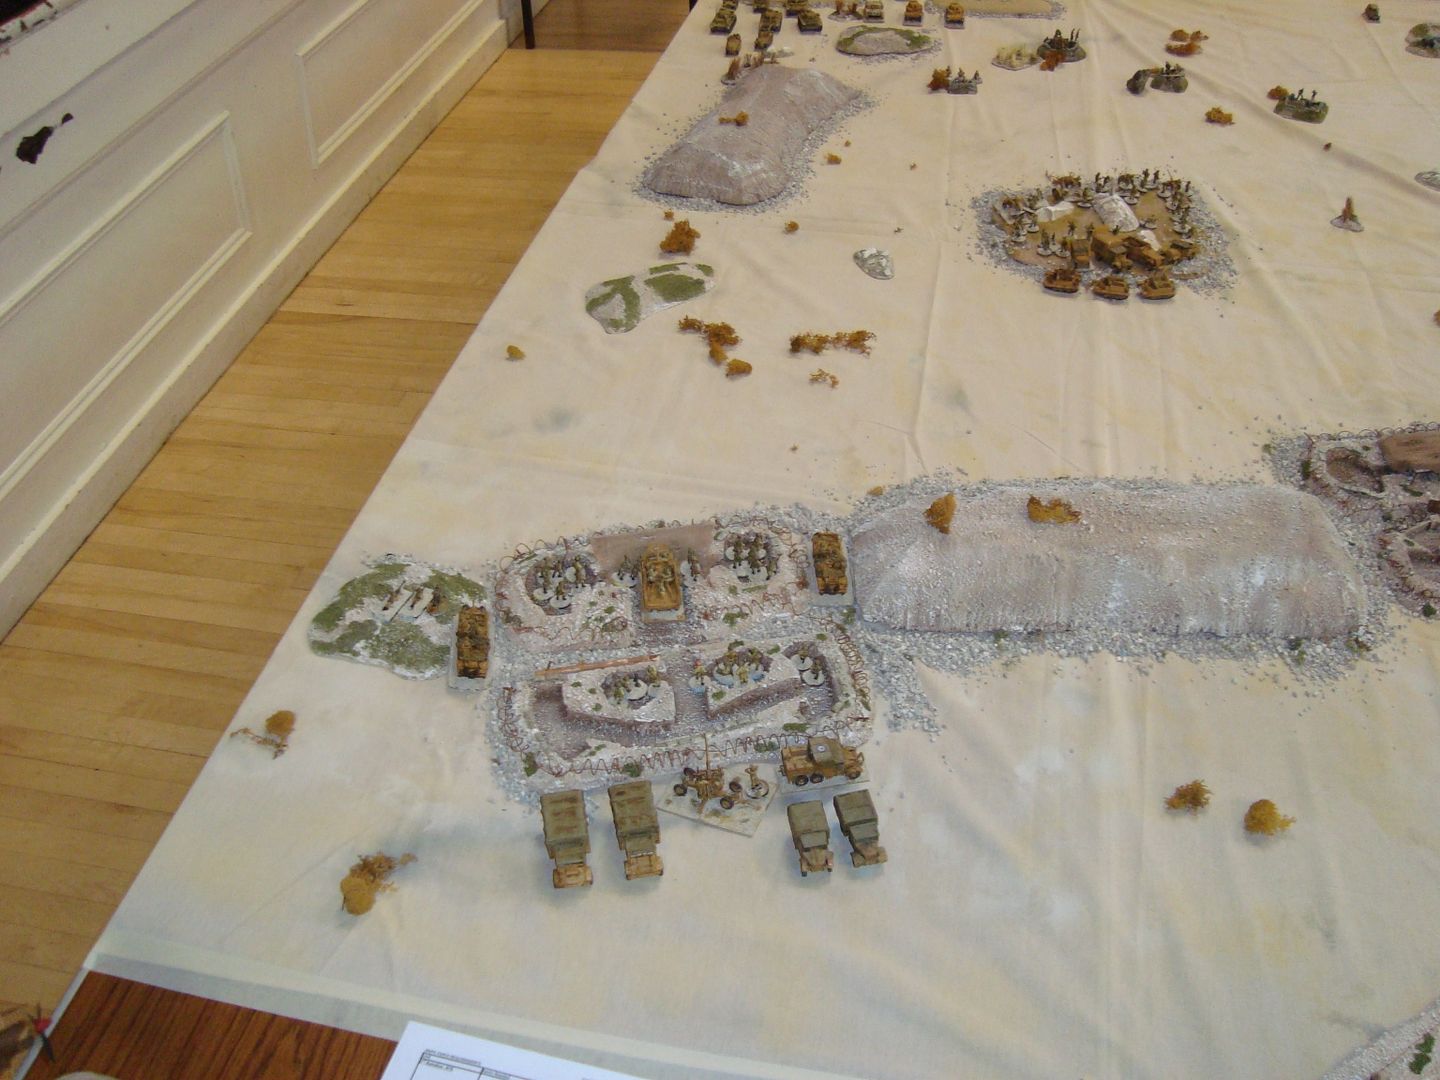
"Stirling" and Snipe in center of table.
 photo DSC03970_zps19f8b78b.jpg
 photo DSC03973_zpsccde30a7.jpg

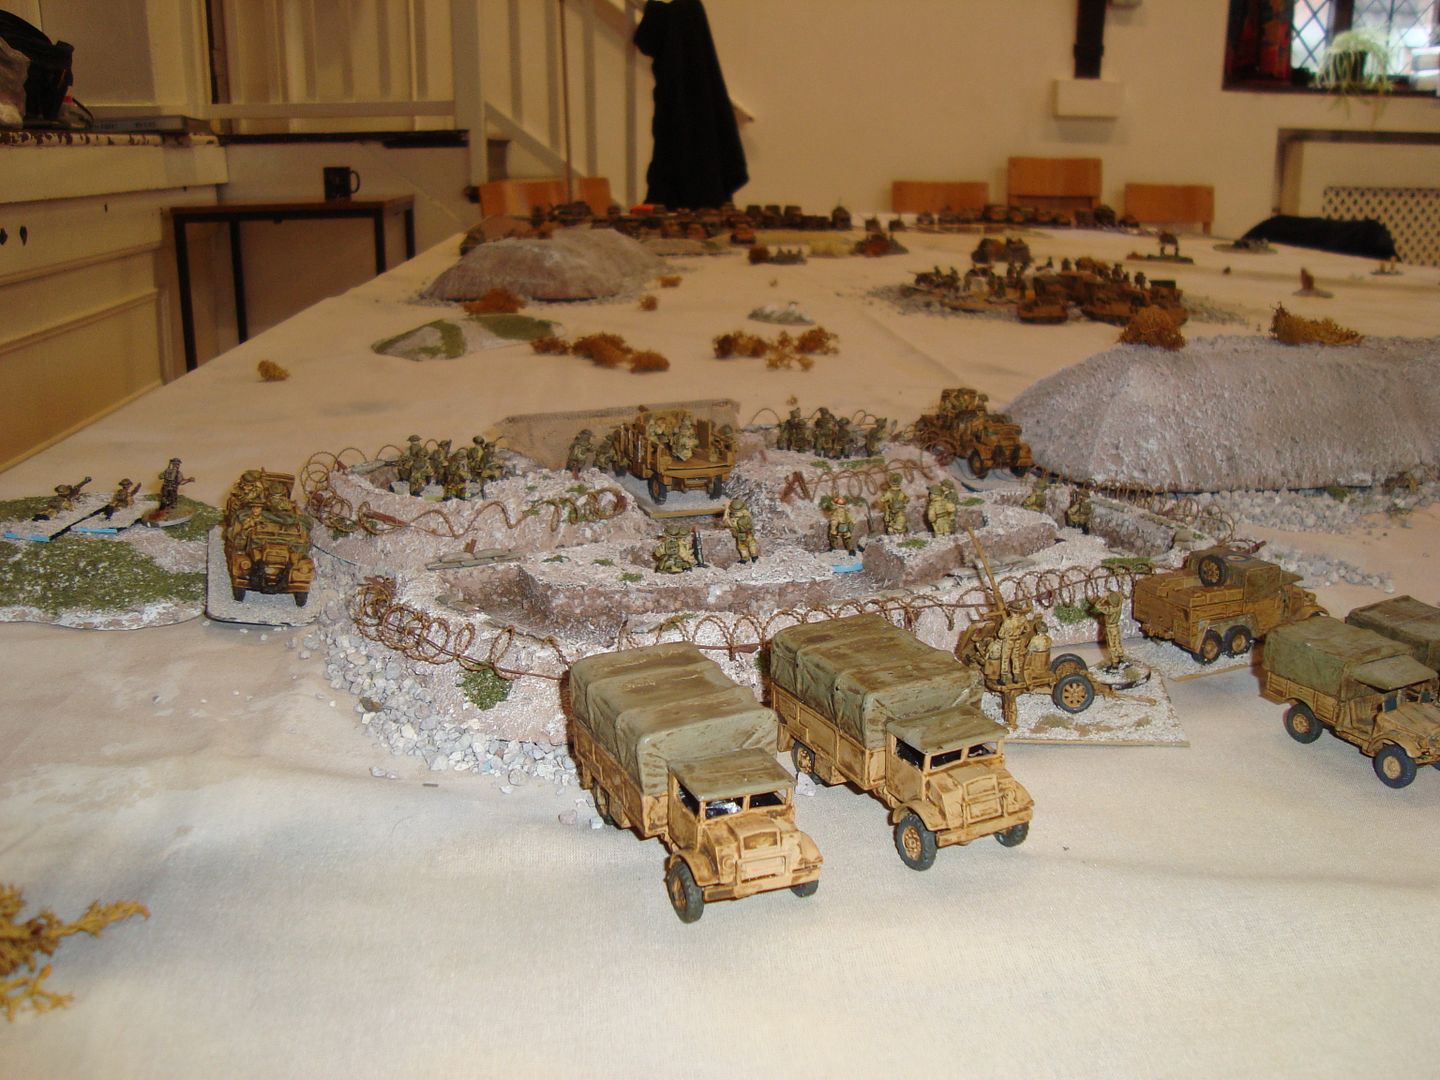
British Artillery support
 photo DSC03971_zps49af6bd1.jpg

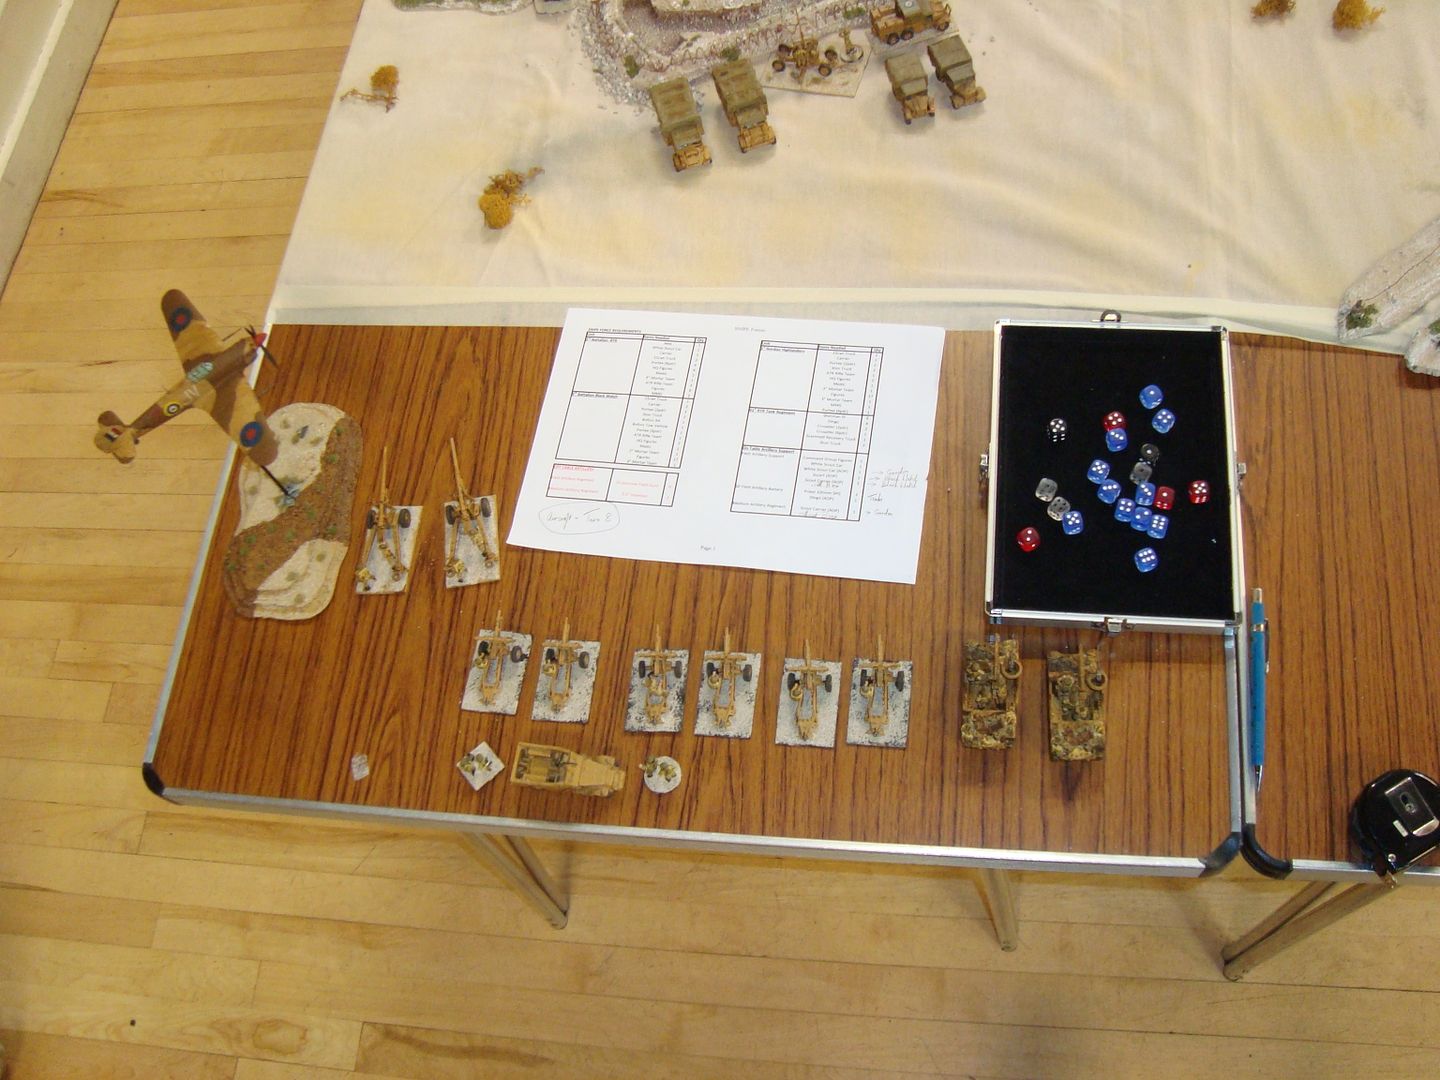
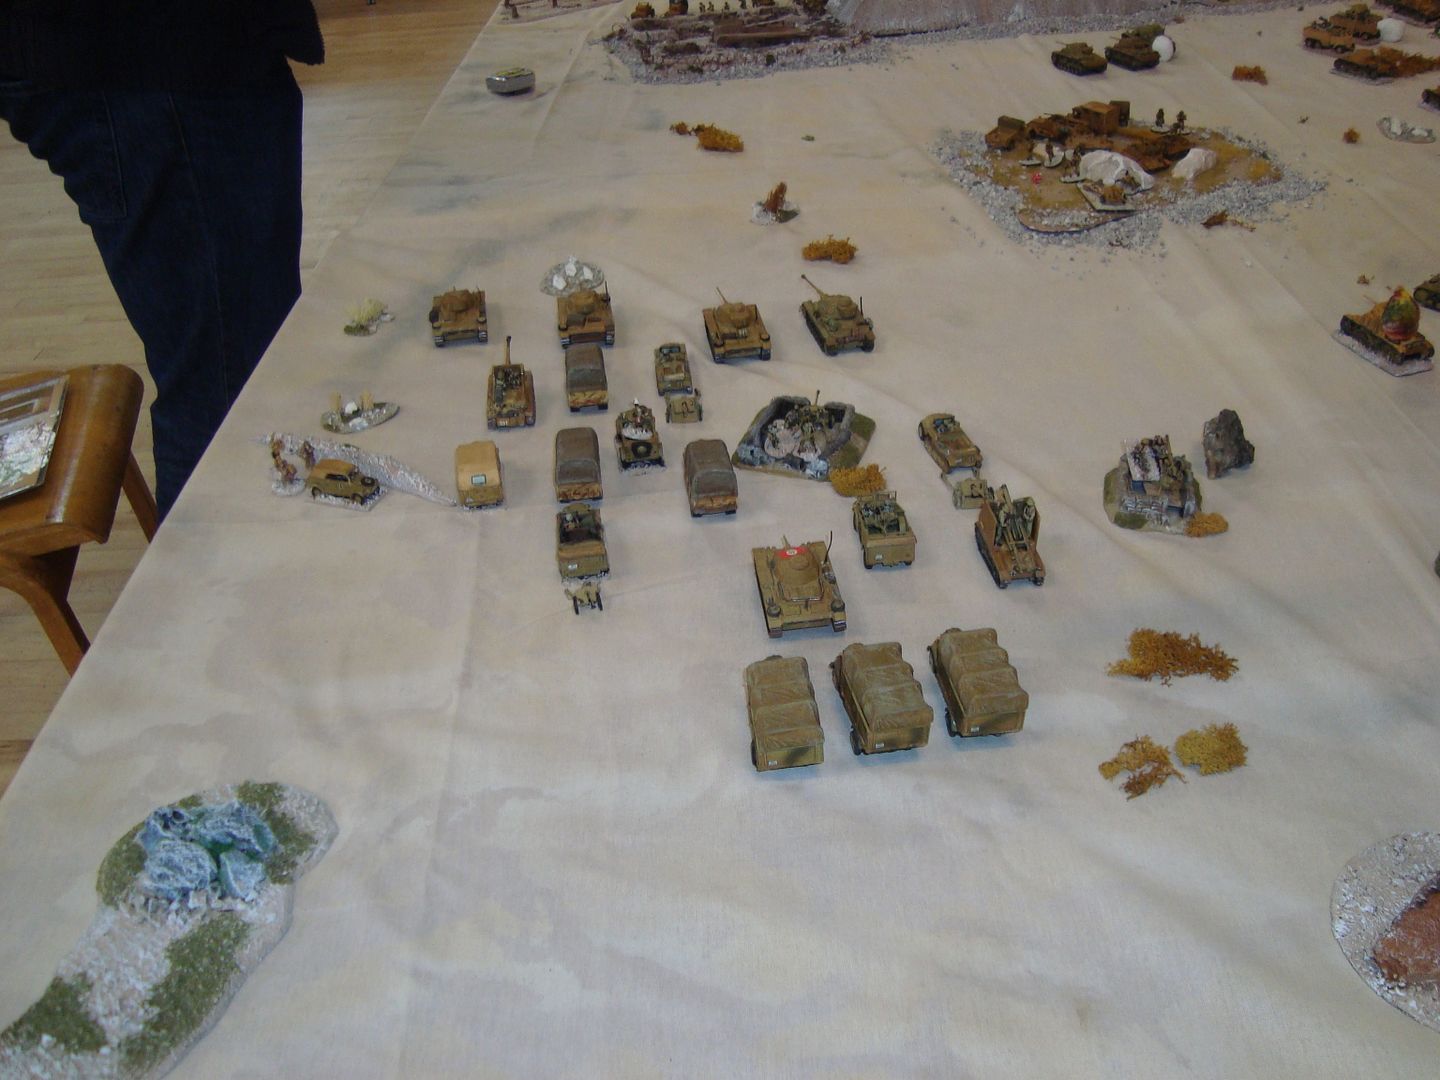
British 24th Armoured and Gordon Highlanders (enter from turn 1 through the minefield)
 photo DSC03972_zpse7e1eccb.jpg

Turn 1 to 6 had a few bits and pieces hit etc.

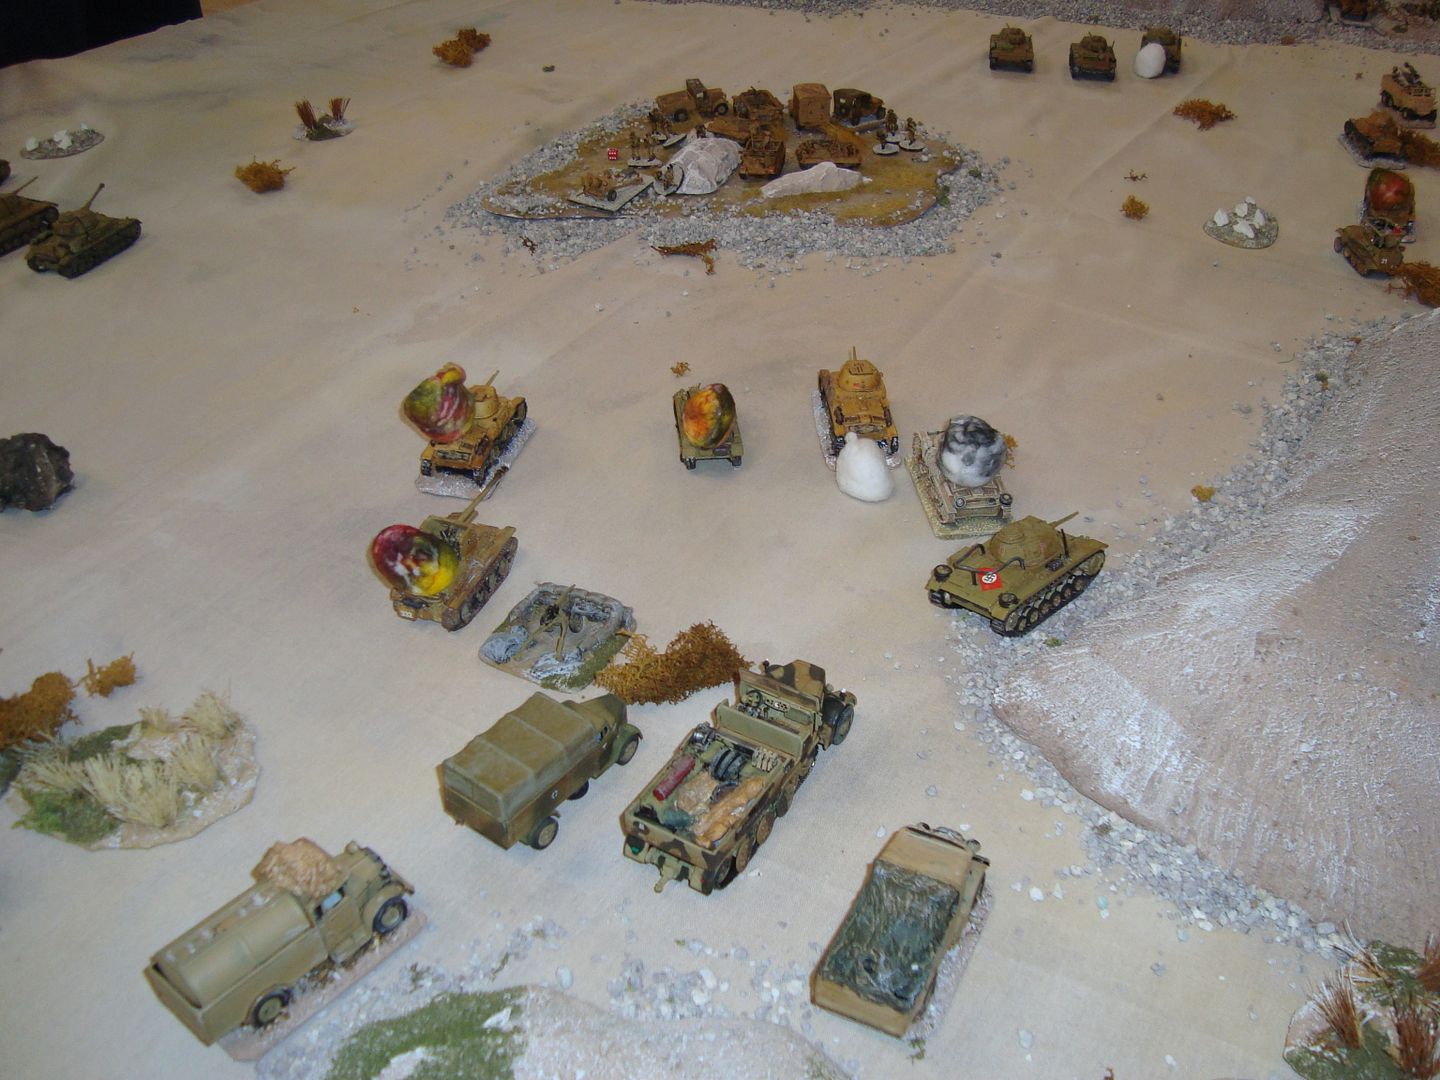
Gruppe Steifelmayer attacked the snipe until it had destroyed all the AT guns then was to move onto the centre ridge between the two strong points.
 photo DSC03977_zps1f3a31ae.jpg

Turn 7

German 12th Armoured(Littorio) advance behind a long ridge towards Stirling.
 photo DSC03976_zpsaaef6423.jpg

Attacking the armour on the ridge.
 photo DSC03978_zpsc98111dd.jpg

Stirling turn 7
 photo DSC03979_zpsdba9fd90.jpg

Aberdeen turn 7 (about 5 Dak left)
 photo DSC03980_zpscb4a6185.jpg

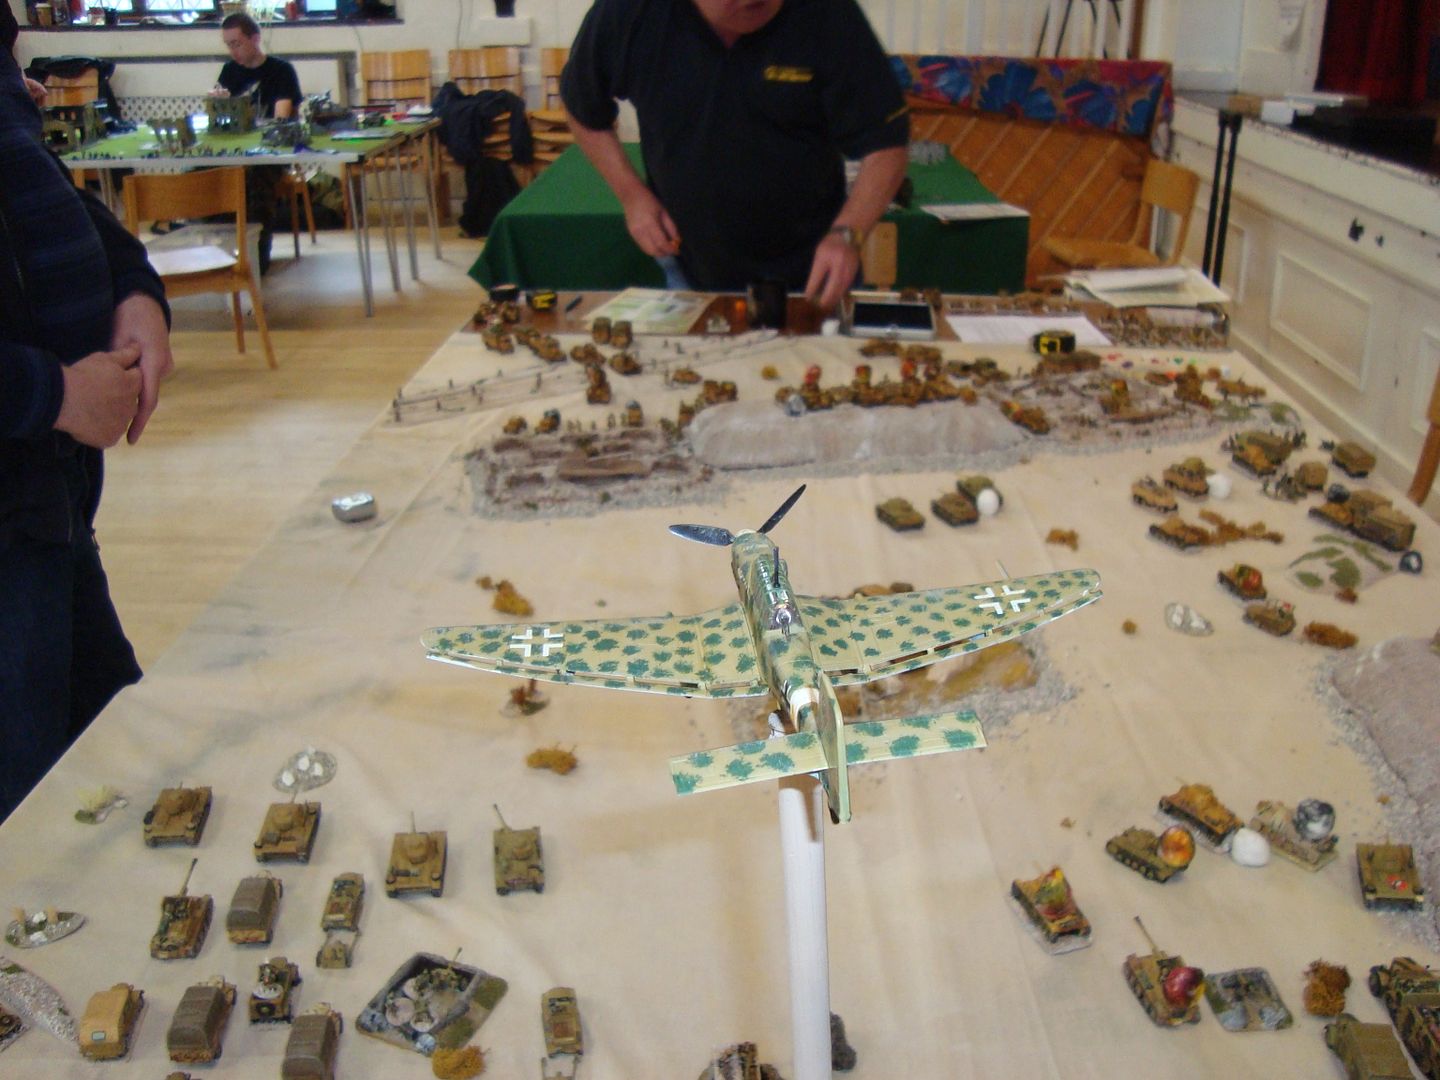
Turn 8, Jim's air support arrived
 photo DSC03982_zps0a2901ac.jpg

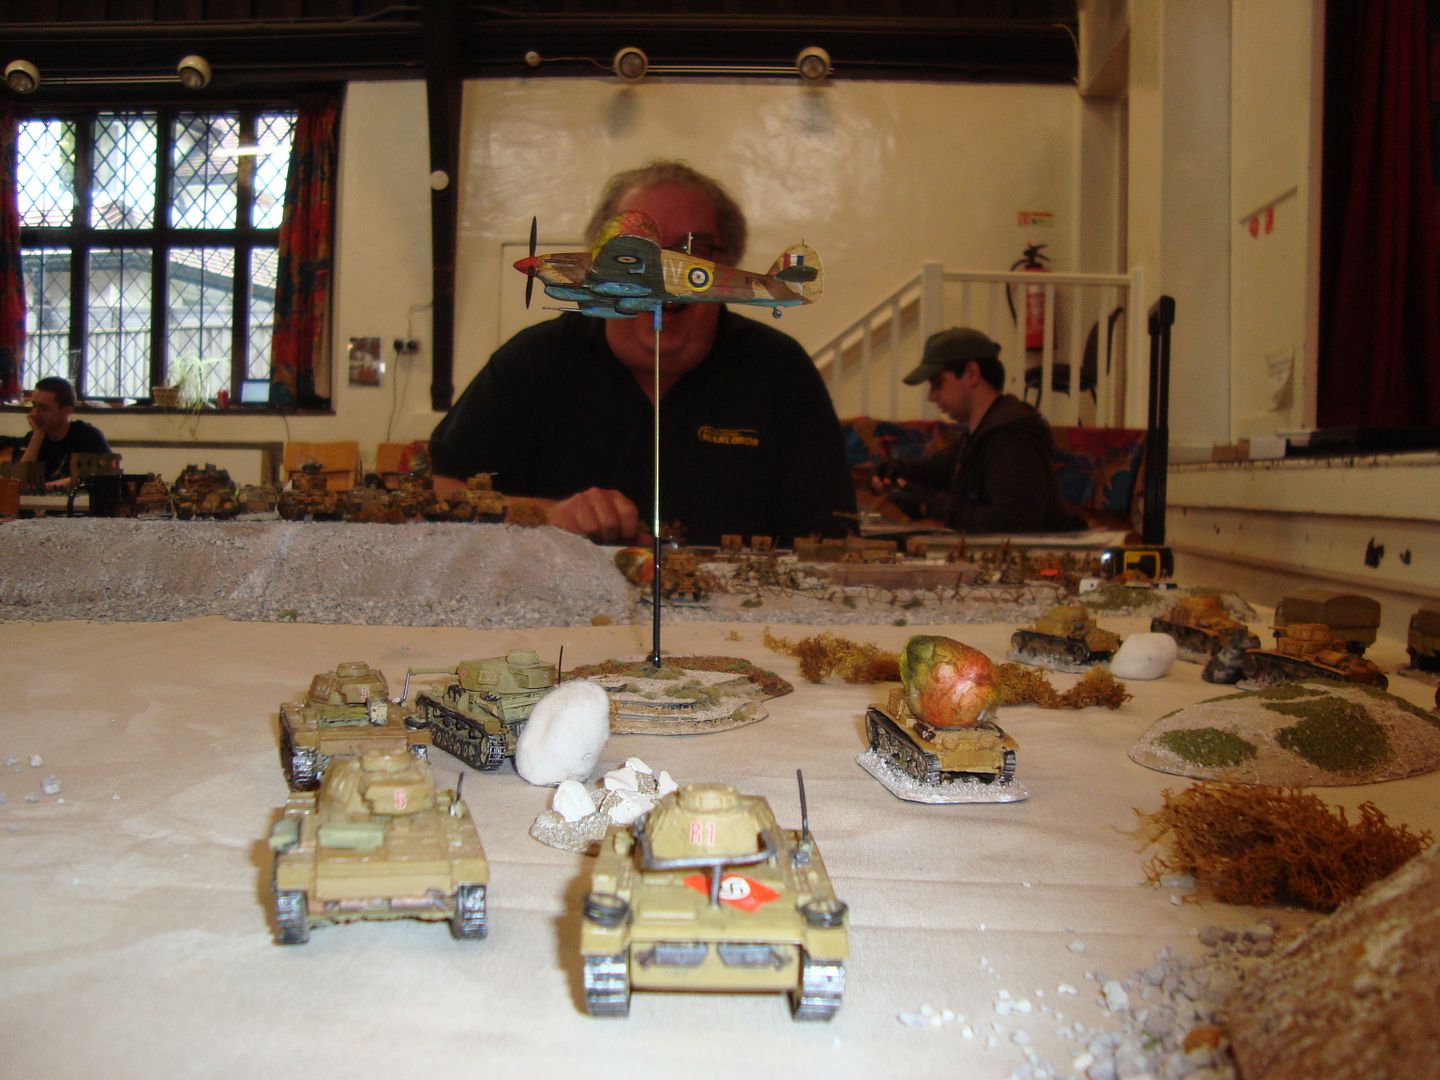
It arrived OK, but my AA shot it down.
 photo DSC03983_zpse74ee6b3.jpg

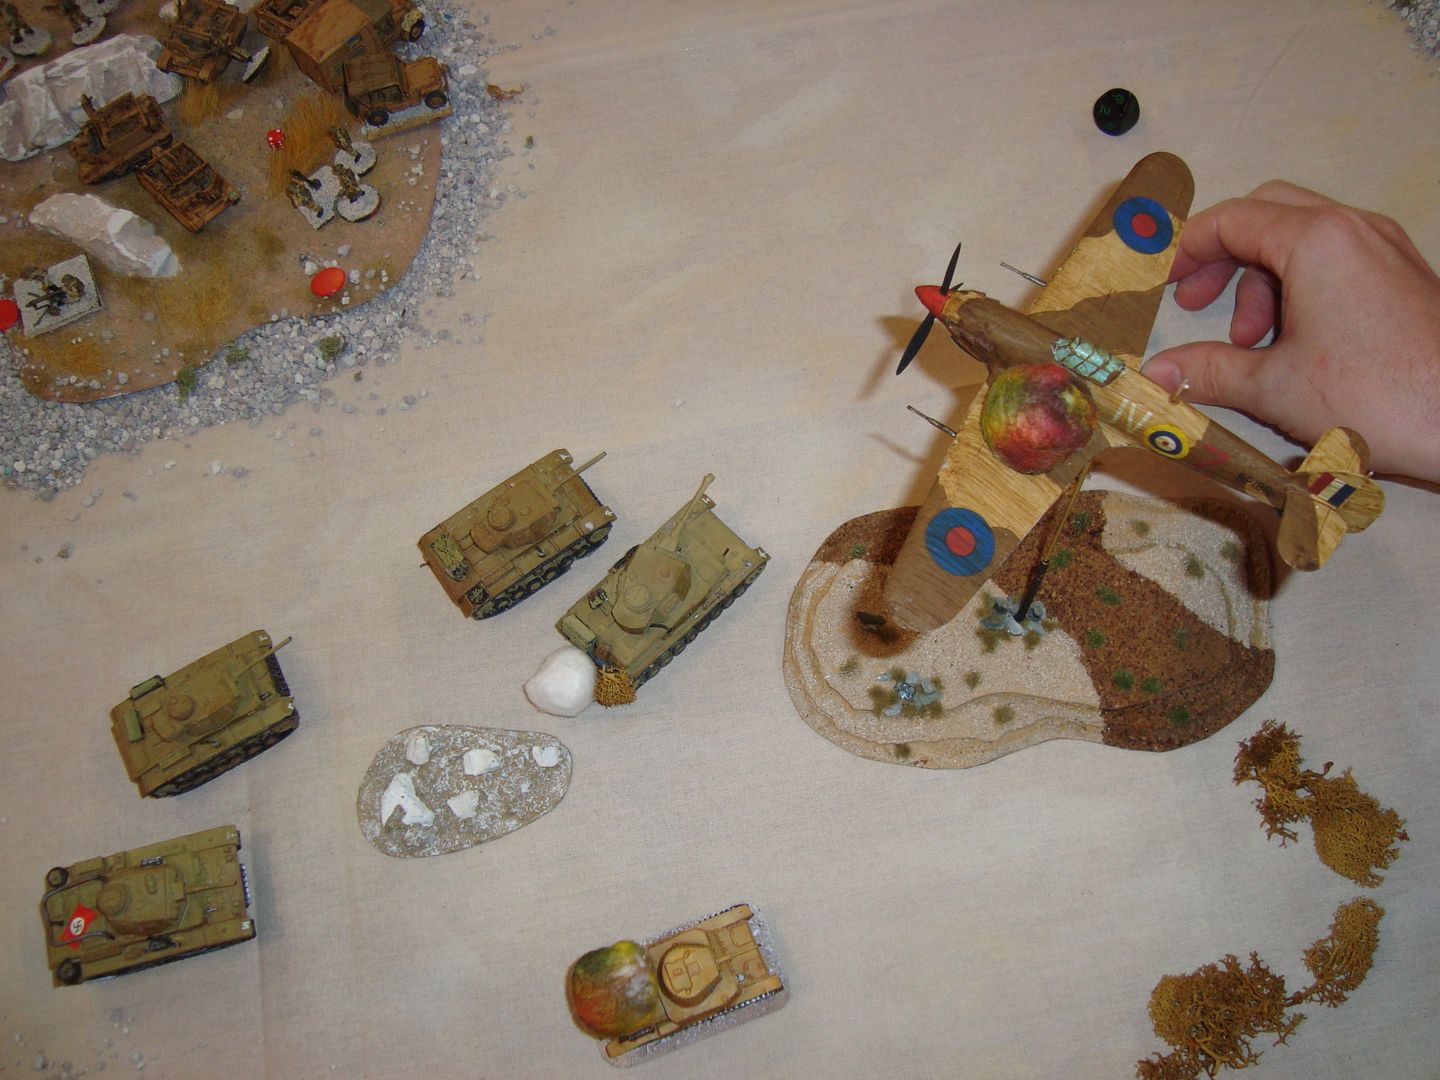
Turn 9, Lucky I shot Jim's aircraft down as mine arrived next turn. and dropped it's first bomb on a portee in Stirling and destroyed it.
 photo DSC03984_zpsab41b6aa.jpg

Turn 10, Fighting around Stirling intensifies as the Bersaglieri start to support the armour.
 photo DSC03986_zps4c335694.jpg

One lone 6pdr was holding his own in the Snipe and causing casualties on the attackers
 photo DSC03987_zps8c2eec8b.jpg

The 21st advances past the Snipe to support Aberdeen and take on the Shermans.
 photo DSC03988_zpsd029f8ec.jpg

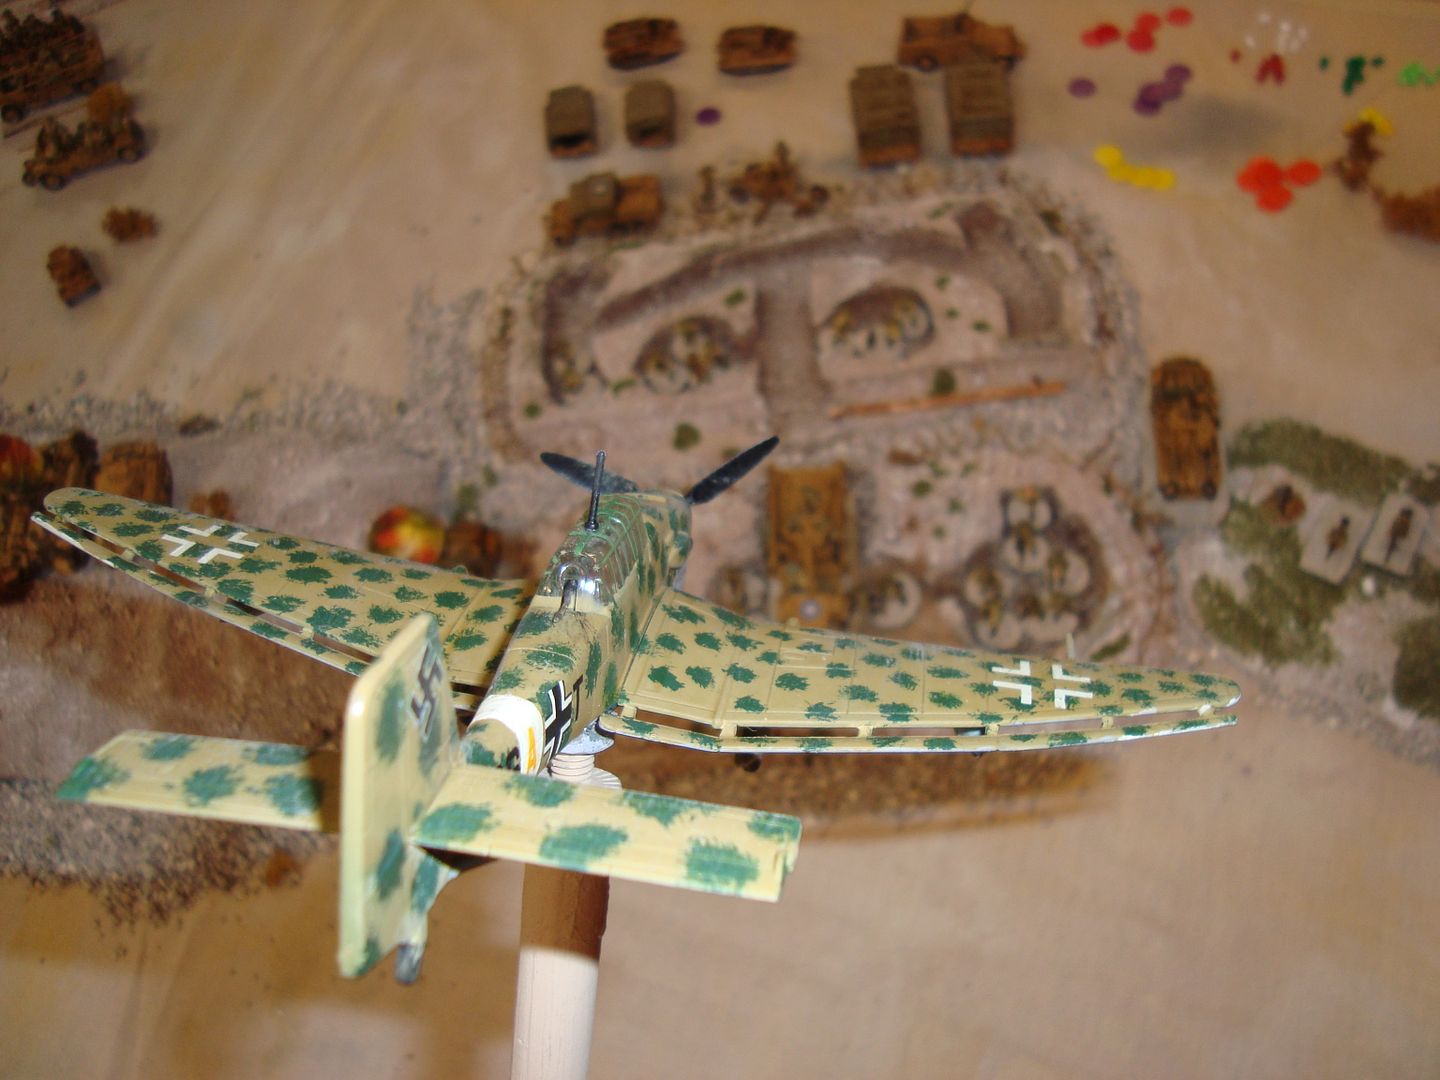
The Stuka rained terror over the next two turn hitting and destroying its 2nd and 3rd pre-designated targets.
 photo DSC03989_zps4bd3dddd.jpg

By turn 12 Aberdeen had fallen to the British, but it was to late, the Germans had inflicted to many casualties and the Stirling defenders were forced back having no armour or AT guns left to support it.
 photo DSC03991_zpsb6210da8.jpg

The Snipe fell on turn 14, with the defenders losing a morale check and surrendered (being surrounded at this point).

21st Panzer were pressing on Aberdeen and the British had taken too many casualties and conceded Stirling and Aberdeen.

An overwhelming German victory, mainly caused by lucky hits on British Artillery FO's and bad Artillery dice by the British Players. Although German Artillery was not that much better.

Thanks to Jim and Darren his 2iC and to Graham, My 2iC who did what he was ordered.