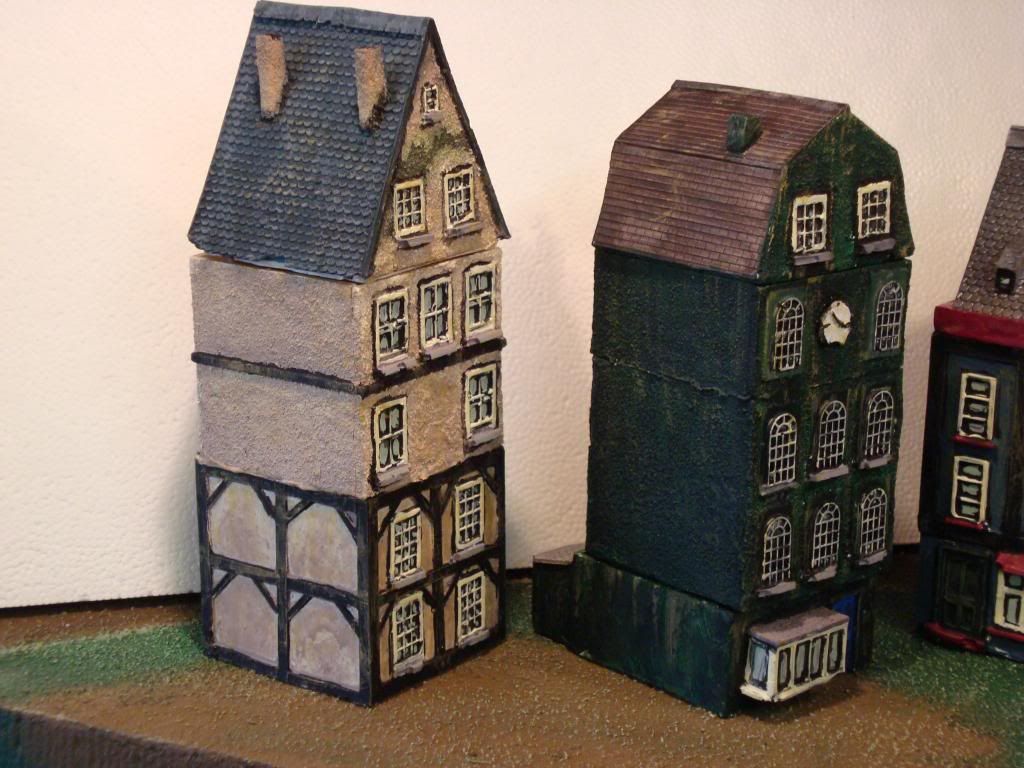
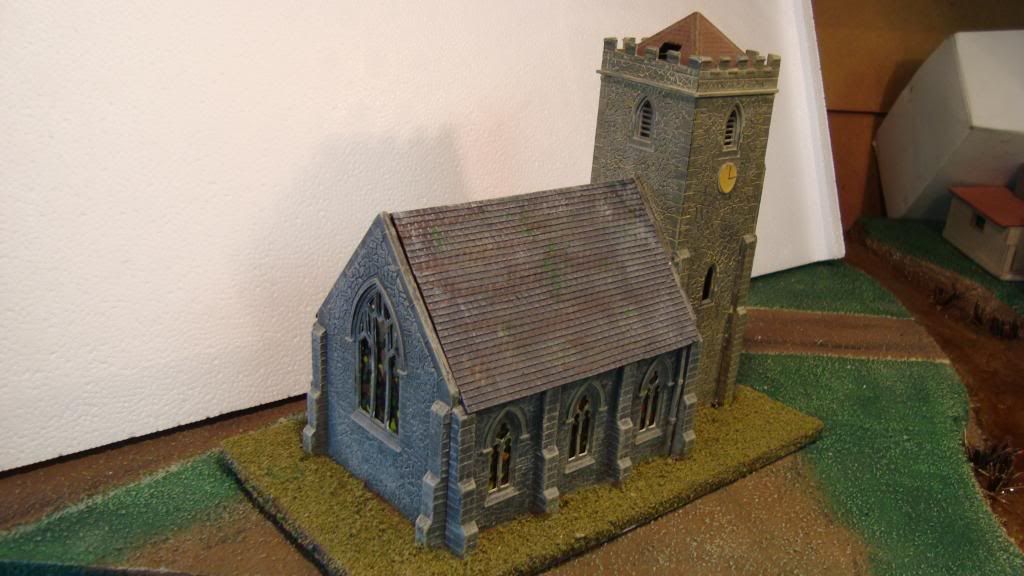
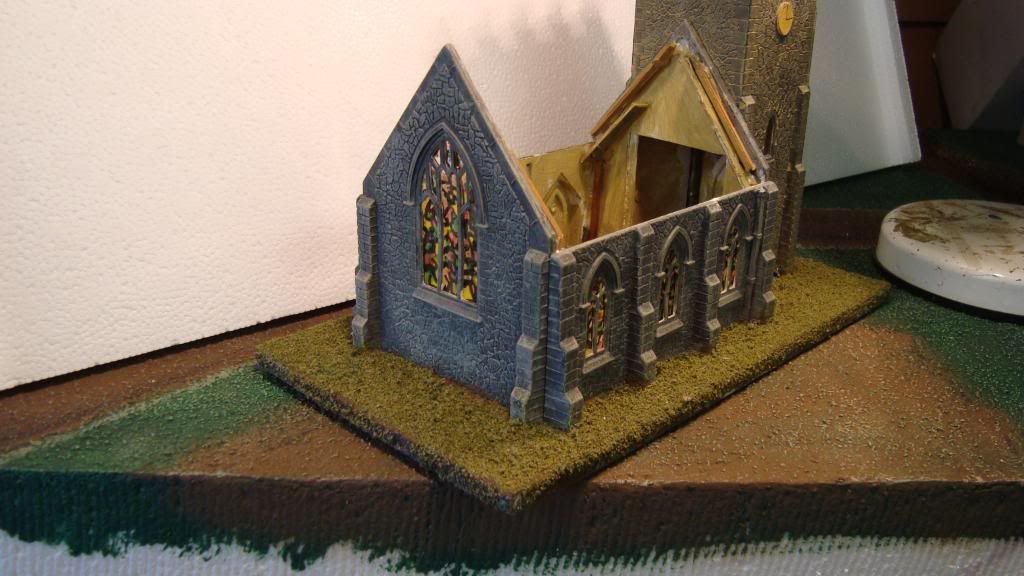
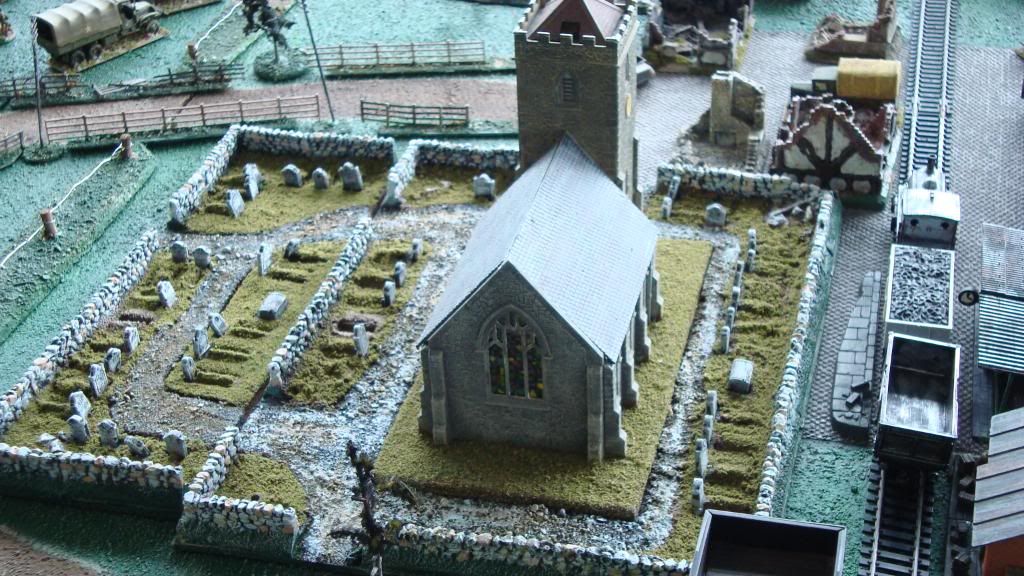
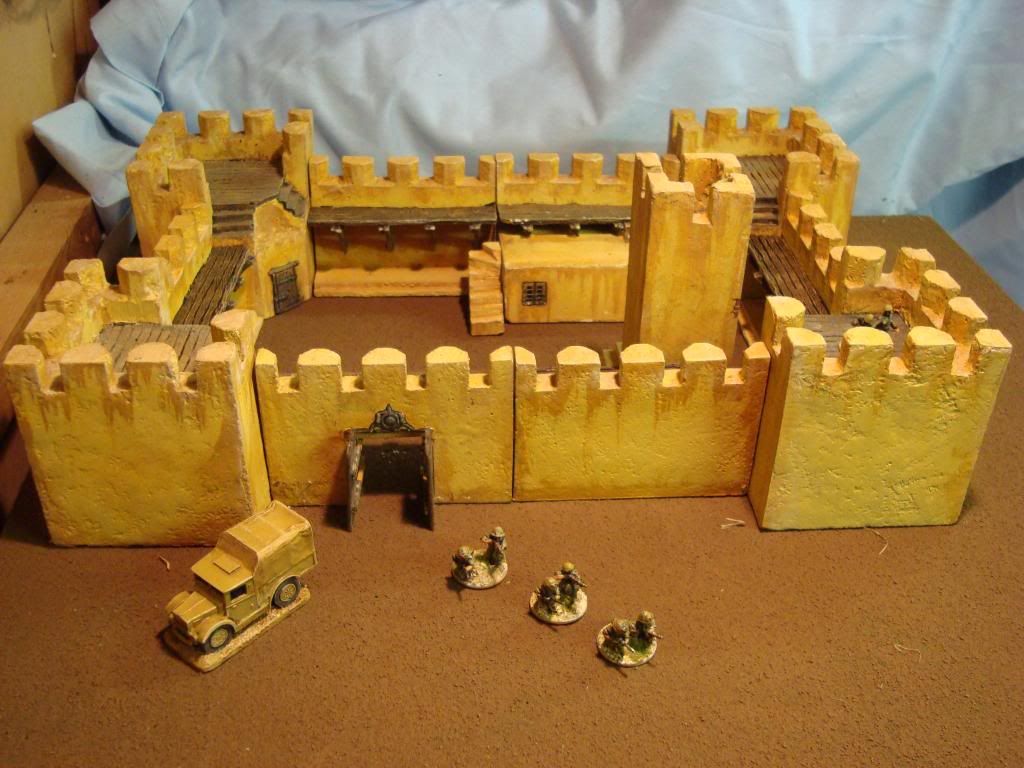
Due to the size of the footprints of many of the buildings that encompassed the 100 Days, Waterloo Campaign, and the relative size of a Shako II Battalion on the table, I had to compromise. Although Total Battle Miniatures (TBM) has started production of 10mm Waterloo buildings, their footprint will still be to big for our battle.
TBM makes most of the village and towns in template form, made of latex, which is easy to paint with Acrylic paints. The buildings fit into recessed areas in the template and look fabulous. TBM use a system in that all the buildings are of a size that will fit any of the recesses, very clever!
Onto the painting of the buildings and templates: I spray undercoated all the building black and then a second coat of Tan Earth (Coat d'Arms 524), leaving the roof black.
The roofs were painted in a Deep Red (Miniature Paints 42) or Olive Drab (Coat d'Arms 502), Then Dry Brushed in places with Foundry Nipple pink (16A) or Faded Khaki (Coat d'Arms 537), dependant of base colour. Thatch was Base, Tan Earth, dry brush an off white/ cream (I used Bone White), and then heavy dry brush Faded Khaki. I then dabbed some Olive Green (Coat d'Arms 226) on all the roofs for moss growth.
The White Walled buildings were stippled on, and the red brick walls were heavily dry bushed with the same red as the roofs. Shutters and doors were painted umber and then dry brushed Faded Khaki (the khaki dry brushing was all done at the same time, but I have broken it down for the sequences).
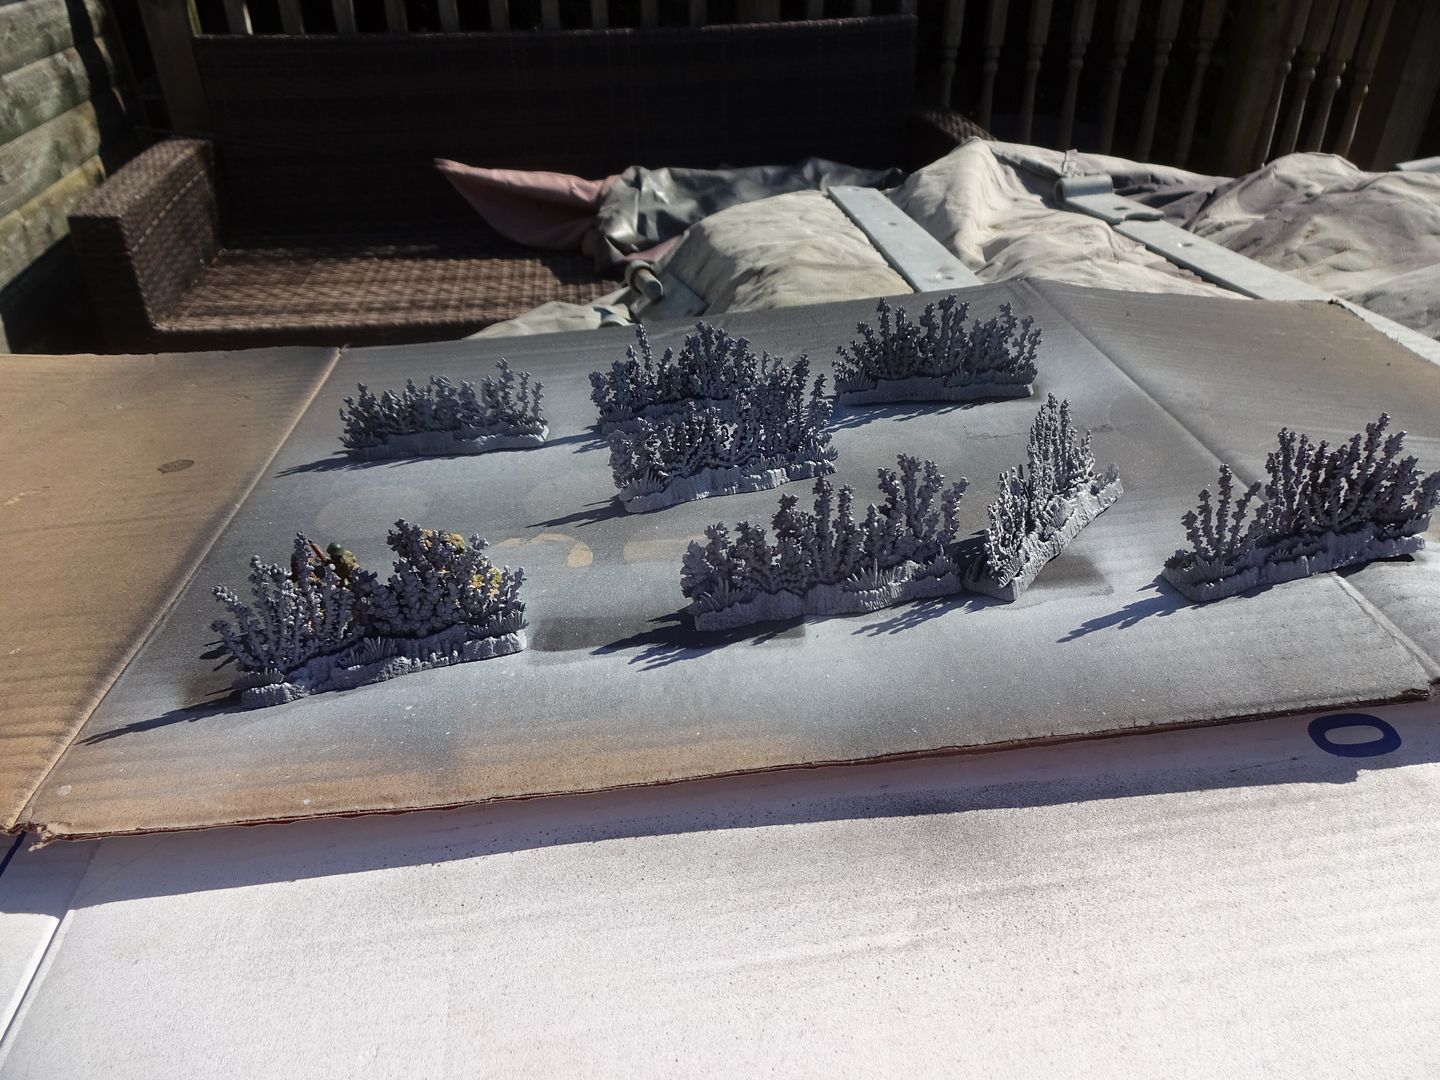
The next process was to paint all the ground and the bushes with Matt Earth (Humbrol Acrylic 29), then when dry Olive green for the bushes leaving a little earth colour to show through. Next was back to dry brushing with the Faded Khaki to highlight all the earth and heavy dry brush of the red brick walls. The penultimate process was to give a further highlight to lighten areas of wear of wheel ruts, etc. Varnish and then flock
Now to find some nice storage boxes.
I started these on the 14th Feb and finished them on 20th Feb.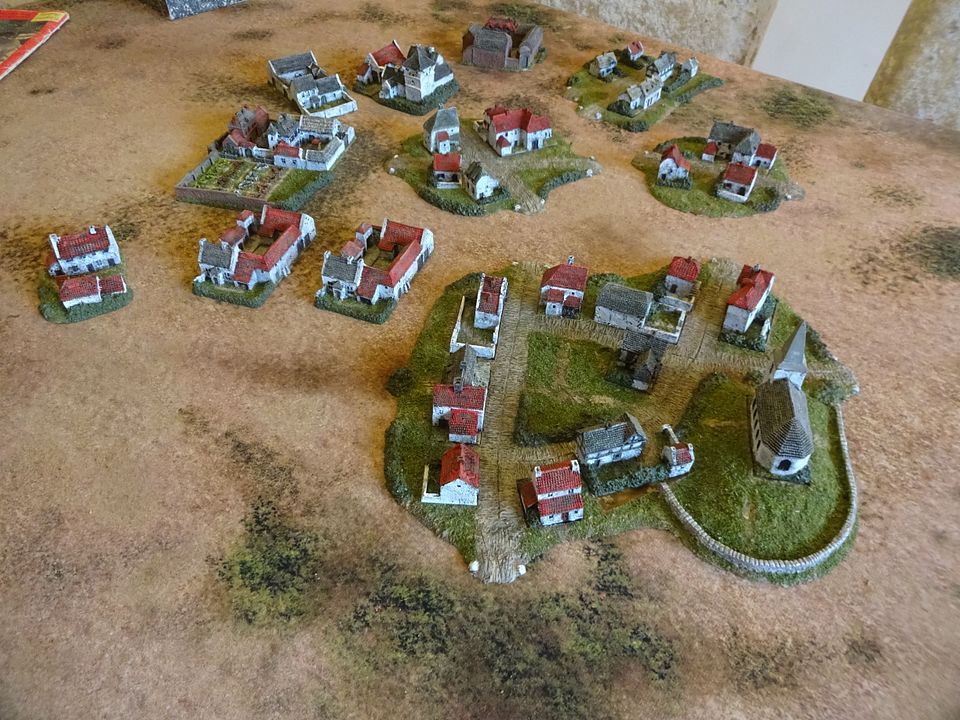
Plancenoit, showing one building out of it's recess. 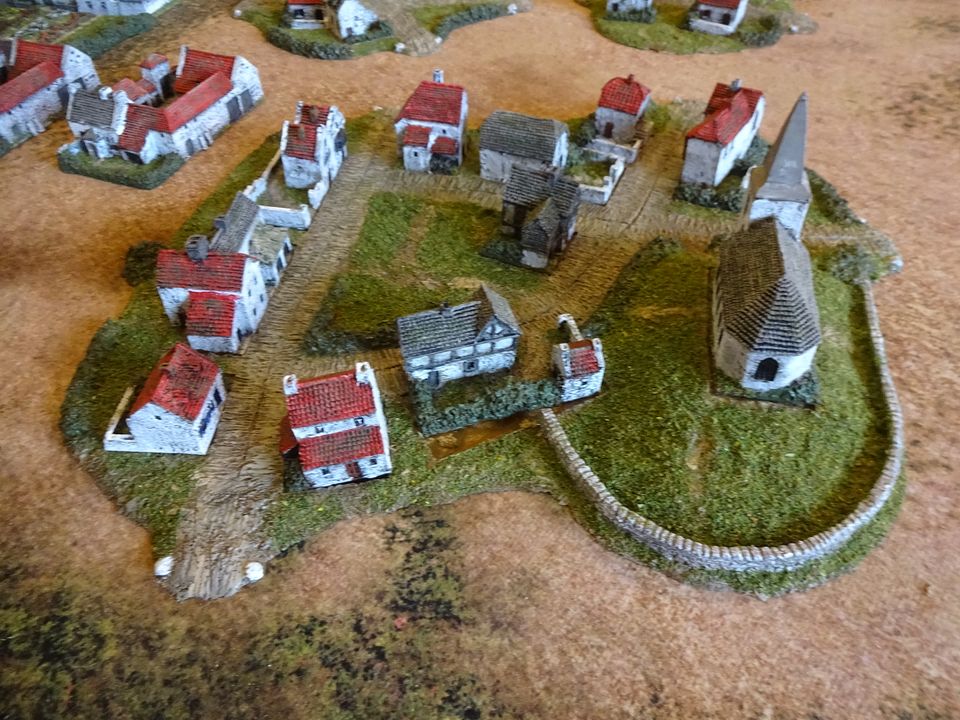
Smohain Village
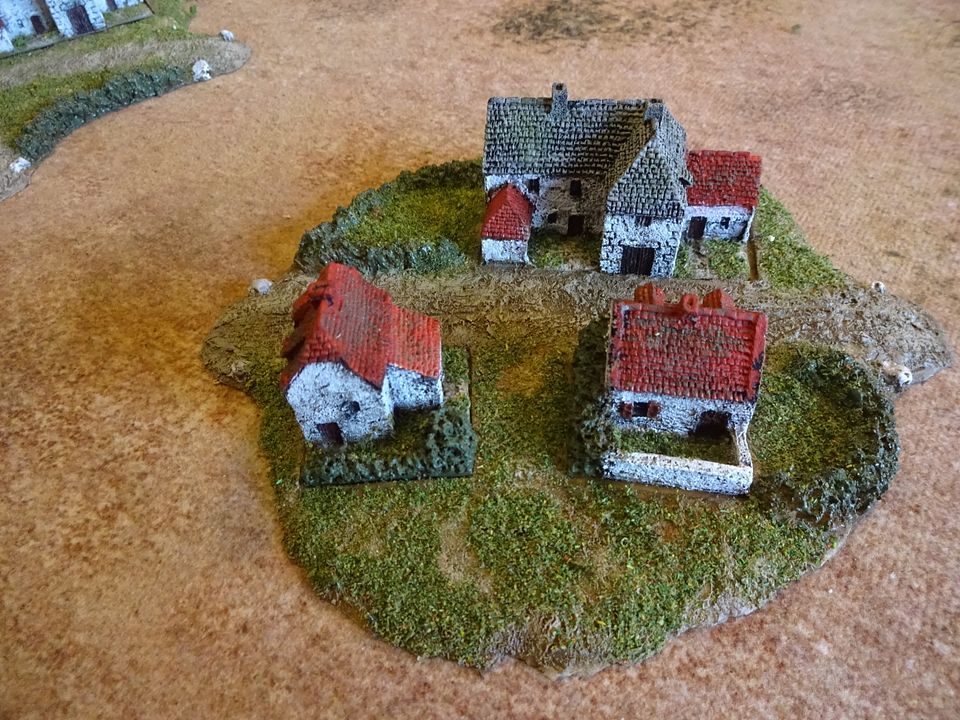
Brain-le- Alleud village, which can also double as Quatre Bras.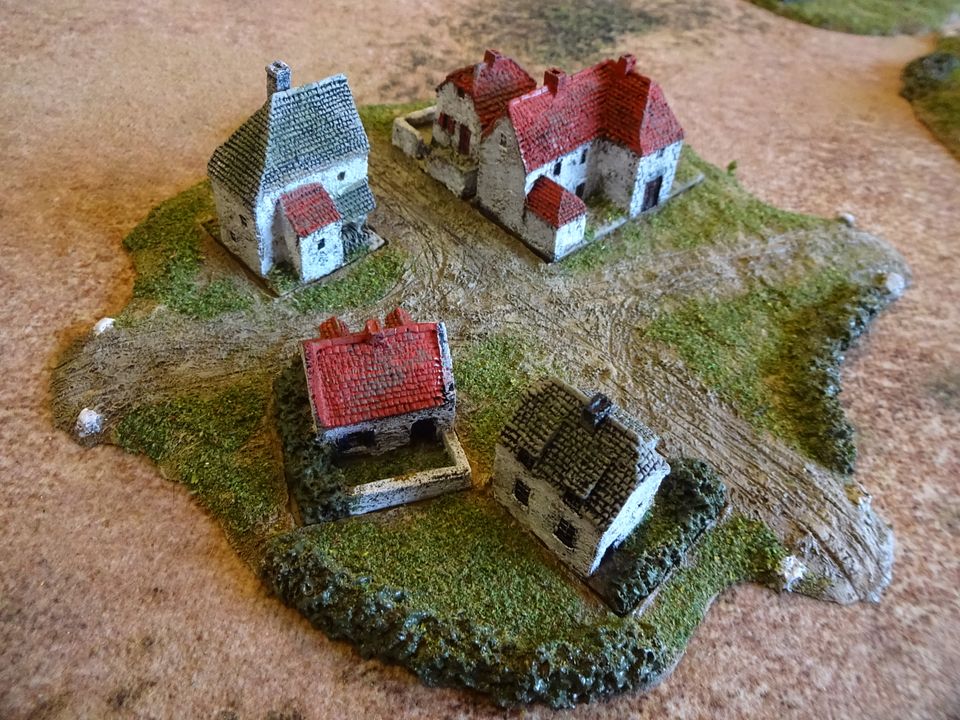
Gemioncourt Farm (Quatre Bras)
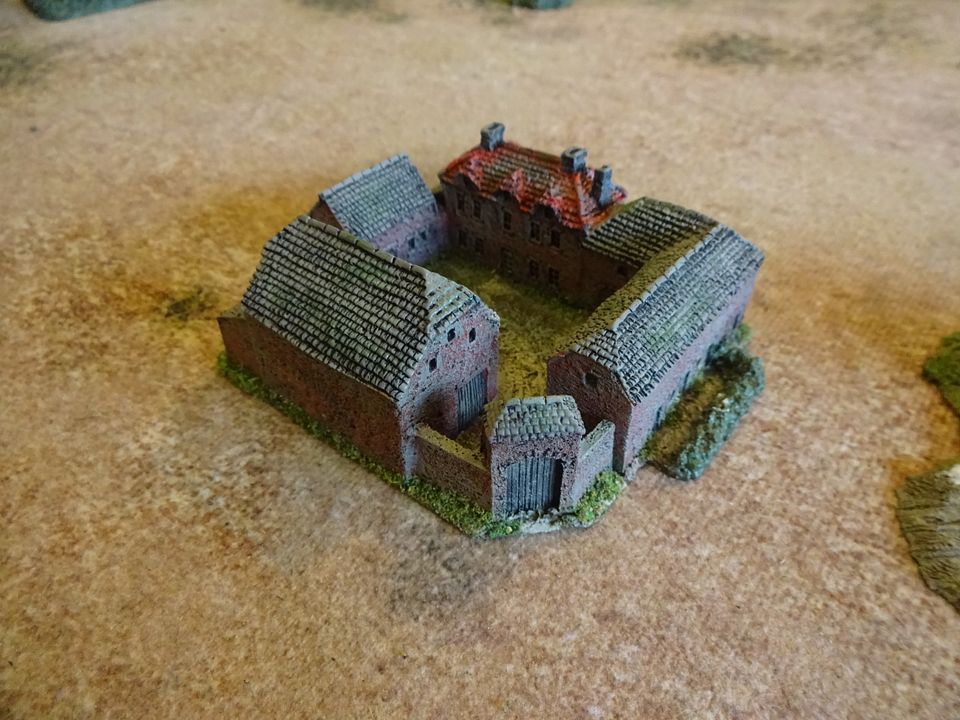
Mont Saint-Jean
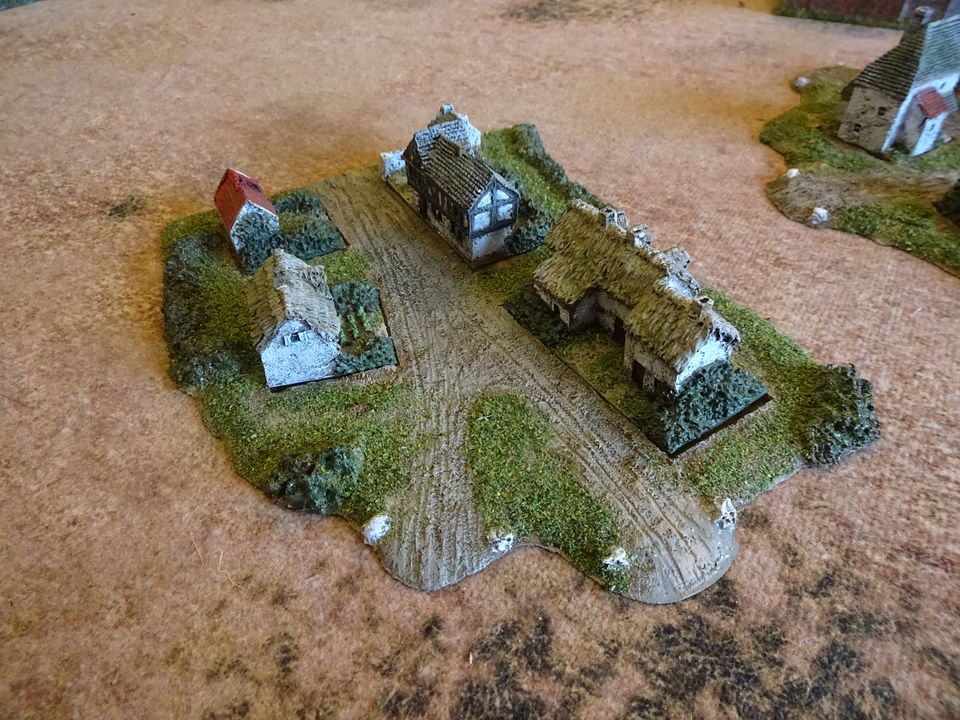
Papelotte Farm
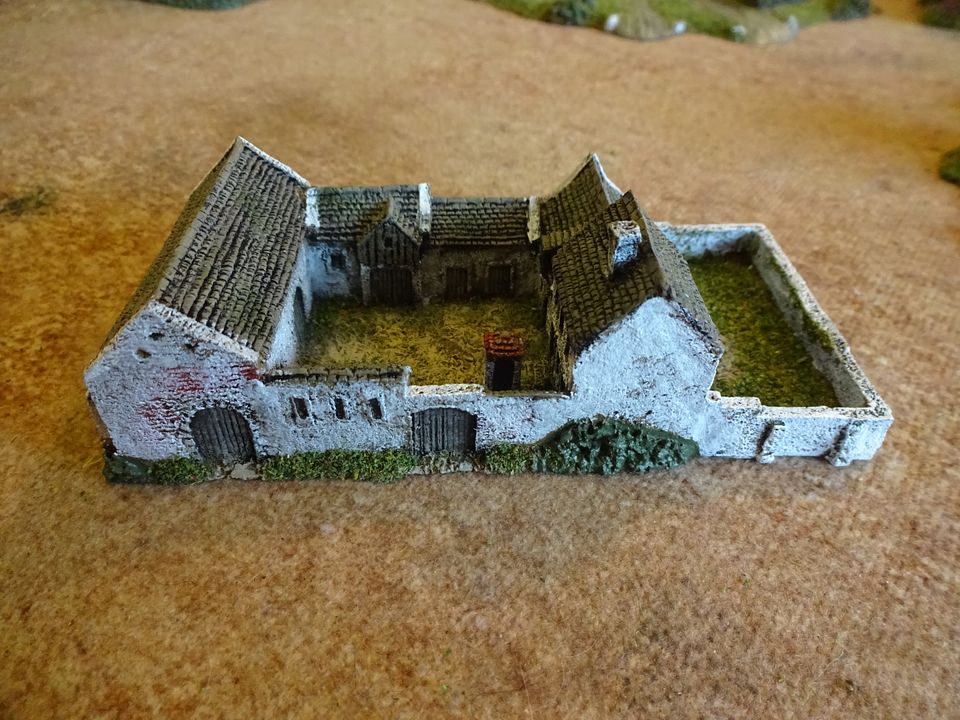
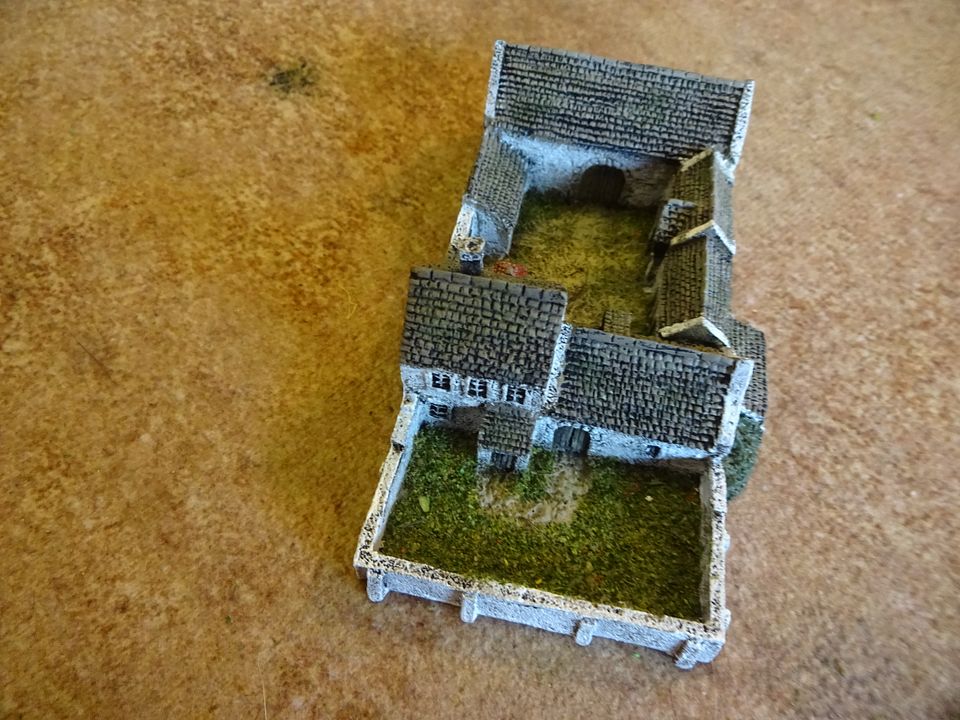
Fichermont Chateau
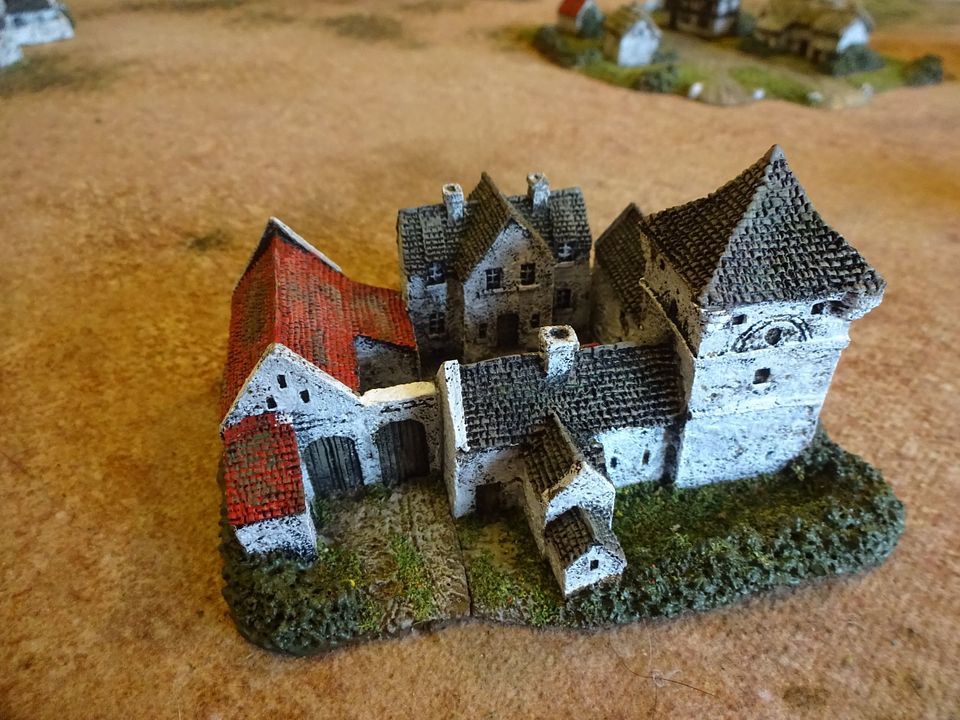
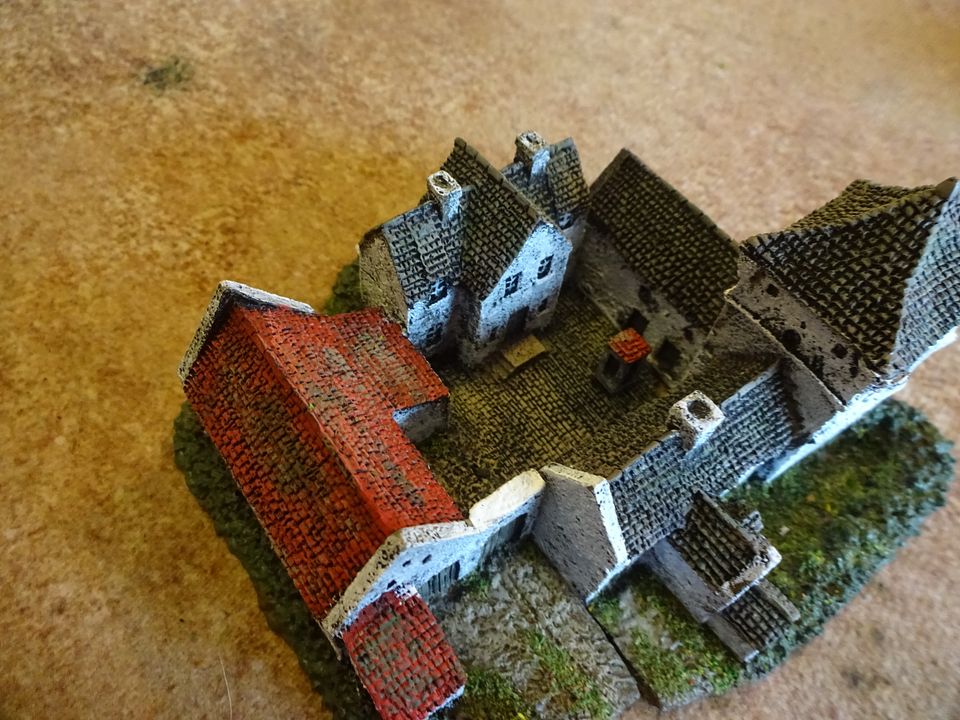 La Haye Saint, I always buy an extra building to use as a test model, so this extra one will either be used as La Haie or it will go for sale.
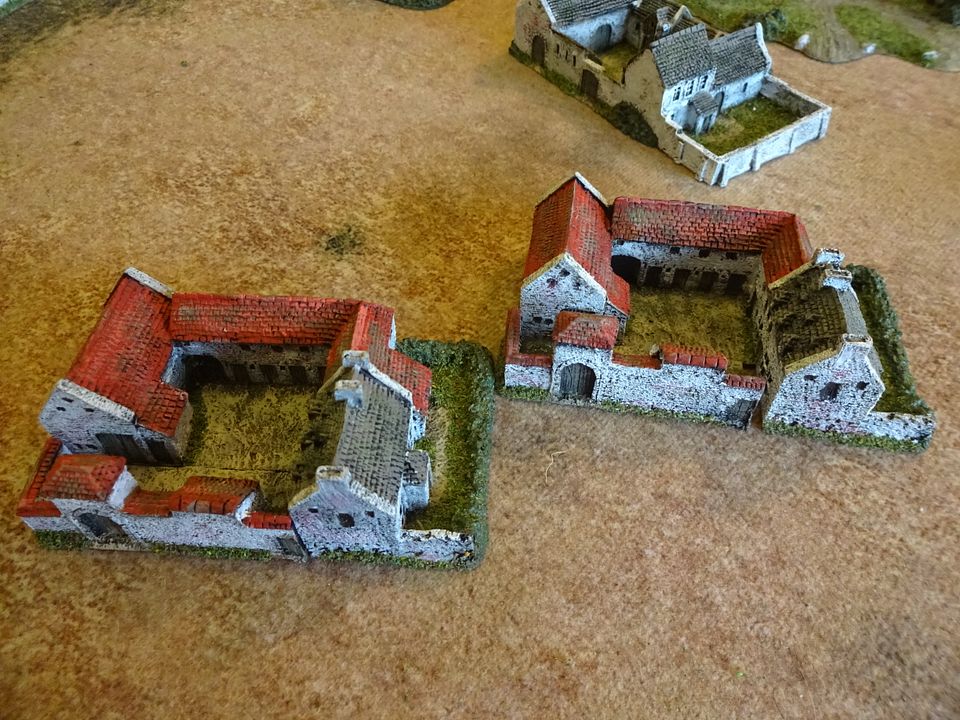
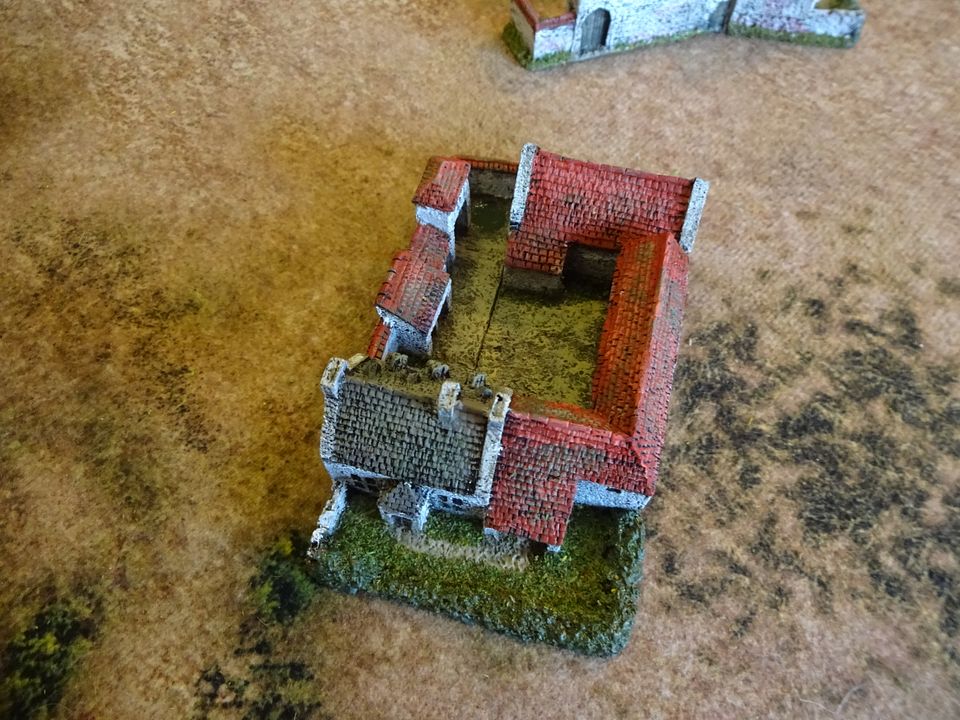
La Belle Alliance (Napoleon's HQ on the day)
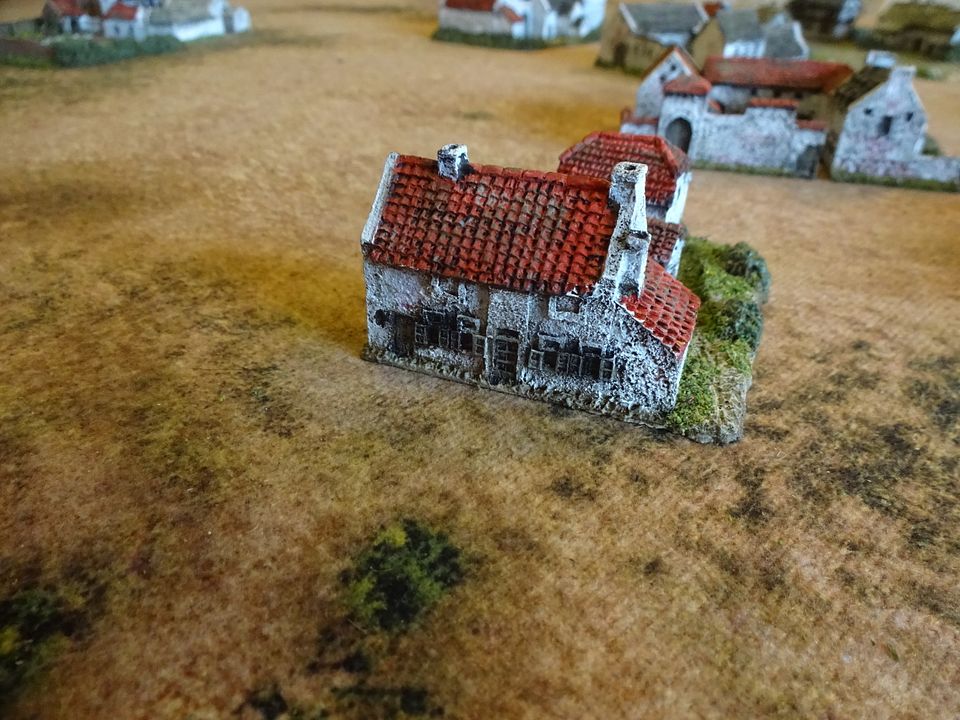

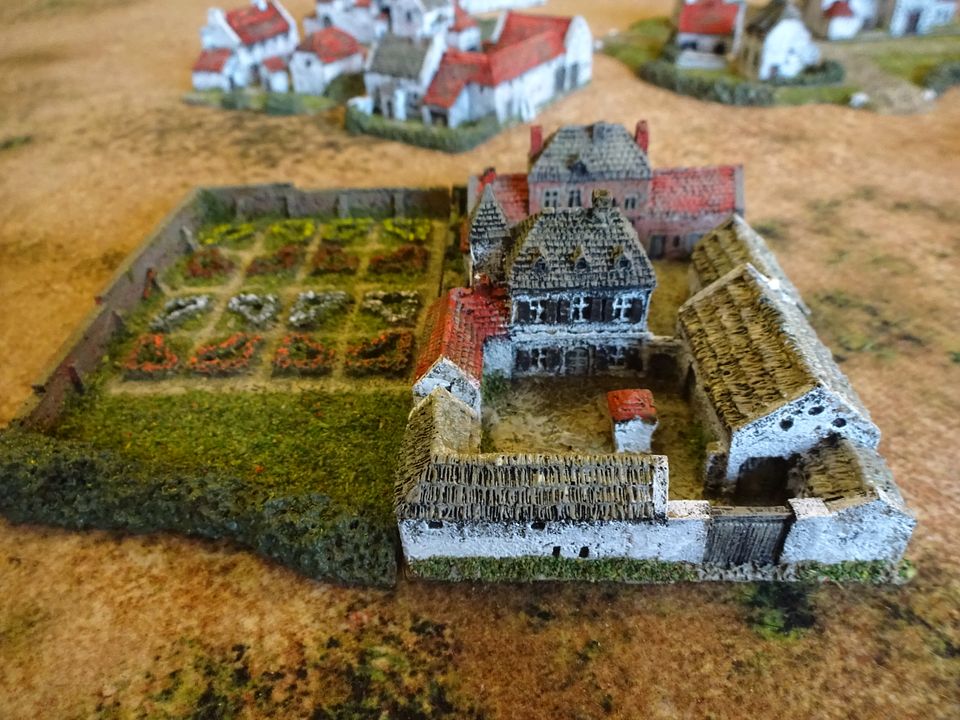
The iconic Hougomont, held by the Guards all day.
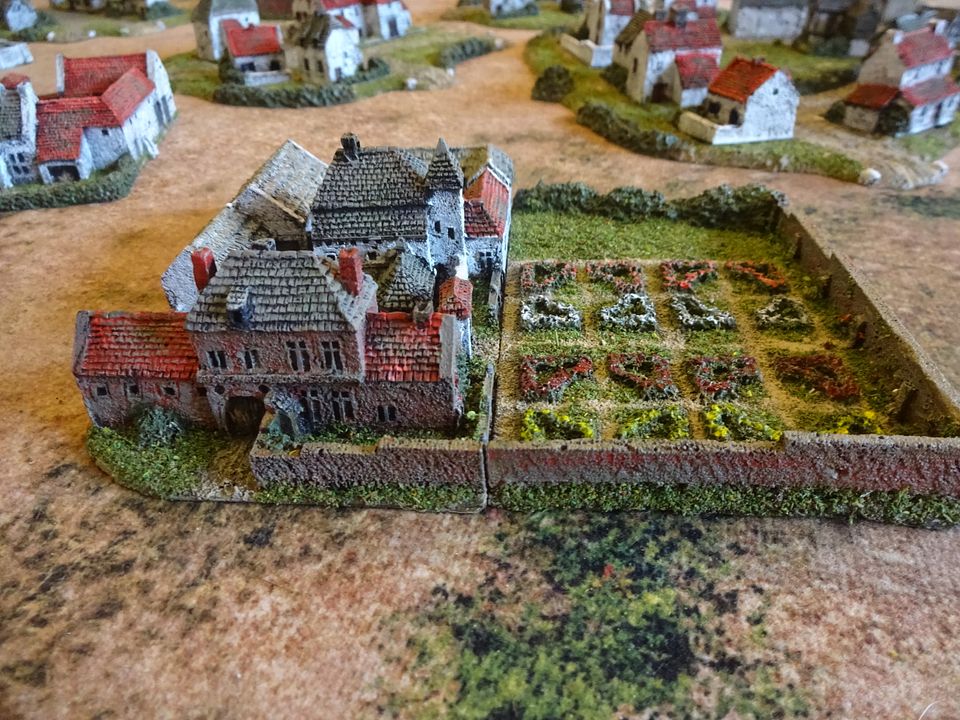
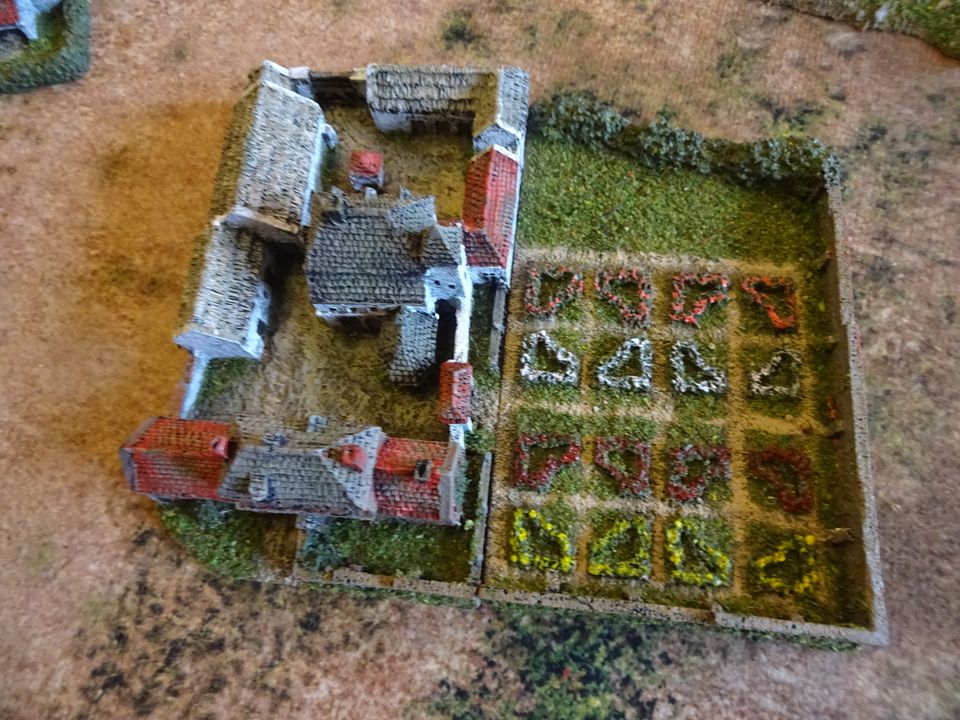
From the South

.JPG?width=1920&height=1080&fit=bounds)
.JPG?width=1920&height=1080&fit=bounds)
.JPG?width=1920&height=1080&fit=bounds)
.JPG?width=1920&height=1080&fit=bounds)
.JPG?width=1920&height=1080&fit=bounds)
.JPG?width=1920&height=1080&fit=bounds)
.JPG?width=1920&height=1080&fit=bounds)
.JPG?width=1920&height=1080&fit=bounds)
.JPG?width=1920&height=1080&fit=bounds)
.JPG?width=1920&height=1080&fit=bounds)
.JPG?width=1920&height=1080&fit=bounds)
.JPG?width=1920&height=1080&fit=bounds)
.JPG?width=1920&height=1080&fit=bounds)
.JPG?width=1920&height=1080&fit=bounds)
.JPG?width=1920&height=1080&fit=bounds)
.JPG?width=1920&height=1080&fit=bounds)
.JPG?width=1920&height=1080&fit=bounds)
.JPG?width=1920&height=1080&fit=bounds)
.JPG?width=1920&height=1080&fit=bounds)
.JPG?width=1920&height=1080&fit=bounds)