Search This Blog

Saturday 27 June 2020

25mm Lord of the Rings - Skirmish game- LotR rules

The scenario was to get Theoden off the other end of the table (no time limit), and for the Forces of Evil to capture or kill him. He had 36 Rohan which would test at half strength for morale, and another Character. The Easterlings had 6 Kataphrakts, 5 Archers, 5 Warriors & a Captain with two 13 man units (with Captains) of Haradrim.

We used the LotR rules

All of the Army of Evil were all freshly painted, so I did not rate our success, but......

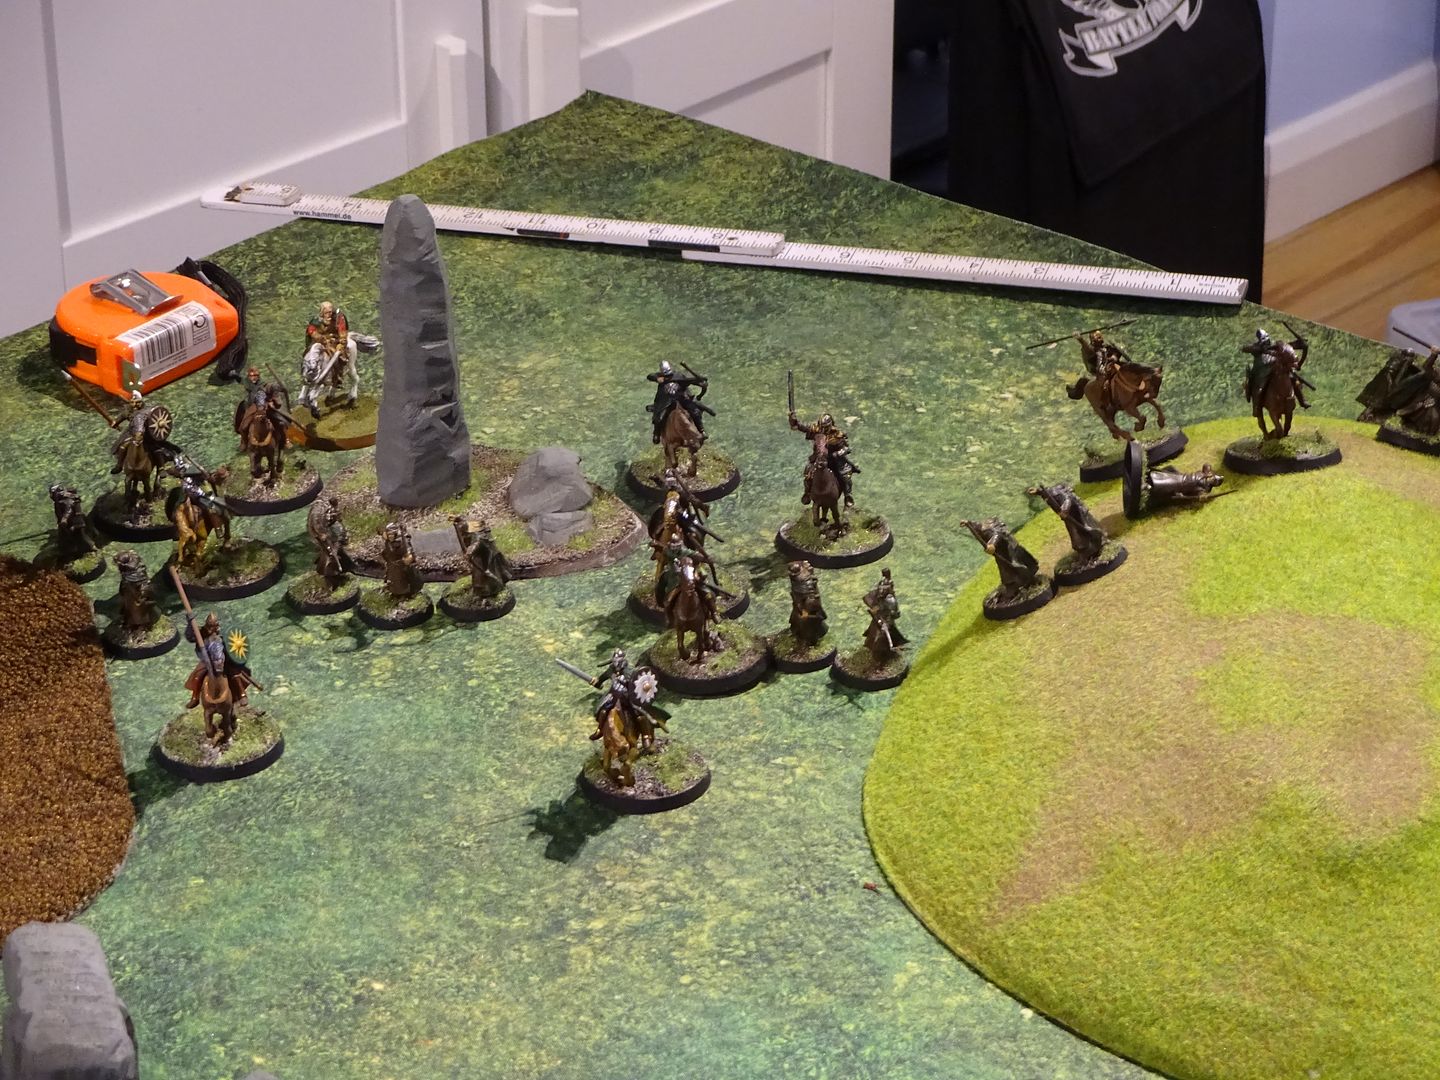
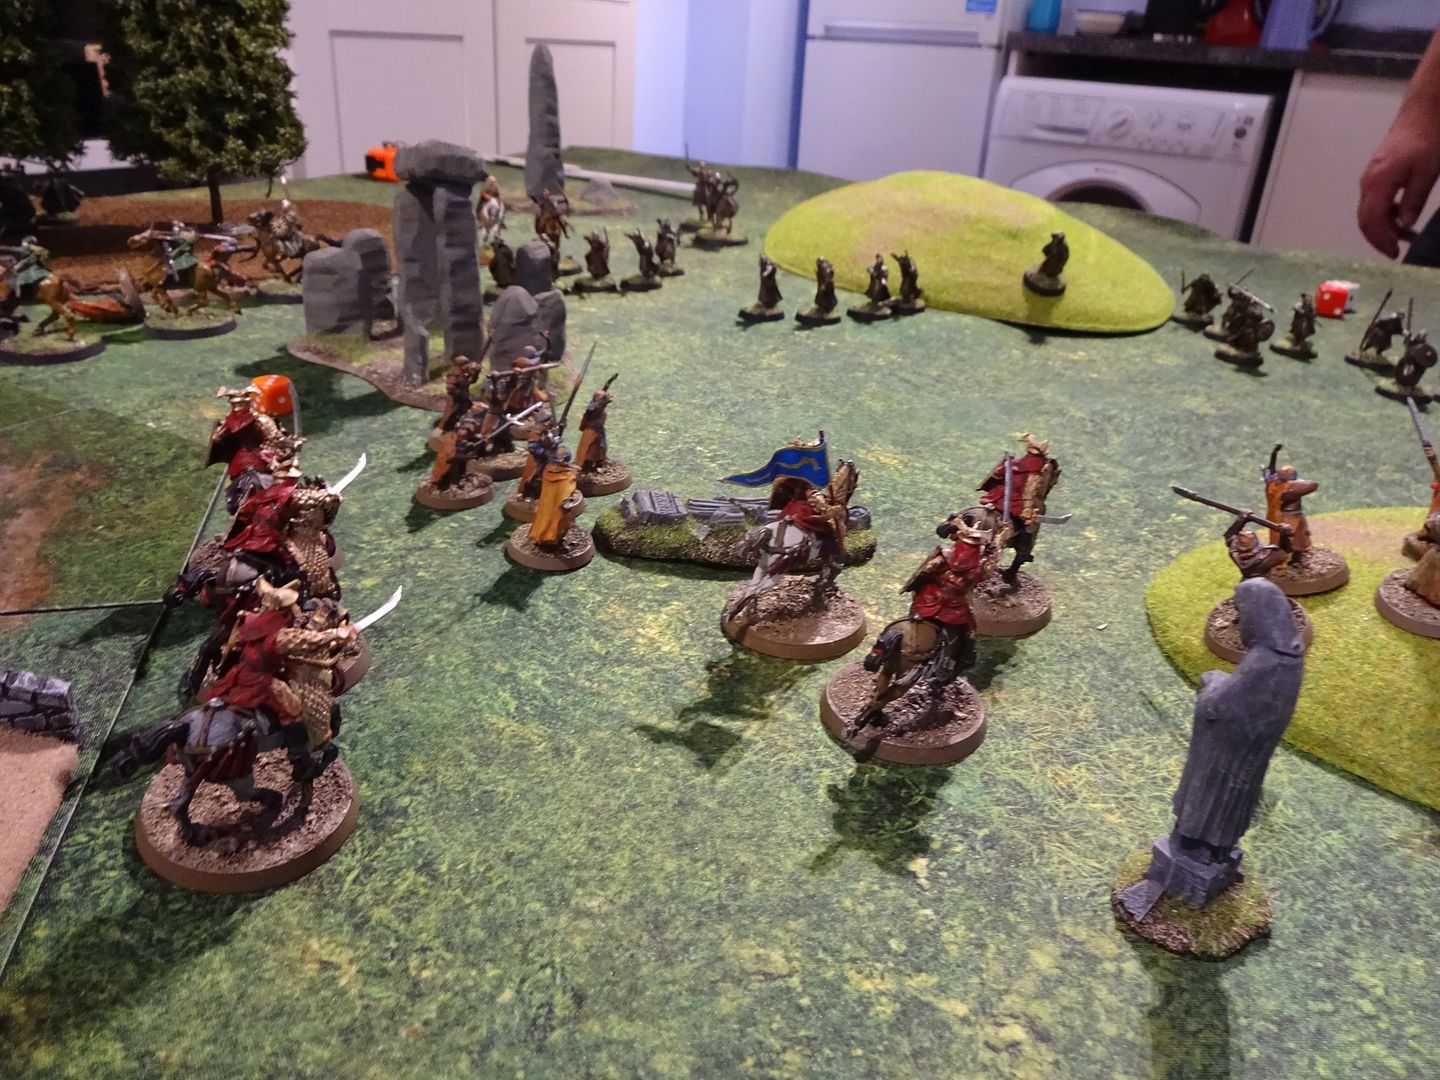
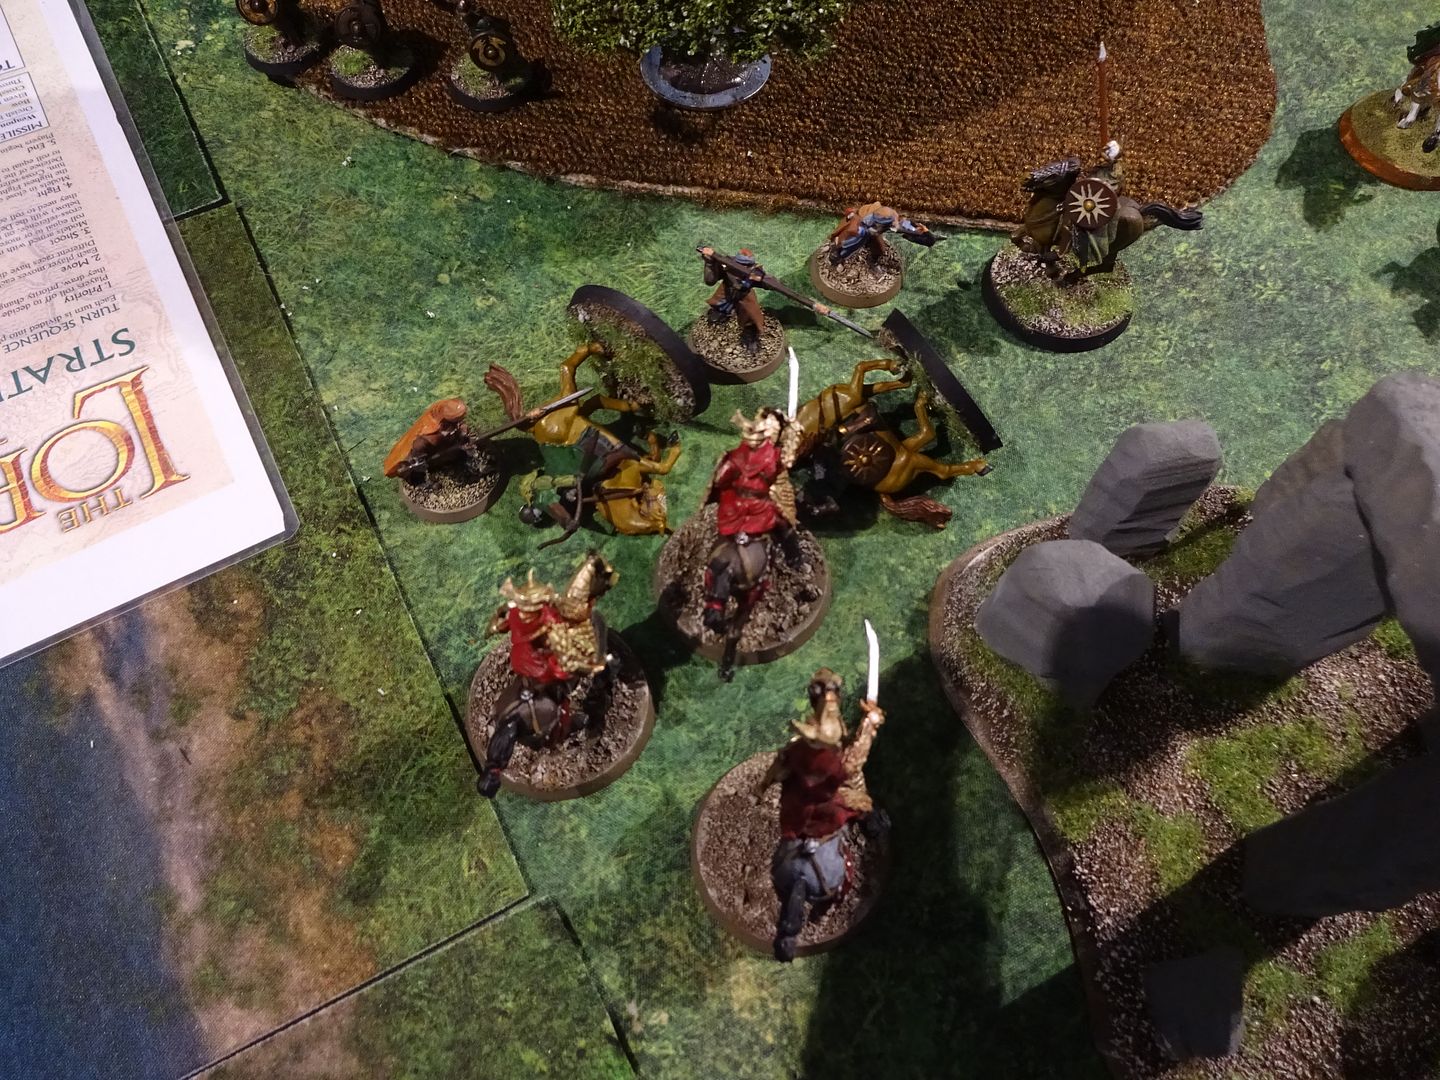
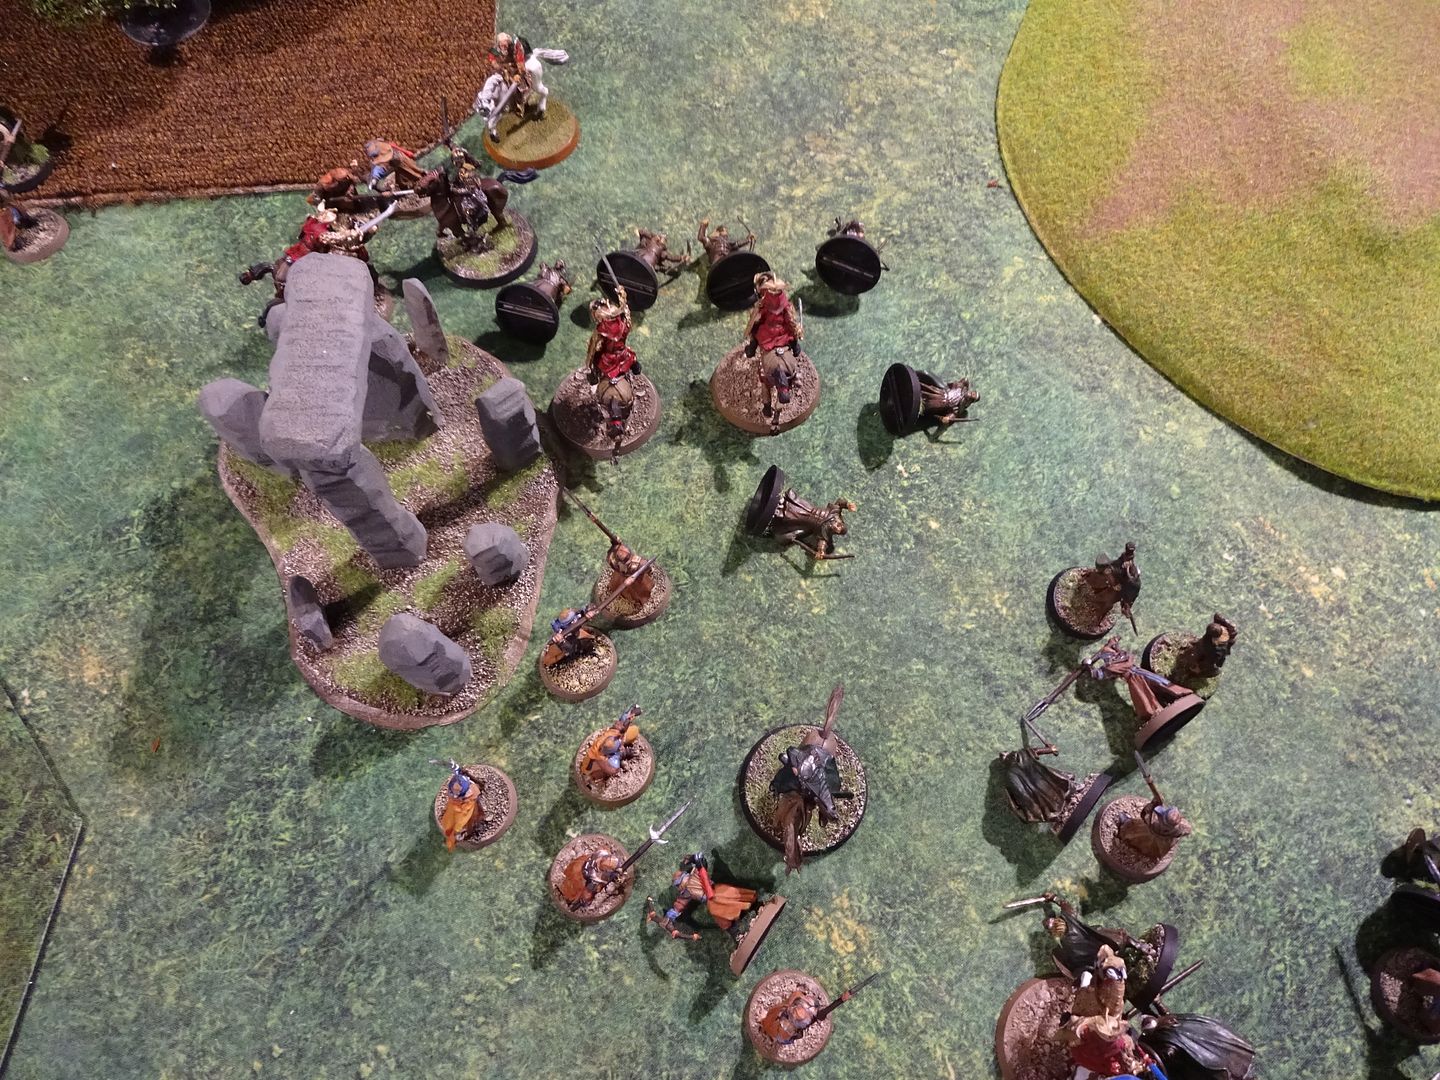
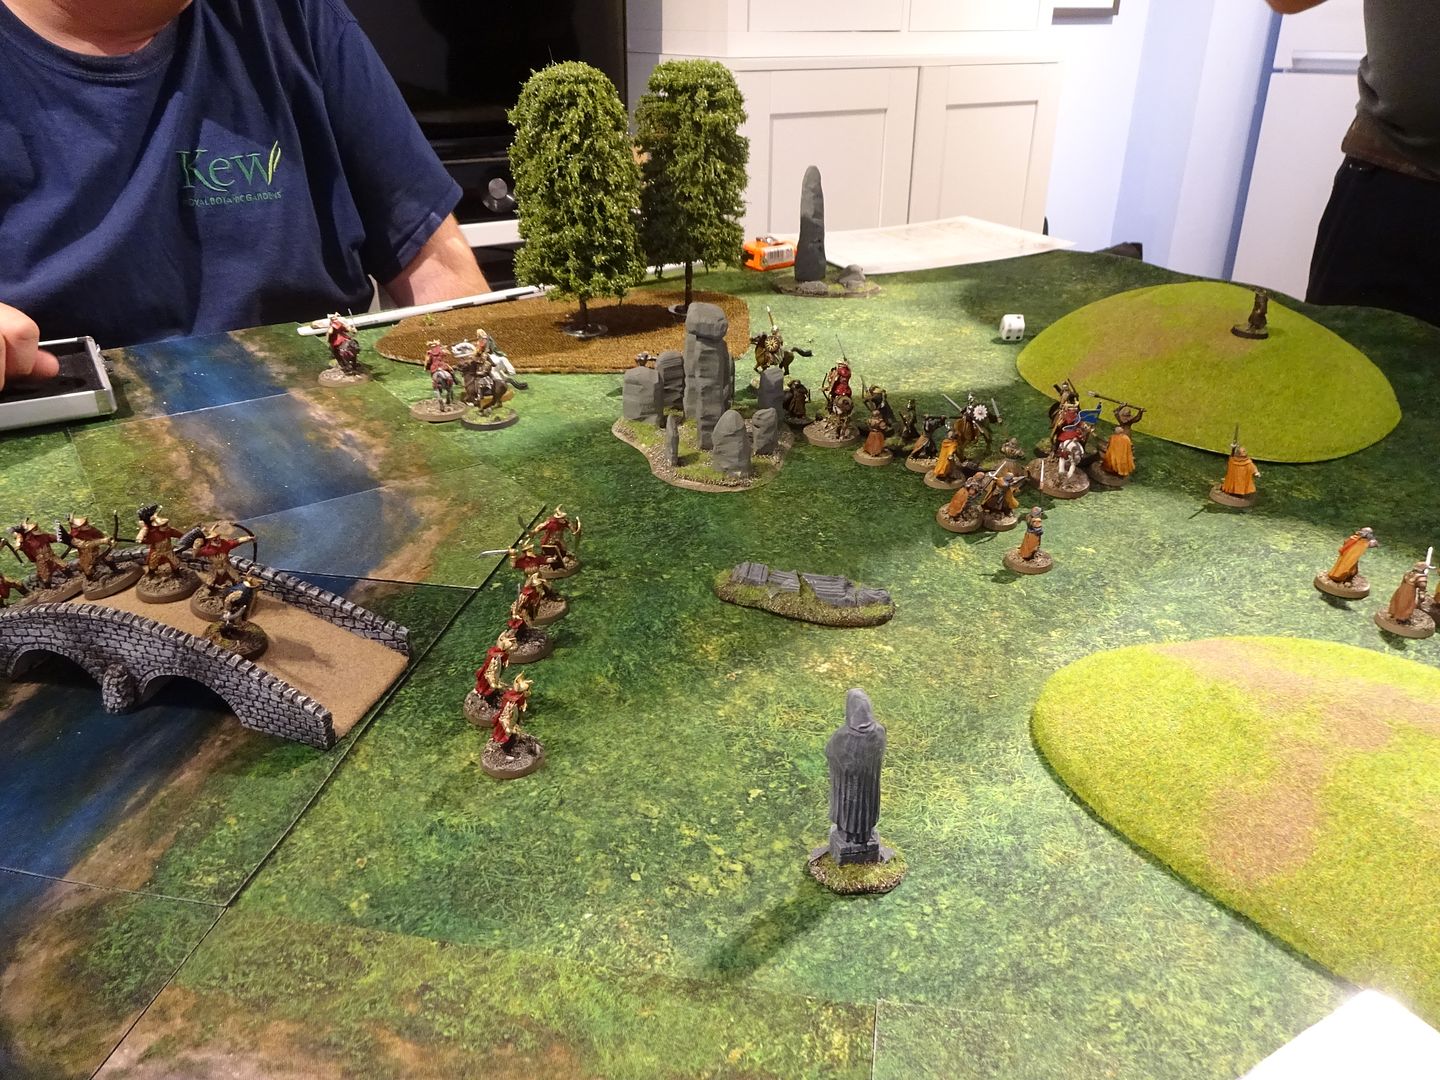
Harry the Harad, deploy his units blocking the way to the bridge, the Easterlings entered the table turn 1 and the Rohan started on table. Casualties -(face down are dead, face up are stunned)

Turn 1
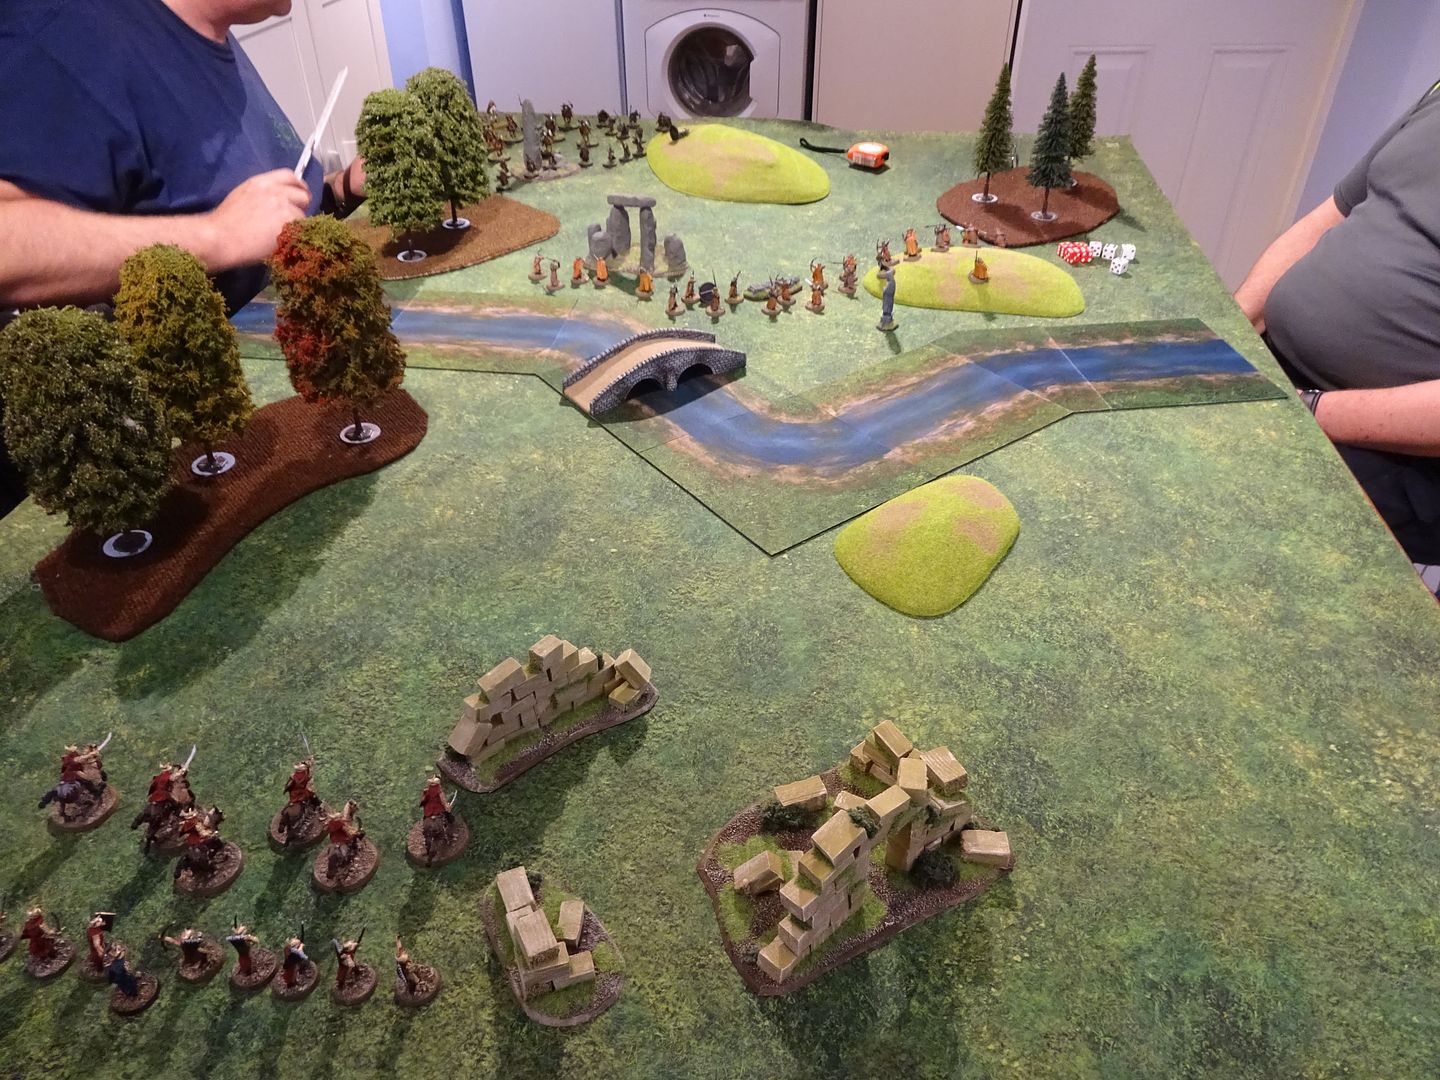
 photo DSC01223_zpssatzhhbx.jpg

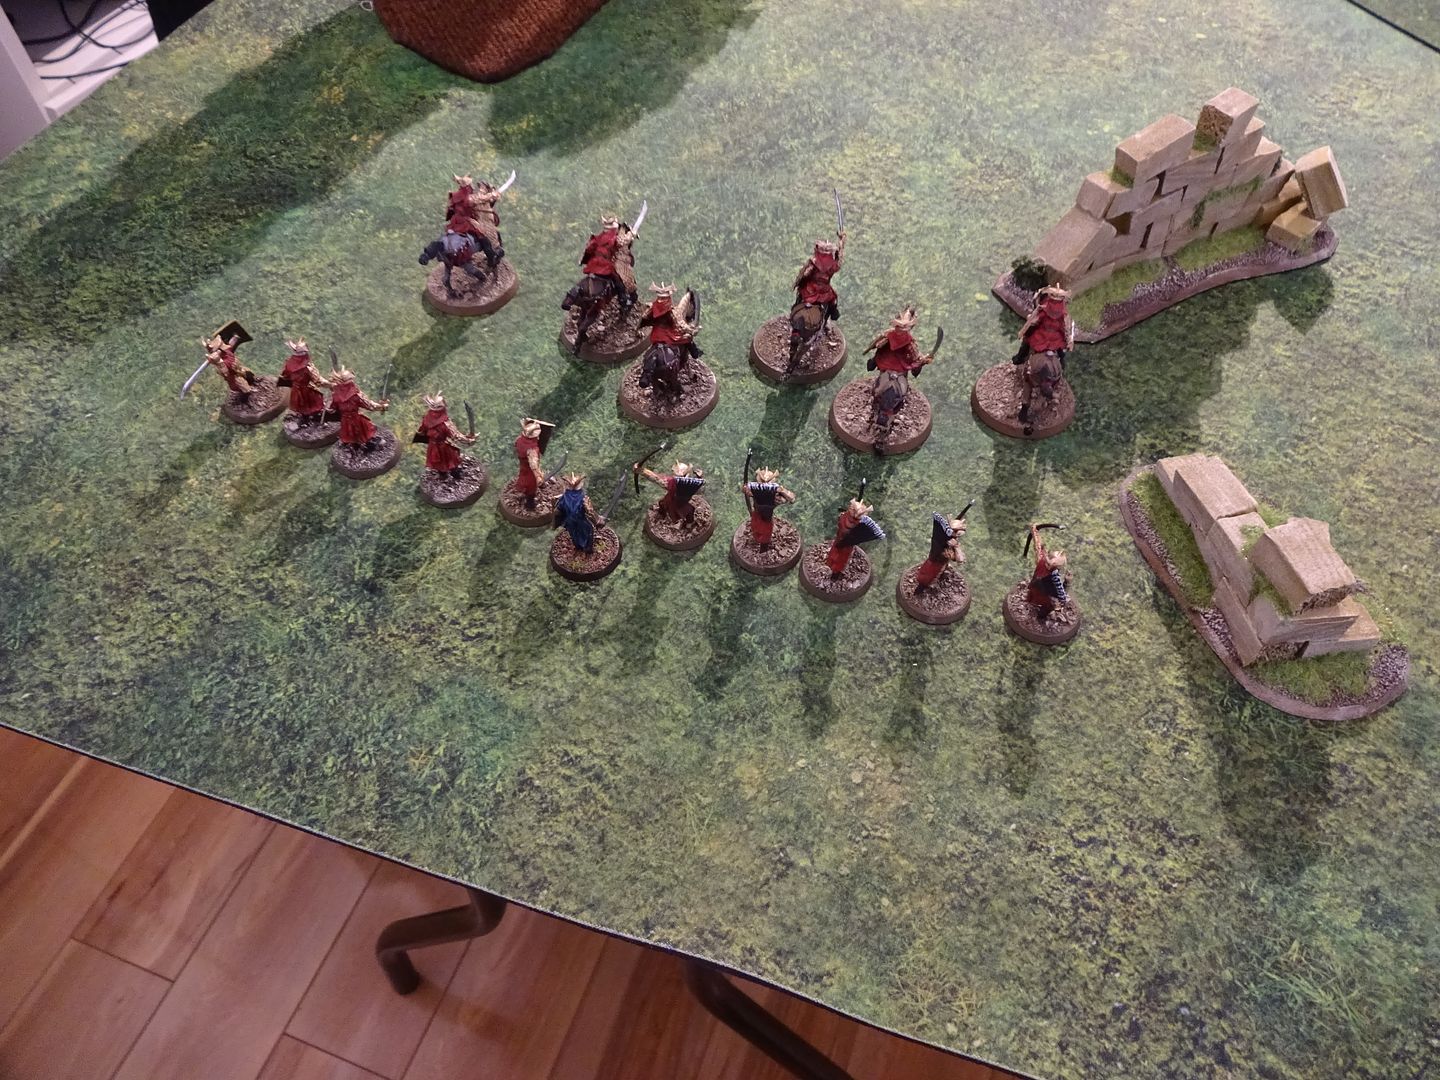
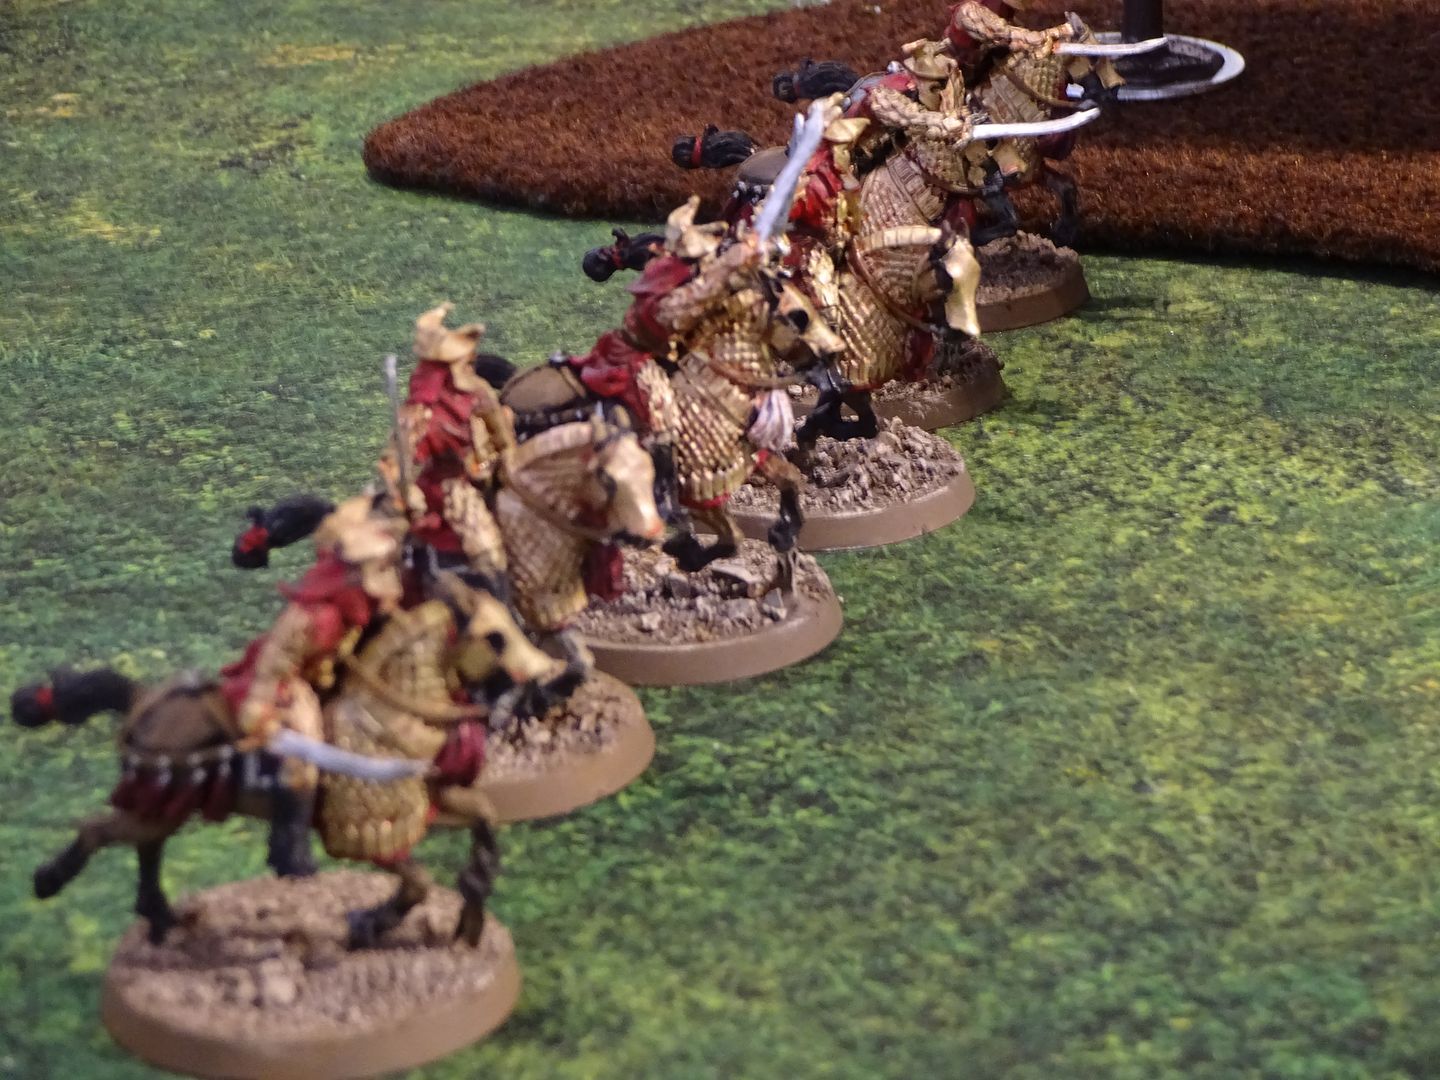
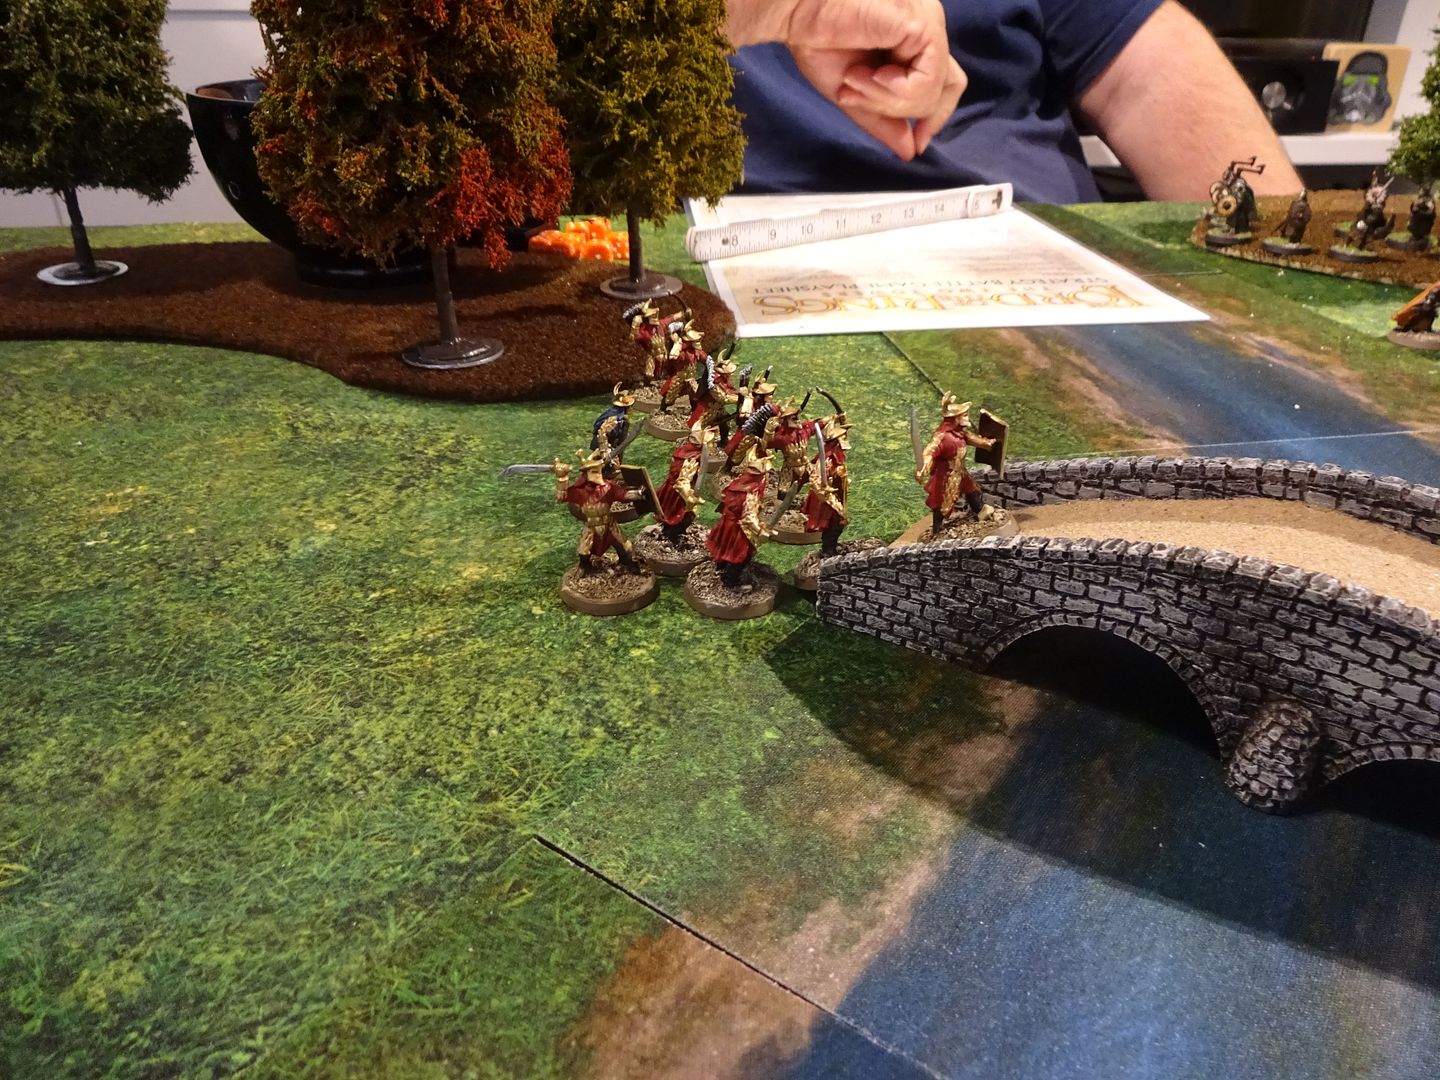
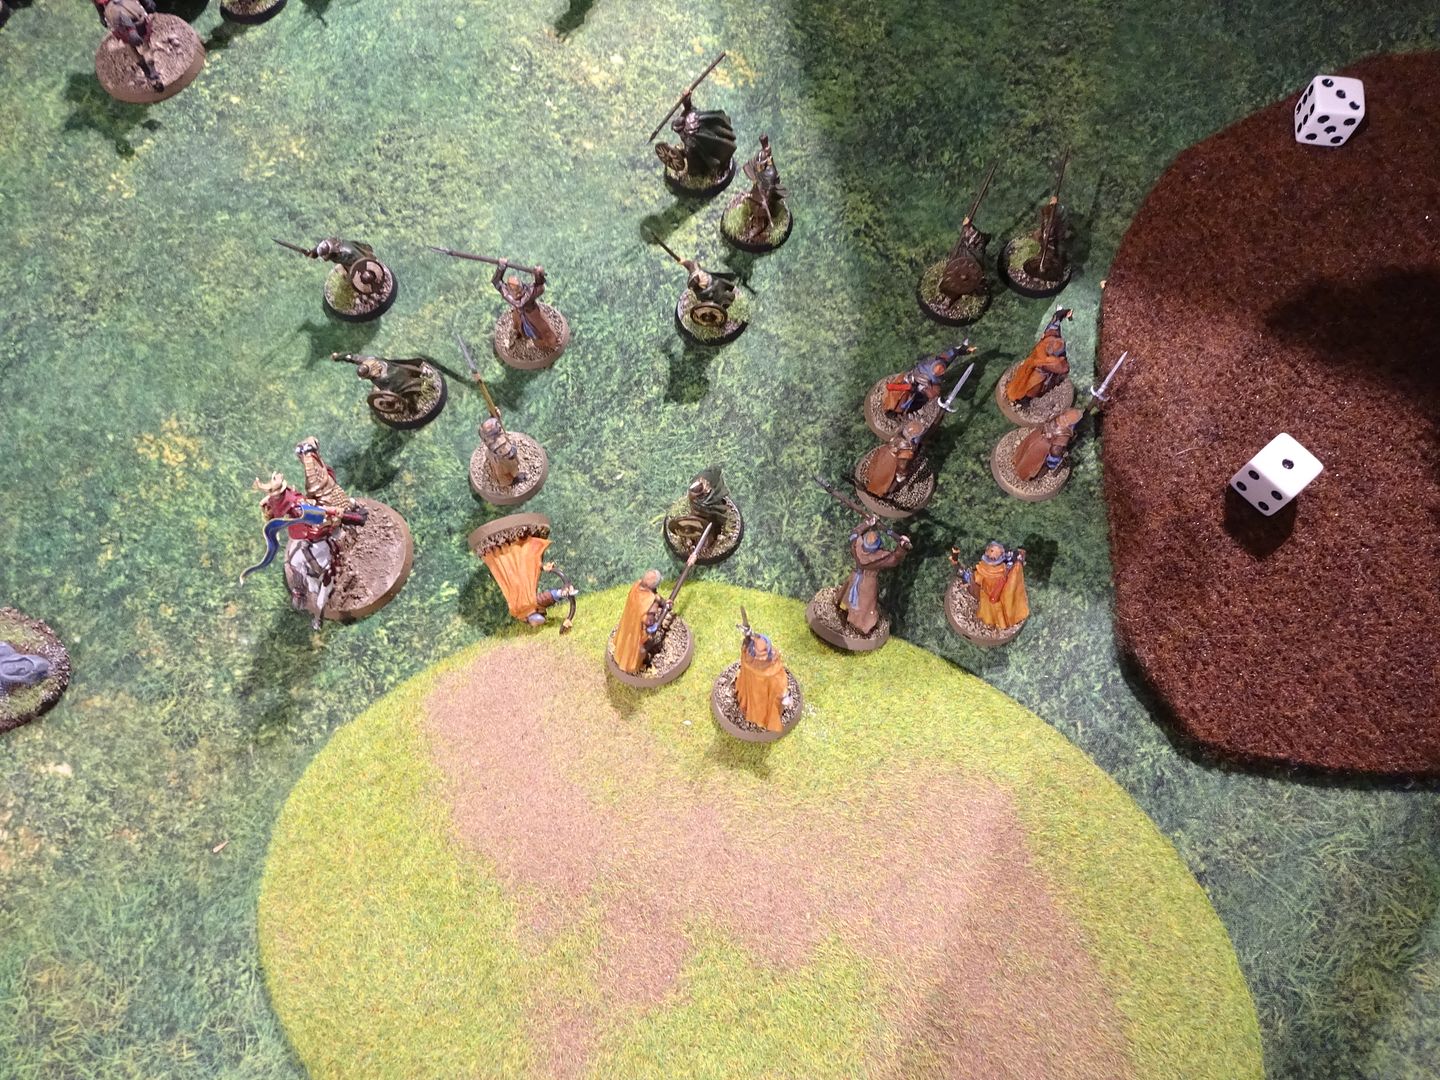
Easterling set up:
 photo DSC01224_zpsdhggongl.jpg

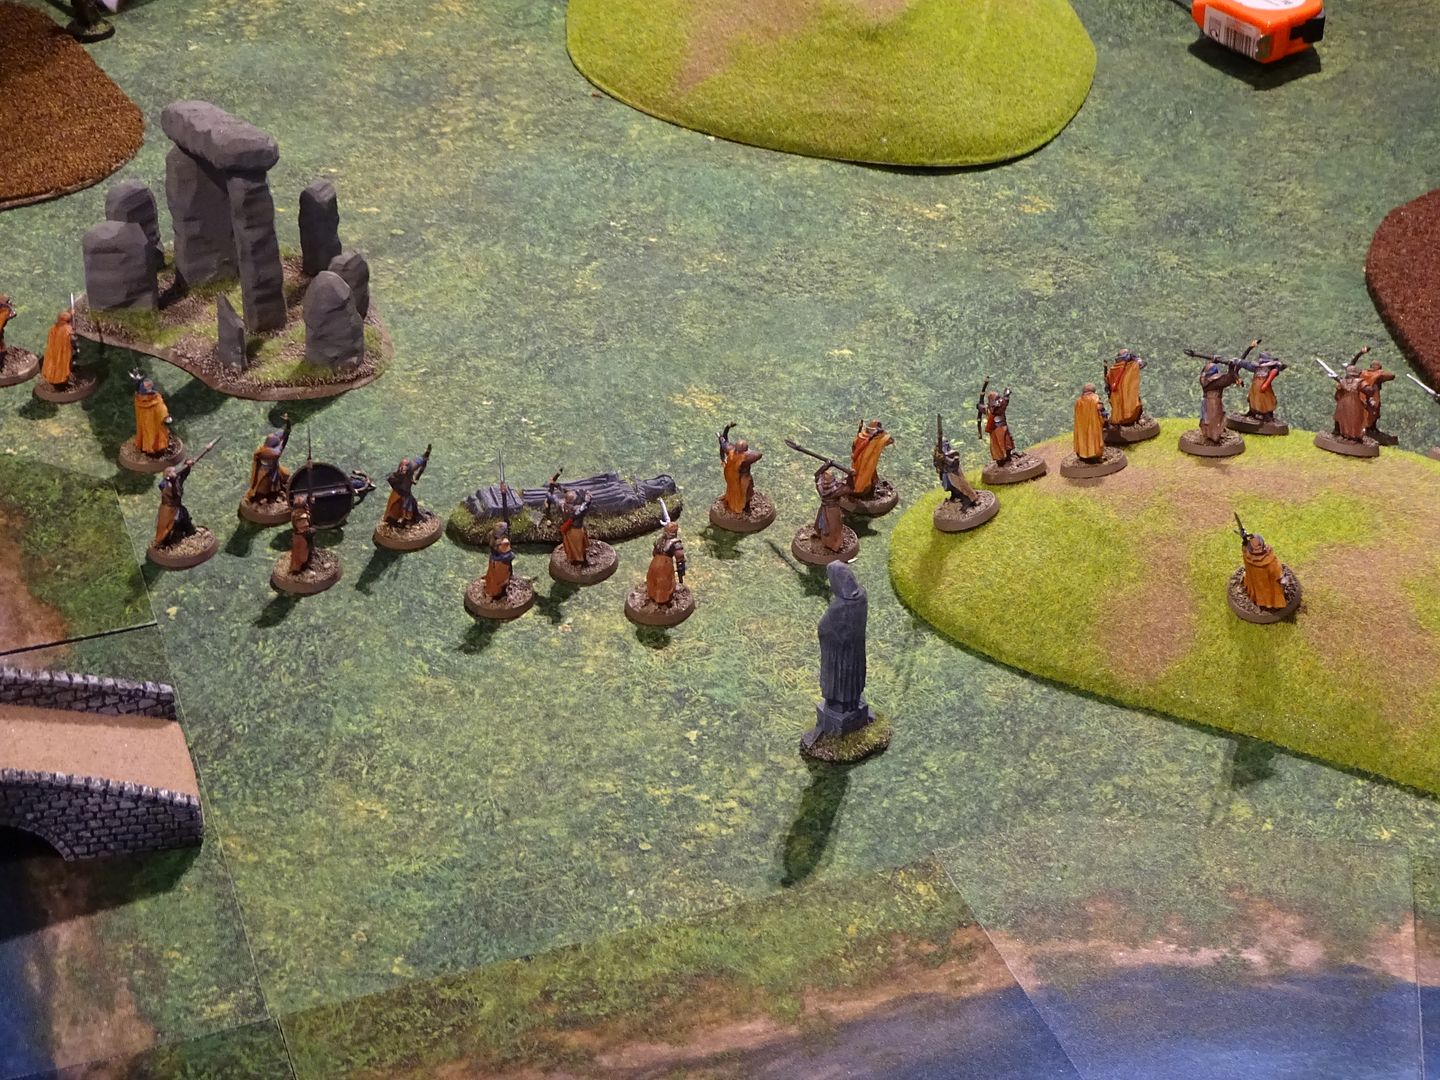
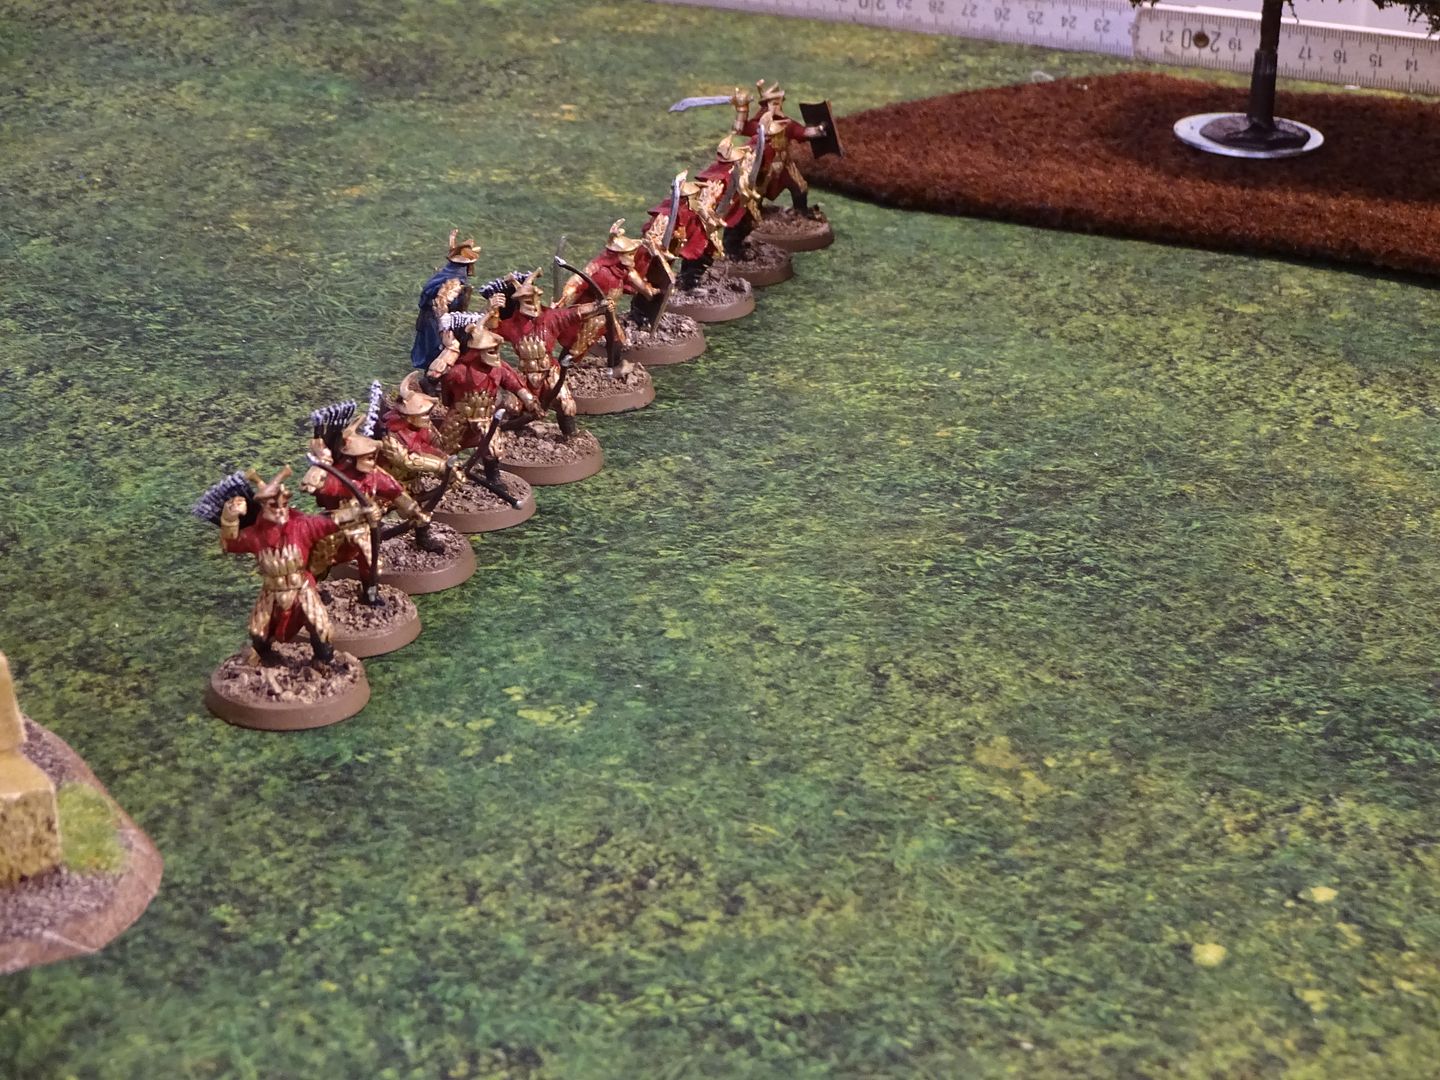
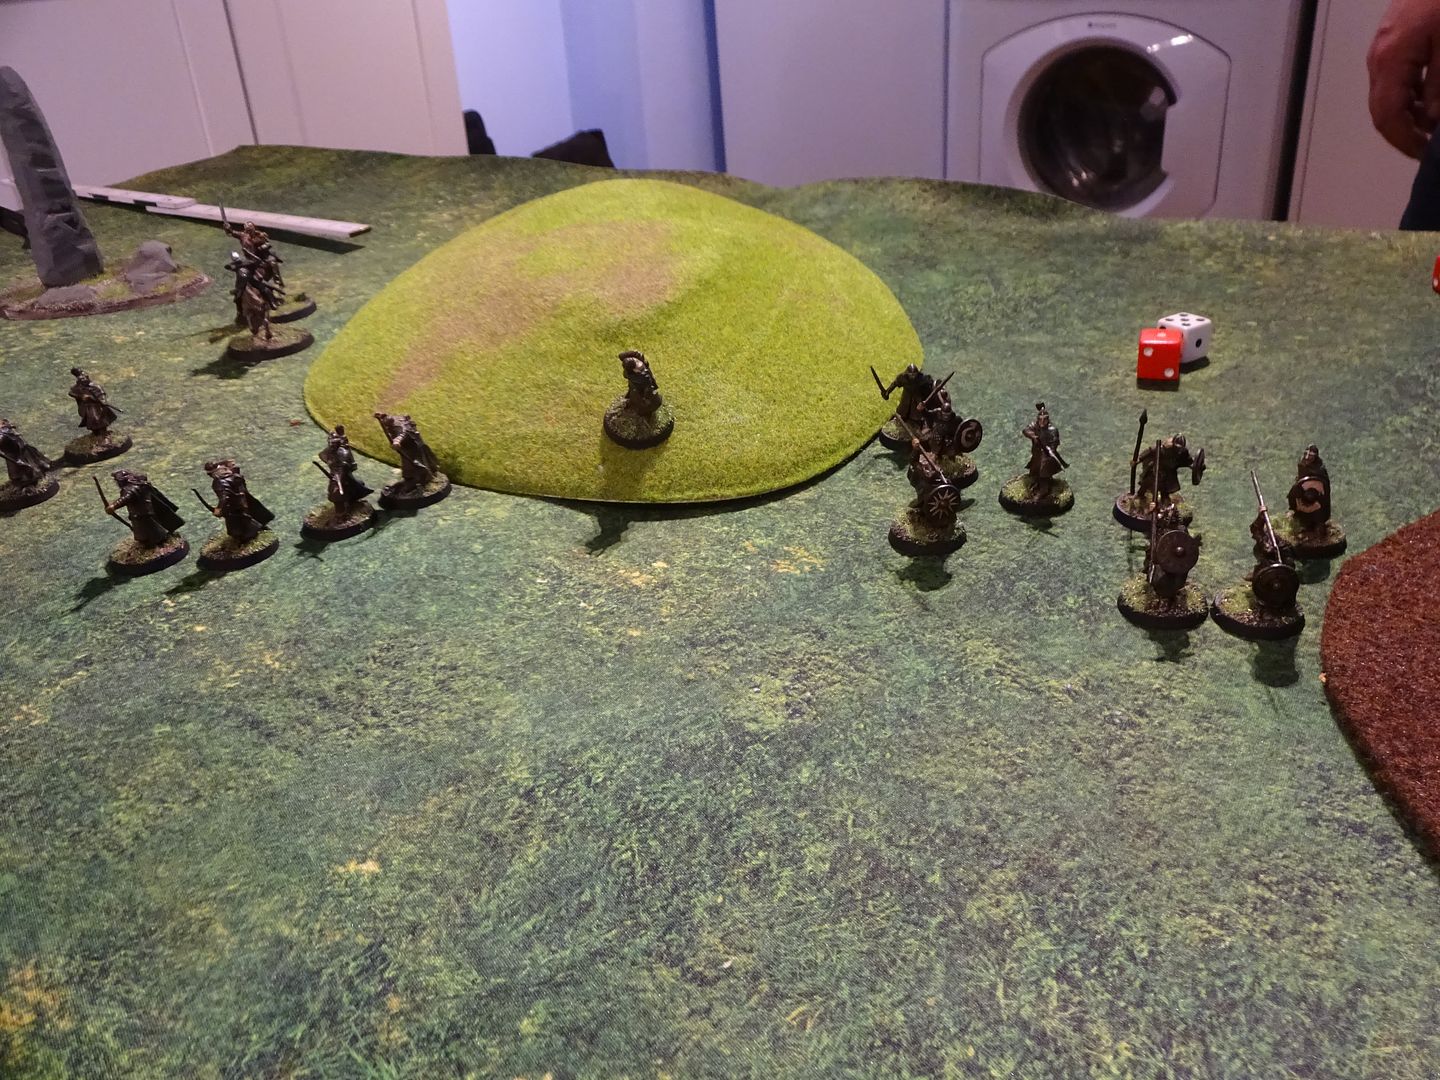
Harad set up:
 photo DSC01225_zpsx15pl9kf.jpg

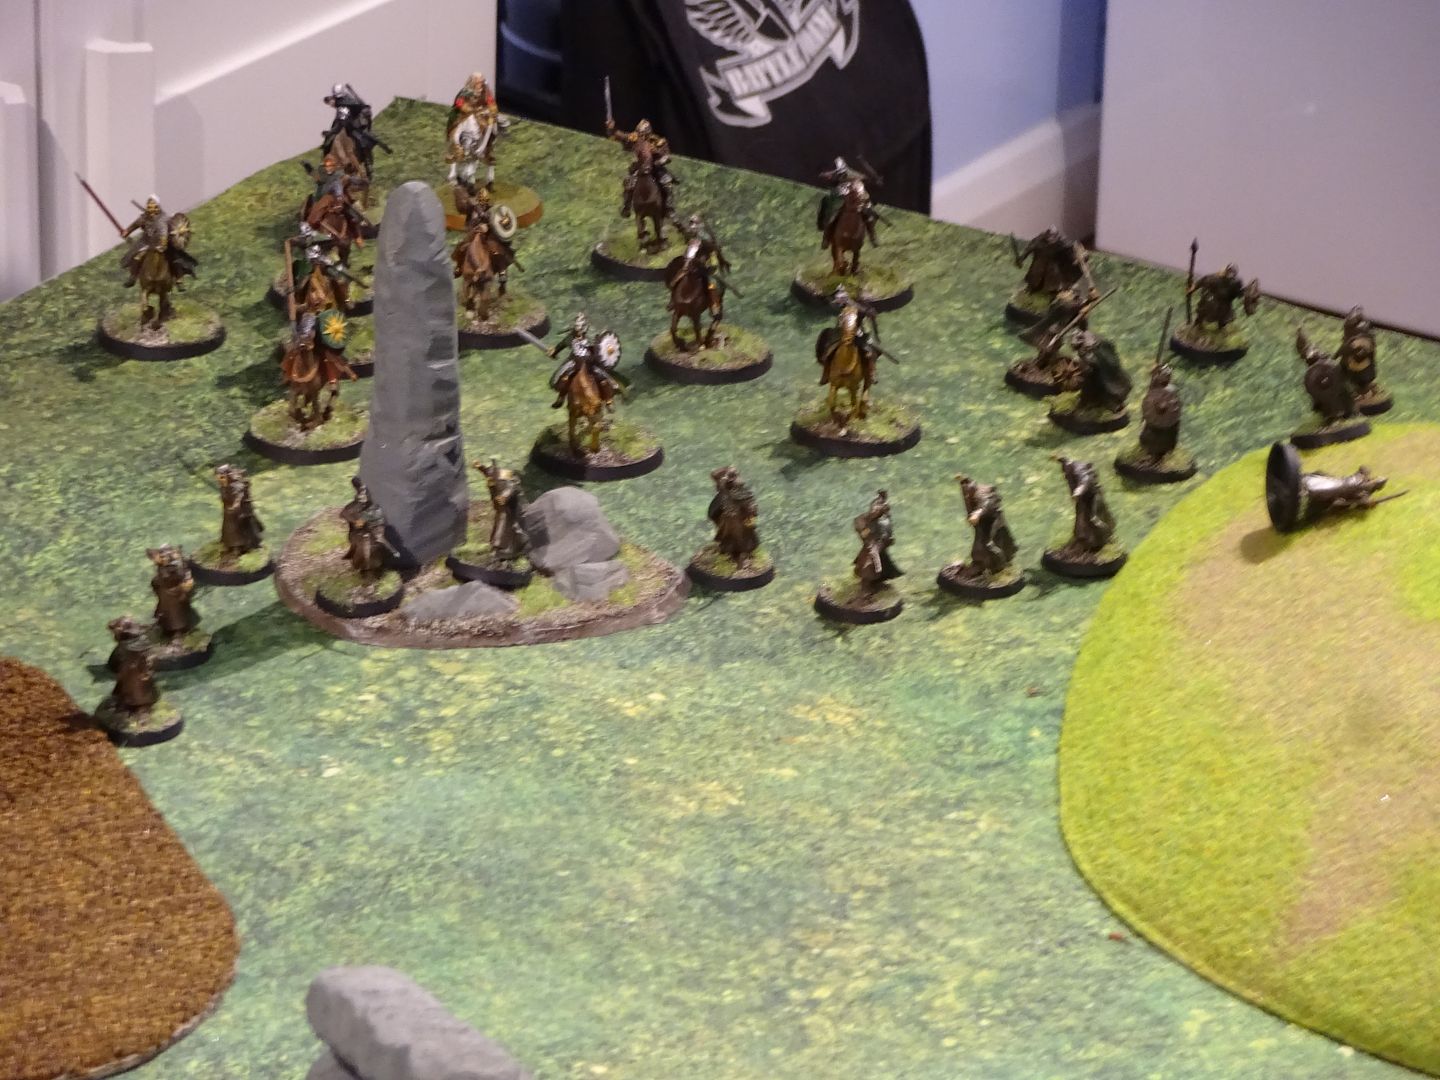
Rohan set up:
 photo DSC01226_zpsdiwxyhiy.jpg

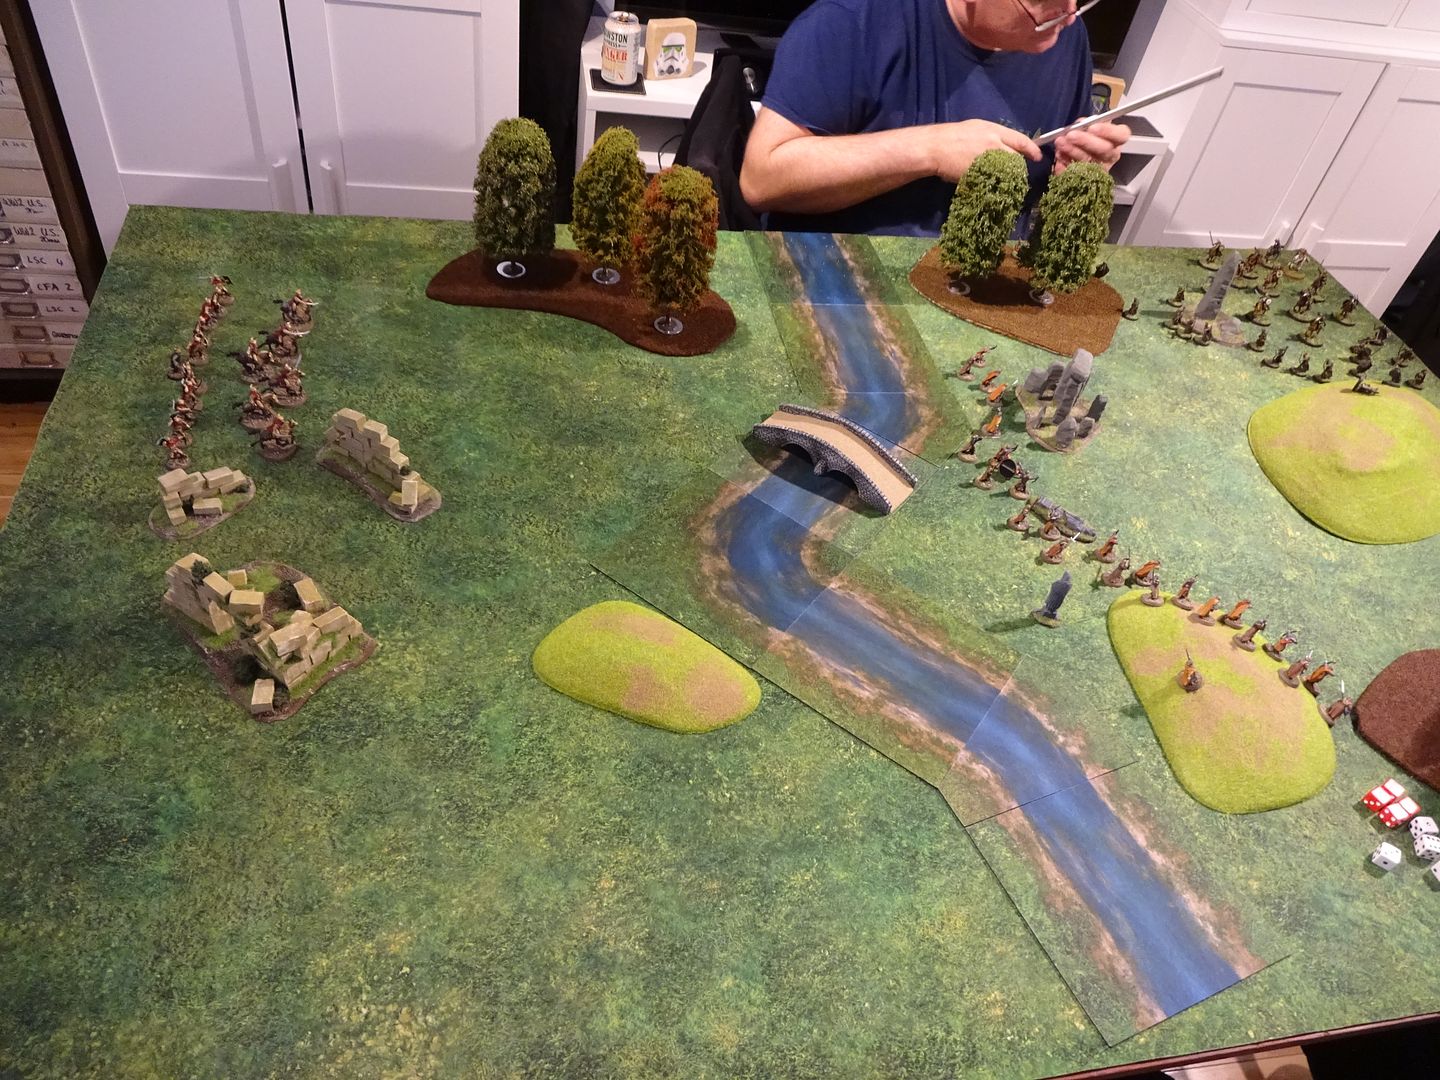
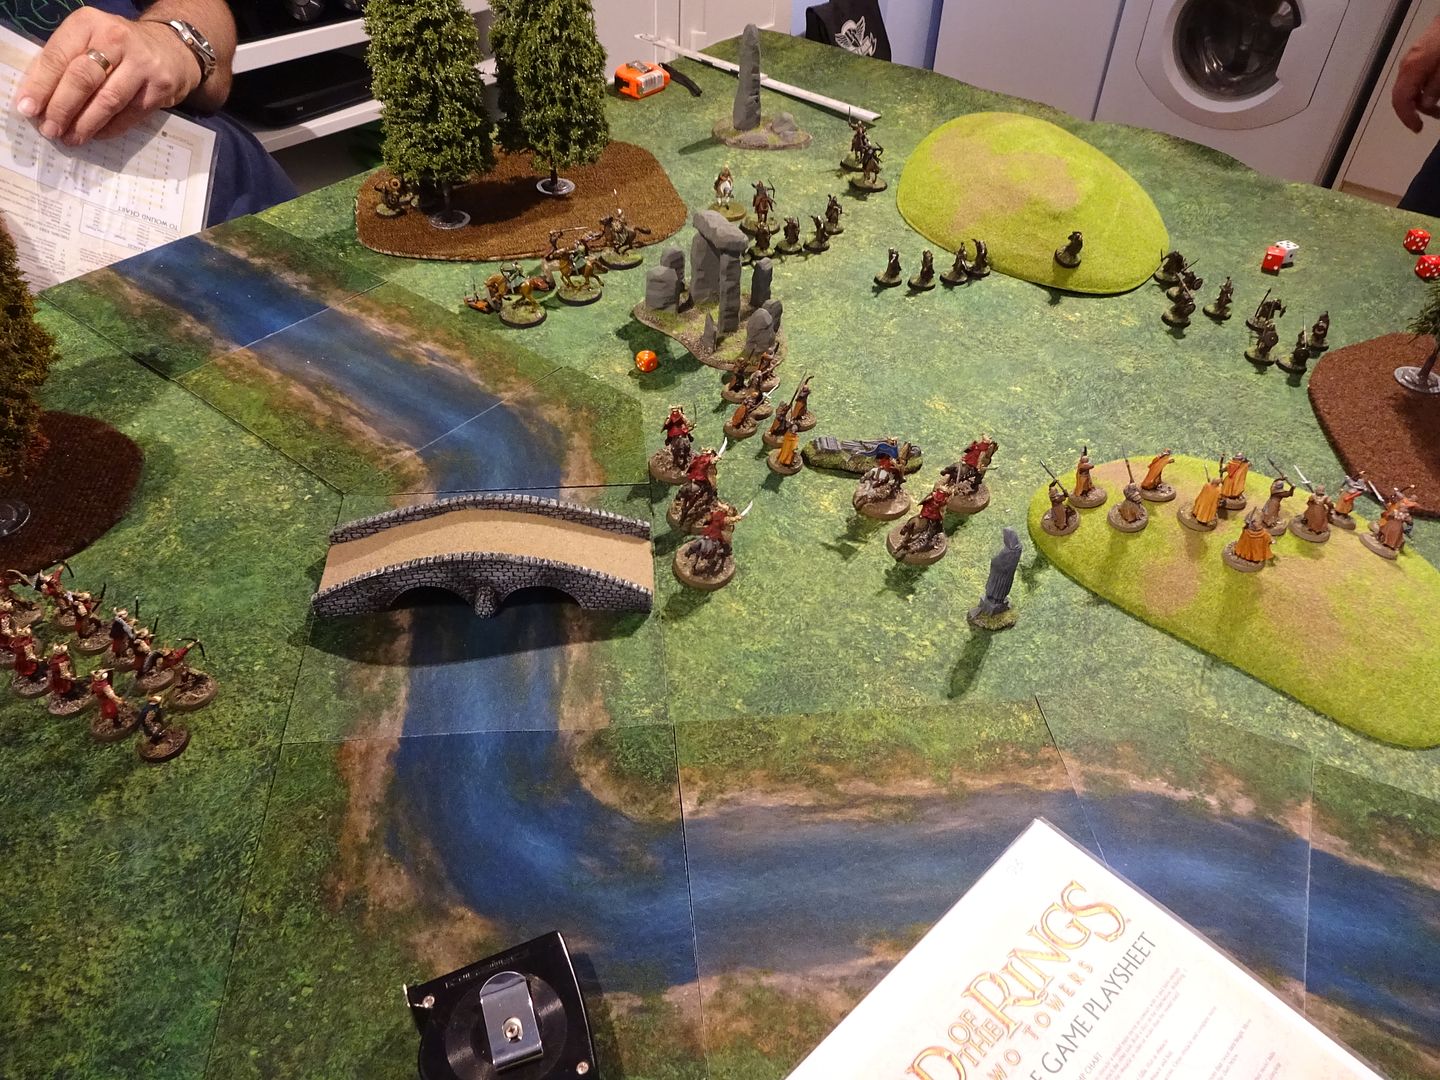
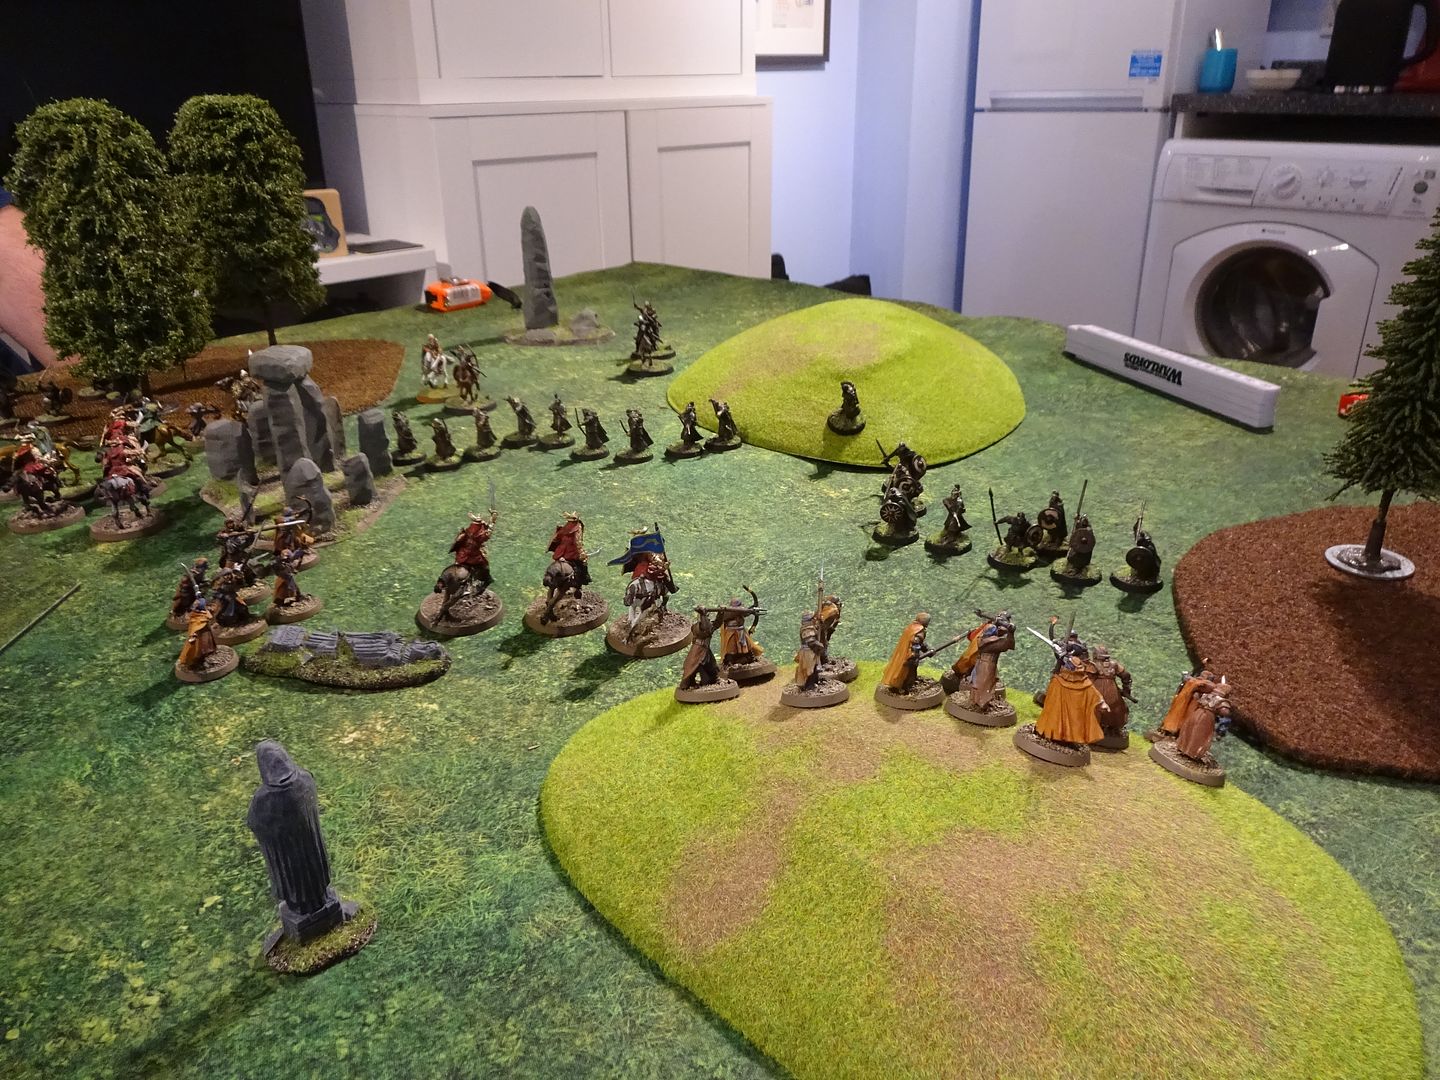
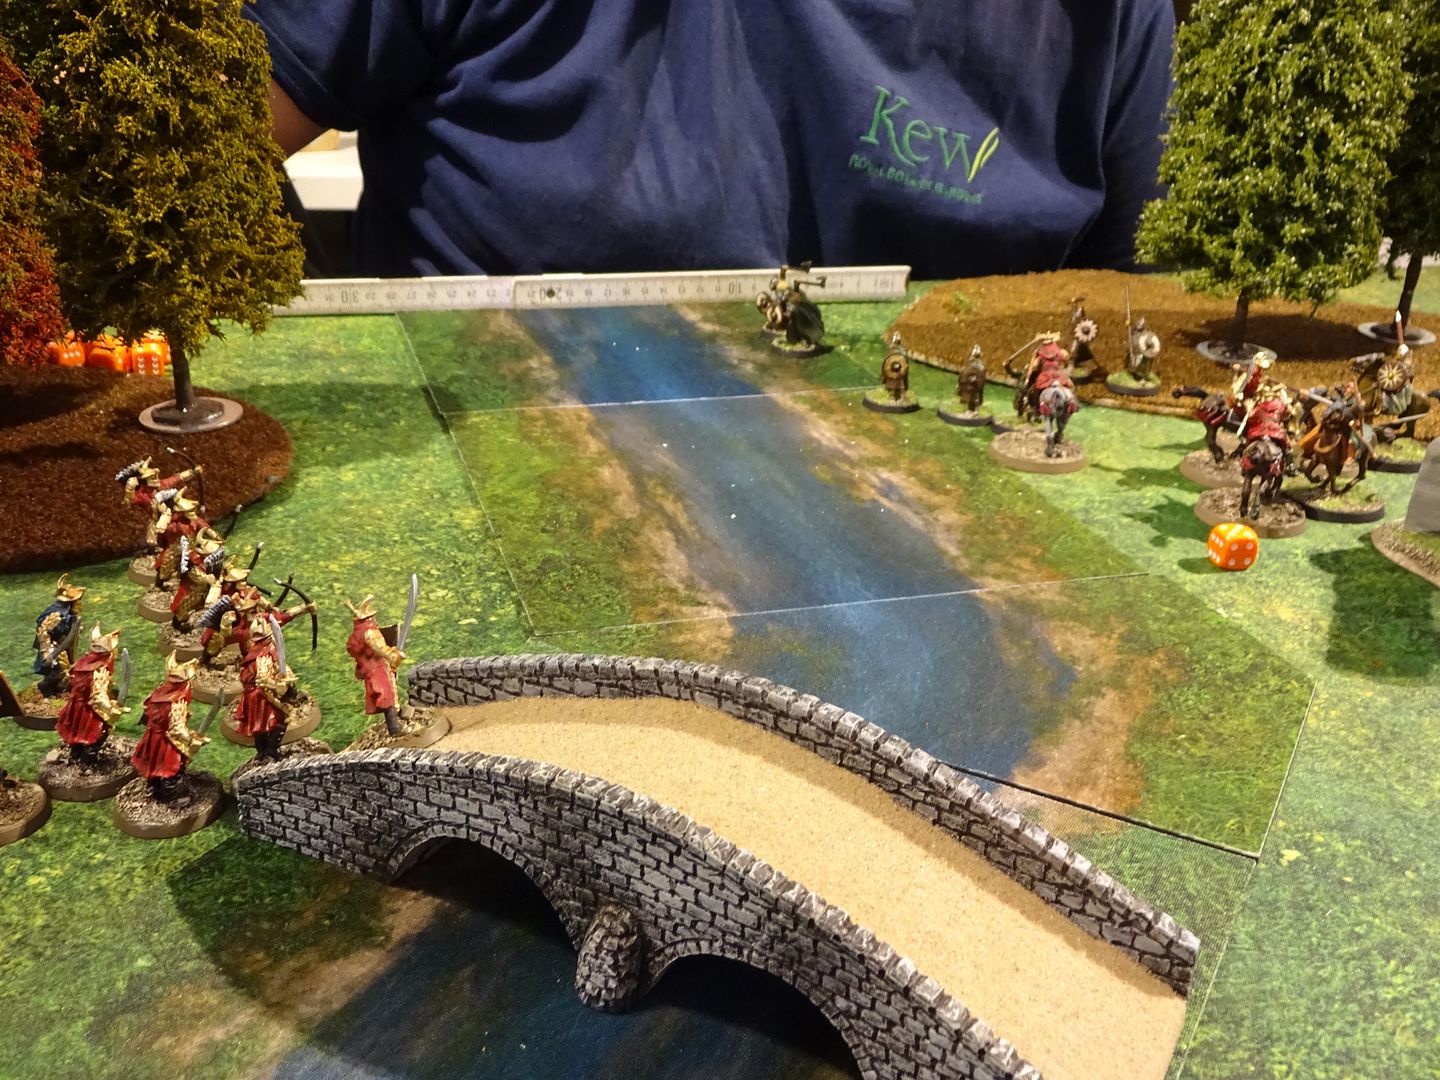
Full deployment:
 photo DSC01227_zpskarmvld3.jpg

Harad lost 2 men on turn one from archery
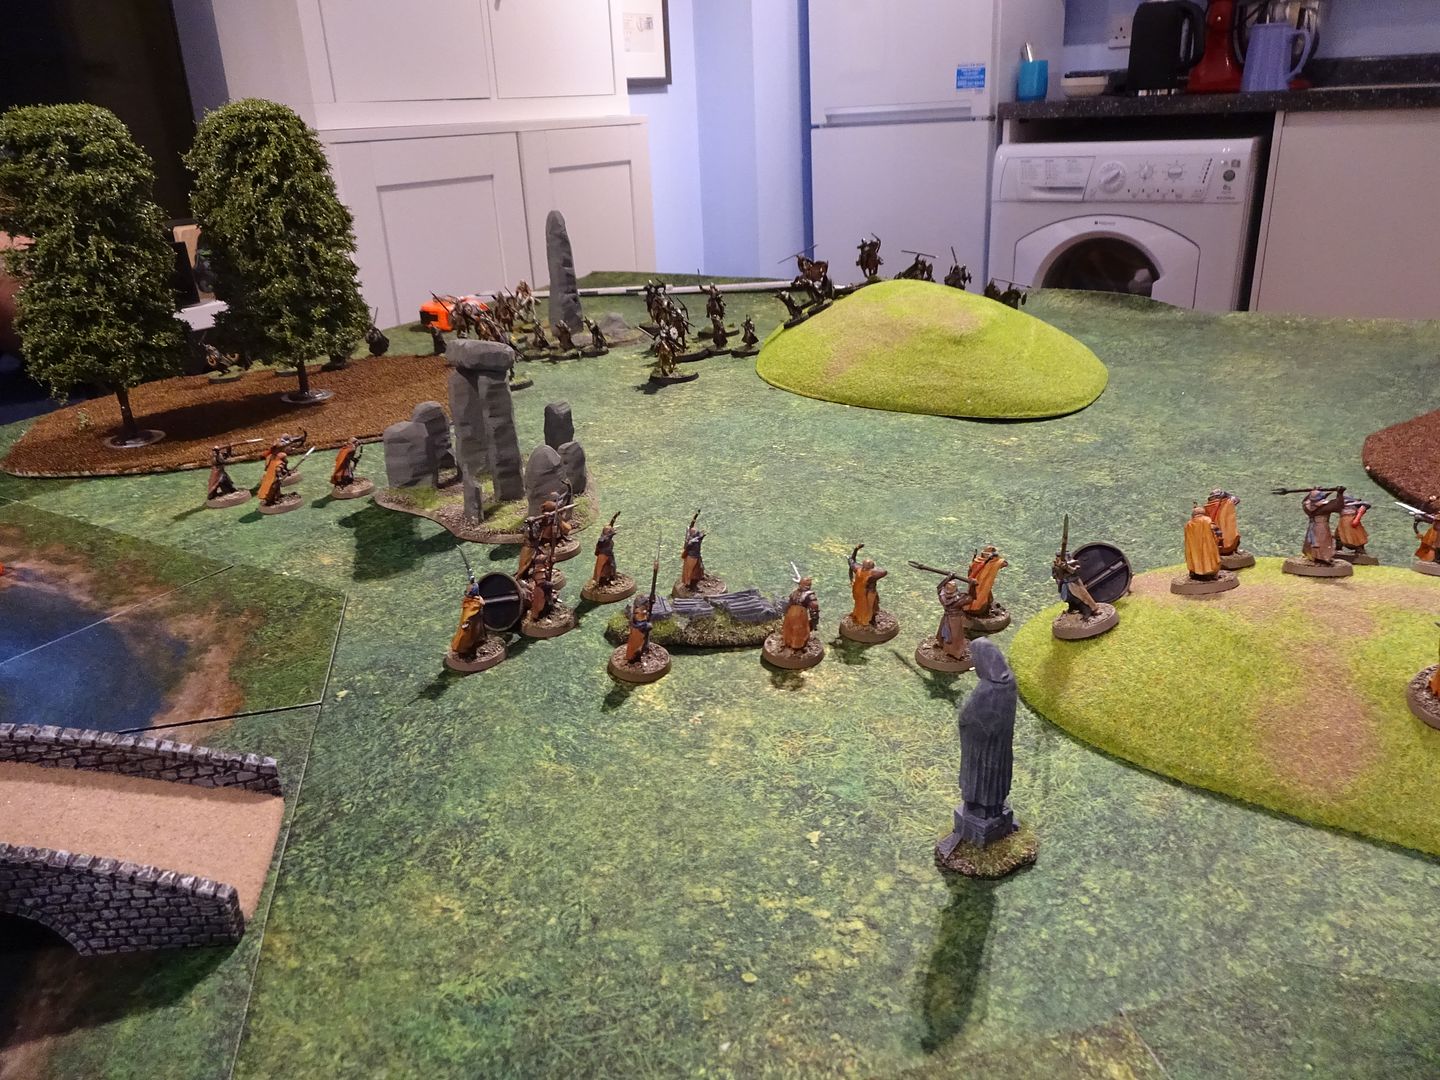
 photo DSC01230_zpsp5eml9yg.jpg

Turn 2
Rohan advance
 photo DSC01231_zps8xatgy6p.jpg

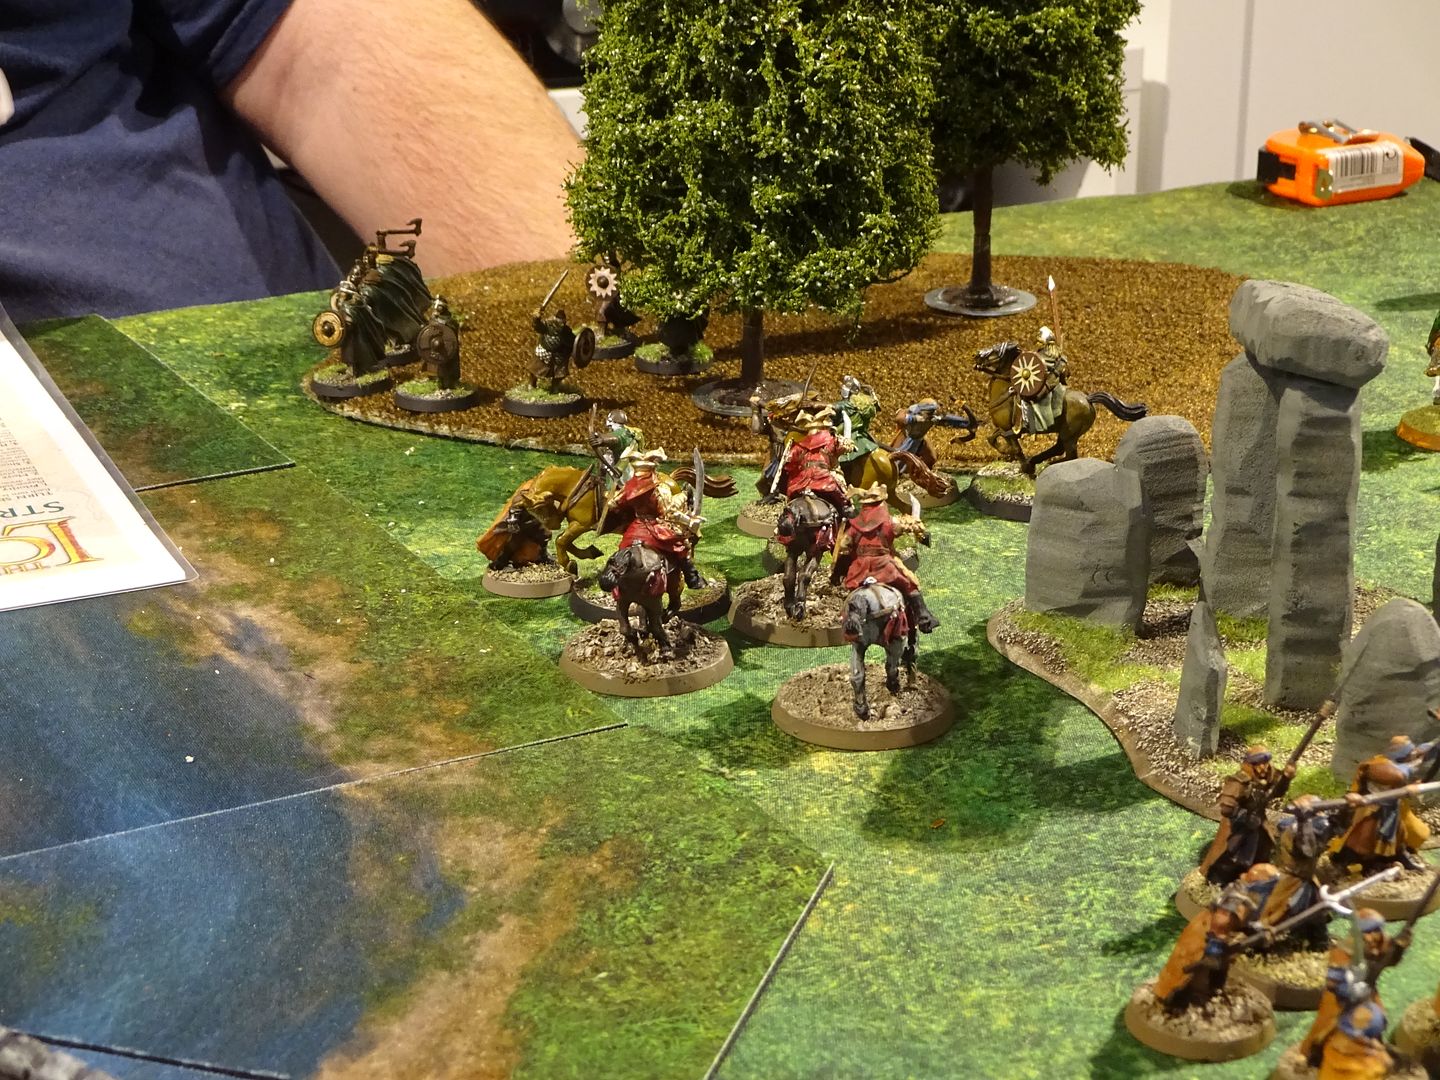
As do the Easterlings
 photo DSC01232_zpsh6wv1n8c.jpg

 photo DSC01239_zpshcwoq3ai.jpg

The Easterlings need to secoure the bridge quickly.
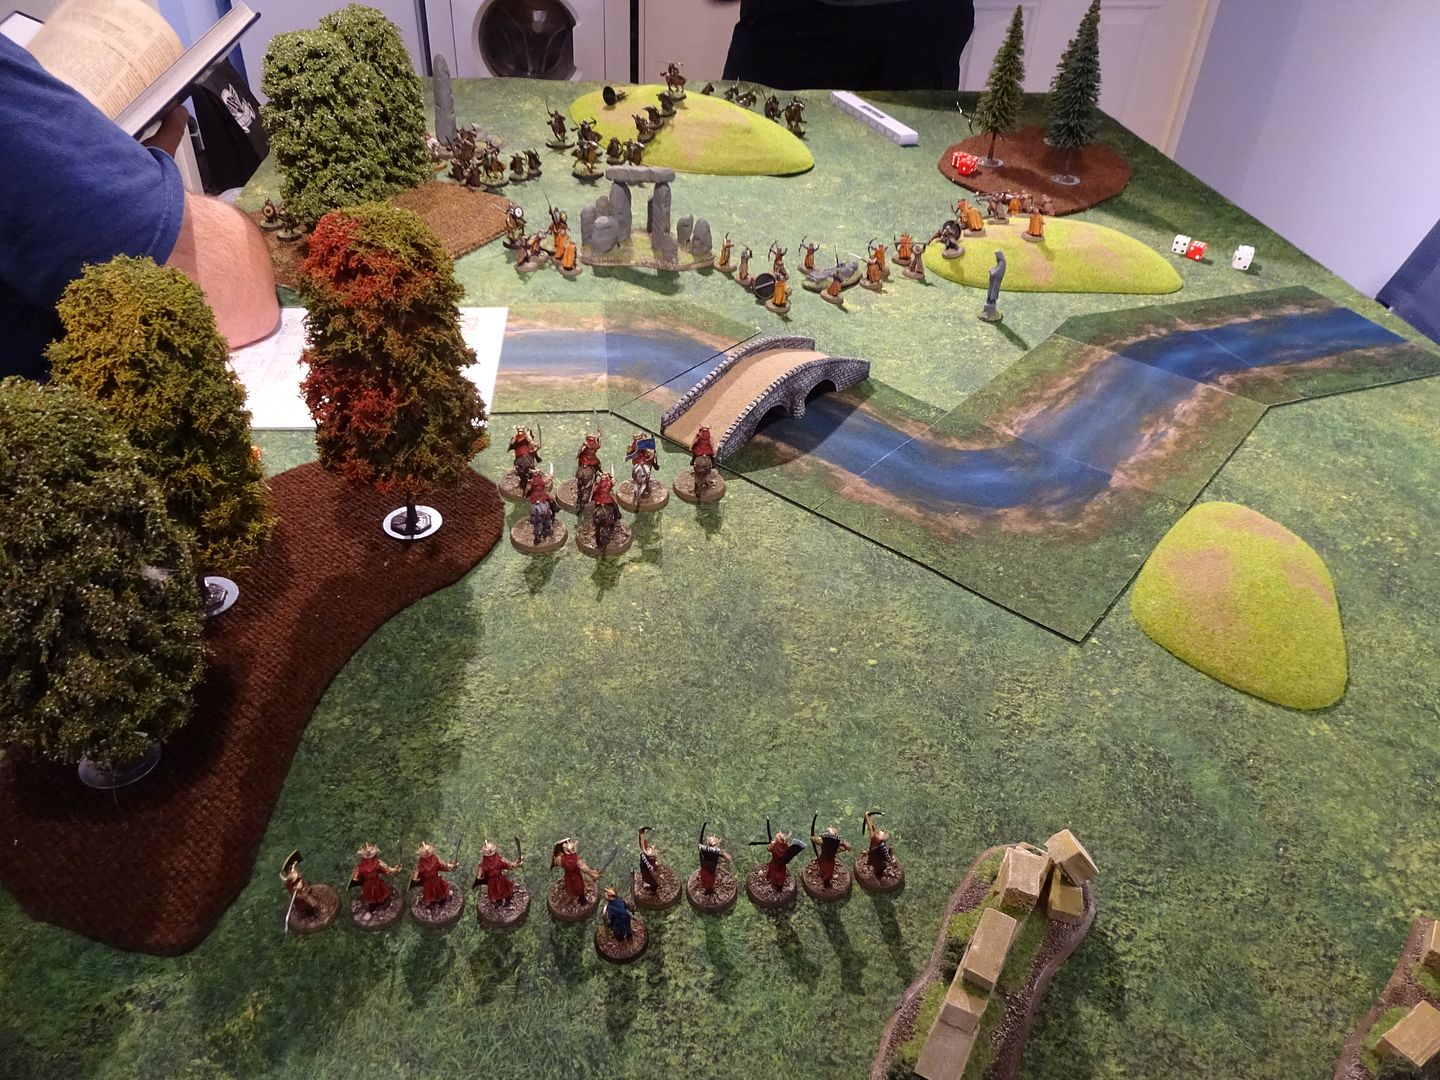
 photo DSC01235_zpslmhljazv.jpg

Turn 3
Easterlings are almost in the fray
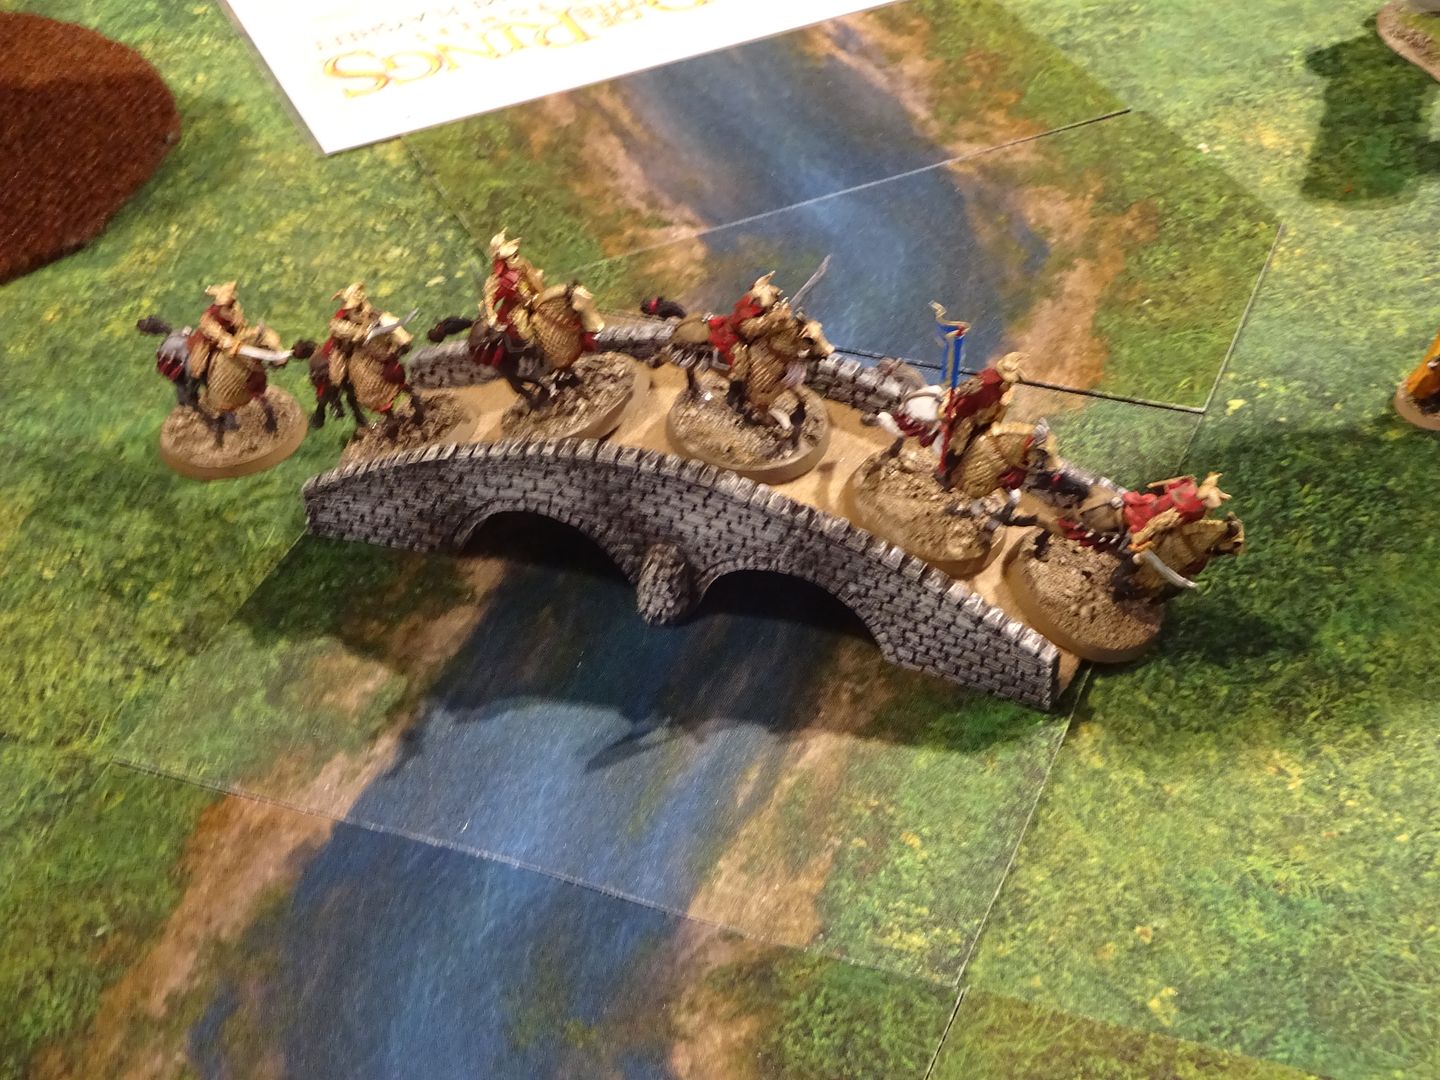
 photo DSC01241_zpszm47nlmx.jpg

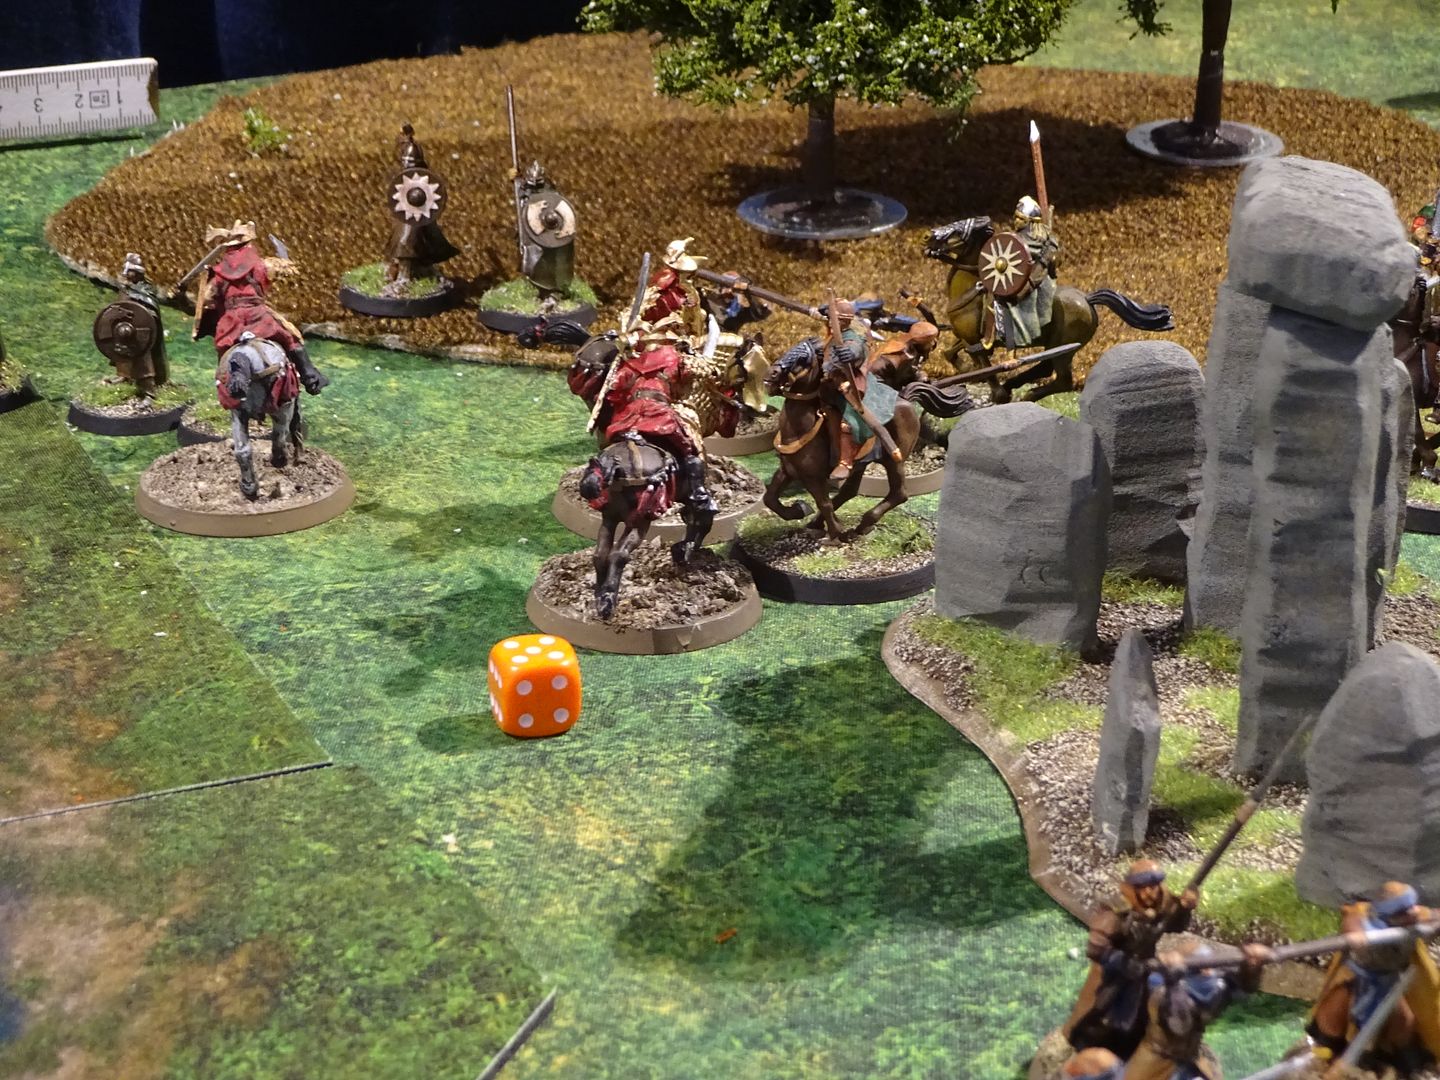
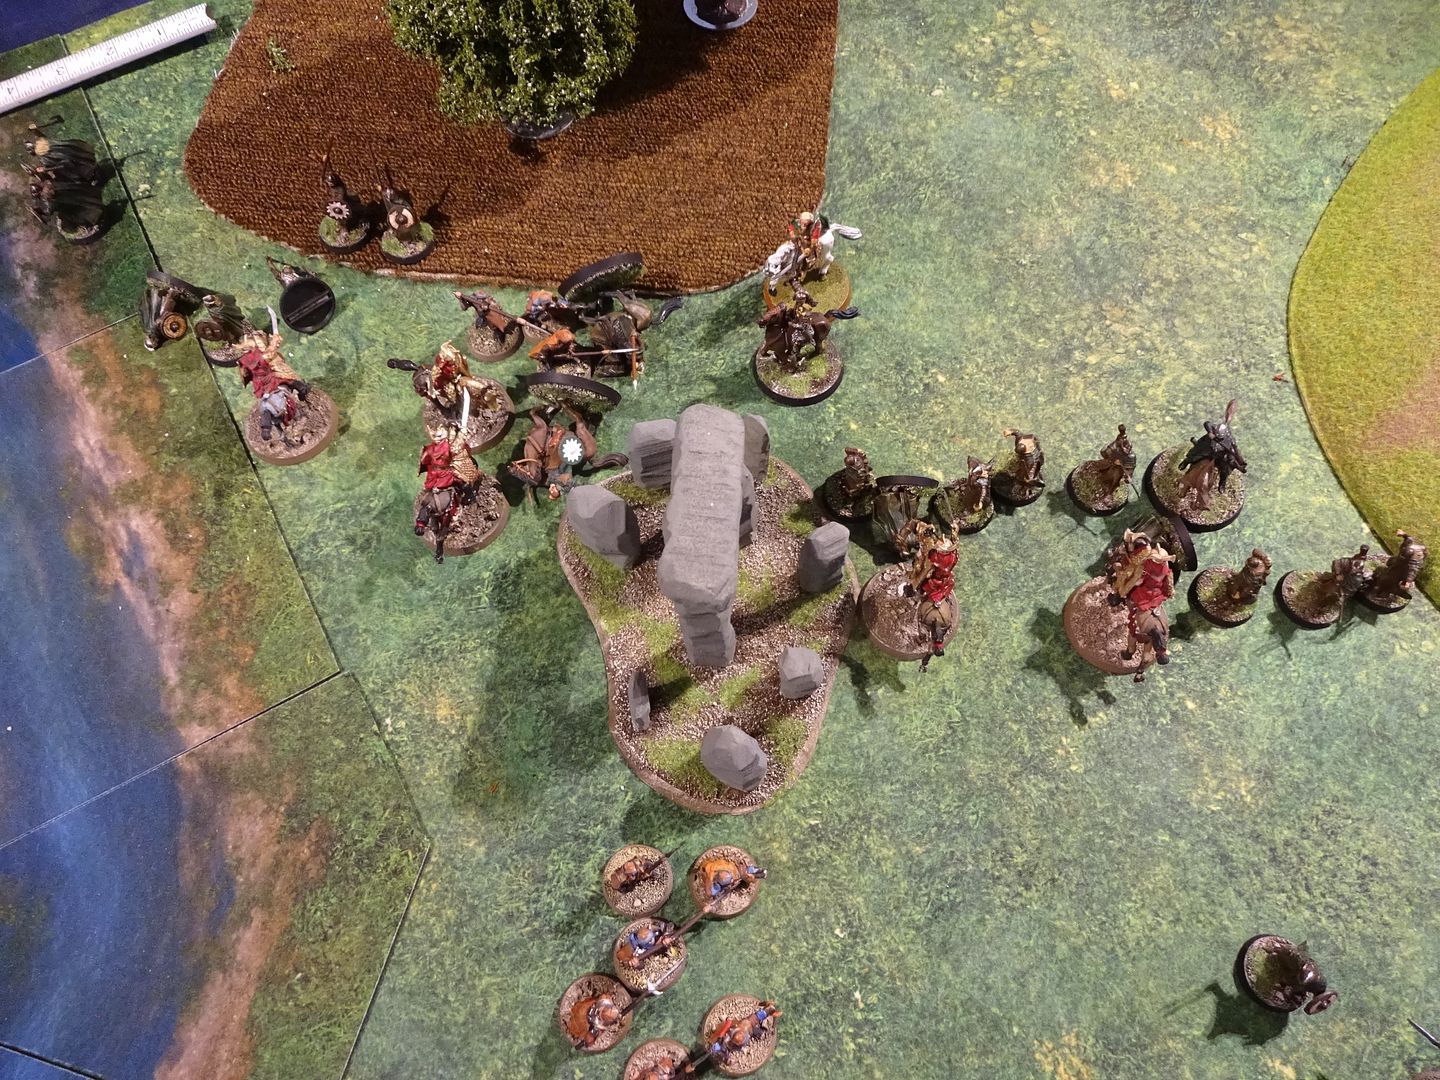
Rohan cavalry charge a couple of isolated Harad left of the monoliths (made by Dave)
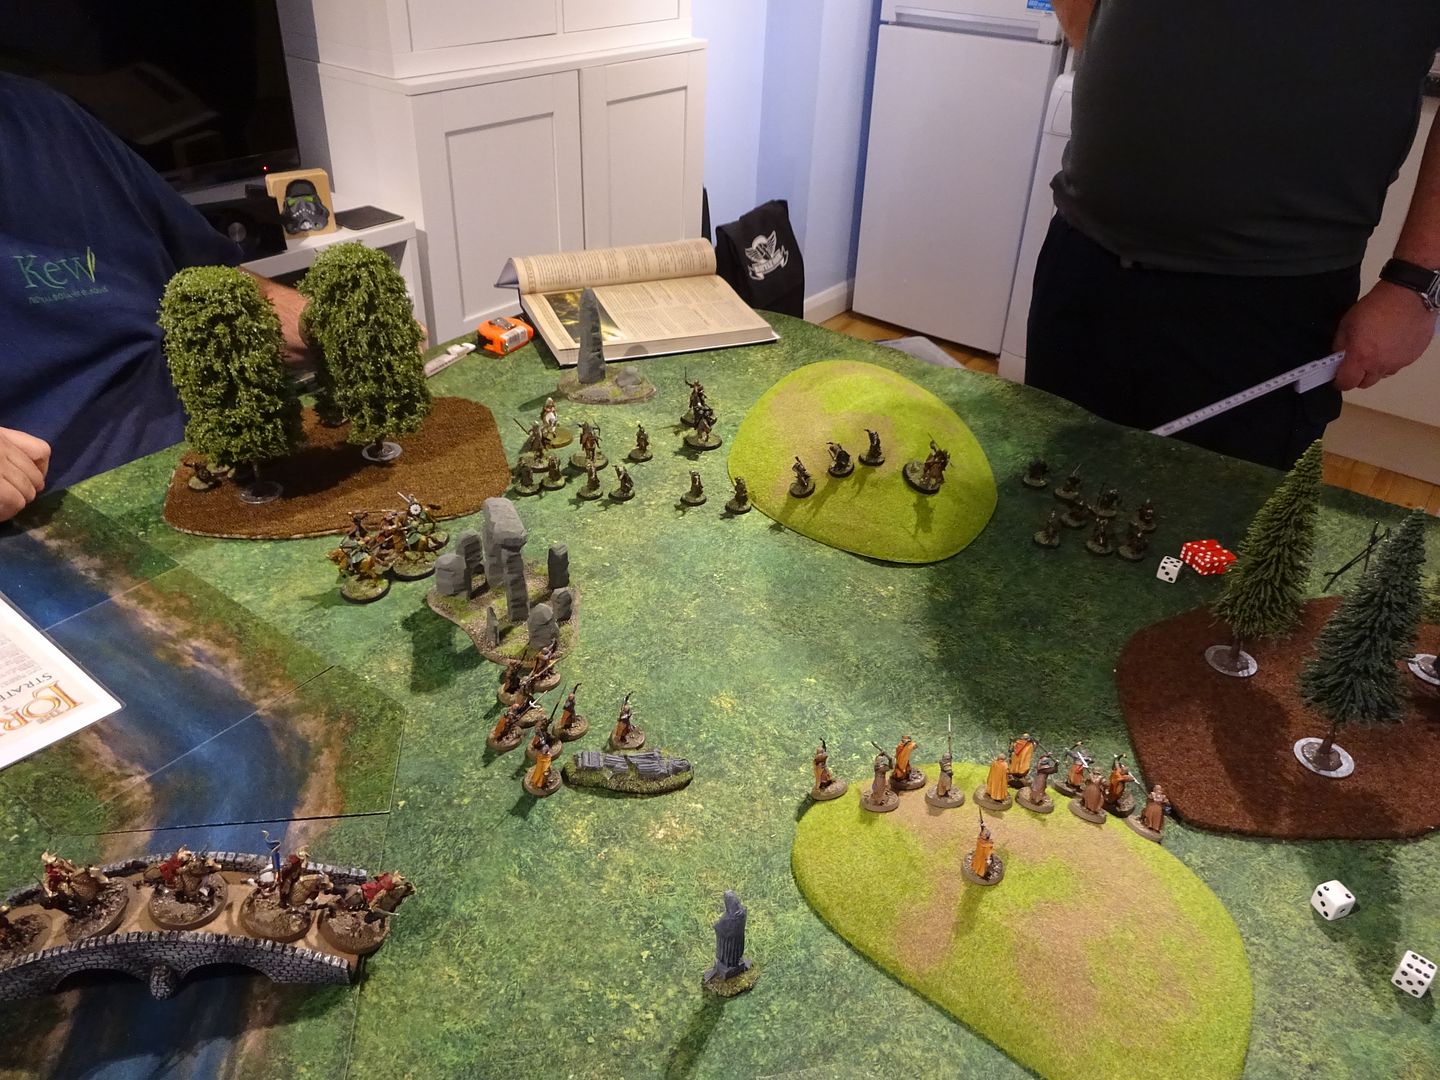
 photo DSC01242_zpsx4ymcuxn.jpg

But the Rohan only managed to push the Harad back.
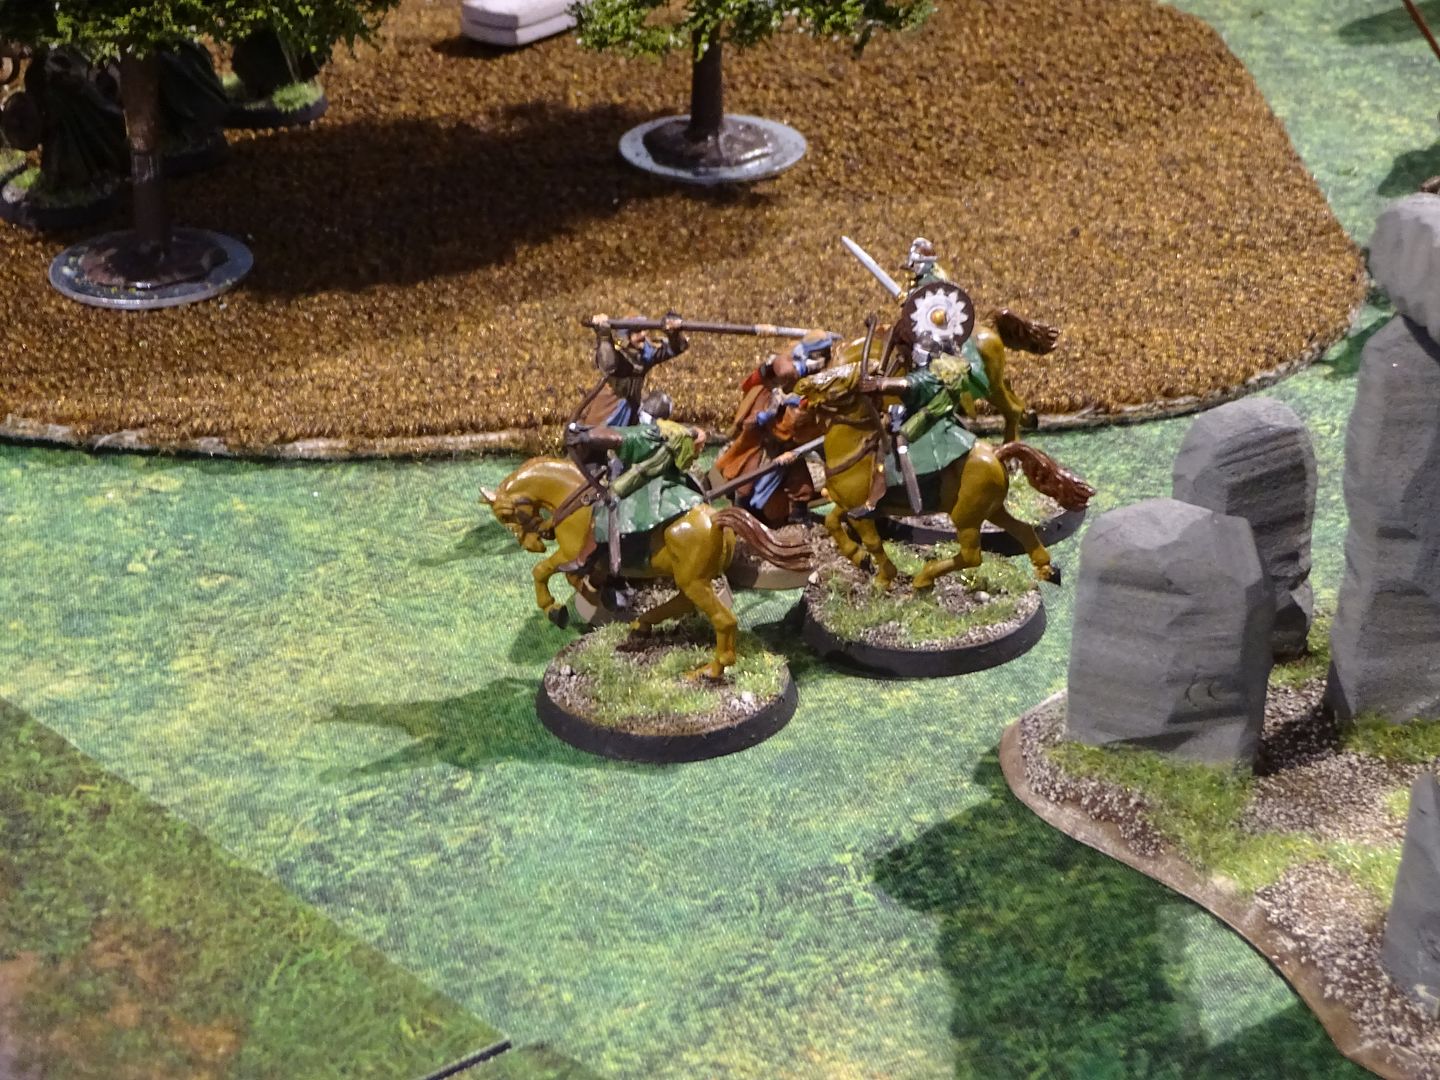
 photo DSC01243_zpsy3btgrls.jpg

The rest of the Rohan push towards the center
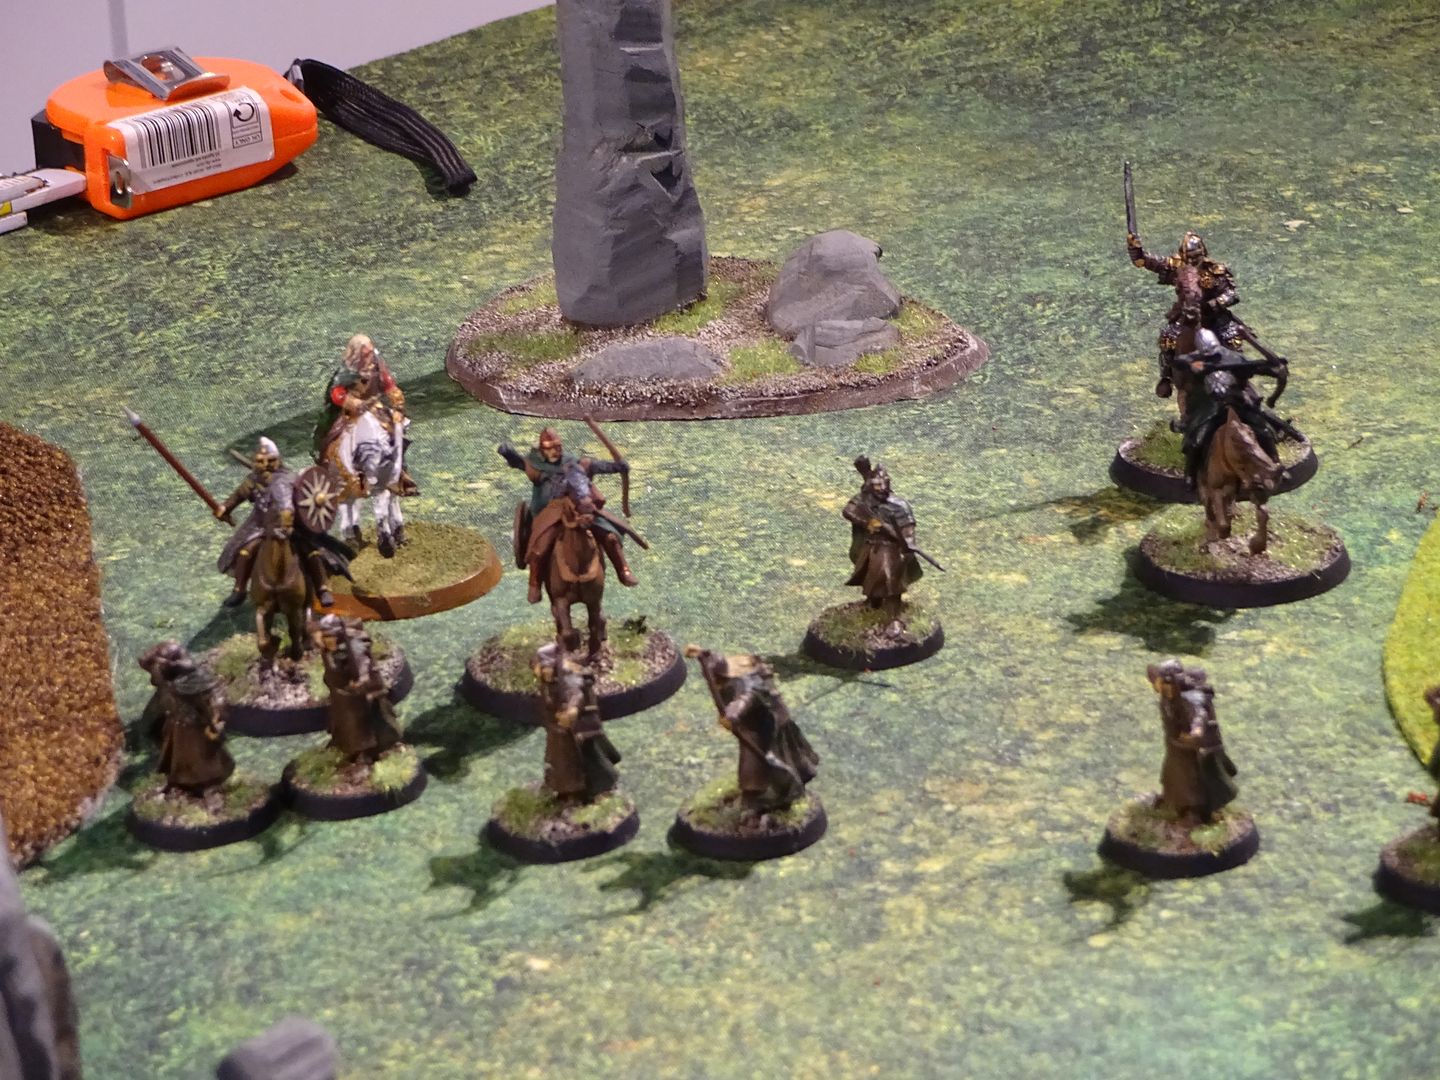
 photo DSC01244_zpslcnrewyy.jpg

Turn 5
 photo DSC01247_zpskl53u7wl.jpg

 photo DSC01248_zpsp07jgxdh.jpg

 photo DSC01249_zpszpqxg094.jpg

The Rohan try & finish of the couple of Harad
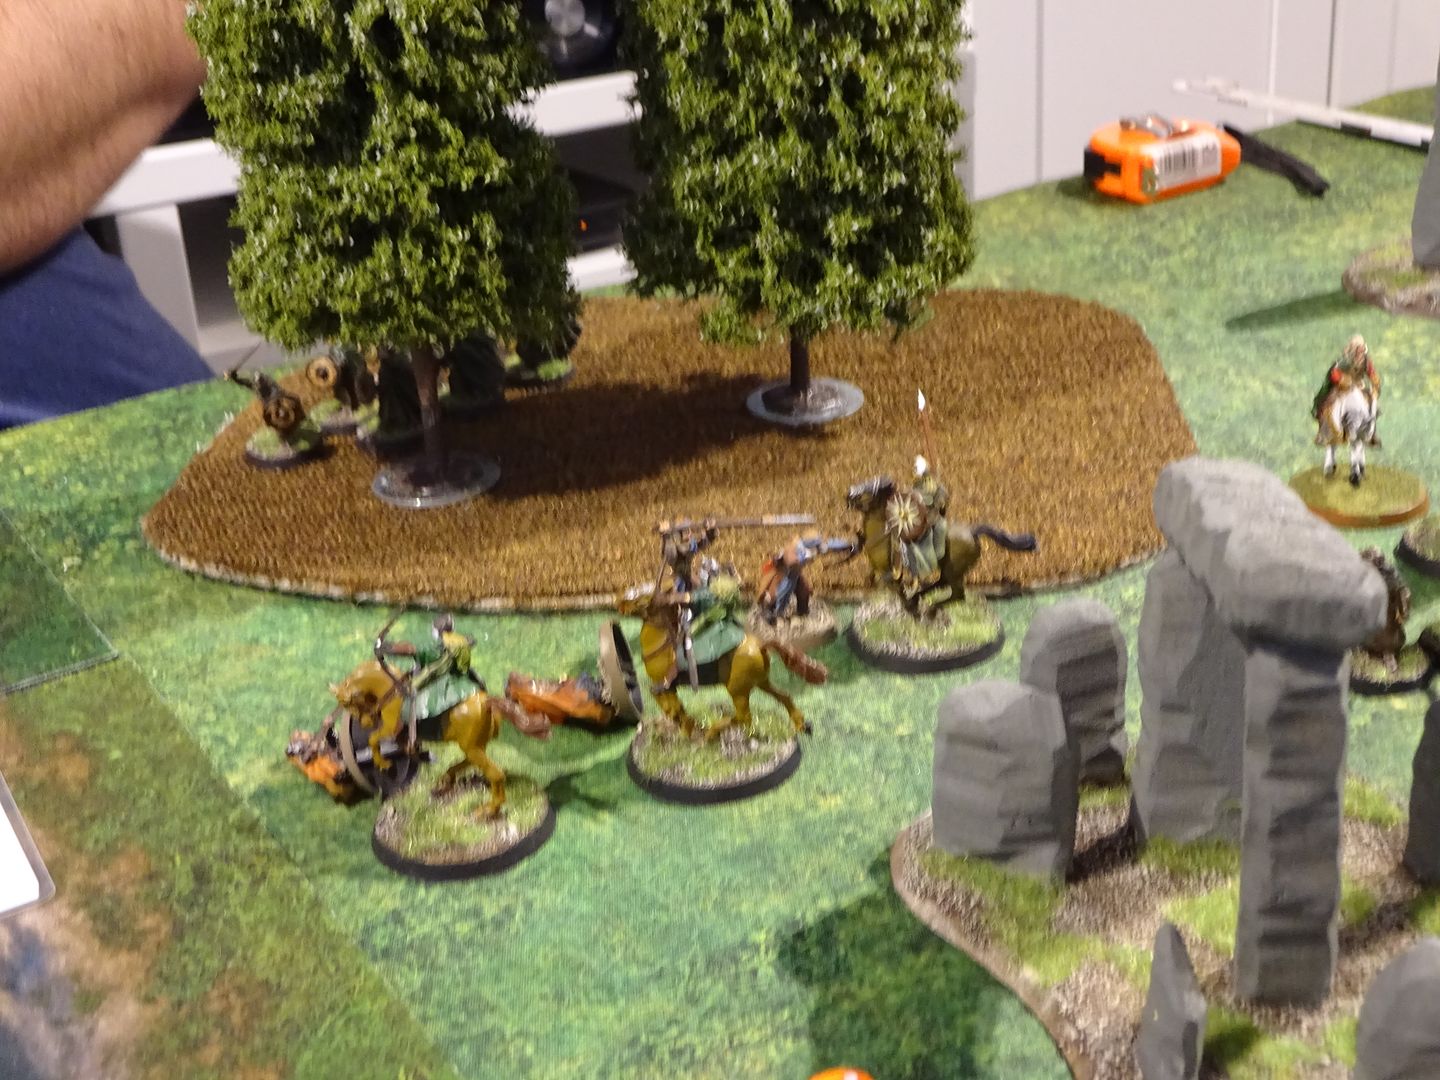
 photo DSC01250_zpsbqzbogri.jpg

They kill one and knock the other three down
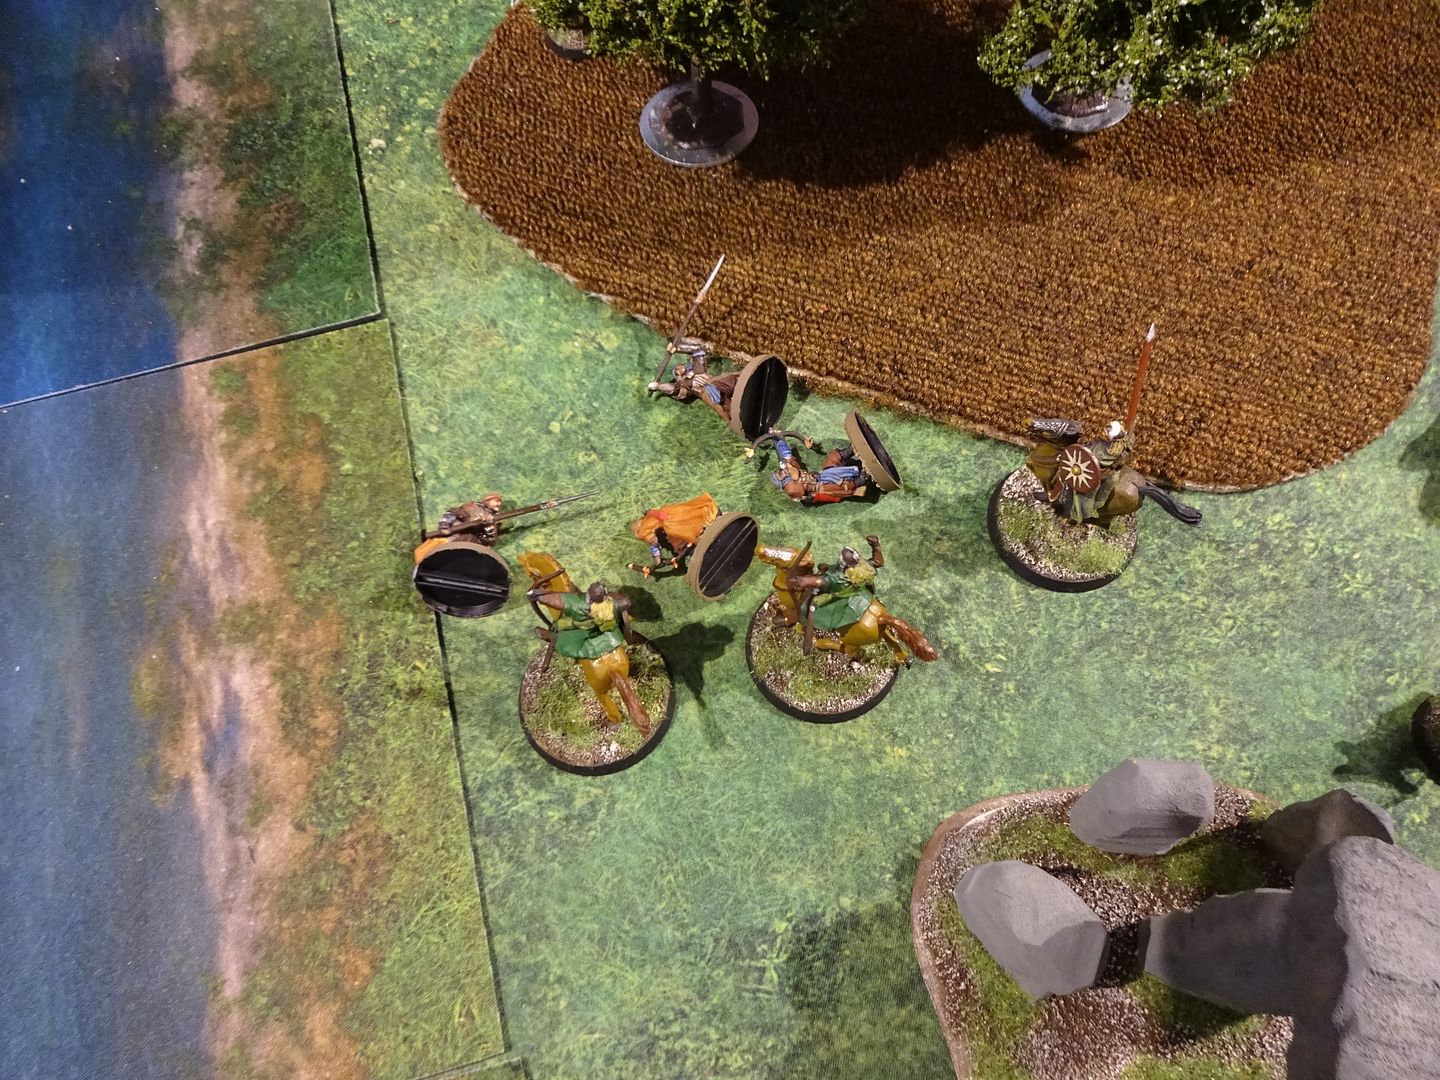
 photo DSC01252_zpssypph2eo.jpg

Turn 6
 photo DSC01254_zpsaxuszryr.jpg

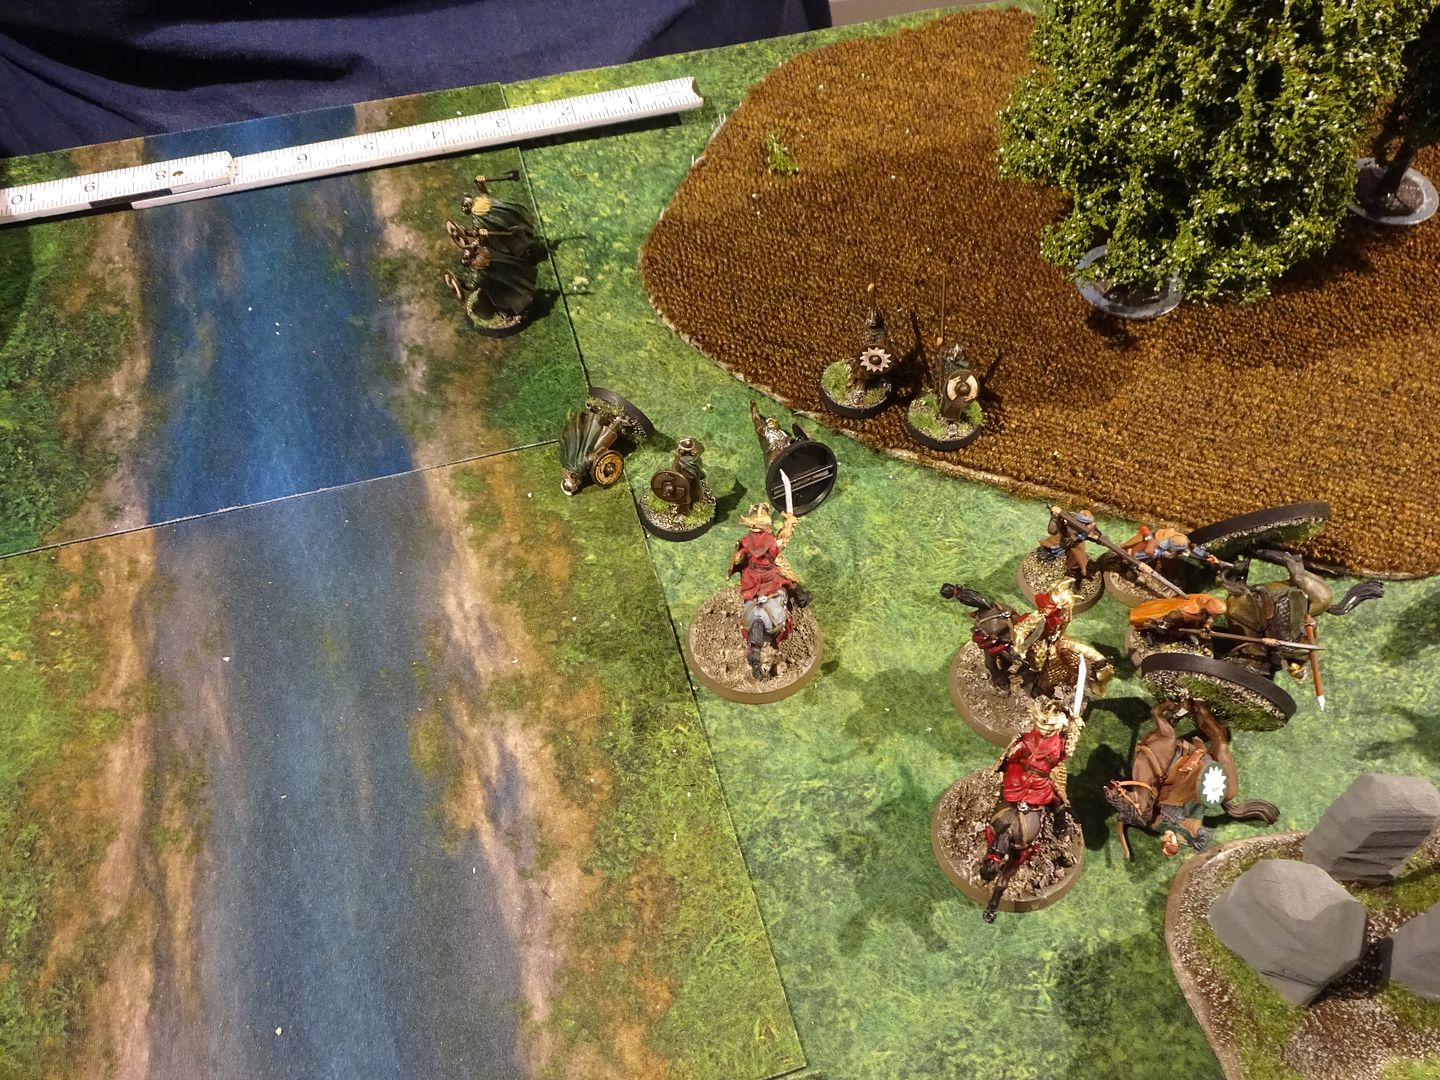
The Easterling cavalry now can charge in
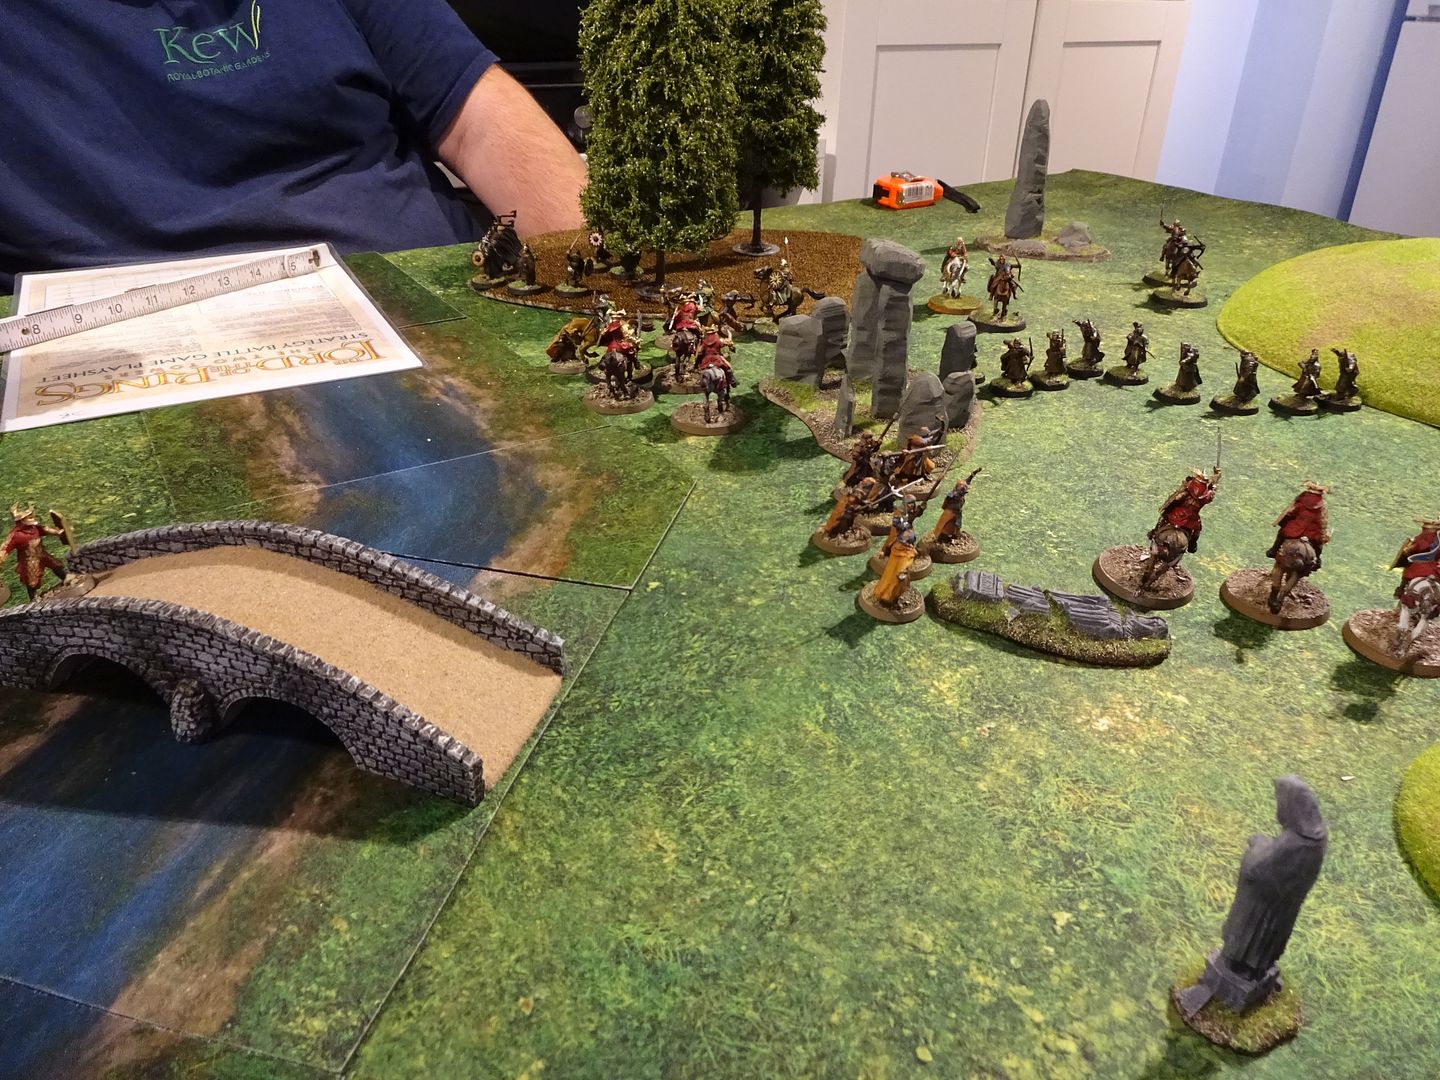
 photo DSC01255_zpsogbm9usb.jpg

 photo DSC01257_zpsrlunhlib.jpg

Two dead Rohan
 photo DSC01258_zpsra6cnear.jpg

Securing the bridge
 photo DSC01256_zpsj00q4wyx.jpg

More downed Harad, by spears this time
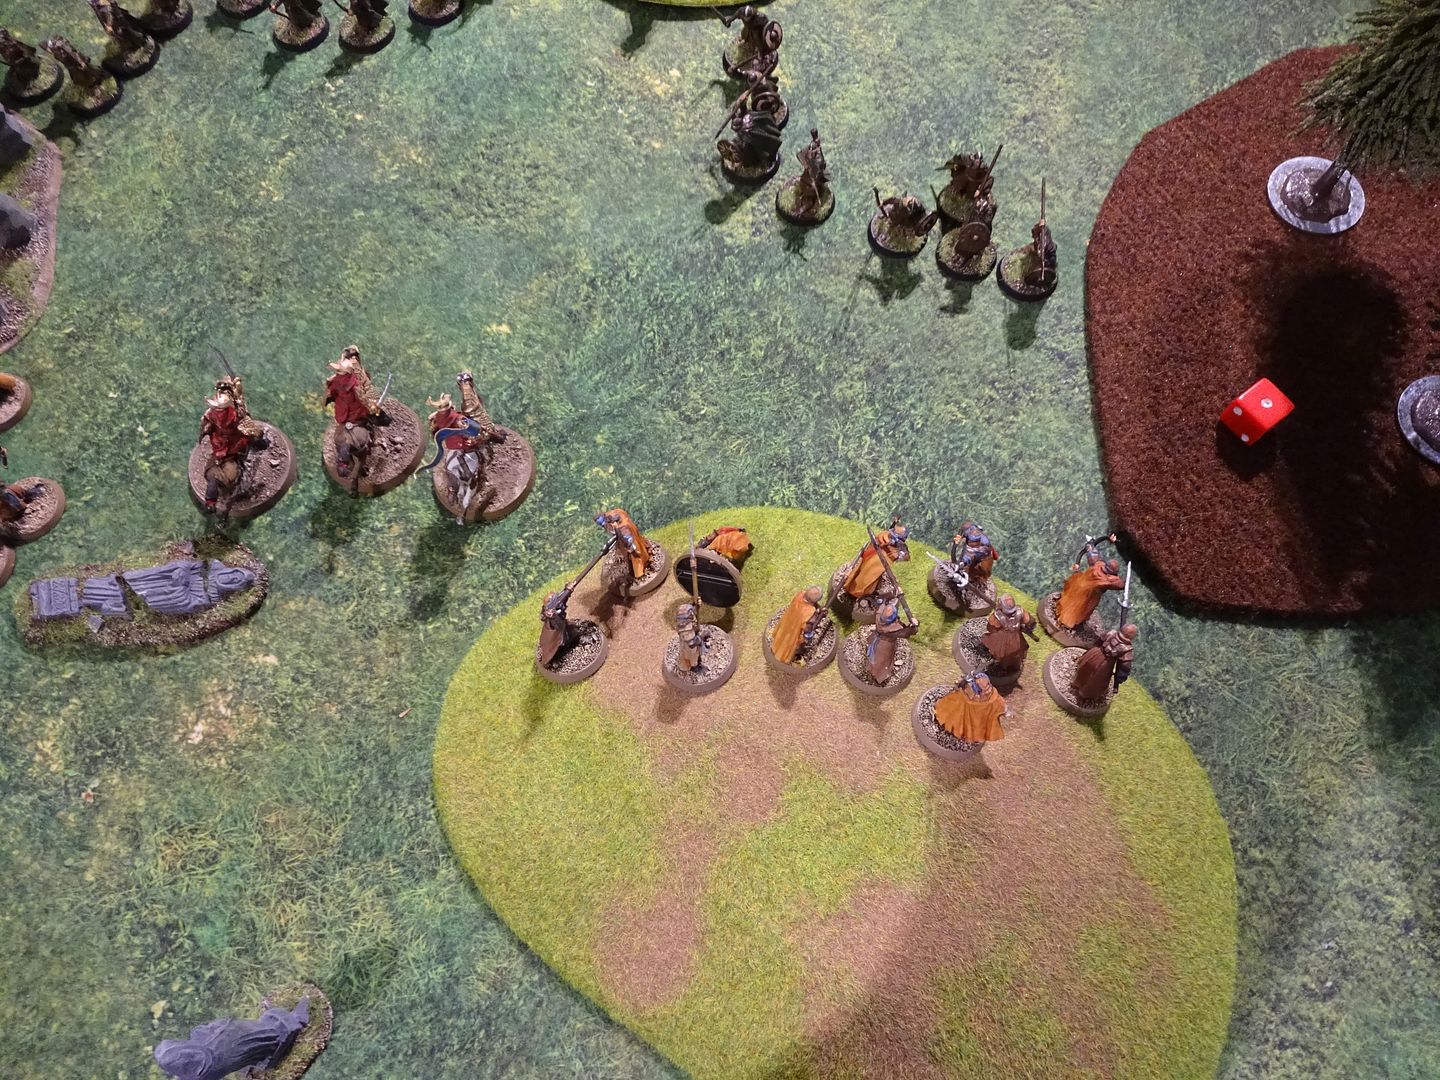
 photo DSC01259_zpsh29o7jcz.jpg

Turn 7
The Forces of Evil charge in along it's line
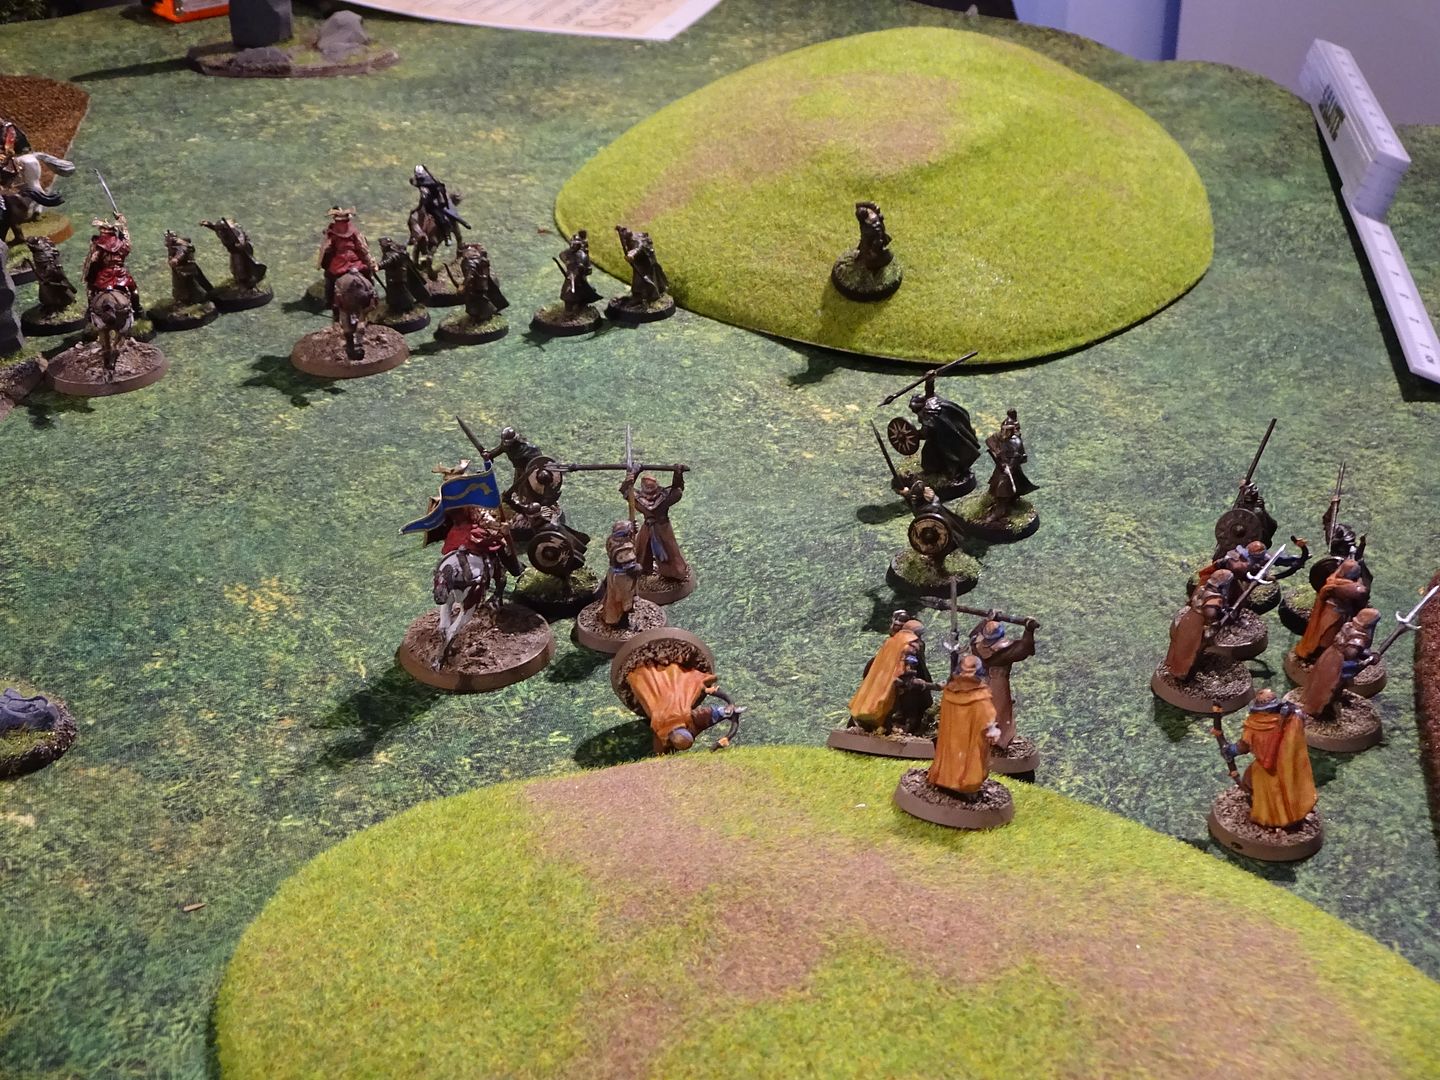
 photo DSC01261_zpsgvd6iul4.jpg

 photo DSC01262_zpsavqgxcpf.jpg

 photo DSC01264_zpsvfmimqas.jpg

Another Harad bites the dust
 photo DSC01265_zps3ha5jedi.jpg

as do more Rohan fall
 photo DSC01266_zpsniyd08vv.jpg

 photo DSC01267_zpsqsdfnua1.jpg

Turn 8
The Rohan are close to a Morale and will need reinforcements very soon
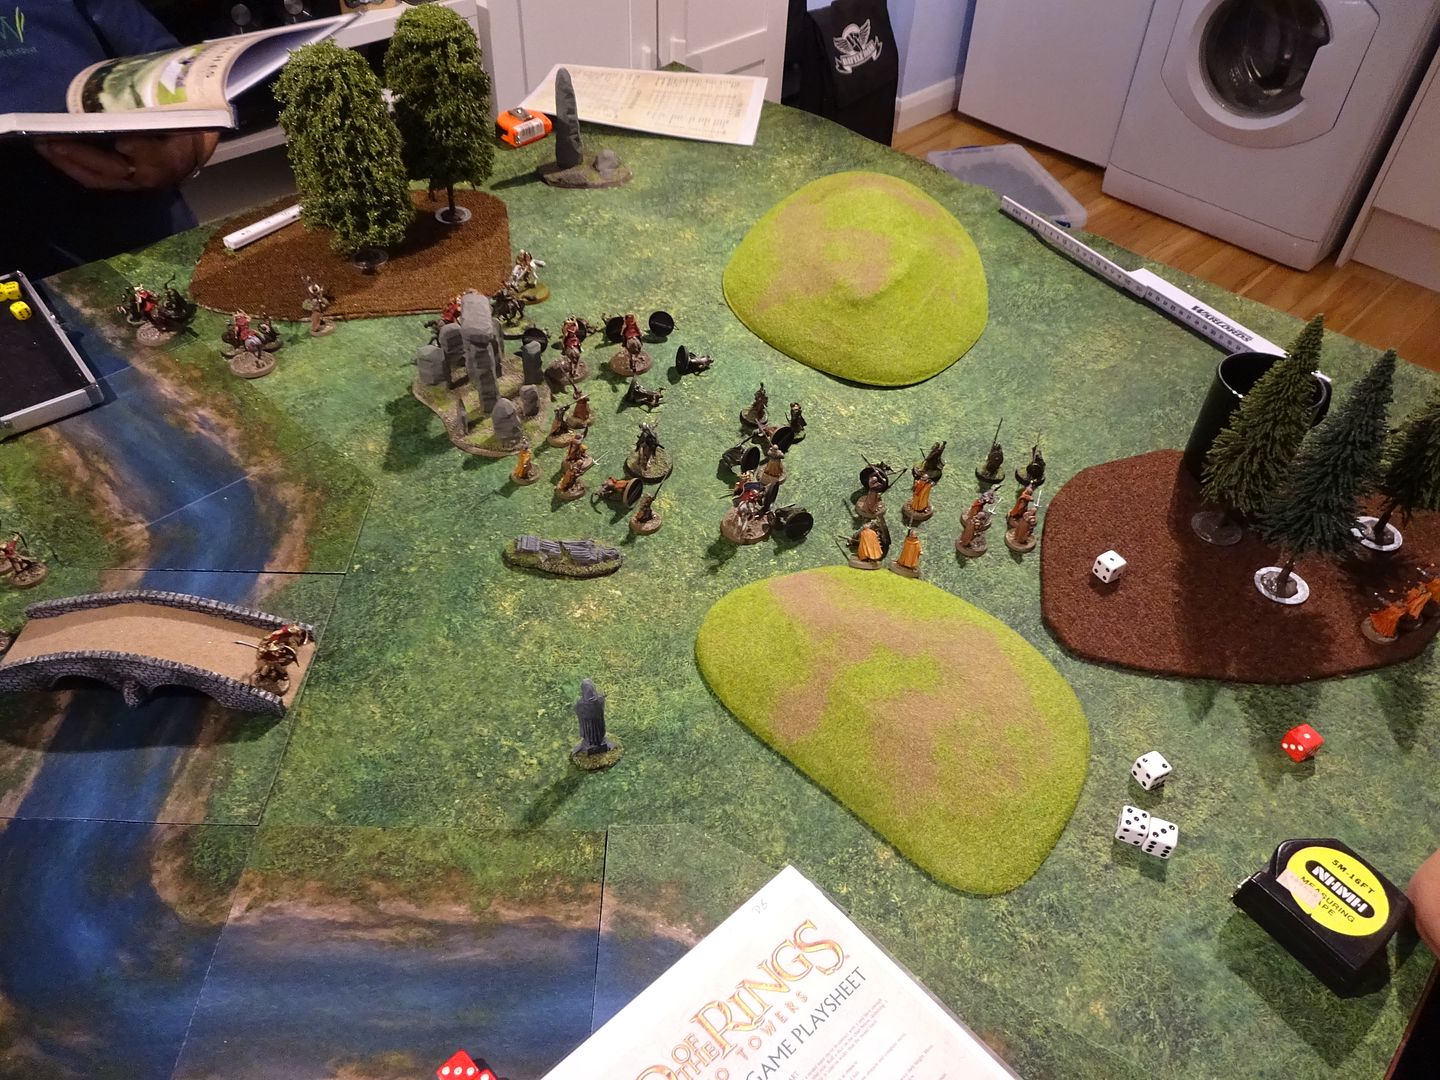
 photo DSC01269_zpsv4kdwc5z.jpg

More casualties for both sides
 photo DSC01270_zpsmrcckvxj.jpg

 photo DSC01271_zpsepviduyz.jpg

Rohan 2iC being attacked
 photo DSC01273_zpsixrzkr2o.jpg

Turn 9
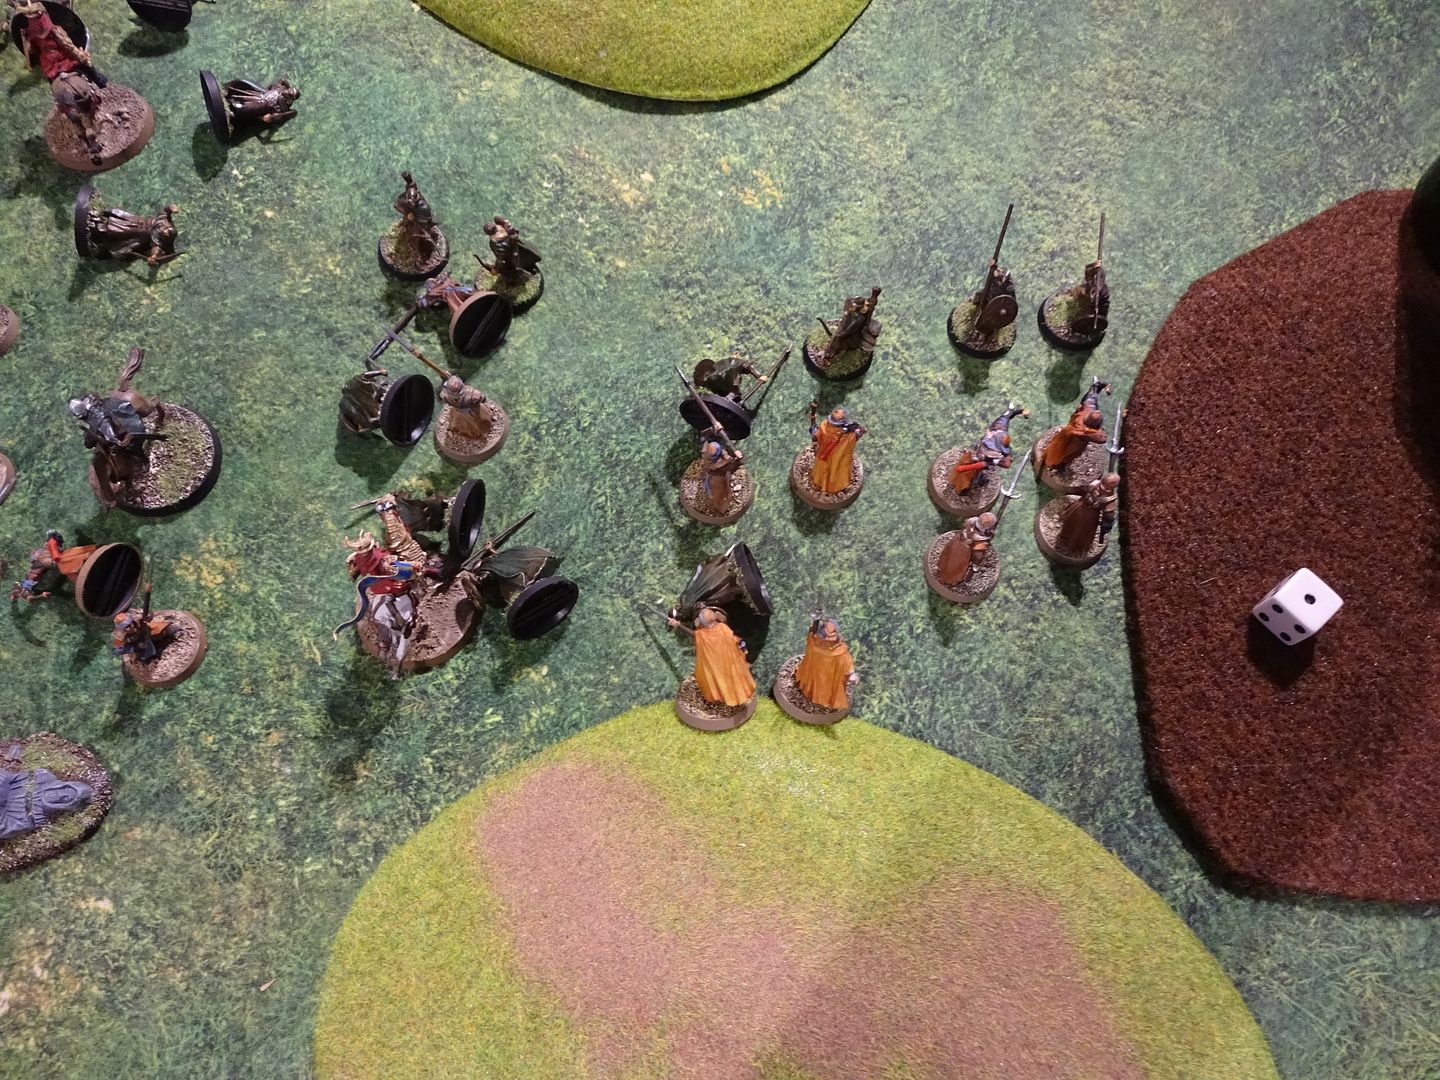
Rohan lost about 6 men from Morale failure this turn so we decide to role for reserves for Rohan D6 of figures appear (4)
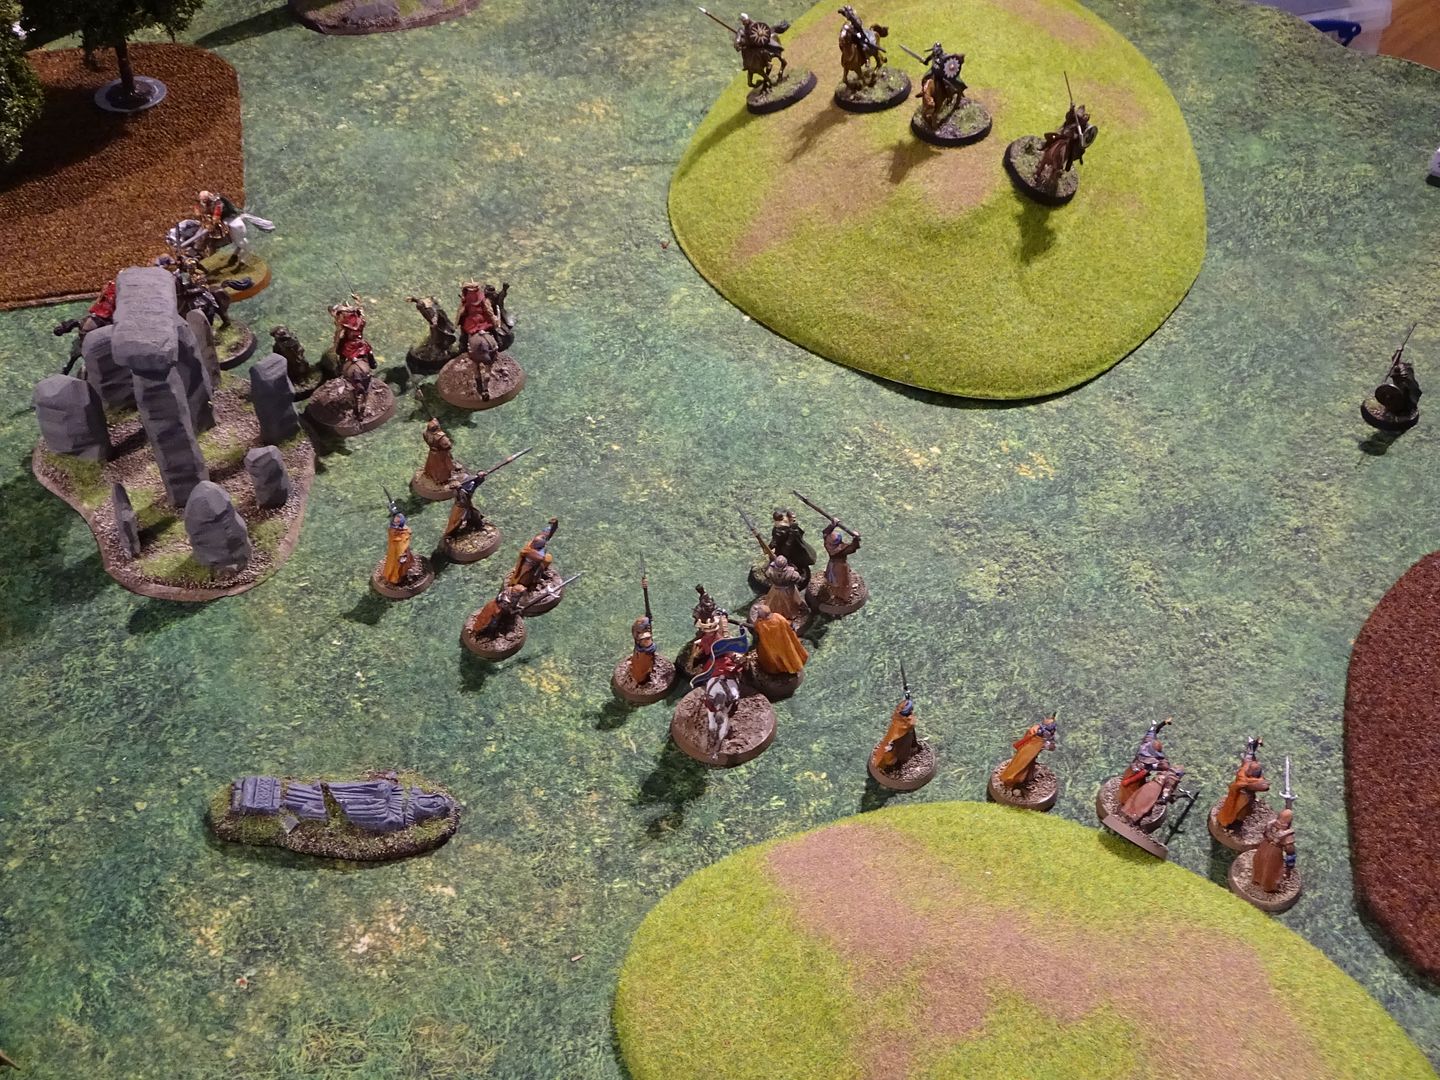
 photo DSC01276_zpsp1i2qed2.jpg

All the Rohan are in melee, the Easterling warriors come and secure the northern end of the bridge.
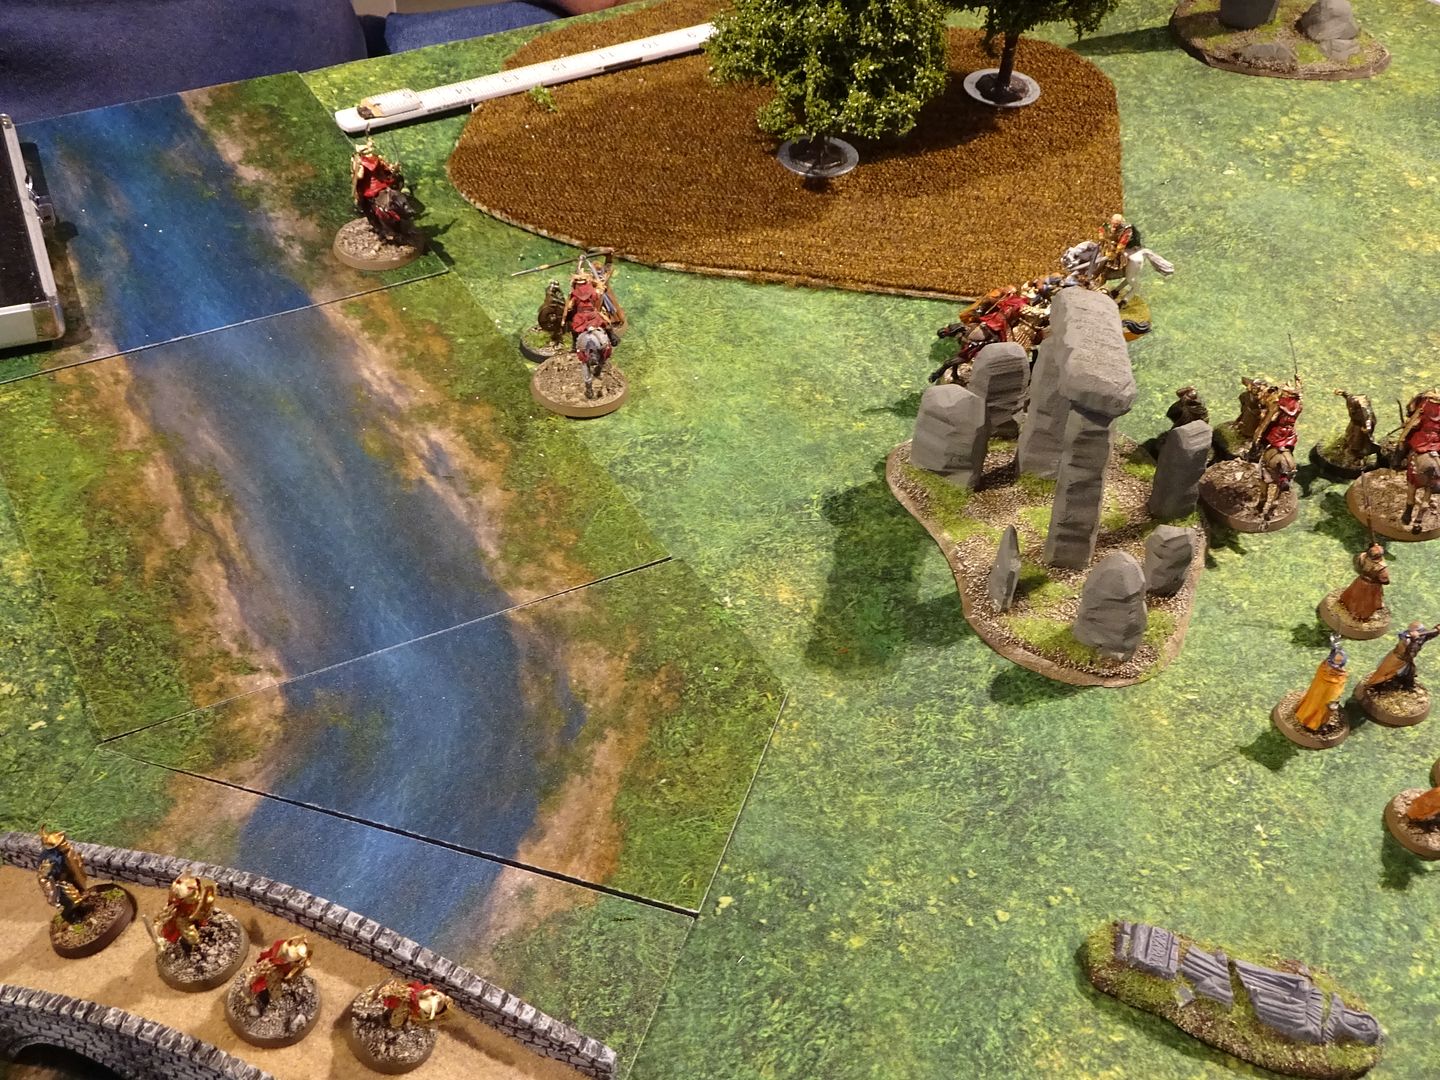
 photo DSC01277_zpseo9dydvv.jpg

 photo DSC01278_zpsl9l9wexo.jpg

At this point, Rohan took 4 more casualties and Theoden failed his own morale, so was captured.

Win to the Forces of Evil


No comments:

Post a Comment