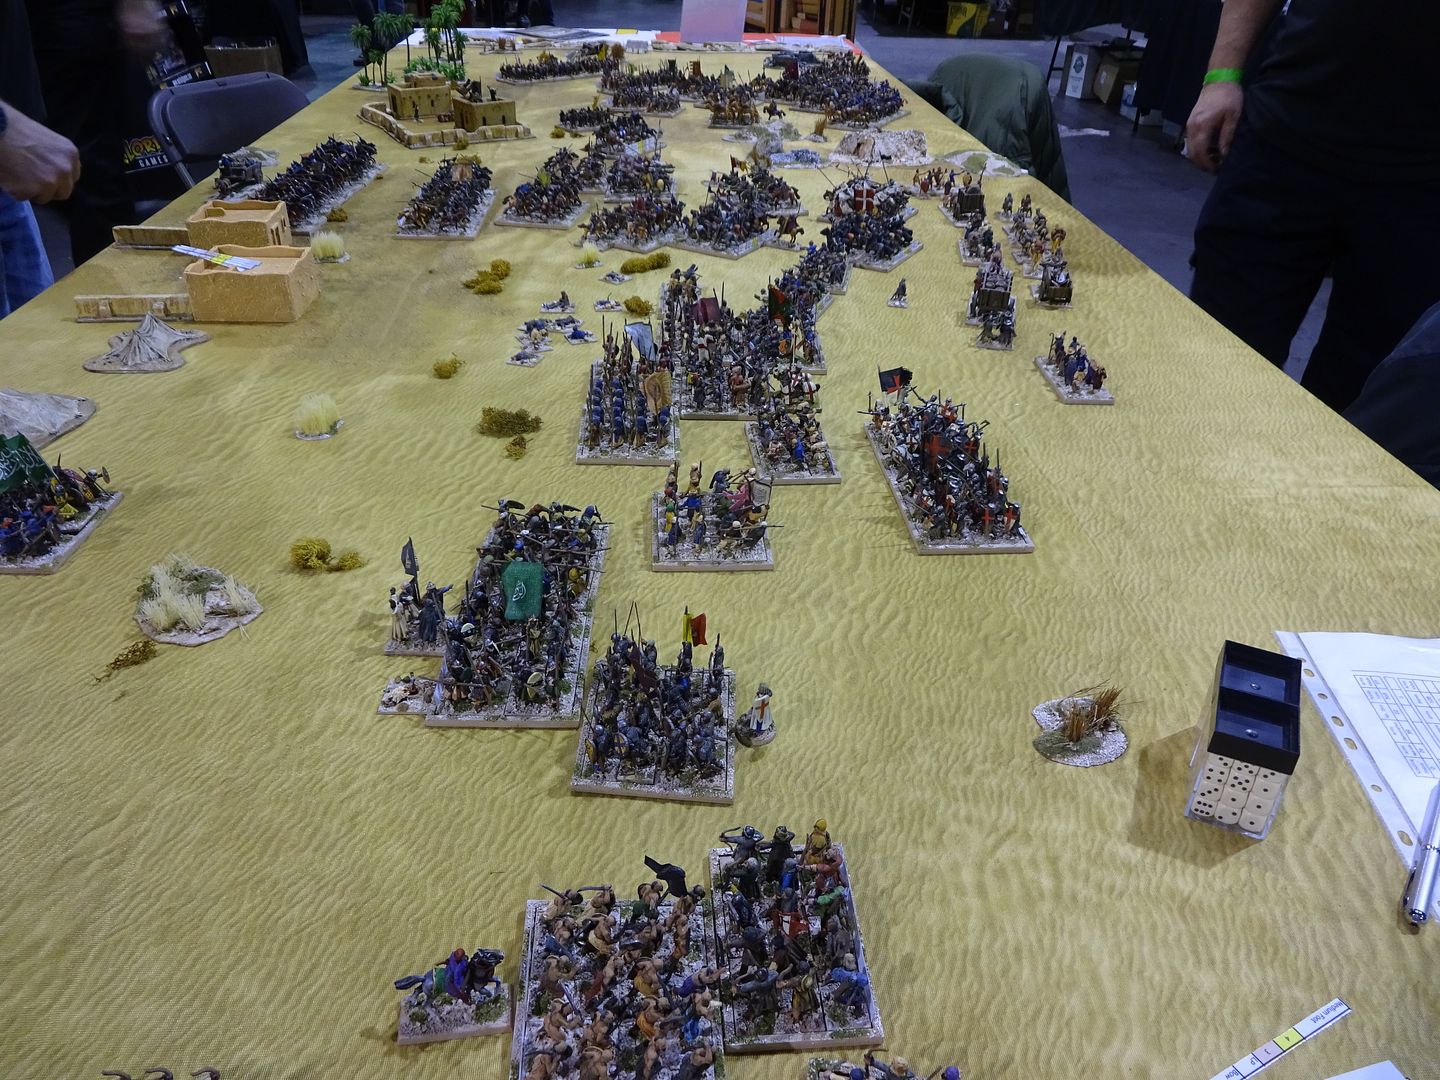
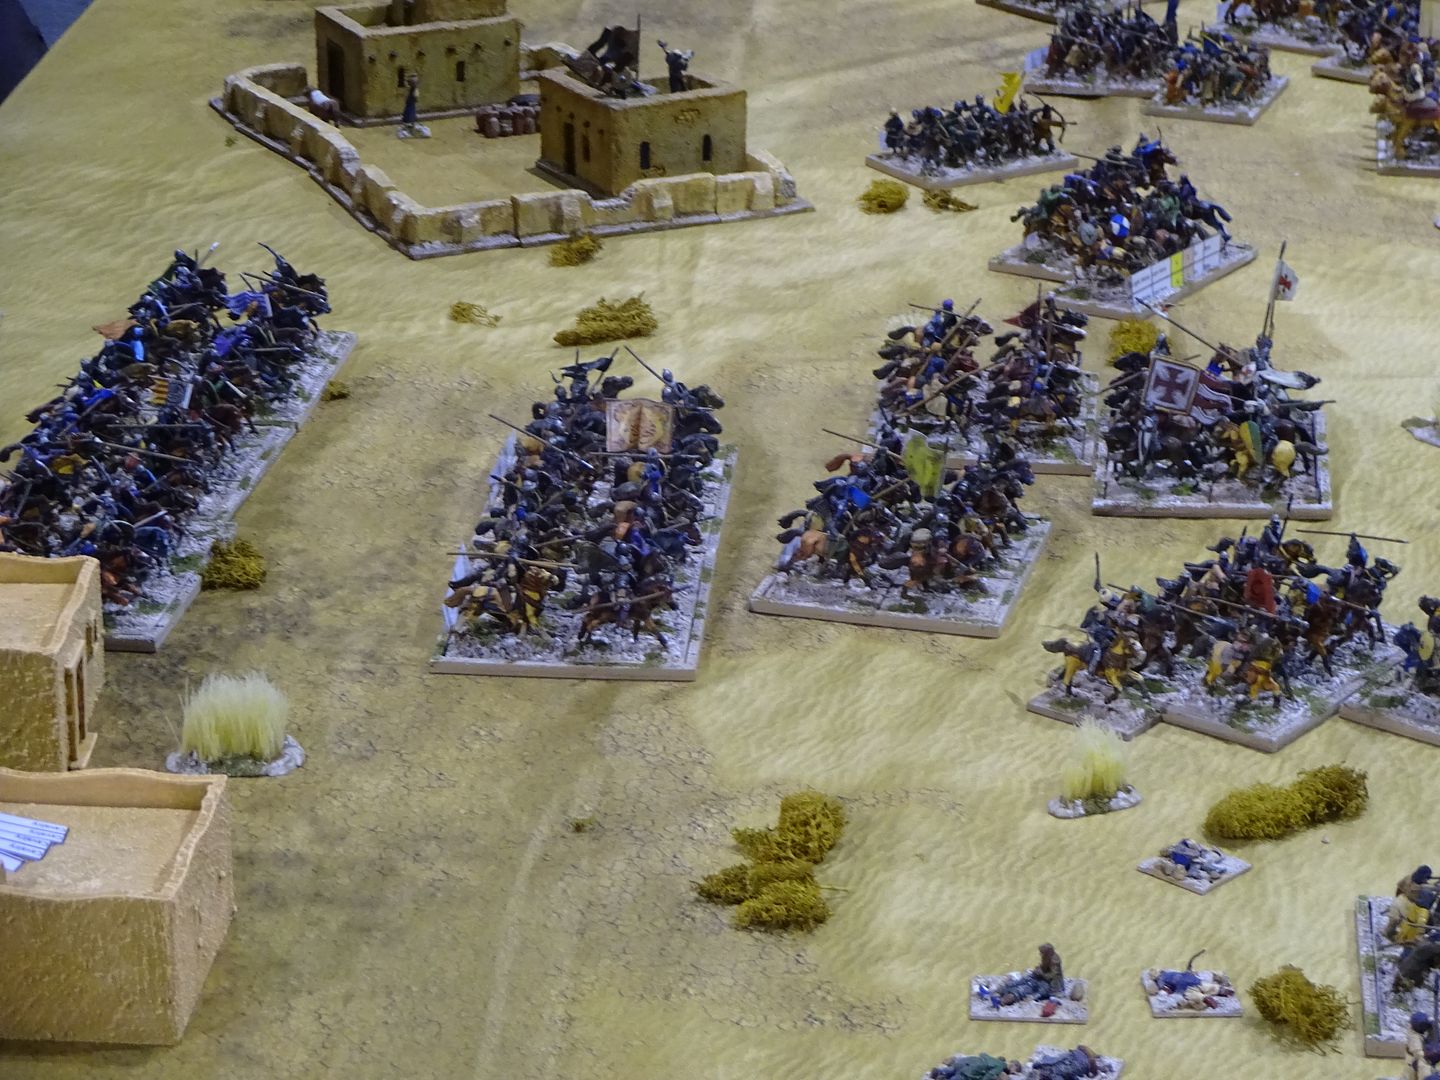
There were approx 500 Infantry and 300 Cavalry on the table, all painted by myself and all from my own Collection. This collection has grown since then by another 100 or so figures. Figures by various sources, Perry, Foundry, Gripping Beast, FireForge, Buildings are Hovels and Scratch built, trees from Internet and the tree bases from Charlie Foxtrot Models.
This was a demo game, showcasing the S&S rules, played on a 12 foot x 5 foot table. We did run through some of the mechanics and allowed members of the public to play a turn of play, if they wanted too!
The Crusaders were split into two commands 350 points to protect the Pilgrims and a relief force from Jerusalem of 810 points. The Turks were split into three commands of 400 points each.
We have played a smaller version of this game. The Pilgrim column moves randomly each turn of 6" plus one D average of Movement, unless the Muslims get a unit to within 10" which will reduce any units to just a D6 of movement, which will see breaks in the the column, which in turn causes "panic" as those affected pilgrims move away from the enemy to get the better movement once more. We also rolled on the appearance of the Seljuk Turkish forces, starting with a 6 and getting better each turn (any 1s rolled and the Turks miss a go). All troops "march" at 6" to try and keep up with the Pilgrims, until enemy get within 12" inches when they can turn to face on a roll of a D6 (1 is a fail to turn). The relief force start rolling for it's appearance the turn after all Turkish forces are on table and then need to roll a double to appear, and then a D Average for Cavalry and a D 4 for appearance of units, every turn after.
The back story: A large group of pilgrims are on their way to the holy land, protected by foot soldiers and Knights of Outremer. They have just left the safety of a hilly area and are making their way across the last open area before they get to their final destination, Jerusalem.
Turn 1 - Pilgrims roll and get a 2, so move the column 8 inches. The Turks roll for each command and roll two 1s and a 4 (no show this turn, and cannot roll for two commands, due to the roll of 1)
Turn 2 - Pilgrims move 9 (rolled a 3) The first Turkish force turns up at the far end of the table on a roll of a 6 (could have rolled a 5 or 6).
Turn 3 - Pilgrims roll a 2, move 8". The Turks then roll two 6s for the remaining commands so are placed on the table in their respective deployment areas.
Turn 4 - Our game starts proper. Pilgrims roll a 2, move 8". The relief force rolls double 4, then a 5 for Cavalry and a 3 for Infantry to deploy this turn
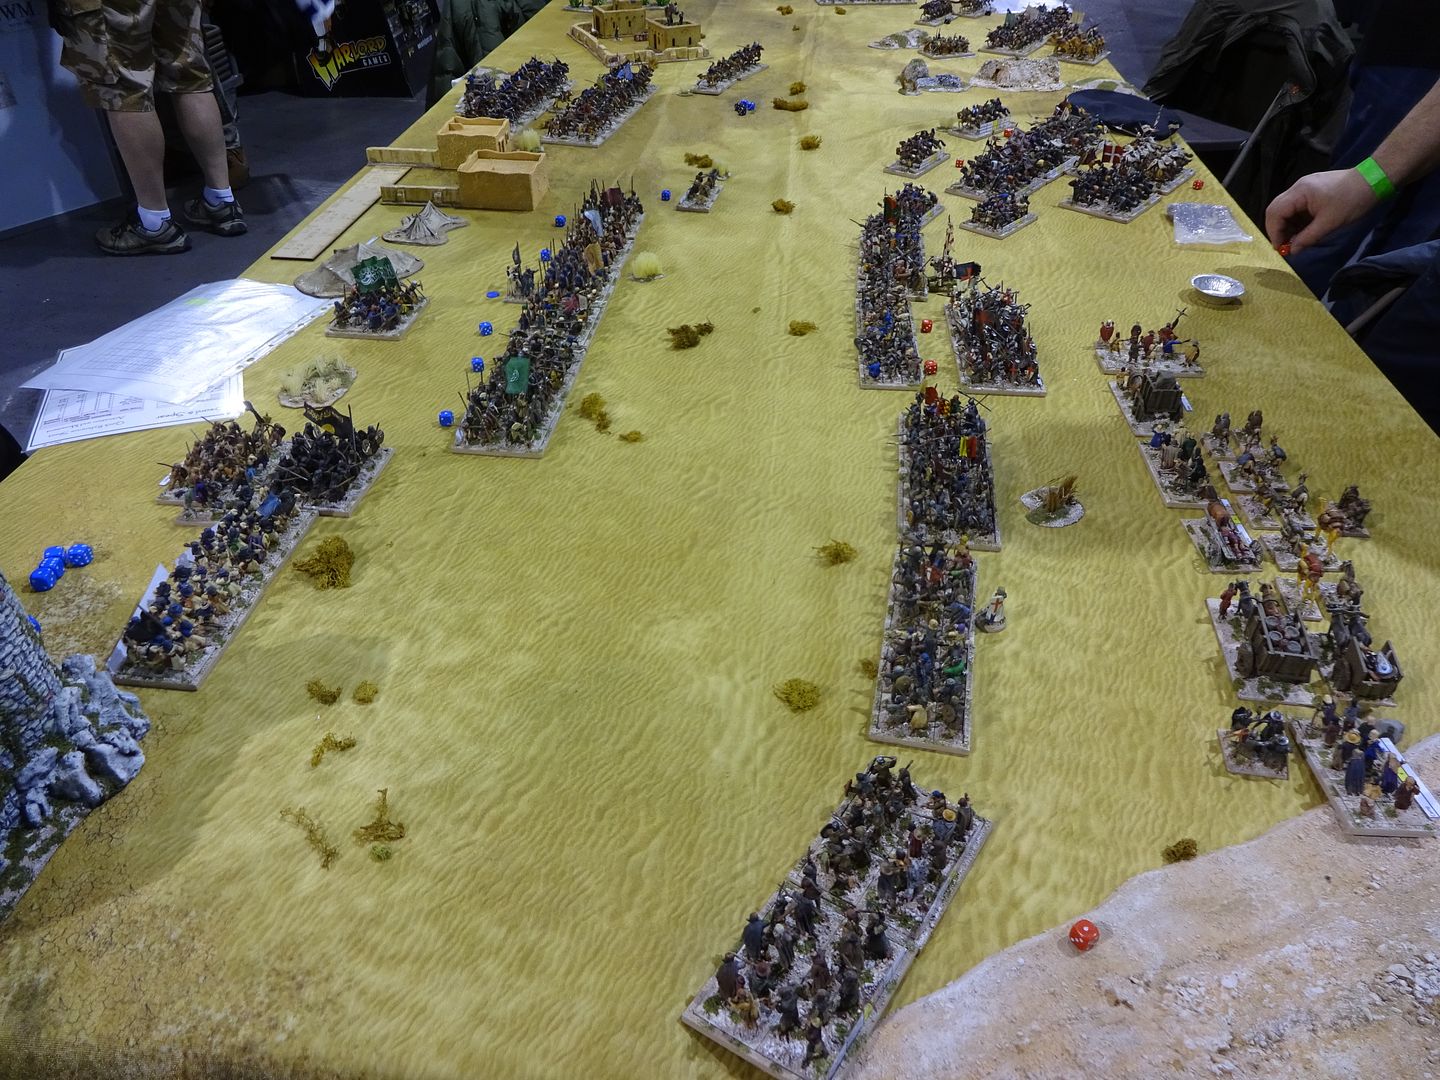
Turkish right Command
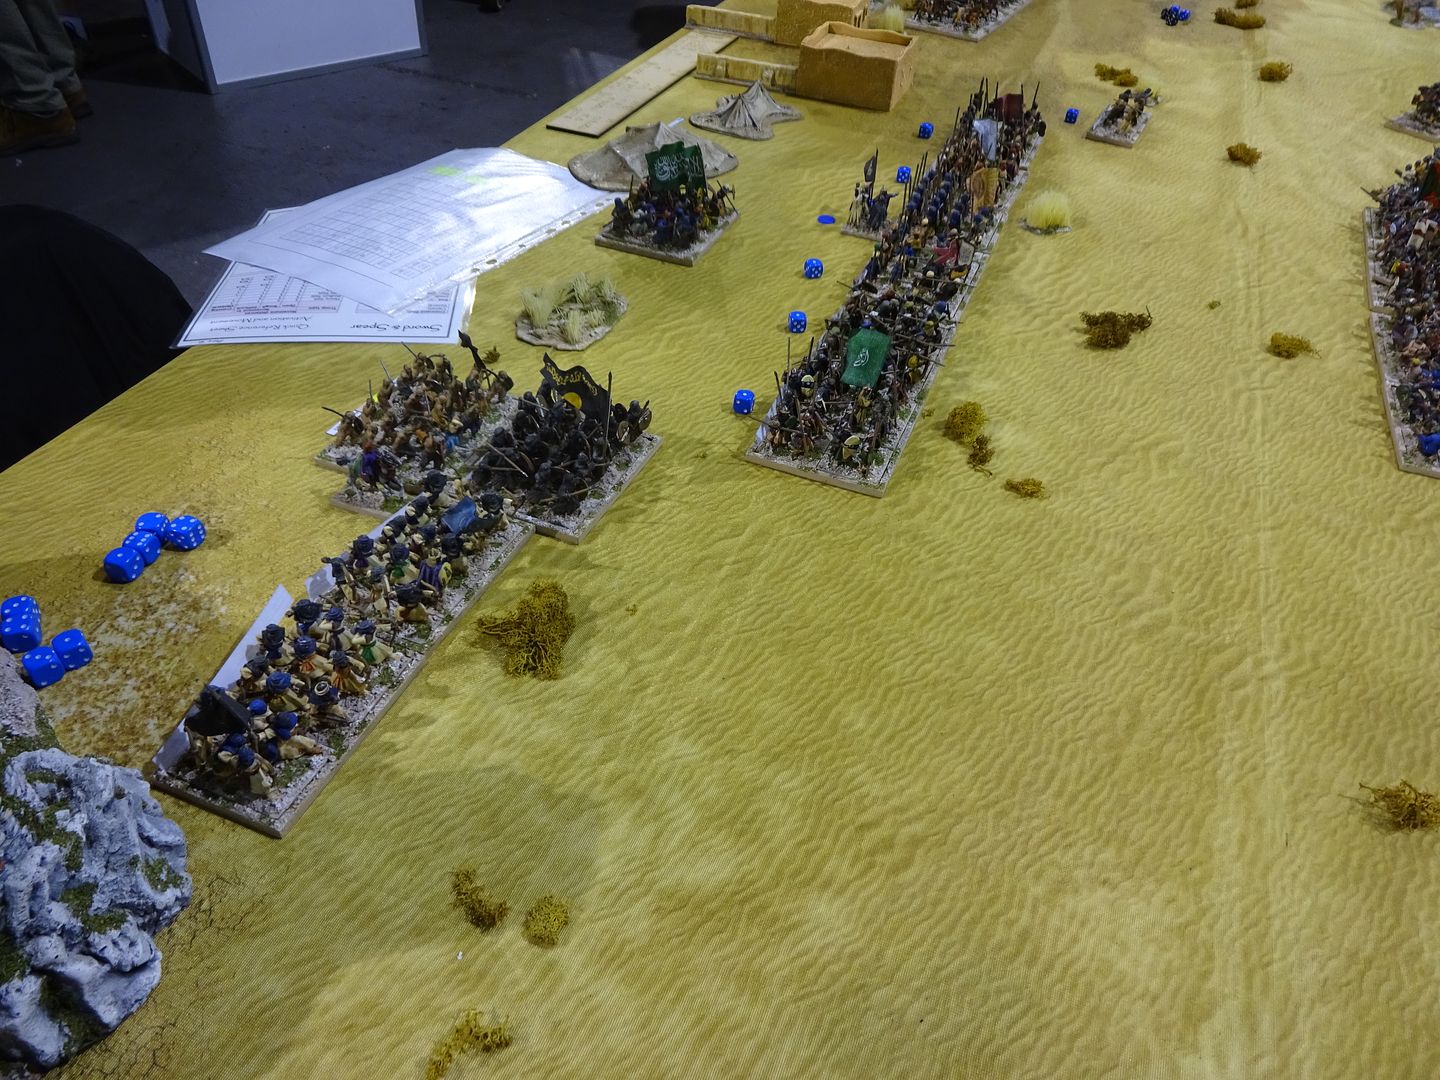
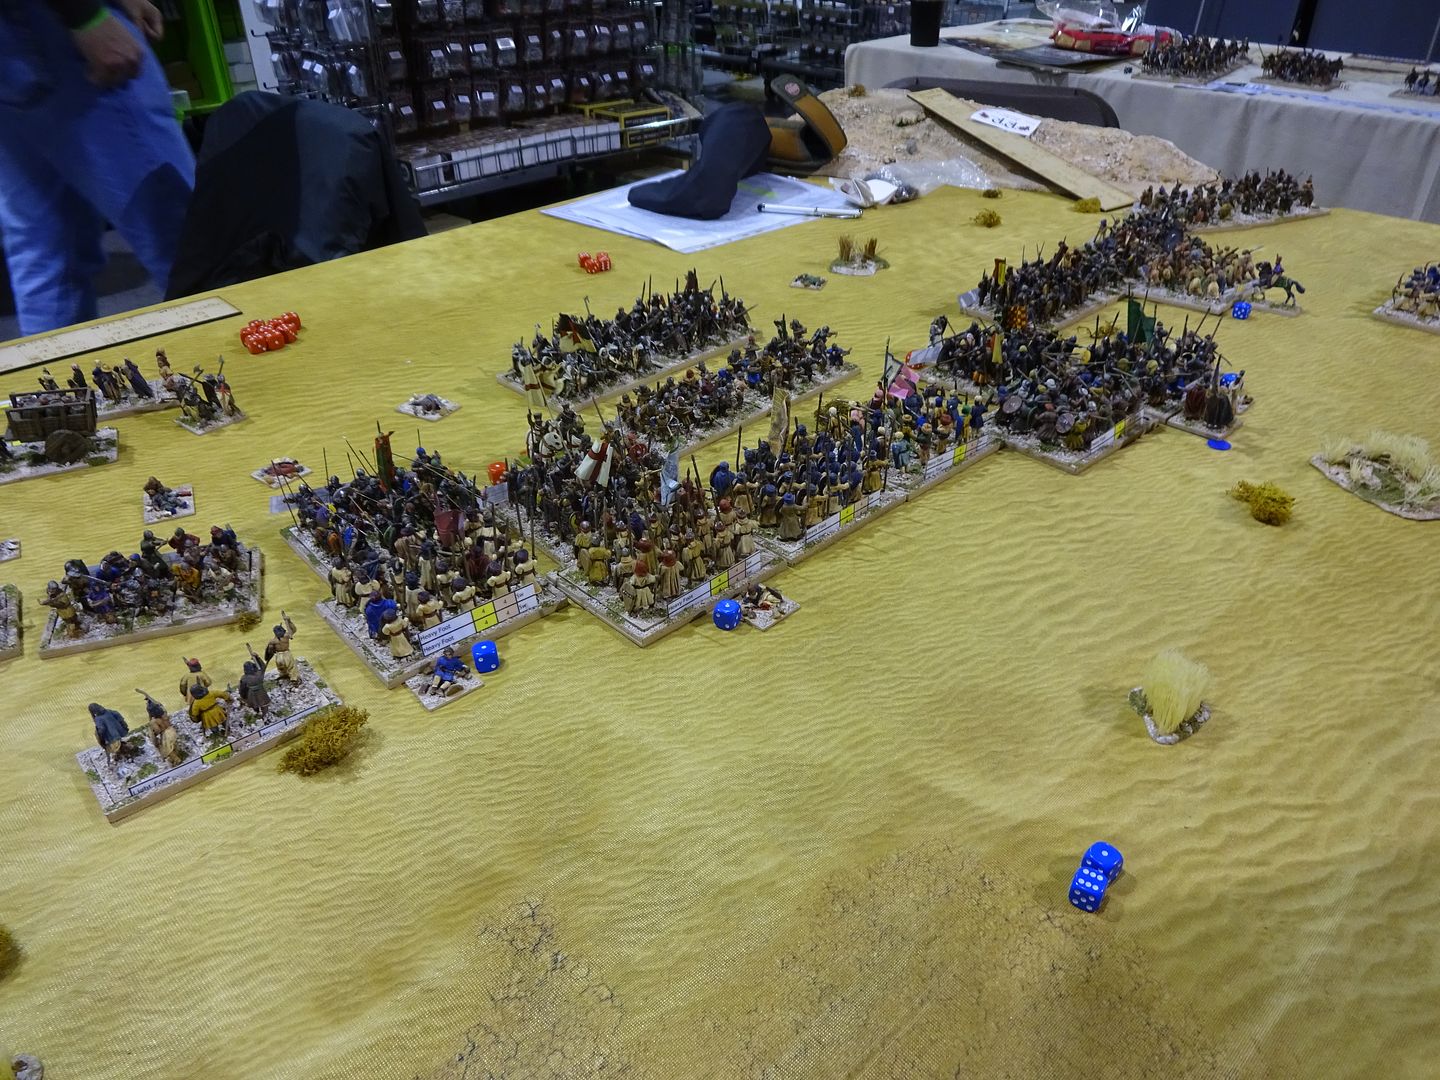
Turkish Center Command
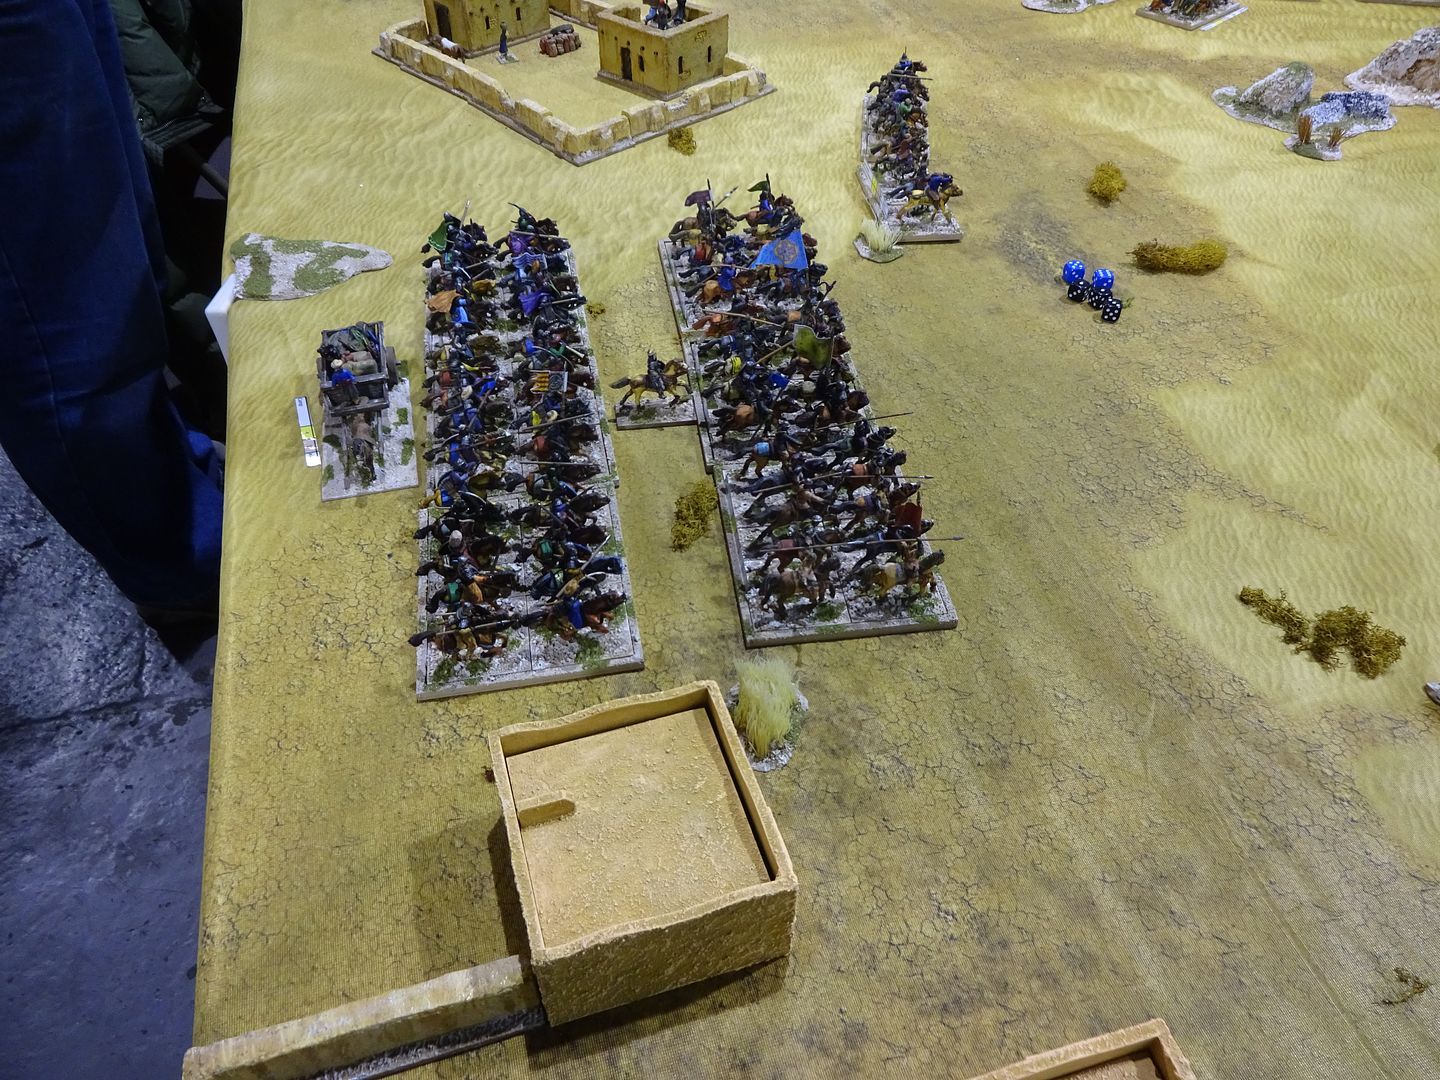
Turkish Left Command
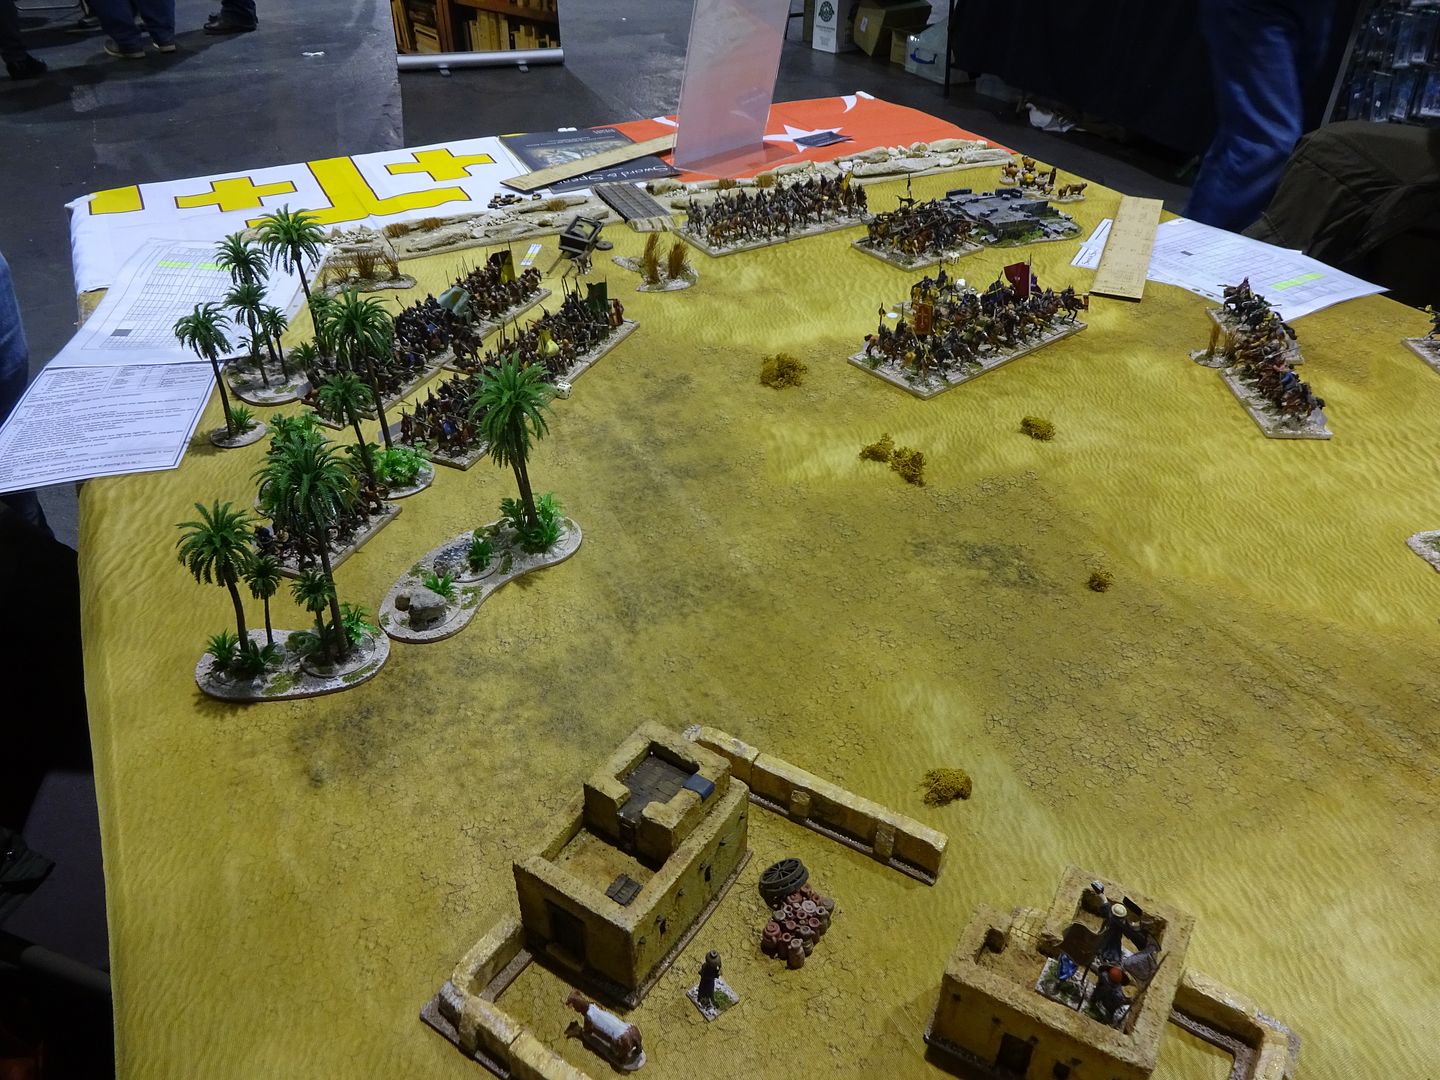
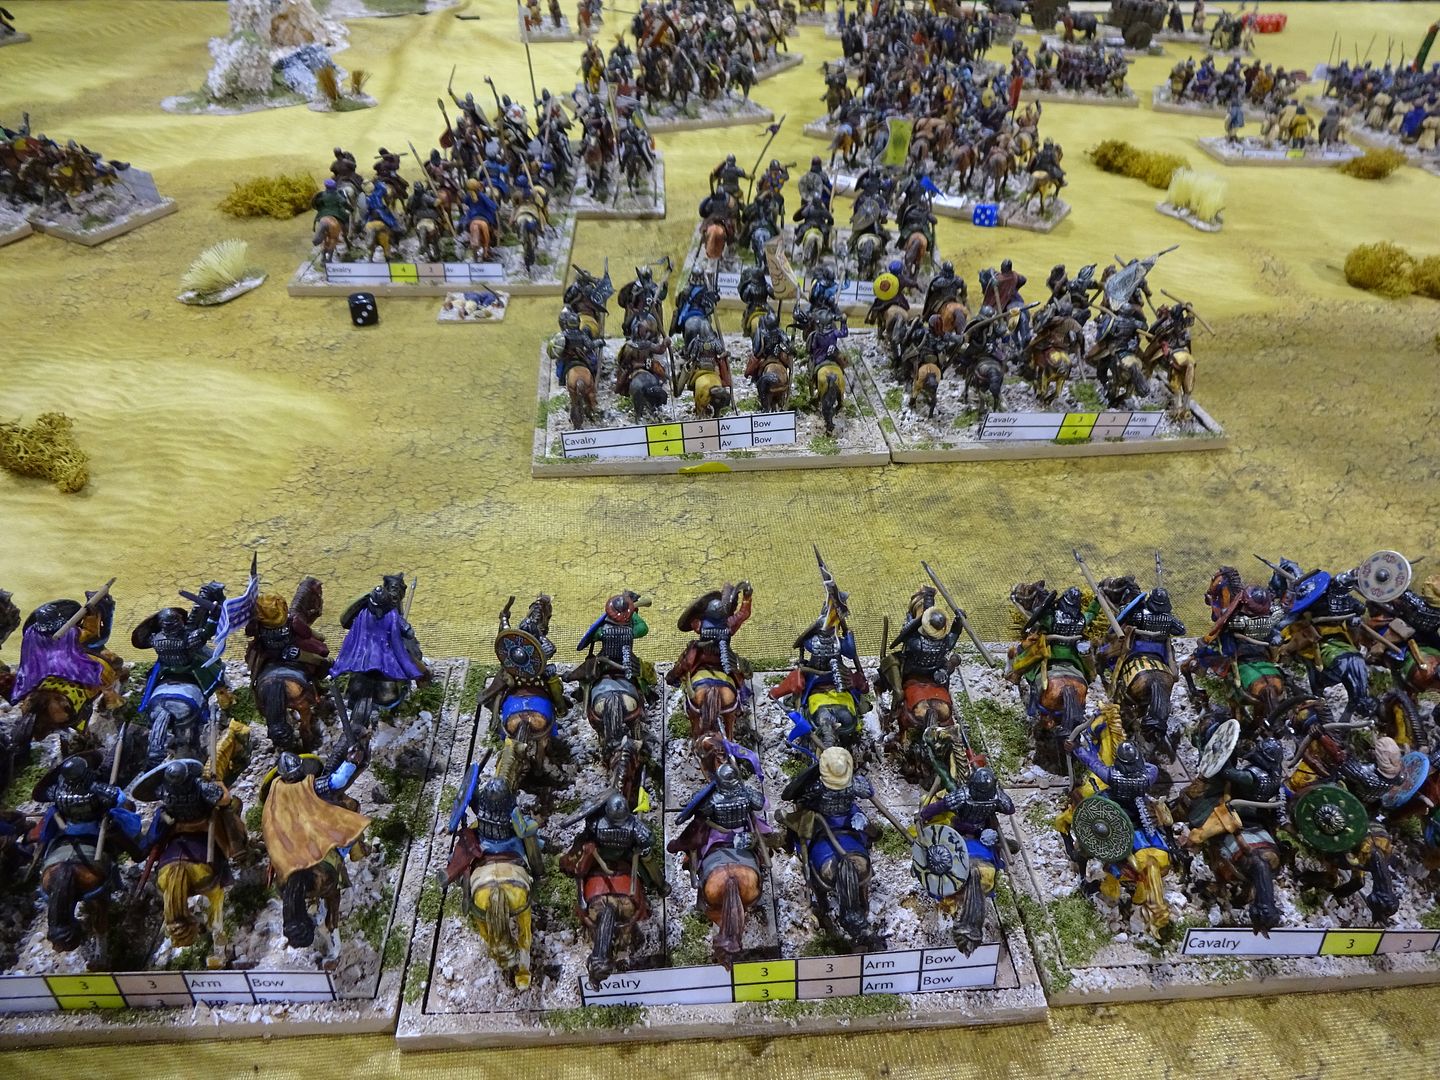
Turn 5 - The Turks will send all their first line unit in.
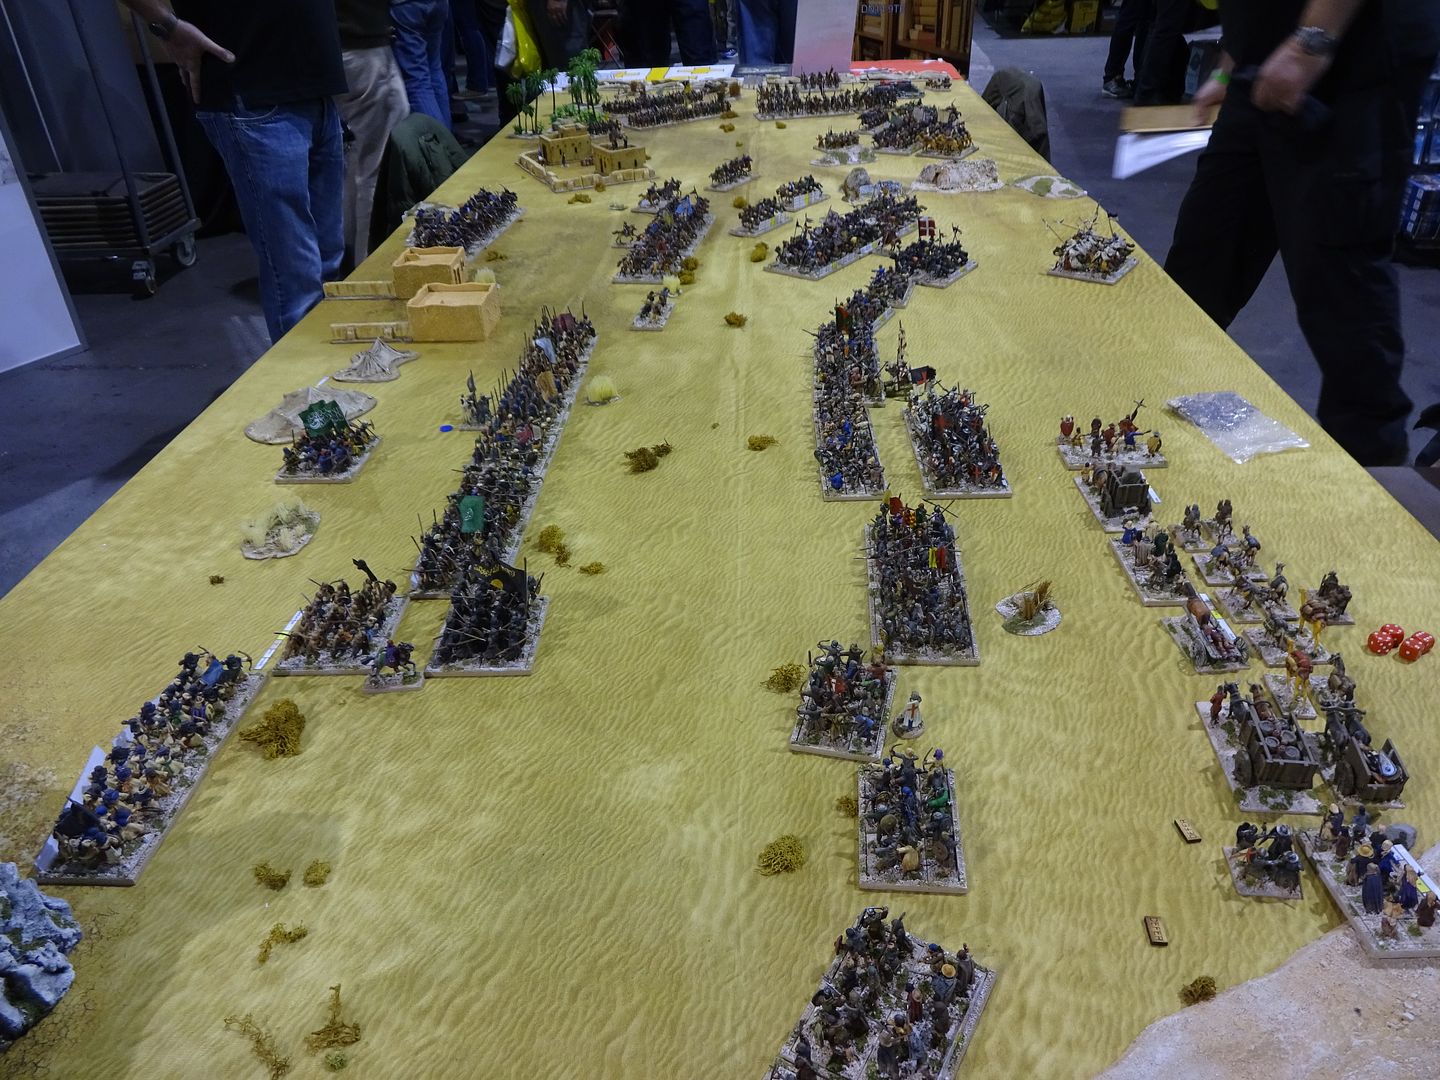
Center
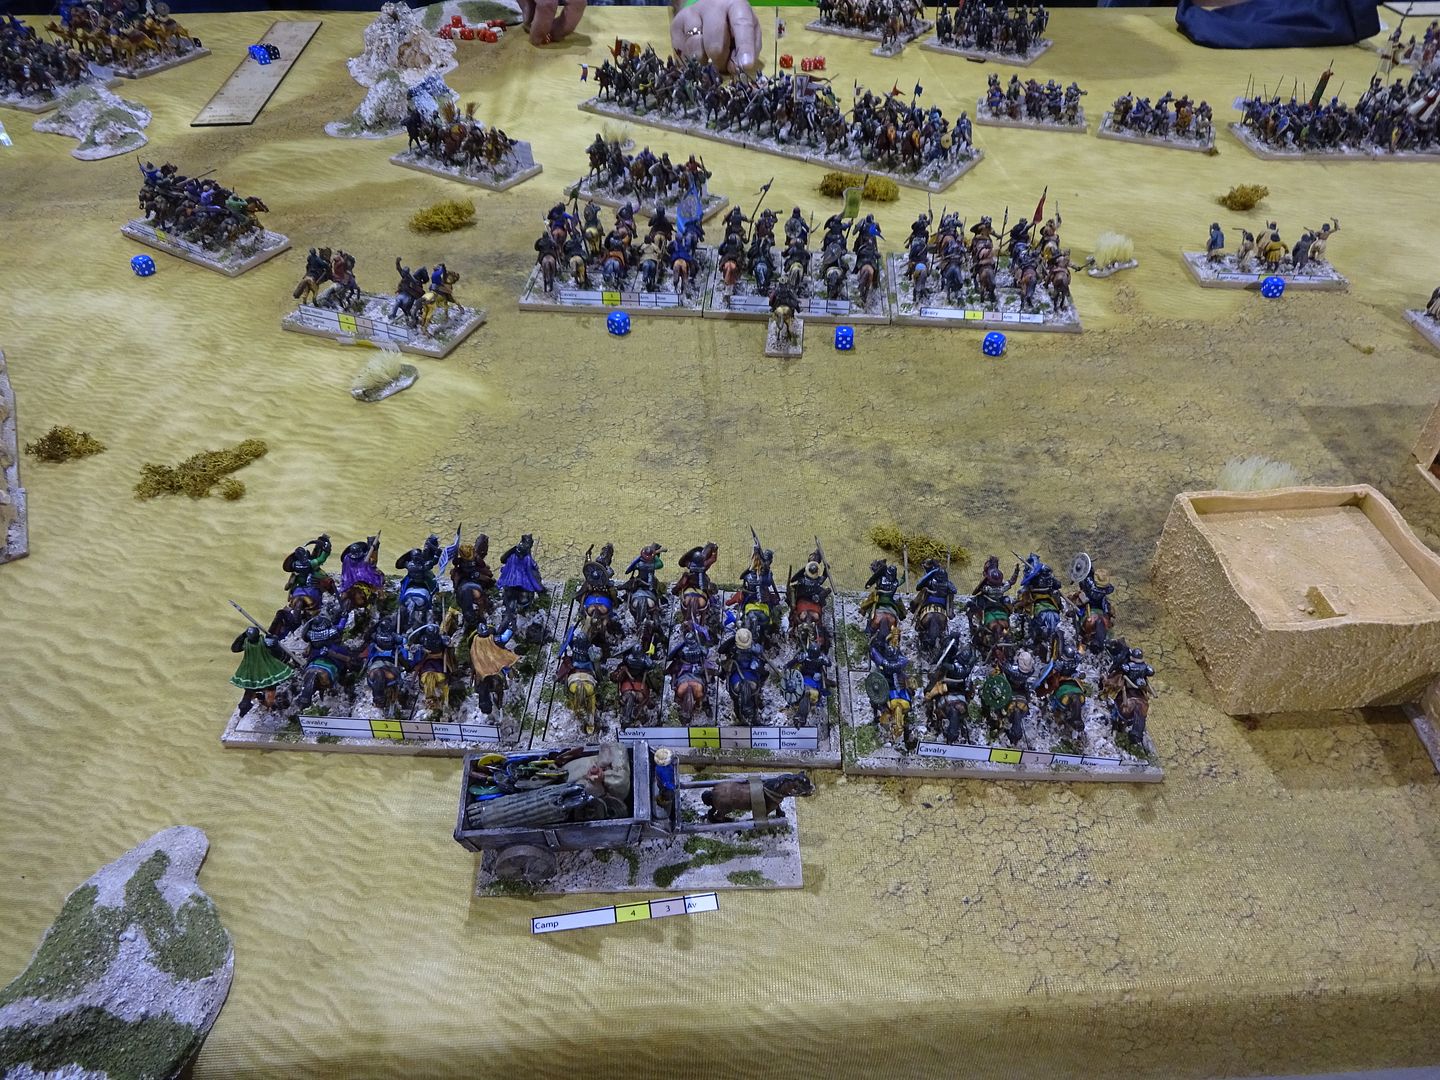
Turkish Right
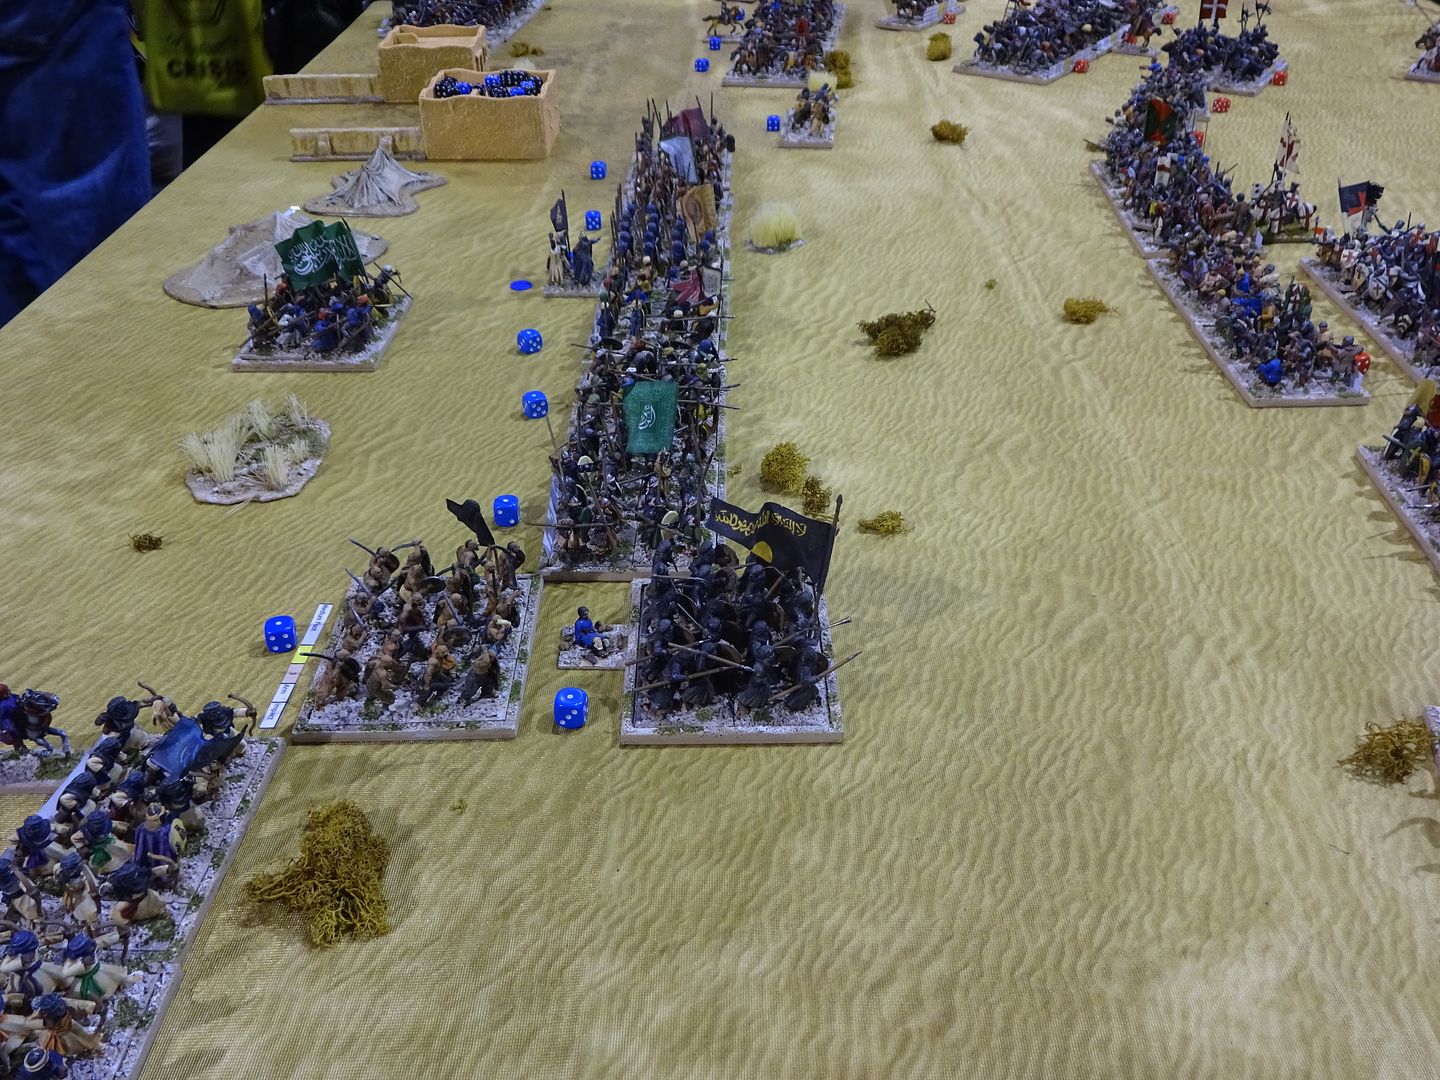
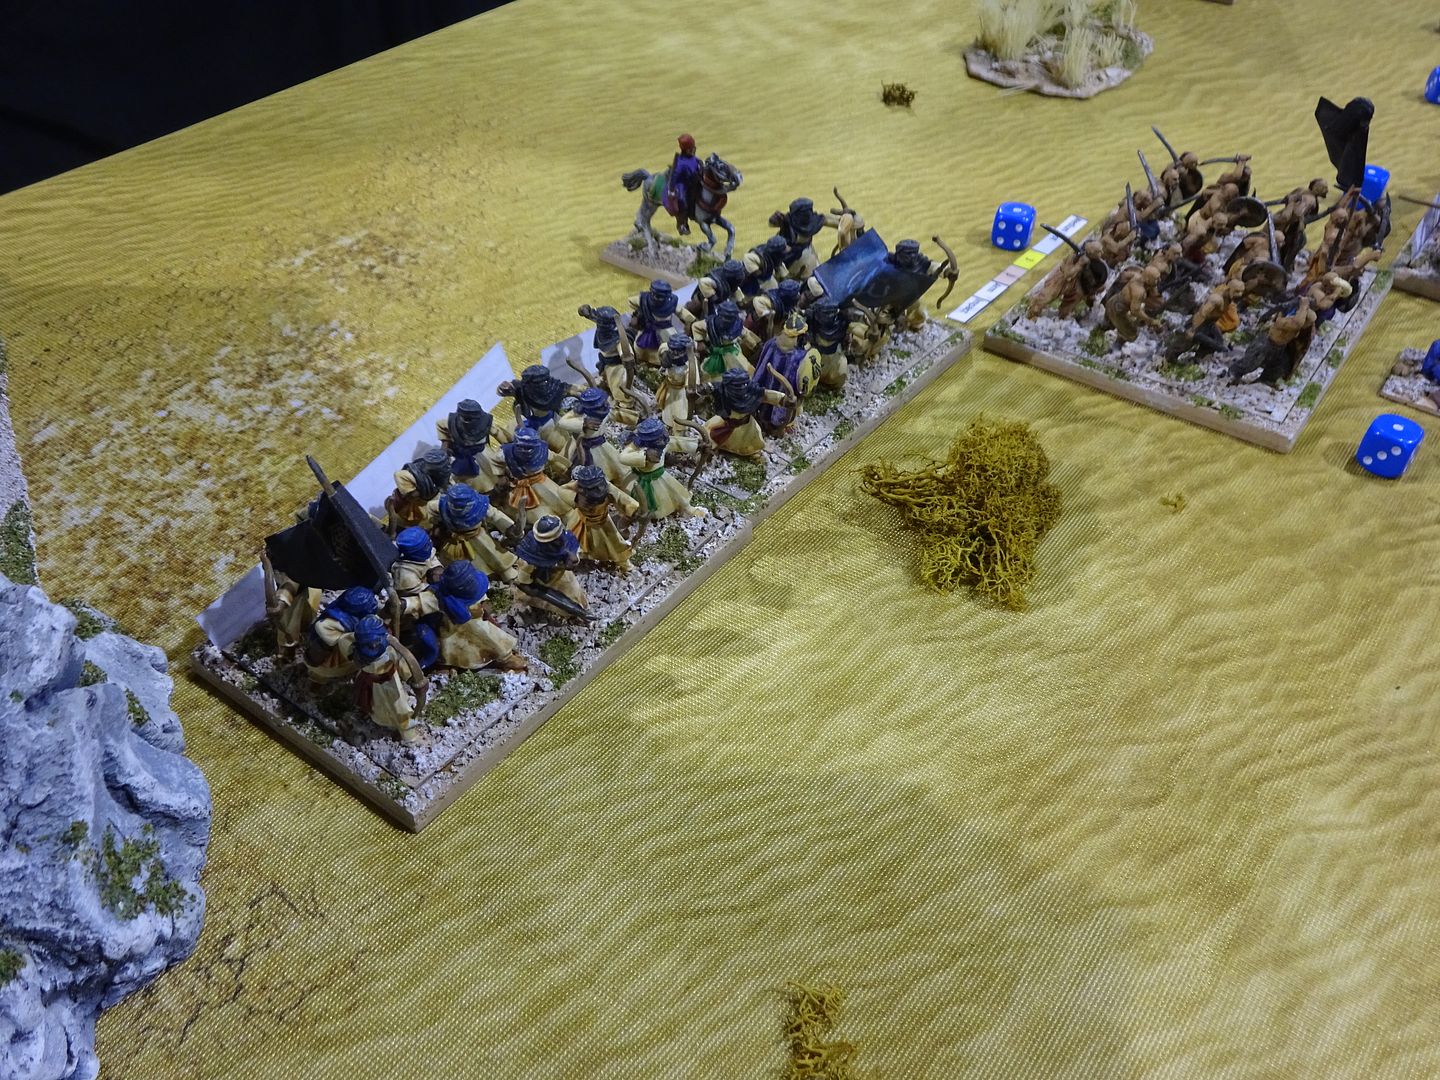
Turkish Left
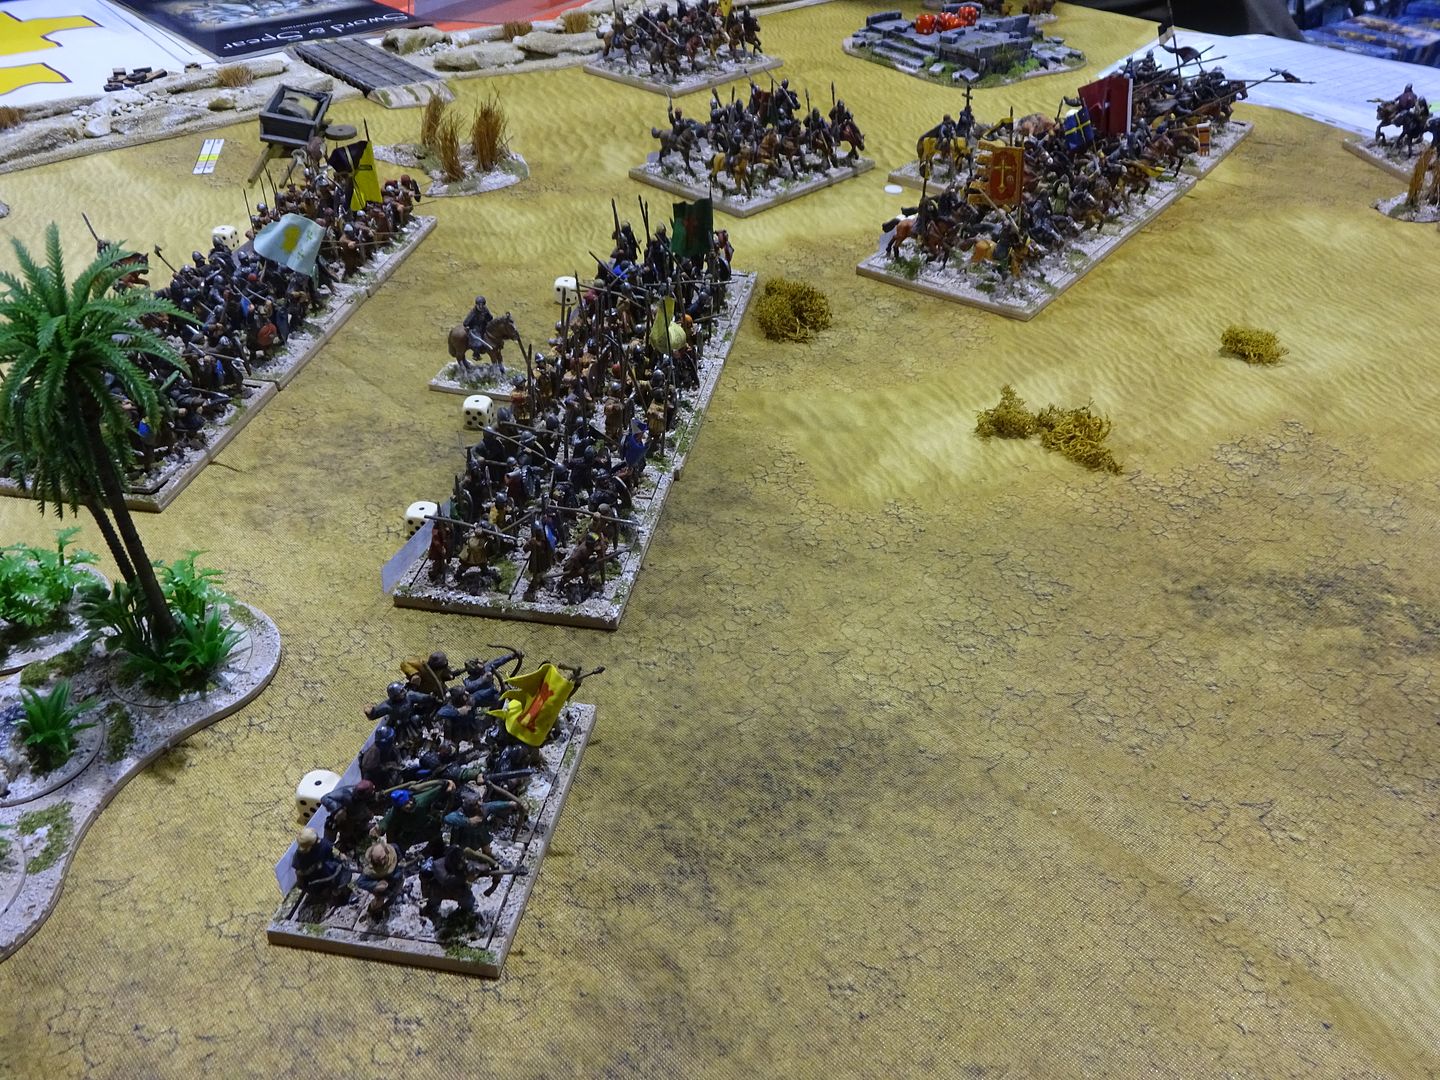
The Crusaders prepare for the onslaught.
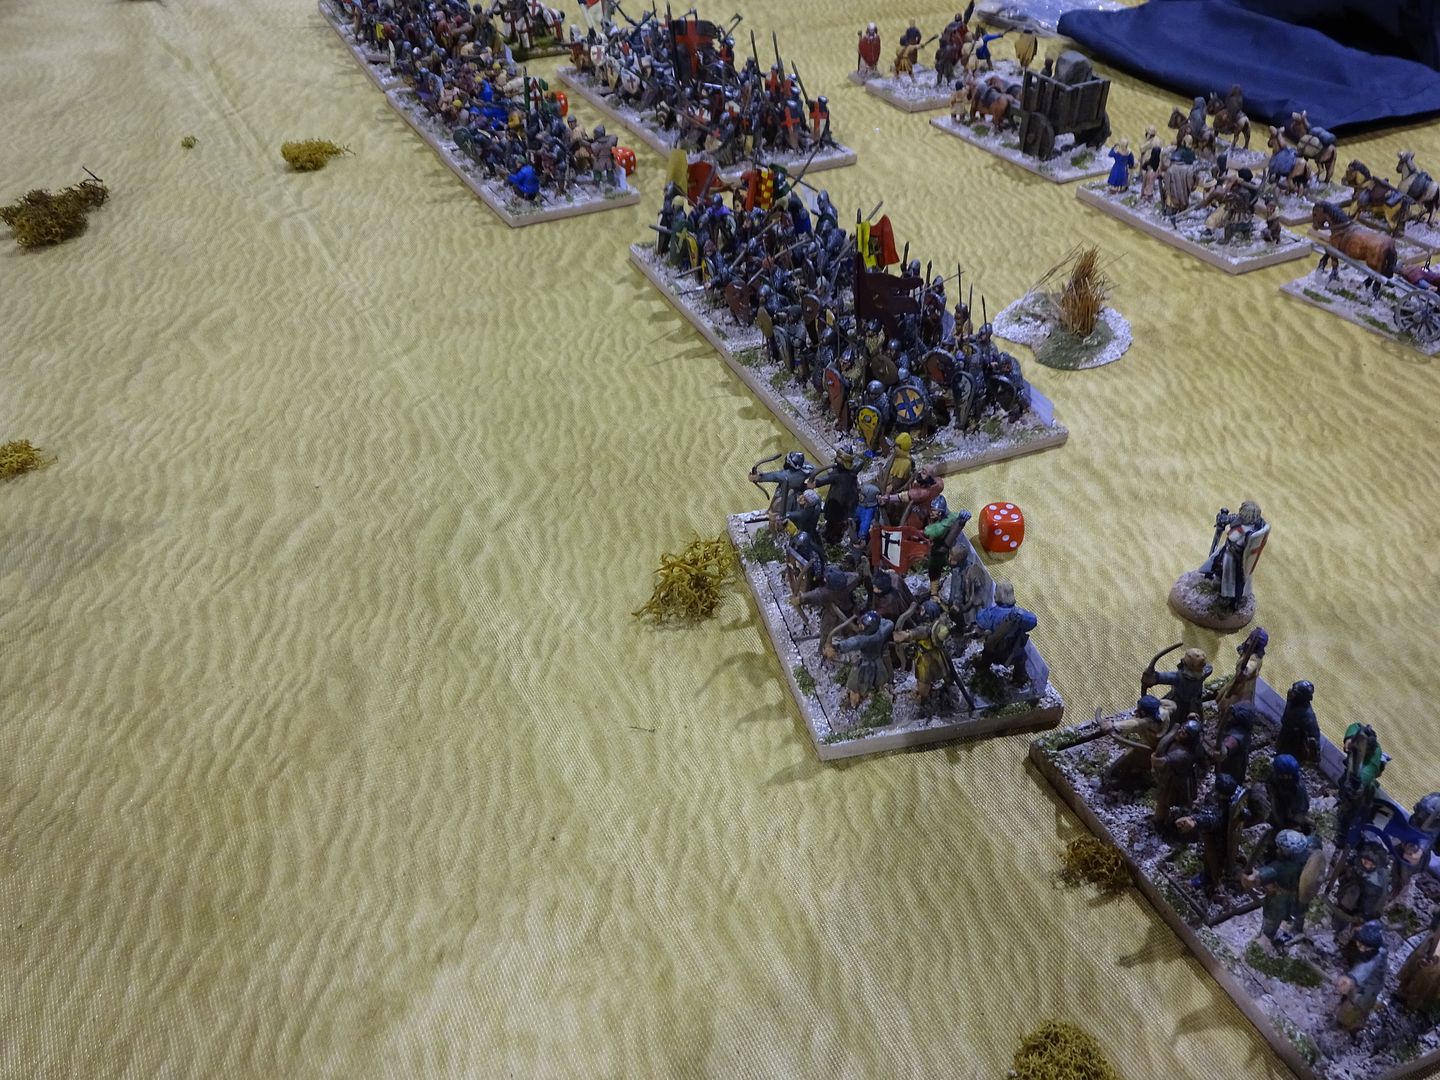
Turn 6 - Pilgrims roll another 2, 8" move. The relief force rolls a 2 for Cavalry and a 1 for Infantry to deploy this turn.
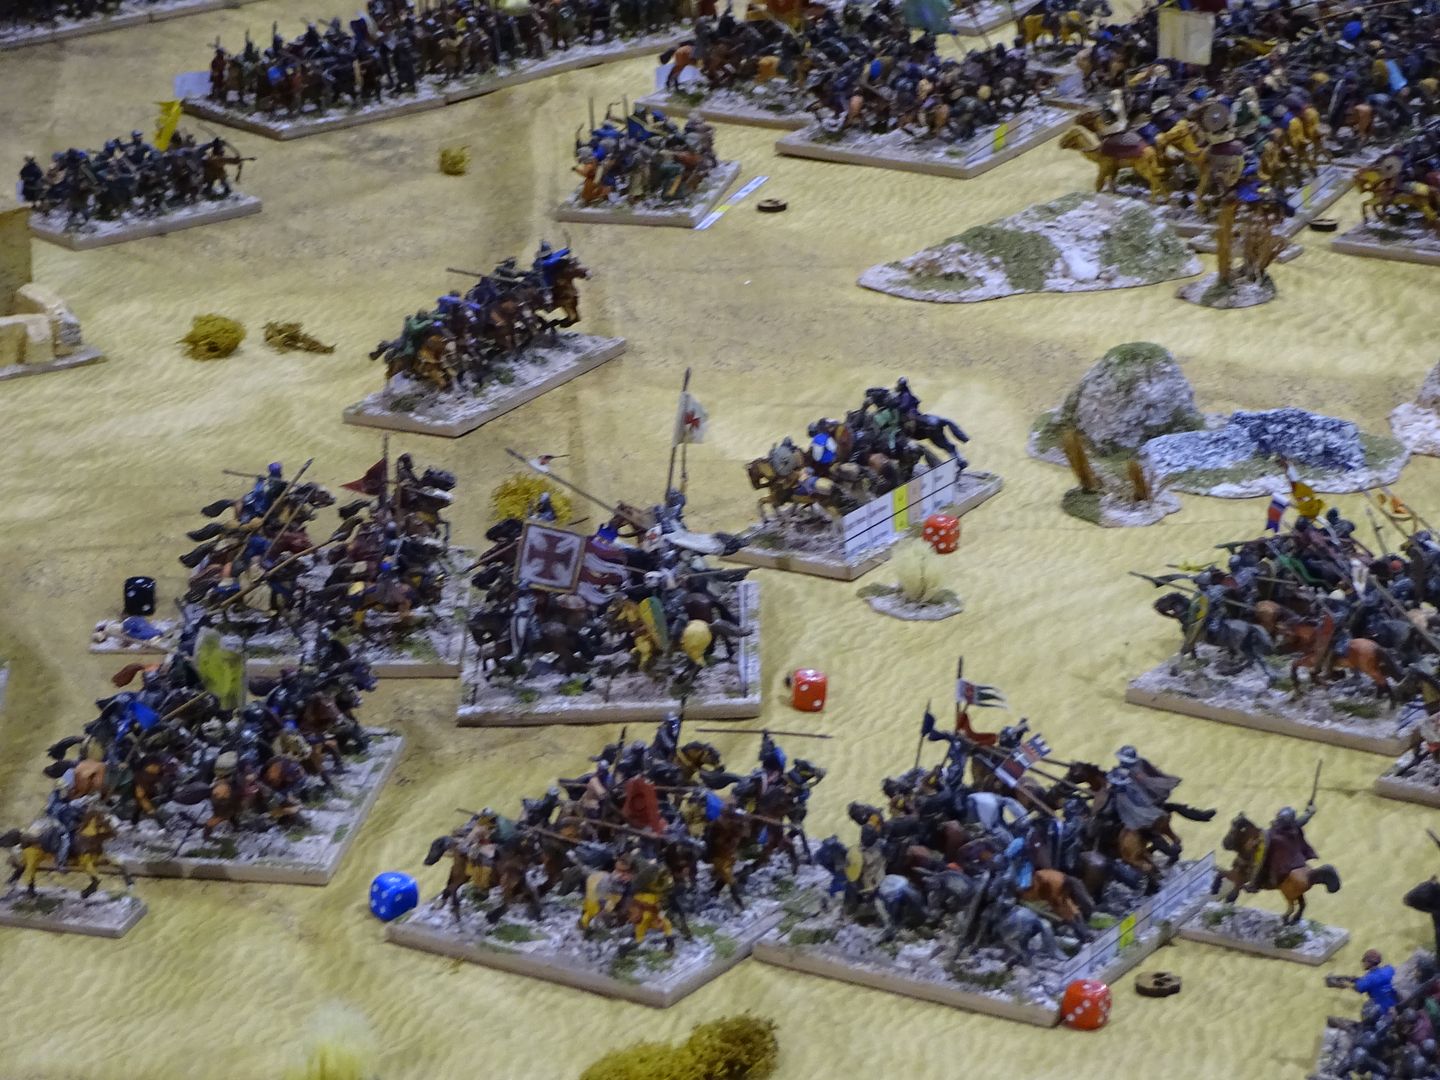
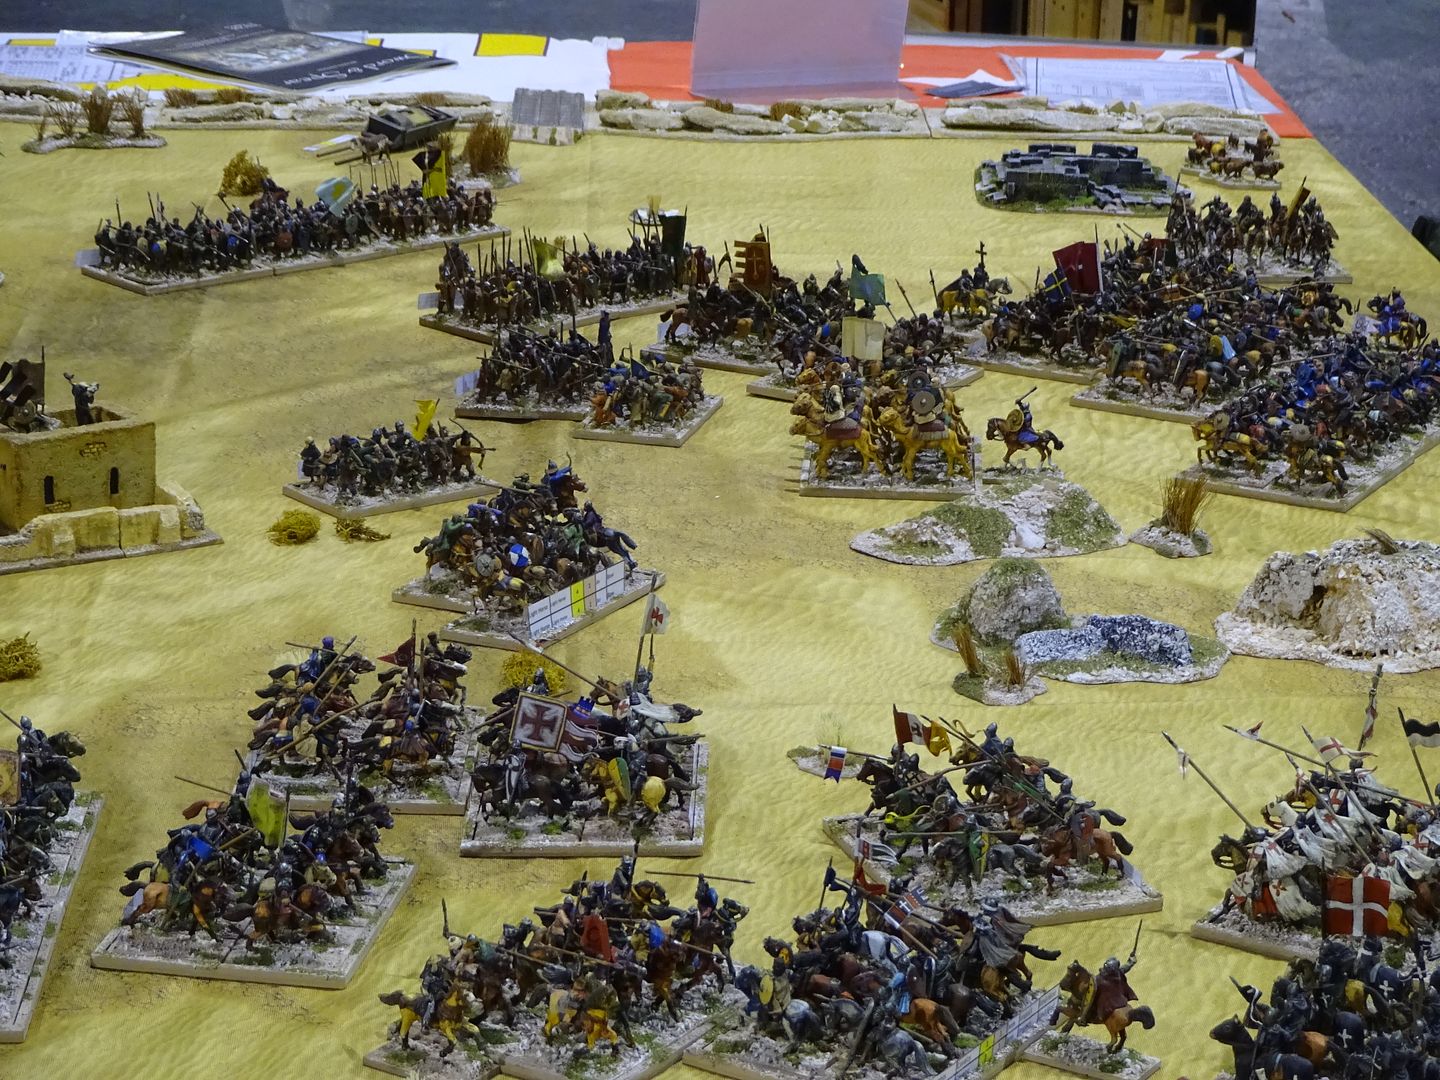
Both sides' Light Horse are in the thick of it!
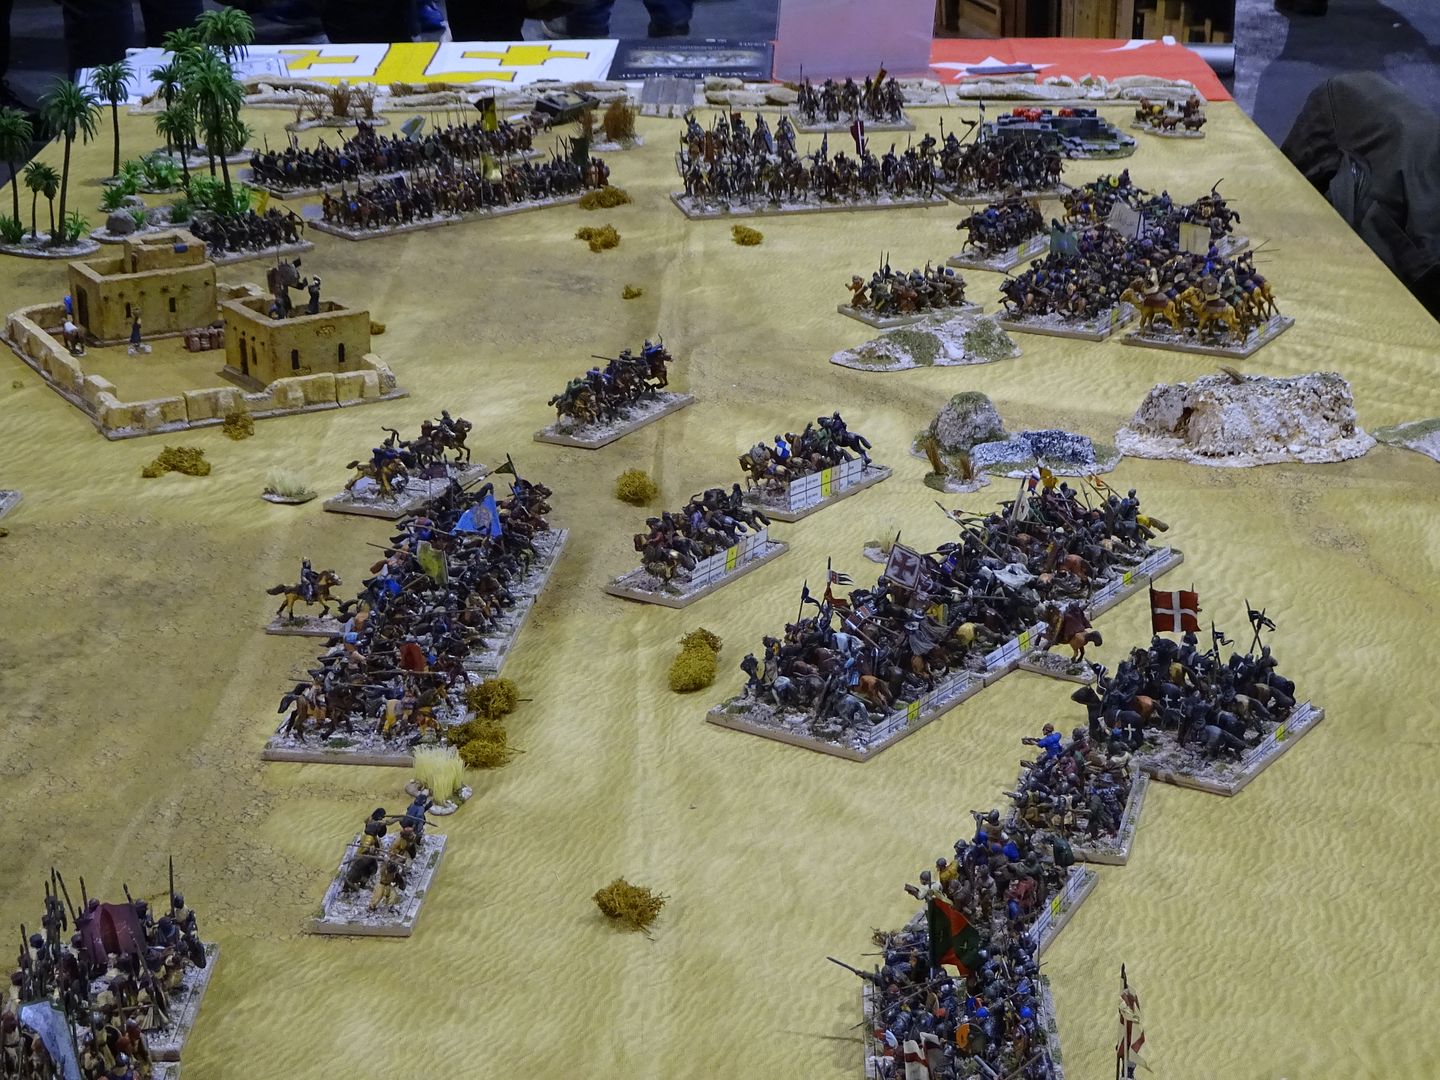
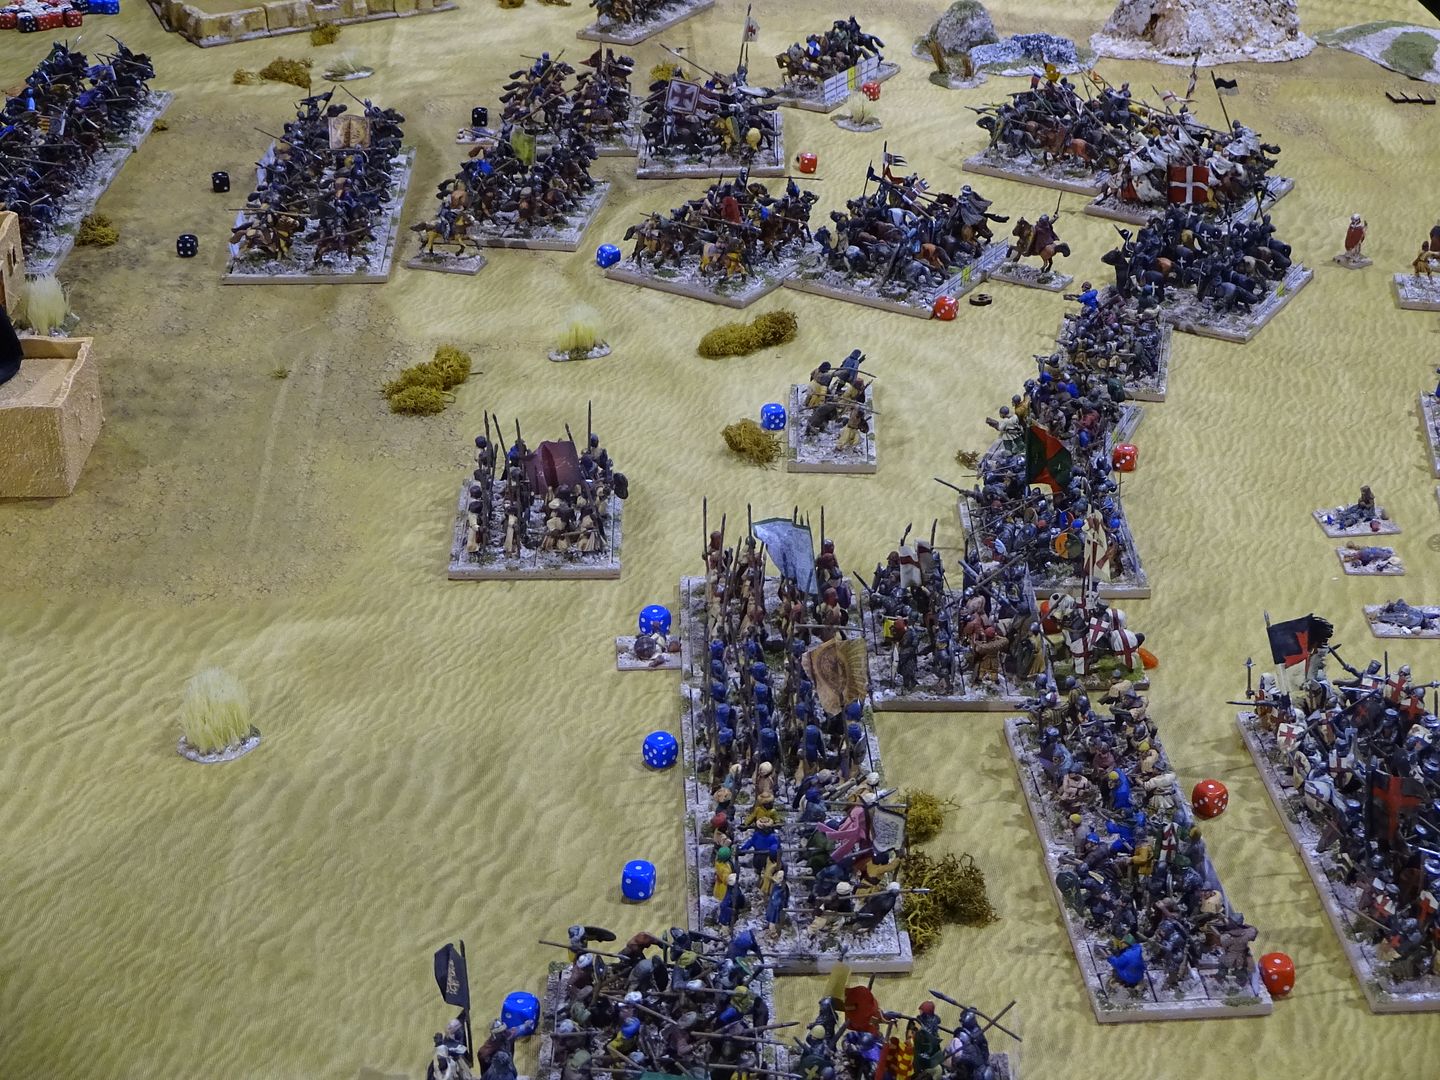
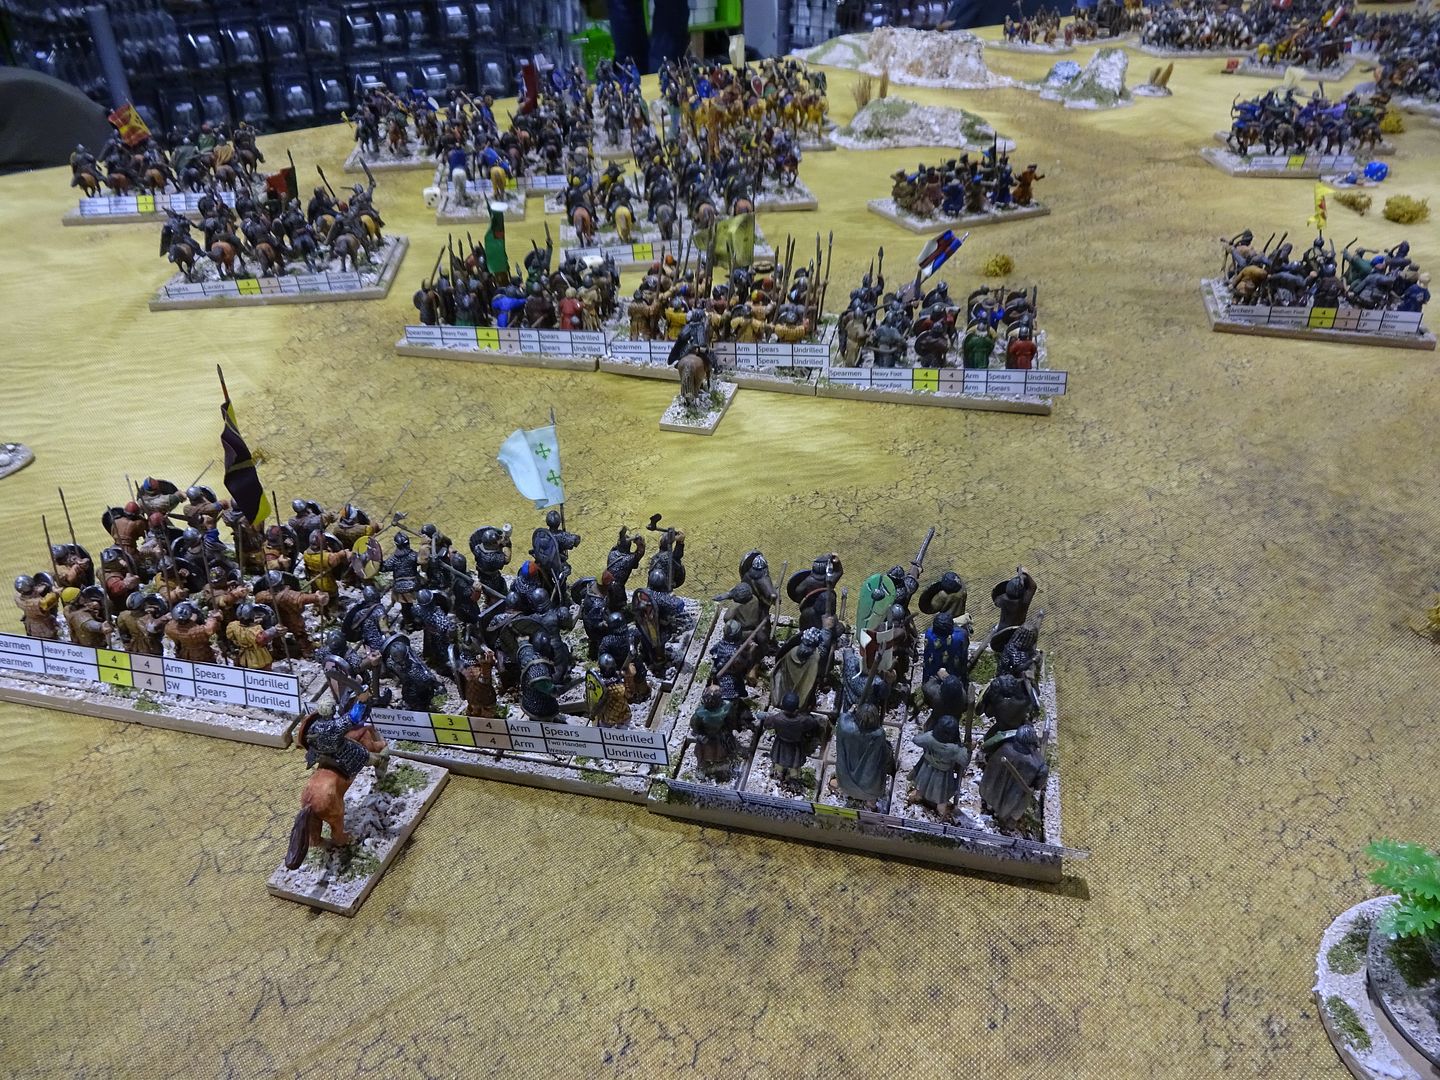
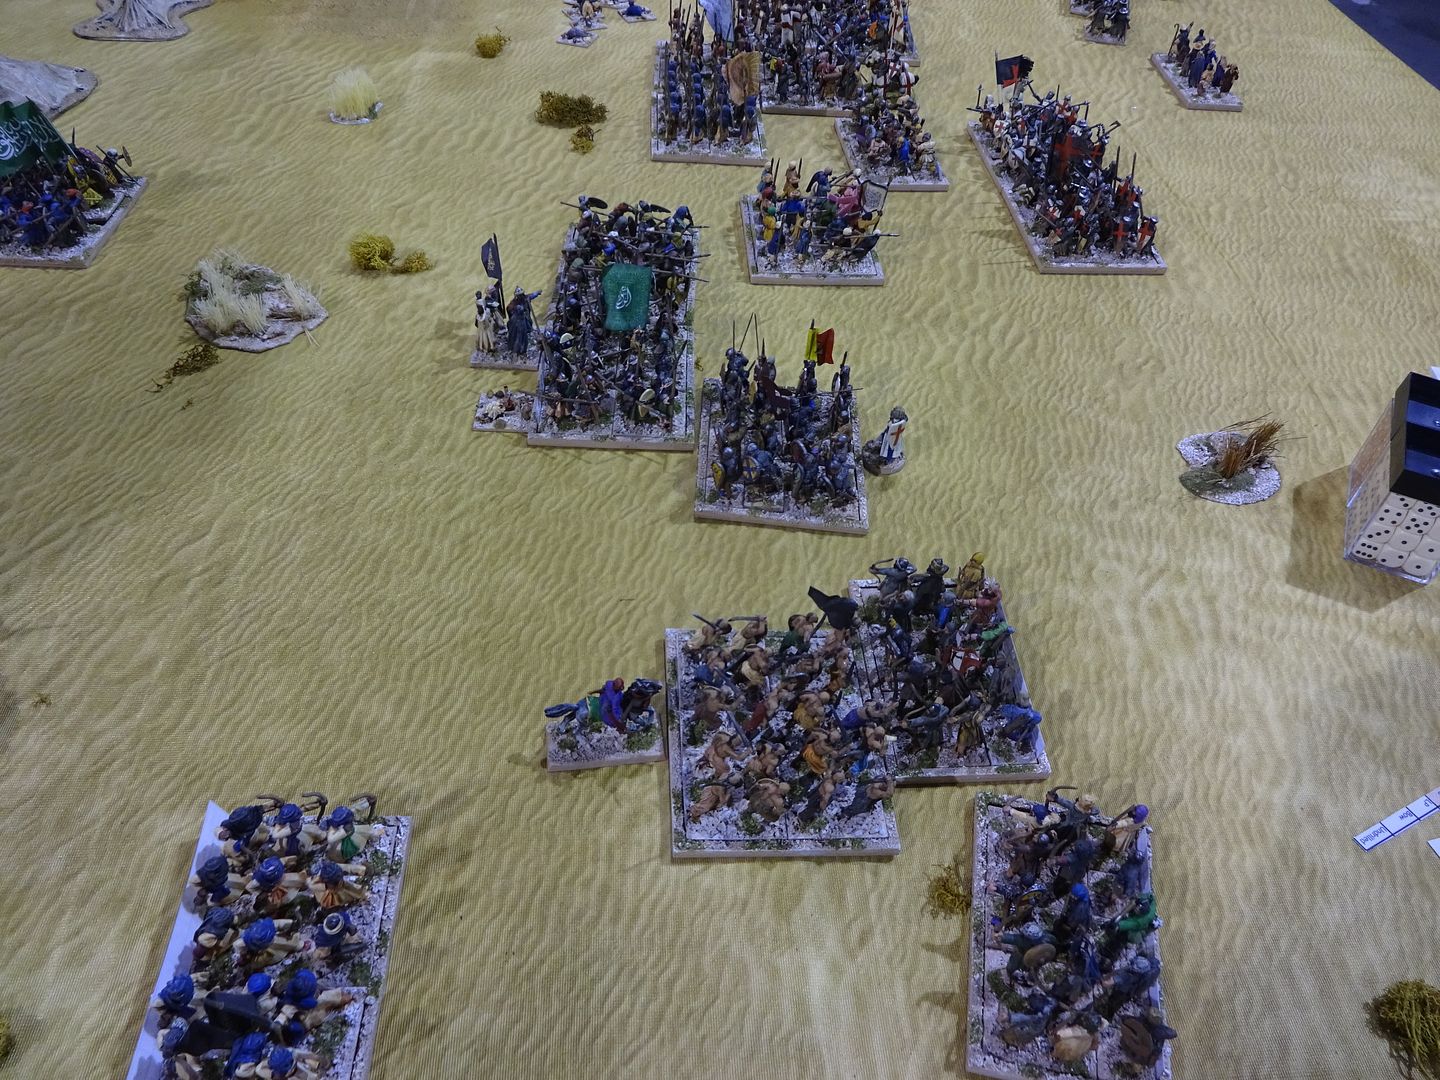
At this point, we placed all the relief force on, as we were running out of time, so here are some eye candy of the rest of the game. The Pilgrims failed to get to the promise land as they all began to panic over the next three turns and had to move away from the enemy!
The Relief force get organised
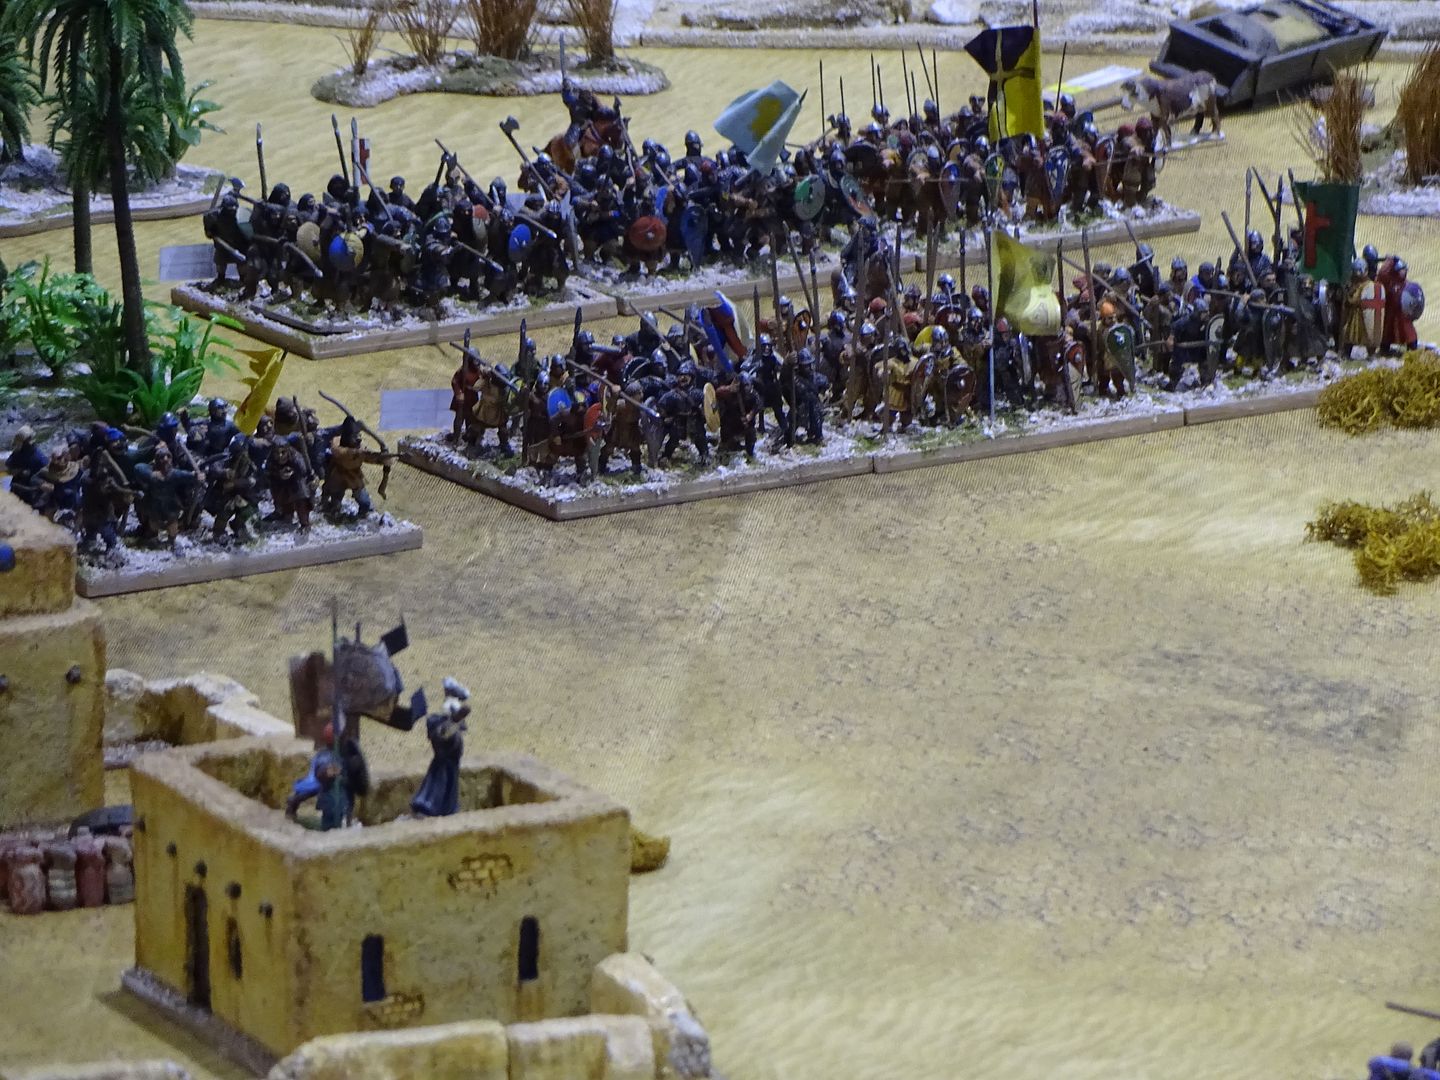
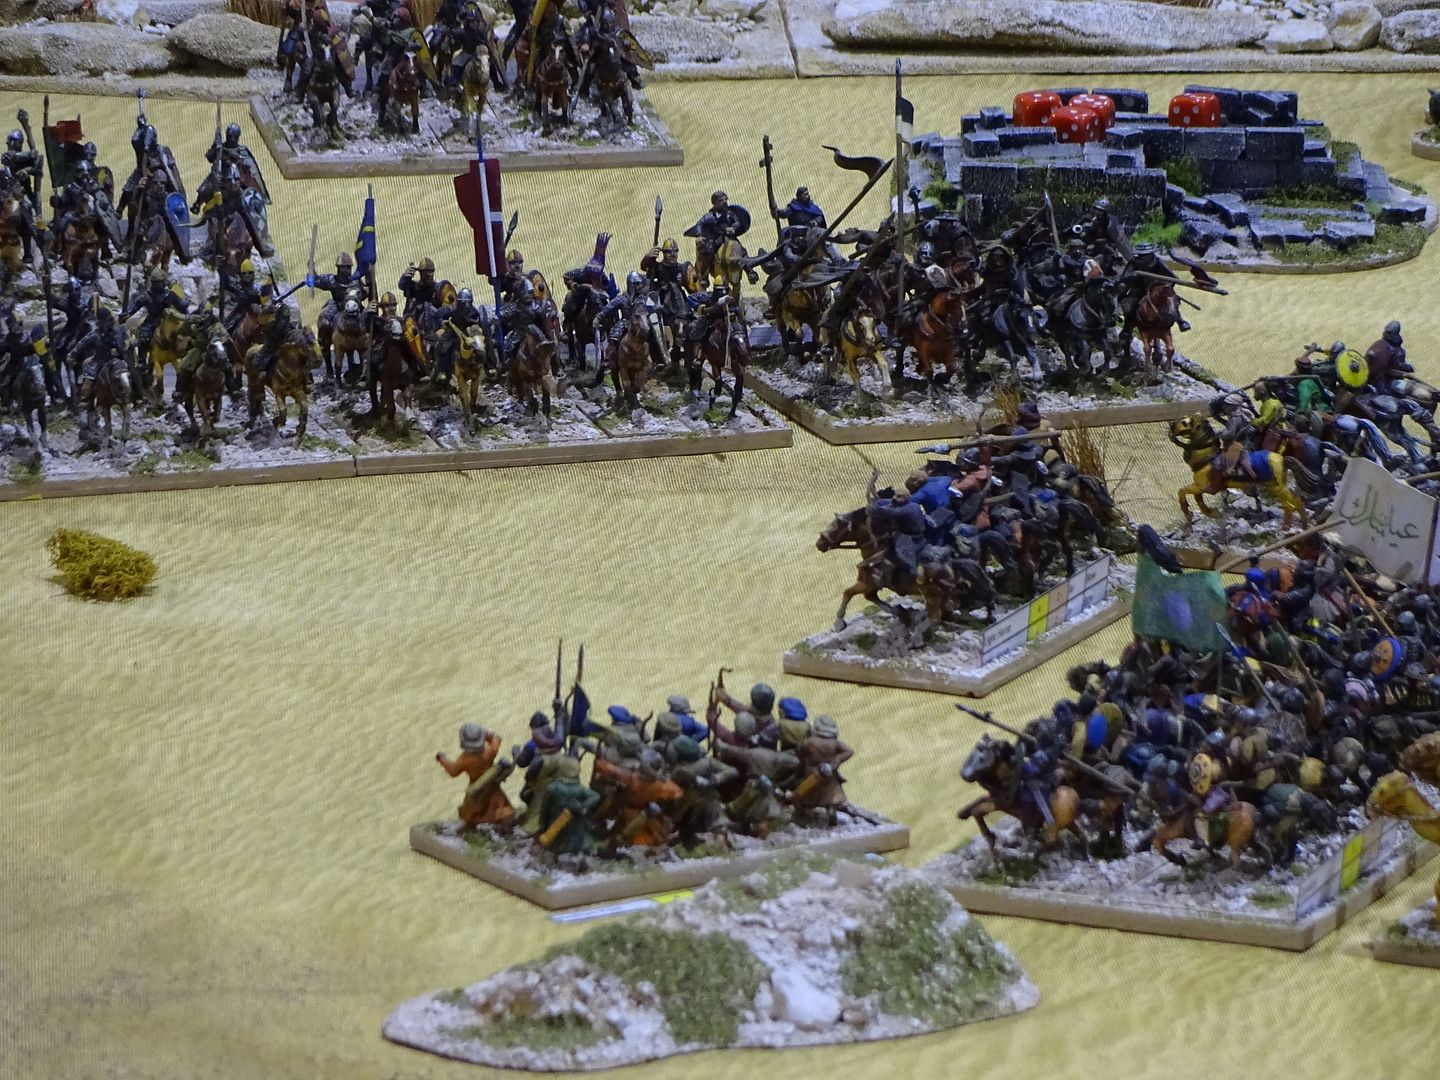
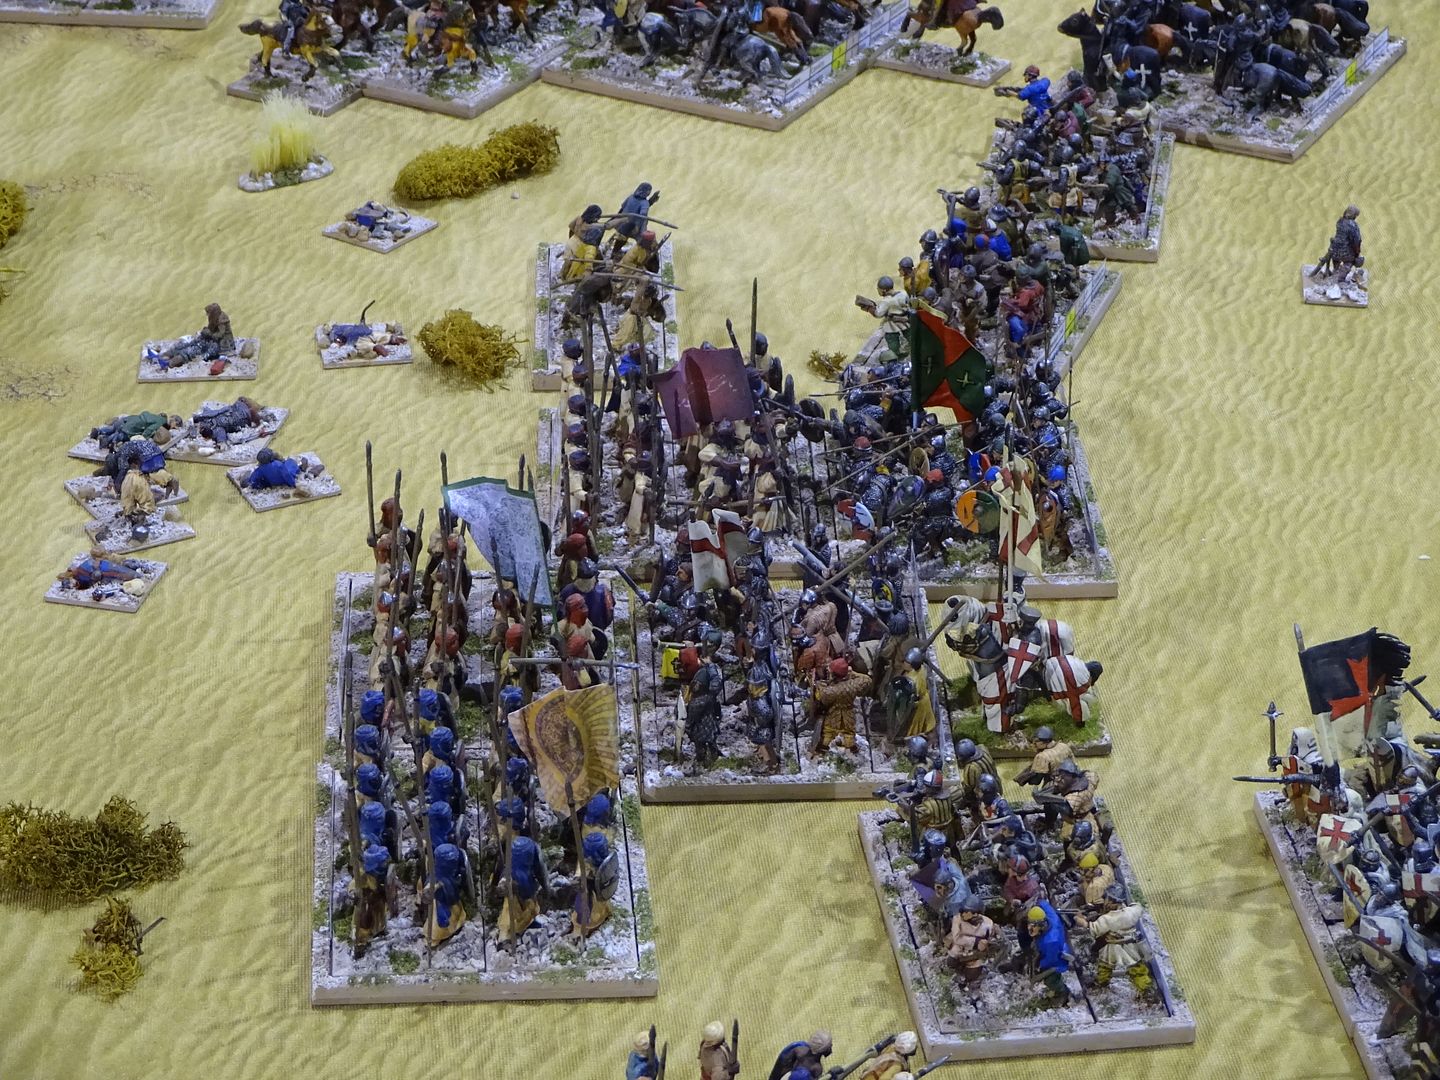
The scrap in the middle, no units were dying
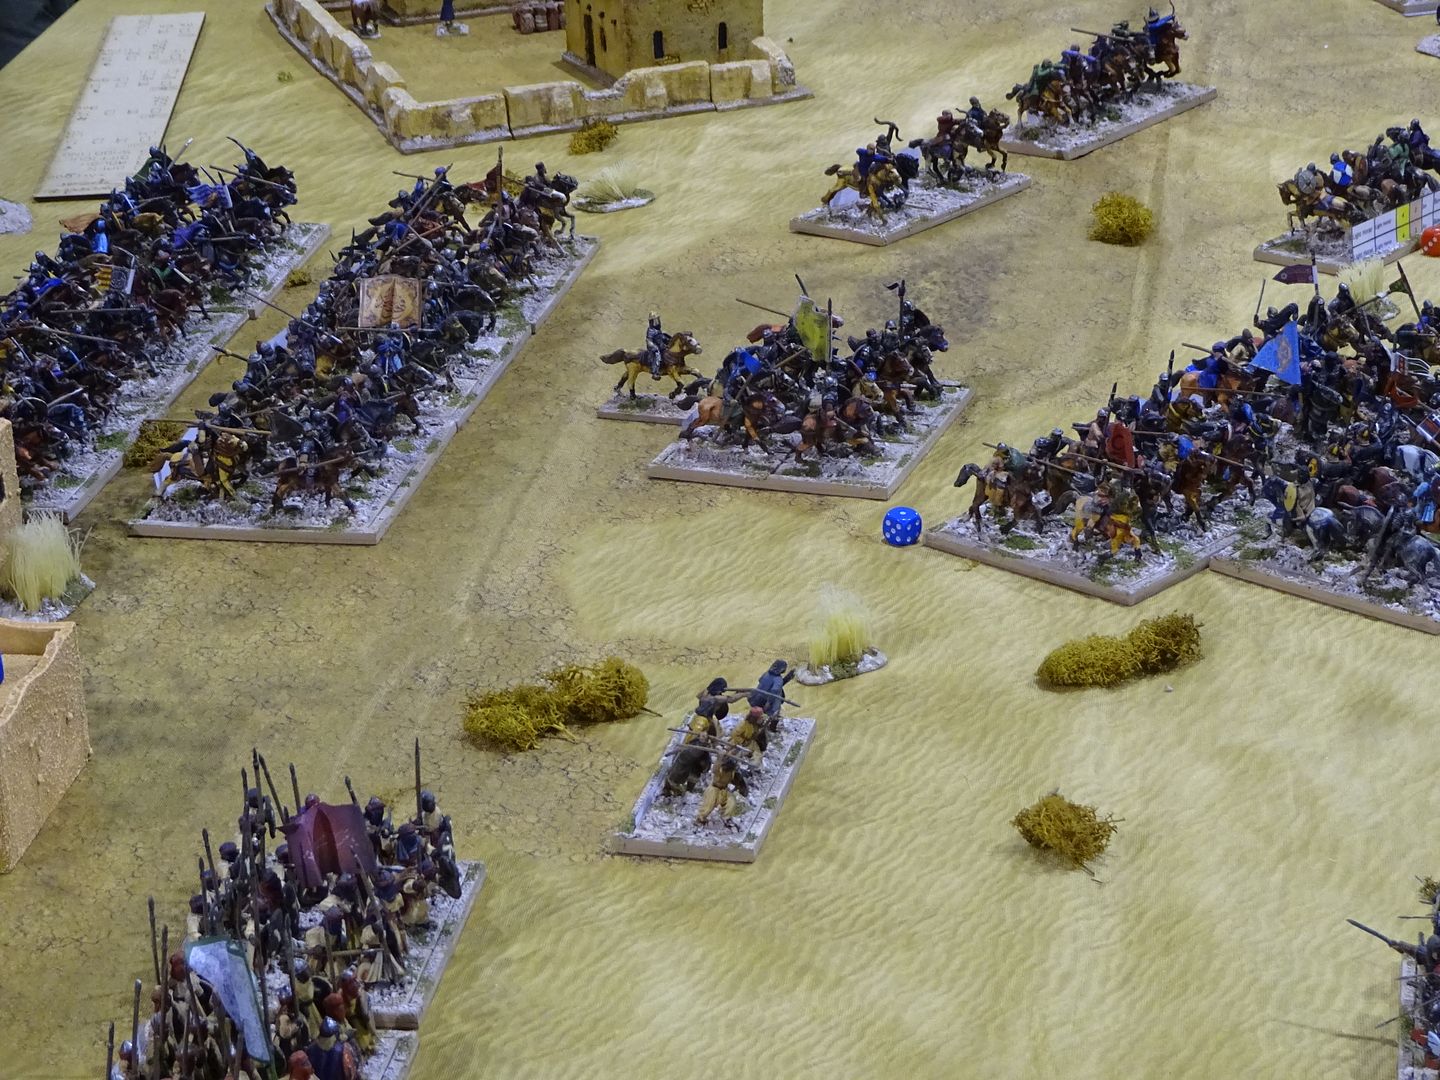
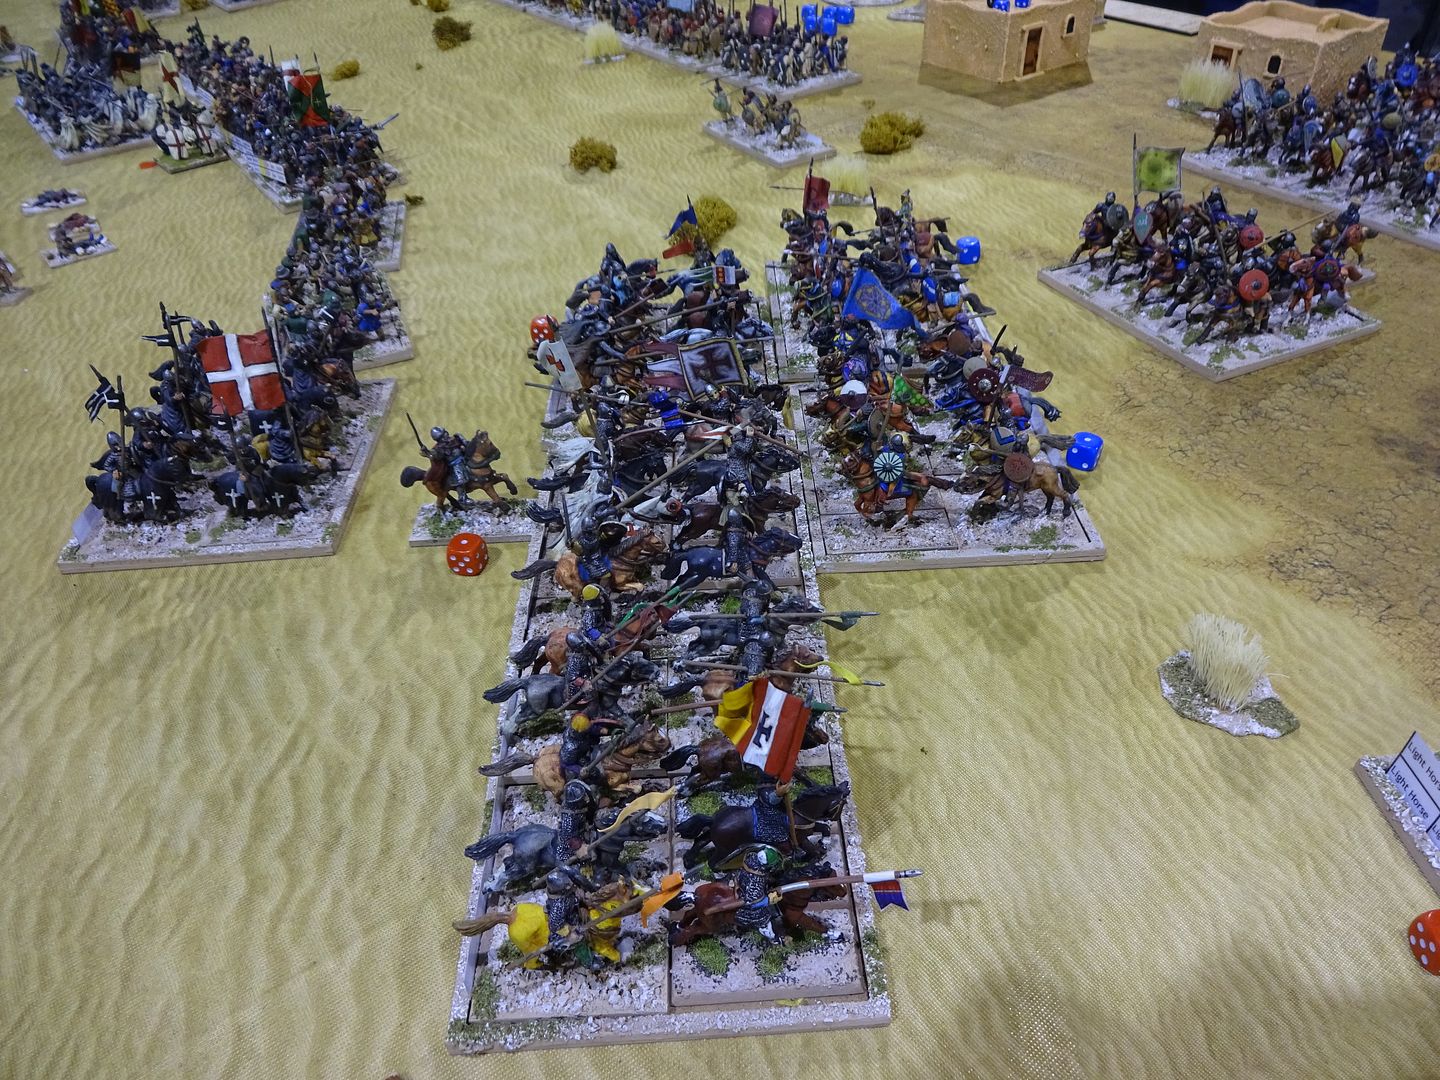
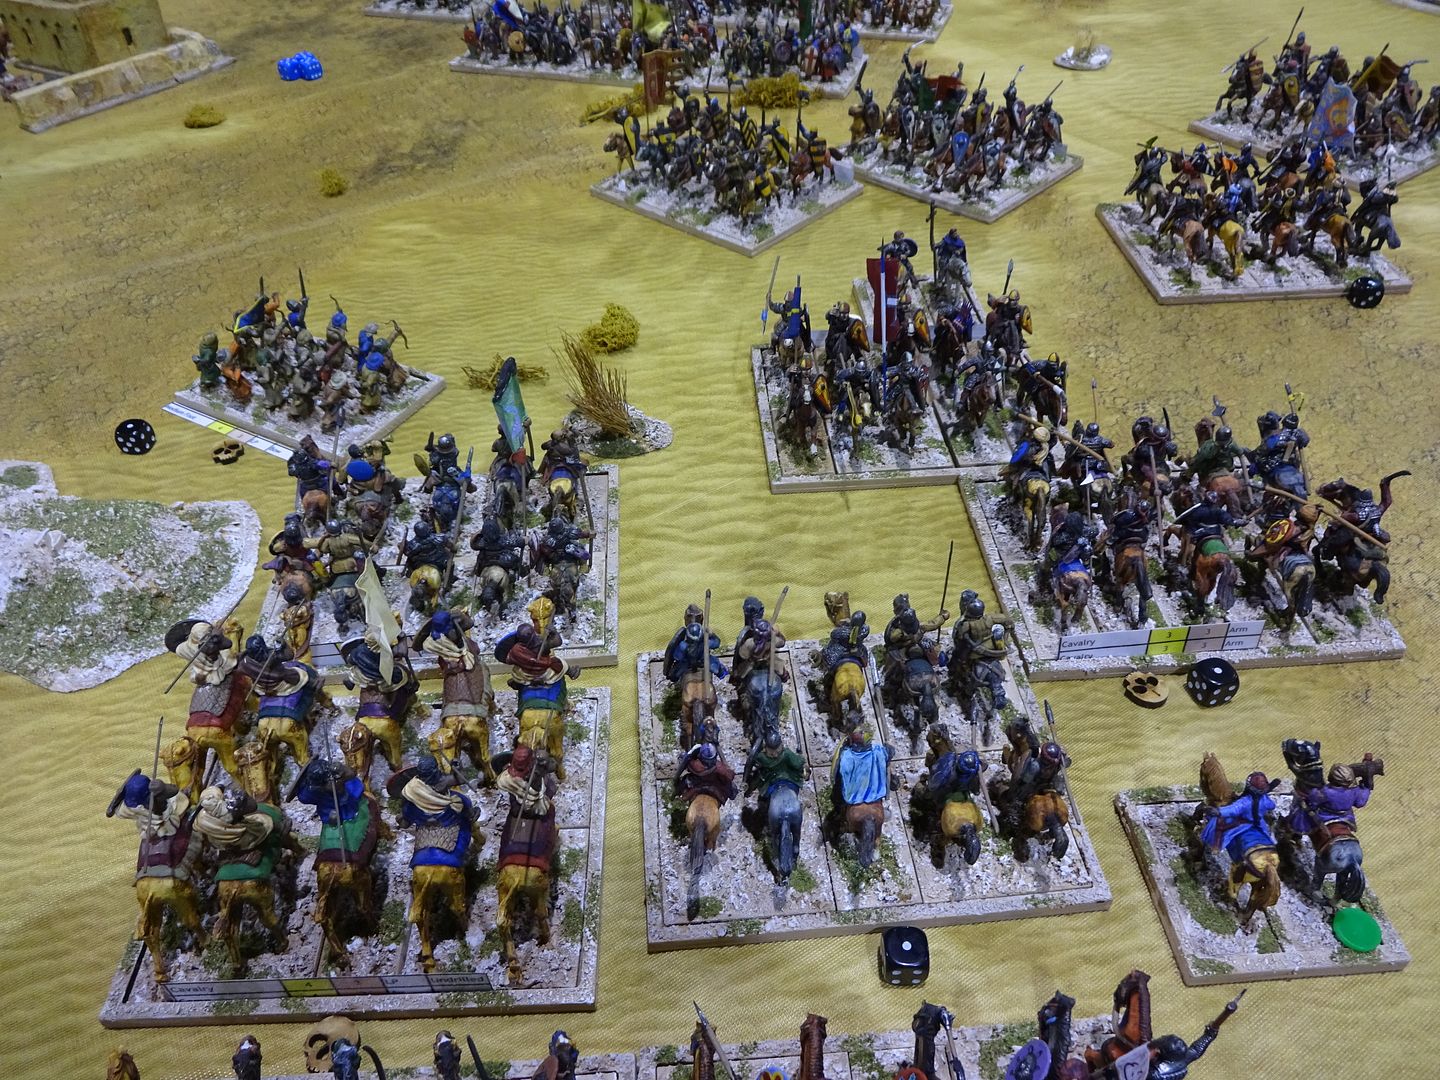
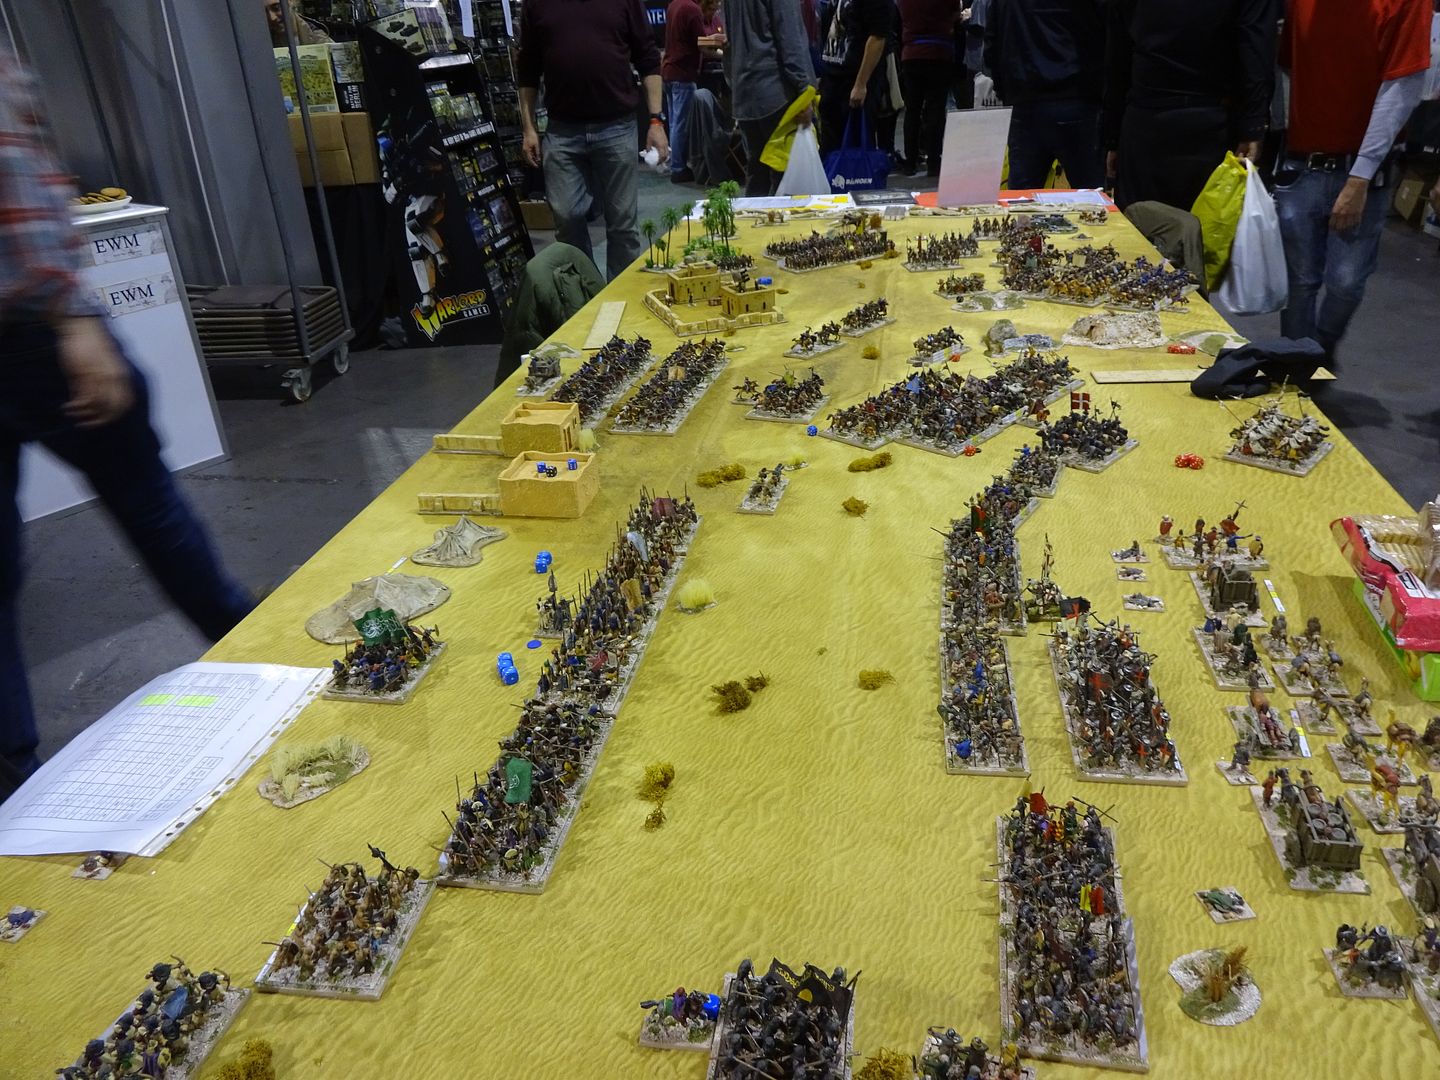
Turn 8 - Final turn
No comments:
Post a Comment