Search This Blog

Sunday 15 March 2020

Rapid Fire - Normandy on a 54 foot table

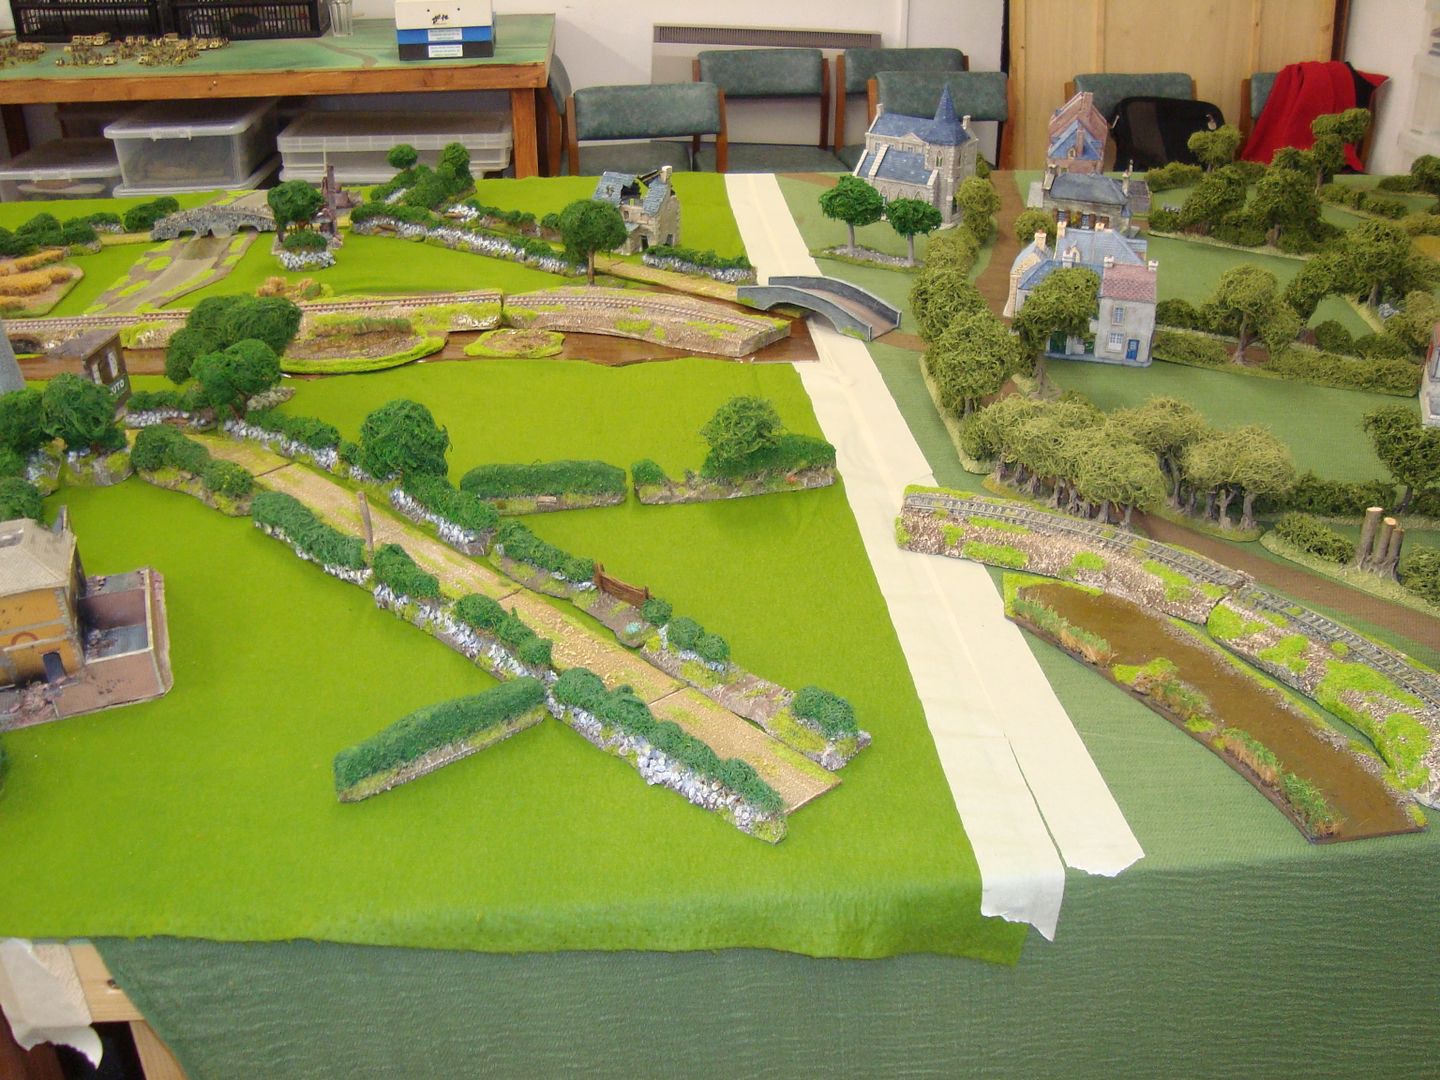
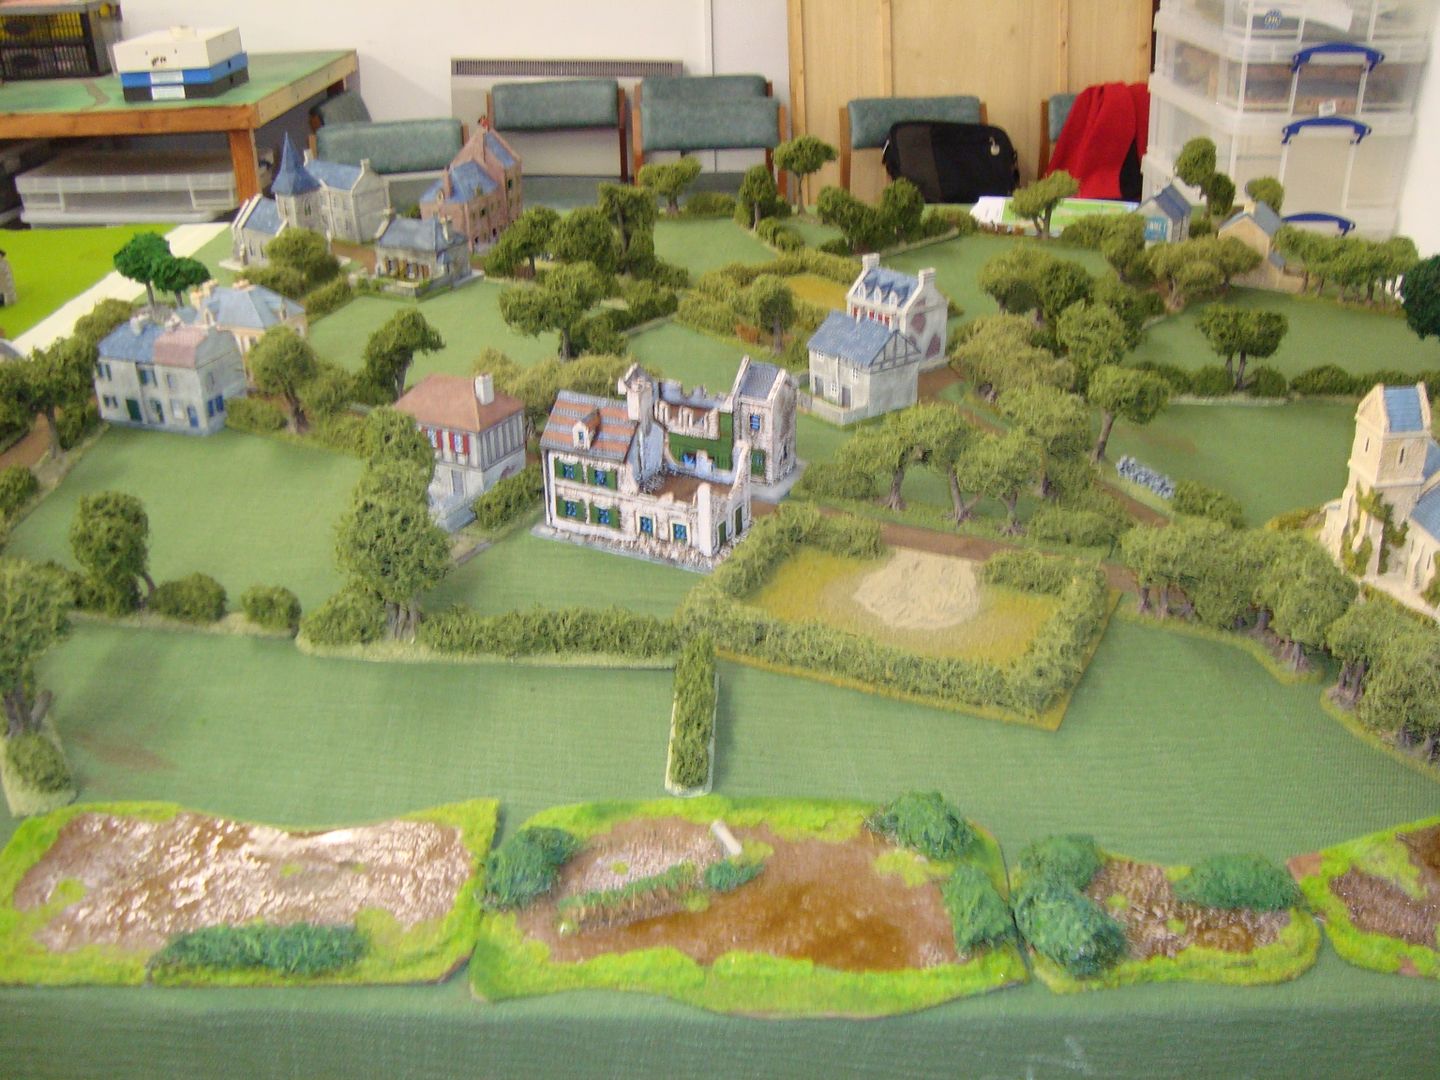
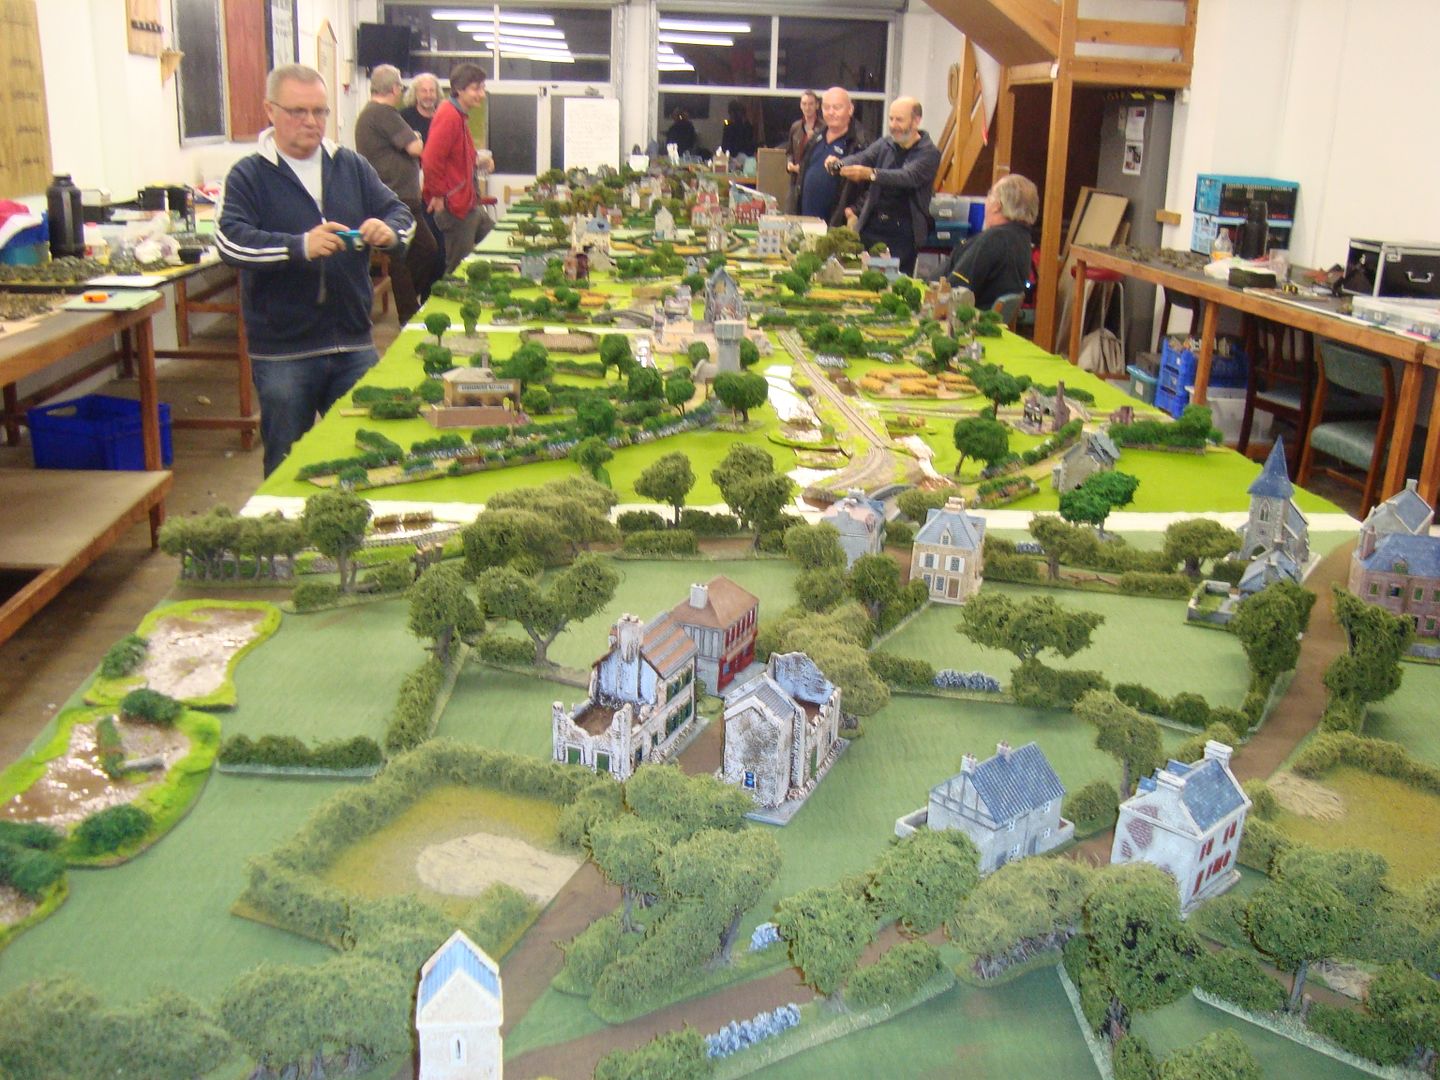
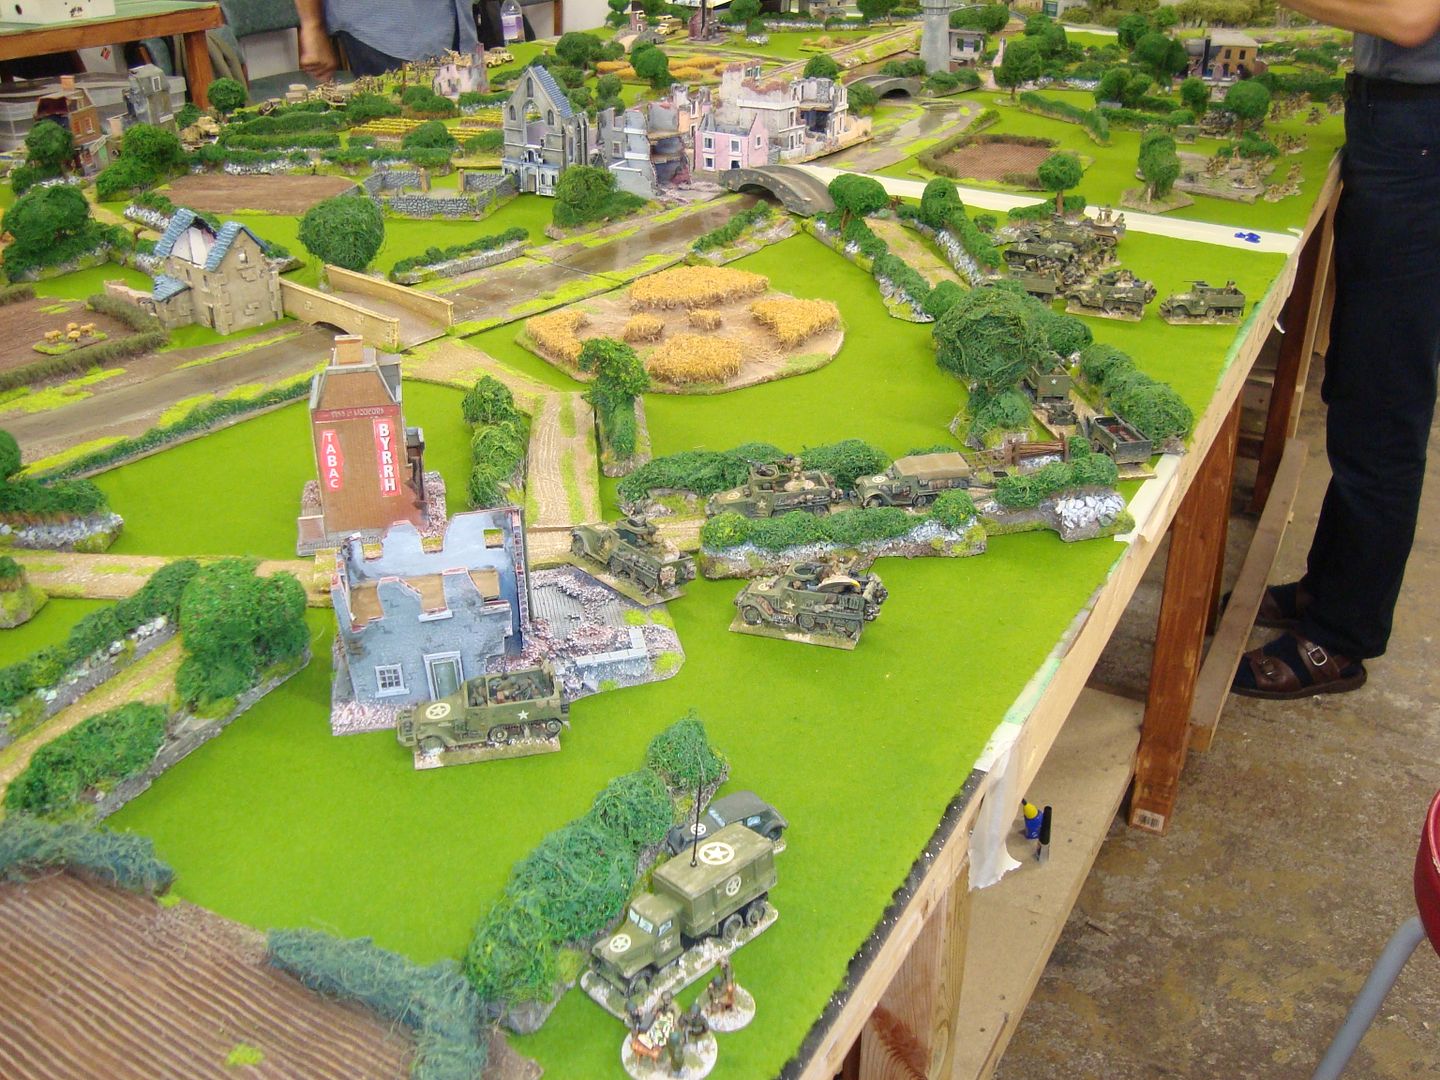
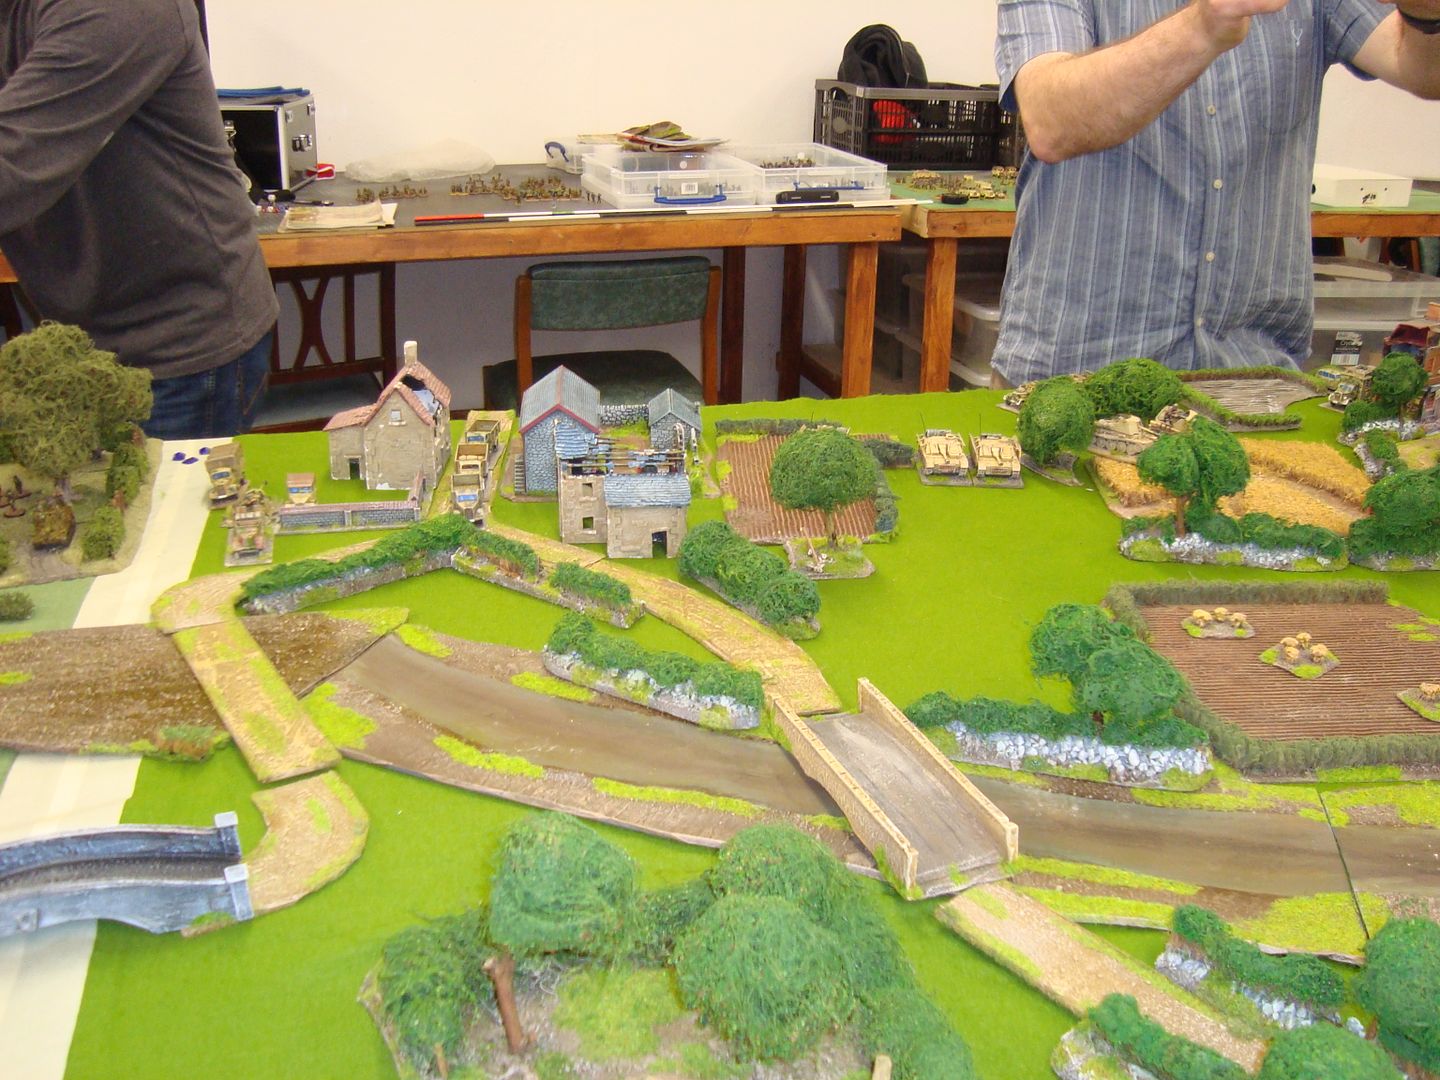
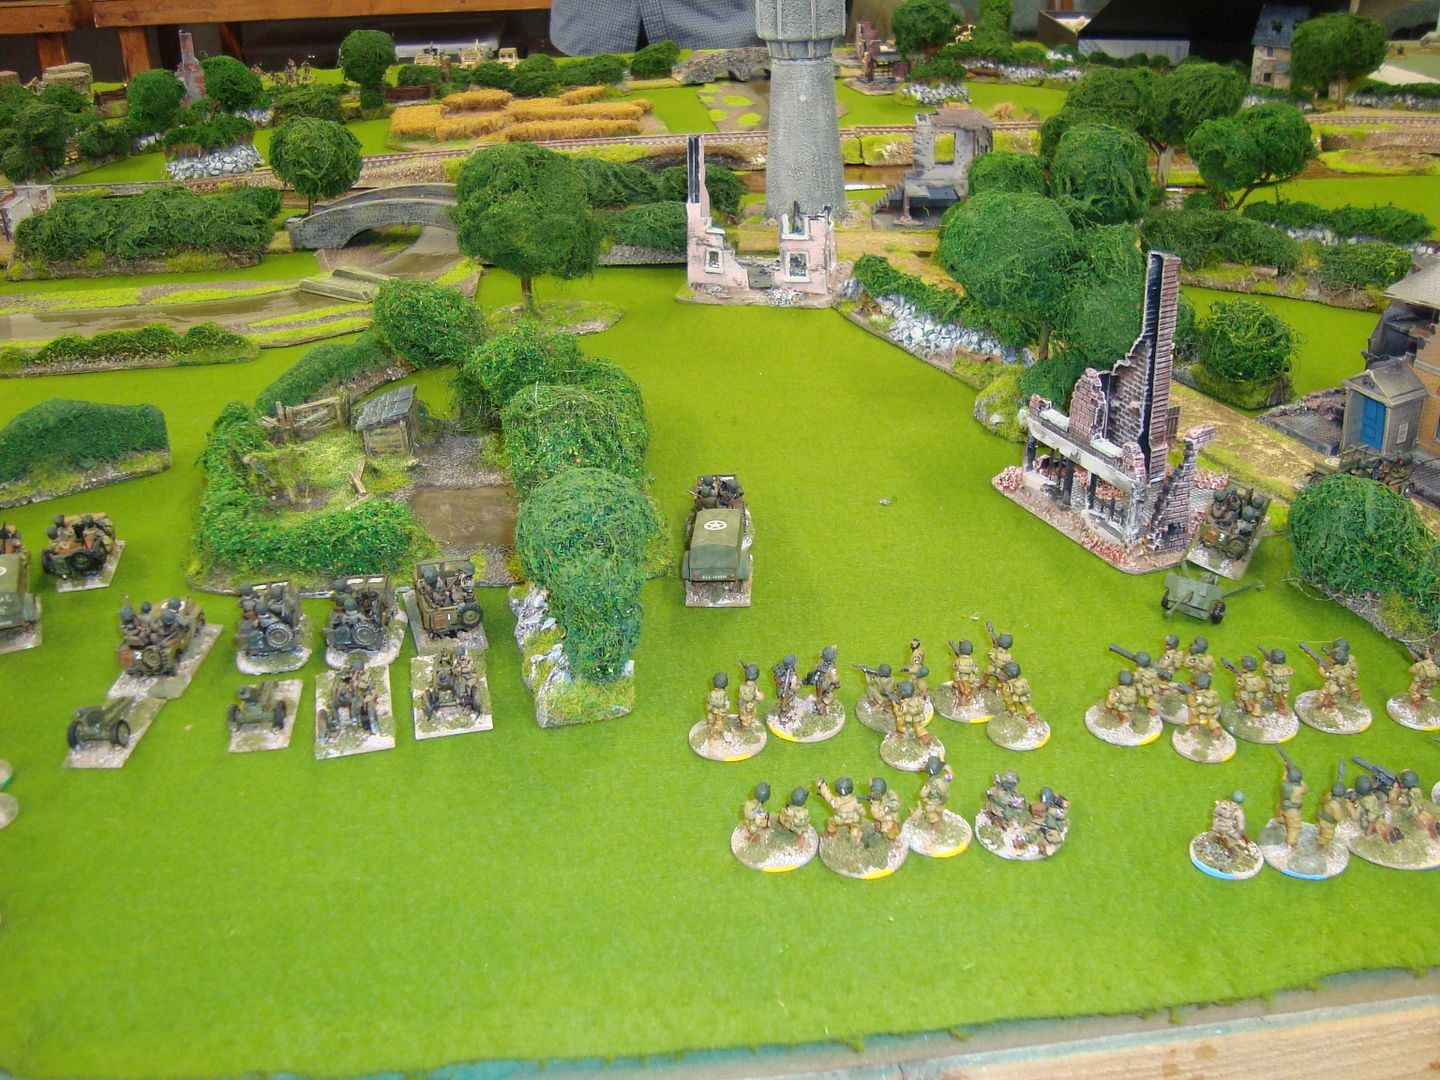
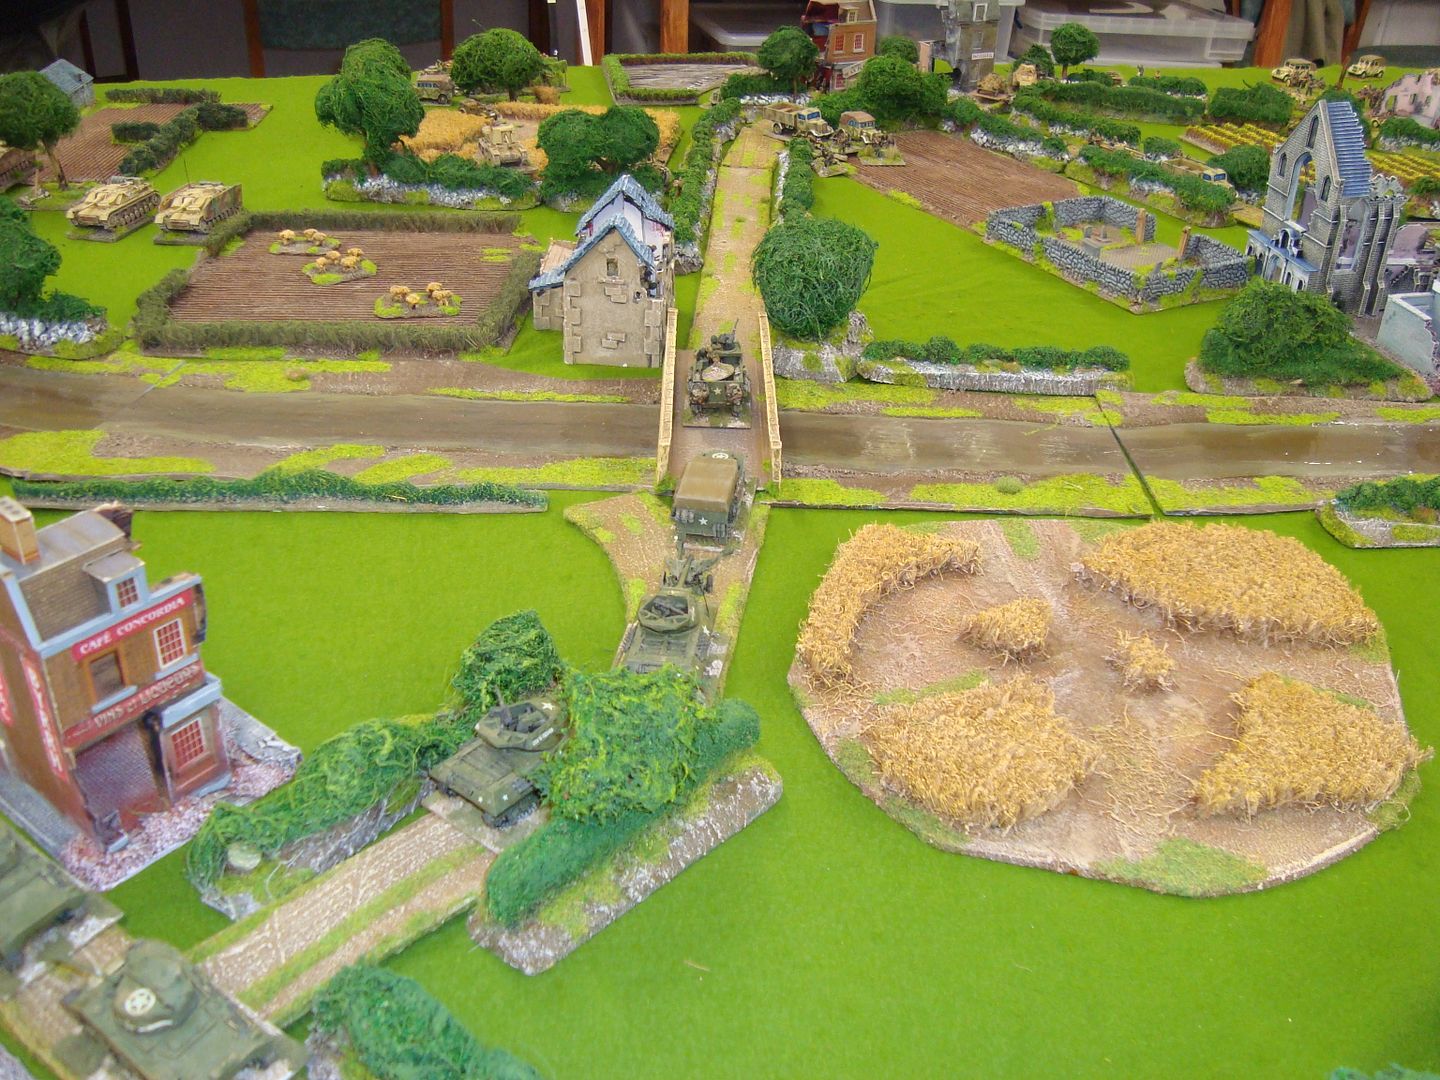
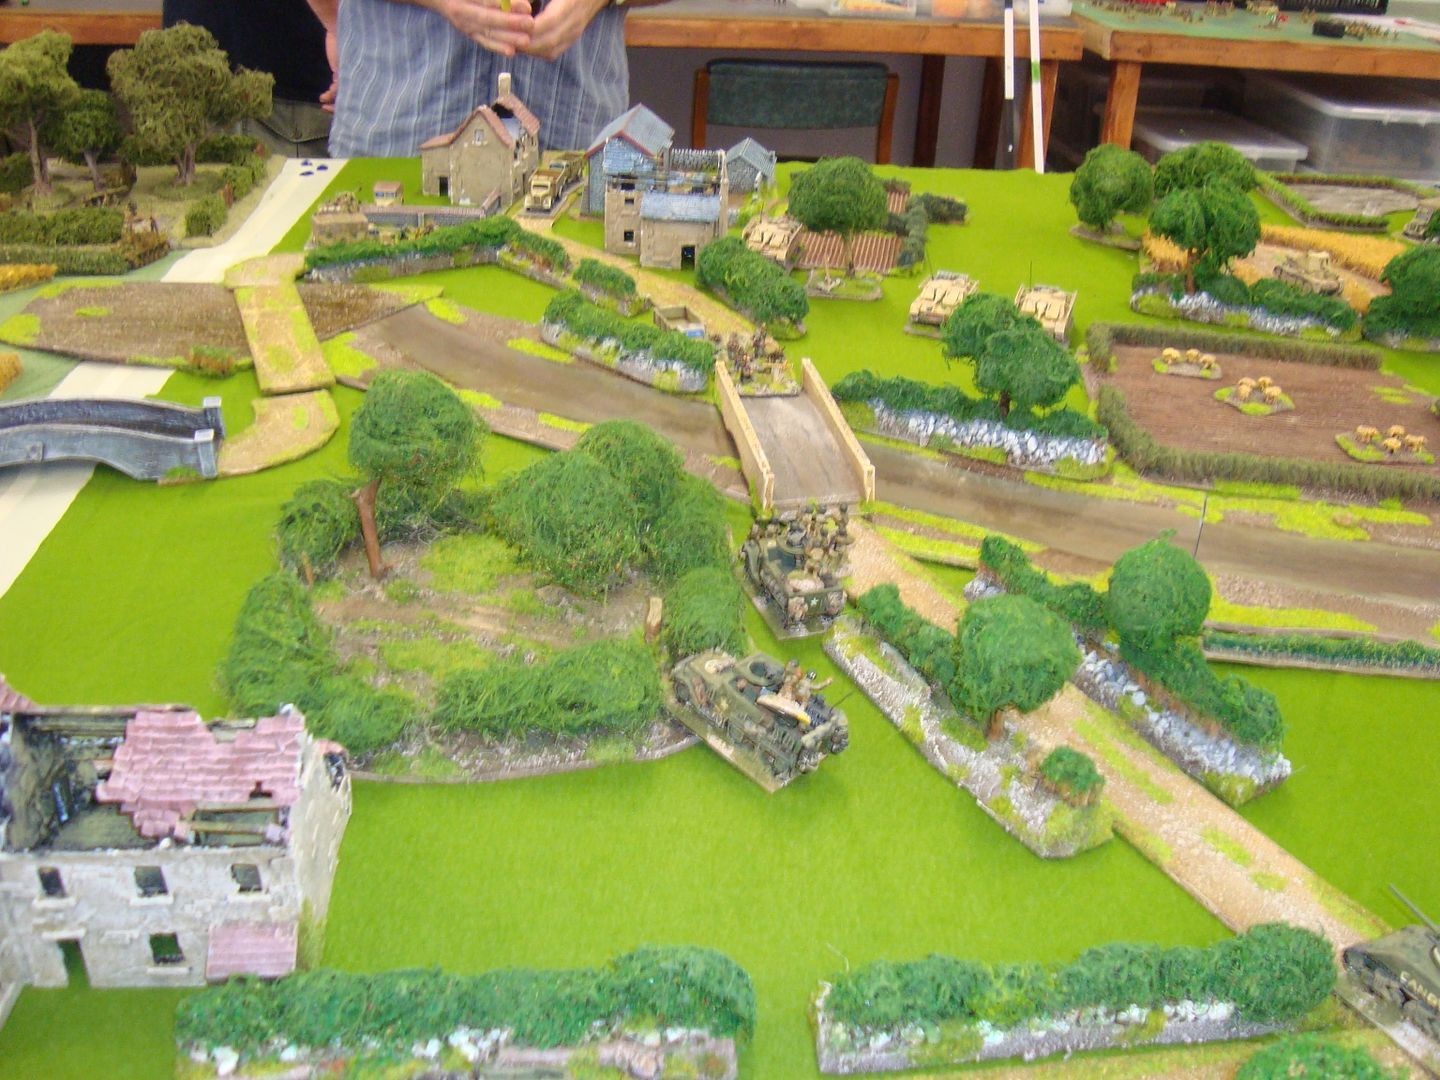
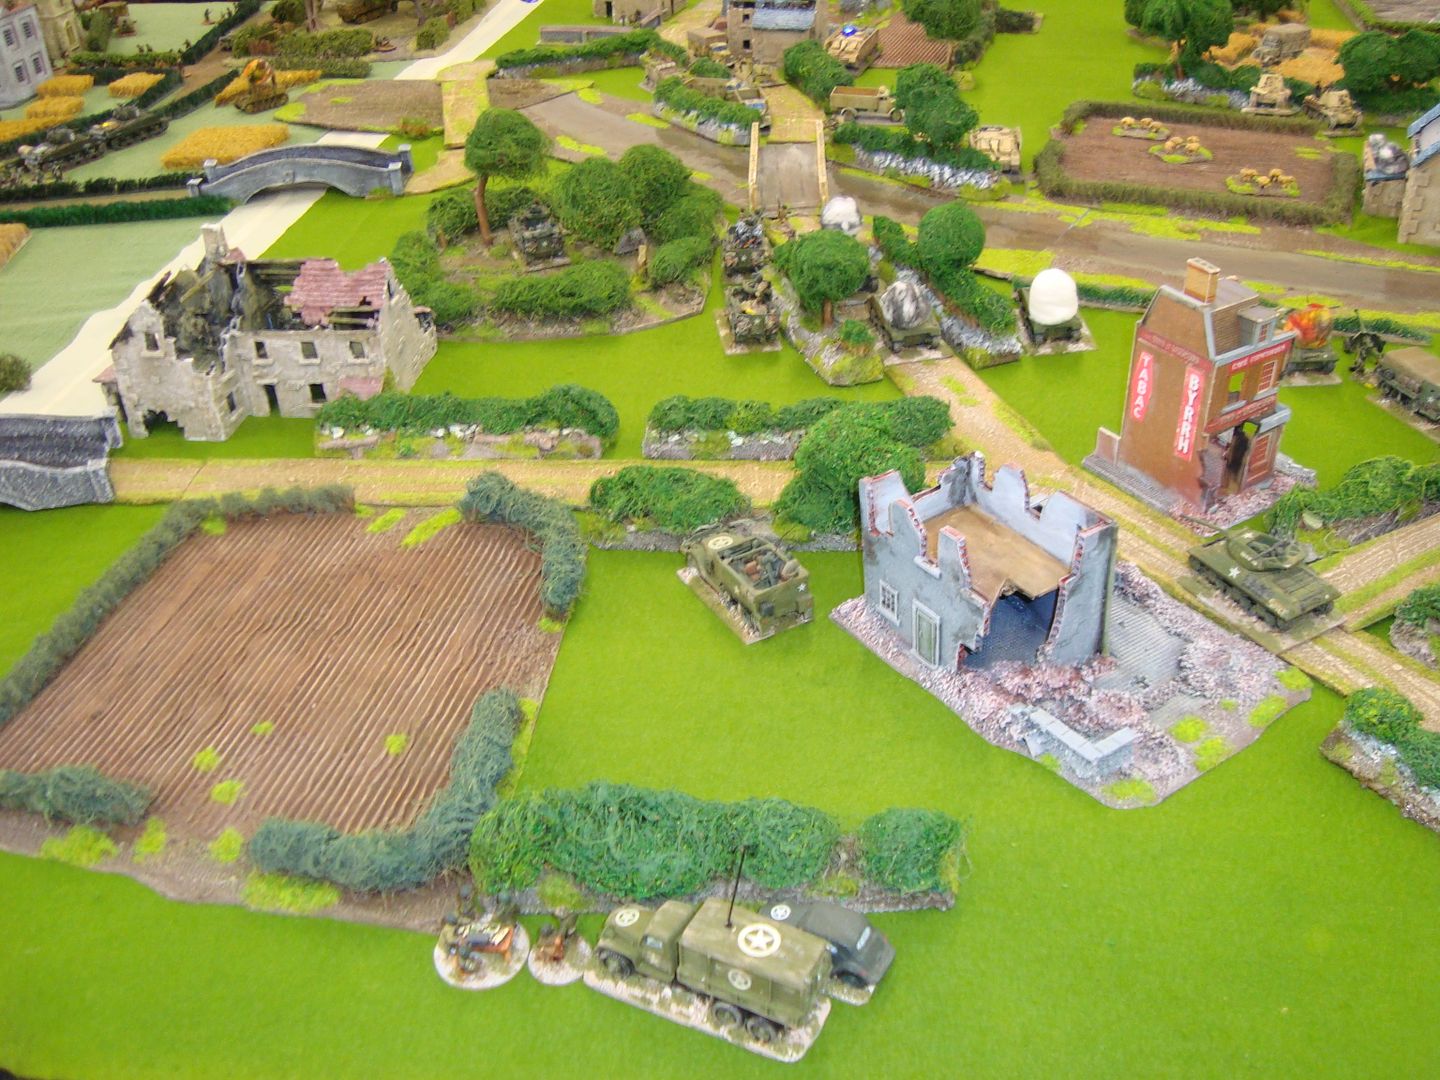
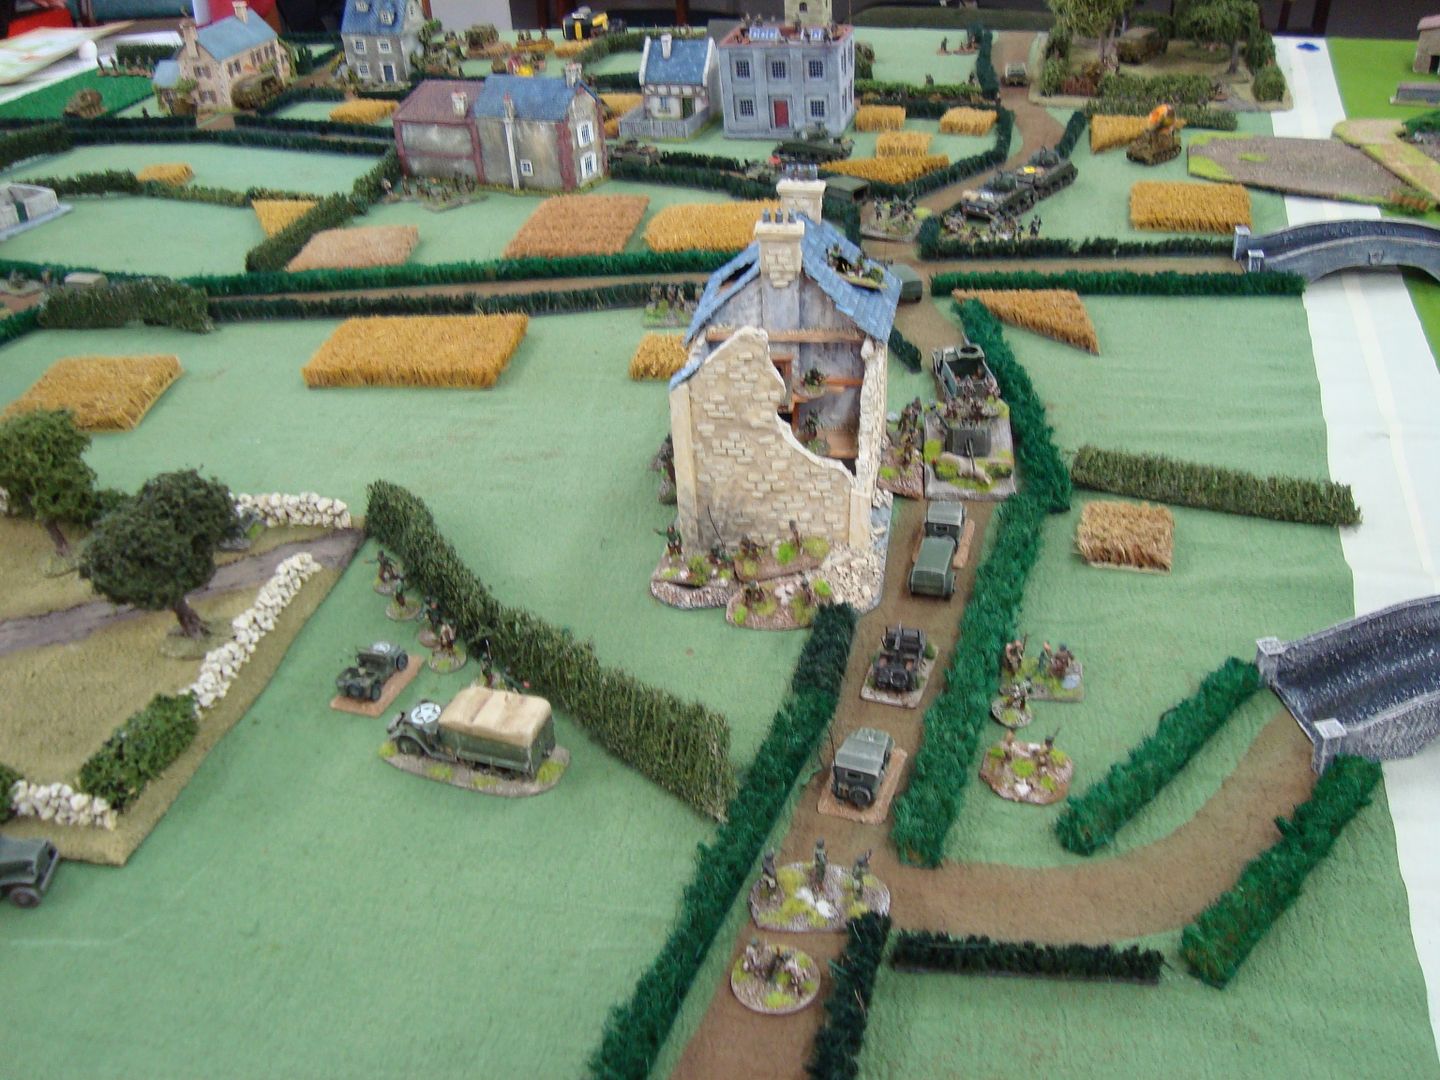
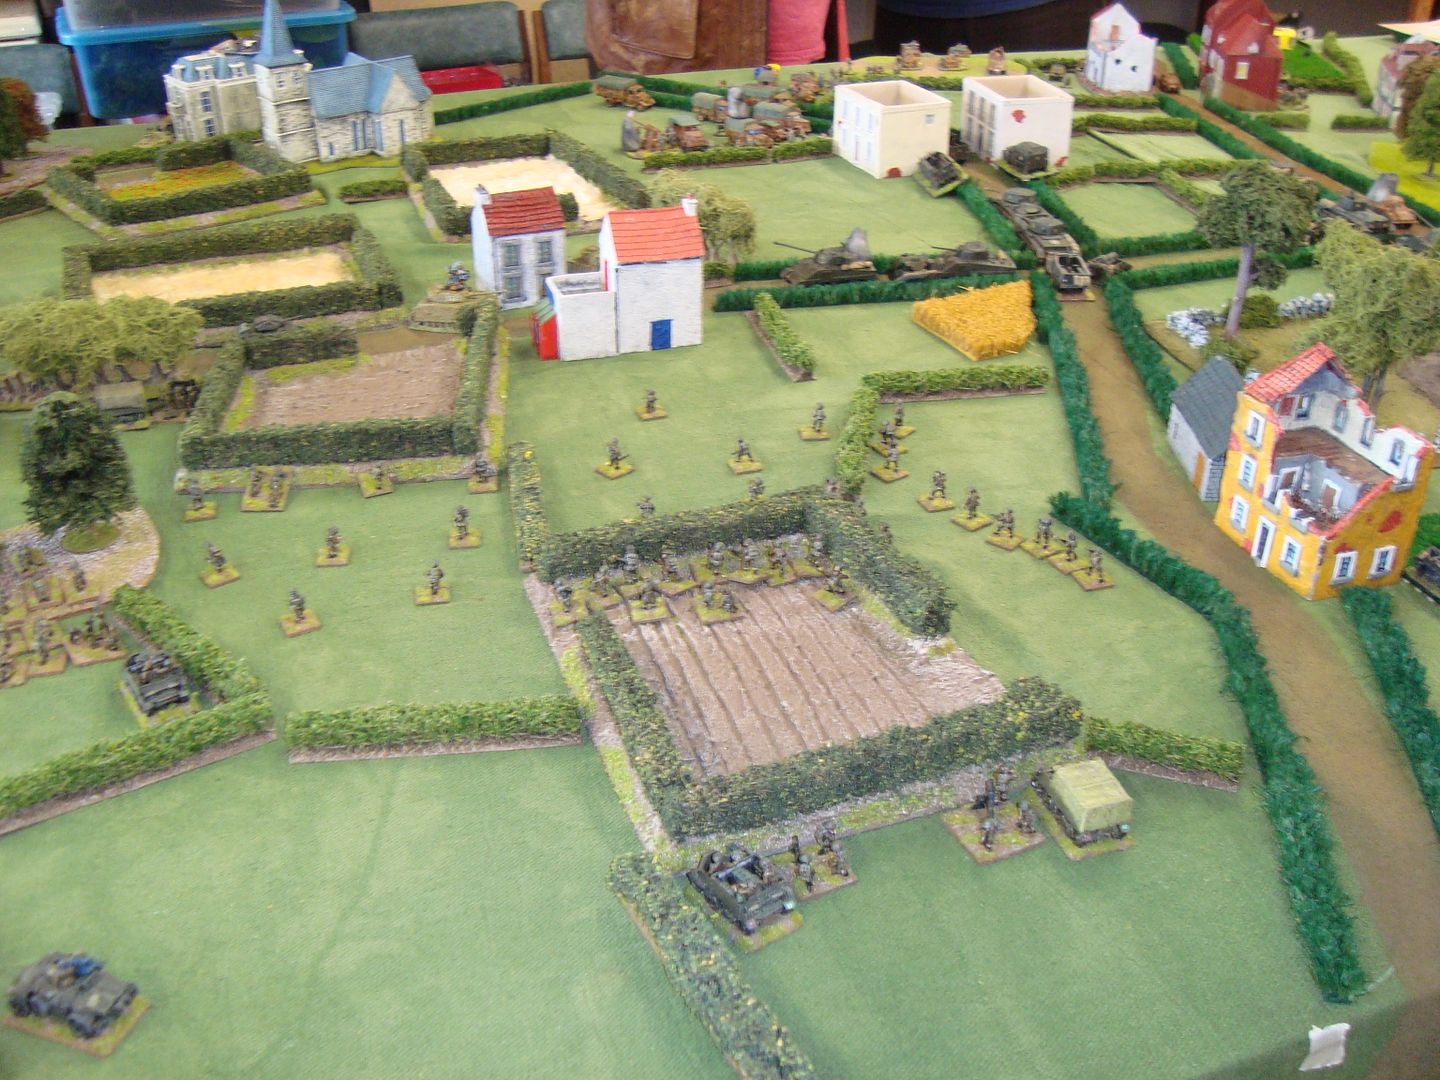
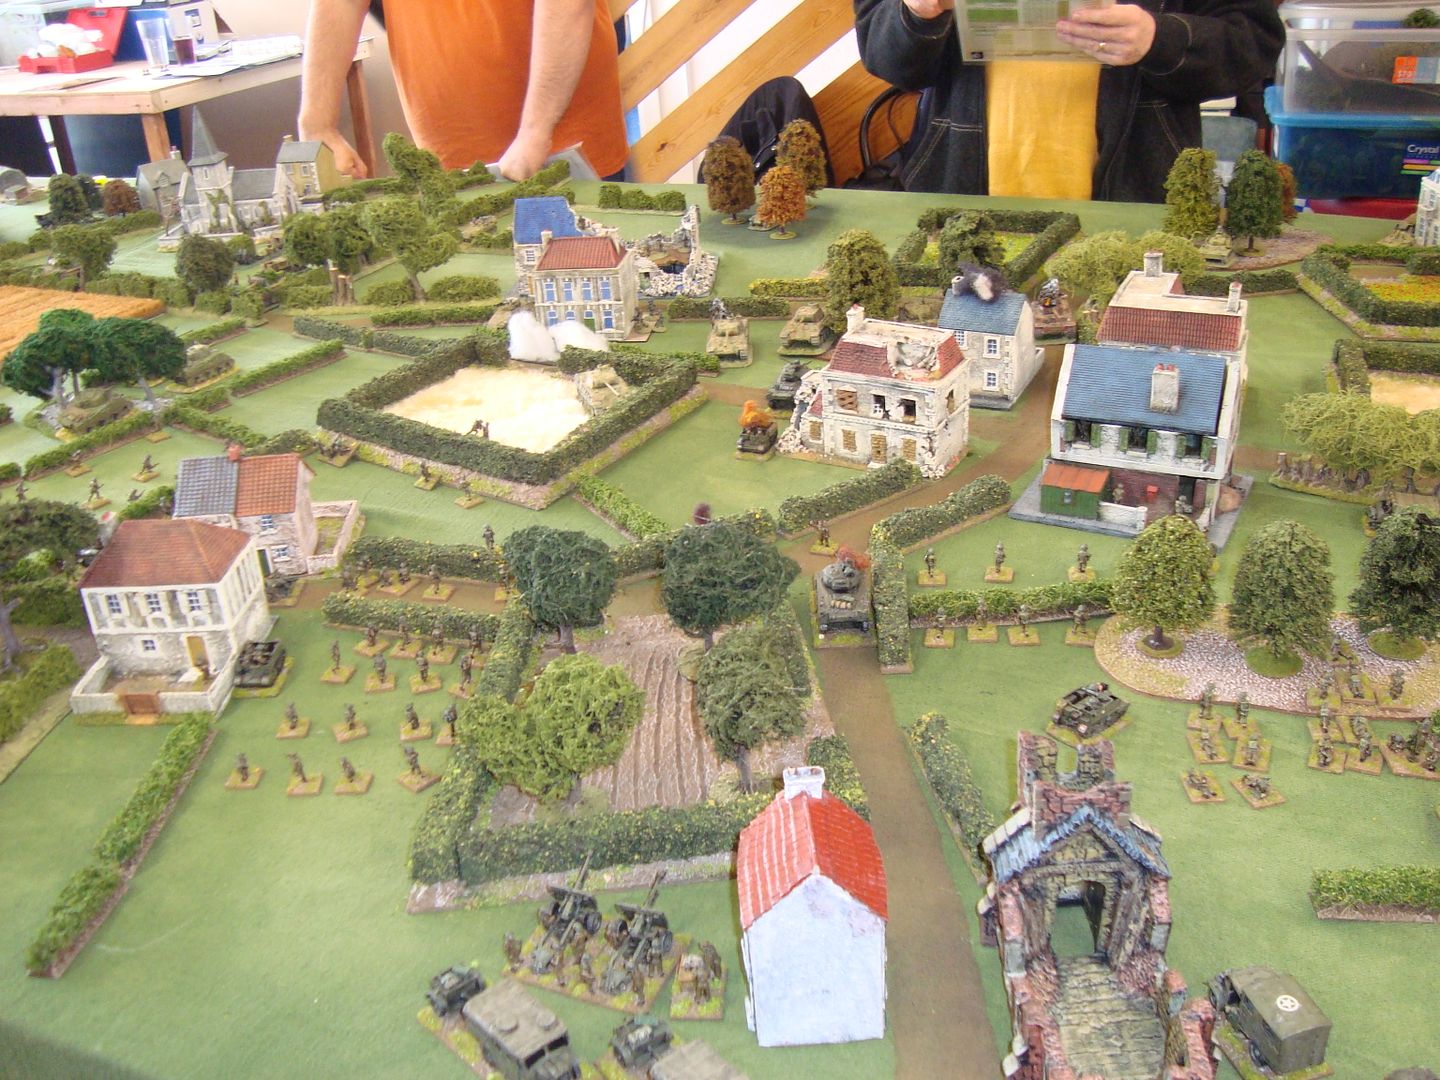
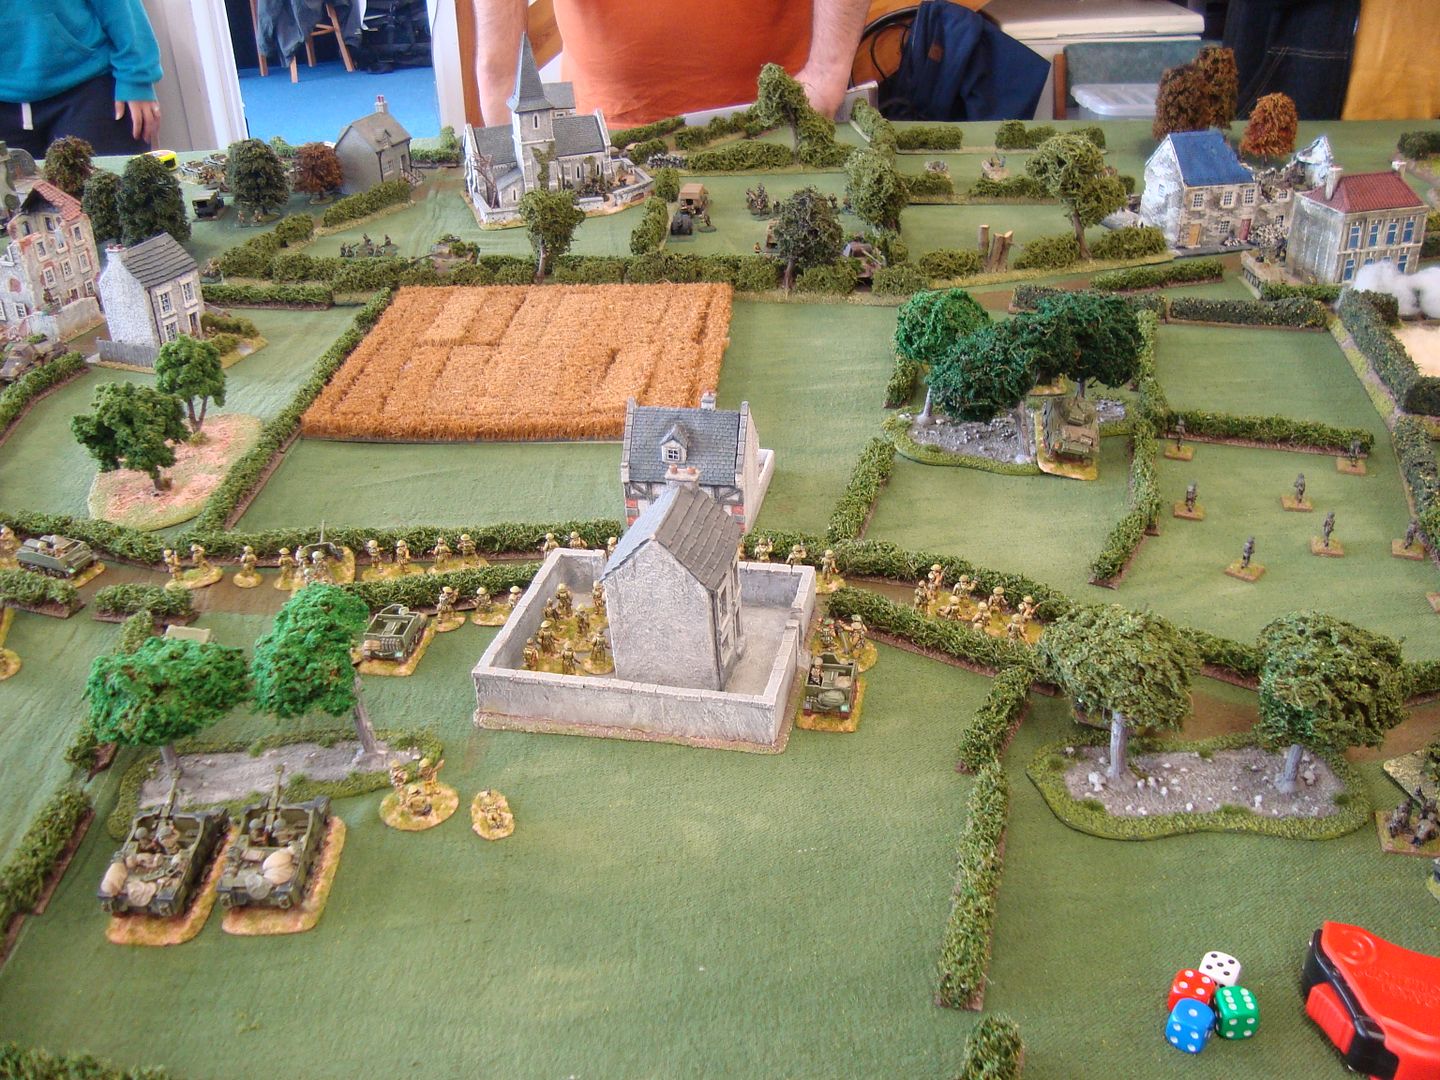
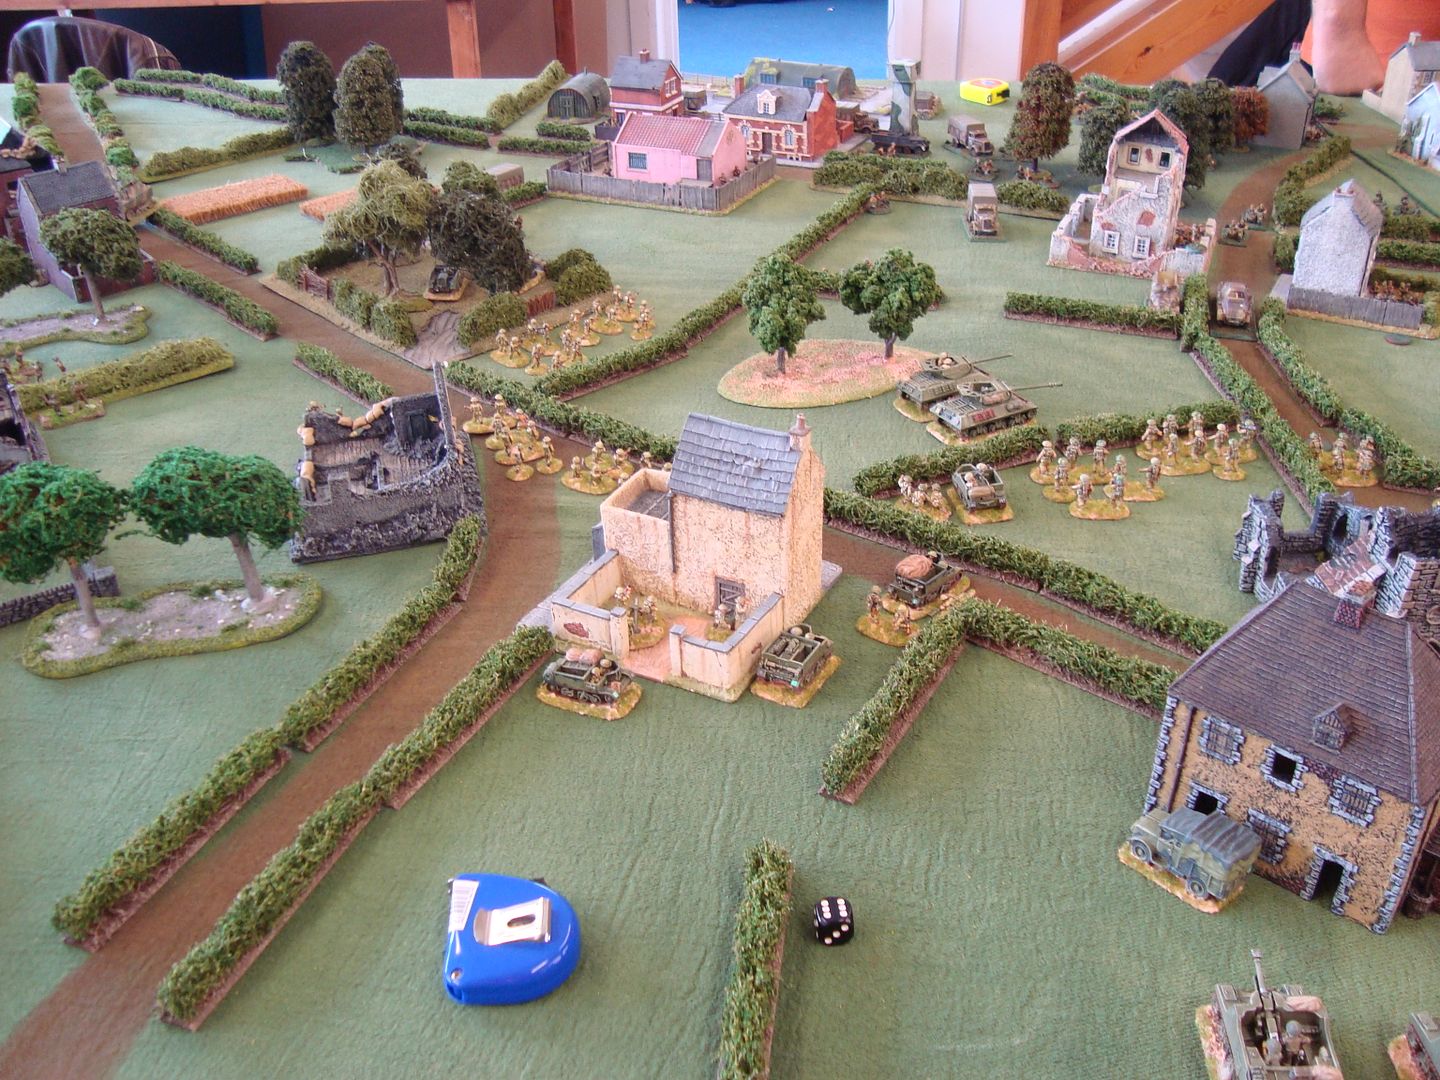
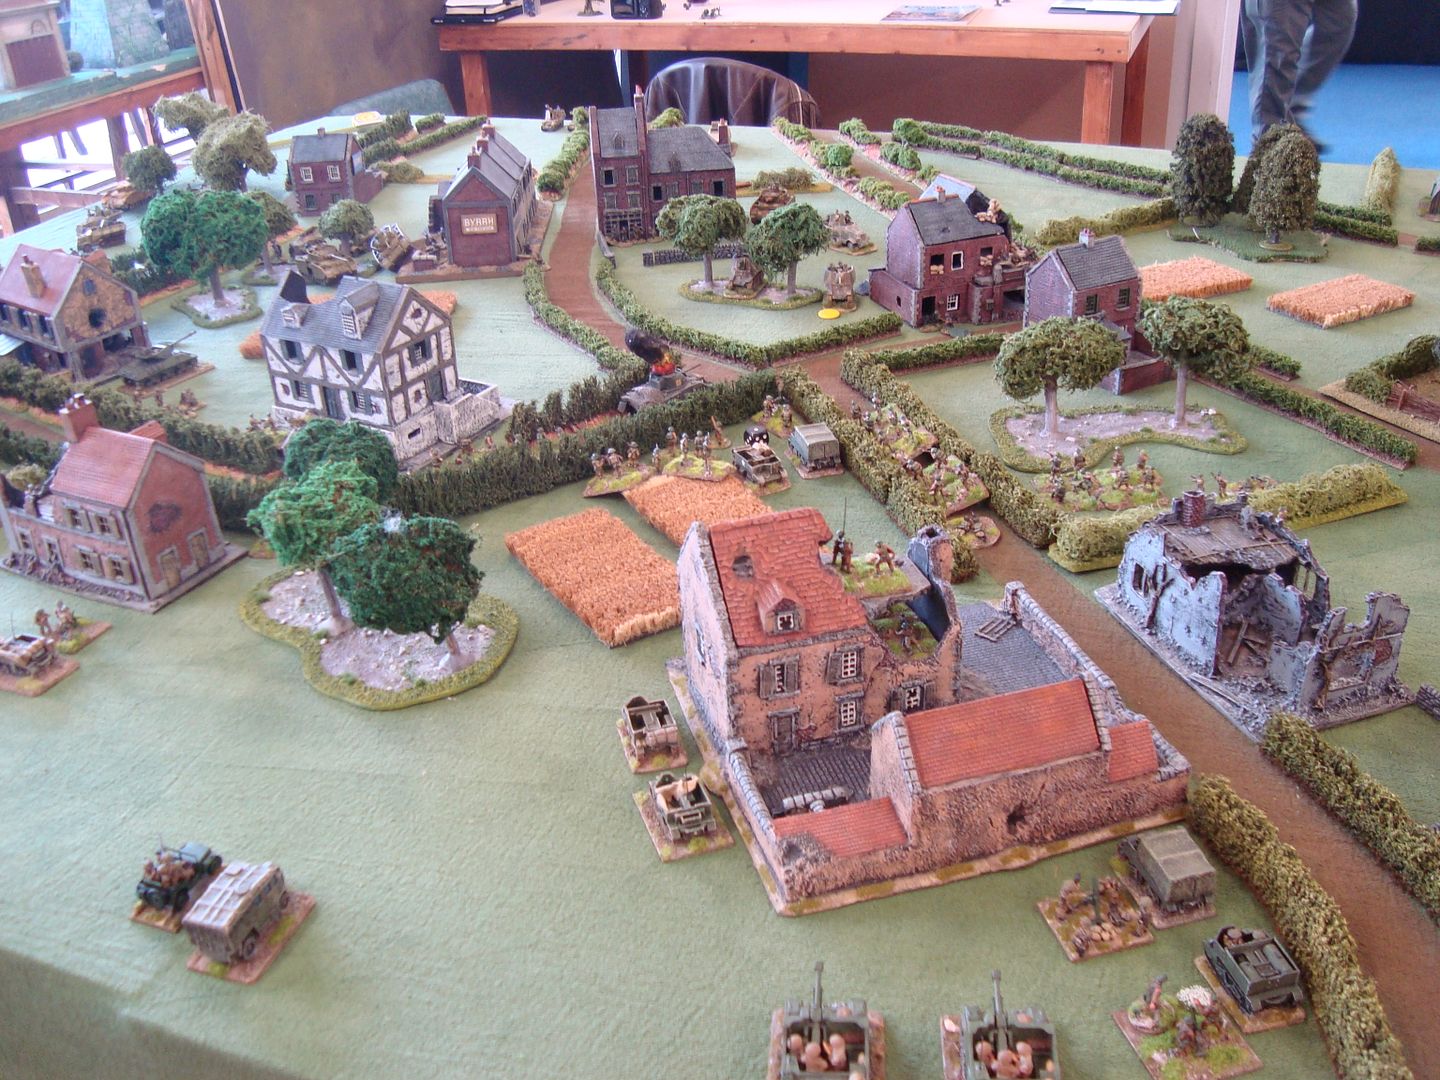
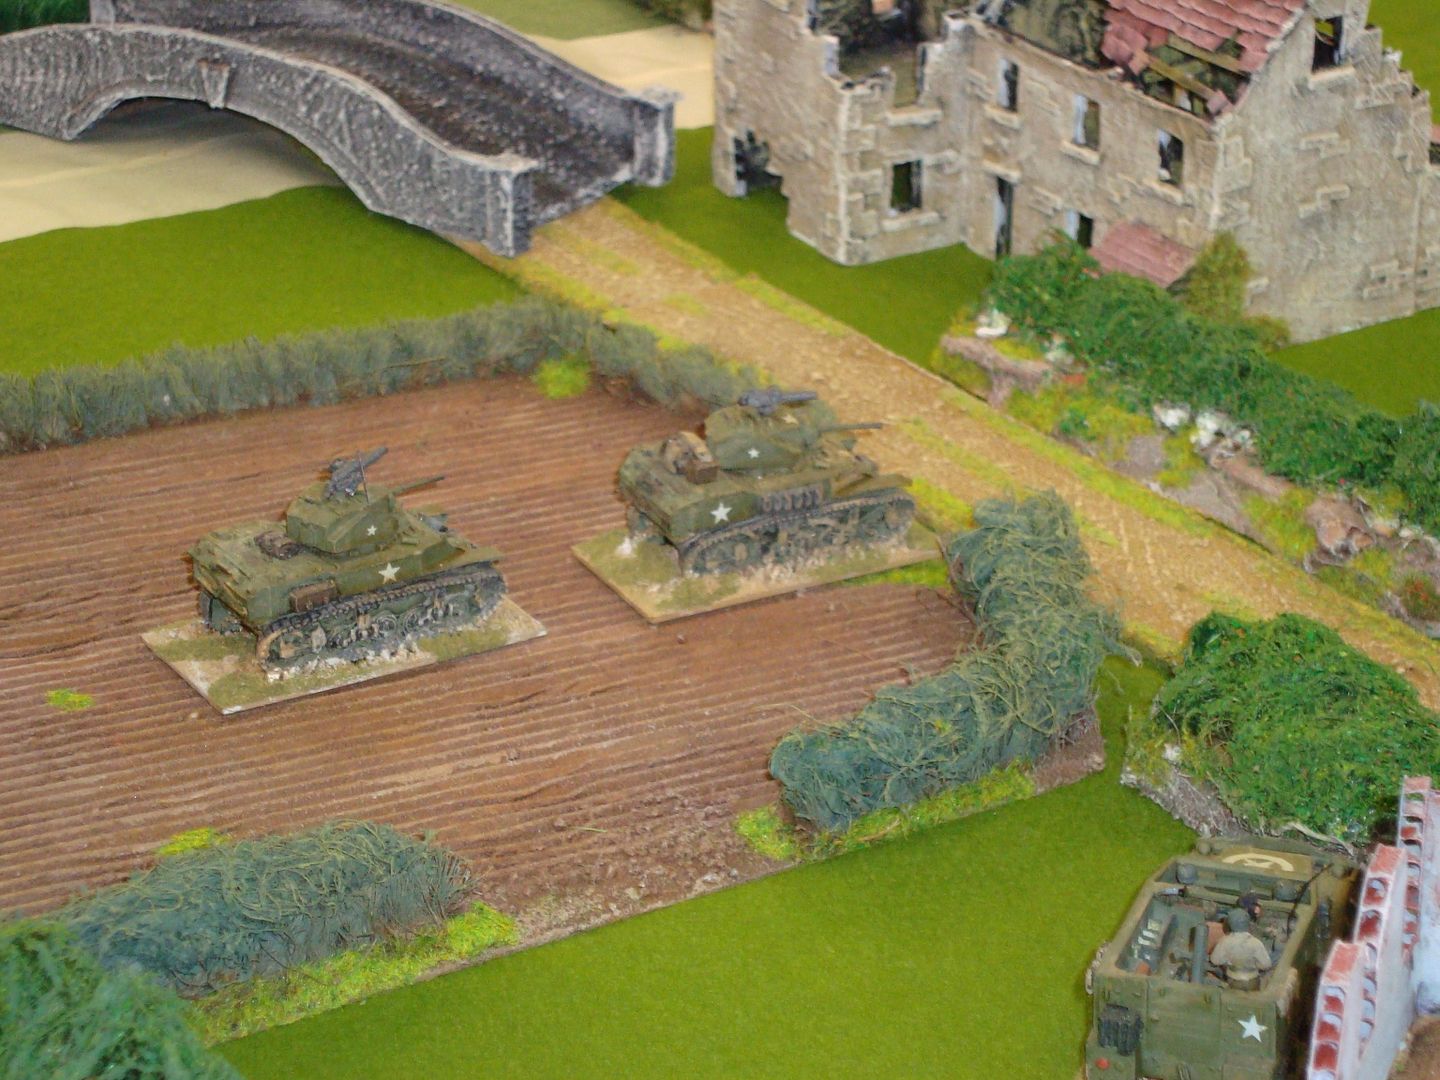
Talking to one of my pals from my new club over the weekend, and he mentioned how big a game could be put on using Rapid Fire?. Back in 2013 I took part in a Normandy 1944 game in Plymouth on a 54 foot table, with a few friends!
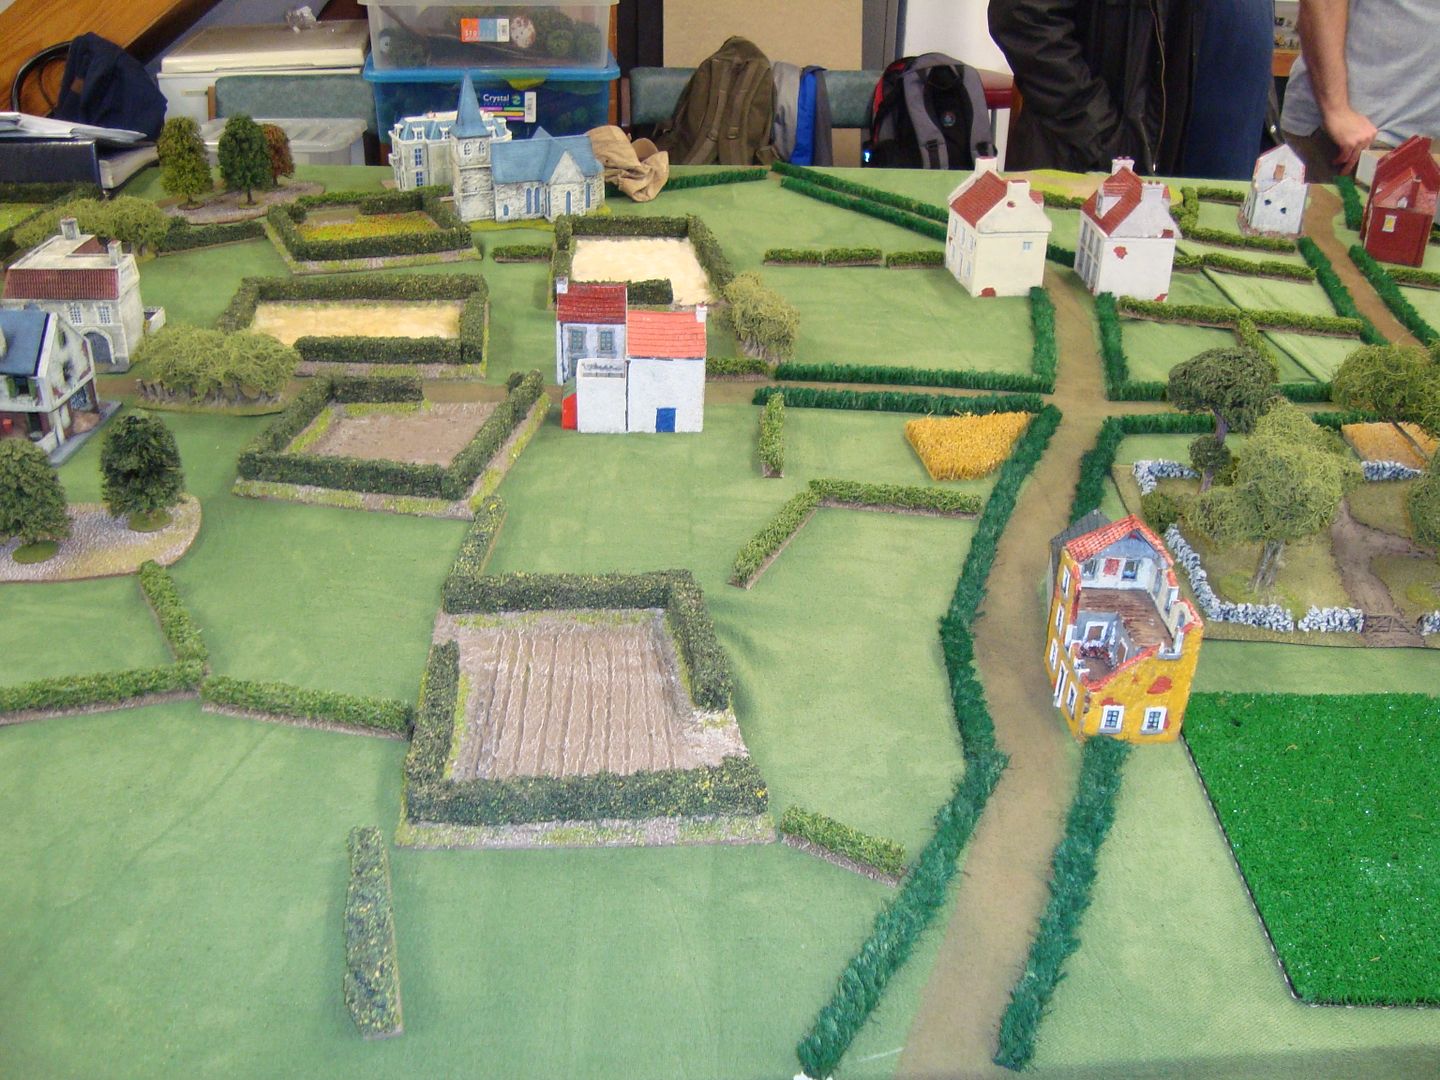
 photo DSC03619_zpsf03e9a22.jpg

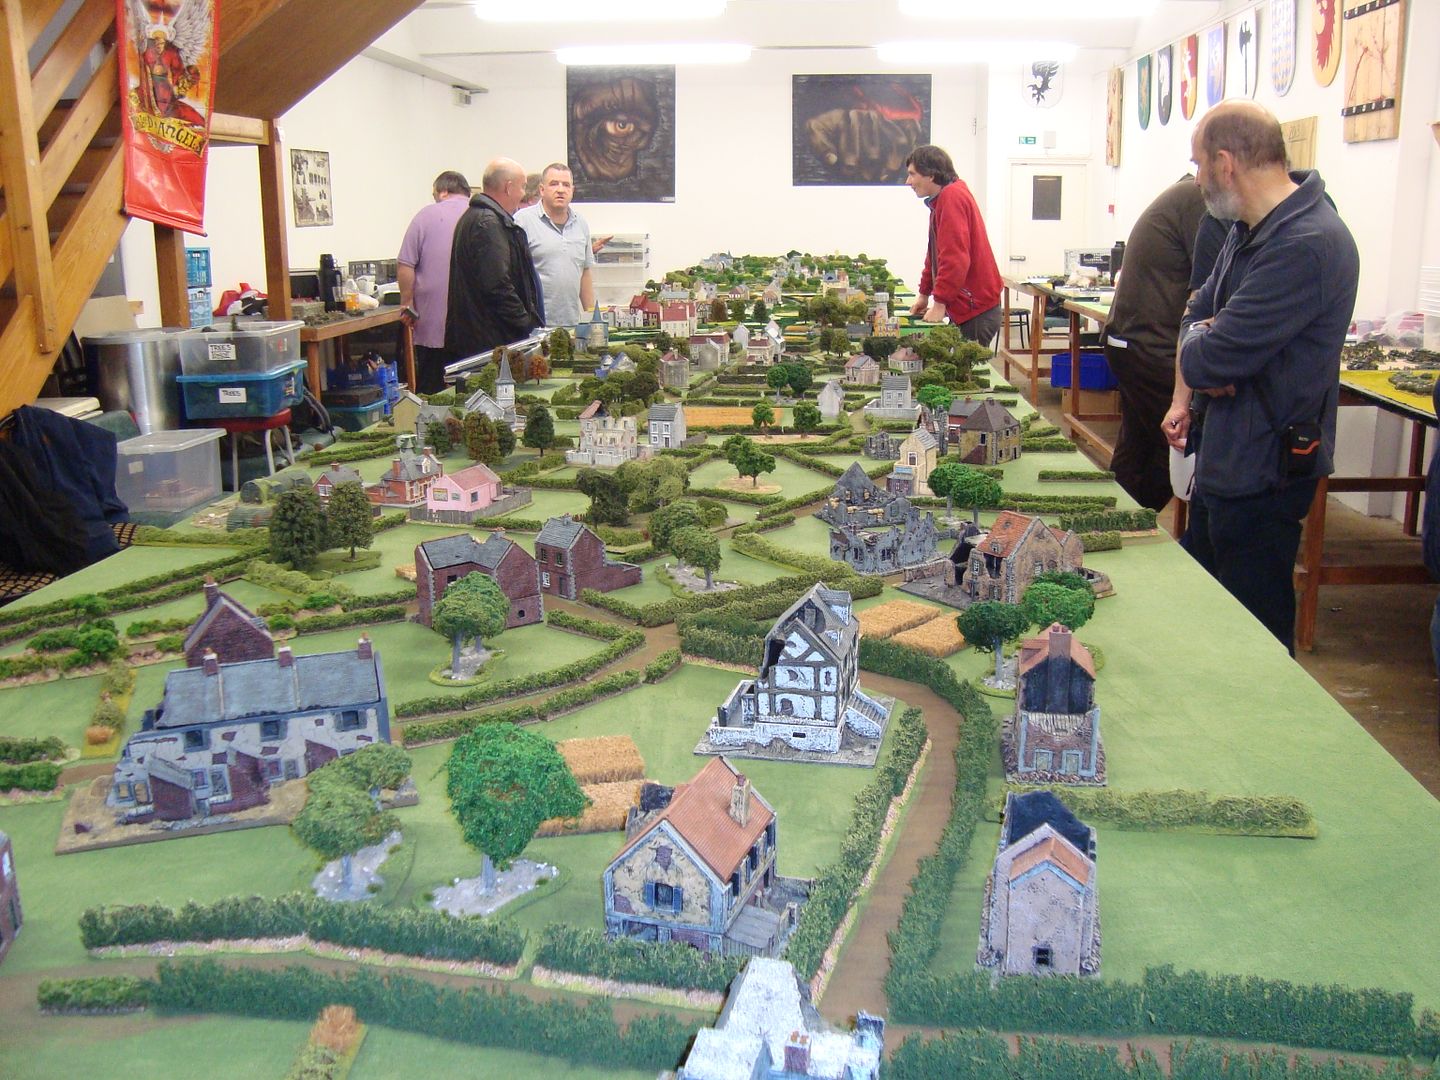
Table 1
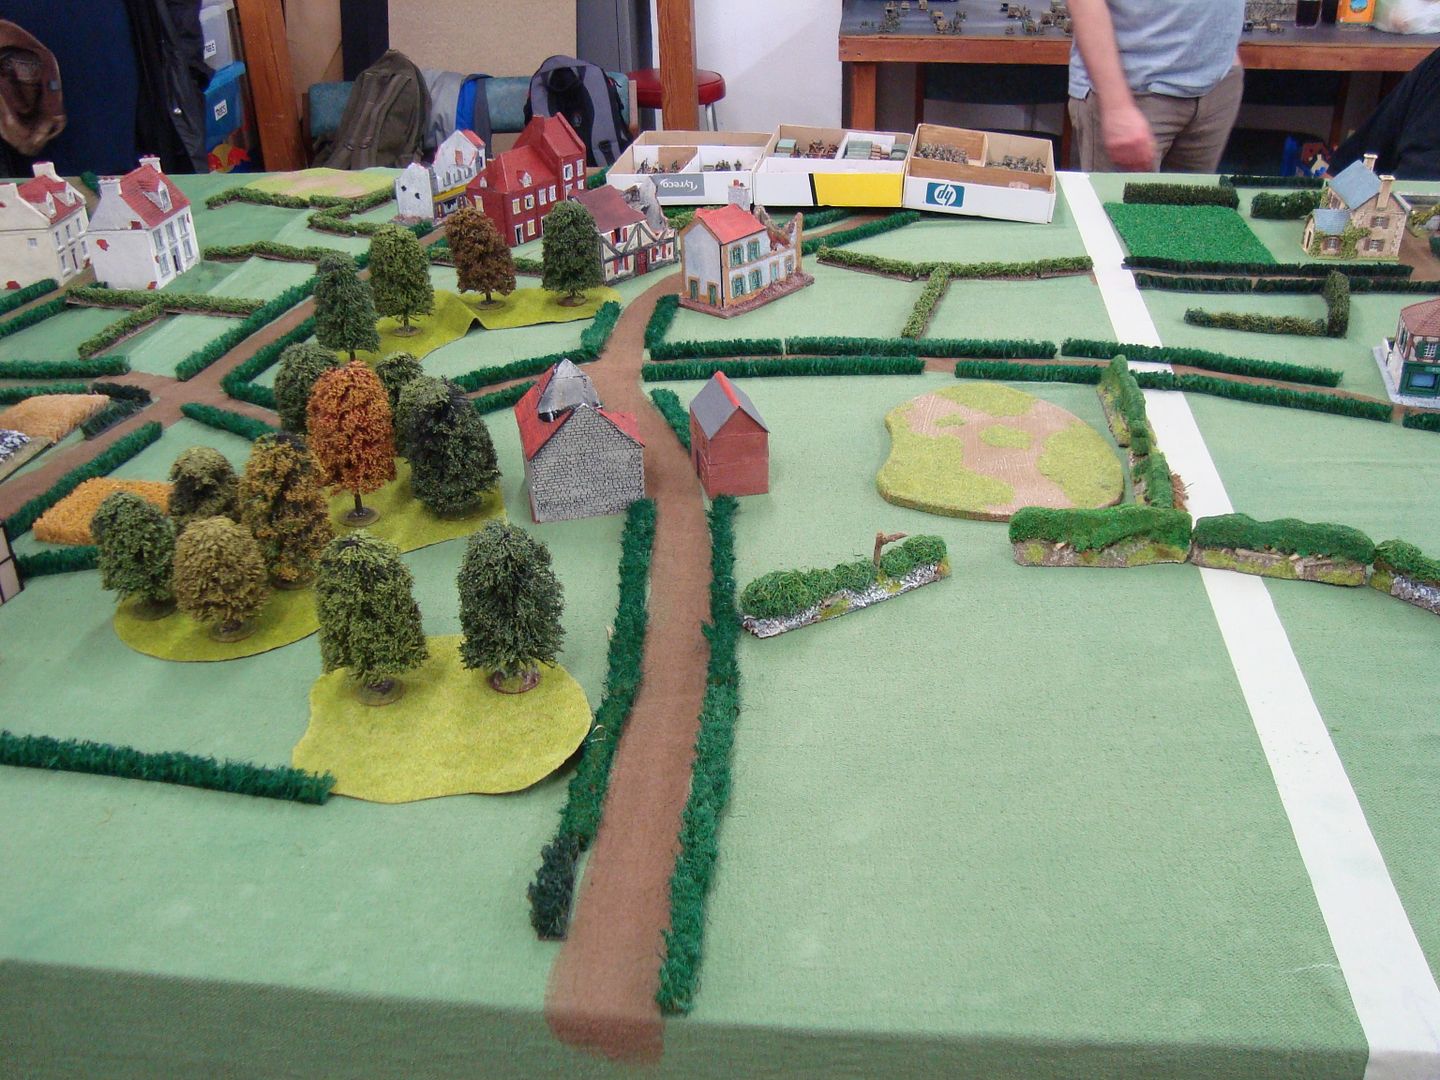
 photo DSC03620_zps374541b9.jpg

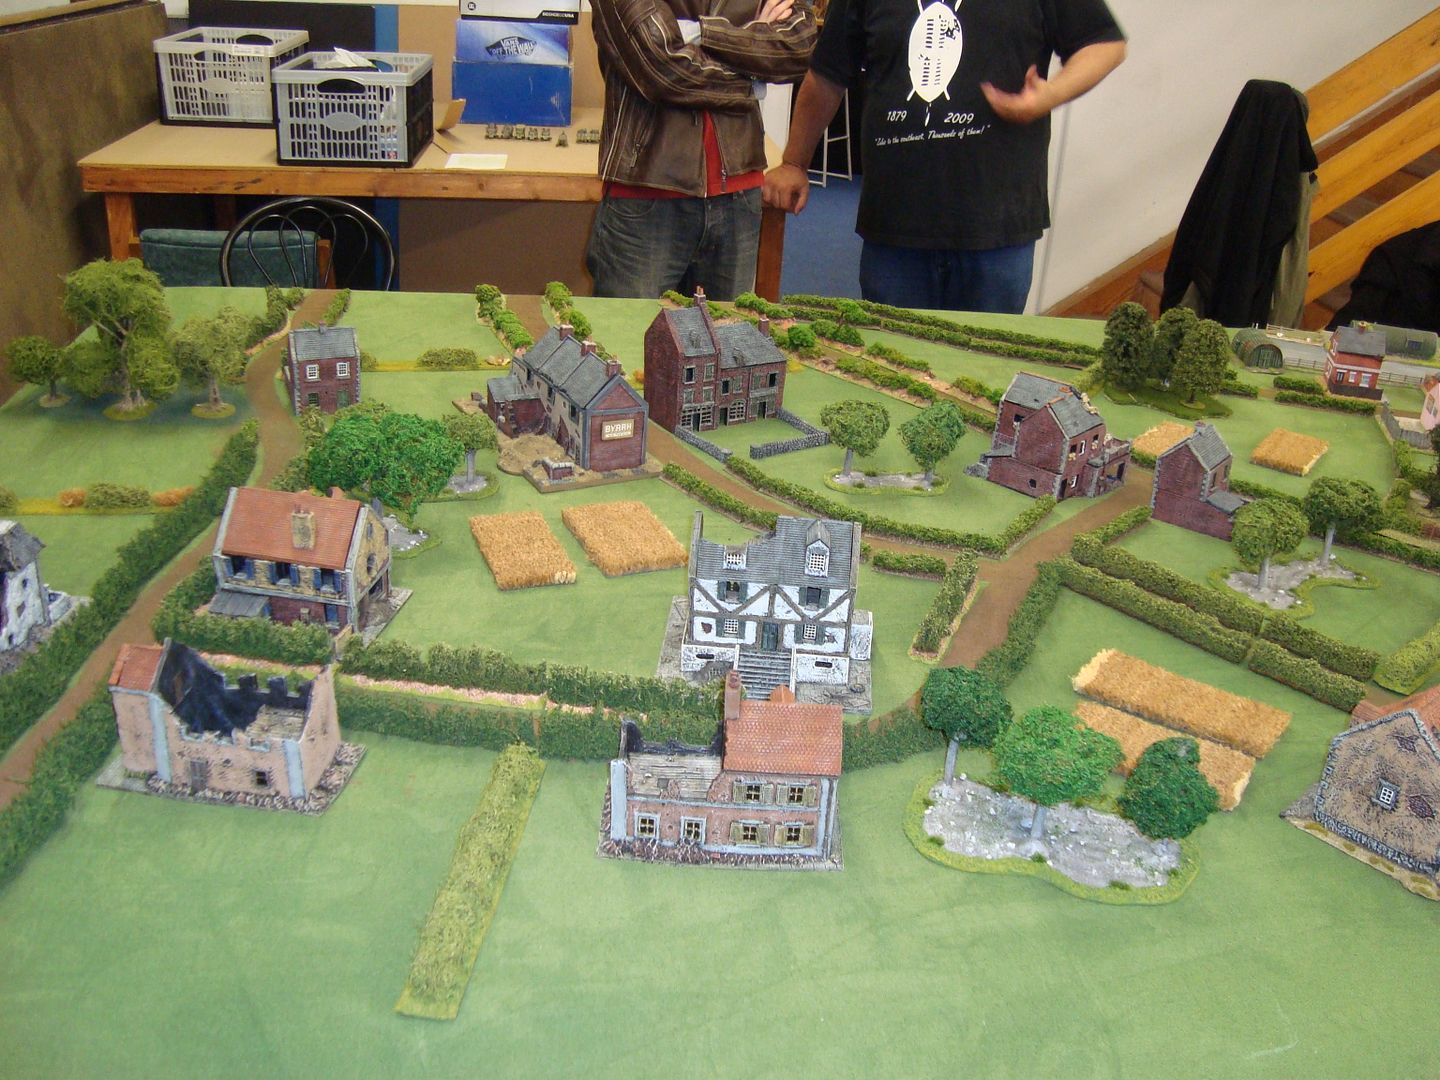
Table 2
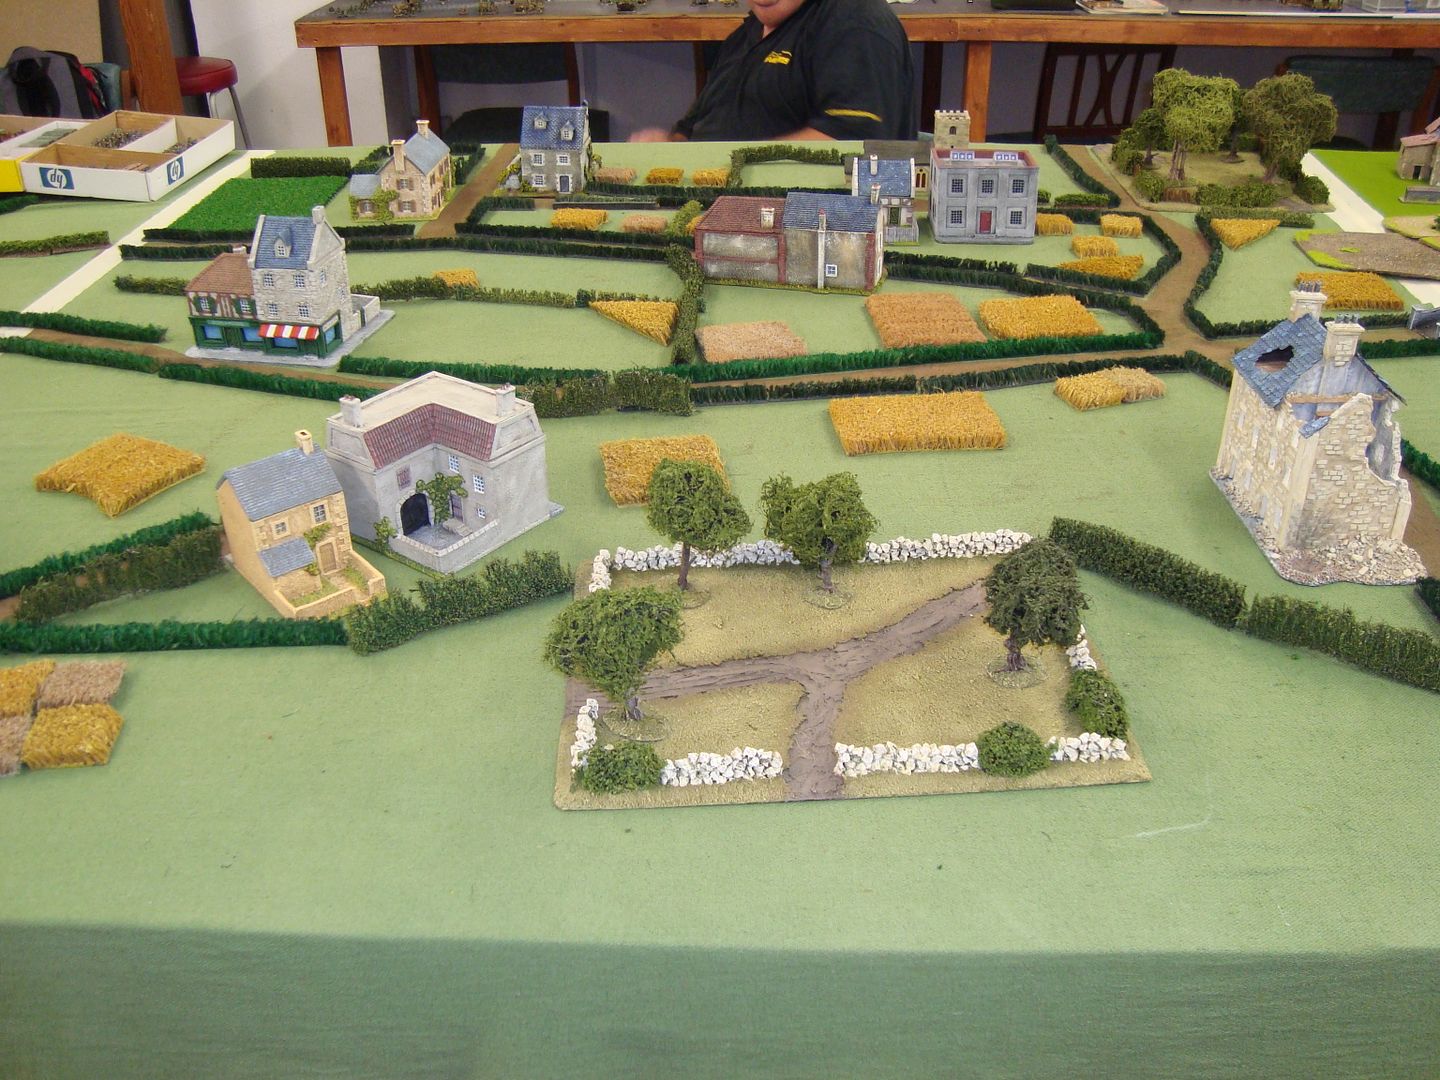
 photo DSC03621_zpsce51a4fa.jpg

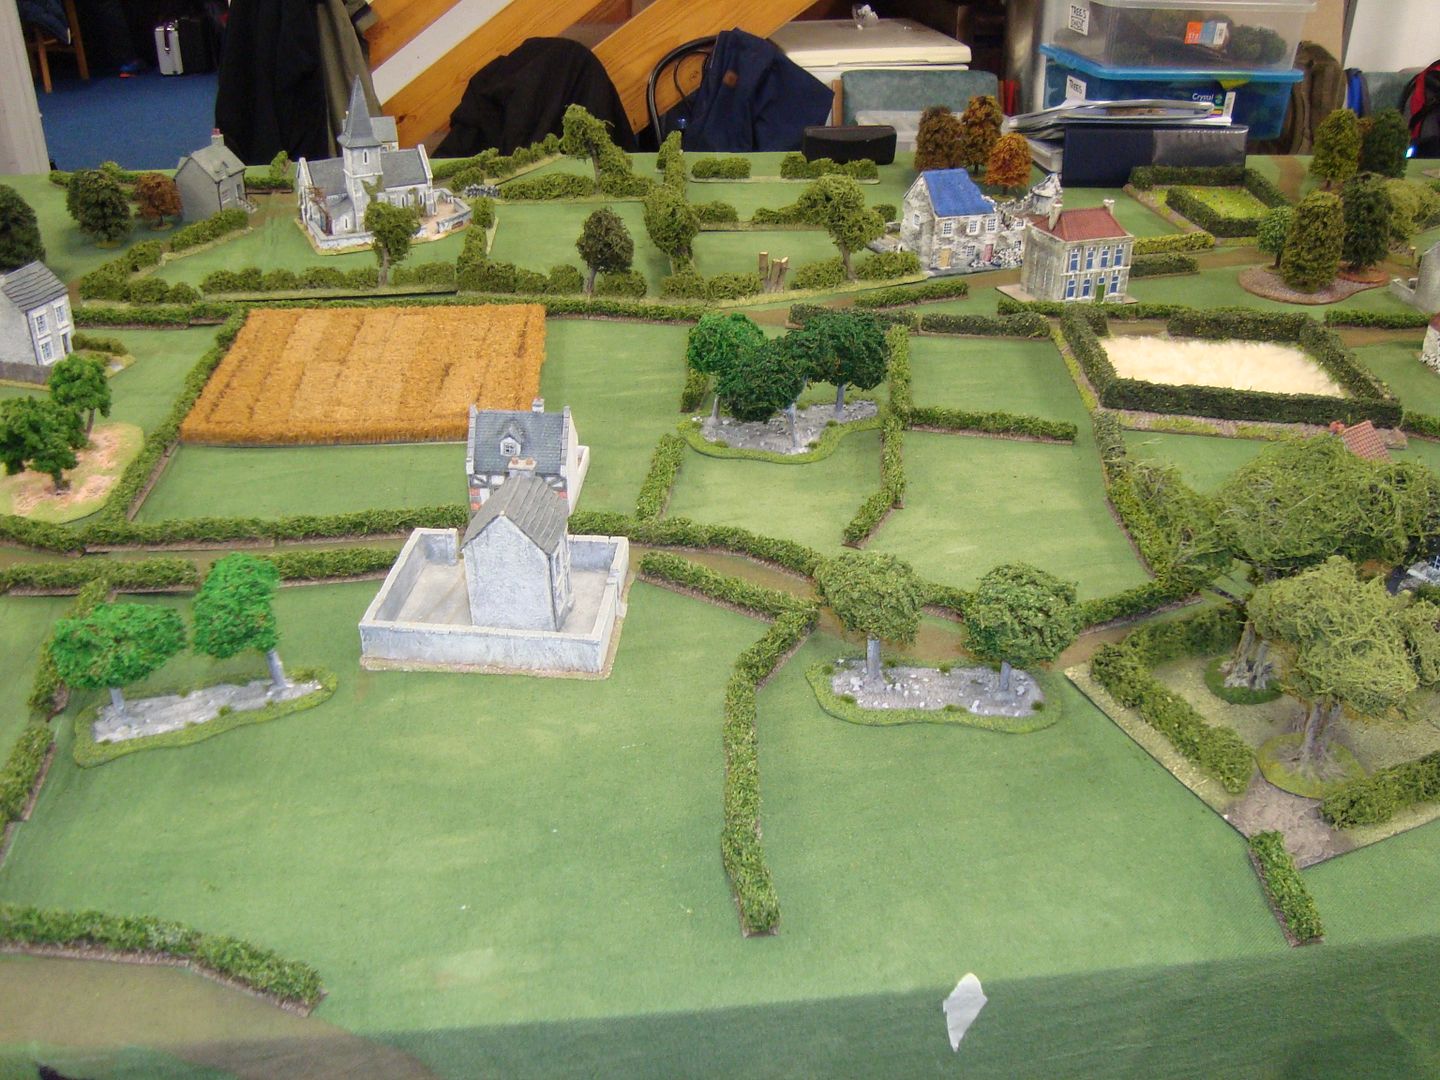
Table 3
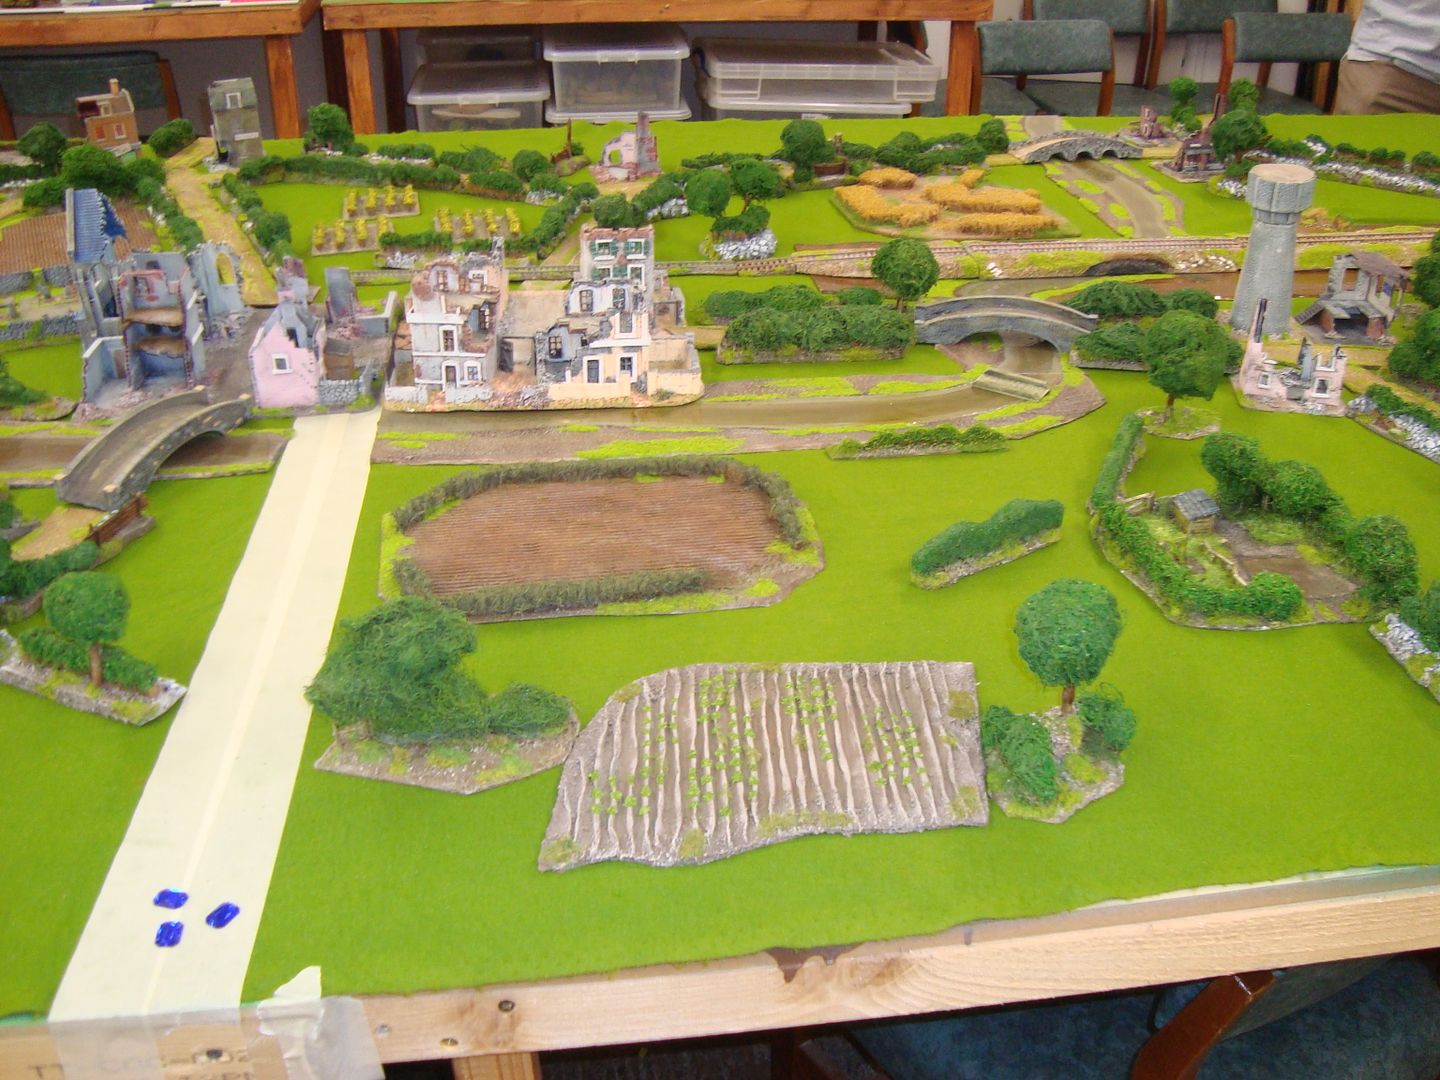
 photo DSC03622_zps932055bd.jpg

Table 4
 photo DSC03623_zps48898be1.jpg

Table 5
 photo DSC03624_zps89a74496.jpg

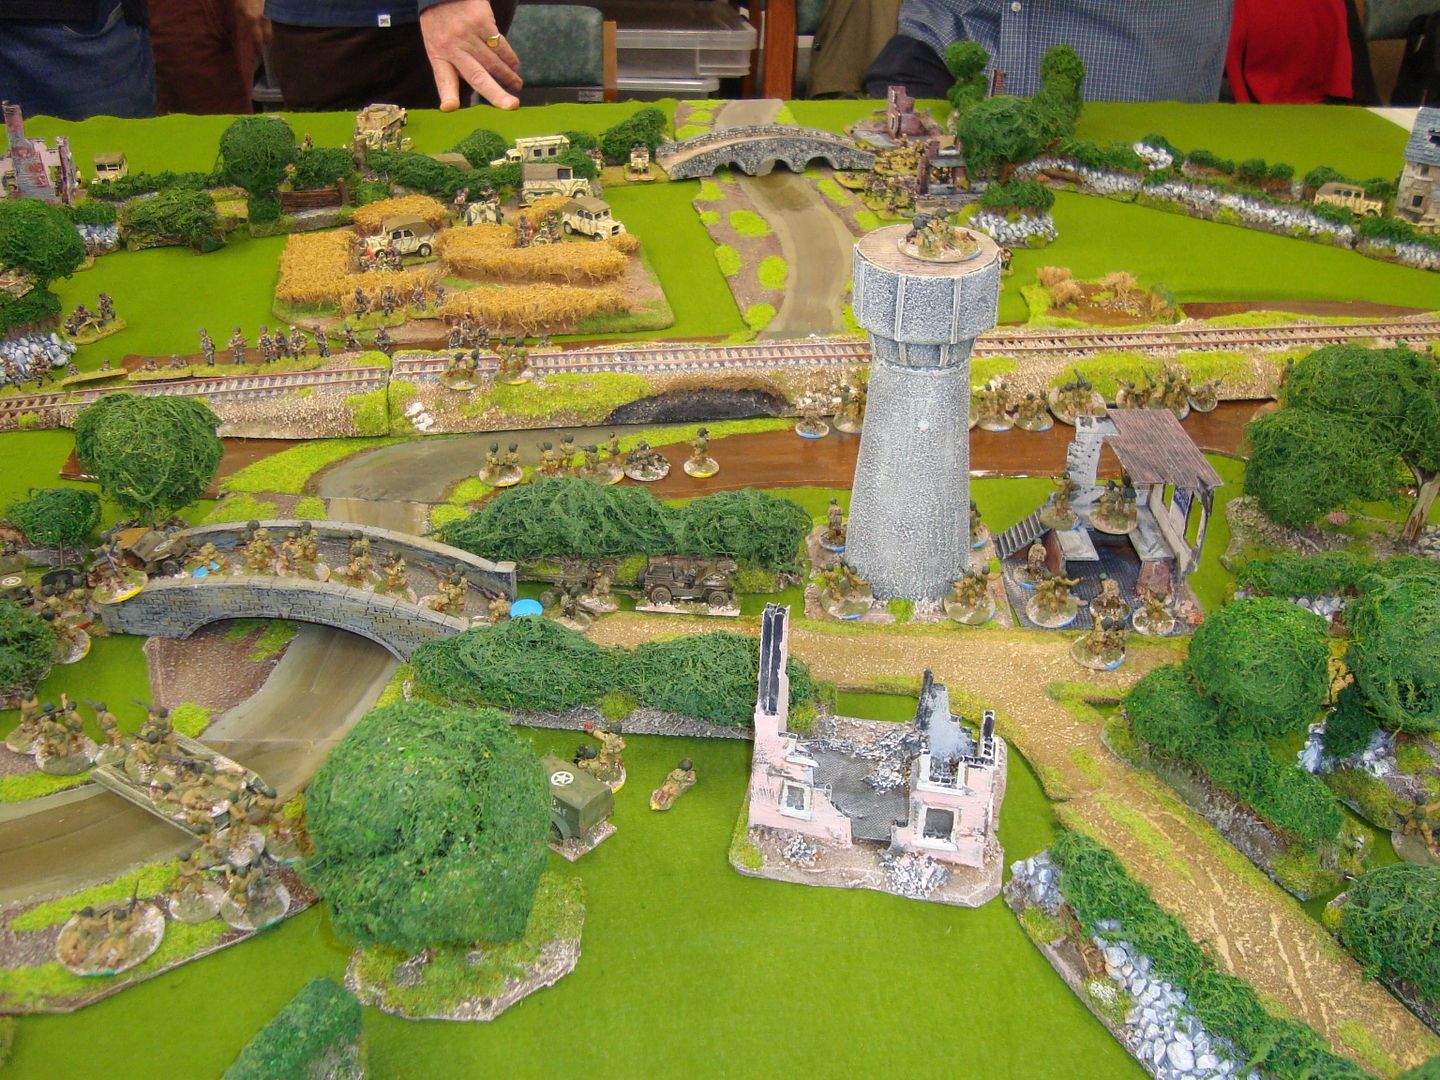
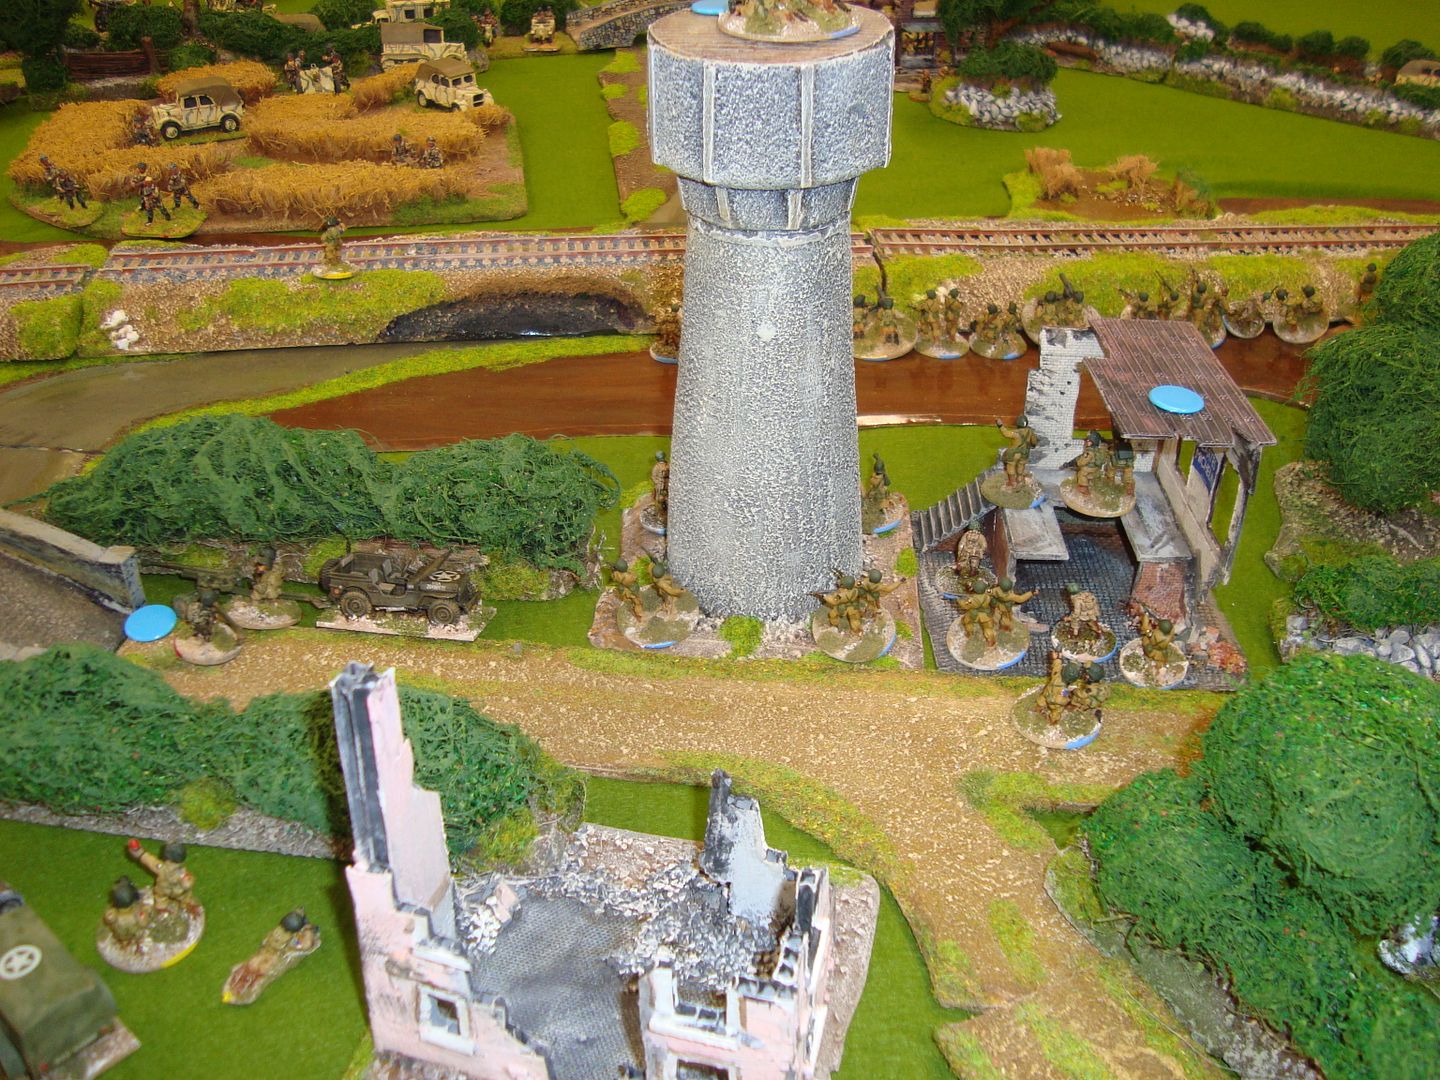
Table 6 The Table I played on Carentan
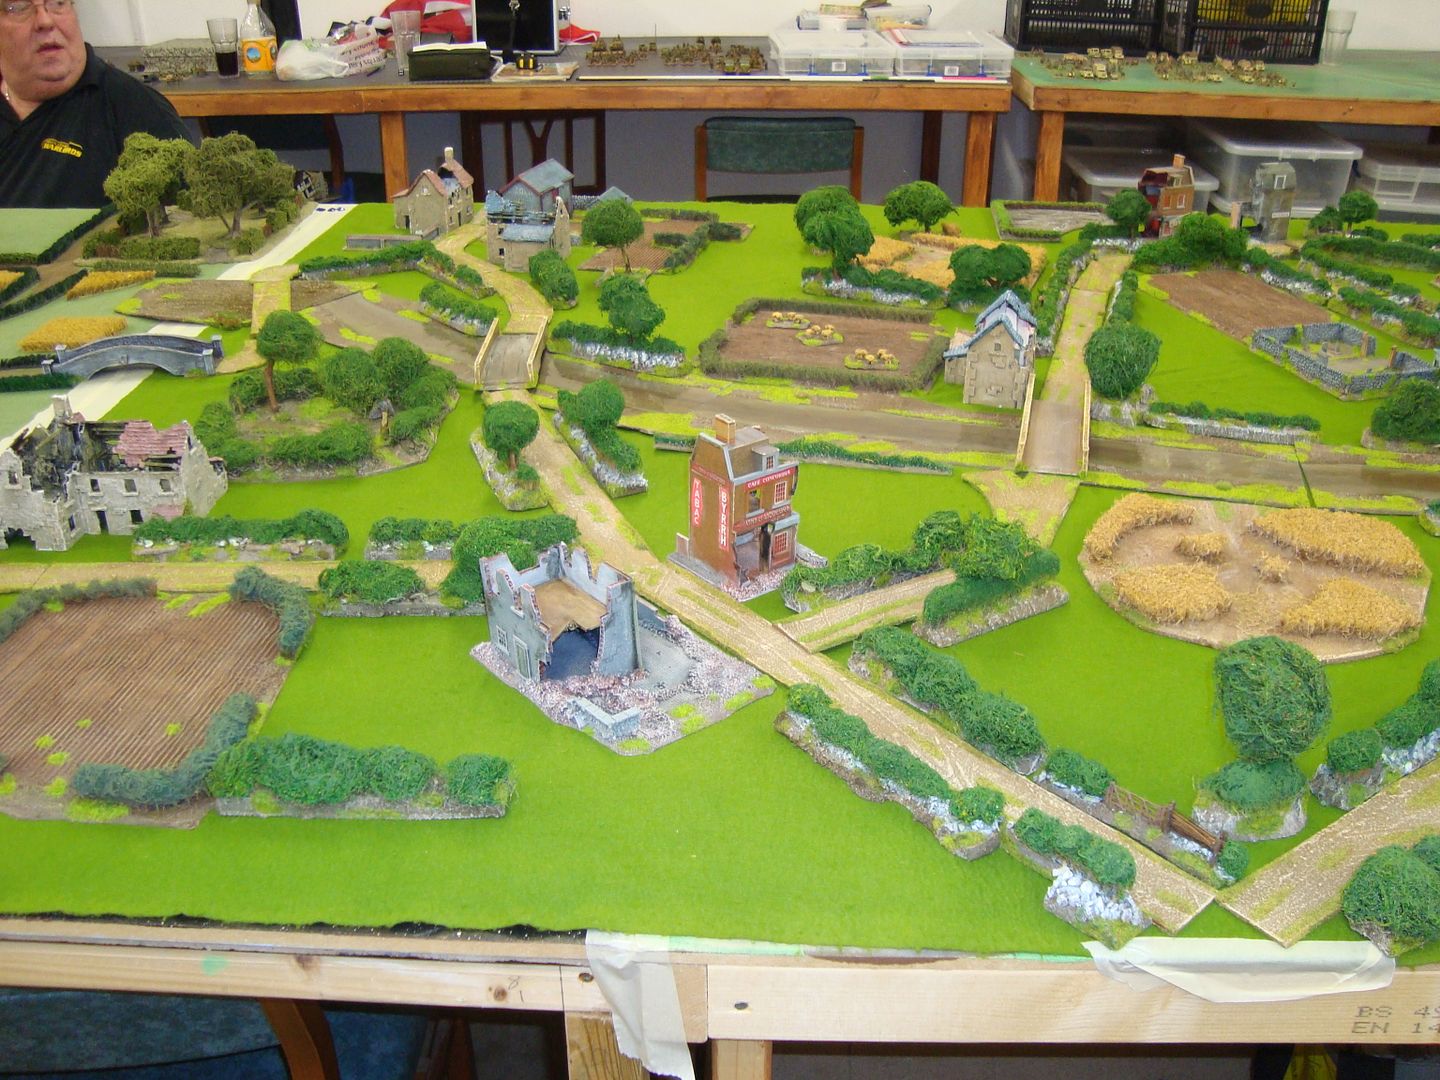
 photo DSC03625_zps8f66991d.jpg

Table 7
 photo DSC03626_zpsb6545ff0.jpg

Table 8
 photo DSC03627_zpsc283217c.jpg

Table 9
 photo DSC03628_zps29ca9138.jpg

 photo DSC03629_zps48d12f53.jpg

US 2nd Armored's objective were clear- Secure the two Southern bridges and Carentan and then on to St. Jean de Day and Auverville to the far west of the table.

Table 6 Carentan on Right Forces - US 2nd Armoured Vs 17th SS Division
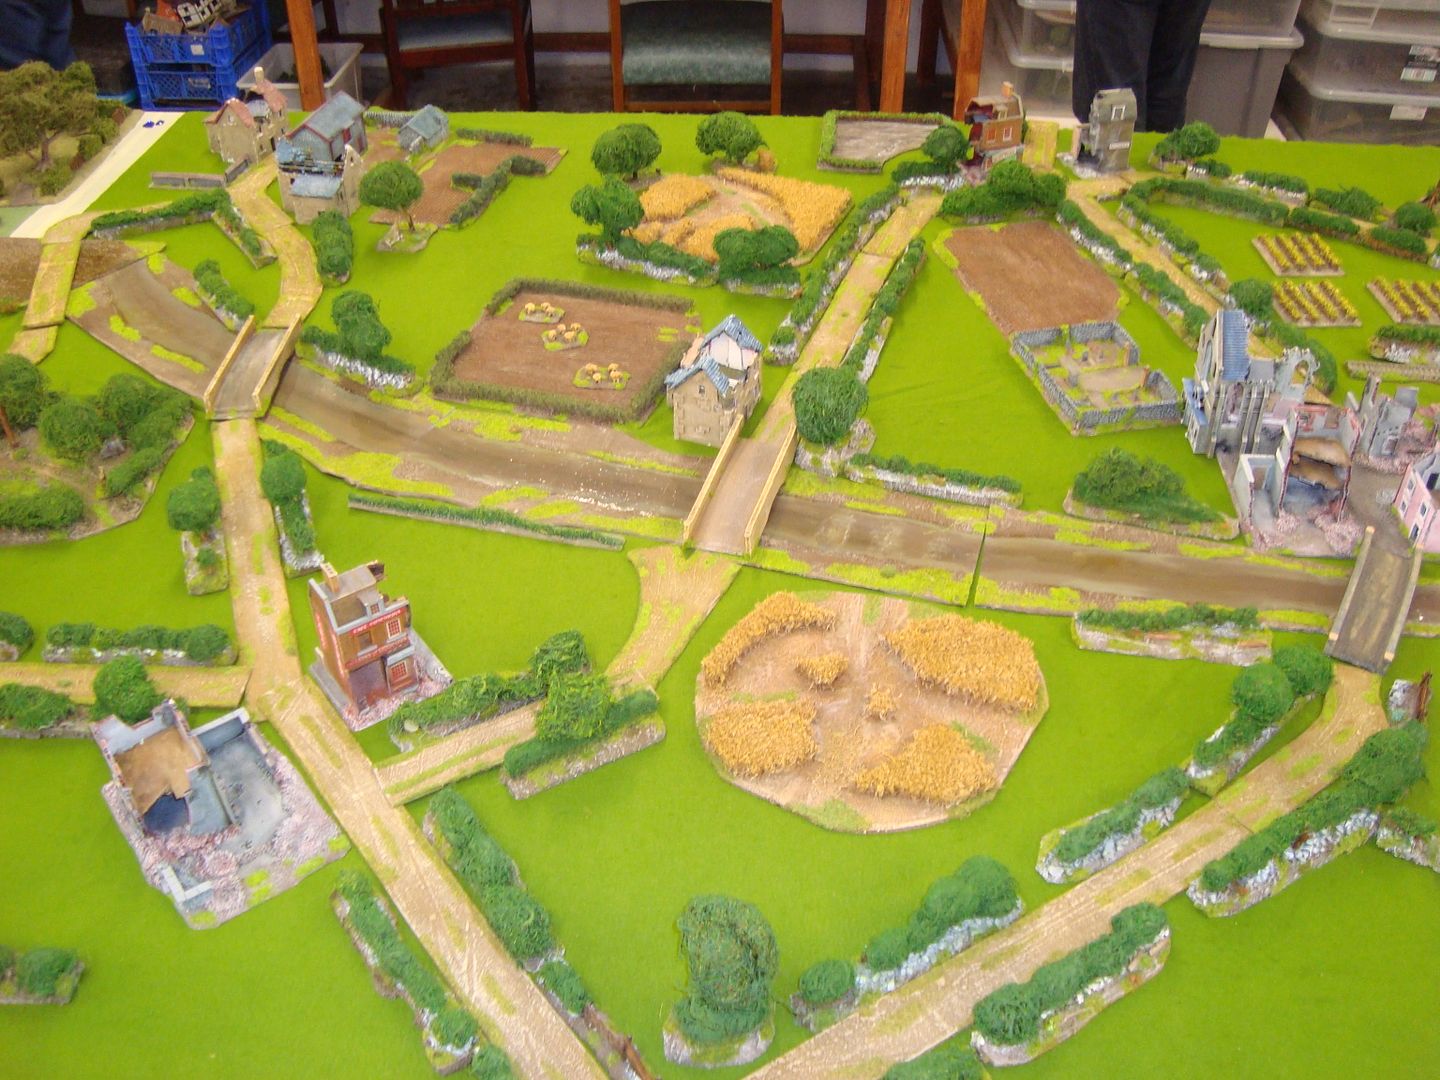
 photo DSC03630_zpsad31d799.jpg

1st turn -US
 photo DSC03631_zps46e7ec0e.jpg

German
 photo DSC03632_zpsd1202471.jpg

Some of my troops on the next table(to my right, table7)
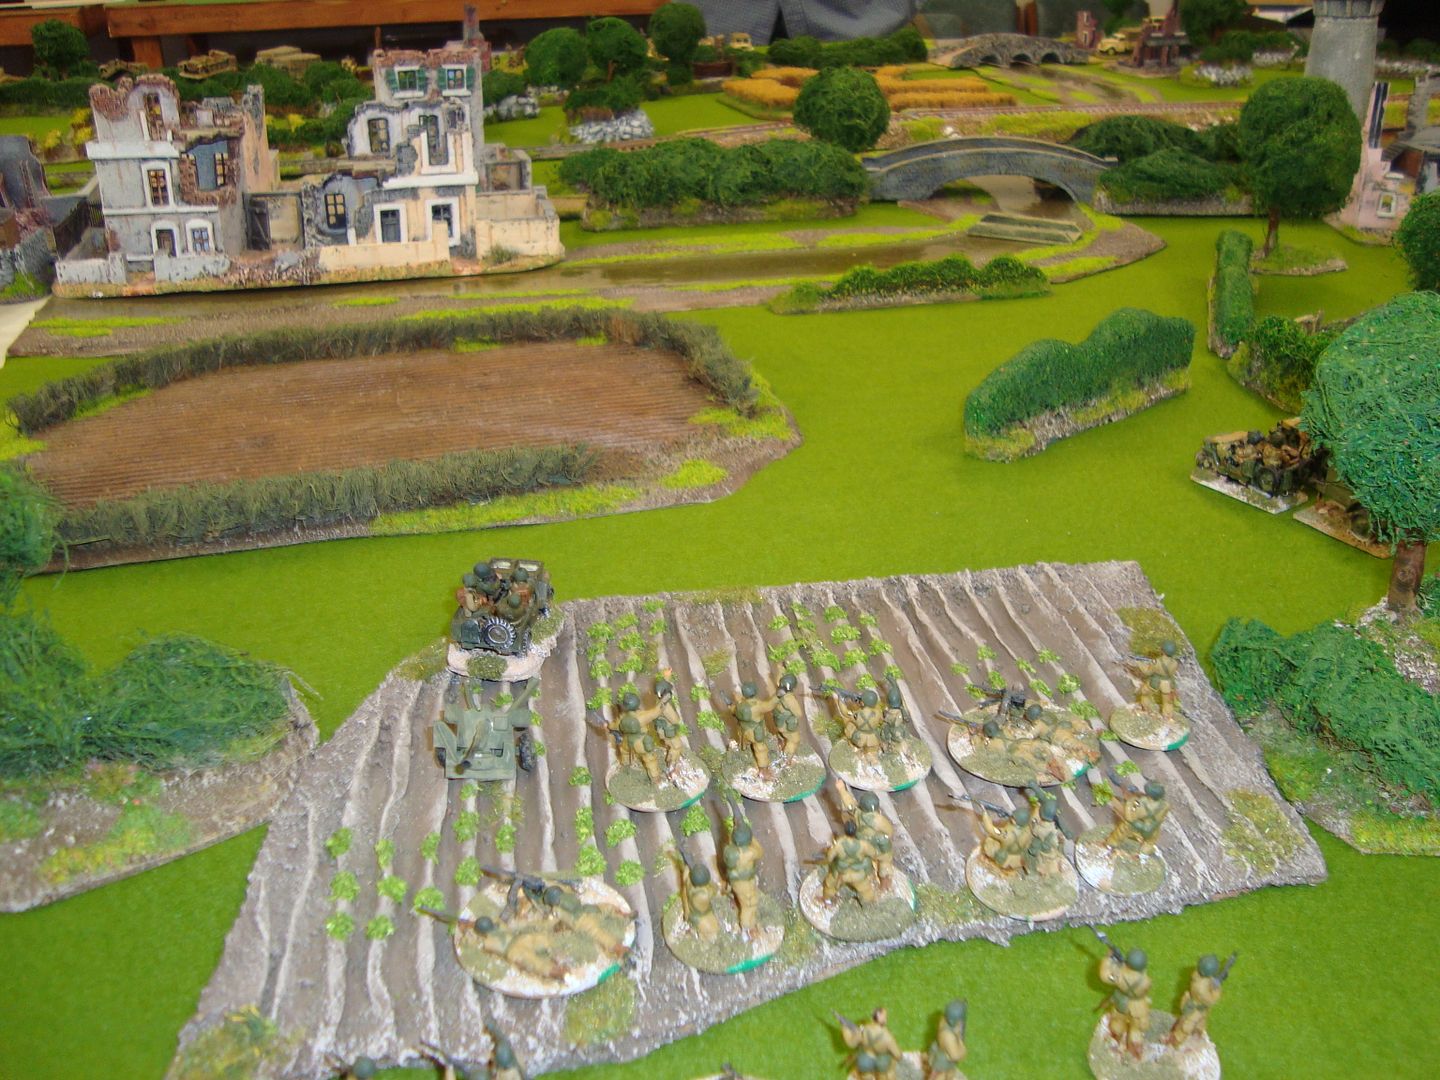
 photo DSC03634_zps2160646f.jpg
 photo DSC03635_zps9c25ac69.jpg

3rd turn - US, the fight for Carentan begins and lasted the whole game
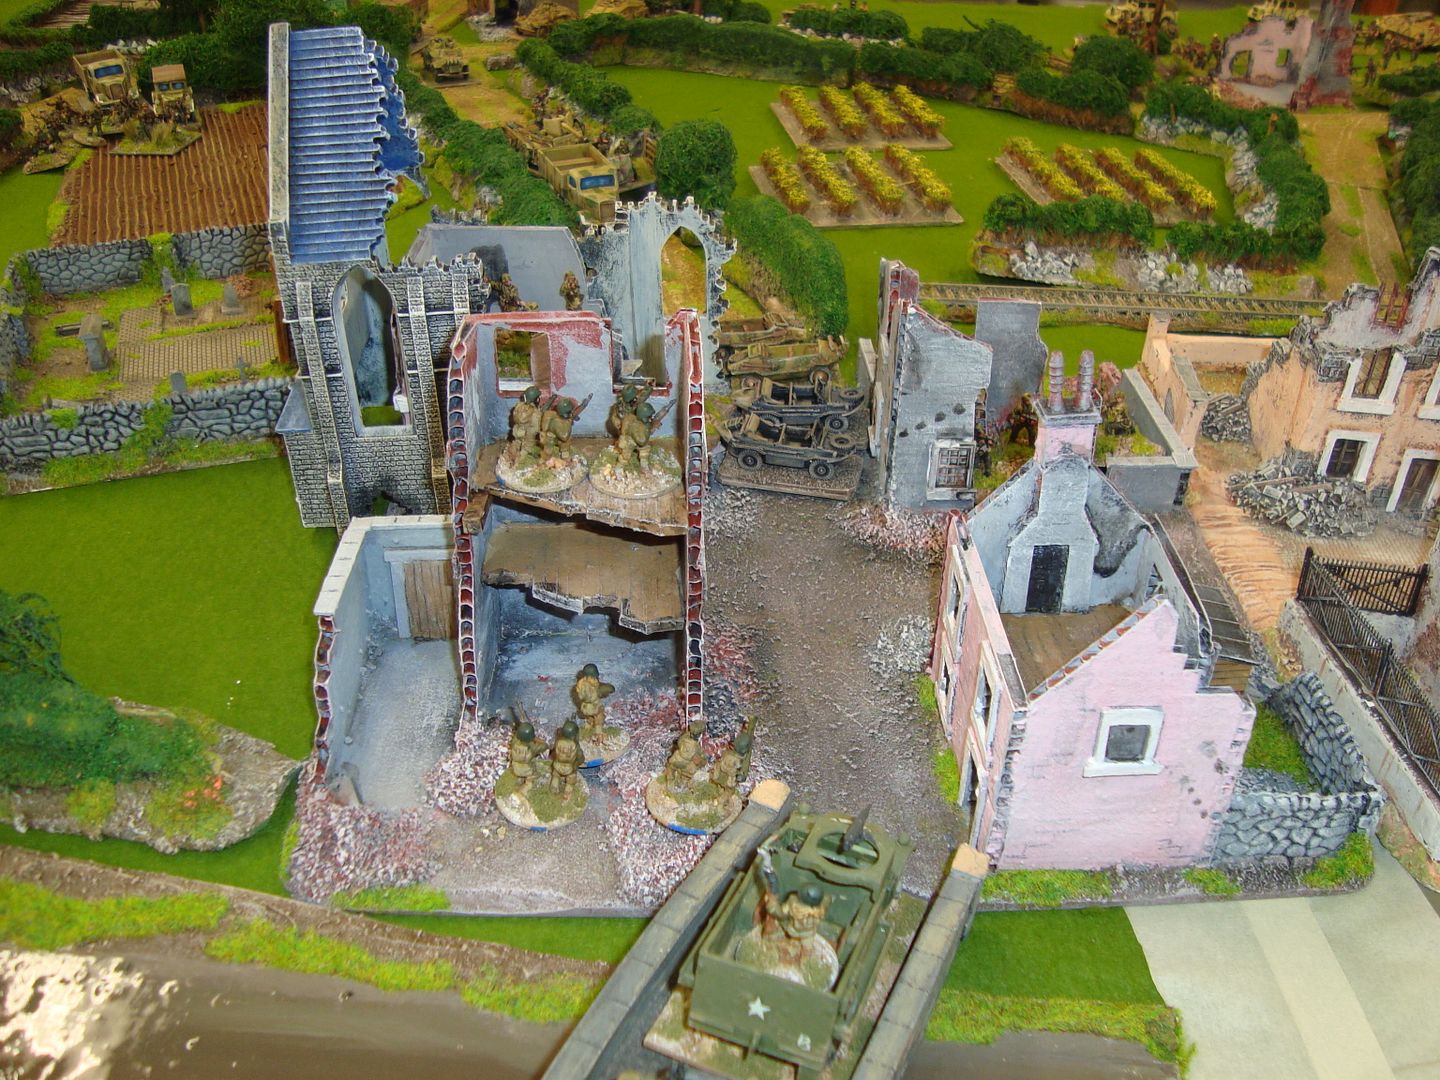
 photo DSC03638_zps22563802.jpg

US taking the centre bridge
 photo DSC03639_zpscb8c2767.jpg

Fighting over the southern bridge.
 photo DSC03640_zpsfdb412d5.jpg

4th turn
StuGs move up, whilst GI's occupy house west of the canal (building on right)
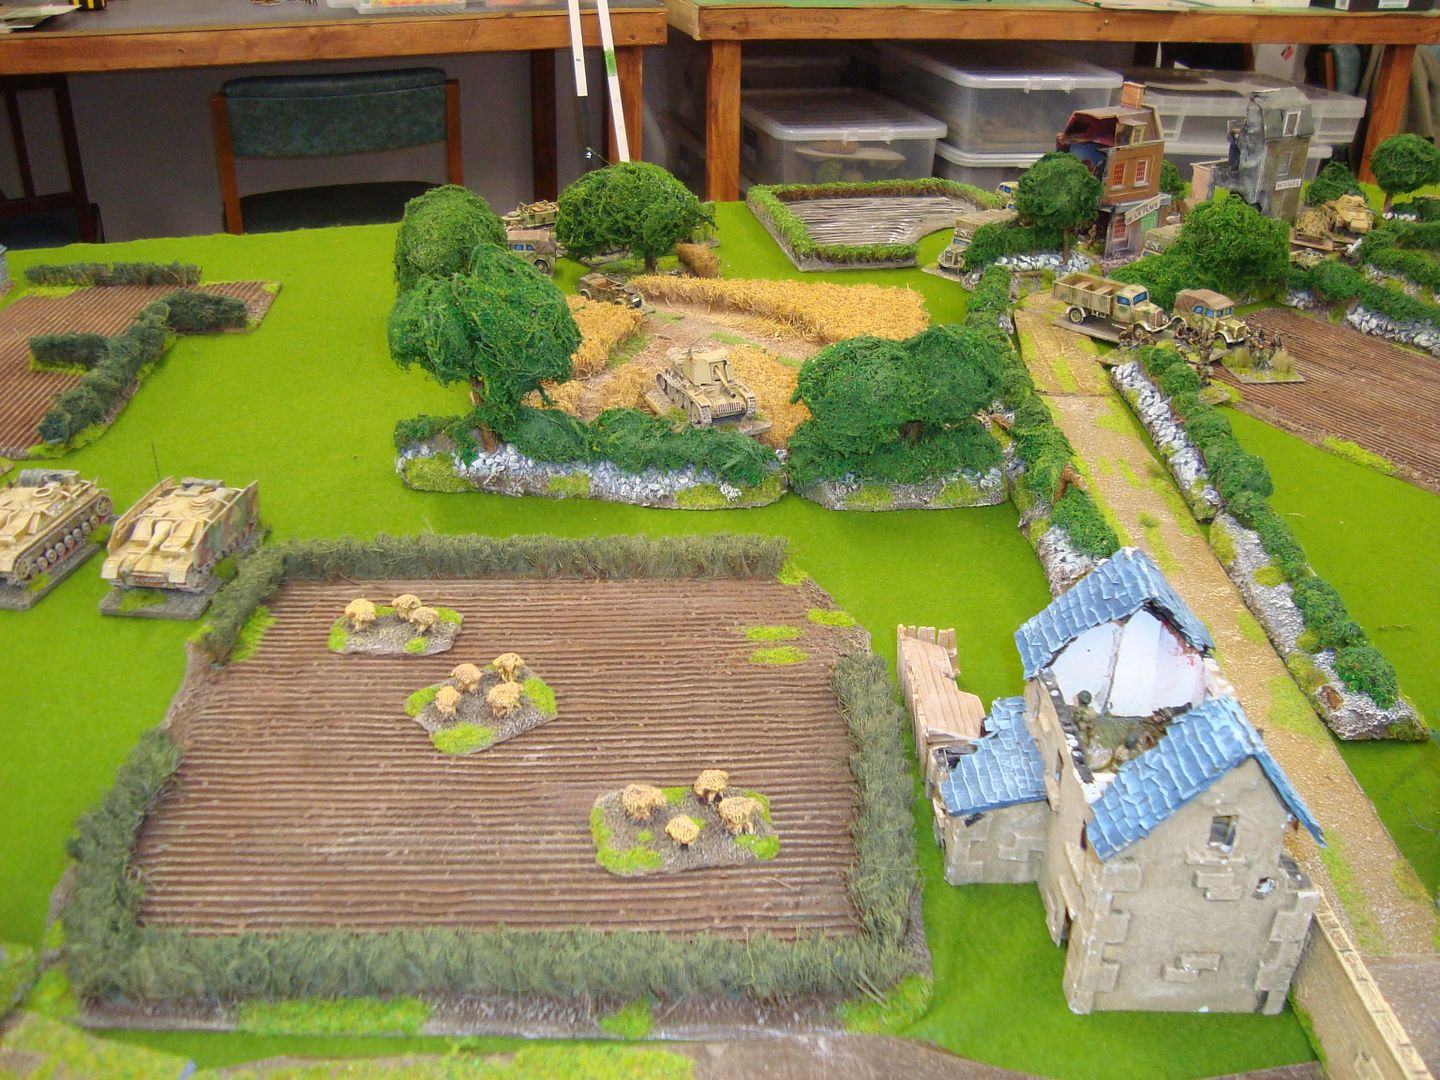
 photo DSC03641_zpsd02f82be.jpg

More US troops pile in to Carentan to aid their buddies
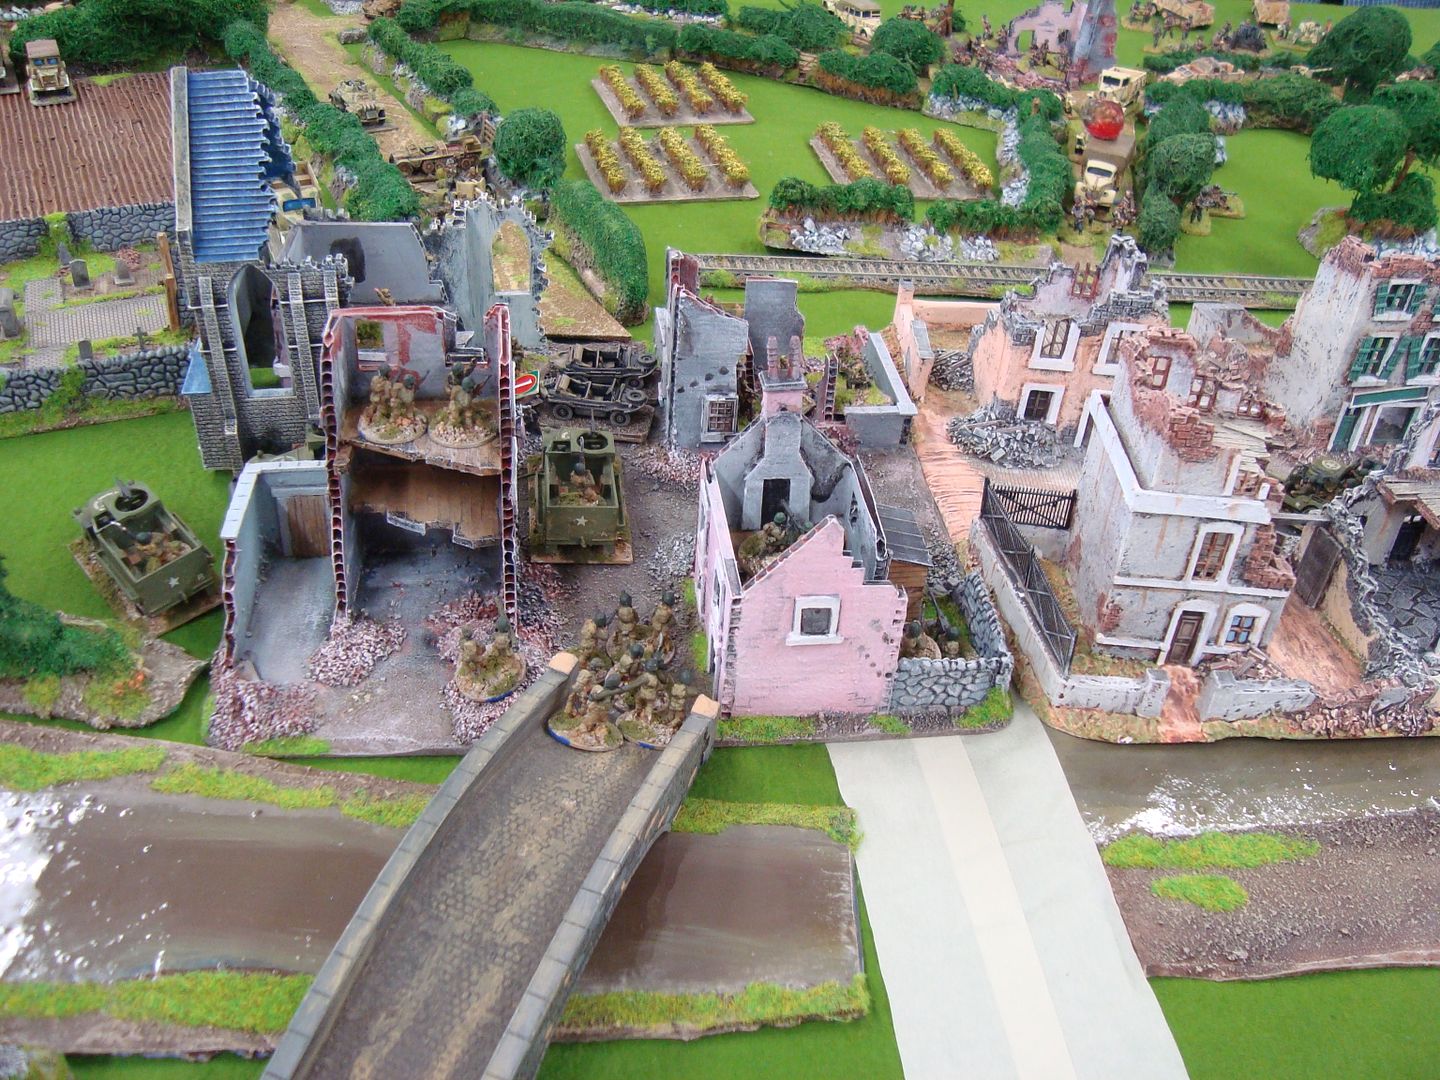
 photo DSC03642_zps03e4c59a.jpg

BANG!!
2 direct hits to the US M10's and Halftrack, Other M10 failed morale and retired two moves
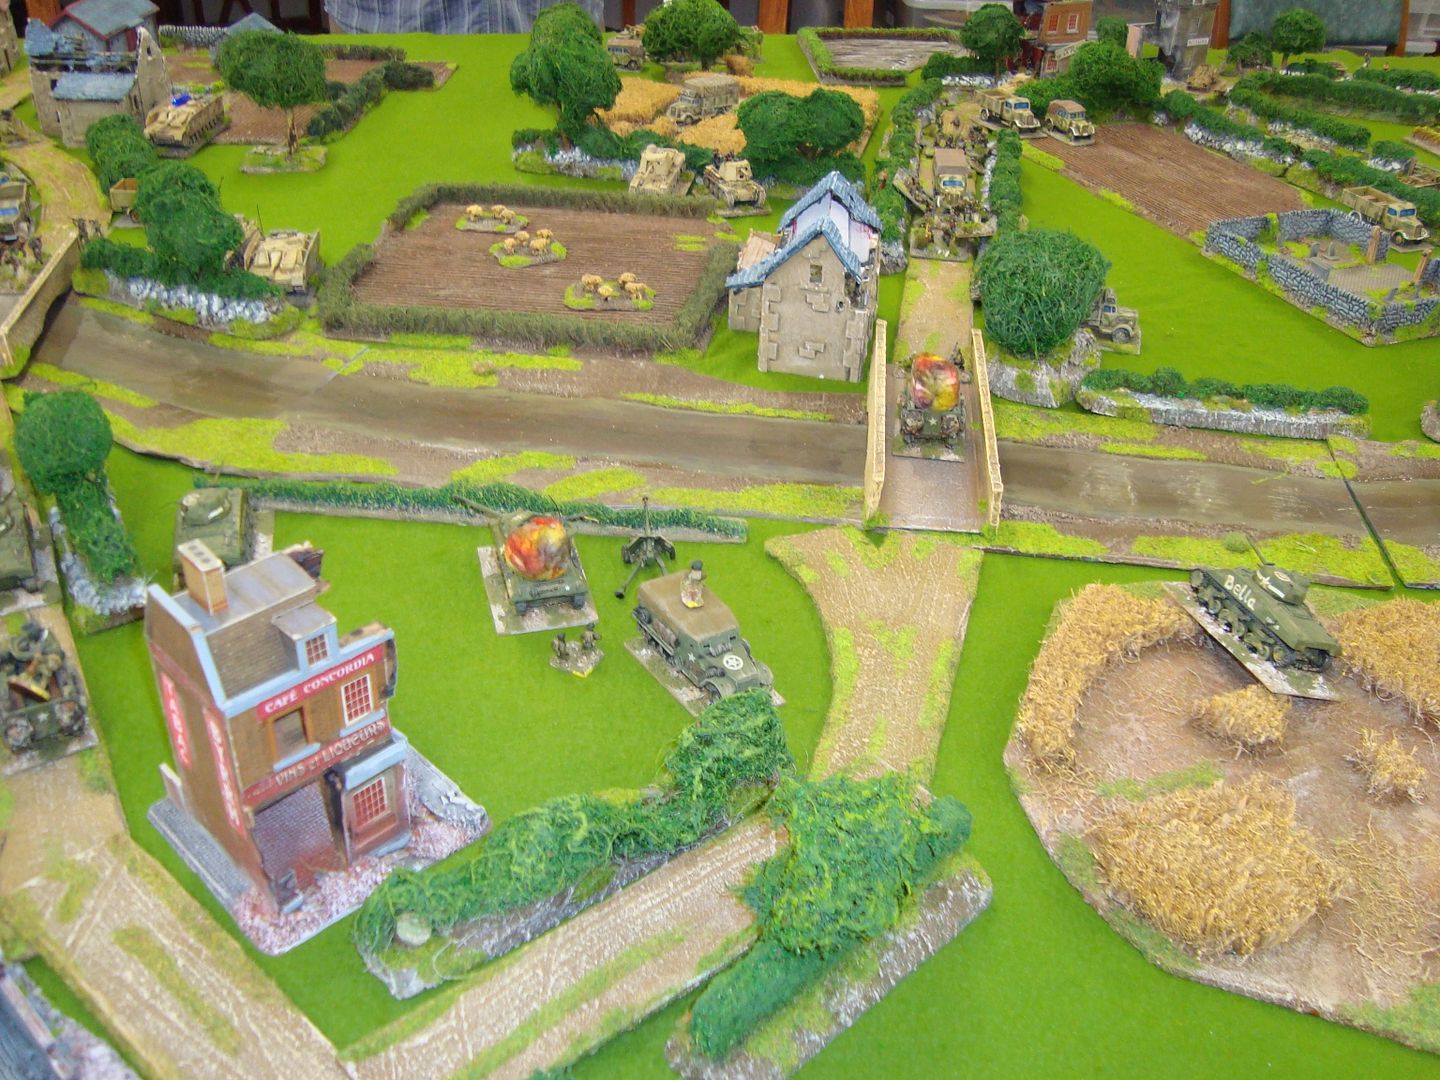
 photo DSC03643_zps61961fef.jpg

US Amour held up by StuGs in center and misses with all their firing
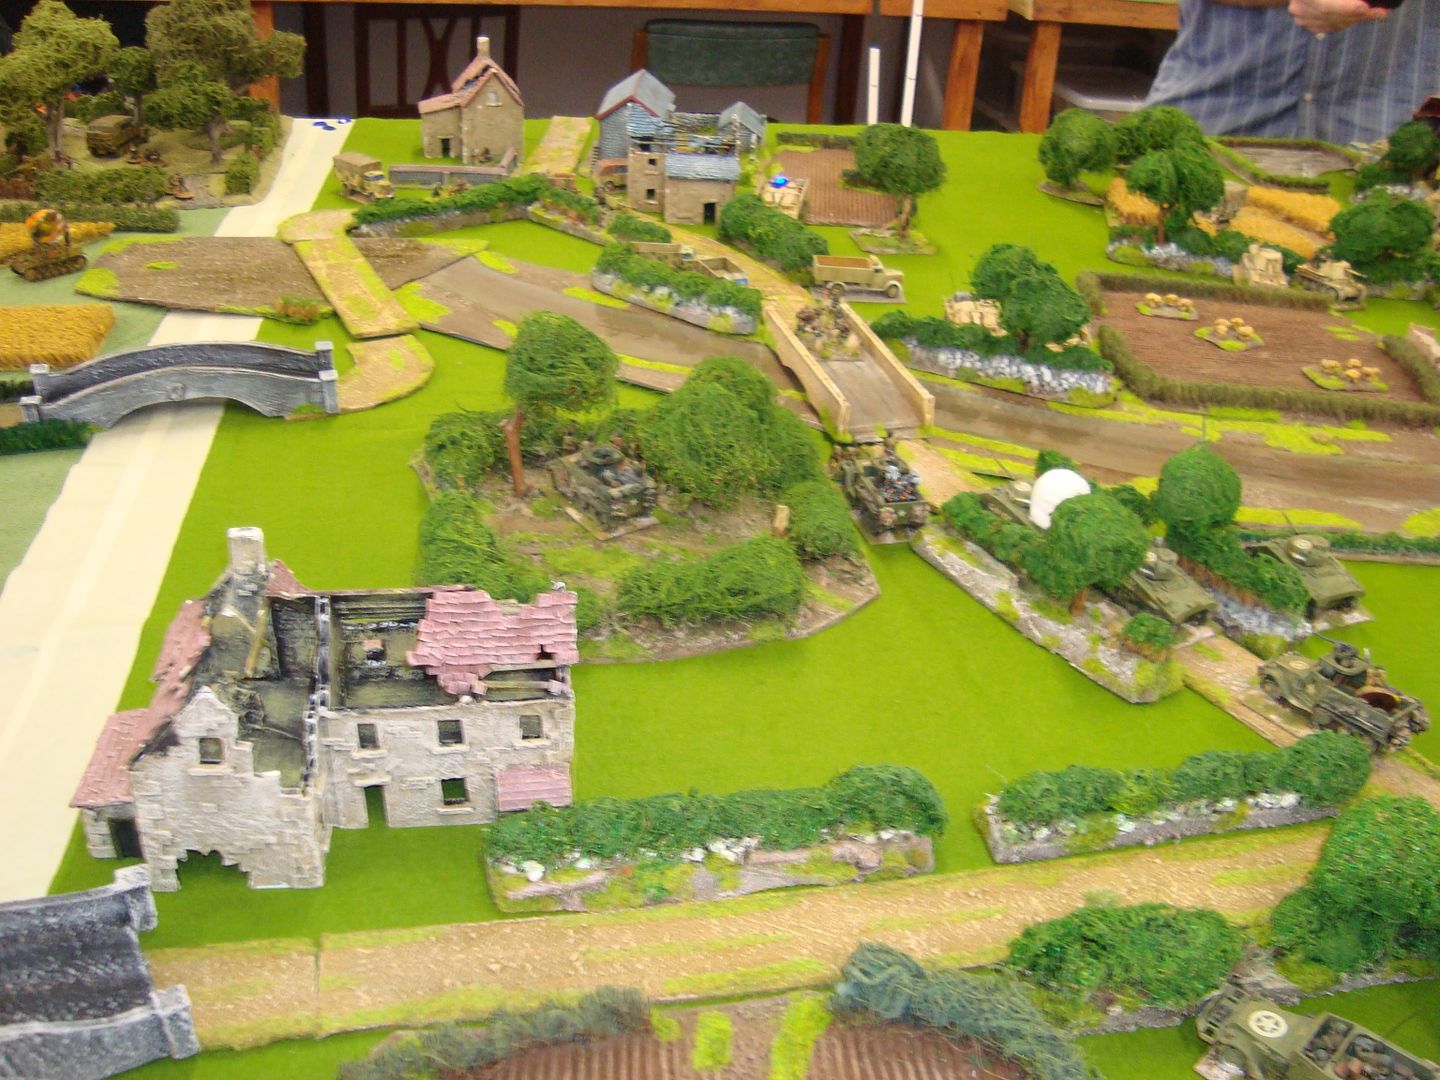
 photo DSC03644_zpscdb189c6.jpg

6th turn - US Artillery did not hit a thing all game till turn 6, when it took out a lot of the SS troops in the field west of the canal, attacking the bdg
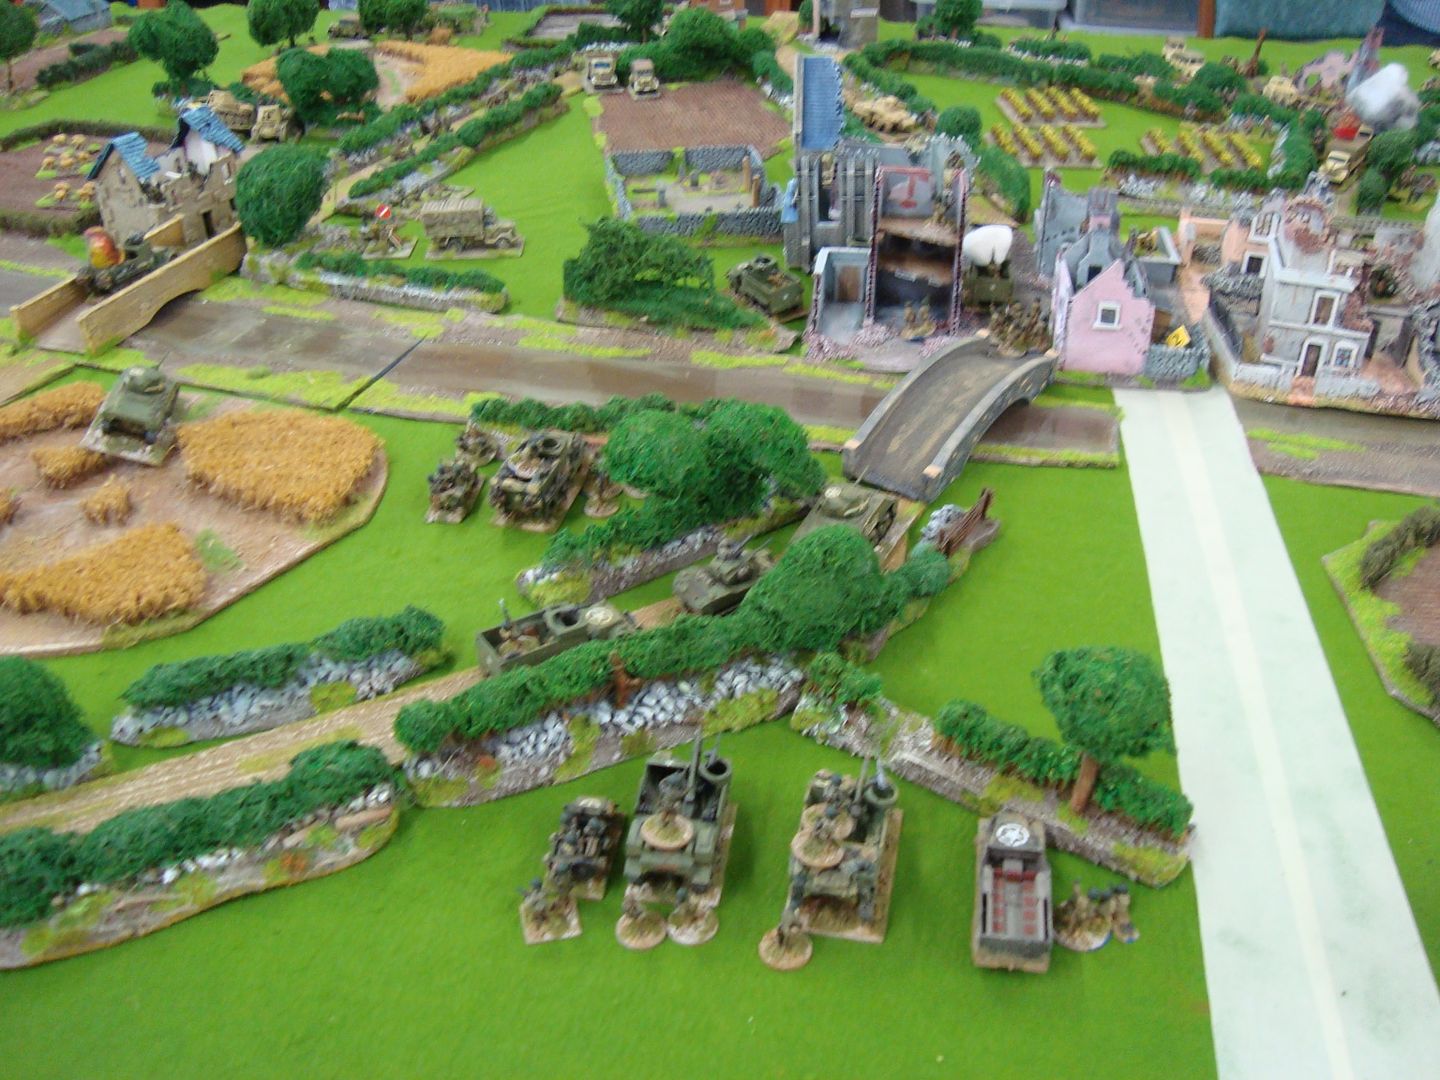
 photo DSC03647_zps326a4d3a.jpg

My US Paras, on table 7, were pushing across the table
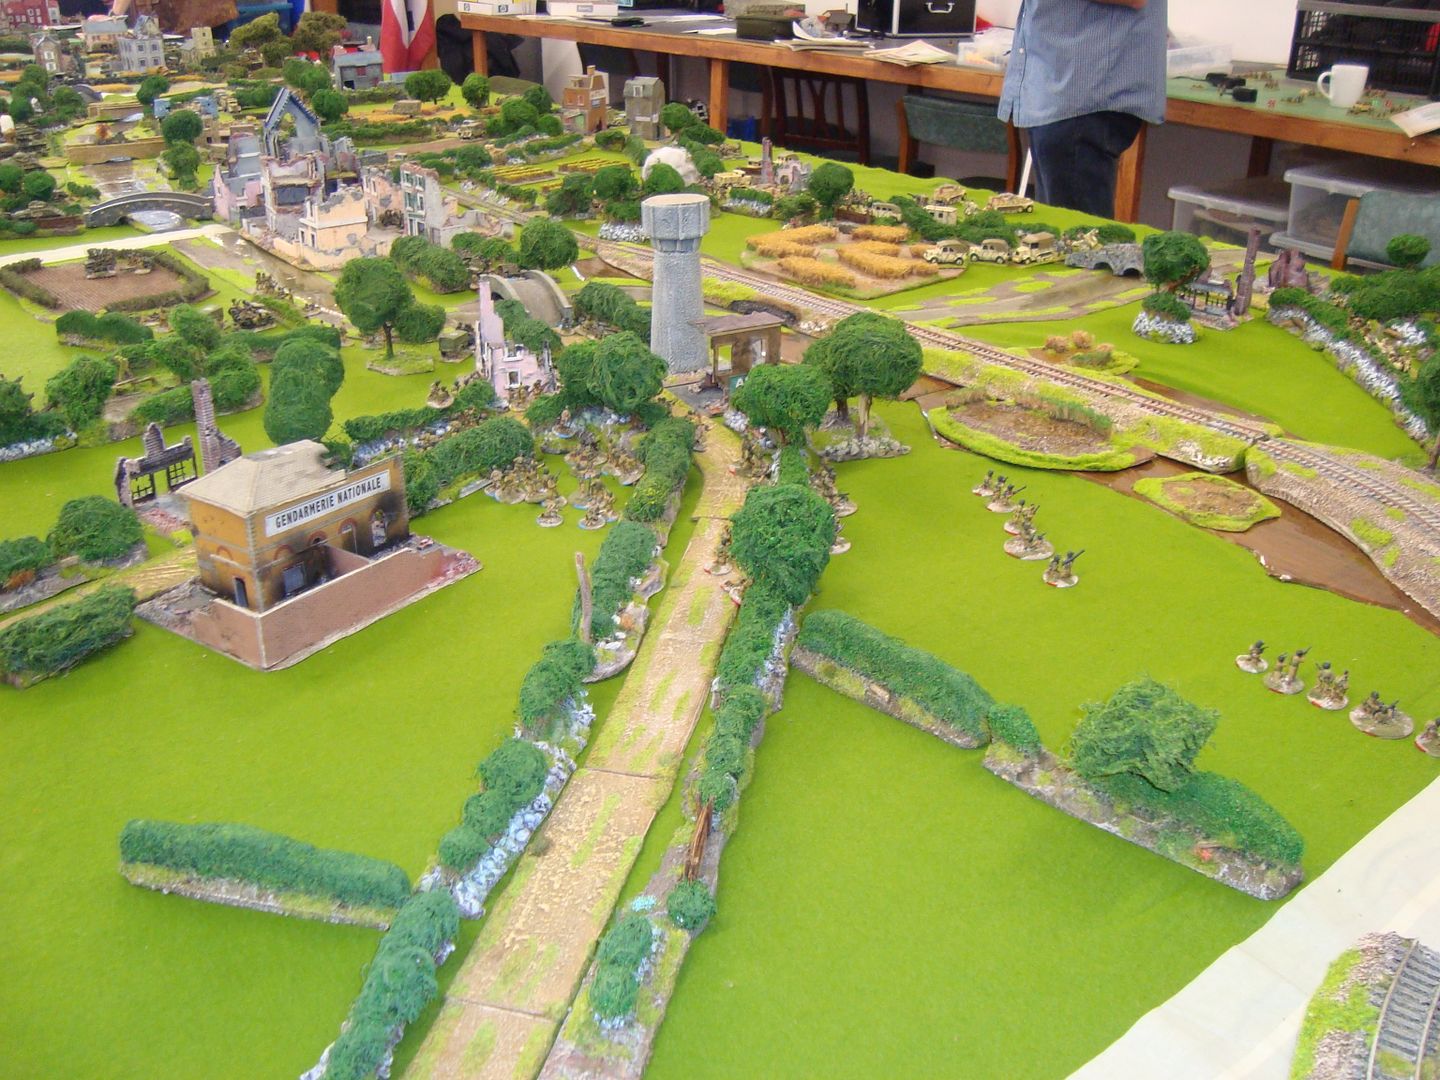
 photo DSC03646_zps0c50c616.jpg

 photo DSC03648_zpsf6ee3941.jpg

The first Stug went up in turn 6( I think) Lots of brewed US armour
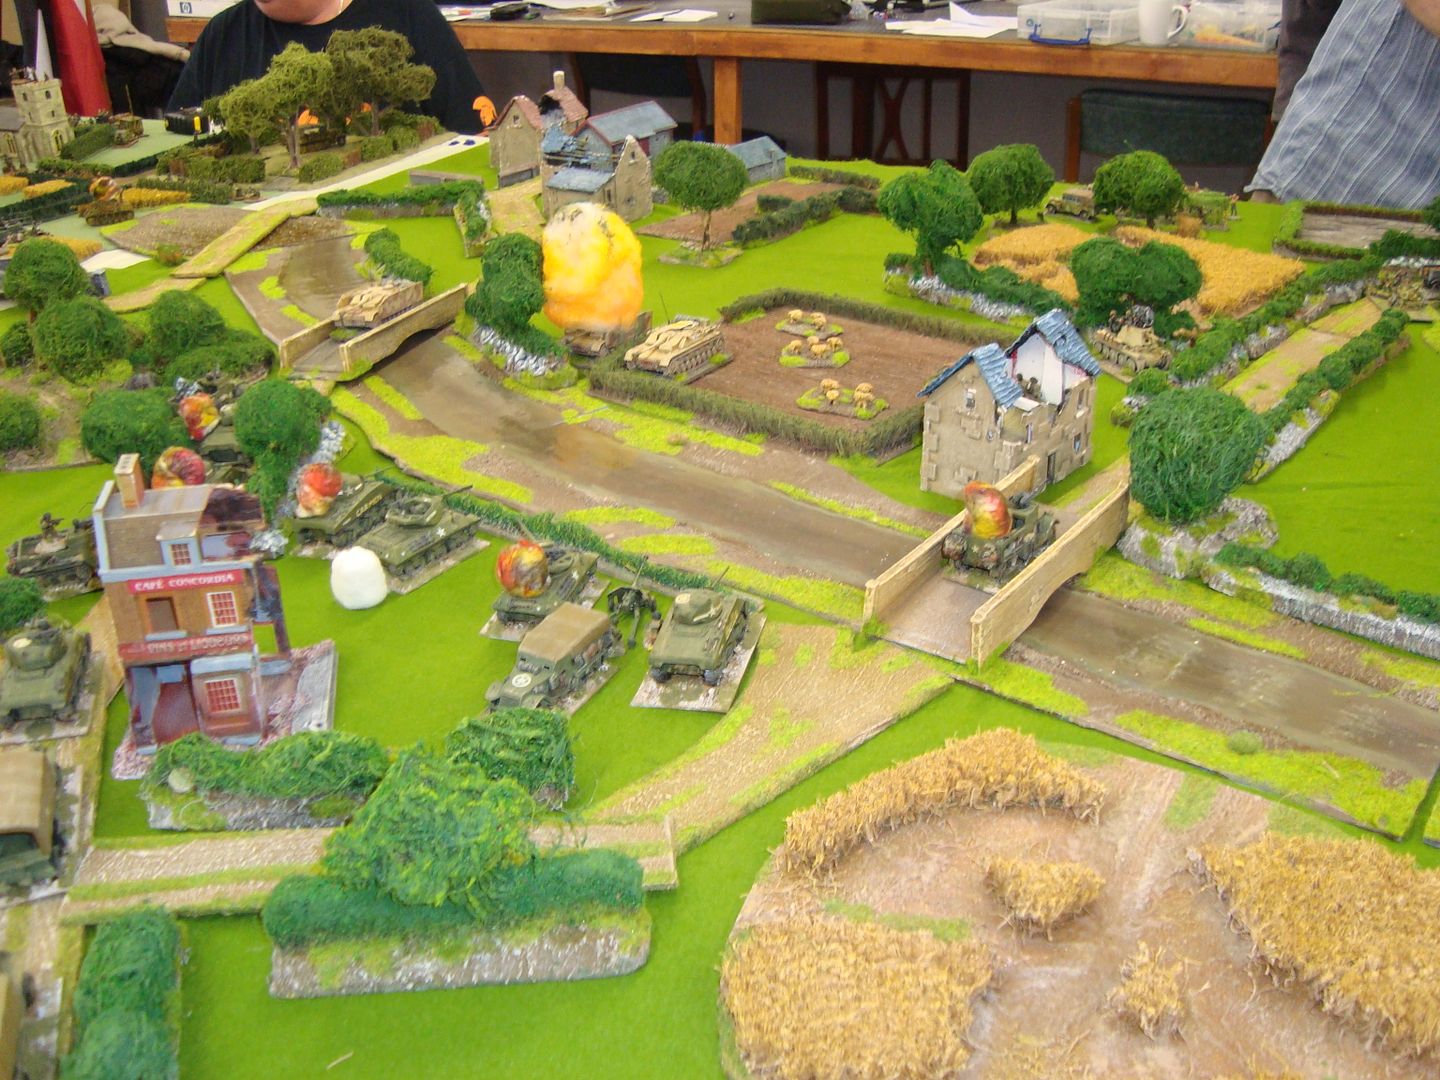
 photo DSC03658_zpsa778de1f.jpg

8th turn
Reinforcements engage west of Carentan
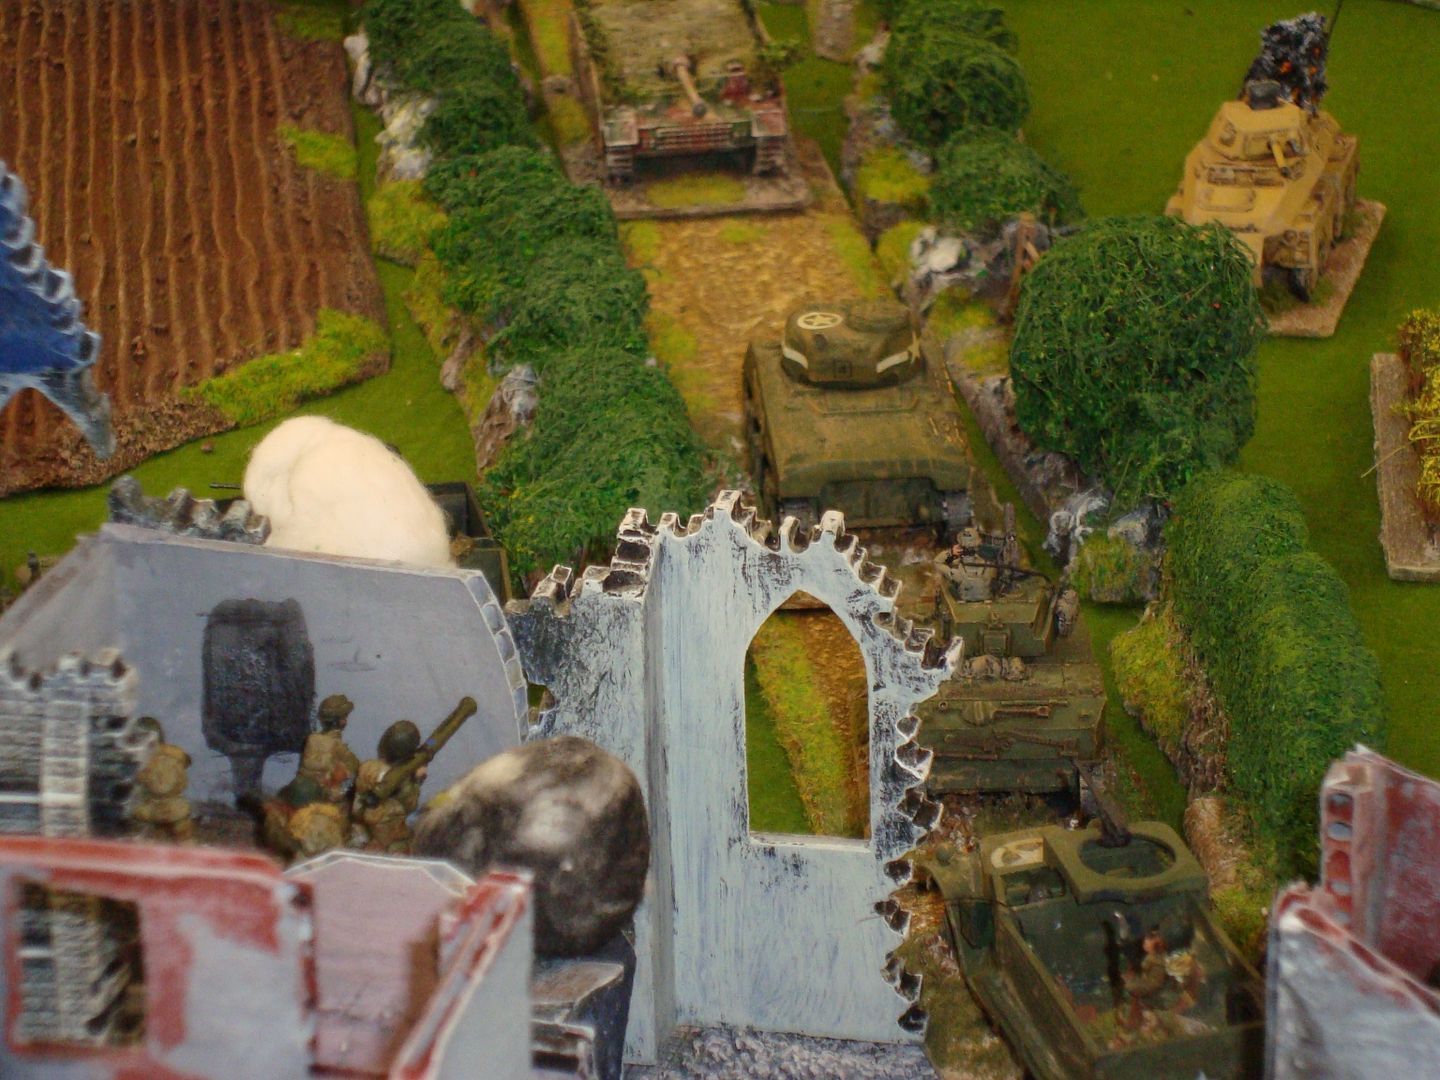
 photo DSC03657_zpsca3200c2.jpg

 photo DSC03648_zpsf6ee3941.jpg

Turn 8 Other tables.
 photo DSC03649_zpse5436917.jpg

 photo DSC03652_zps1f493c76.jpg

 photo DSC03653_zps880e1b74.jpg

 photo DSC03654_zpsab6dae9d.jpg

 photo DSC03655_zps341f221f.jpg

 photo DSC03656_zps807cca5b.jpg

US reinforcements arrive - Infantry
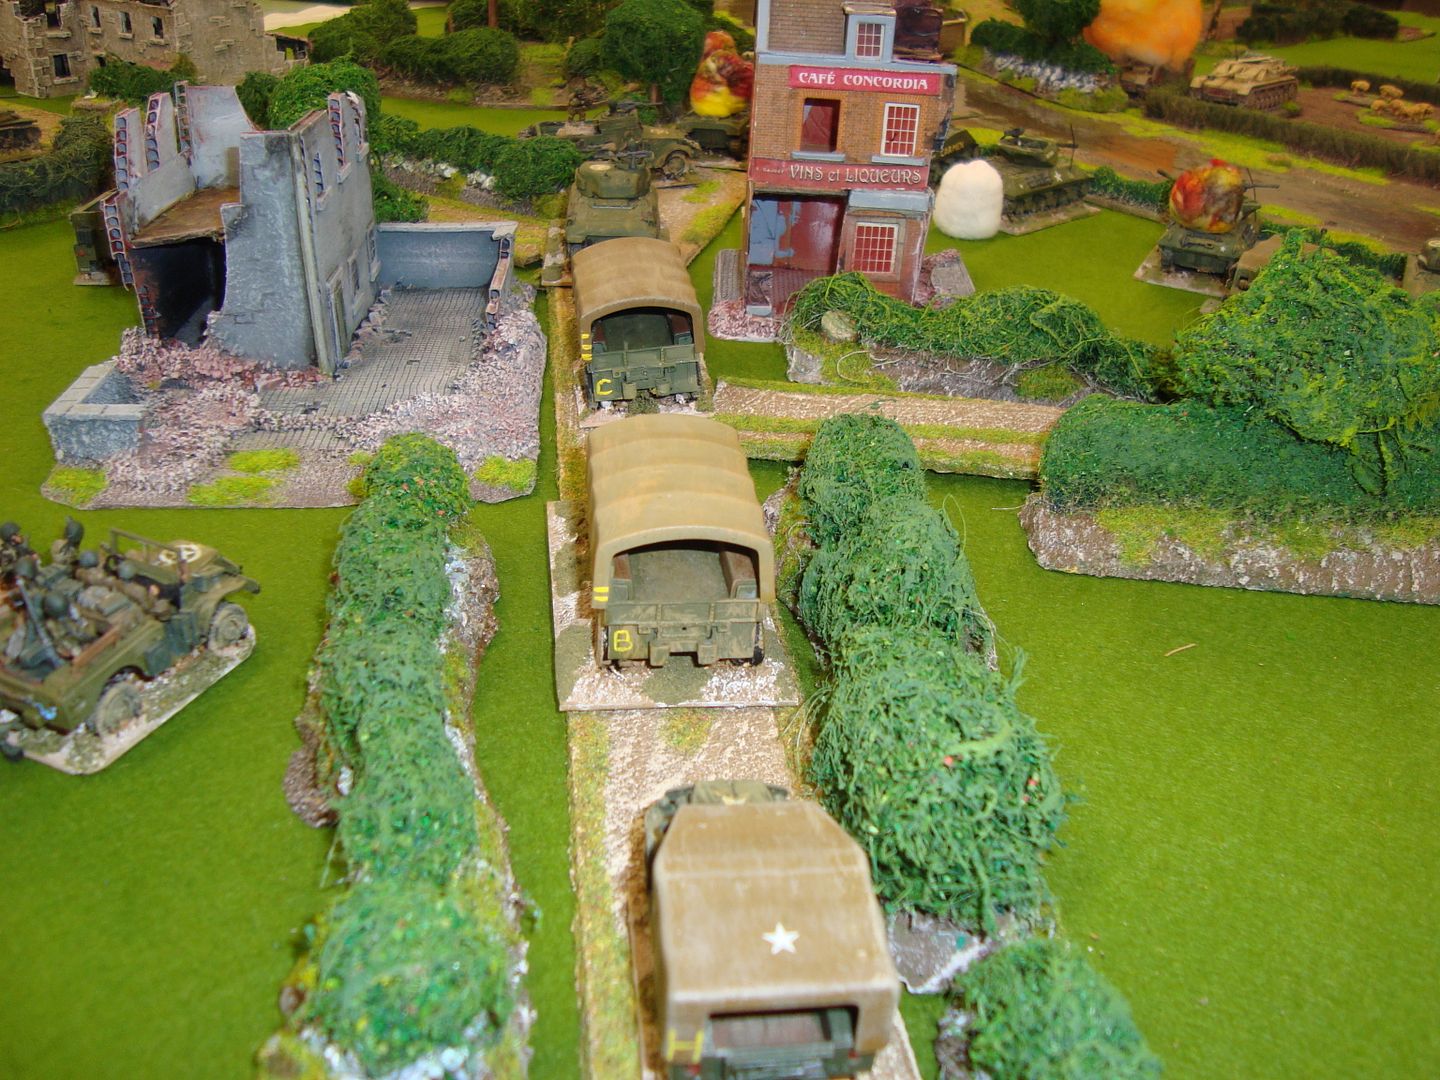
 photo DSC03659_zps720d9277.jpg

And armour :lol:
 photo DSC03660_zps1e09ca90.jpg

9th turn - Obscured shot on the StuG- Bang!- forced morale and remaining Stug routed
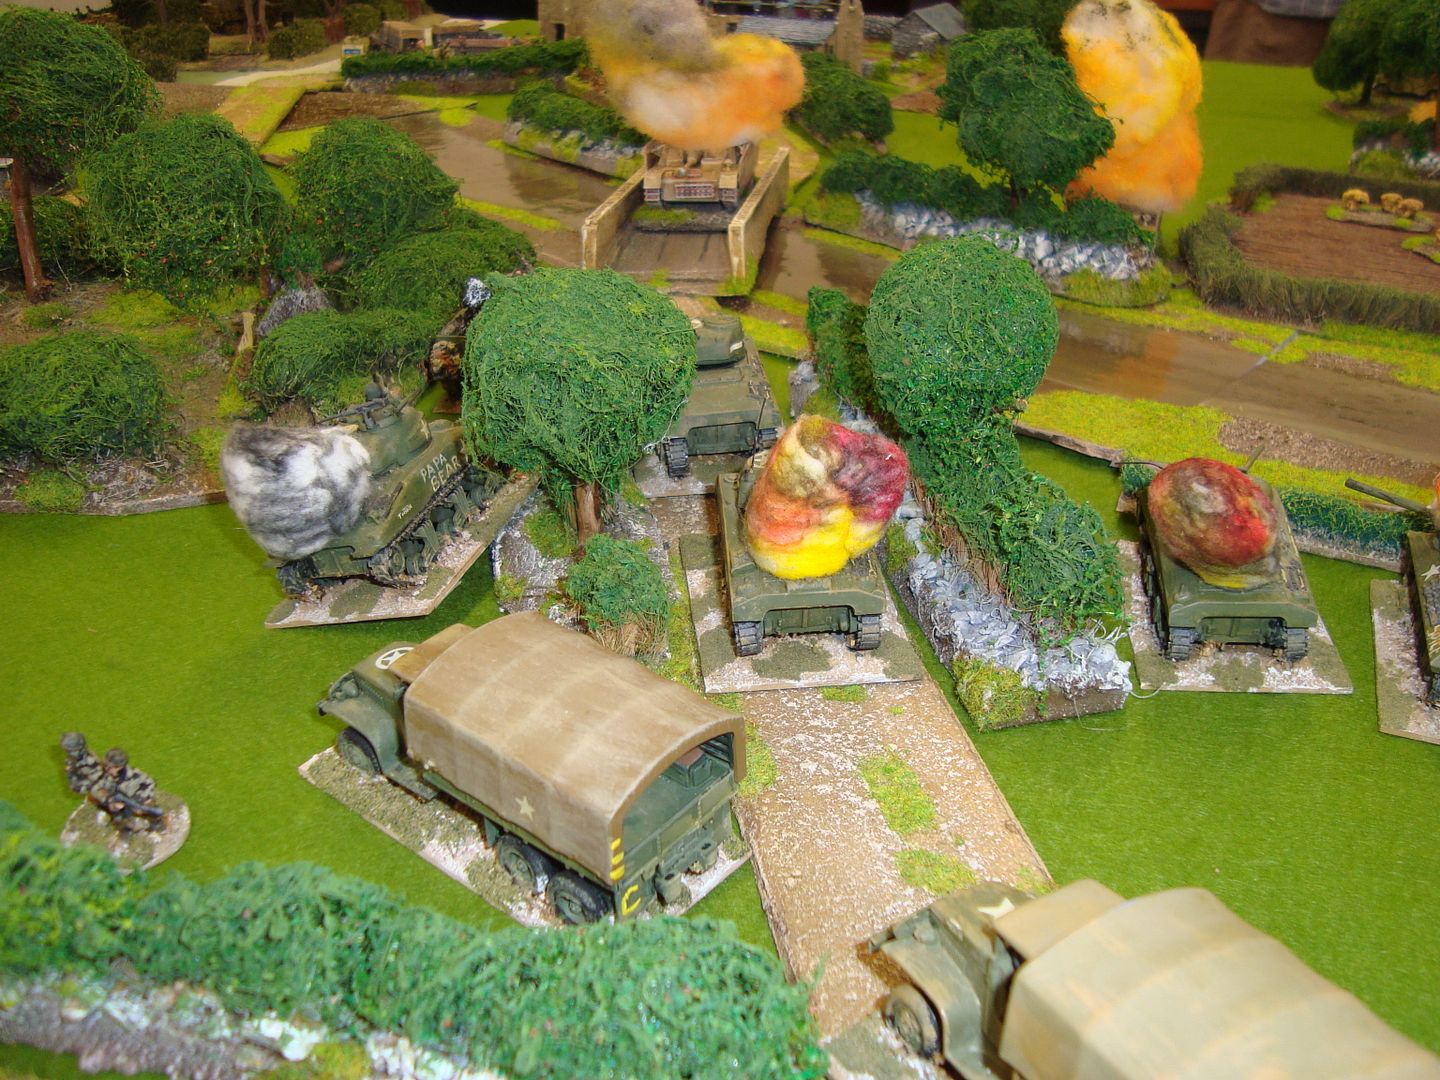
 photo DSC03664_zpsb0b15385.jpg

My Paras from table 7, break into Carentan from the South
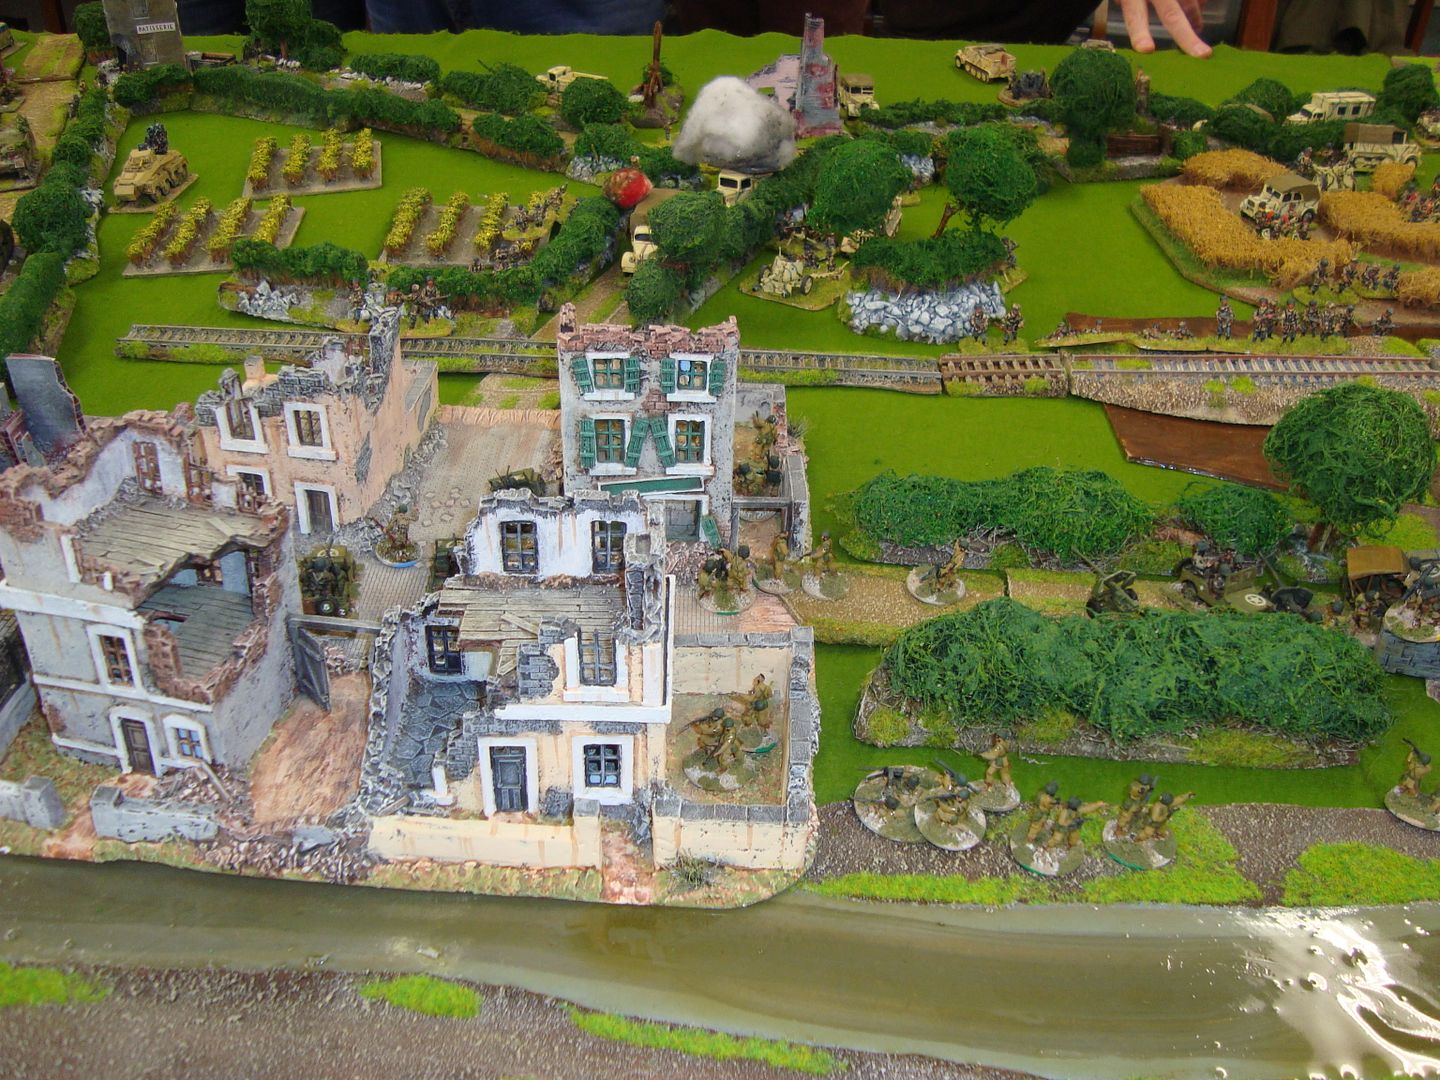
 photo DSC03661_zps8a0eb776.jpg

 photo DSC03662_zpscf7d6de5.jpg

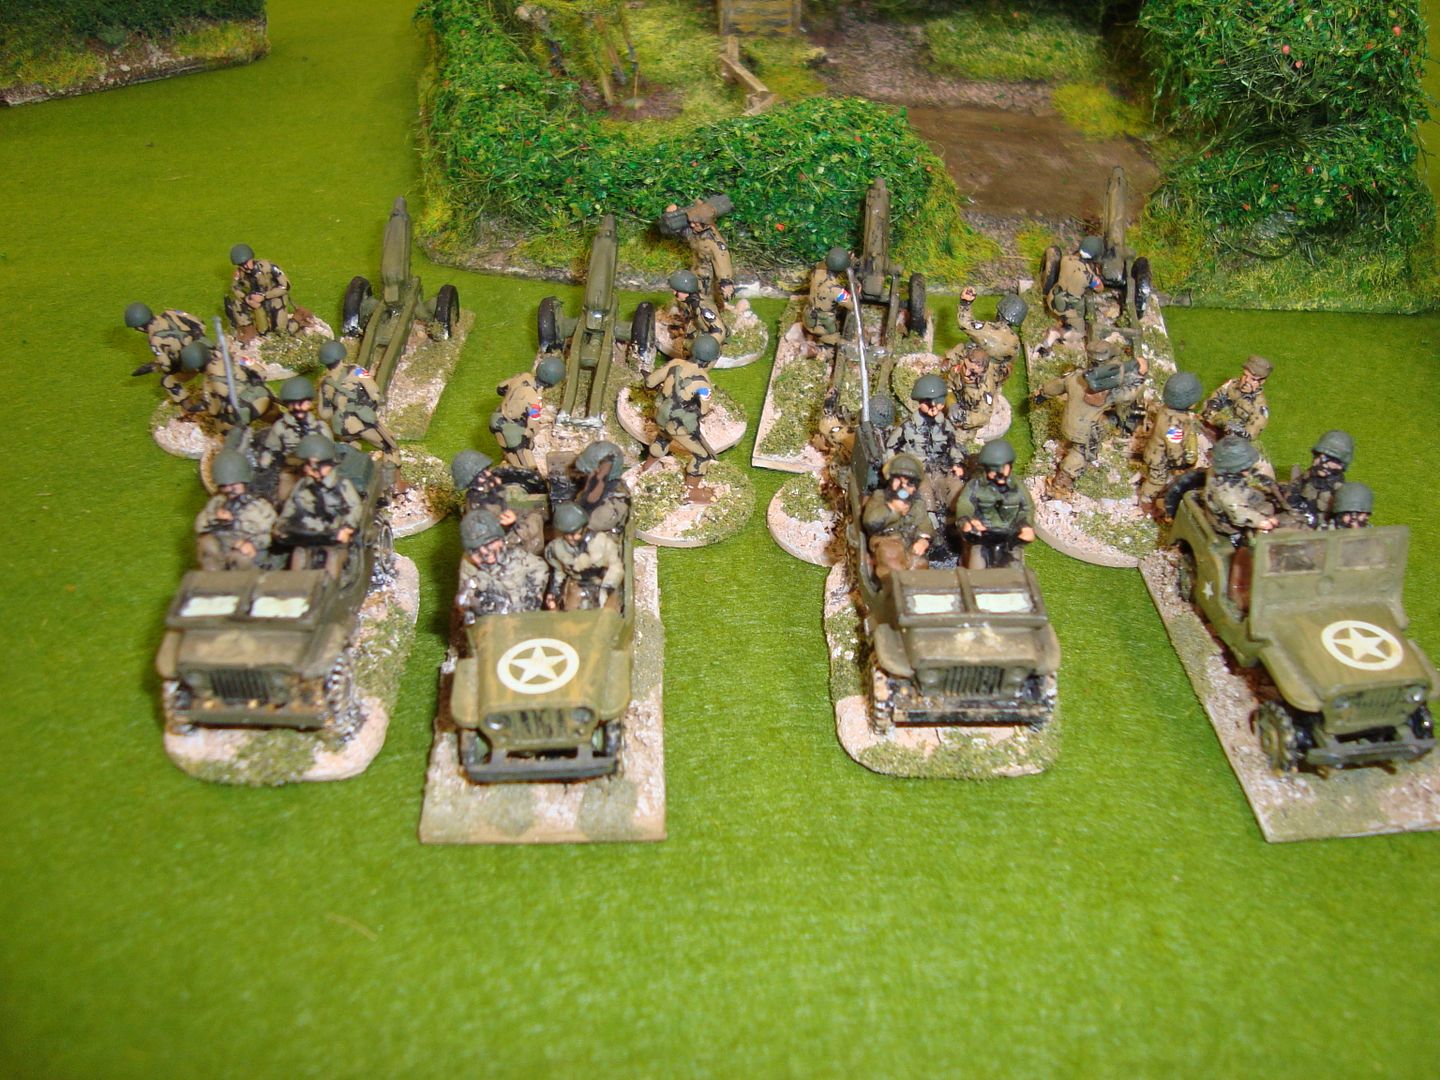
Para Howitzers
 photo DSC03663_zpsc39ff73c.jpg

Last attempt to occupy house west of central bridge failed!
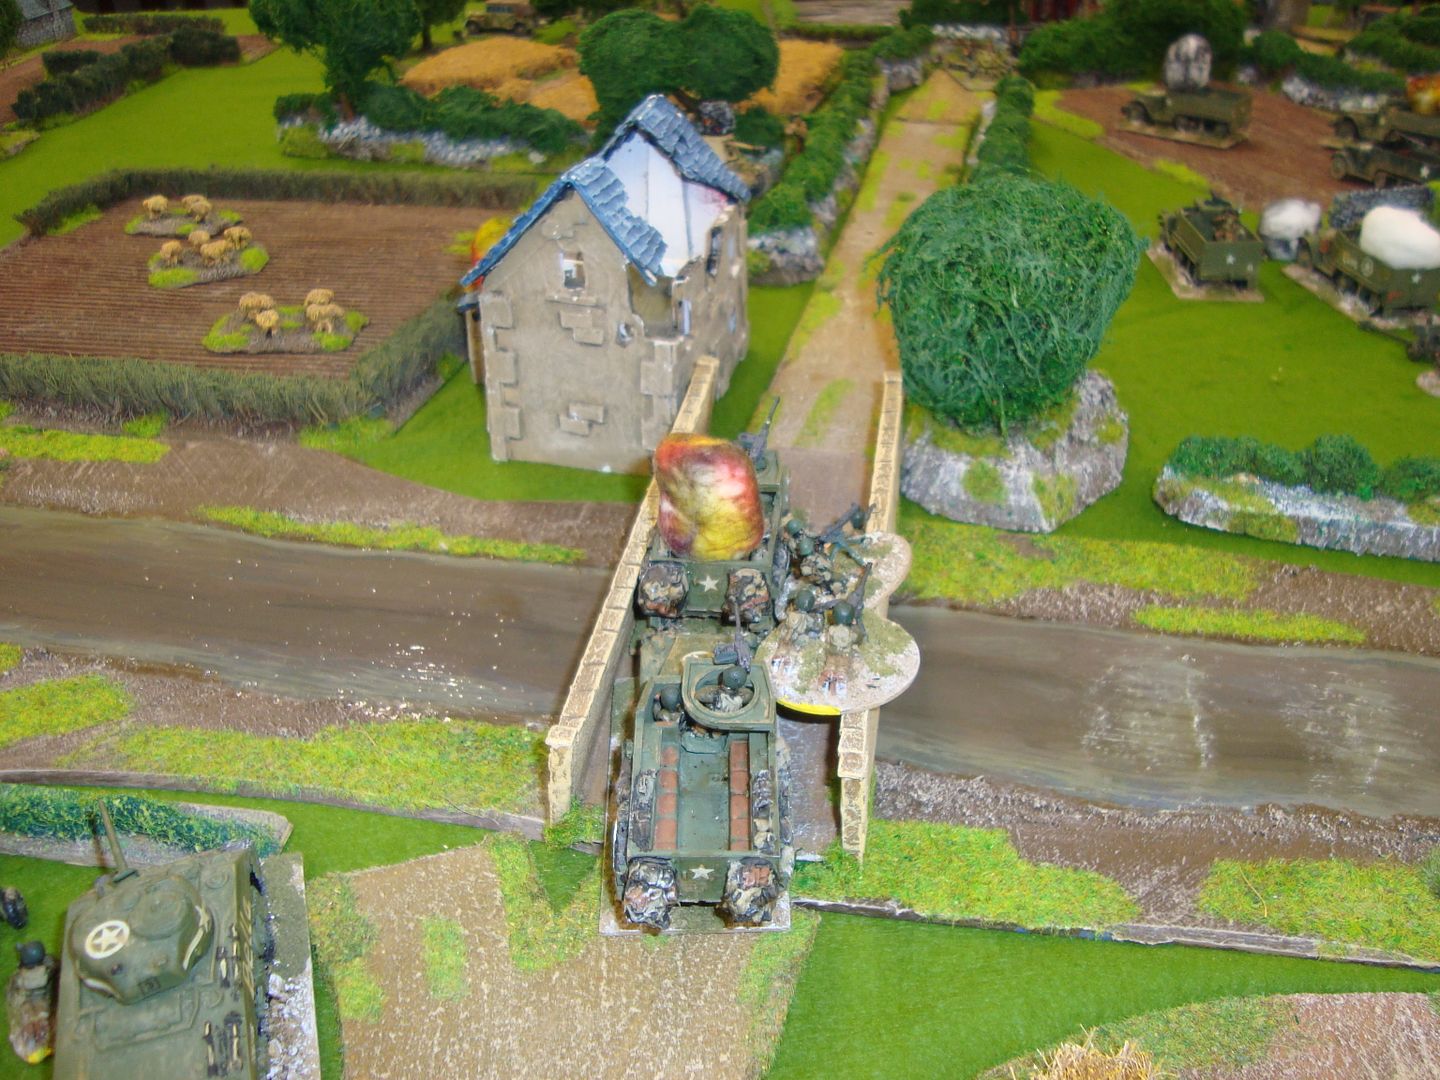
 photo DSC03665_zps3b60f818.jpg

US Halftracks burst out from Carentan to attack German reinforcements
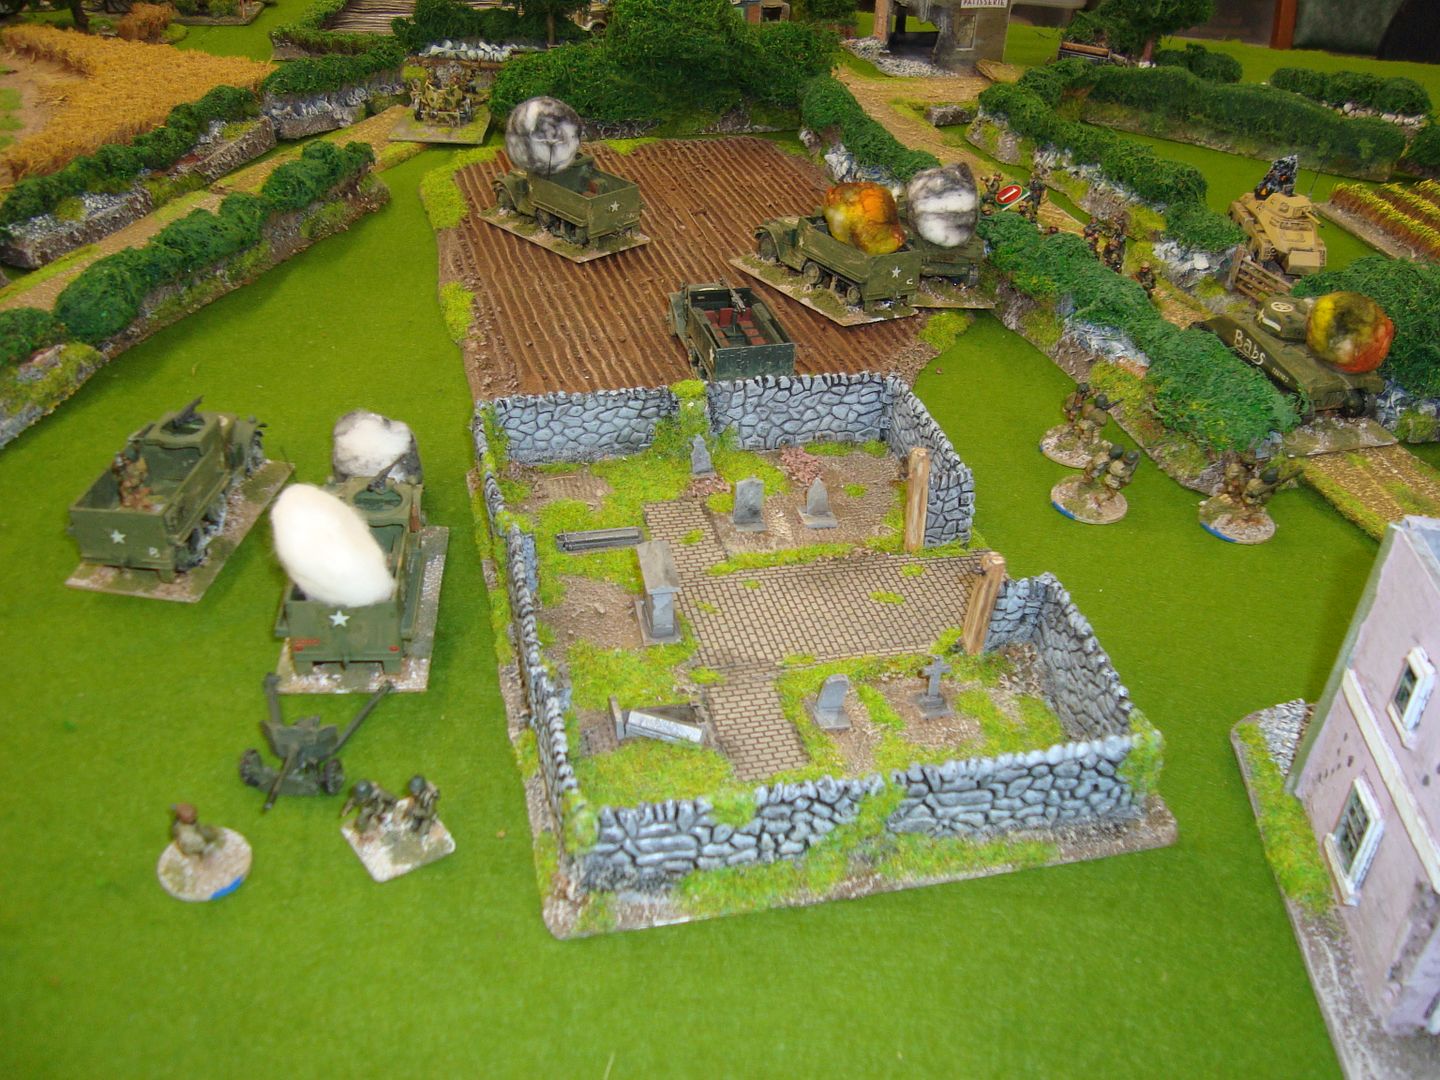
 photo DSC03666_zps4db63f90.jpg

Carentan finally occupied by US forces
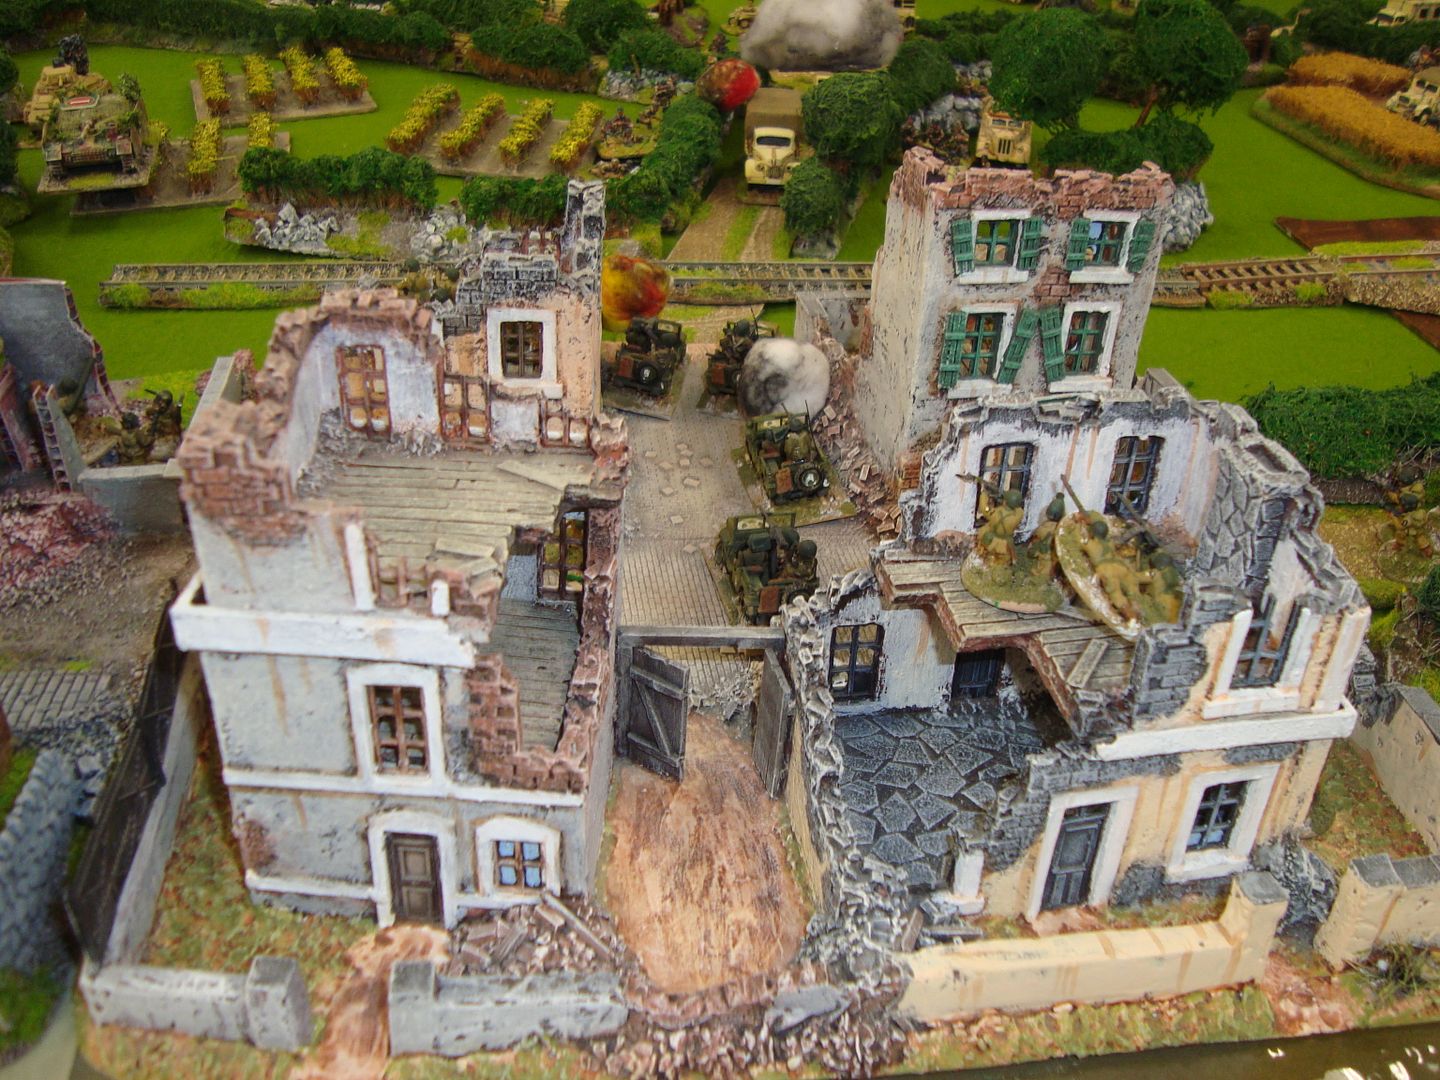
 photo DSC03667_zps0d4d7df9.jpg

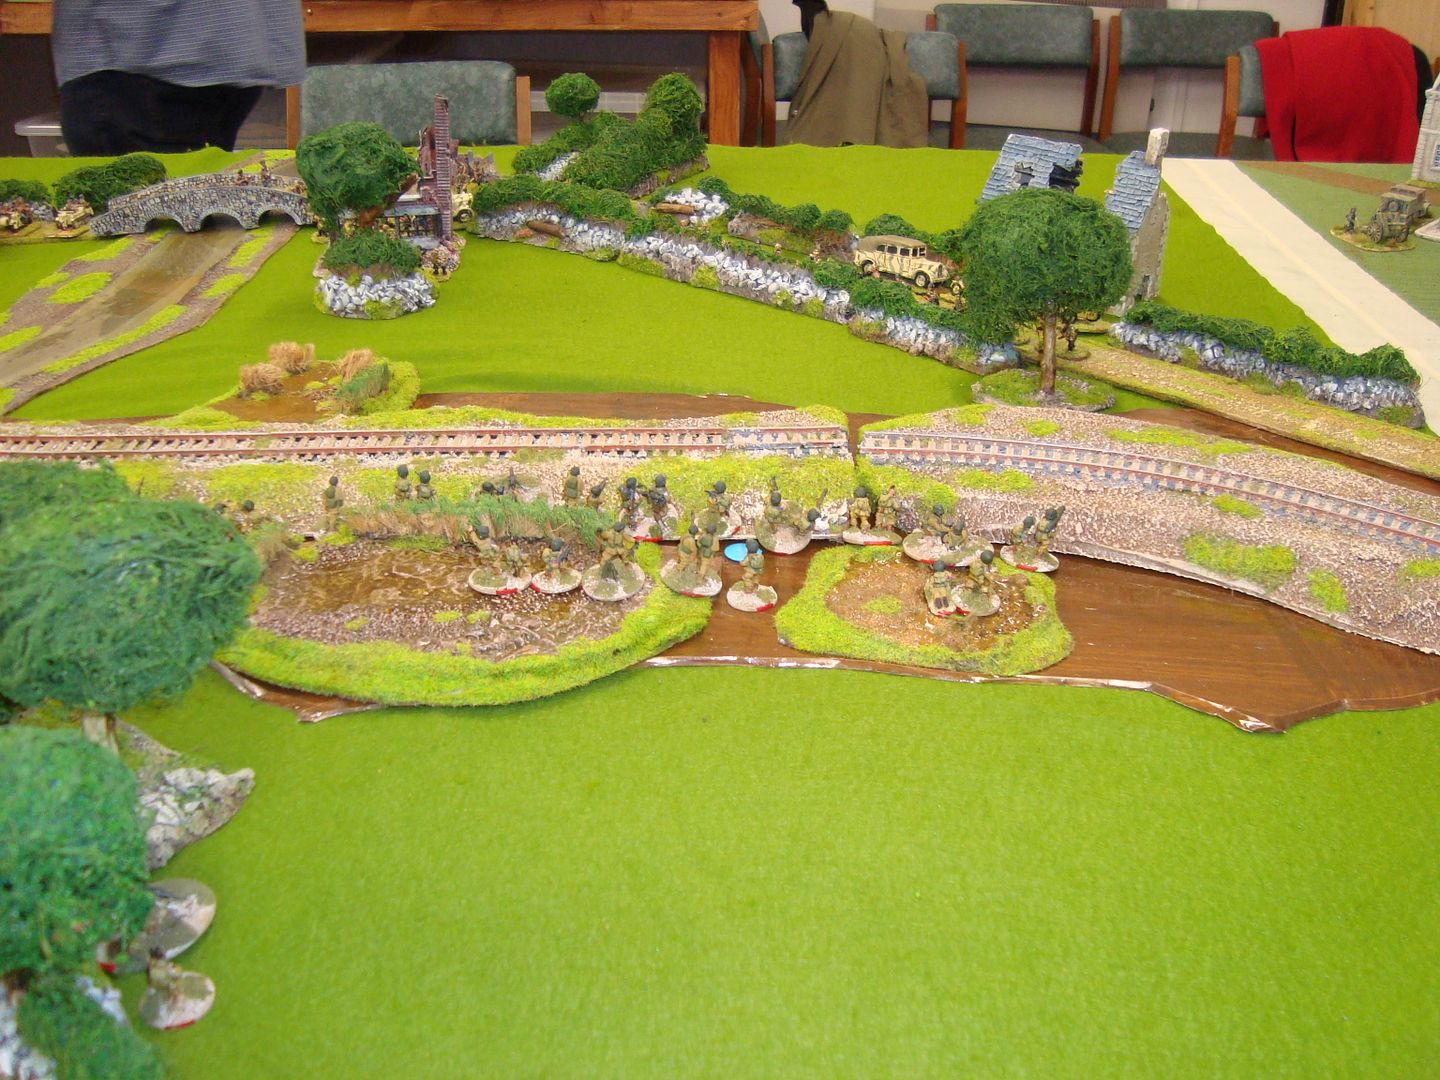
US now making in roads across the river, Table 7
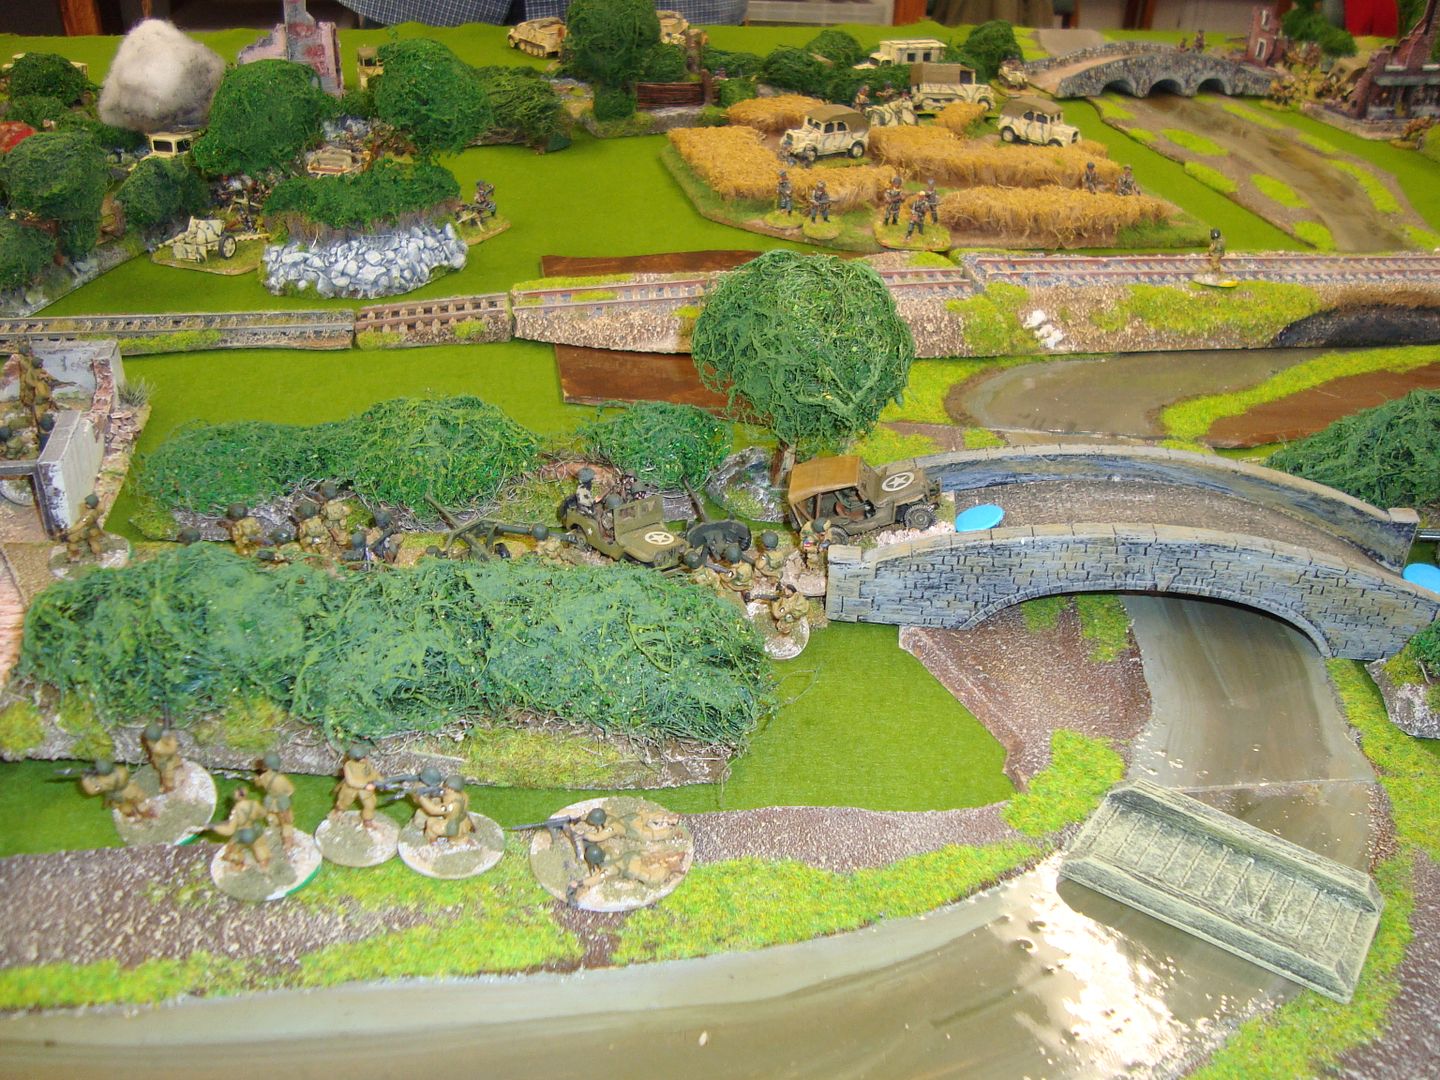
 photo DSC03668_zps86fc811b.jpg

 photo DSC03669_zpsd4921b3c.jpg

 photo DSC03670_zps236fcb09.jpg

Allied Victory by the end of play. Chinese Buffet for grub and drinks
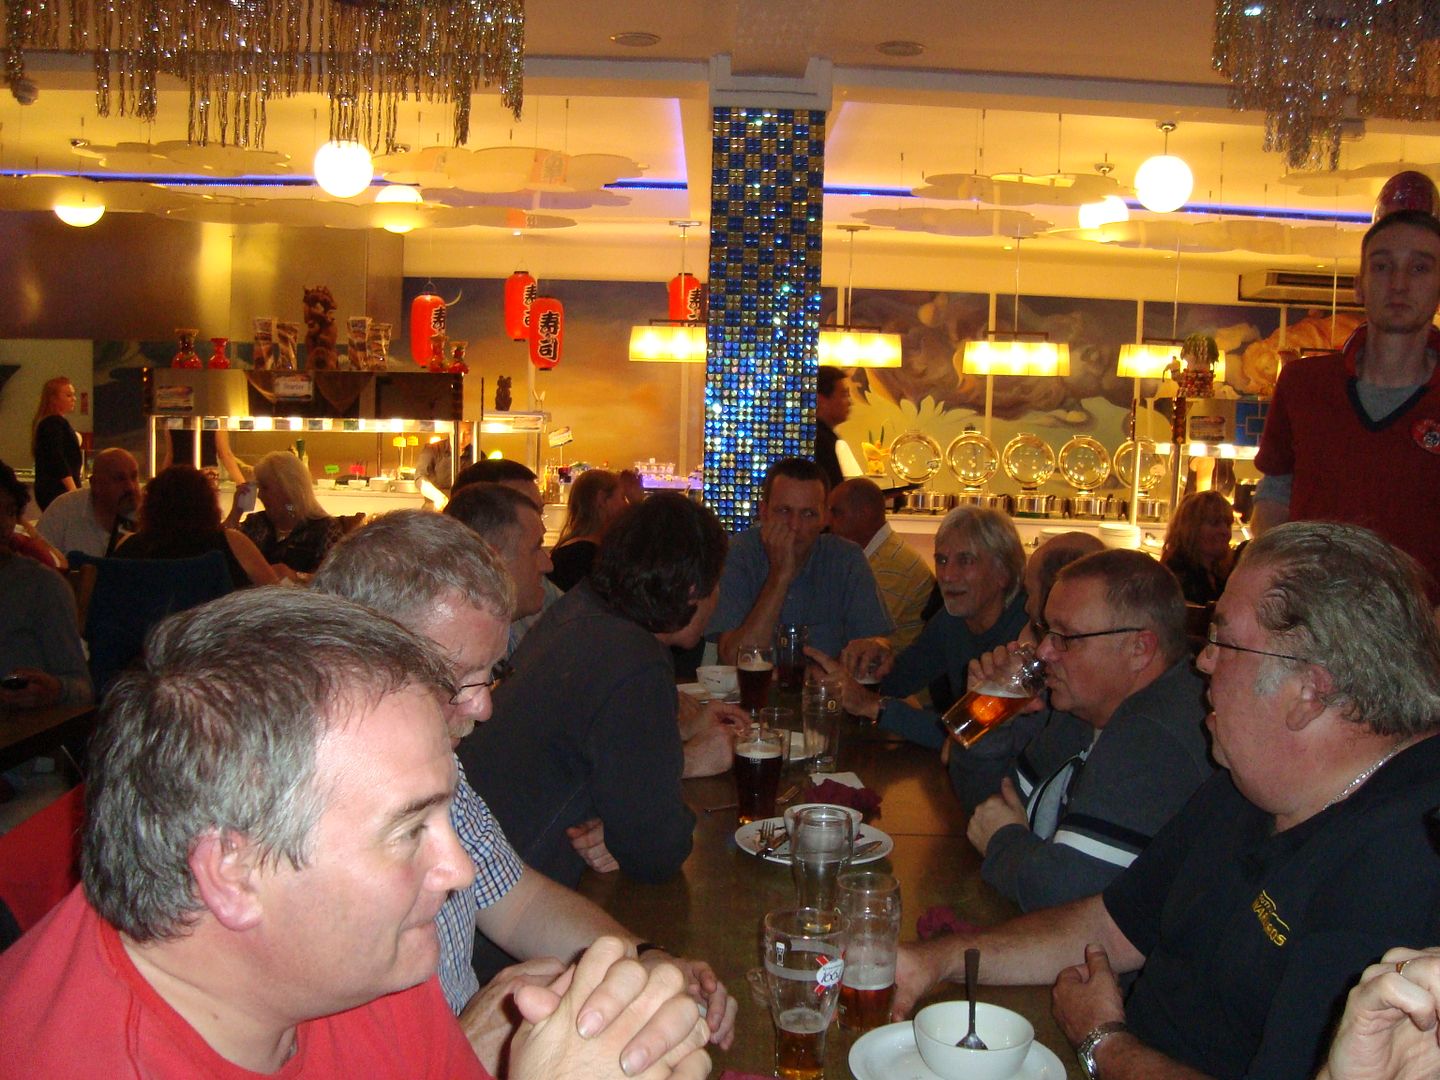
 photo DSC03671_zps1088ae77.jpg


No comments:

Post a Comment