Search This Blog

Friday, 24 February 2023

Nazgul- The Ring Wraiths, Lord of the Rings


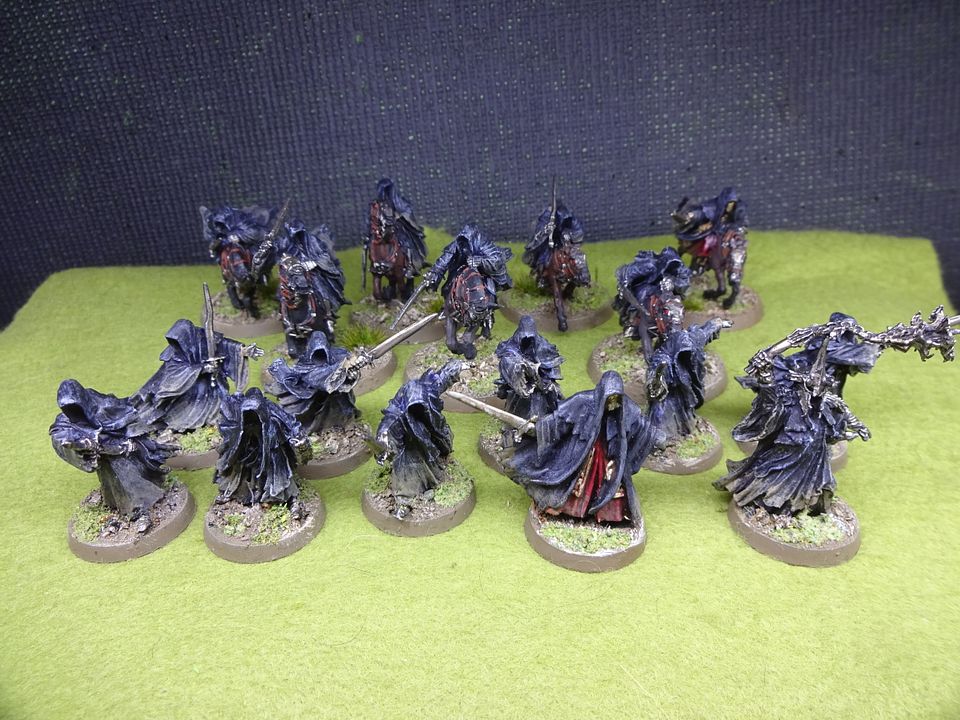
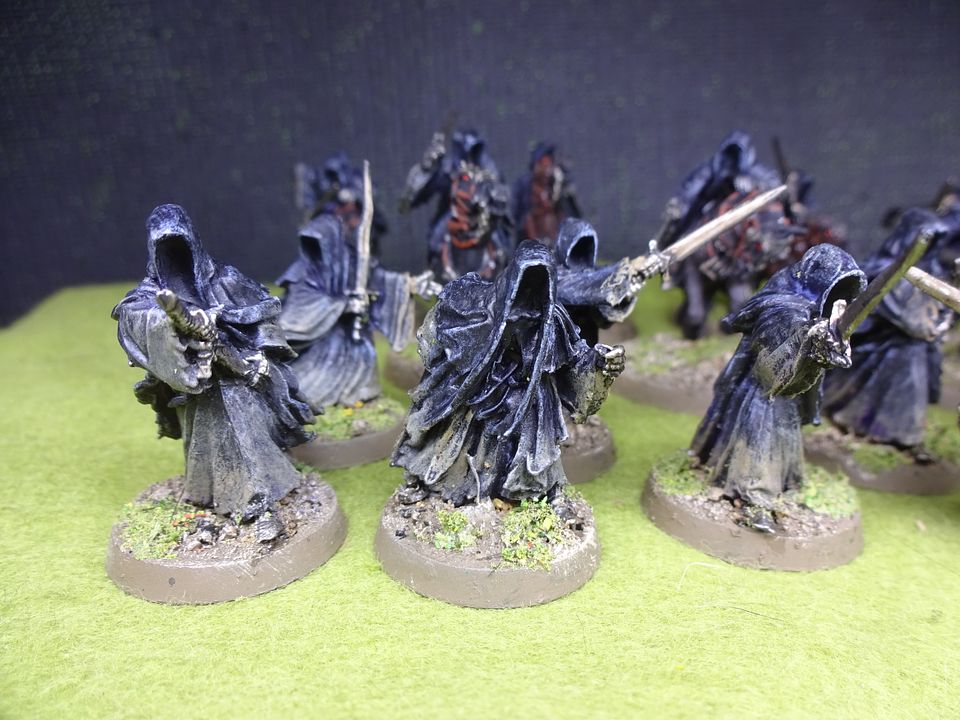
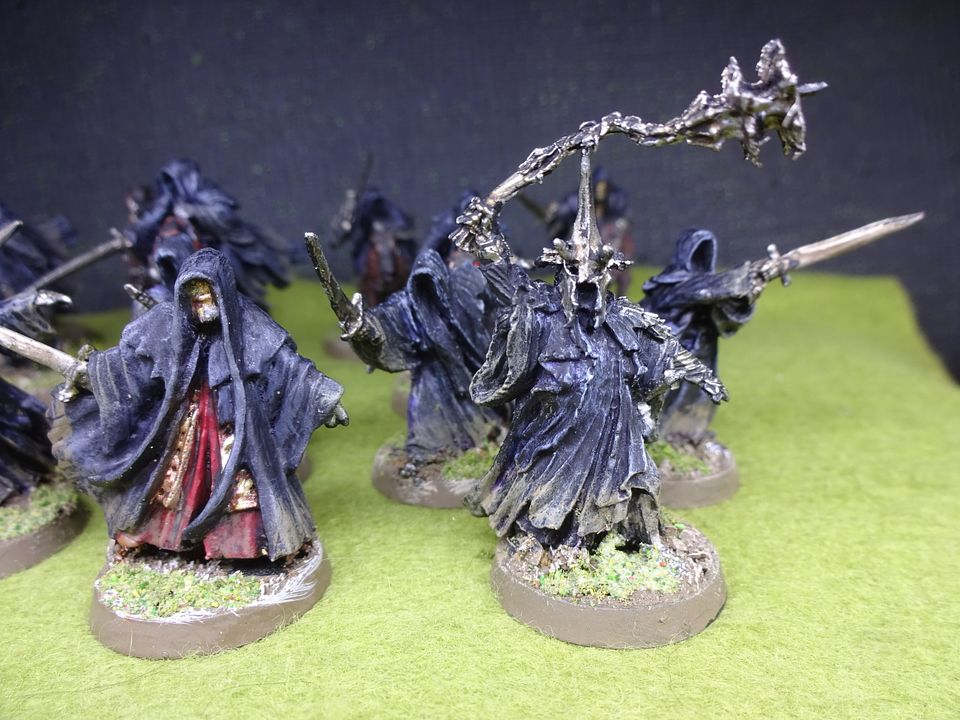
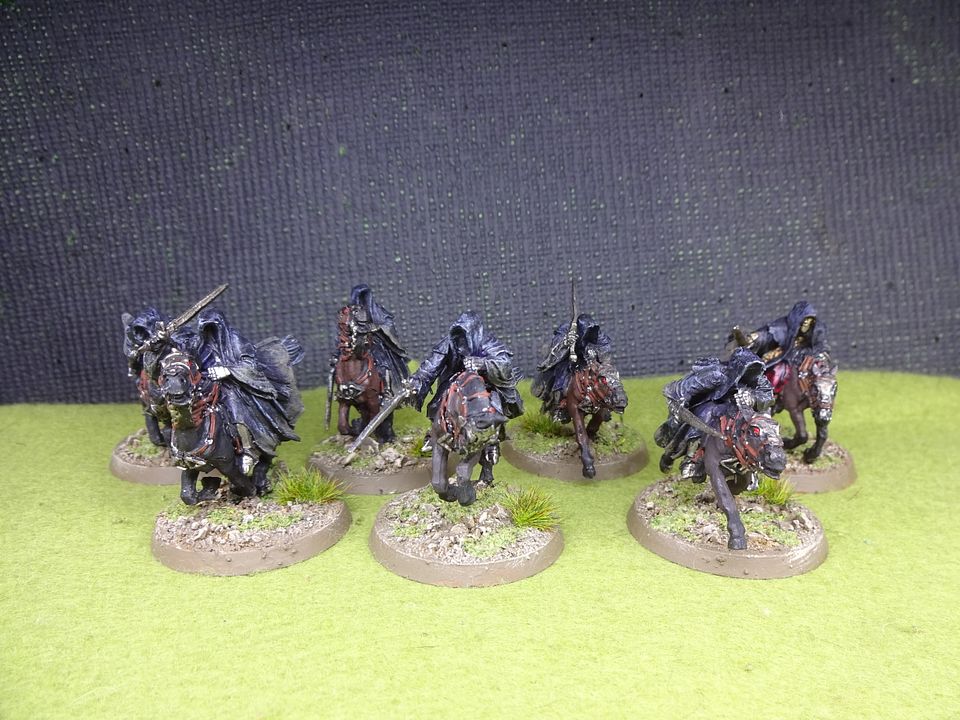
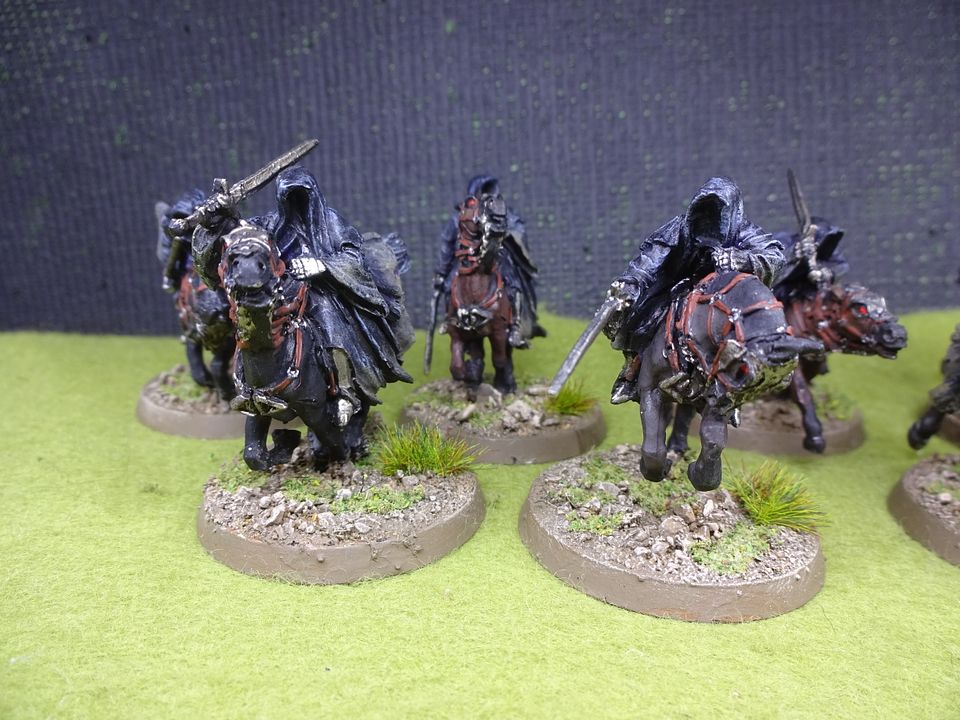
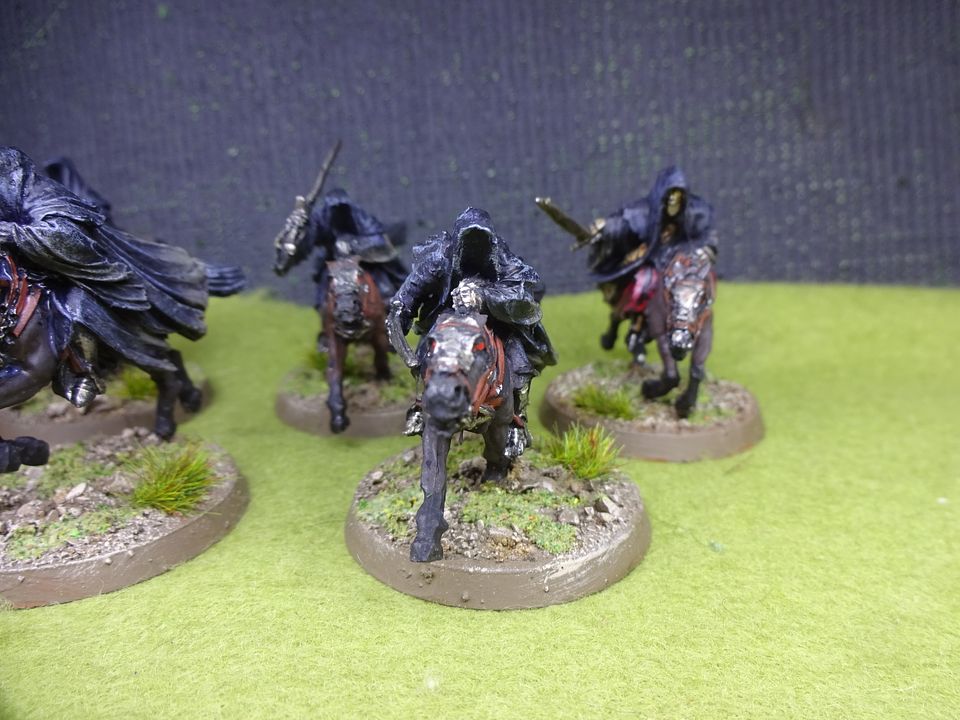
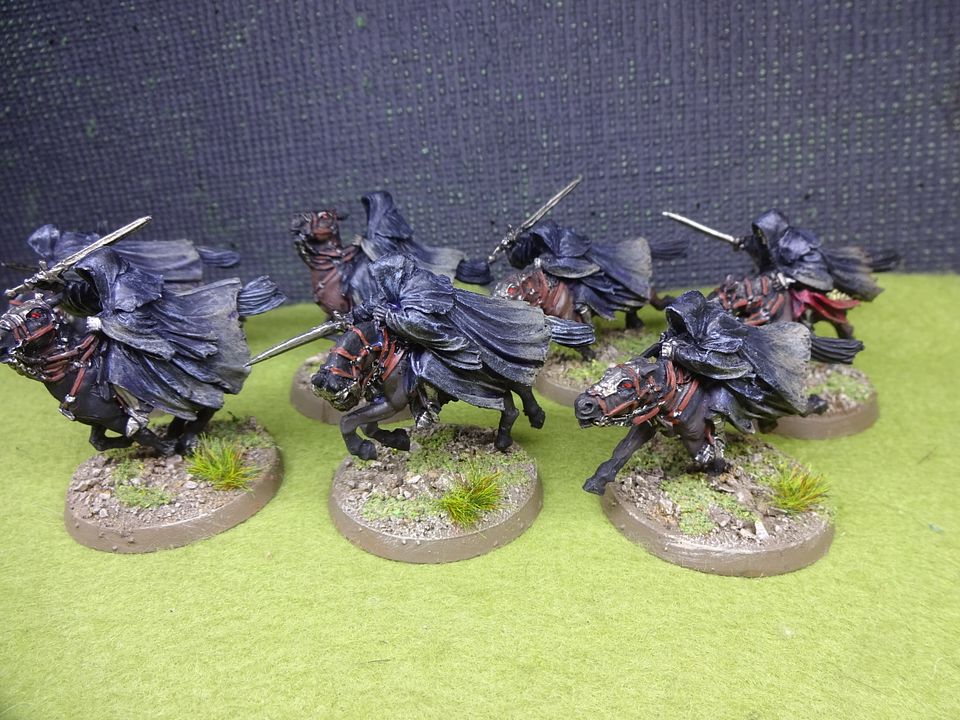
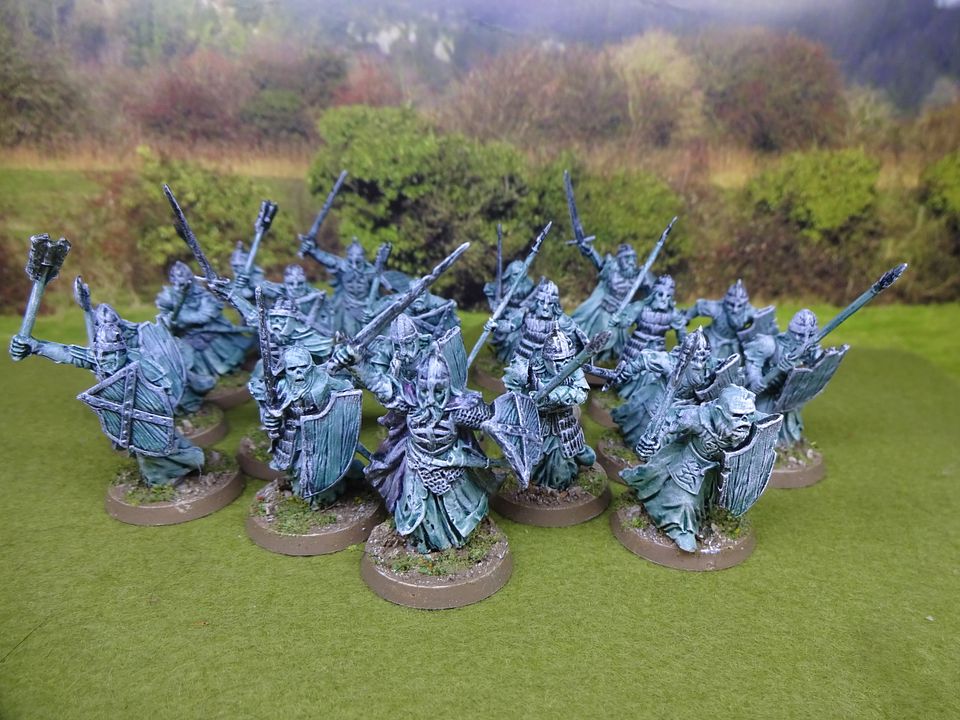
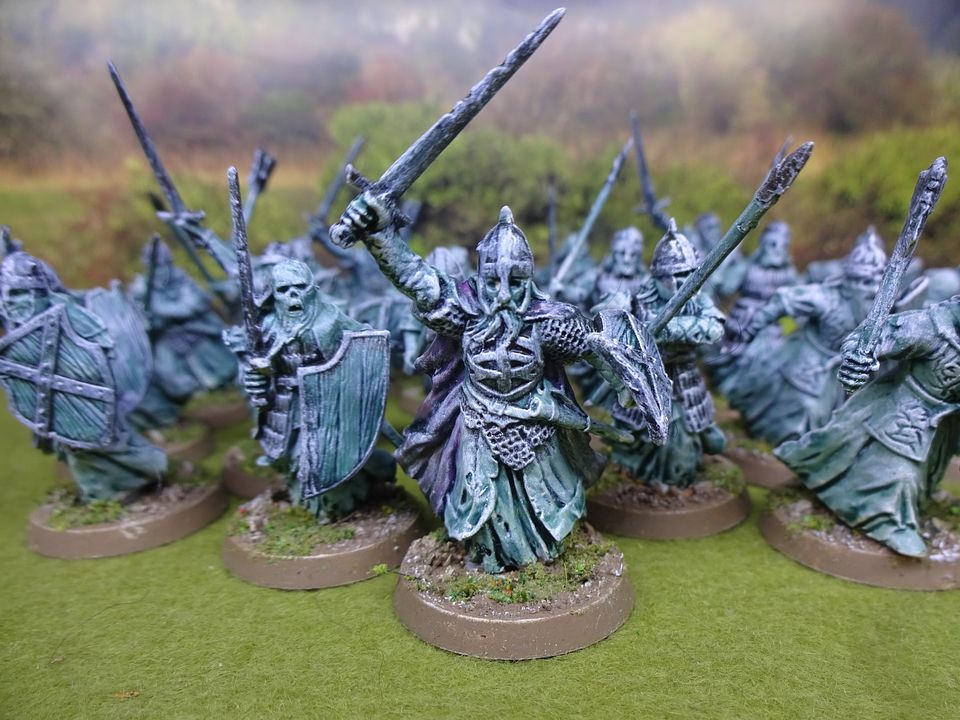
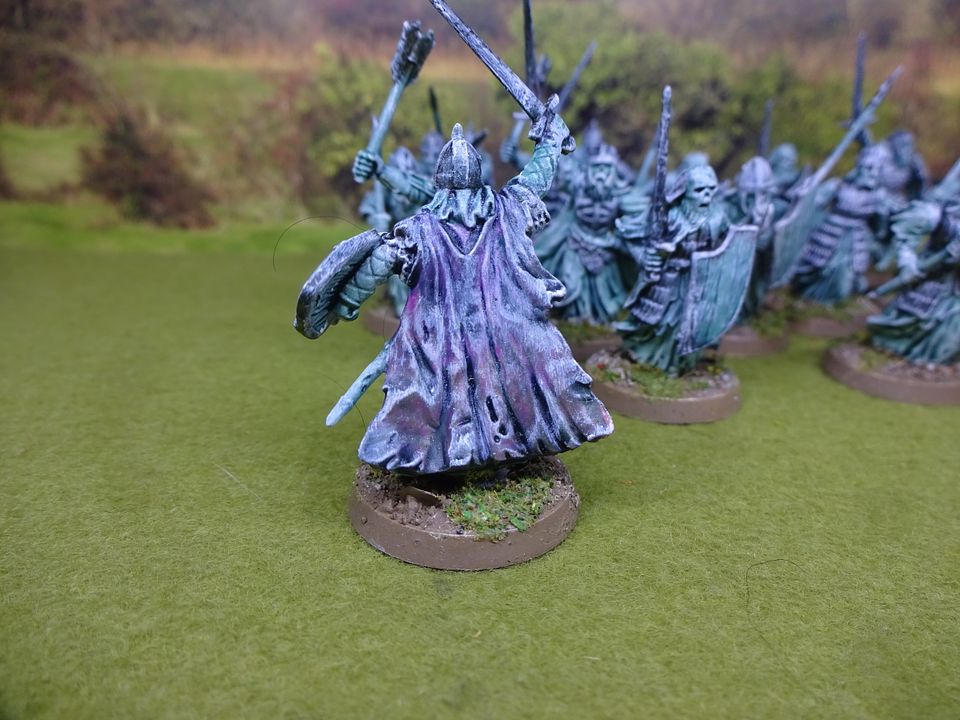
“The Nine” and more. The eight Ring Wraiths with their Captain, The Witch King of Angmar in full garb or as a Wraith. I only have seven mounted at the moment. These are all metal figures, as I refuse to pay for Fail cast (Fine Cast) from GW, as metal is a lot more resilient. Only two of the Wraiths are mentioned by name and that is the Witch King and Kamuhl the Easterling.

My Palette for these fellows is as follows: Undercoat Black aerosol, next is a Purple Wash (Leviathon), then a Dark Grey (Humbrol 106) heavy drybrush, then a thinned down Black (Humbrol Matt 33) dry brushed (thin enough to allow some of the grey to bleed through. 

Next I paint the armour and weapons using Chainmail, then Agrax Earthshade (or any brown wash). I finish with a dry brush of a wood brown (Humbrol 110) and Varnish.

DSC02700

DSC02702 DSC02701 DSC02703

DSC02705 DSC02704 DSC02706

Tuesday, 21 February 2023

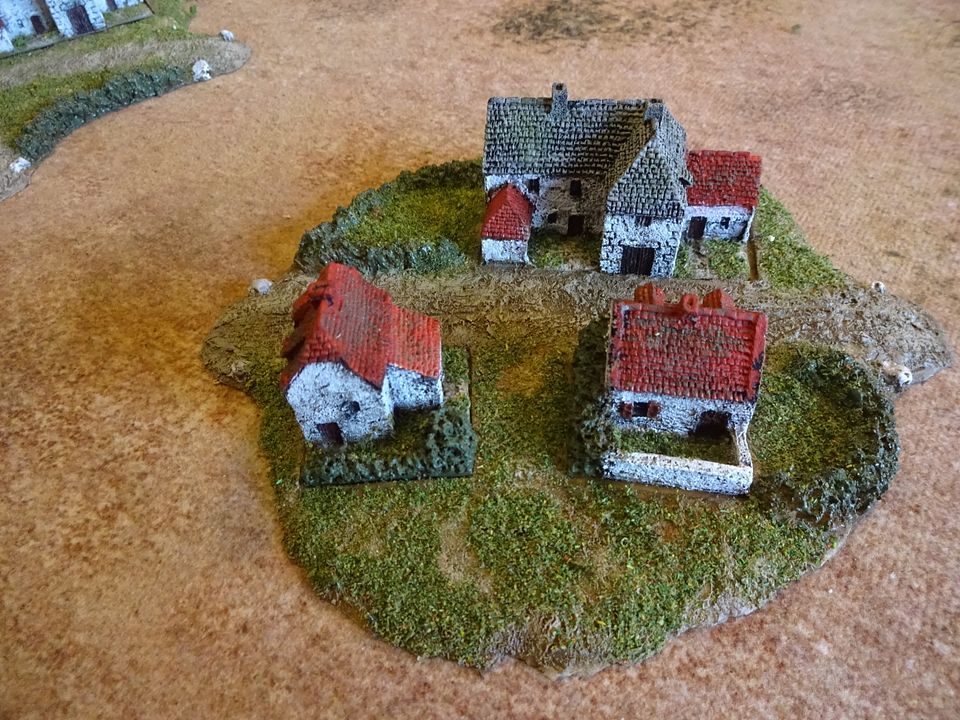
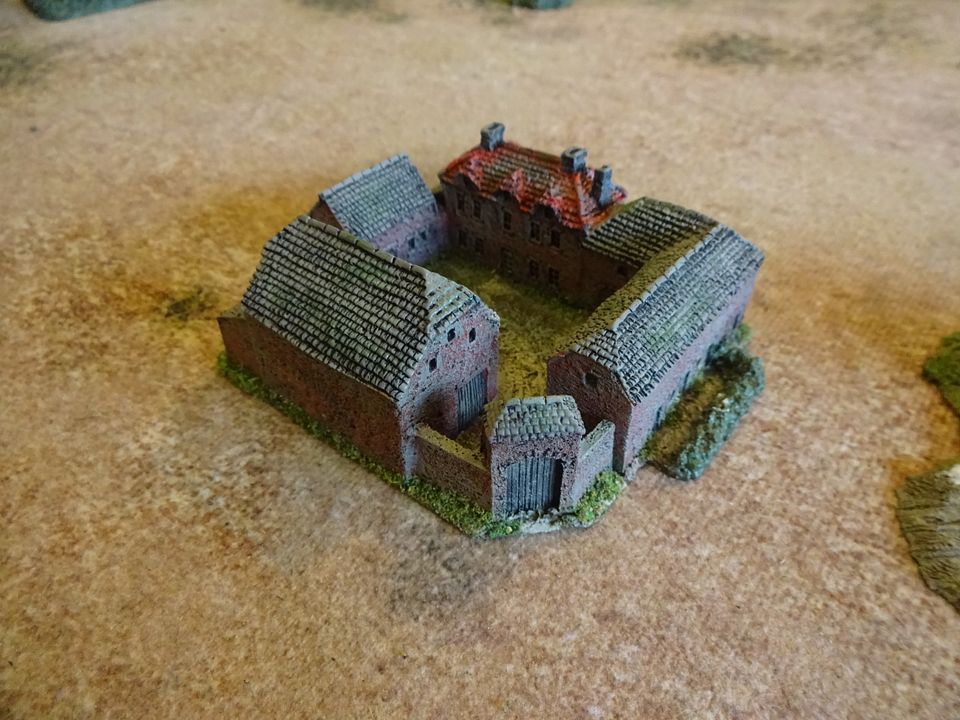
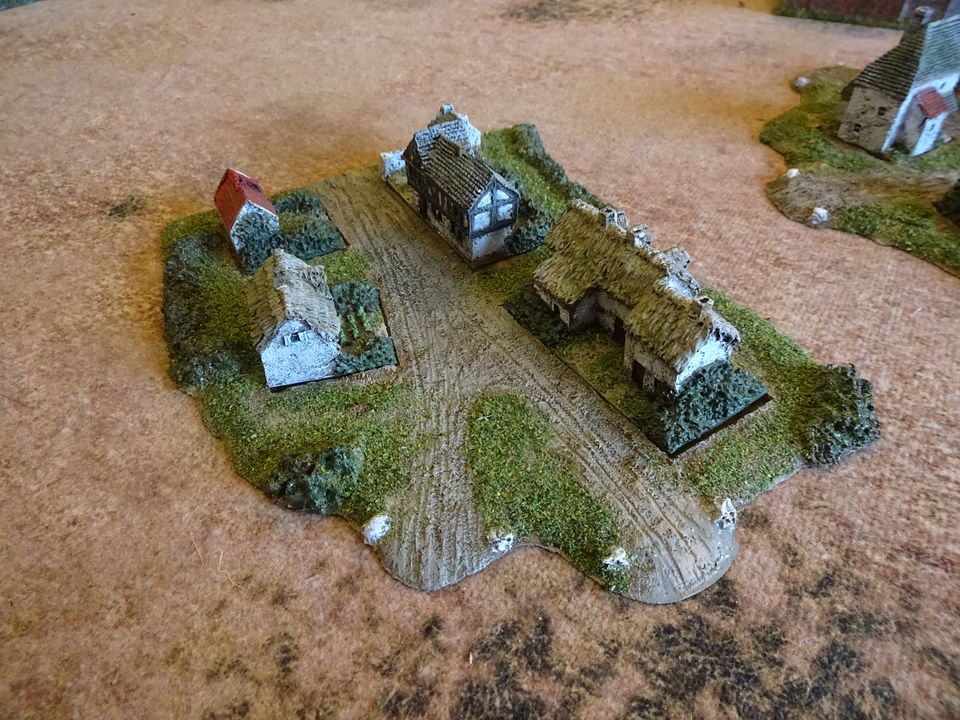
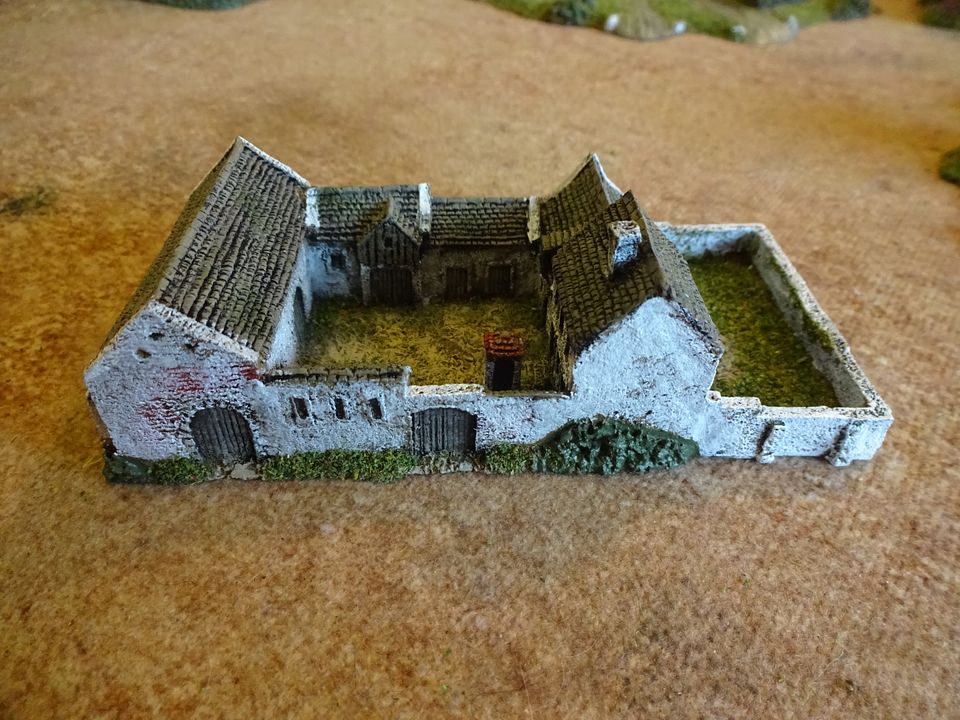
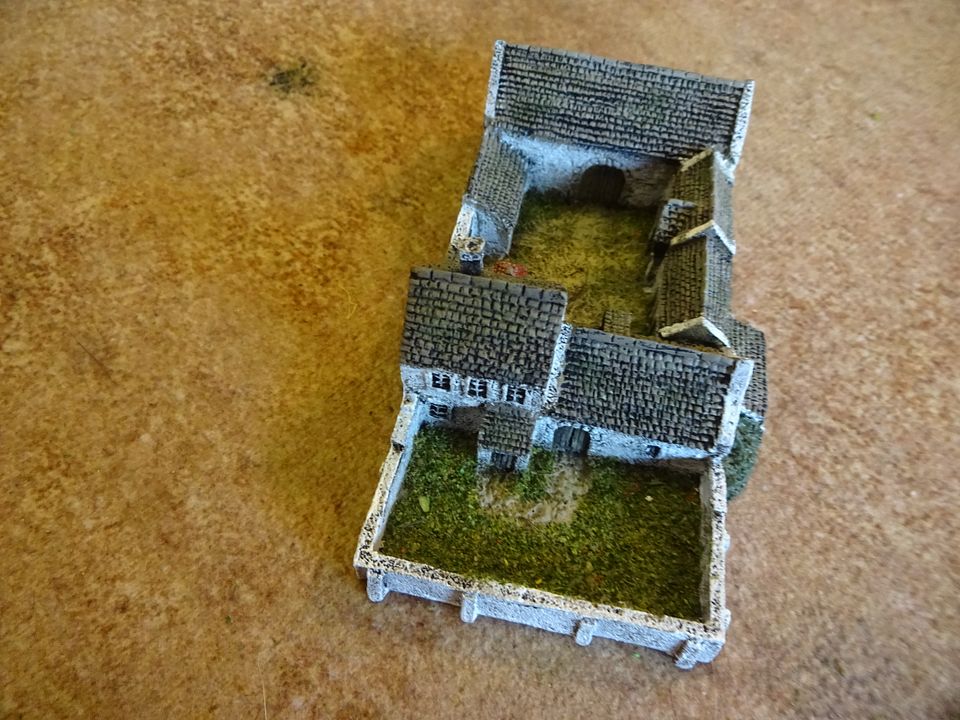
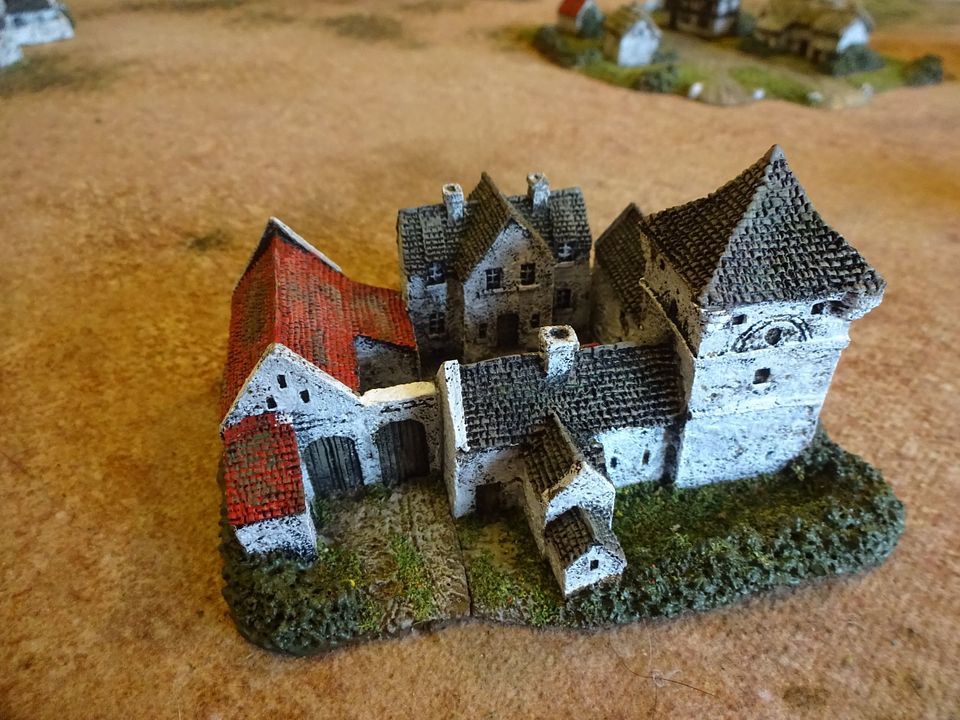
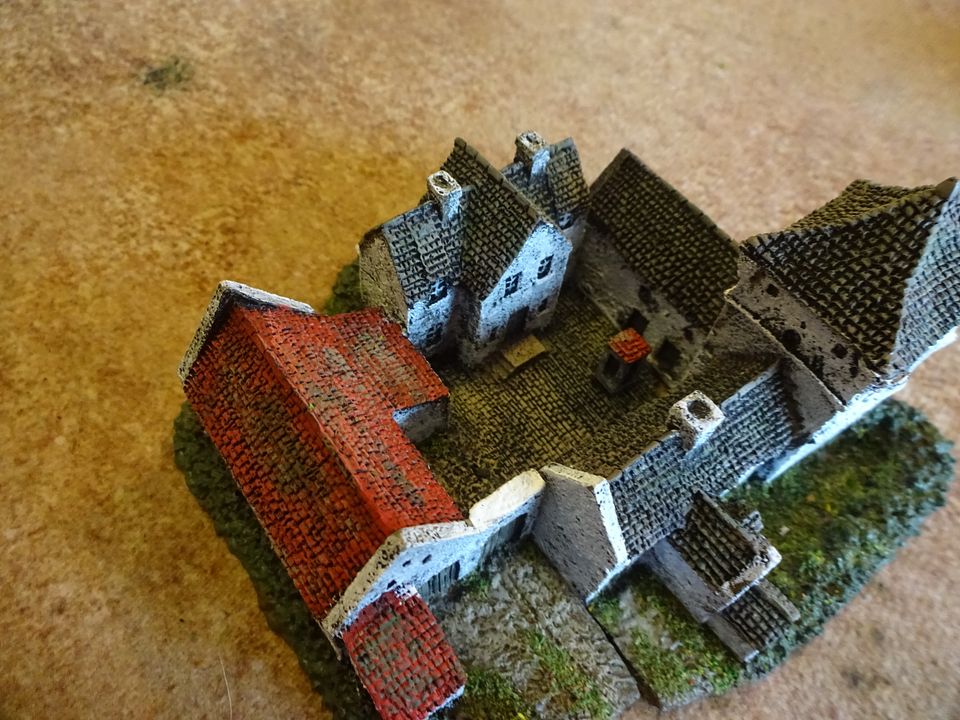
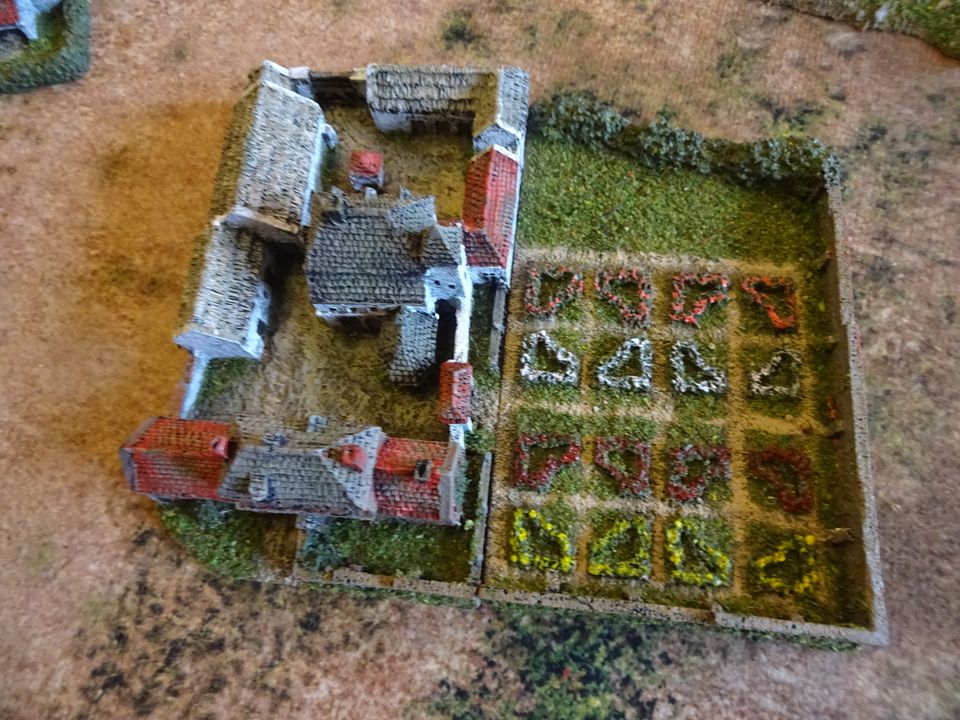
100 Days Buildings (6mm) in 7 days - For Shako II

 Due to the size of the footprints of many of the buildings that encompassed the 100 Days, Waterloo Campaign, and the relative size of a Shako II Battalion on the table, I had to compromise. Although Total Battle Miniatures (TBM) has started production of 10mm Waterloo buildings, their footprint will still be to big for our battle.

TBM makes most of the village and towns in template form, made of latex, which is easy to paint with Acrylic paints. The buildings fit into recessed areas in the template and look fabulous. TBM use a system in that all the buildings are of a size that will fit any of the recesses, very clever! 

Onto the painting of the buildings and templates: I spray undercoated all the building black and then a second coat of Tan Earth (Coat d'Arms 524), leaving the roof black. 

The roofs were painted in a Deep Red (Miniature Paints 42) or Olive Drab (Coat d'Arms 502), Then Dry Brushed in places with Foundry Nipple pink (16A) or Faded Khaki  (Coat d'Arms 537), dependant of base colour. Thatch was Base, Tan Earth, dry brush an off white/ cream (I used Bone White), and then heavy dry brush Faded Khaki. I then dabbed some Olive Green (Coat d'Arms 226) on all the roofs for moss growth.

The White Walled buildings were stippled on, and the red brick walls were heavily dry bushed with the same red as the roofs. Shutters and doors were painted umber and then dry brushed Faded Khaki (the khaki dry brushing was all done at the same time, but I have broken it down for the sequences).

The next process was to paint all the ground and the bushes with Matt Earth (Humbrol Acrylic 29), then when dry Olive green for the bushes leaving a little earth colour to show through. Next was back to dry brushing with the Faded Khaki to highlight all the earth and heavy dry brush of the red brick walls. The penultimate process was to give a further highlight to lighten areas of  wear of wheel ruts, etc. Varnish and then flock

Now to find some nice storage boxes.

I started these on the 14th Feb and finished them on 20th Feb.DSC02645
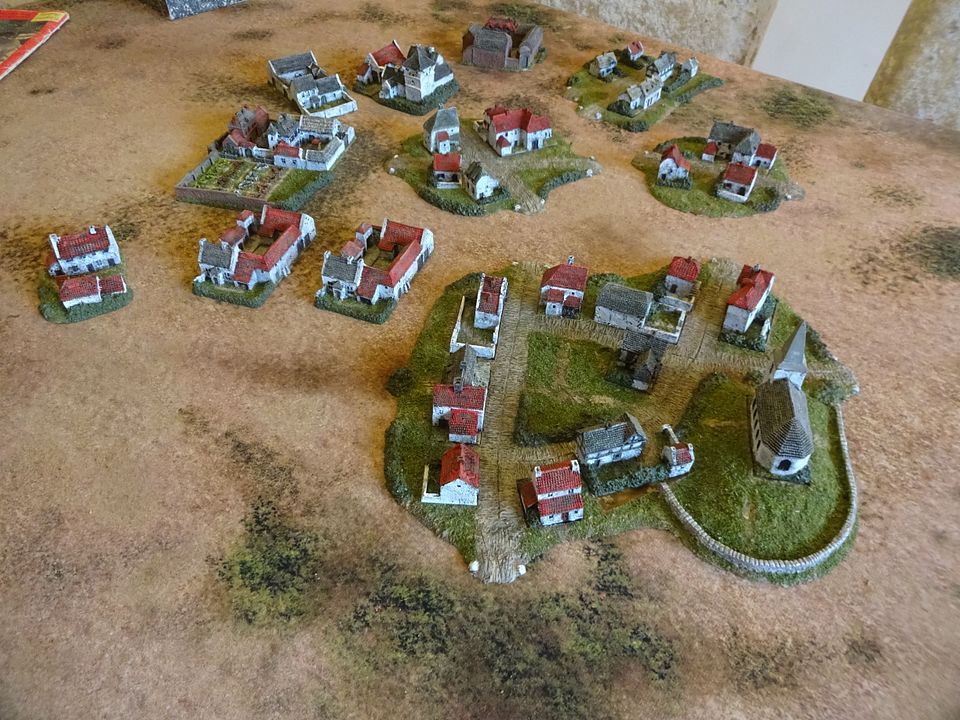
Plancenoit, showing one building out of it's recess.  DSC02646
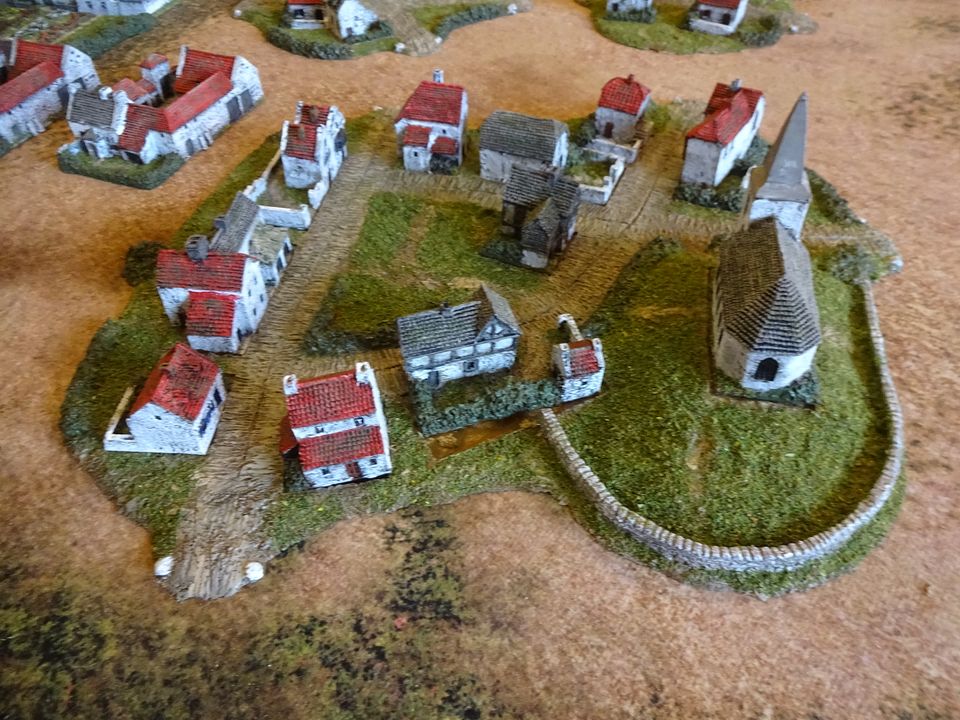
Smohain Village

DSC02647

Brain-le- Alleud village, which can also double as Quatre Bras.DSC02648
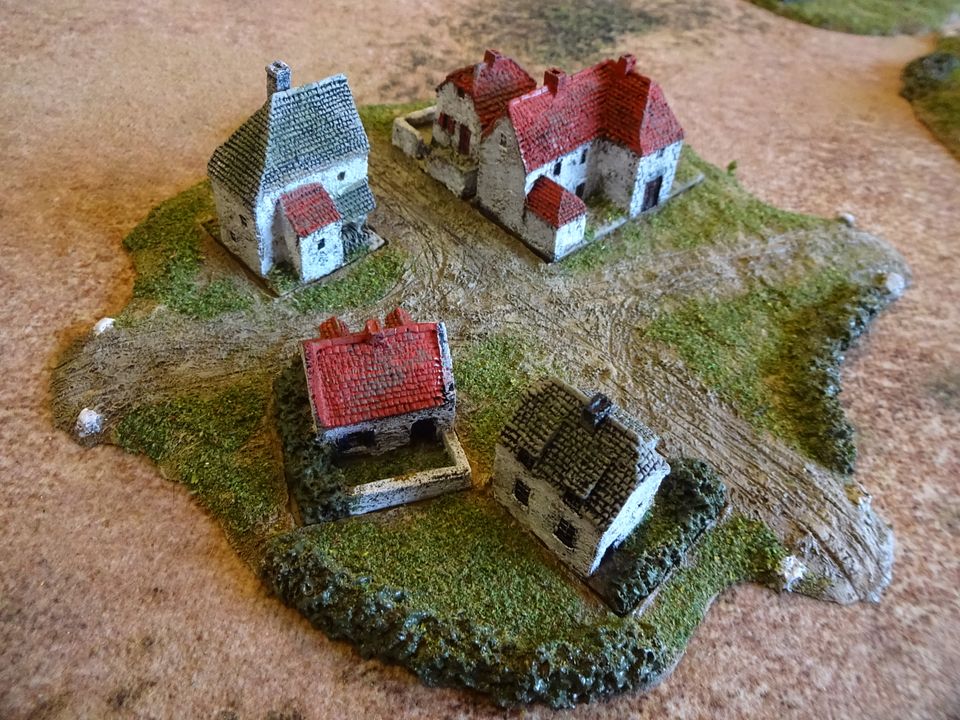

Gemioncourt Farm (Quatre Bras)

 DSC02649

Mont Saint-Jean

DSC02650

Papelotte Farm

DSC02653 DSC02654

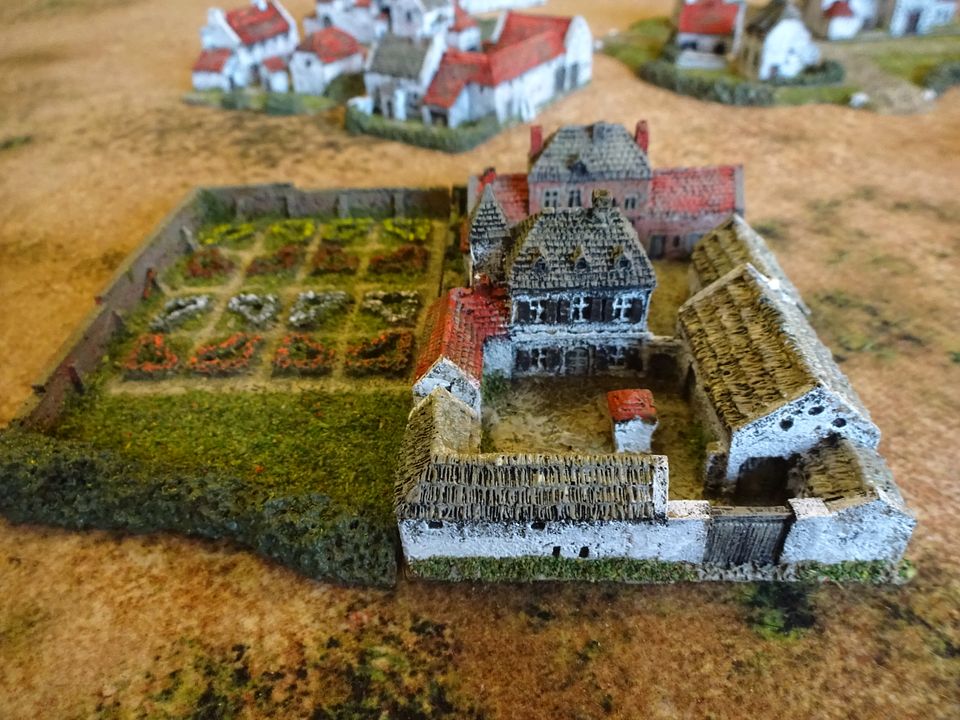
Fichermont Chateau

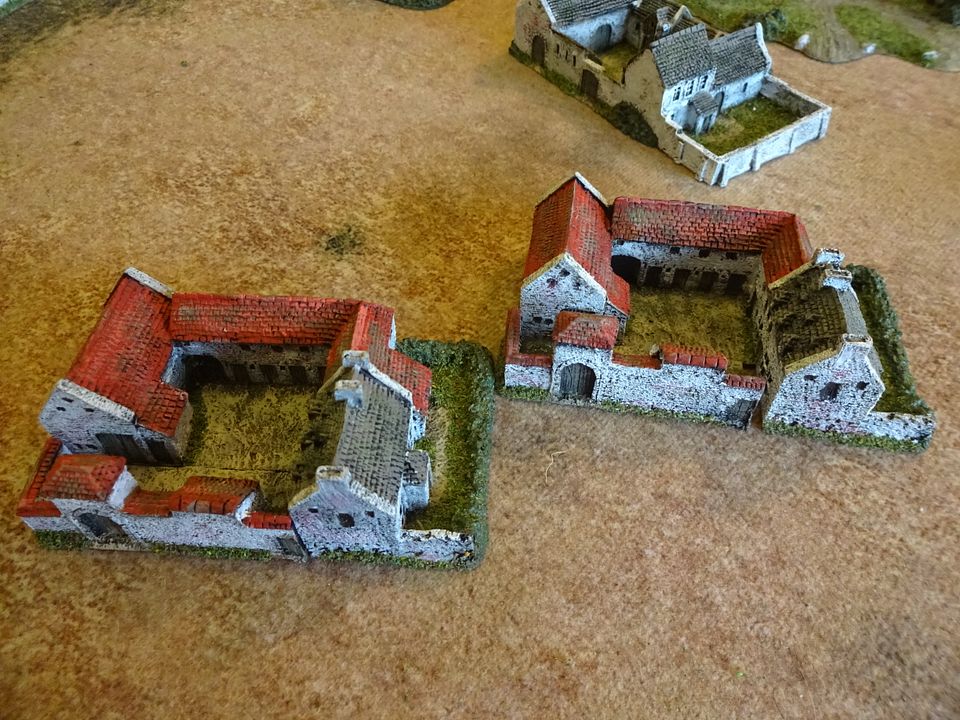
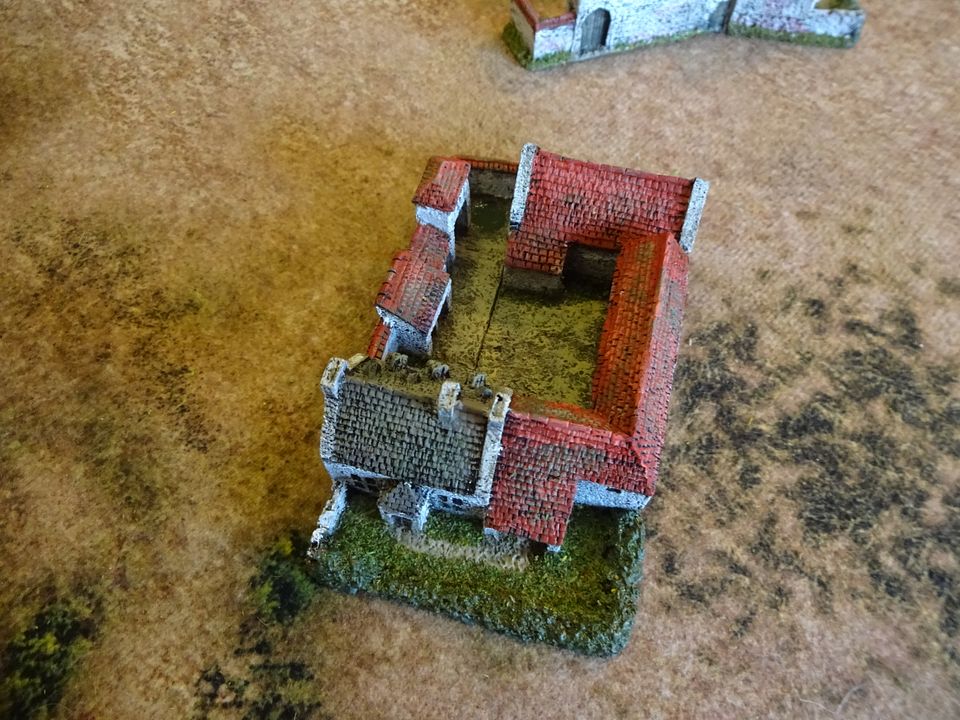
DSC02651 DSC02652 La Haye Saint, I always buy an extra building to use as a test model, so this extra one will either be used as La Haie or it will go for sale.
DSC02655 DSC02656


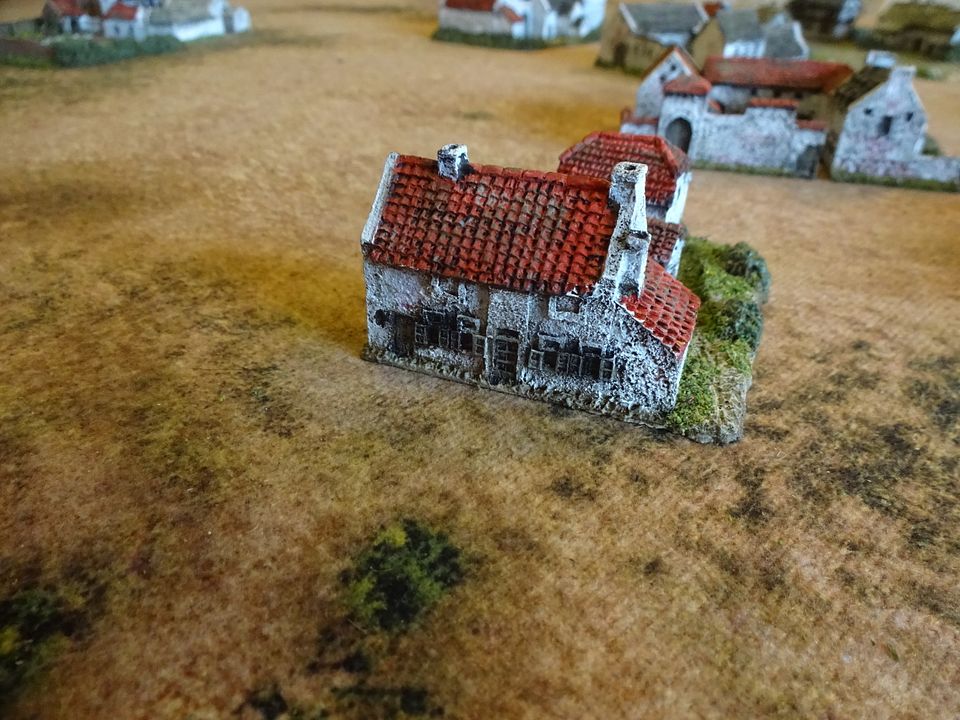
La Belle Alliance (Napoleon's HQ on the day)
DSC02657 DSC02658

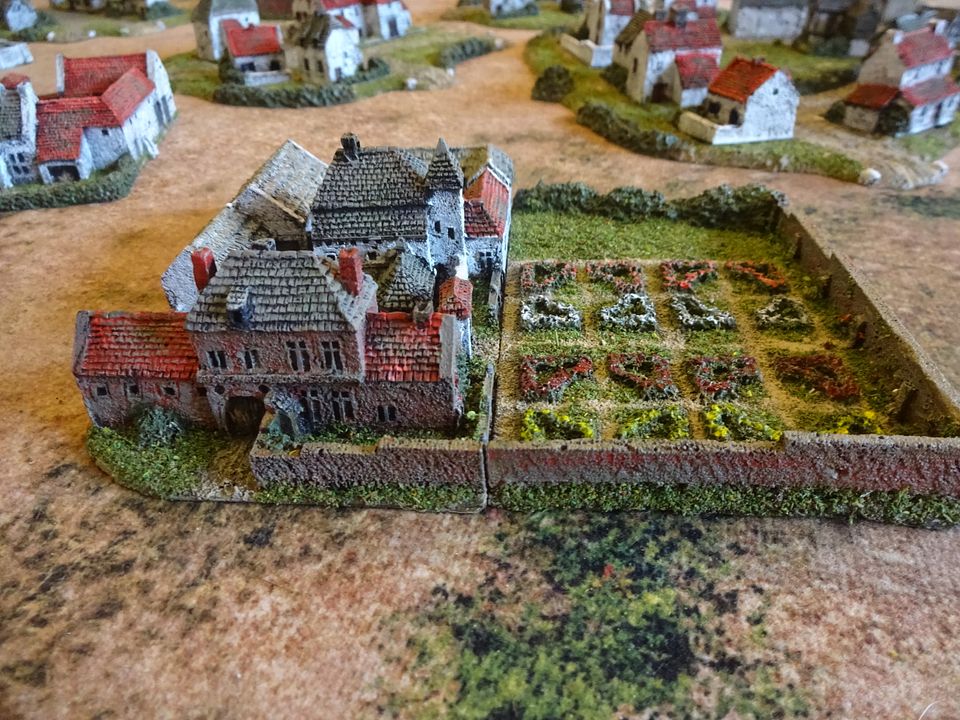
The iconic Hougomont, held by the Guards all day.

From the South
DSC02659 DSC02660 DSC02661

Sunday, 8 January 2023

15mm Napoleonic Polish Army for Shako II

 A review of my "completed" Polish Army! Video link below!

 Video here>   https://youtu.be/WpSOLImcoNk

Polish (1) 

Polish (2) Polish (11) Polish (3) Polish (4) Polish (4) Polish (7) Polish (9) Polish (10) Polish (12)

Saturday, 31 December 2022

End of Year Production line Figures

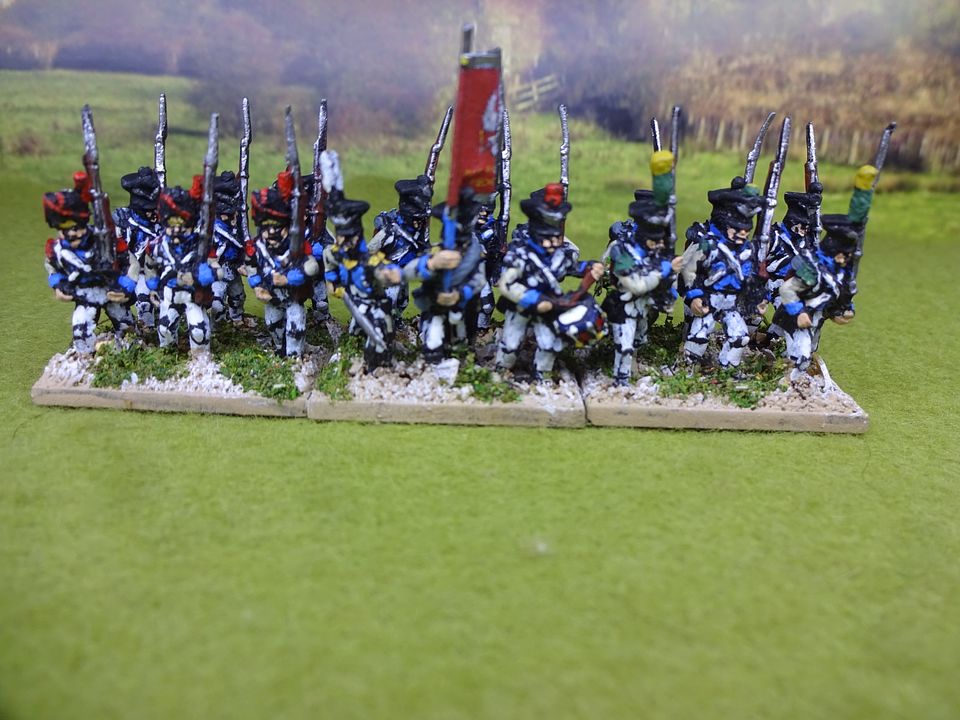
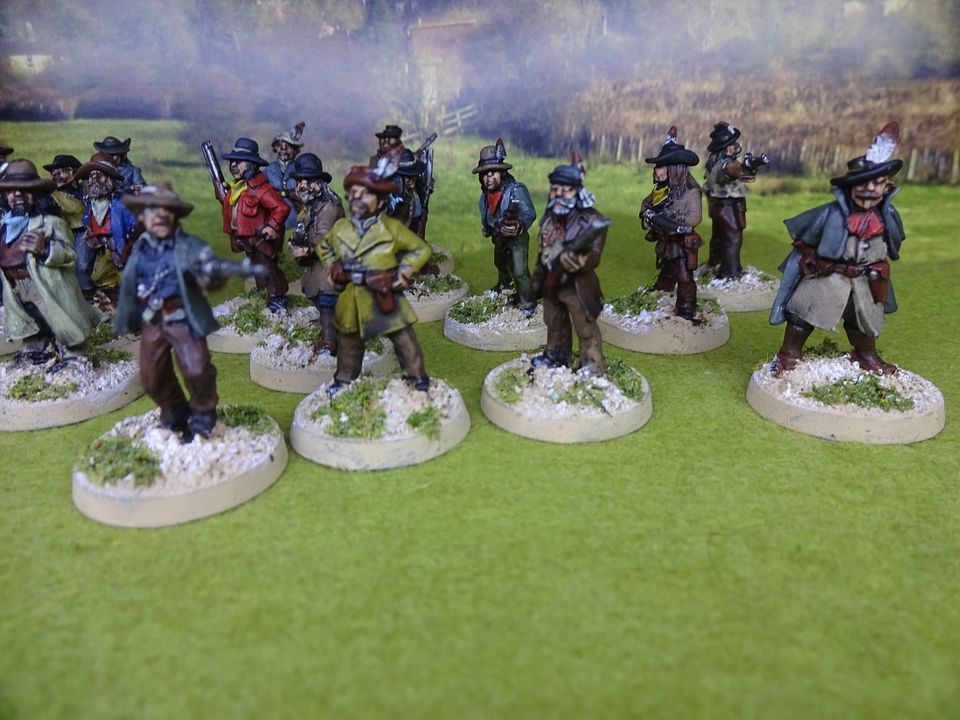
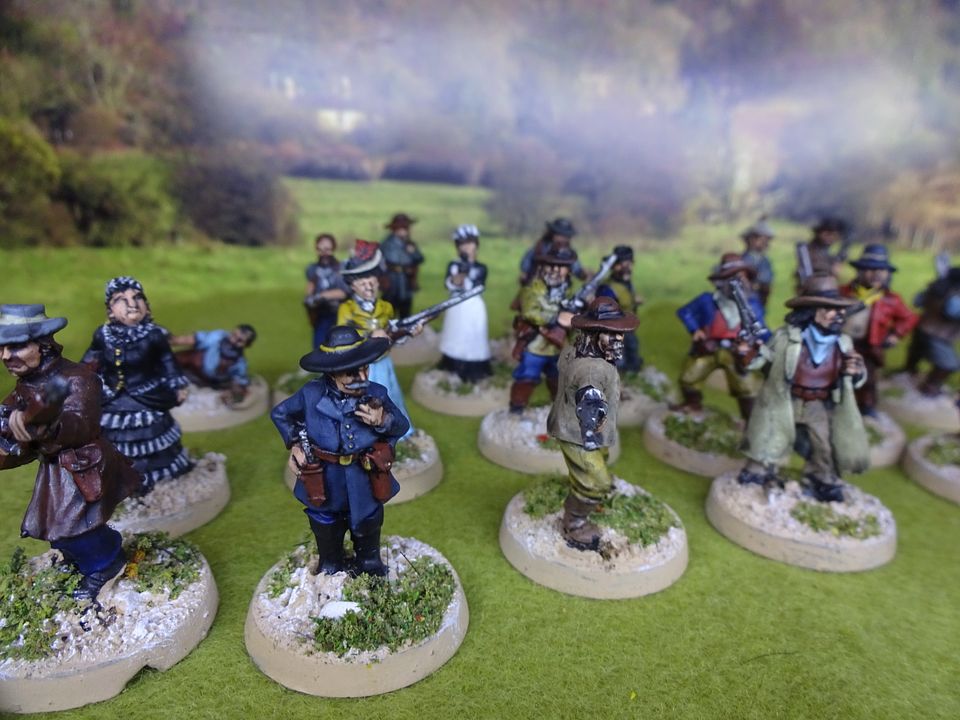
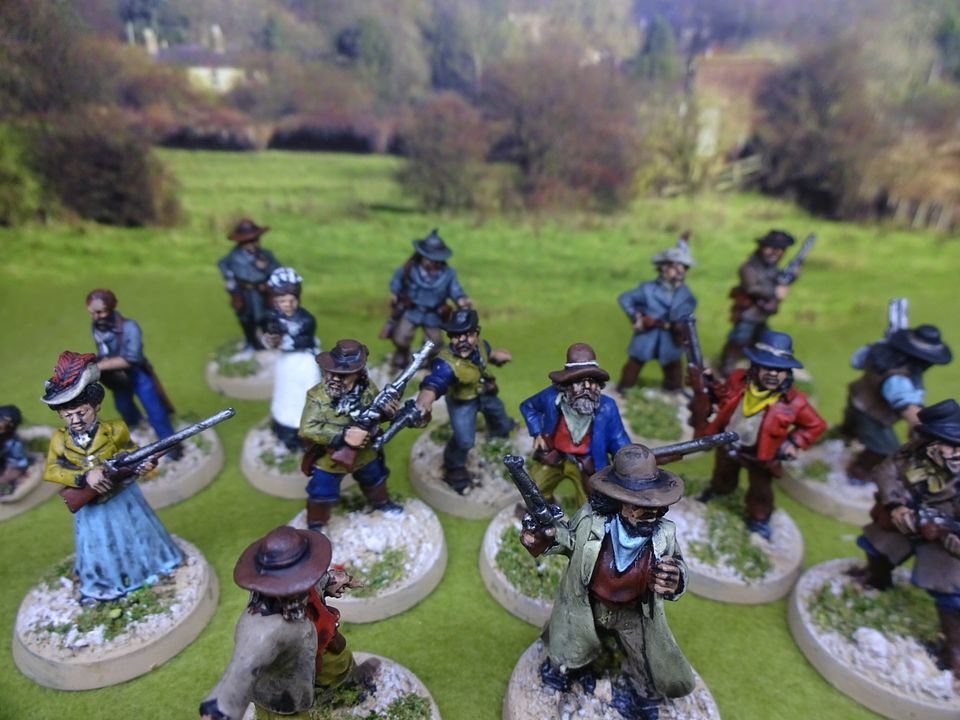
 Last painted units off the bench to end the year. Some Gunmen & Women to fight over Cowtown next year. 28mm figs not sure manufacturer and 13the Regt for the Duchy of Warsaw, annoyingly painted the wrong unit as the 13th's Grenadiers wore the Czapka (Shako) and not the Bearskin, which I have now found out the were issued the Bearskin in 1813 (so will keep them as is). Will rectify with the correct head gear over the next couple of days. Also need to repaint white cords on the Bearskin when I transfer them to another unit!

Painting summary for the year:
15mm Napoleonics Figures: Infantry 927 : Cavalry 132 : Artillery Guns with 3 or 4 figs 9 : Limbers 18 :
10mm Buildings 23
Lord of the Ring : Infantry 456 : Cavalry 88 : Monsters, etc 6
These include commissions
28mm : Infantry 64 (Gobbos & Cowboys)
Have a great new year all.


DSC02298 DSC02294 DSC02295 DSC02296 DSC02297

Saturday, 24 December 2022

Painting the Army of the Dead- Lord of the Rings

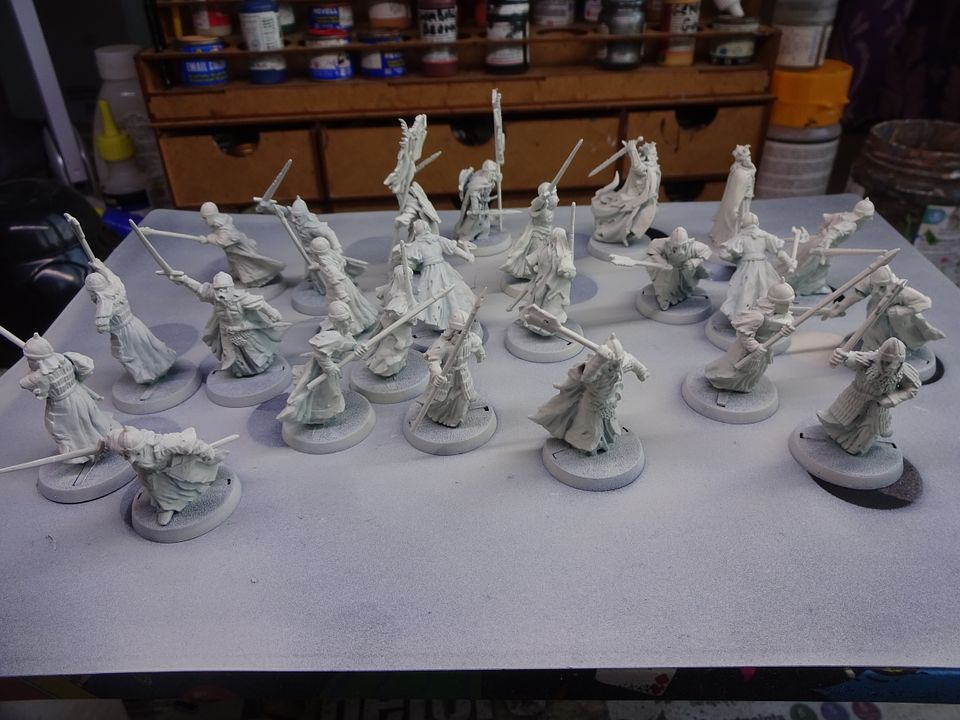
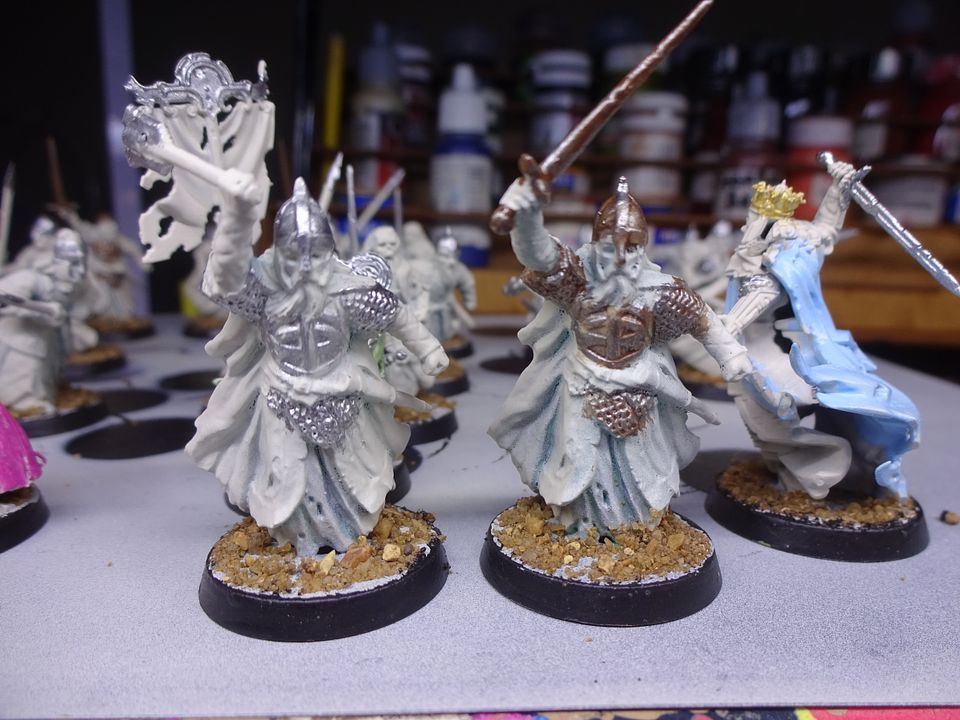
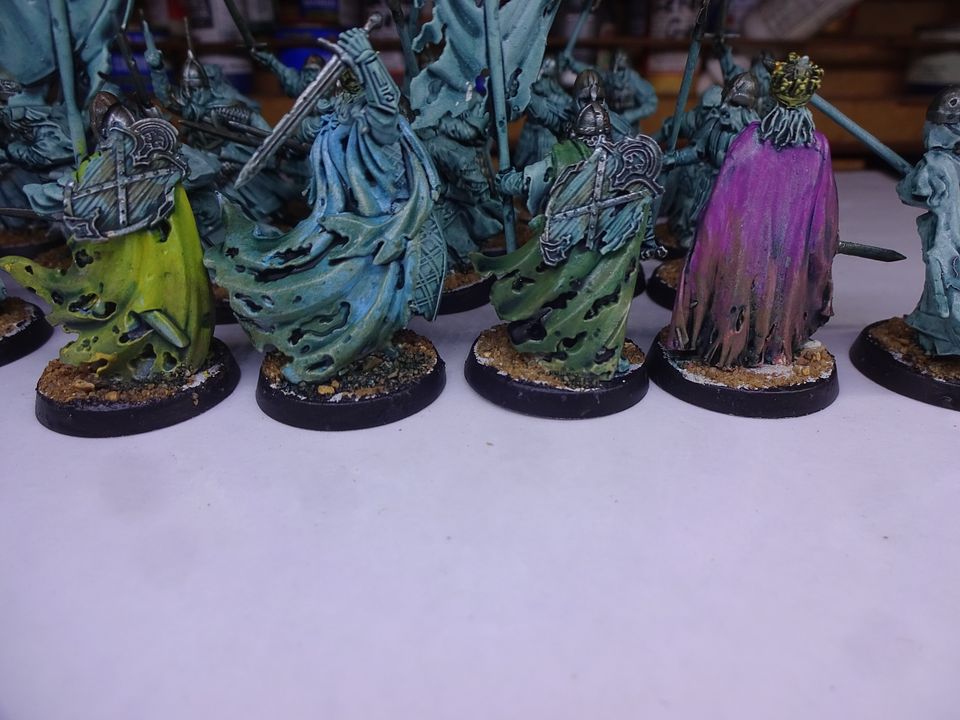
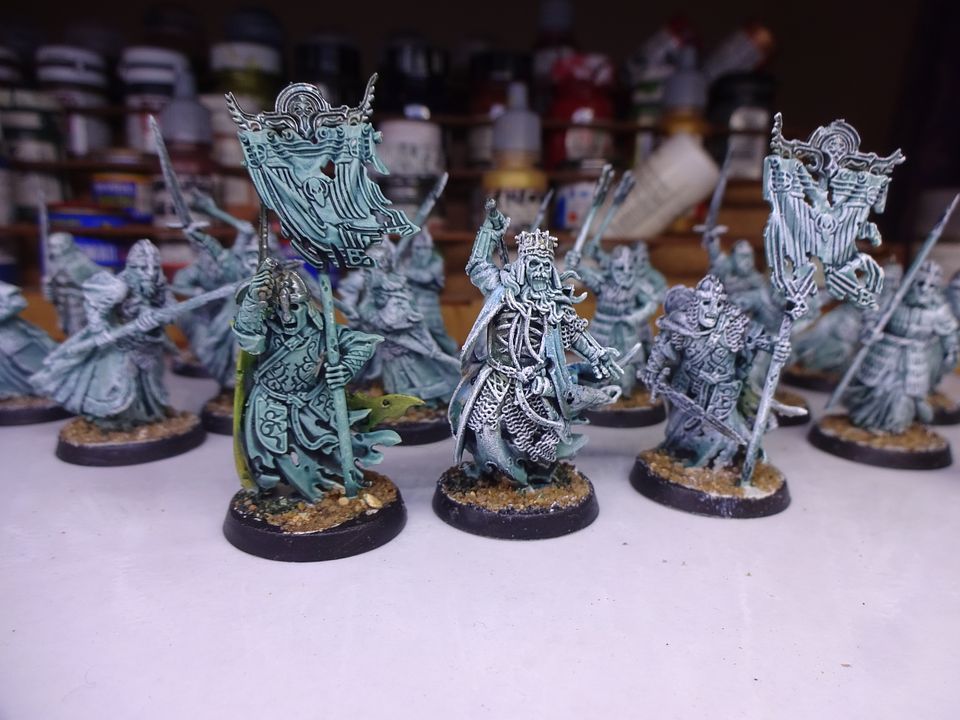
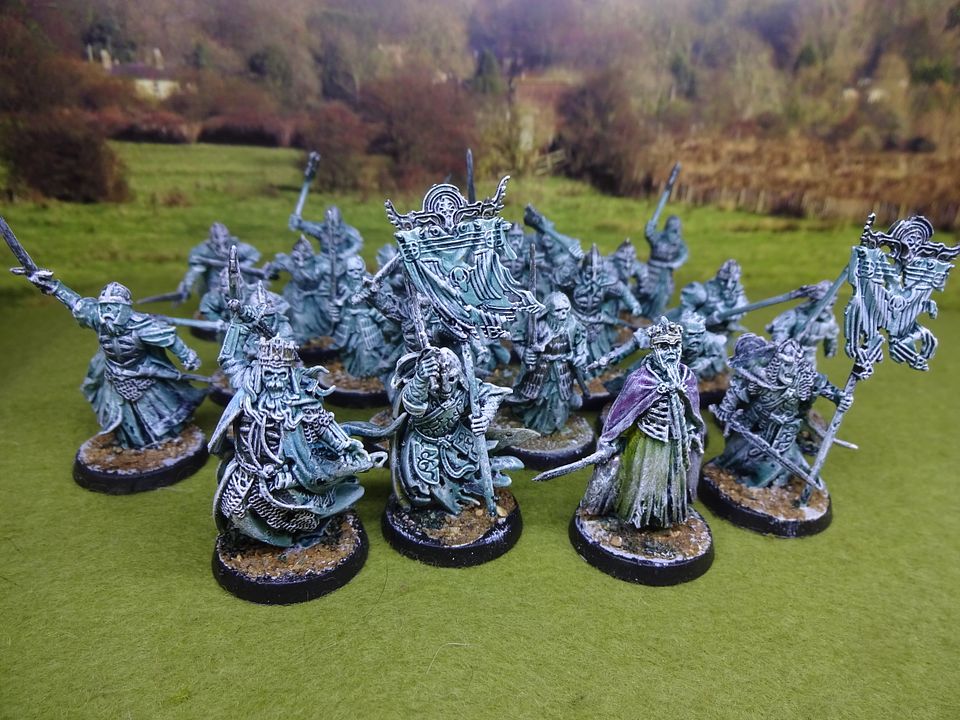
 Here is just a little guide on how I painted the Army of the Dead from GW. The figures themselves are very crisp, not to many mould lines and go together well. 

Once the figures were cleaned in warm soapy water and left to dry overnight,  I used an off white aerosol undercoat (Citadel Wraith Bone), which I warm on a radiator and give a good shake, and you get a good coverage.

DSC02210

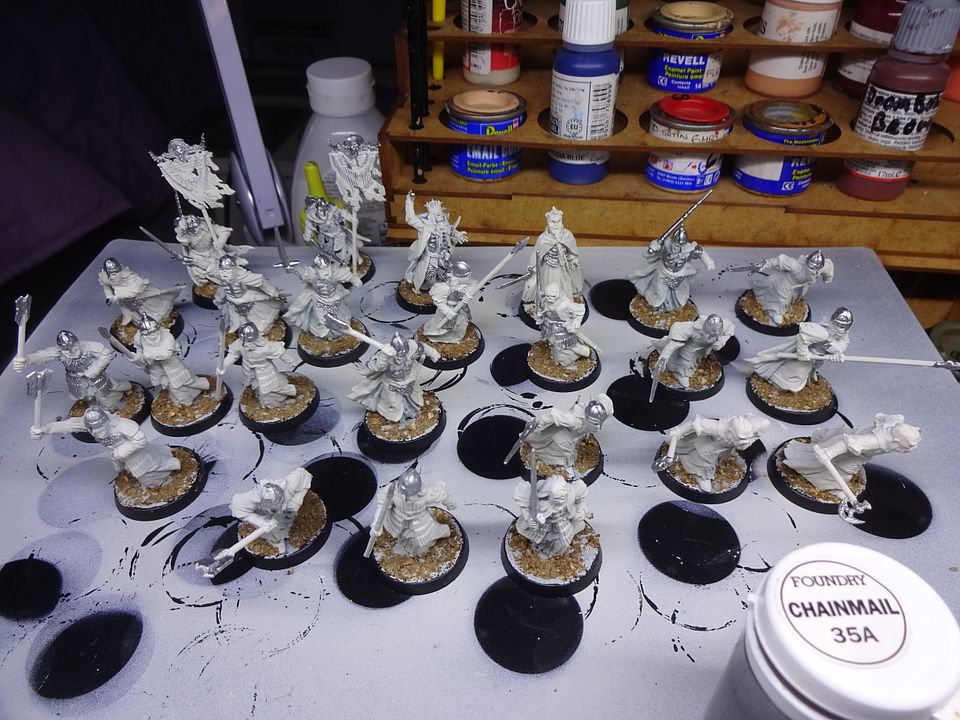
I work a bit backwards to others, I grit & paint the base next with the base colour and highlight. This way any of the base colour on the figure can be painted over before the washes go on! This customer anted the bases left just gritted.

The first thing to paint is any metalwork, Weapons, chainmail, armour. I use Chainmail by Foundry 35A DSC02211

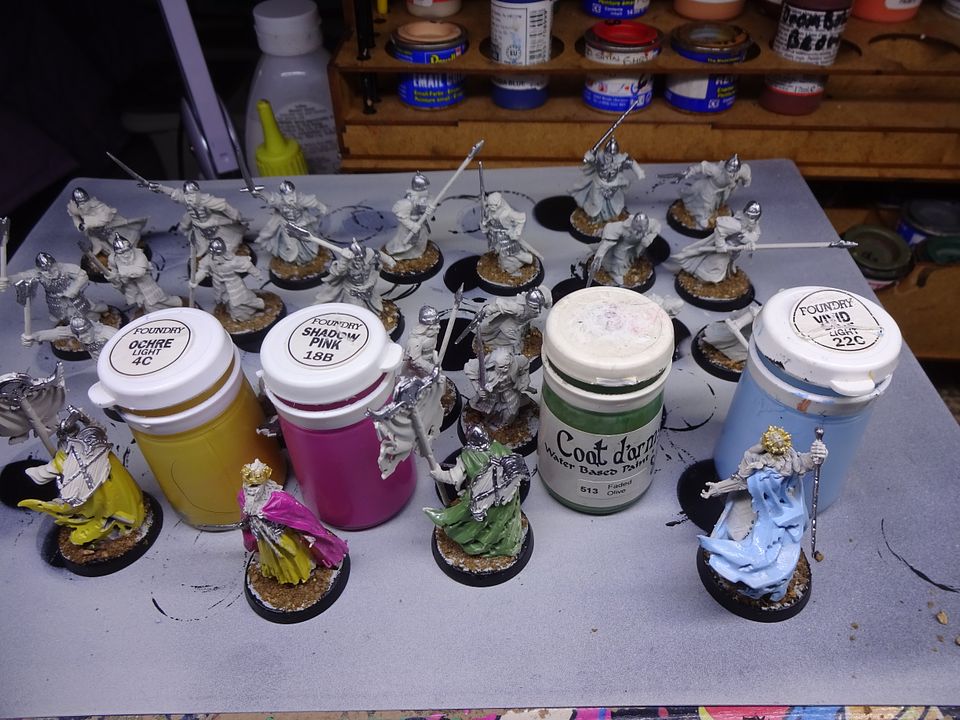
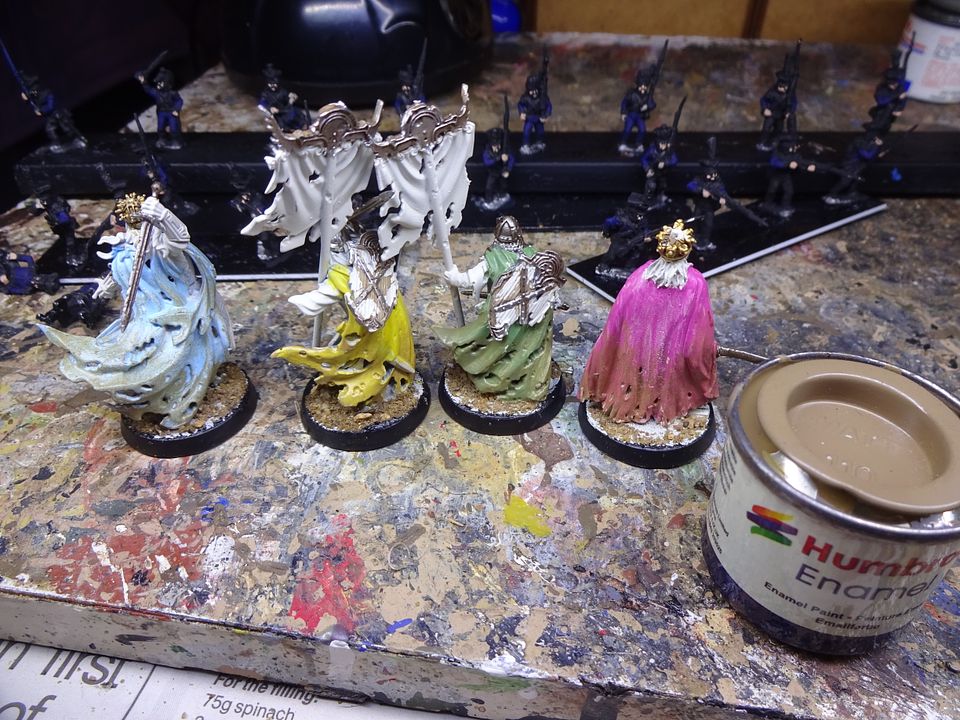
Next I paint the characters cloaks as they need to stand out in the unit. I leave all the rest of the army white.I use pastel type colours as they seem more "Ghostly"

DSC02213

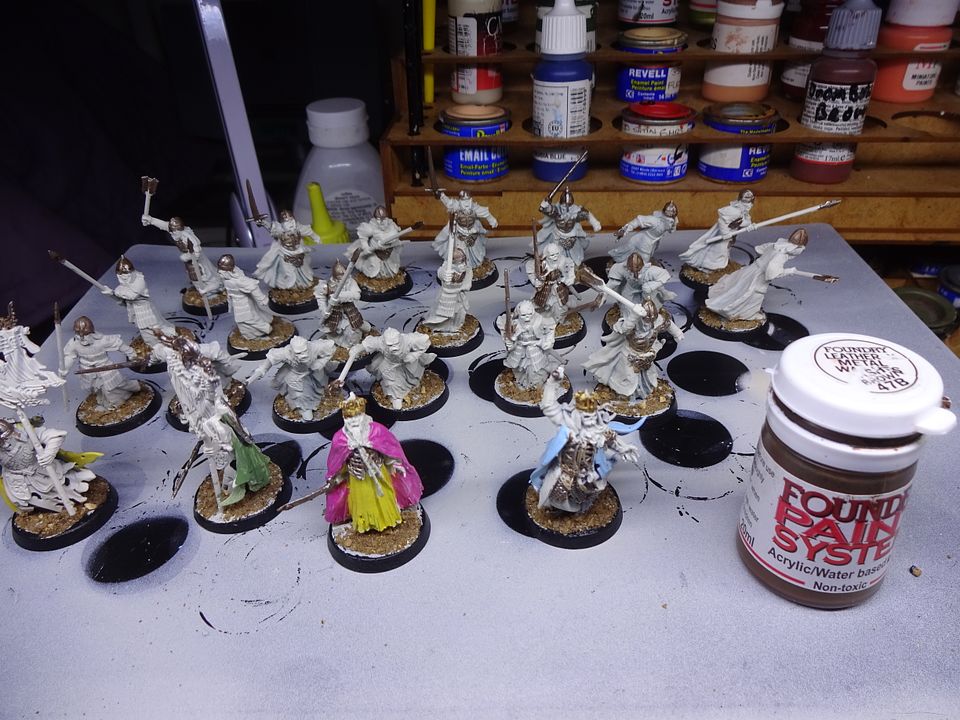
Next is a Wash by Wargames Foundry Leather/Metals Wash 47B, which is superb for "dulling" armour for that old, used, look. Make sure this is completely dry ( a good 6 hours at least or it will run off the model as the next wash reacts with it!)

DSC02215

Looks shiny below, but I think that is the lighting.

DSC02214

Next is to dirty up the cloaks. They are a few thousand years in the underworld after all. I use Humbrol 110 which their paint wood, but I think it creates a nice dusty effect.

DSC02216

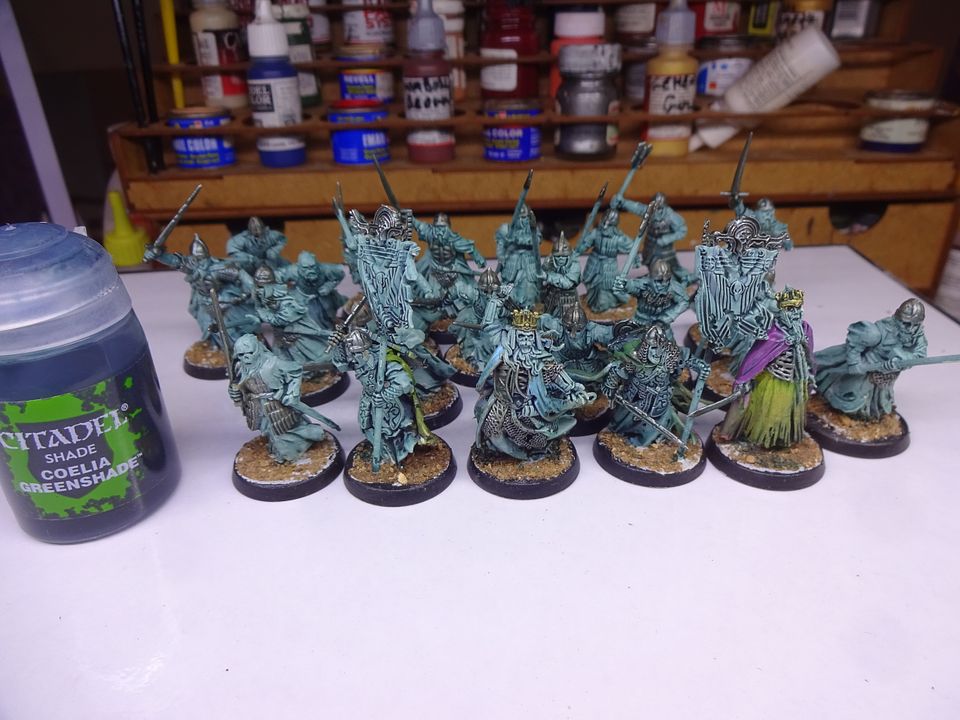
Now I wash the figures with GW Coelia Greenshade, picking up any "pooling" off the figure with the brush.

DSC02235 DSC02236 DSC02237  

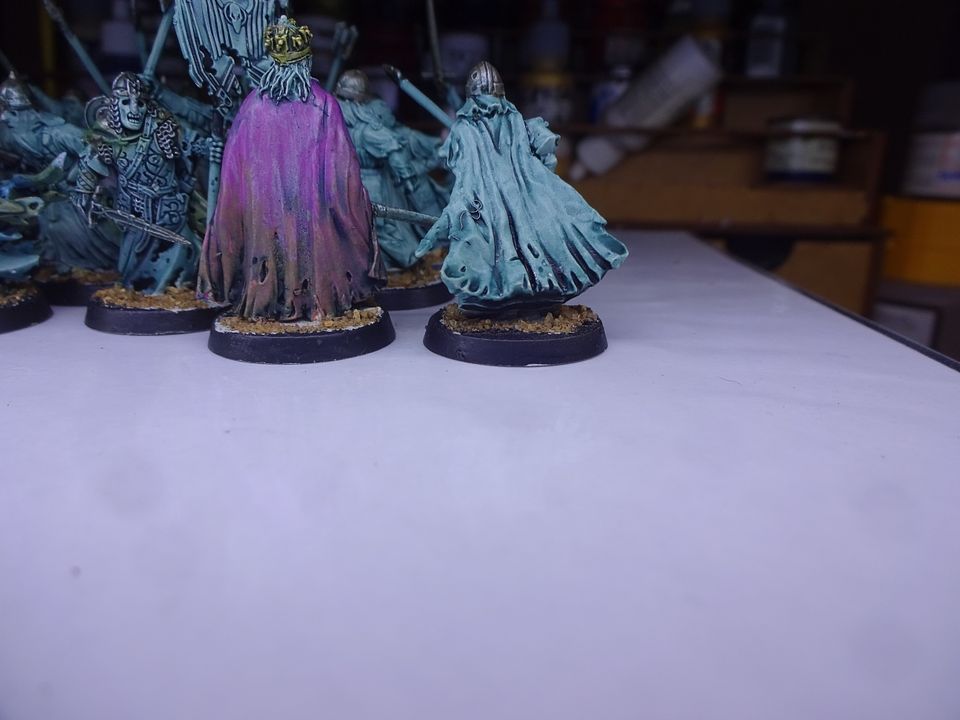
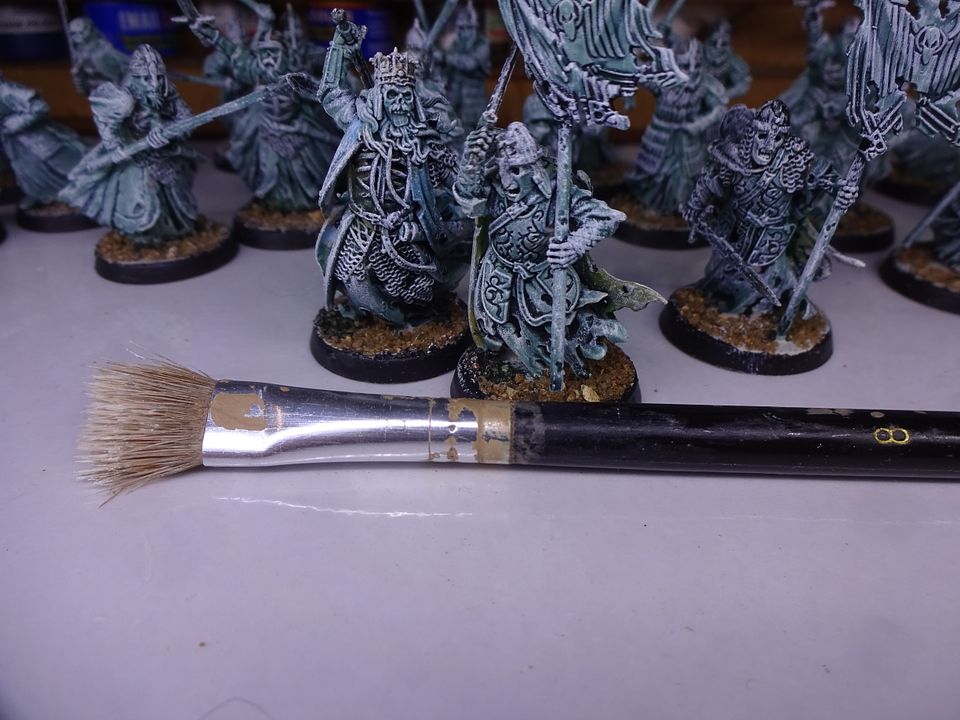
Penultimate stage is the dry brushing. Any white is fine, but I use a number 8 semi- stiff brush. Be careful and brush in one direction, from the head down (this would be where the natural light would hit the figure) and brush along the weapons lengths from the weapon tip back. Also follow the flow of the cloaks. Remember this stage is not highlighting but Ghostifying the figures! 

DSC02239

Before and after the dry brushing.

DSC02238  

Last process is Varnish, and flock base. As stated customer wanted bases left just gritted. And I am still waiting for the shields from customer.

DSC02240

Here is another unit I painted for someone else.

DSC02168 DSC02169 DSC02170