On Sunday Paul, came over for a refresher game of RF, so I decided to do the 3 game Hammelburg mini campaign from the Rapid Fire NW Europe 1944/45 Book. Vehicles and Vehicles are mostly Britannia with some vehicles from various manufacturers. Everything on table is from my collection.
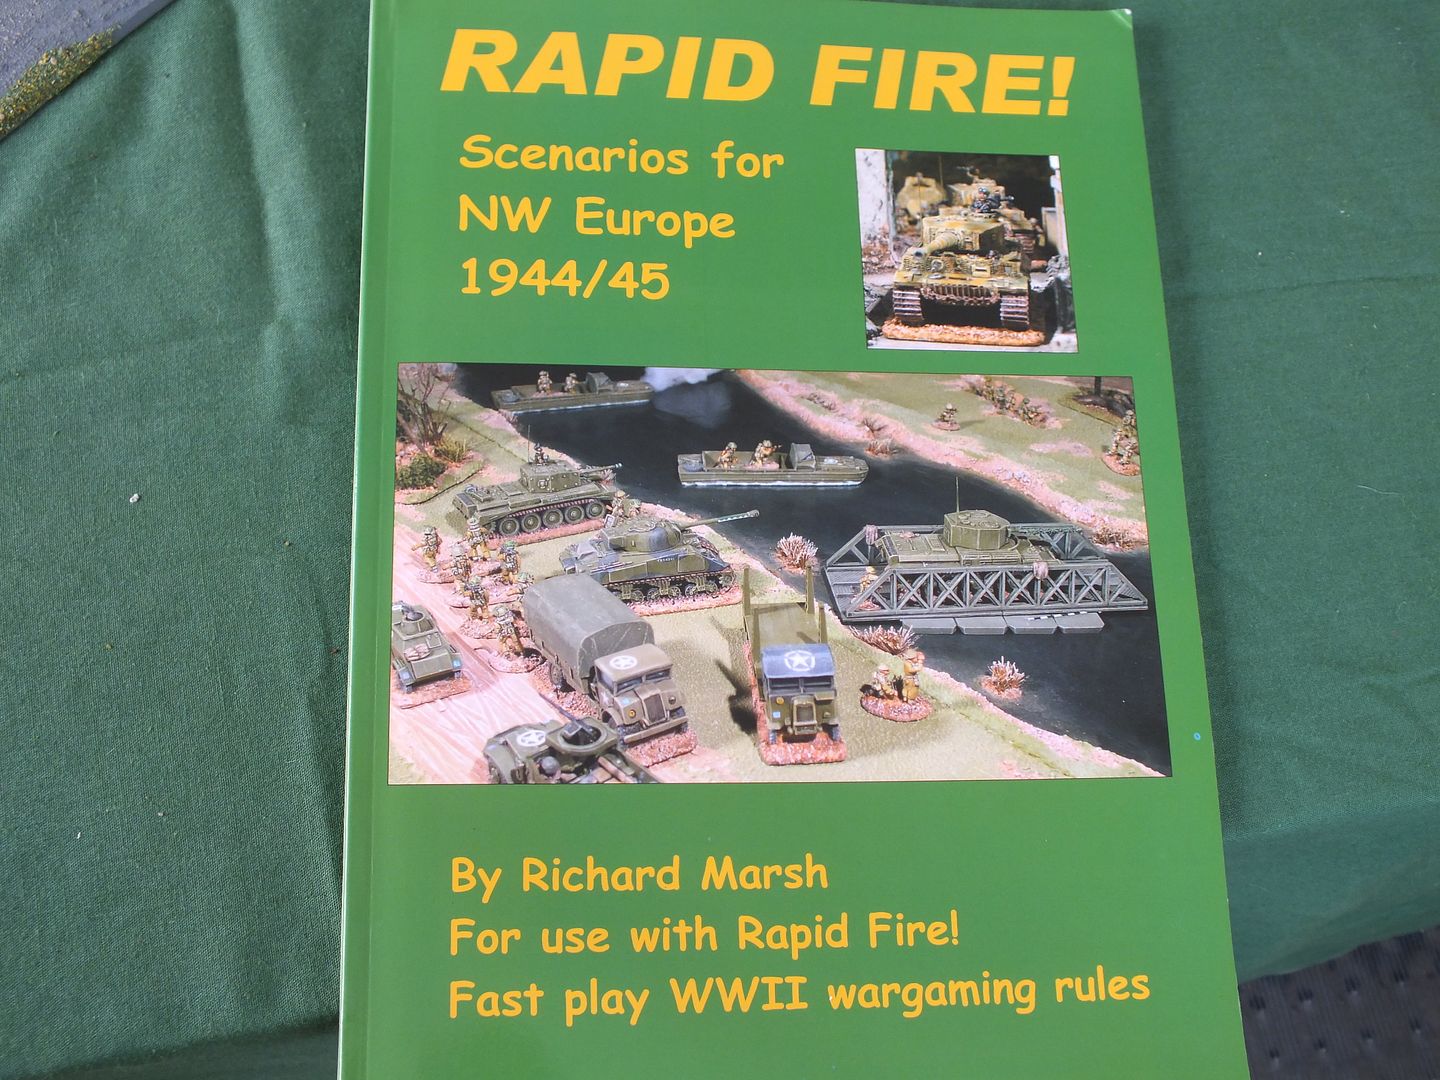
I have played most of the scenarios in this book and it is well worth a purchase if not in your collection.
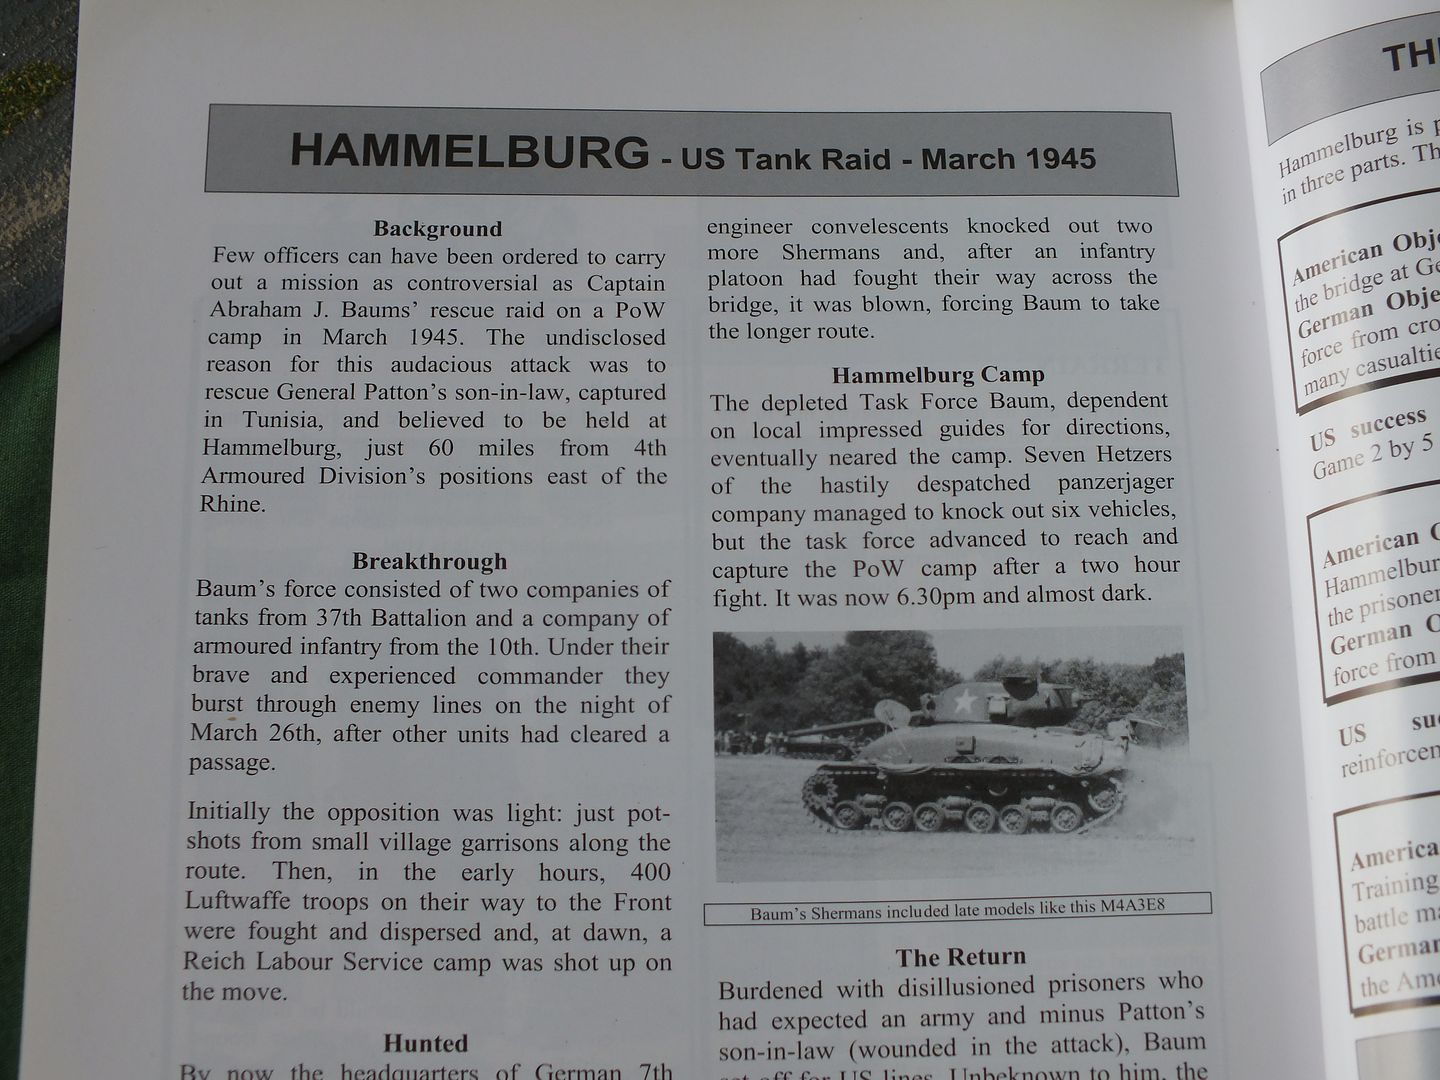
Background to the game. There are a couple of Typos in the Orbat game title numbers.
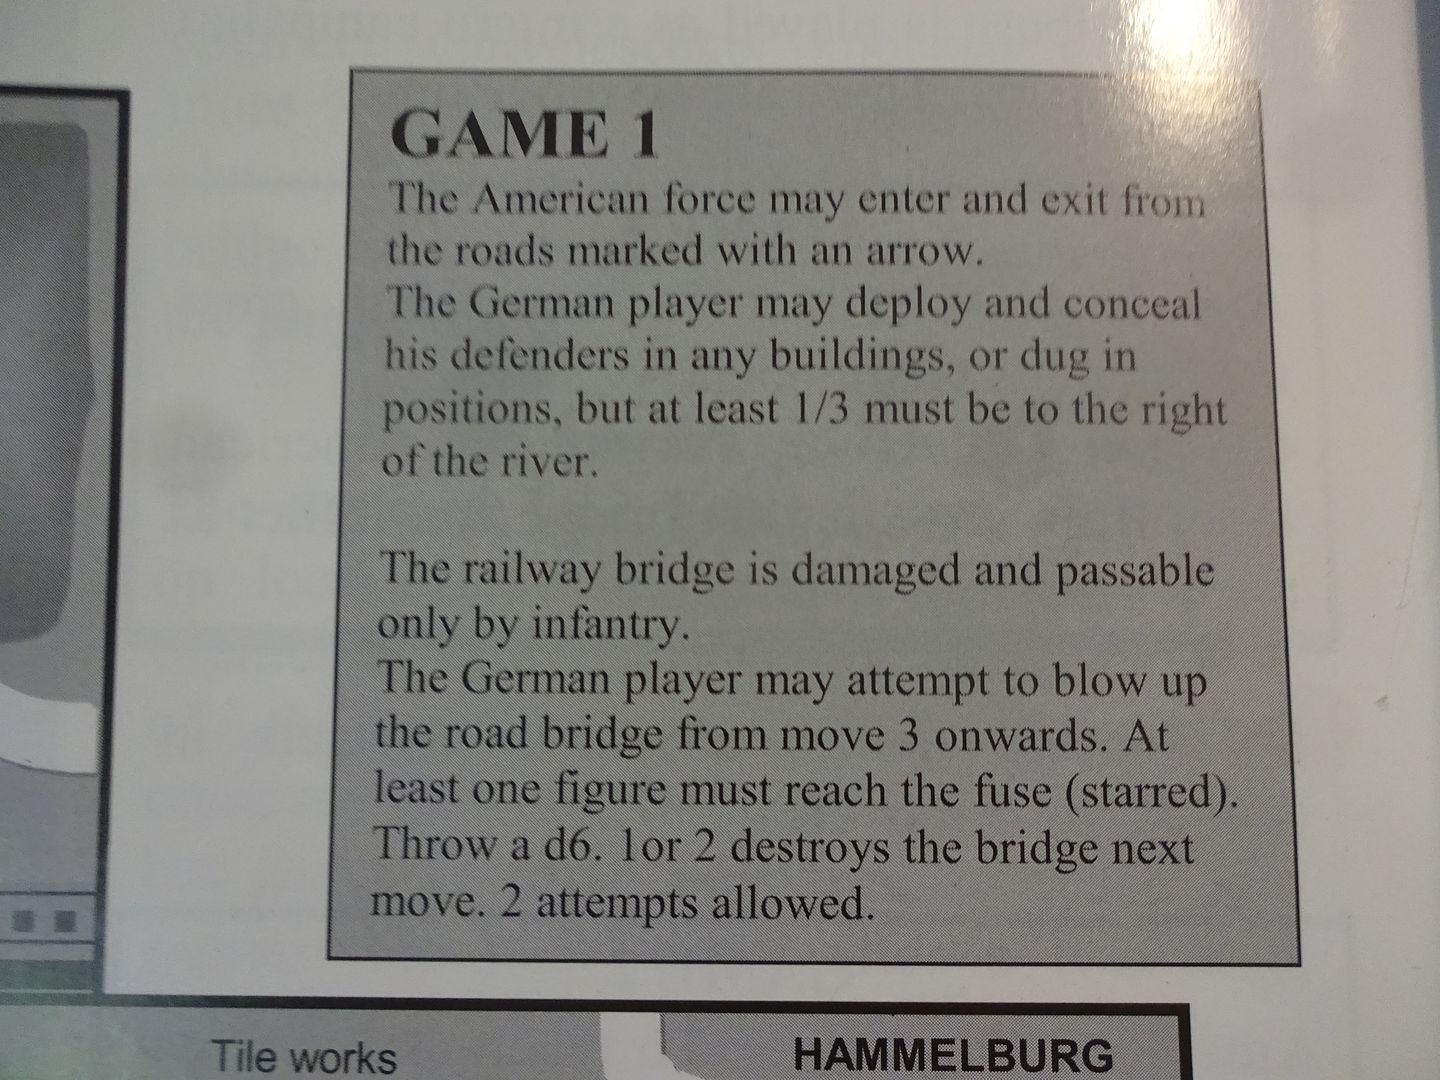
Game 1: there is no turn limit in any of the games.
Map:
The Table
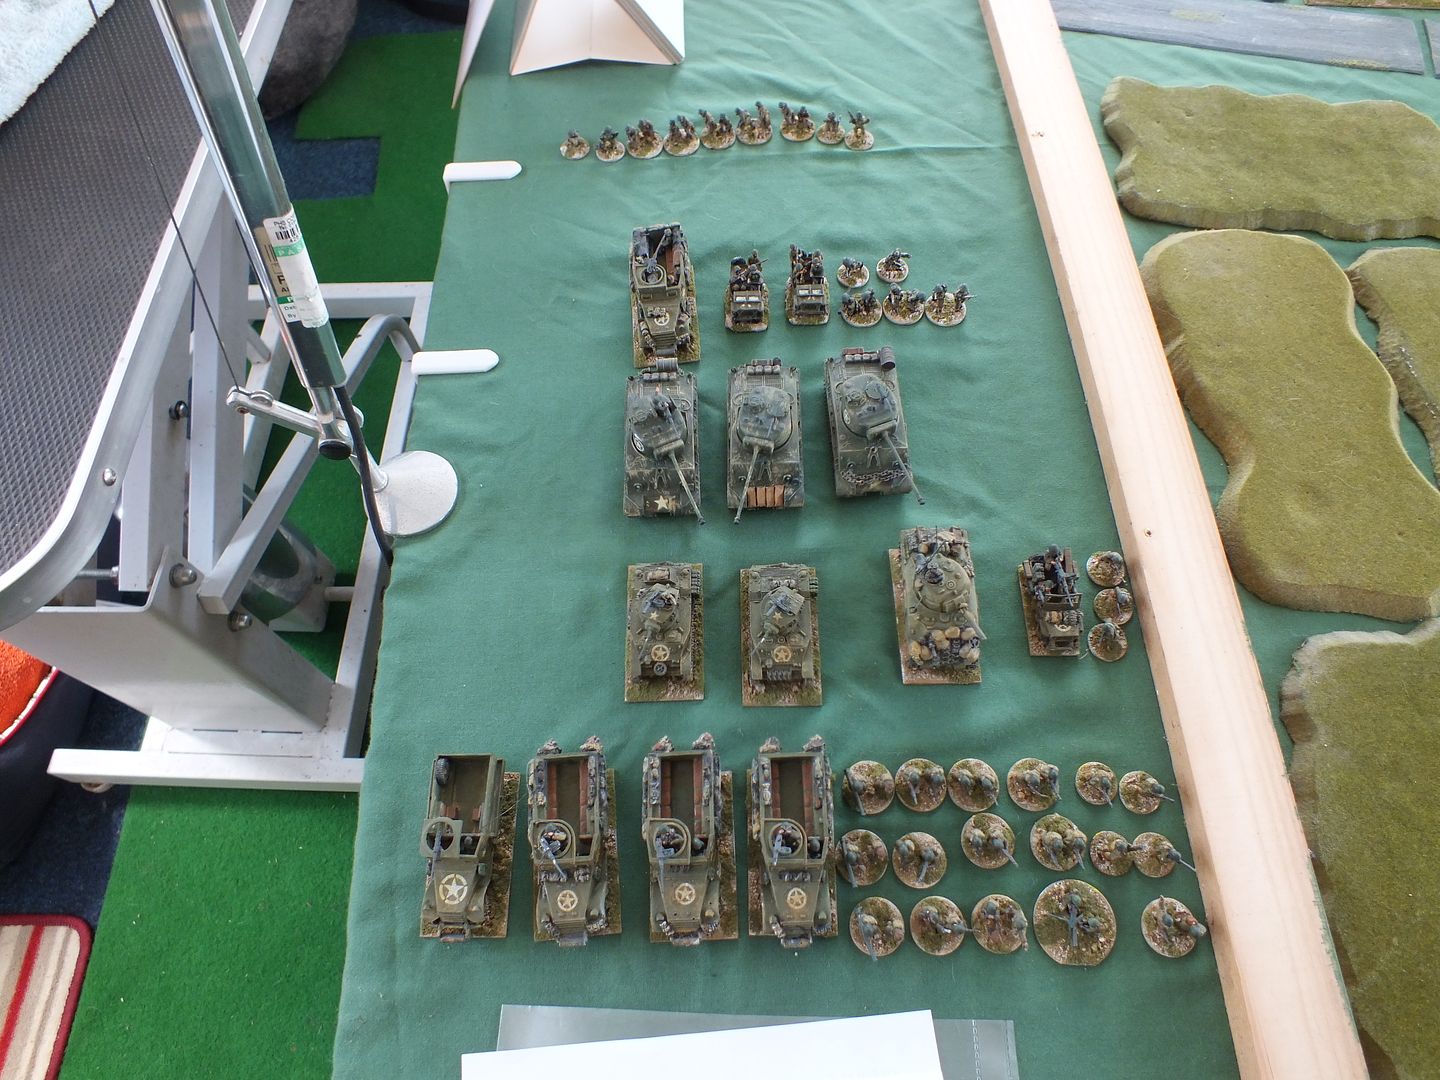
The American Combat Command.
(The troops at the top of the picture are in the POW camp in game 2).
Top to Bottom: Task Force HQ M3 HT (Command), 2 Jeeps, 8 Figs & a Bazooka.
Tank Company of M4A3E8 Sherman 76's
Light Tank Company of M5 Stuarts, Howitzer Platoon of M4 Sheman 105mm, Recon Platoon of a Jeep 50Cal
Armoured Infantry Company of M3 HTs, 30 Figs, 3 Bazookas, 1 MMG.
The Germans had hidden deployment in each game
Germans, game 1, consisted of 12 Figures with 5 panzerfausts.
Turn 1: I used the new rule of vehicles can only enter the table up to 12". I allowed the Recon 18".
Turn 2:The Americans move towards the bridge and the recon Jeep was fired at from a ruin by 3 Germans. 2 casualties destroyed the vehicle and a roll of 3 killed the Recon unit.
A good start for the defenders.
The rest of the CCB move and the lead Stuart gets a broken aerial from the Panzerfaust fired at it from another reserve fire unit next to the Bridge. The Easy 8 and the Stuart destroy the first German unit and the LD (Light Damage)Stuart returns fire at it's assailents and kills one. In the German phase of the turn, the first German unit now fires at the troops in the HT and kill one man.
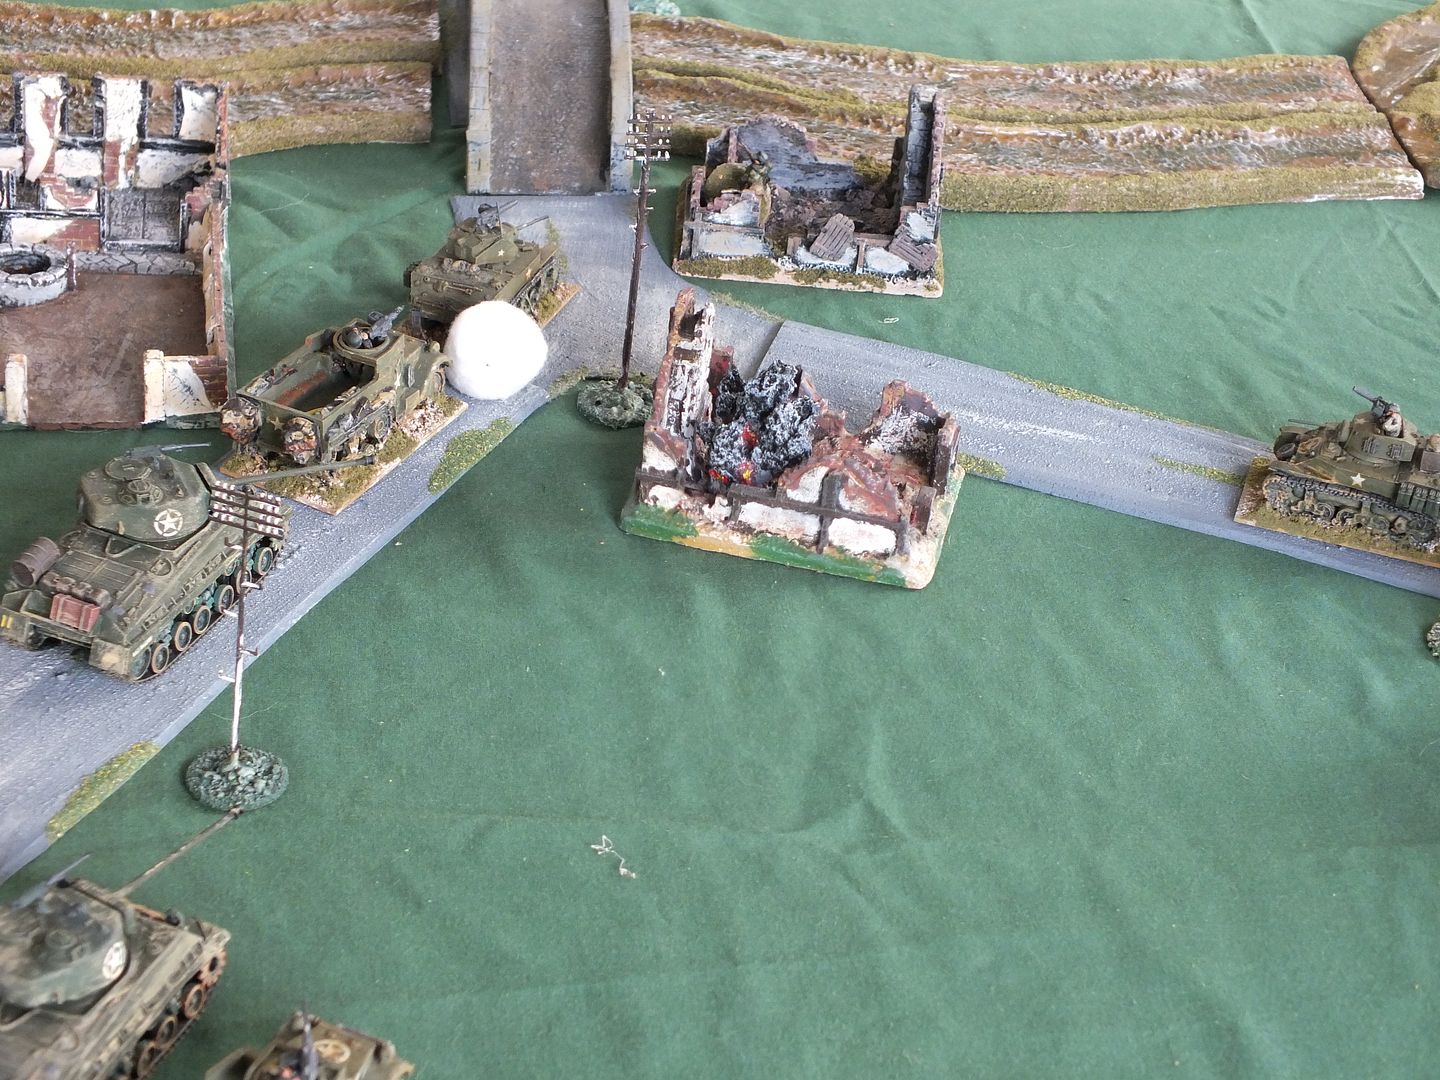
Turn 3: The lead Stuart bombs over the bridge and a German unit by the fuse fire off a Panzerfaust in the rear of the tank, and miss!
All other firing by both side was dire and everything else missed!
Turn 4: The CCB spotted all hidden German units left.
A HT debusses it's infantry and MMG who clamber up the railway embankment and start to negotiate over the damaged railway bridge (only infantry can cross the bridge, due to it's damage). The HT will cross over the river by the road bridge and collect them on the other side. In the German phase a roll of a 1 or 2 on a D6 will blow the bridge, first 6 rolled in the Game!!!! They have one more attempt to blow the bridge!
The Stuart makes for the high ground as the column. Lots of accurate close range firng by the CCB armour destroys the rest of the German troops.
The table was now in control of the CCB, who made it off table without hardly any damage.
The CCB Column moves off towards their next encounter.
Game 2:
Map:
Table:
CCB retains it's losses and enter on the left top road.
Germans - 2 Hetzers enter Top road turn 5. In the POW Camp are 40 figures with 2 MMGs, 3 Panzerfausts and a 37mm AA Gun.
Turn 2: The CCB are moving off road as they are expecting a surprise from the tile works.
Turn 3: The Column advances cautiously.
Turn 4:Good spotting by CCB finds the tileworks free of troops.
Turn 5: The CCB forget about the other two buildings and move south towards the POW Camp. The German phase of this turn sees the Hetzers turn up and Fire at the Easy 8s!
You can see where their shells landed, yep both Missed, they both rolled 1s
Turn 6:The Easy 8 and the Sherman 105mm elected to fire at the first Hetzer. The Easy 8 took it out with the first shot!
While the other hetzer received a HD (Heavy damage)from another Easy 8!
In the German phase the Hetzer took a morale test and failed (obviously) and had to abandon the tank for one turn!
Meanwhile the rest of the column move on the Camp. The 37mm caused a HD on another Easy 8 on the high ground, before itself getting taken out by firing from the Sherman, Stuart and MMG on a HT.
Although some fine Reserve firing and then shooting in their turn, German MMGs and infantry caused seven US Casualties
Turn 7: with no crew the HD Hetzer was an easy target and another HD brewed the Hetzer.
At the camp, another German unit got identified in the spotting phase, and was about to feel some HT MMG and Stuart firing (The Easy 8 could not fire as it had a HD last turn, so cannot fire or move)
No casualties at all on both sides as the CCB Column waited!
Turn 8:Another German unit was spotted (Bottom of Picture), and the CCB Infantry Debussed to take cover in the farm (an old Mainly Military building). The HT on the hill backed over the crest for cover and allowed the armour to take on the infantry at a safe (Social/ out of Panzerfaust)distance. The Easy 8 at the back covered the Northern road, as they were expecting more armour!
Sherman 105mm
End of turn 8, Germans took five more casualties.
End of turn 9, Germans took four more casaulties.
The CCB infantry were now in cover and away from any threat and the armour would now just keep firing away until the POW camp garrison surrender!
Turn 10: The Germans surrender rather than take more casualties, and the CCB roll into the camp and liberate the prisoners!
Game 3:
Map:
CCB retains it's losses and enter on the top road.
Germans - 15 Officer Cadets, 1 Panzershrecke, 2 Panzerfaust (Dug in on Table. Any surviving Hetzers None)and 12 Comnat Engineers, 2 Panzerfausts, Enter from right (Turn 5). 16 Sniper School, 2 Panzerfausts, enter Top edge (turn 6).
Table:
Turn 2: The lead Stuart takes a Panzershrecke to it's front from the entrenched Officer Cadets, and take a HD. (Morale next turn)
Turn 3: The Stuart fails it's morale and bail out (no offensive action. Nothing else spotted, so the other Stuart move to outflank the Cadets only to be ambushed by another unit of entrenched cadets with Panzerfausts. A direct hit and the stuart gets brewed.
All CCB shooting misses turn 3. Turn 4: Stuart passes morale taken due to the other Stuart being destroyed. All CCB shooting misses as they stay out of Faust and Shrecke range! This hold up is what the Germans want.
Turn 5: The CCB infantry debuss into the woods for cover. The Officer cadets lose 10 figures and are on a Morale which they fail and become pinned. But the Combat Engineers have now arreived fire at the closet Easy 8 with a Panzerfaust and miss!
Turn 6: 2 More losses to the Cadets, and the combat engineers lose 4 figures.
Cadets take consecutive Morale, but pass. The Sniper school immediately enter the fight in the CCB rear and faust and destroy 2 HTs Killing Captain Baum (Officer in Charge of the CCB).
Turn 7: The CCB infantry then return fire with support of the 105mm Sherman and they Sniper School lose half it's number. The Combat Engineers lose 4 more figures, and the last of the Cadets get killed.
The Combat Engineers and Sniper School both take morale and both throw 1's, so Rout off/ Surrender.
Turn 8: The CCB get back in the remaining HTs and make for the Southern exit point to win the game in spectacular fashion.
The Germans had their weapons taken and allowed to go.
CCB Losses - 2 Halftracks, 1 Stuart, Recon Jeep and 22 Men
German Losses - 2 Hetzers, 95 men, either KIA, taken prisoner or routed
An interesting fun game for the American player if he does not know what he is up against. For the German player just being road bumps and slowing the CCB down is quite a challenge. Poor dice rolling when it mattered did not help the German cause!


