Search This Blog

Thursday, 20 February 2020

God Wills it!

Back in February 2014, a good friend passed away and left an unstarted project of building a crusade army. I headed up a team of club members to sort out his wargaming collections out. Robert had many collections, many unstarted, just as many unfinished. I collated his collections and sold them to club members first and then on ebay. One collection was one of each pack of the Perry metal Crusaders and Muslim forces. Not enough for an army but a reasonable start. I have bought so many figures to make Roberts collection a worthwhile Crusading force. Since this Picture was taken I have added about another 10 units. I will post when I sort out my collection! The General (central Templar unit), was the only Crusaders Robert had in his collection that were painted!

All units are based for my favorite rule set Sword & Spear, culminating in a three year "crusade" of painting both sides and putting a game on at Salute in Robert's honour!

 photo DSC01862_zpsnz08mugr.jpg

More on the game & Muslim Army on another post


                                     The Crusader Cavalry
.  photo DSC00552_zpsh5sluuex.jpg  photo DSC00553_zps3jkf2xed.jpg  photo DSC00554_zpsmh9iju8q.jpg  photo DSC00555_zps76ifqmxf.jpg  photo DSC00556_zpspgaskdct.jpg  photo DSC00557_zpsfvct2edp.jpg  photo DSC00558_zpspvujnjhj.jpg  photo DSC00559_zpsesejymyp.jpg  photo DSC00560_zps9zqek8eg.jpg  photo DSC00561_zpsbb5tsik0.jpg  photo DSC00562_zps65h0pxd9.jpg  photo DSC00563_zps24rcf6xu.jpg  photo DSC00564_zpsedeymnnd.jpg  photo DSC00565_zpswexxc3r9.jpg  photo DSC00566_zps9mohxkw6.jpg  photo DSC00567_zpsccxfuwis.jpg The Crusader Infantry.  photo DSC00568_zps8eksvvsh.jpg  photo DSC00569_zpsxhqagoo5.jpg  photo DSC00570_zpskvui79ni.jpg  photo DSC00571_zpsn3gptwzh.jpg  photo DSC00572_zpsmvkflihh.jpg  photo DSC00573_zpskvxsue2f.jpg  photo DSC00574_zpsz8njhoej.jpg  photo DSC00576_zpsxwpymwix.jpg  photo DSC00577_zps5mi0itzi.jpg  photo DSC00578_zpsfzfpdkrk.jpg  photo DSC00580_zpssunt8hvw.jpg

Wednesday, 19 February 2020

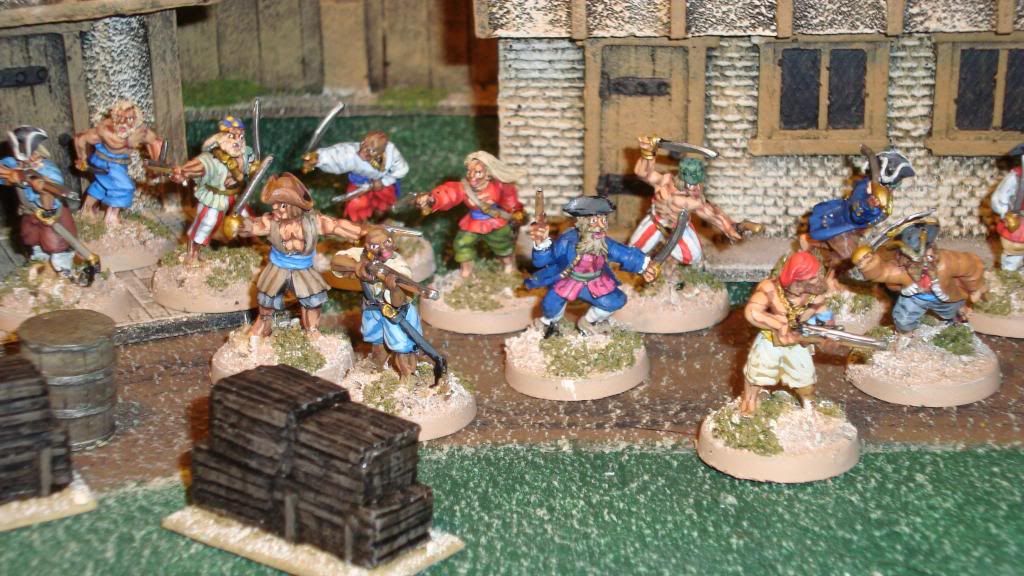
Where be the Buccaneers?, on yer Buccanead, Thar be Pirates!


Pirate Fact: Pirates wore gold earings because if they were killed, they would always have enough gold on their person to pay for their funeral costs.

Robert Louis Stephenson gave us a taste of pirate life in his book Treasure Island, which I am sure we all read as young lads. The atmospheric pages sees Jim Hawkins get drawn in to the pirate way by Long John Silver, his loyalties for his comrades and the lust for treasure. 
From the pages of Stephenson books came the Pirates that have been glamourised by Hollywood for years from Douglas Fairbanks in “The Black Pirate” or Errol Flynn’s “Captain Blood” to Johnny Depp as Cap’n Jack Sparrow in  the Pirates of the Caribbean quadrilogy.
How did piracy become so popular in the Caribbean?

Some AWI troops, now in Spains employ in the Caribbean   photo DSC02224.jpg
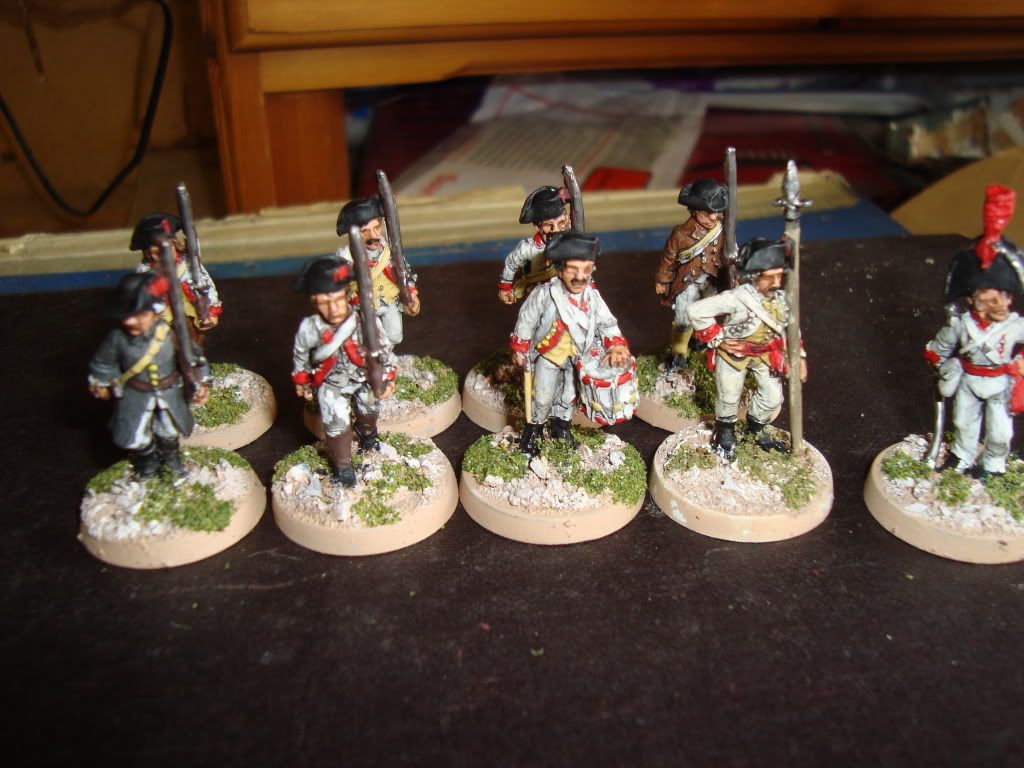


Spain, the wealthiest catholic nation, had made the Caribbean became a center of trade in the region and control of the Americas. The 16th century saw Spain sailing tons of Sliver from Mexico through the region and then onward across the Atlantic to Spain. From 1520 – 1560, the French saw an opportunity to seize these shipments but, as a sea faring nation had to few ship to take on the might of Spain on the high seas, so they employed privateers. Then later, two powerful protestant nations of Great Britain and Holland (both with a strong navy), would also employ privateers.

The Captain of the Garrison & his Sergeant.
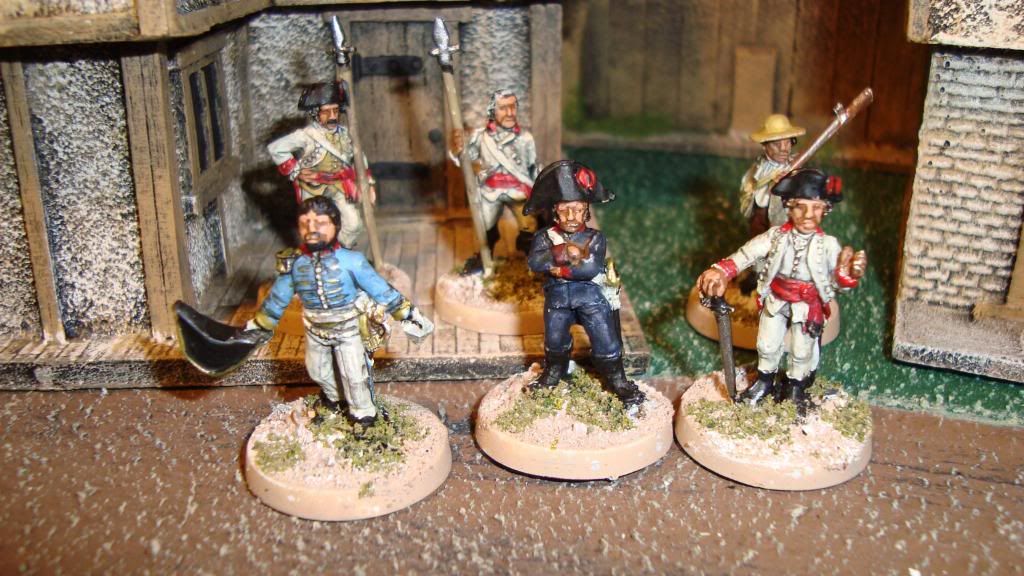
 photo DSC00568.jpg

In the 1560’s Spain used heavily guarded convoys, which made attacking them very risky as most privateer vessels were lightly armed compared to the Spanish armadas. Many of the privateers chose easier targets, independent merchant ships and the like. Sometimes attacking merchant ships from their “employers” country of origin. In 1585 Spain and Great Britain were at war, due to some part with trade disputes in the Caribbean. By the start of the 17th century Britain, France and Dutch colonies had been established in the West Indies, as Spain’s influence began to decline, due its loss of the war with Britain. Many an adventurer would head for the Spanish Main for “riches beyond their wildest dreams”, but for most who tried the pirates way, the gallows awaited.

The Royal Marines, Loyal to a man unless there's a coin or two to gain!
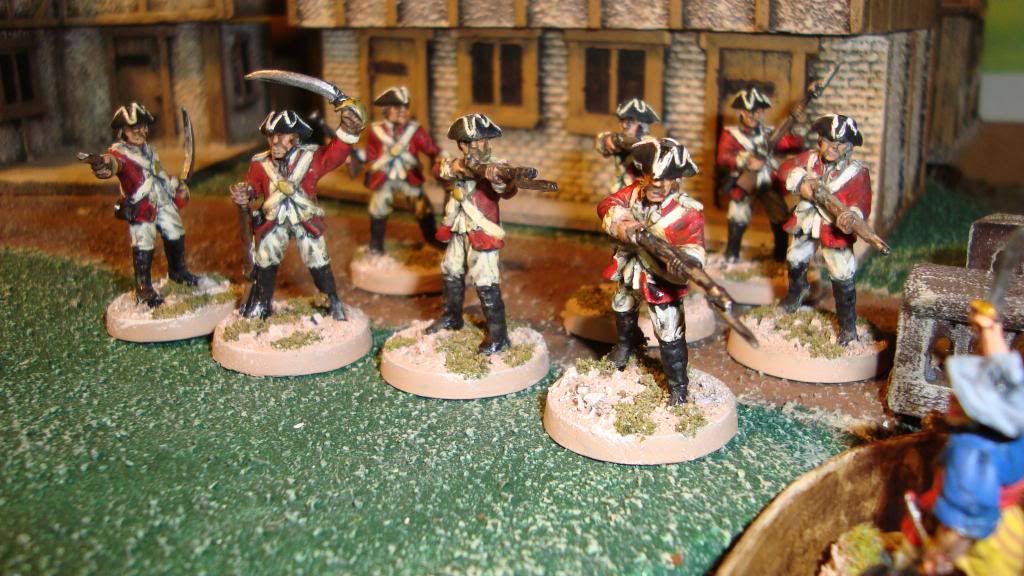
 photo DSC00571.jpg

But who were these Buccaneers who diced with death, taking on the worlds powers on the high seas around the Caribbean. The “Famous” pirates and privateers came from various professions, but ultimately all met their shorts careers at the end of a “rope”. The average run of a pirate seems to be about four years, although some shorter and some (a very few), longer. The “high tide” of piracy was around 1720 when many a hanging was taking place, as the Royal Navy was tirelessly hunting down the pirates and would almost certainly out gun them in a stand up fight. Many crews were turning their captains in as the net closed on their privateering ways. Everyone knows the legend that was Blackbeard (Edward Teach) and others like Henry Morgan, Black Bart (Bartholomew Roberts), Calico Jack (Rackham), to name but a few. There were also privateers, who “worked” as legal pirates for their prospective country. The privately owned ship would be commissioned into a particular nations navy and they would have a letter of marque, which allowed the privateer to “legally” attack enemy ships and retrieve the goods and sometimes the ship. They would pay a large percentage of the loot to the crown. Francis Drake was an early privateer the Great Britain.

It's a Pirates life for me, Yo Ho!
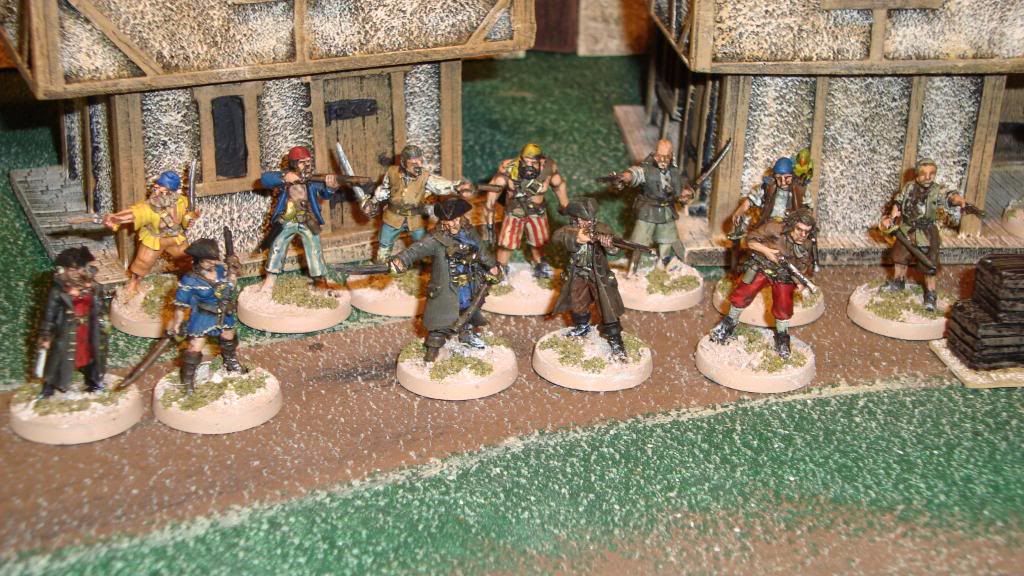
 photo DSC00560.jpg

A Toymaster Galleon, ready for the crew!
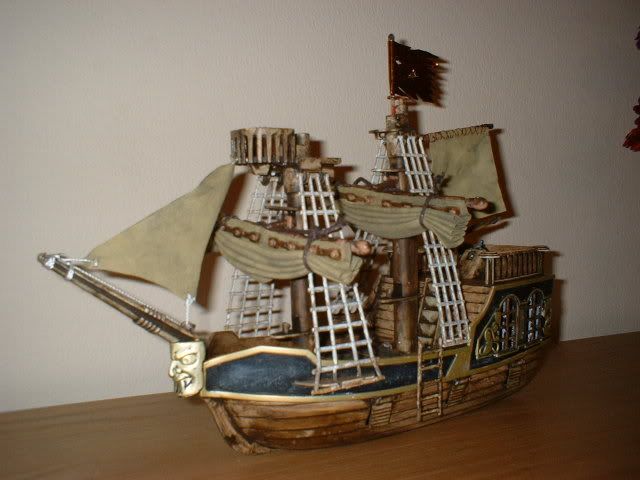
 photo DSCF0001-1.jpg

 Another crew gathers
 photo DSC00563.jpg


Has the above wetted your whistle to break out yer crew agin!!!!, then read on...

My club had a pirate “campaign” a few years back and although quite a few members took part, and found it enjoyable, it was more of a series of games which were not linked. I am working on a campaign at the moment where you can choose what you want to be but you allegiance, “traits” and starting island/Port will be random generated. Everyone will start the campaign with a crew of 250 doublooms (you choose your crew), one ship. I am working on maps and ship movement. Anyone who takes part must be able to play at least once every couple of months. There will be some basic campaign rules but I hope it will be fun for all to play. There will also be room for “drop in” players to play unfilled places, so it should suit most members in some form or another.

Tuesday, 1 October 2013

Bolt Action - A Review of the rules

I purchased My copy of BA at crisis, in November 2012 ( should have bought it on Amazon £16.00 ). Although I only paid £20.00 (Retails at £25.00). The Rules are, as most now days in a hard back cover, with lots of colour pictures and explanations you would expect. The basic rules are very easy to pick up and are based on a Reinforced Platoon. The rules use appoints system for competitive games, so do not be surprised to see BA competitions cropping up at shows. The game lasts for six turns (as all competitive rules seem to now, GW, KoW being the main two that I know of). Pointed games start from 500pts on a 4 x 4 table, and takes a couple of hours to get a result on this size table. The basic fighting unit is a squad of infantry from five to fifteen figures, or a support section. Each unit has its points value with add ons, and this way you build your force. Each Nation has its “National traits”, which add to the game. A nice little “gimic” are the order dice (which are not the best quality and chip in the dice bag). The dice are a six sided but have your orders on them and come in eight various colours. These are not rolled but placed by the unit you want to make an action. You get one dice for each unit in your force and both sides place them in the dice cup or a dice bag. With both sides dice in the bag, shake the dice in the bag (not to much as some chipping has occurred on some dice. The first turn begins by drawing out a dice. The order on the dice allows you to do a certain action for that unit. Your unit can Fire, Advance, Run, Ambush, Rally or Down. Find the order on the dice and place it by the unit, and then carry out the order. If your unit has taken fire previously you may have to take a morale check to carry out the order. Fire – Stay where you are and fire at an enemy unit Advance – move (normally half run speed), you can fire at the end of the move at a -1 to hit. Run – Move up to maximum movement of the unit but cannot fire at the end of move. Ambush – Place next to a unit you wish to Ambush next turn or any turn if the dice remains by the unit. If an Ambush dice was placed last turn and still next to unit, then you can interrupt any enemy movement by firing at them. You then turn dice to fire and fire!. Rally – This dice rallies a unit with lots of pin markers but requires a morale roll. If you pass remove a pin, then remove D6 worth of pins. Ie: roll a D6 and remove that amount of pin markers from that unit. If you fail, do not remove any pins and change the order to down!. Down – This allows a unit to “dive for cover” when being fired at, if not ordered yet. Simply elect the unit is going down and take an order dice from the bag and place a down order next to unit. It can still be a target but at a -1. A Down order is also given to any unit that fails a morale test (if it has pin markers), to carry out an order. The rules are set out in sections and breaks down each sequence of the turn. The rules do not come with play sheets, although they are in the book. You can download the play sheet free, from Warlord Games website http://www.warlordgames.com/ under Forums then BA general discussions, they are then found in the “command post” section. There is also a downloadable PDF of an index which is vital as the rules in the book seem to be all over the place, but do not be put off by this. We had our first trial game in January and by the second game hardly used the rule book and by the third game hardly used the play sheet as they are so easy to play. When you are fired at, and take casualties, you also receive pin markers. These are your units cohesion breaking down and will be used when taking morale tests and firing. If a unit receives more pins than your staring morale (even if you have not lost any men), the unit is removed, having lost all cohesion! When trying to carry out an order with a unit that has pin markers, you must take a morale test by rolling two D6 and add the pins to the result. If that result is equal to, or less than your morale, then you can remove one pin marker and carry out the order. There are other modifiers to morale, as in all rules. If you fail, then you receive a down order (hitting the dirt/ Finding cover,etc) Firing is simple in that all weapons roll a certain amount of D6 dependent on their effectiveness, eg each rifle rolls 1 D6, an assault rifle 2 D6, MMG 3 D6, etc. You add up your weapons values and roll the dice and add mods to dice for moving, cover. Every time you “hit” a unit, that unit receives a pin. Some Weapons cause multiple pins. The game is easy to pick up and it works best with infantry only games, as armour seems to dominate the table and the heavy MG’s are more effective than trying to fire HE. The game ends at turn six although we tend to play longer as we usually play on a larger than standard BA table. BA can be played with other scales, not just 28mm. There are Army books covering all the major powers and theatres. Warlord Games who produce the rules have really nice figures and vehicles to compliment the rules. Will be posting some pics of my troops at a later date

Sunday, 14 July 2013

King of War

My Son Ian, challenged me to a game of KoW at the club. Here are a couple of pics.1500pts from new rules with use of artifacts.
I have a few armies and picked a Goblin army, to see how they fared on their own, without their big cousin Orcs to protect them. They did fine and won by 1000 points.
With the new Ogre list imminent, cannot wait to see how my Ogres fare!
On the workbench, I still have Ogres, Lizards, Orc and Goblin Hordes and more knights to finish. I tend to use one army and then I finish off the troops on the bench to complete the army.
In September, I intend to run four KoW leagues, 4 players in each,then a knock out Phase.
                                                 
                                                     Goblins vs Kingdoms of Men

 photo DSC03297_zps7d305867.jpg

The Big Clash
 photo DSC03302_zps5fa4d11e.jpg

Sunday, 7 April 2013

WWII Bolt Action

The Warlords were at Skirmish in March and we put on a demonstration game of 28mm WWII using Bolt Action Rules. We fought German vs British using 1000 pts each.


 photo DSC03070_zps7fe0a294.jpg

The German Force
4 x 6man Veteran Squads - Assault Rifles
1 x 5man Veteran Squads - Assault Rifles
4 x 5man Regular Squads - Combination of Assault Rifles and Rifles
1x 120mm Mortar, plus spotter
2 x Officer Teams (both +2 Morale)
 photo DSC03073_zps7634e6ca.jpg


 photo DSC03074_zpsed83a892.jpg


The British Force
2 x 8man Regular Squads - Bren & Rifles
4 x 5man Regular Squads - Bren & Rifles
2 x MMG teams
2 x 3" Mortar teams, plus spotters
2 x Medics
2 x Officers (+2)
2 x Sniper Teams
Free FO (Forward Artillery Observer)
 photo DSC03075_zps7b4fb78c.jpg

 photo DSC03076_zps7c6f2bfc.jpg

The Battlefield (German entry end)
 photo DSC03072_zpsf83d0196.jpg

(British entry end)
 photo DSC03071_zpse42afc9c.jpg

The Scenario was to control both bridges by the end of turn six.

All the FO's and spotters were placed and turn 1 and 2 were both side moving towards their objectives. Turn 2 saw the British FO place his artillery marker down in a bend in the road on the german side (red Counter in the road).
Turn three and it came in as Dave (British) rolled a six so KABOOM, the "arty" comes in. although it only took out two infantry, it succeeded in pinning 5 units,
 photo DSC03103_zpsa9f07ed4.jpg

Even with pins the Veteran units on the German left still advanced an fired, but to little effect.
By turn 4, the Germans recovered enough and took the main road bridge.
The British tried to outflank the German unit on the bridge.
 photo DSC03105_zps23227354.jpg

But a small German Vet unit was covering that flank and destroyed the British unit with their Deadly firing Assault Rifles.
 photo DSC03104_zps2e060cc8.jpg

Situation, Game turn 4. Germans hold Road bridge and British hold foot bridge.
 photo DSC03106_zps125ee119.jpg

The German unit on bridge used a rally order and lost all its pins (yellow counters), and next turn would assault the officer across the bridge.
By turn five the British who crossed the foot bridge had been pushed back across the bridge, the MMG, Officer and two units on the road bridge side of the table were destroyed.
 photo DSC03107_zpsfeaedd23.jpg

 photo DSC03108_zps231b49d4.jpg

The last units of British
 photo DSC03110_zpse4c98943.jpg

Turn six saw the Germans advance on the British right flank from the road bridge and with no British units on , or over the foot bridge, it was a win for the Germans.