I have noticed the extortionate prices that high street and internet model shop charge for basing materials. This is not a definitive guide, but just my approach to saving quite a bit of cash over the years.
This article is from buying the sand, to glueing the figure to the base and finishing the base off.
There are various basing methods, from the Tetrion method of spreading a mixture onto the base level with the figure feet, which I find messy and time consuming. You also then have to add texture to the base, which another process you can do without.You can go with the flock straight on the base, which just looks rubbish and does not enhance your figure that you have spent a lot of time painting.
My system is simple, glue, sand dip, paint, flock. All done over a day or two as you do need the PVA to dry on each process.
First the sand. You may be one of the many that buy the pre dried 500g for £7.50 which works out an outlay of about £375.00 for the same £2.00 bag that I buy!


I use sharp sand from any major outlet from about £2.00. You get about 25KG in weight
I use this at about £3.00 >
Although my last batch had gravel mixed in it, which was not a problem. There are always a couple of processes you can use on most of these
sequences, and one maybe good for some one but not so for some one else.
STEP 1: The sand "sweats" in these plastic bags, so does require a lot of drying, but it is worth it. always try and keep the bag in a dry area and keep open (your can cover the opening with an old tee-shirt to stop creepy crawlies getting in), to help with the drying.
Get an old newspaper and spread it over a table with sunlight access ( it will be here for a couple of days, less if it's warm), then pour the sand on it, about 3-5mm deep.
In the summer I spread the newspaper on the patio table and it dries in a day. If you change the paper daily it will dry quicker as the dry paper absorbs the moisture from the sand. In the Winter I have known this process to take about a week before.
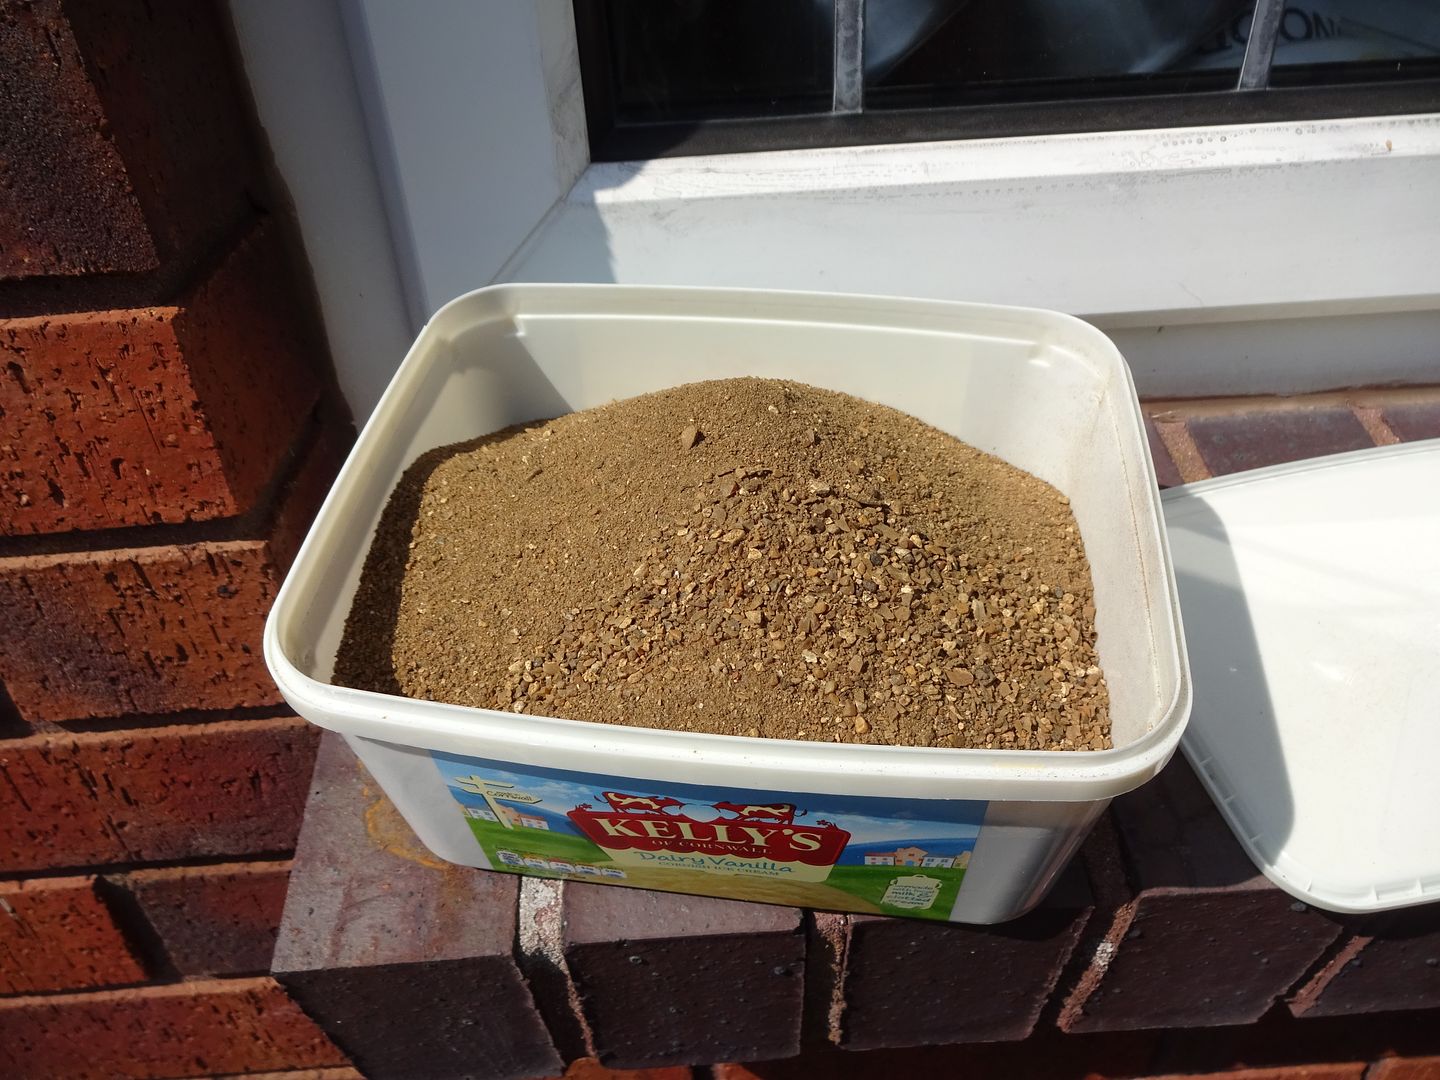
Once it has dried I then pour into a dry plastic container. I do batches, normally in the summer and is quicker and works for me.
![]()
.JPG?width=1920&height=1080&fit=bounds)
.JPG?width=1920&height=1080&fit=bounds)
As you can see, lot of stones and "scenic rocks" are still to be removed.
STEP 2: Using a normal garden sieve over a bucket, or as I do over one of the plastic containers, pour the dried sand and stones through the sieve. I normally do this two or three times as it also loosens any dust and other debris that might still be there. With the stones and debris left over is down to you, mine goes on a gravel bed we have, so win, win!
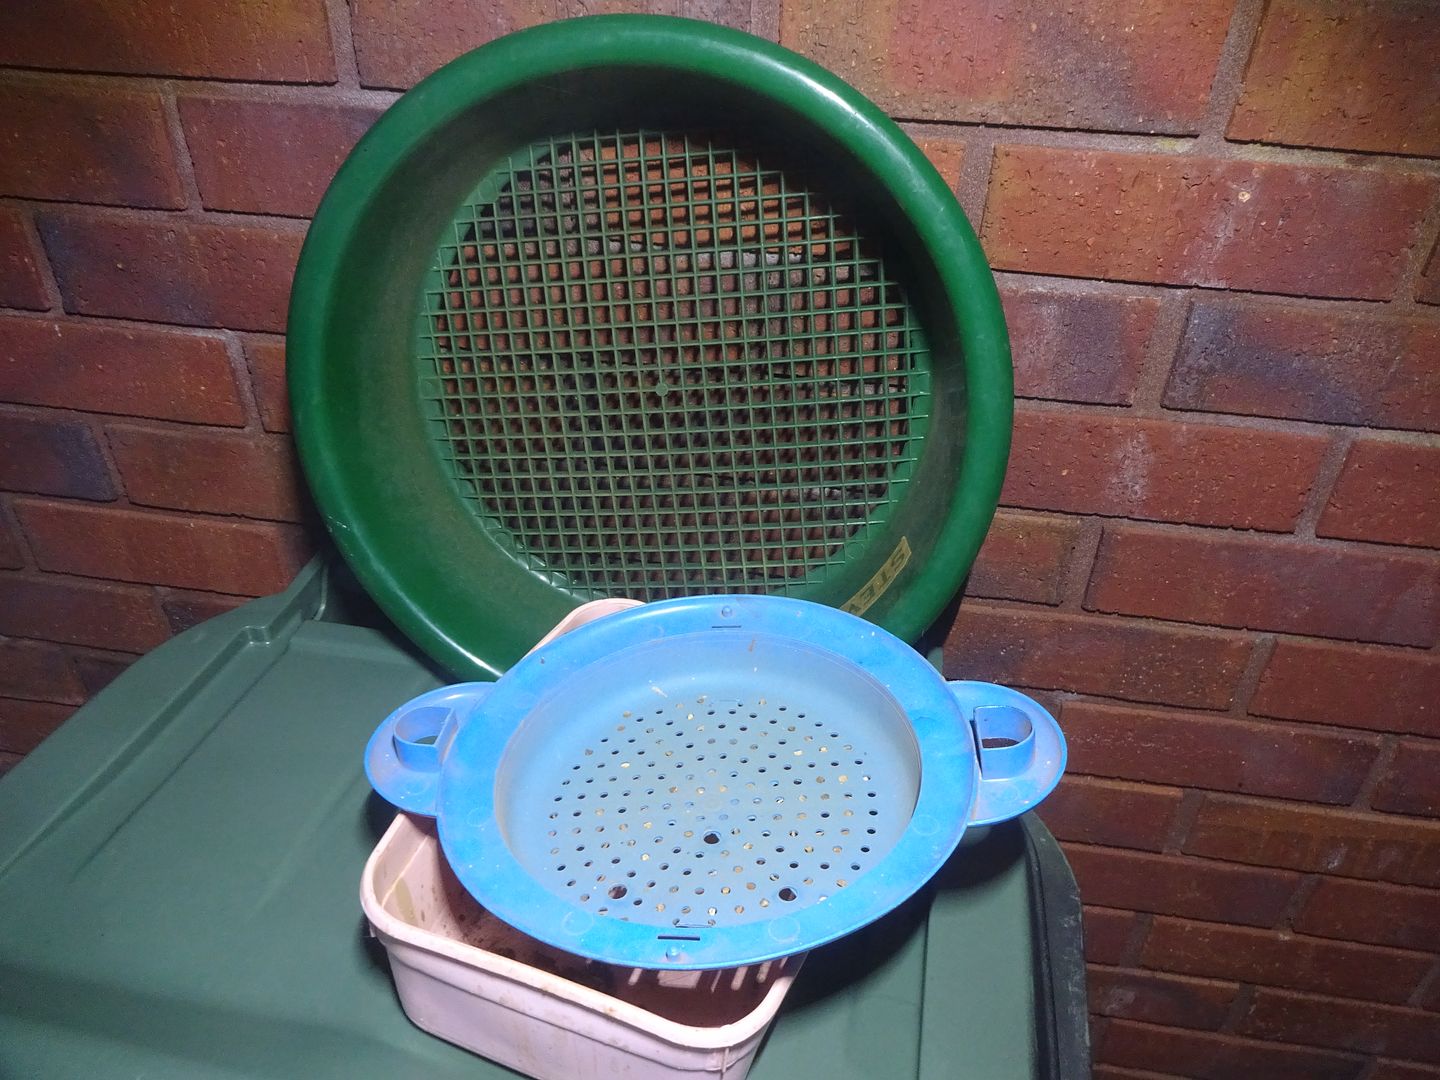
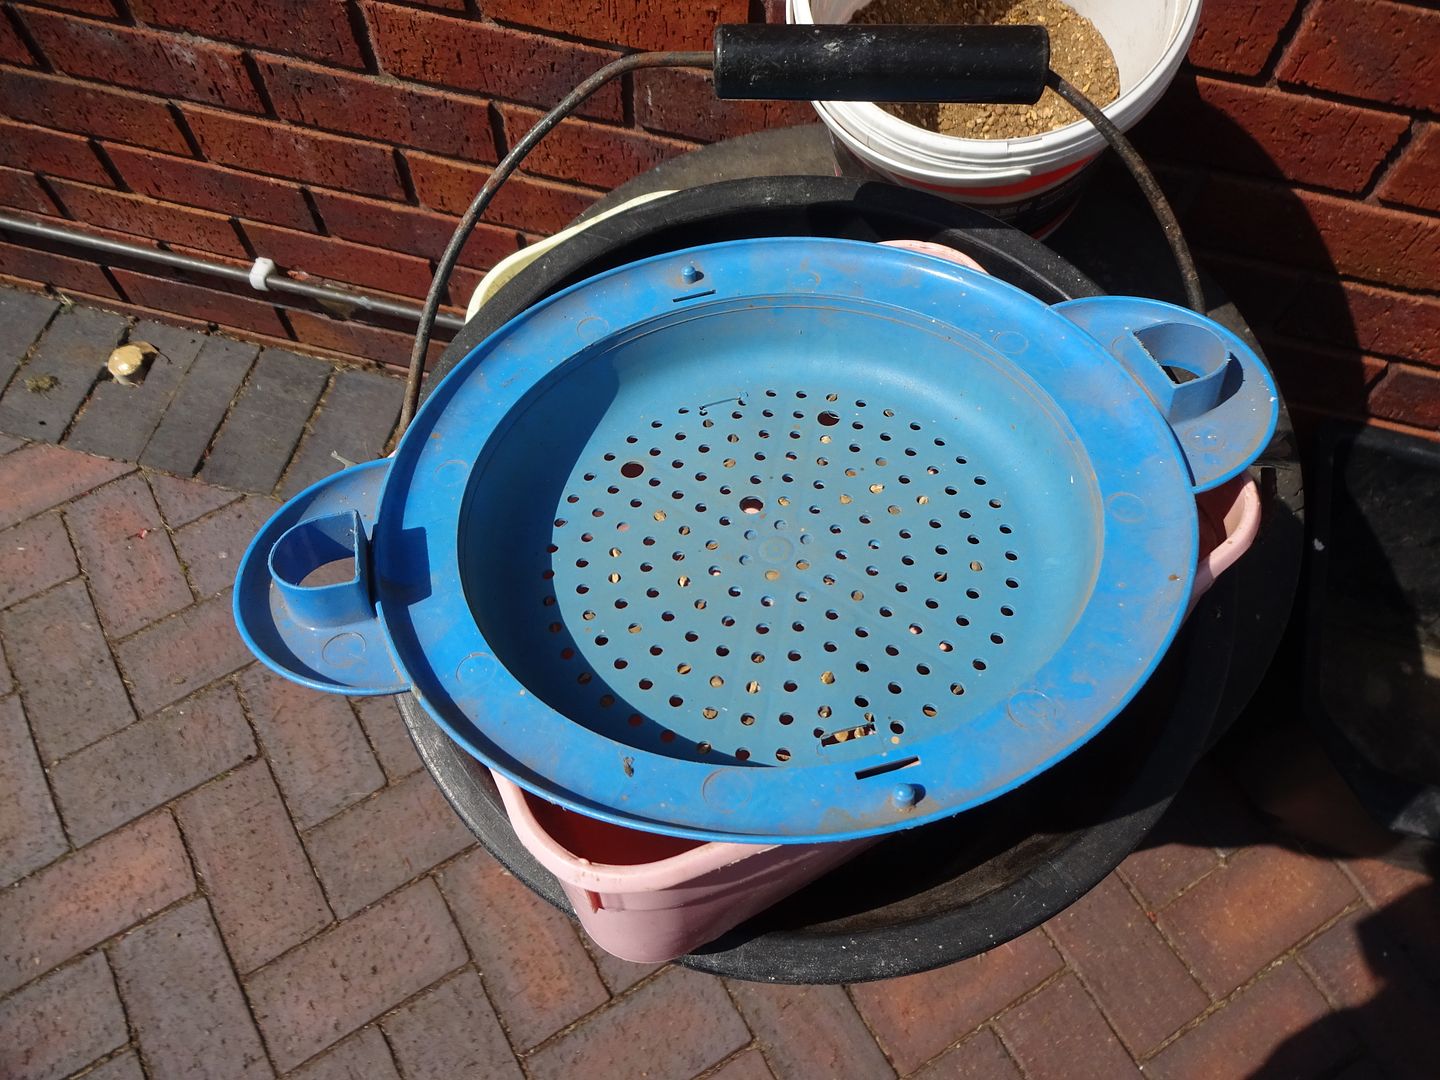
STEP 3: Using the smaller sieve ( I use the blue one above, it's from a kiddies sand castle set), or an old colander, repeat the process of sieving, getting finer results each process. I get it to this stage, but you can go finer for 6mm with a flour sieve, etc. I then decant into small air tight containers
Sieve by sieve process. The large stones have been sieved out already, then it's on to the "blue sieve.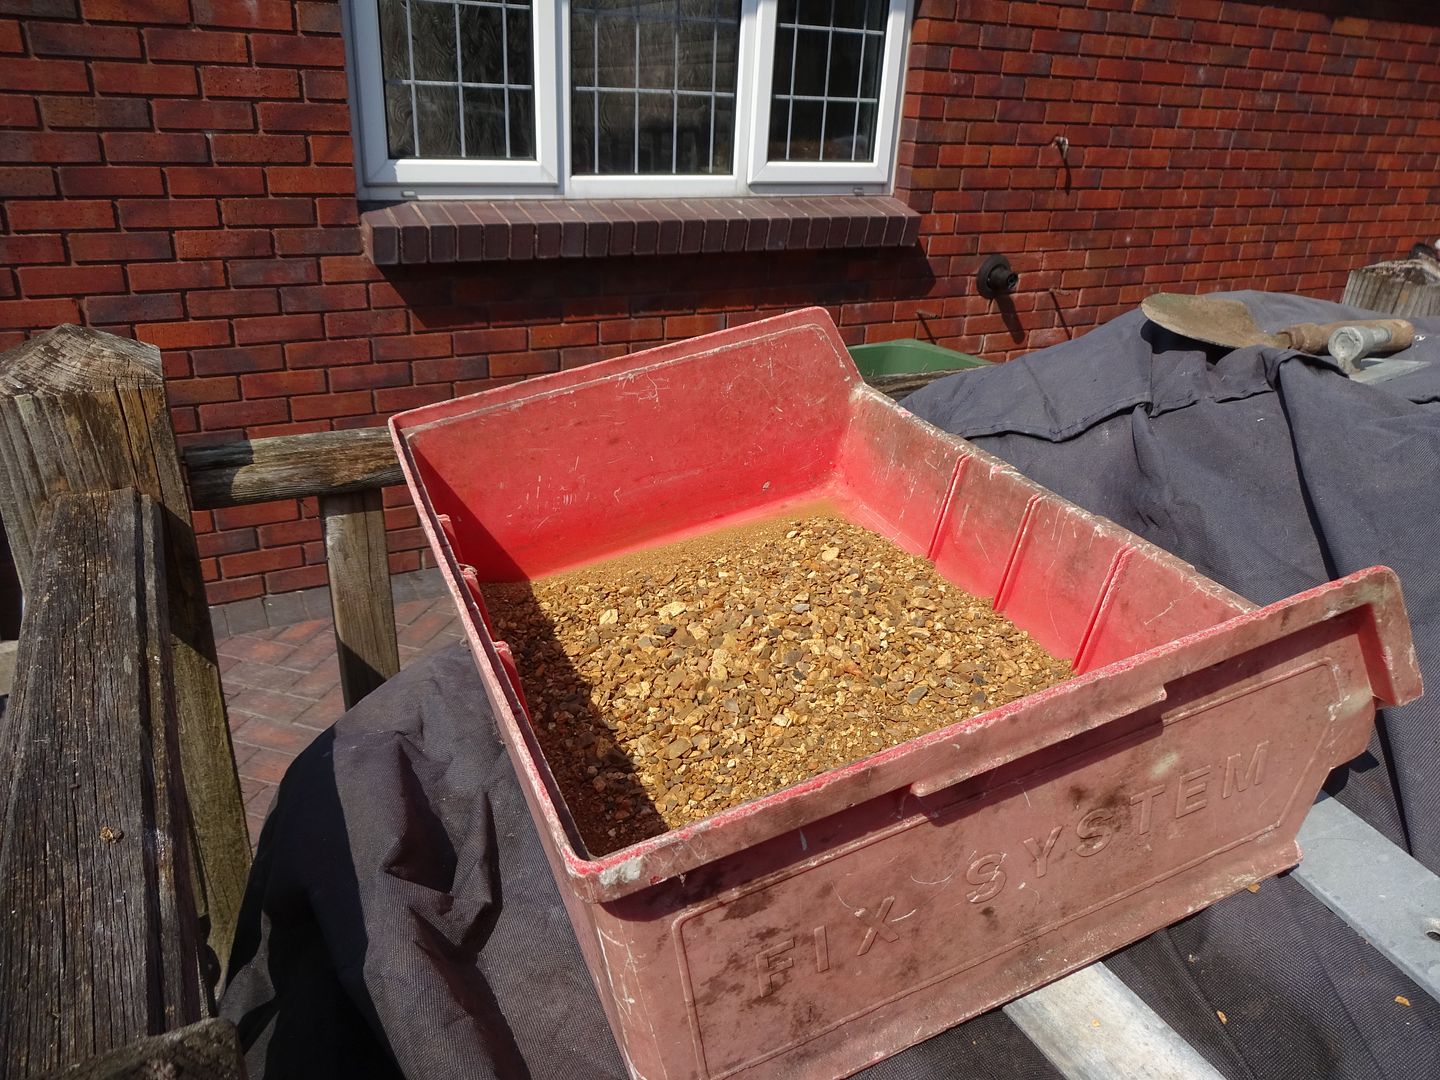 1st
1st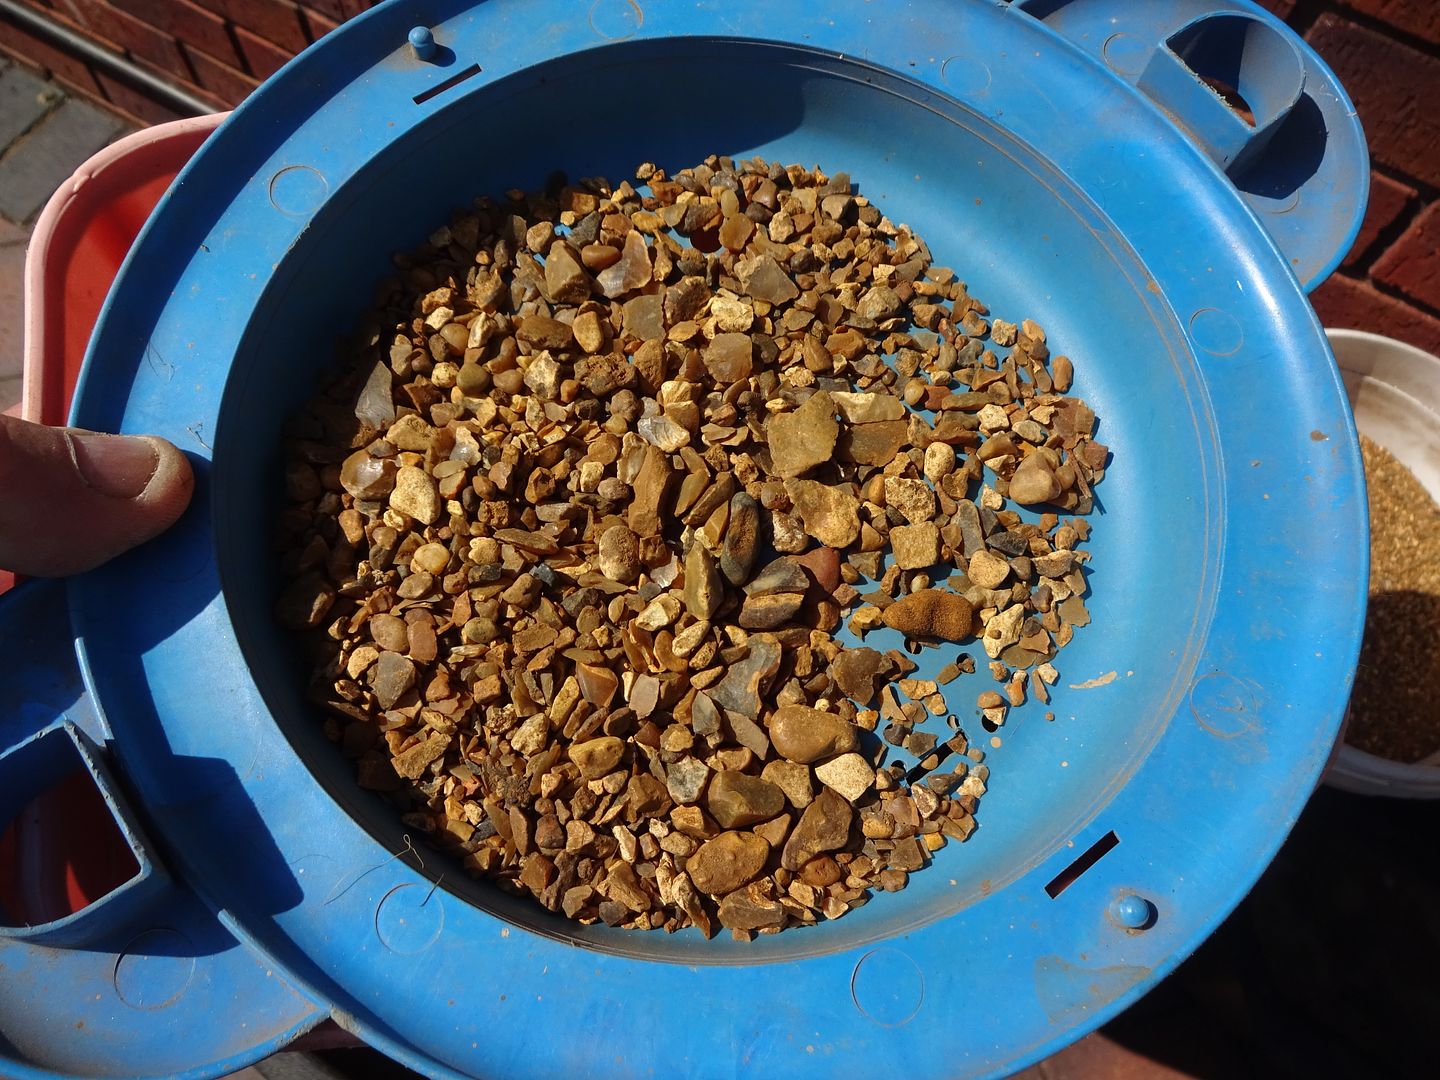

2nd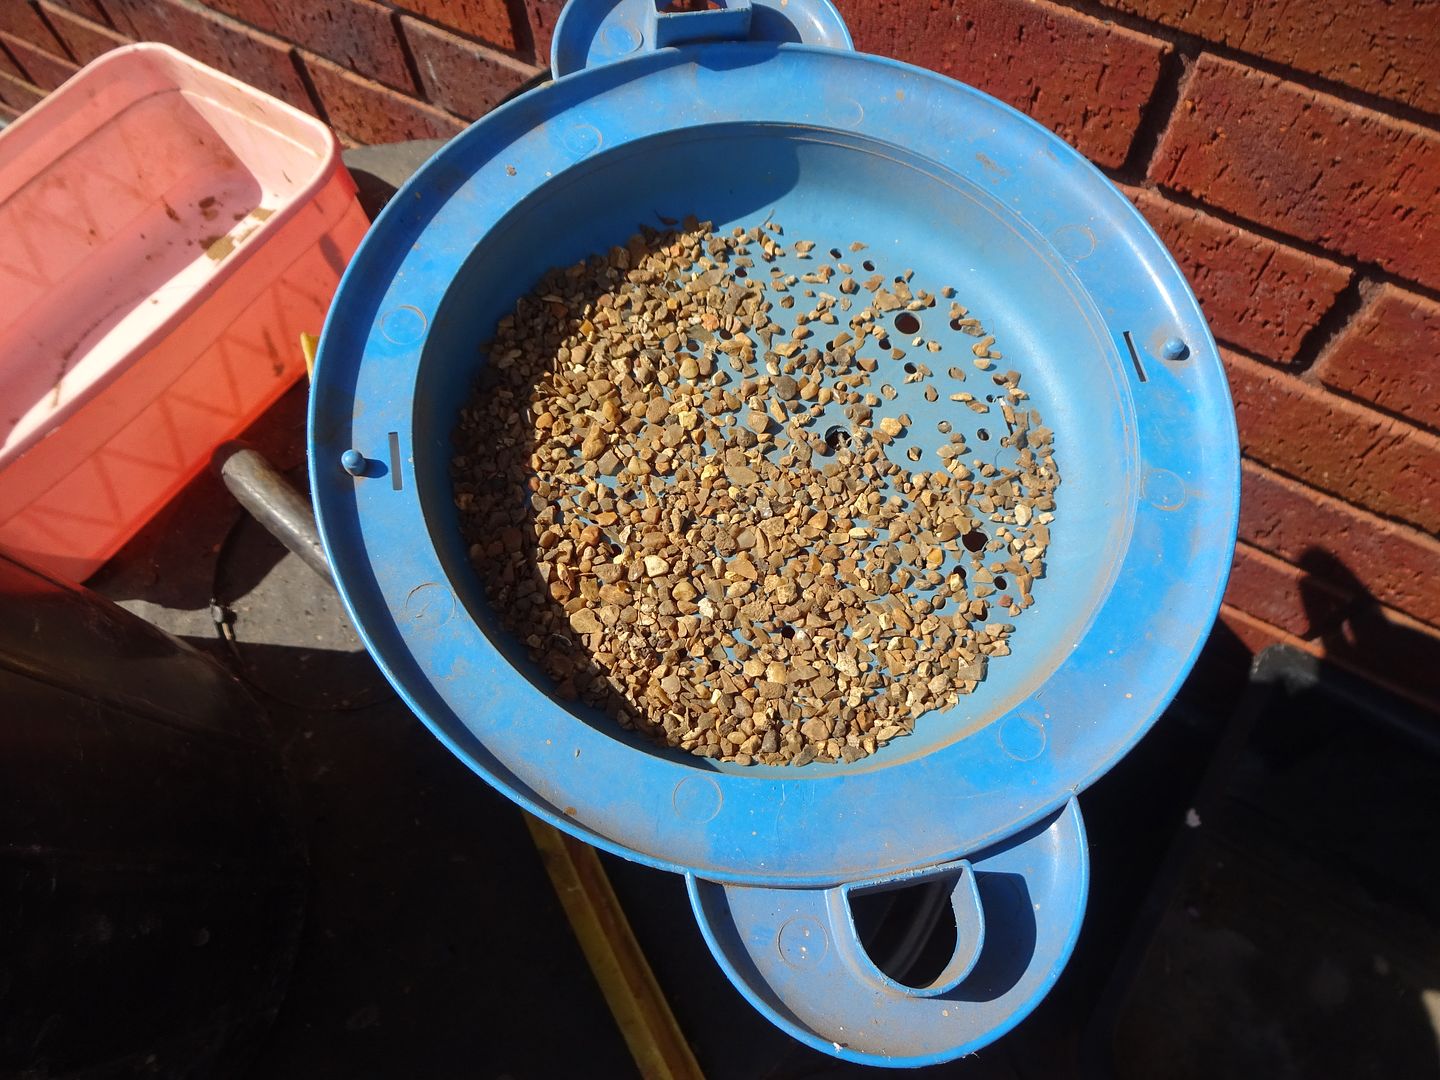 3rd
3rd
You can sieve as fine as you want it. I use this for 15mm through 20mm and up to 28mm.
.JPG?width=1920&height=1080&fit=bounds)
.JPG?width=1920&height=1080&fit=bounds)
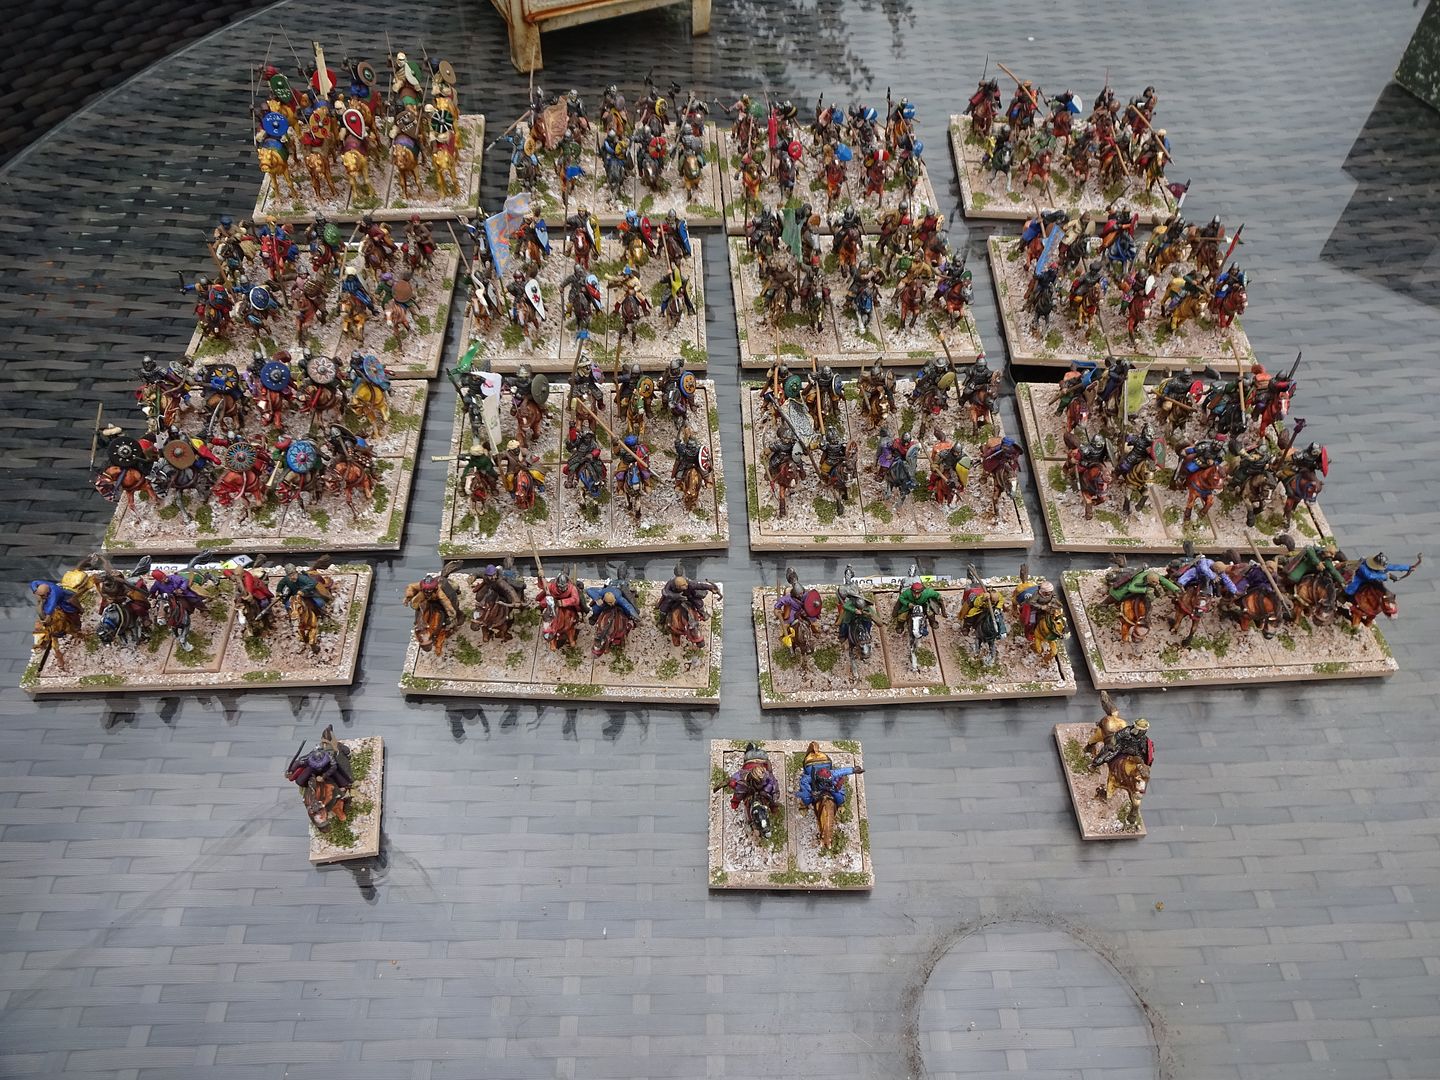
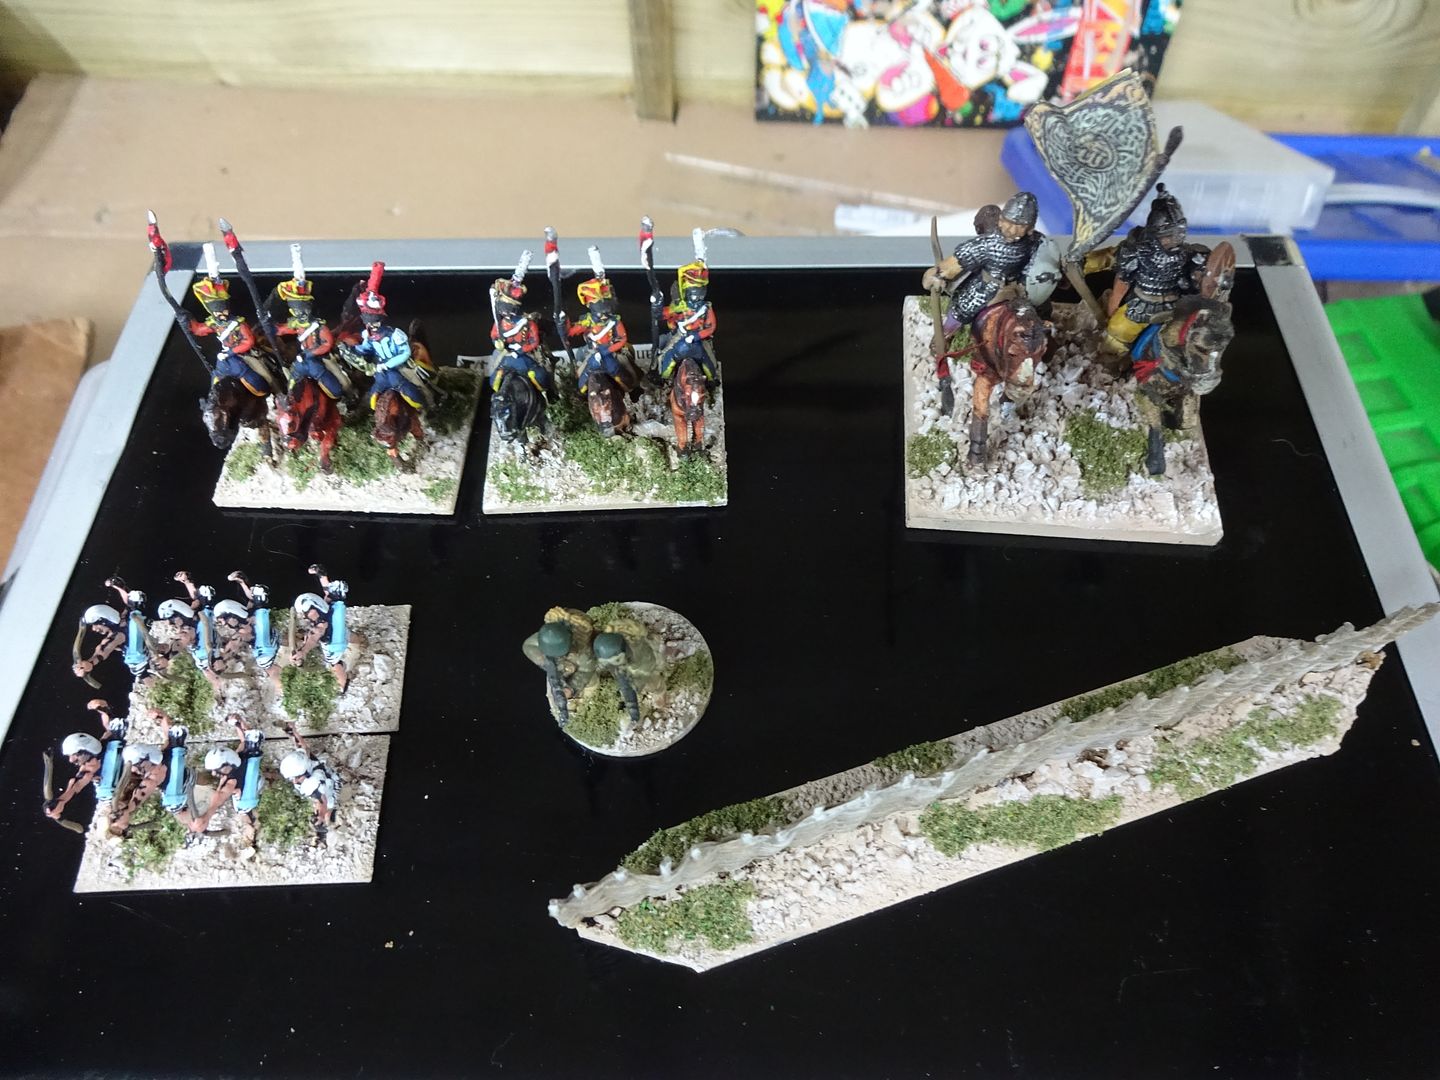
Basing 15mm Sword & Spear troops, Byzantine.
.JPG?width=1920&height=1080&fit=bounds)
.JPG?width=1920&height=1080&fit=bounds)
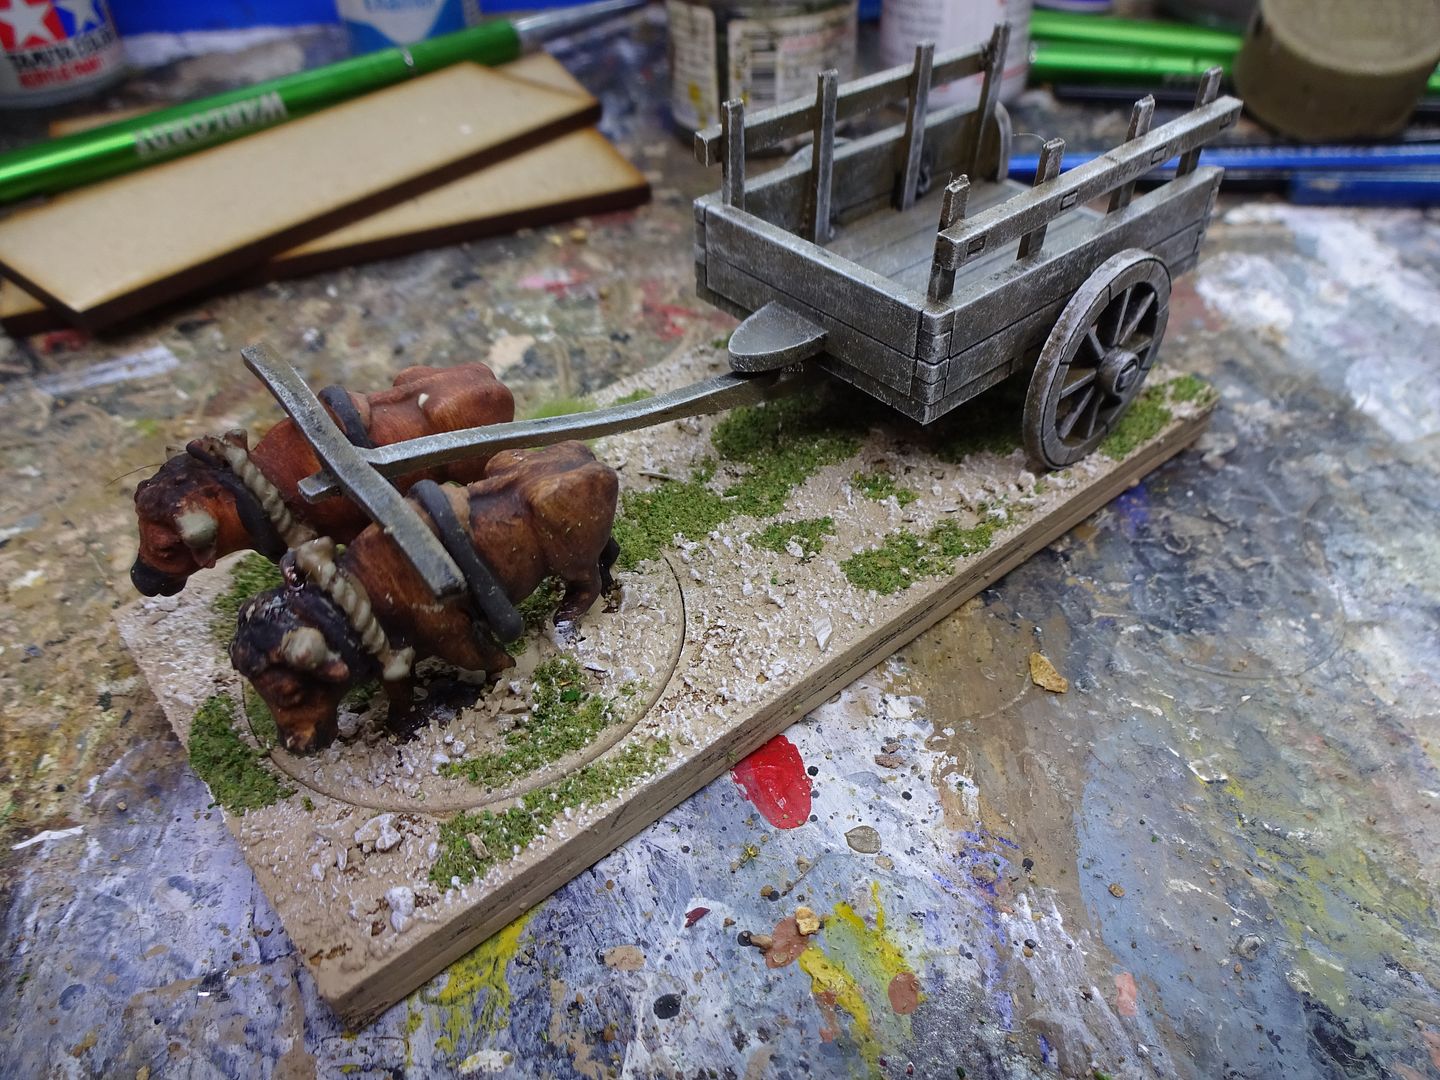
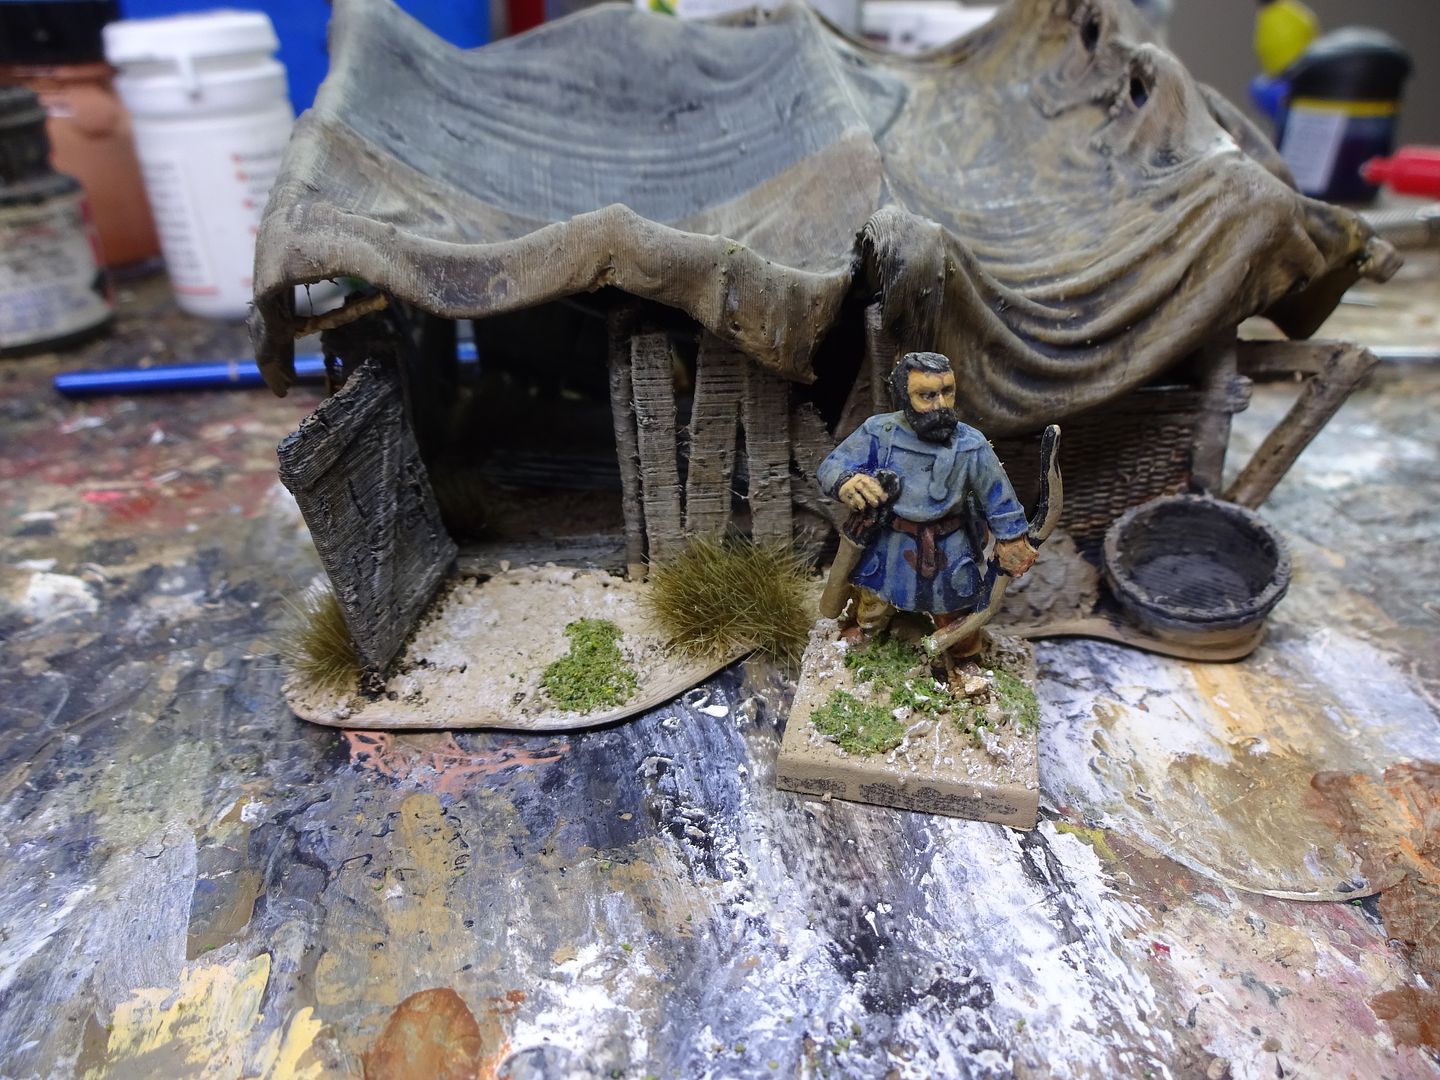
I use the same colour for all my basing, figures, scenery, etc, it's called Cashmere, from any hardware outlet, mix it 50/50 with water, 5 ltrs lasts me for about five years (and I do a lot of painting), then dry brush white. the exception is my Lord of the Rings collection, they are painted matt earth and dry brushed with a khaki drill.

A few more ideas :
From Les Booth:I always keep a few plastic bags in the car...when you visit beaches just scoop some up, you will be surprised at the different consistencies from different sites. You can dry sand in the oven...just spread it on silver foil on a baking tray and leave it in a hot oven for around 30 minutes. I also use small stones/gravel as boulders. Choose the ones with a flat face and glue this to the base, paint it the same colour then drybrush lighter shades. B & Q sell Valspar paint which they mis in hundreds of shades, You can buy a 250ml plastic sample pot of the colour you need and it lasts ages.
From Jack Radey: Bought a large bag of commercial turf (green dyed sawdust). It will last a lifetime. I find the best source of dirt to be - dirt. There's lots of it, outside. Simple sieving will remove sticks and bits that are too big (pine needles, rocks, bits of plastic). If I'm looking for dirt clods, as in a plowed field, coffee grounds work great. If you use used coffee grounds, strongly recommend drying them in the oven. If you go to a landscaping company, or large lumber yard, they often sell different kinds of gravel and the like, and if you only want a cup or so. I tend to make a mixture of all of these. To base, I paint balsa cut to appropriate size green, glue a steel base under it, then white glue the painted figures to the base. Then I paint the base with white-glue-and-water, and dip it in the flock mixture. When it dries, spray flat varnish over the whole thing. Done. If you need things like dried reeds, you can get that from an old straw broom. If you want living reeds, just dye them green (soak in green paint and water, and dry). You can always find sticks on the ground of the perfect dimension to add to bases, or on terrain pieces.
Thank you. Very helpful instructive. I don't have a quarter of your space, tools or time, but... I'm going to give your ideas a trial with the small quantities I would store/use.
ReplyDeleteI never knew sand sweats, or contains moisture. Again helpful.
I look forward to reading more from your blog! 👍🙂