Search This Blog

Showing posts with label WWII. Show all posts

Monday, 11 July 2022

WWII 8th Army, in 20mm

I have decided I need to build a small 8th army force, having only the Axis, I need something for them to fight. So here is the start of another project. The infantry will be arriving soon from Plastic Soldier Company and then I will look at which force to build

 I was given these 1/76th scale Vickers MKVI's on Saturday, after our Tobruk game. Two required for Thursday game.

I made the  B variant. Started from kits yesterday, with stowage. I will see at a later date which unit to make, hence no decals. My Grants are sitting in the American car park and have never seen action in the 30 to 40 years I have had them, so maybe?

Undercoat of off white, then Skeleton Bone Contrast, Agrax Wash, heavy dry brush Humbrol Khaki Drill (72). Tracks Red Brown Tamiya 64, dry Brush Chain Mail, Dry Brush Earth and highlight Humbrol Khaki Drill (72).

293245450_10160008167872618_4047659683798236972_n

293308122_10160008168027618_2735901530619013690_n

Now onto the Infantry. I got a box of 8th Army from the Plastic Soldier Company and although not the greatest resin, they do the job. I decided to undercoat in bone white, paint the flesh, any brown and then a brown wash. Here is the result so far: 

DSC01069 DSC01070 DSC01071

First Battalion Completed, in just two days. a couple of figures reassigned to other duties!
How I painted them: Bone White/ off white primer, block paint flesh, packs, etc Khaki  Drill (Humbrol 72/ Coat D'Arms 537 Faded Khaki), Rifles, Boots Tamiya Flat Brown 10. Then wash with Agax earthshade/ Medium tone wash, Varnish and base.

294824889_10160024119447618_6584062572331913202_n

3" Mortar. The one on the left has my test figures on it. Medic in front, just needs finishing off. I used the Walking Bren Gun Loader.
294066952_10160024119472618_75726466906476928_n

A brace of MMGs, I need another one! AT Rifle in front (converted a Bren gunner). 2" Mortar next to that. Two Bren Gun teams.
294063340_10160024119497618_3722118481947724372_n

AOP Team
294754965_10160024119697618_7576711775719274376_n

Four Infantry Companies.
294618083_10160024119752618_1424227362326319940_n

Battalion HQ Stand and 2" Mortar on the move! 
294201094_10160024120002618_7743061369808558747_n

Wednesday, 1 September 2021

The Battle of Schwarze Katze am Mais - 20mm WWII using Rapid Fire rules

The Battle of Schwarze Katze am Mais or Black Cat on the Corn, a fictional battle set in the latter stages of WWII.
All figures and vehicles are 20mm and with the terrain from my collection.
My opponent Rob, was thrown into a large-ish game for his second foray into Rapid Fire 2 rule.

The Allied forces are pushing the Axis forces back towards the Fatherland. A US Division has been ordered to push onto Remagen bridge and link with the US Forces there. A small combat command has been tasked with clearing the village of Schwarze Katze am Mais and securing the bridges across  one of the tributaries of the Rhine River.

View from the Shitezen Forest. The German occupied the heights and the village.


The retreating Germans could deploy anywhere within and to left of the three woods, and would all could be dug in.

Regimental HQ  6 figs Could also observe for artillery.

1st Infantry Battalion 45 Figs (use the LMG and close range assault rifle rule)

Panzershreck, 3 Panzerfausts, 120mm Mortar, 2 MMGs, 75mm PaK40, 75mm IG.

2nd Infantry Battalion 39 Figs 

Panzershreck, 3 Panzerfausts, 81mm Mortar, 2 MMGs.

1 STuG III 75mm

1 Panther 75mm 

2 Panzer IV 75mm

2 105mm Howitzers + Observer

Luftwaffe AA detachment 16 Figs 

1 Company LW infantry, 88mm Flak, 20mm Flak

-------------------------------------------------------- 

Taskforce Pont-Henri had been given the task. 

The US CC Force 

Regimental HQ  6 figs Could also observe for artillery.

1st Armoured Infantry Battalion 53 Figs

4 Bazookas, 60mm Mortar, 81mm Mortar, HMG, MMG, Flamethrower, 57mm AT Gun, 75mm M8 GMC

 2nd Lorried Infantry Battalion 48 Figs

4 Bazookas, 60mm Mortar, 81mm Mortar, HMG, MMG, Flamethrower, 57mm AT Gun,

Armoured Combat Engineer Company 8 Figs

1 Bazookas, Flamethrower.

1st Tank Company

1 Sherman 76mm, 2 Sherman 75mm

SP Tank Destroyer Company

2 M18 Hellcats.

1st Armoured Cavalry Recce Troop 9 Figs

1 M8 Greyhound, 2 Armoured Jeeps (VMG)

Field Artillery

Observer Team

2 105mm Howitzers, 2 155mm Long Toms (every other turn) 

USAAF

1 A20 Havoc (3 bomb runs pre game), German AA can attempt to shoot.

1 P51 Mustang (1 Medium Bombs, 6 HMGs)

The US force approach end

Just before dawn the sound of aircraft approaching, awoke the tired AA units, and they prepared for the imminent attack.

The A20 over the target of the first bomb run. Second Run, saw it shot down. 

TURN 1
The recon troop push ahead of the main thrust. 

TURN 2
The PaK Opens up and destroys one of  the recon jeeps.

Turn 5- STuG brewed a Sherman 75. 

At this point my camera ran out of battery, and we resume on turn 6
TURN 6

The STuG took a heavy damage in turn 4, moved back in turn 5, then received a light damage

The Sherman 75 in the right wood causing the damage to the STuG (which missed all it's shots)

The off table artillery was destroying buildings and now German casualties were mounting.
An M18 was targeting the house on the left in the far distance

TURN 7
P51 turn up, only to be shot down by the AA 20mm.


Fighting rage across the front.

The STuG now became a victim of the "76" 

TURN 8
The lorried US Battalion were now on their first morale check & became pinned down.

We broke for lunch only to have a Panther appear, that neither side knew about! 

Turn 8 -German turn started with both battalions on morale checks, which both passed
  

Turn 9 Saw the Germans on consecutive morale checks, which they both passed again

TURN 10
The 76 became a victim of the Panther (proper tank, not Kitty)
The German 1st battalion filed their morale and routed off table,
leaving the US force to push up into the village.

TURN 11
The last remaining Sherman failed it's morale & routed

The Armoured battalion's flamethrower then brewed the Panther.


The rest of the US CC push on through the village & The P IVs took their wrath on the Hellcats,
only to have the heavy artillery come down and destroy one 

TURN 12
The US Armoured battalion failed a morale check and had to retire to cover

 
The lorried battalion flame thrower attacked the luftwaffe company in the ruined shop and the Engineers attacked the IG with a flamethrower. 
The German 1st battalion failed a morale check and the troops routed off table.

At this point, the Germans gave up the village and the last Panzer IV and the Luftwaffe followed their colleagues into the forest to find the rest of the retreating German army.


Thursday, 17 December 2020

20mm East Africa 1939 - Abyssinia using Rapid Fire Rules

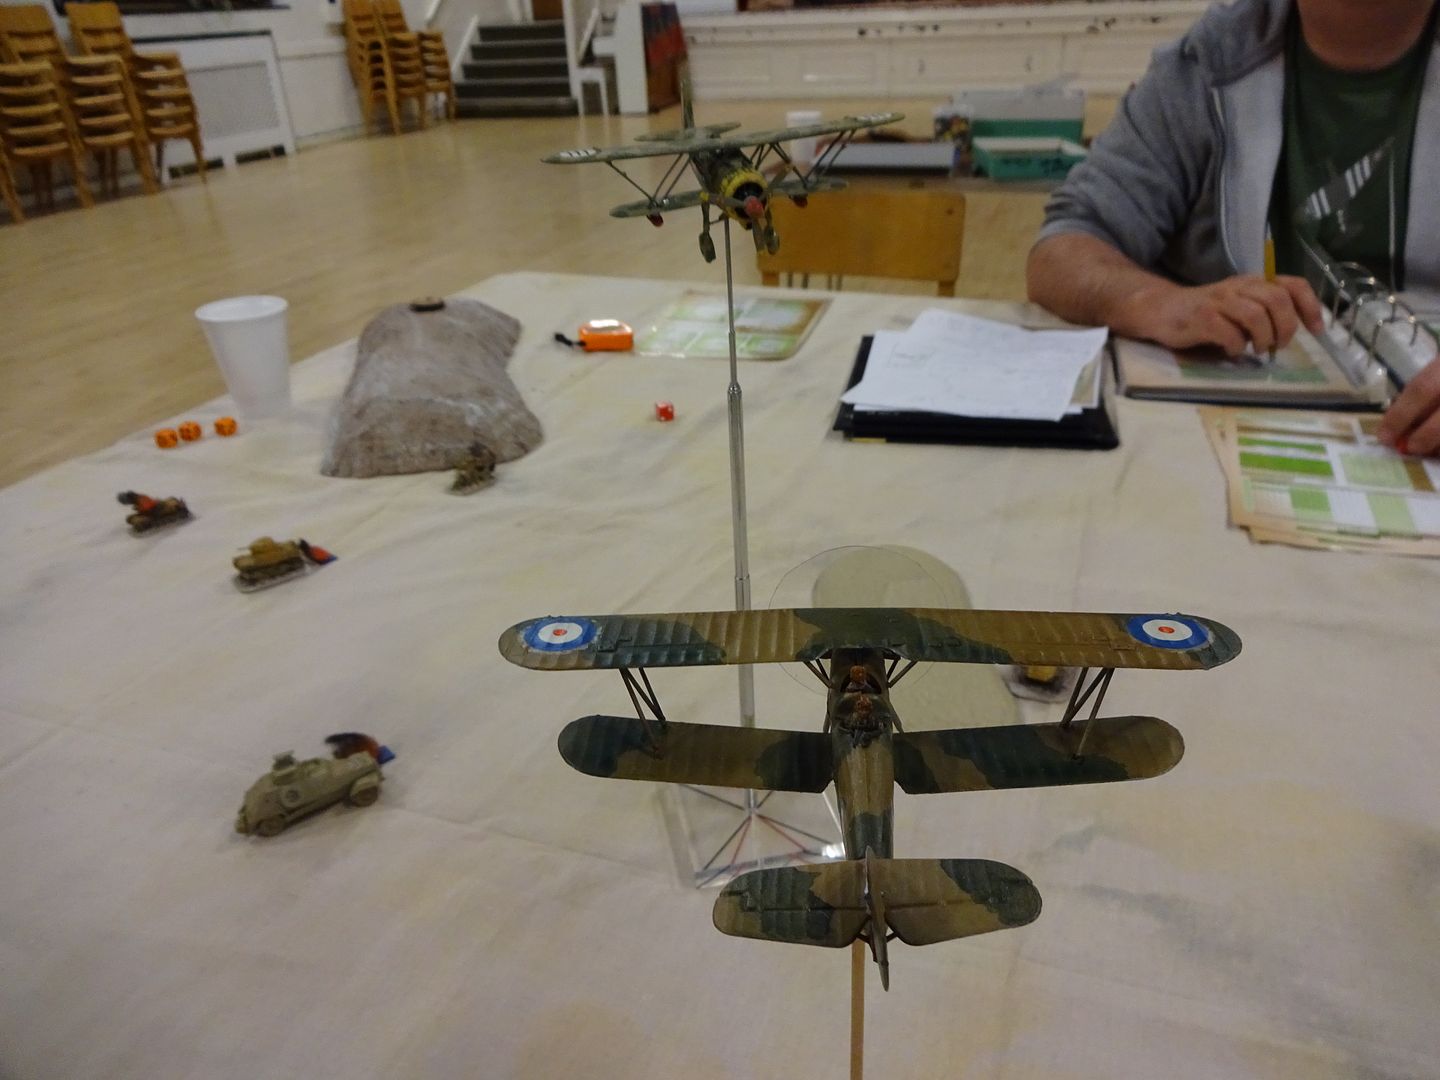
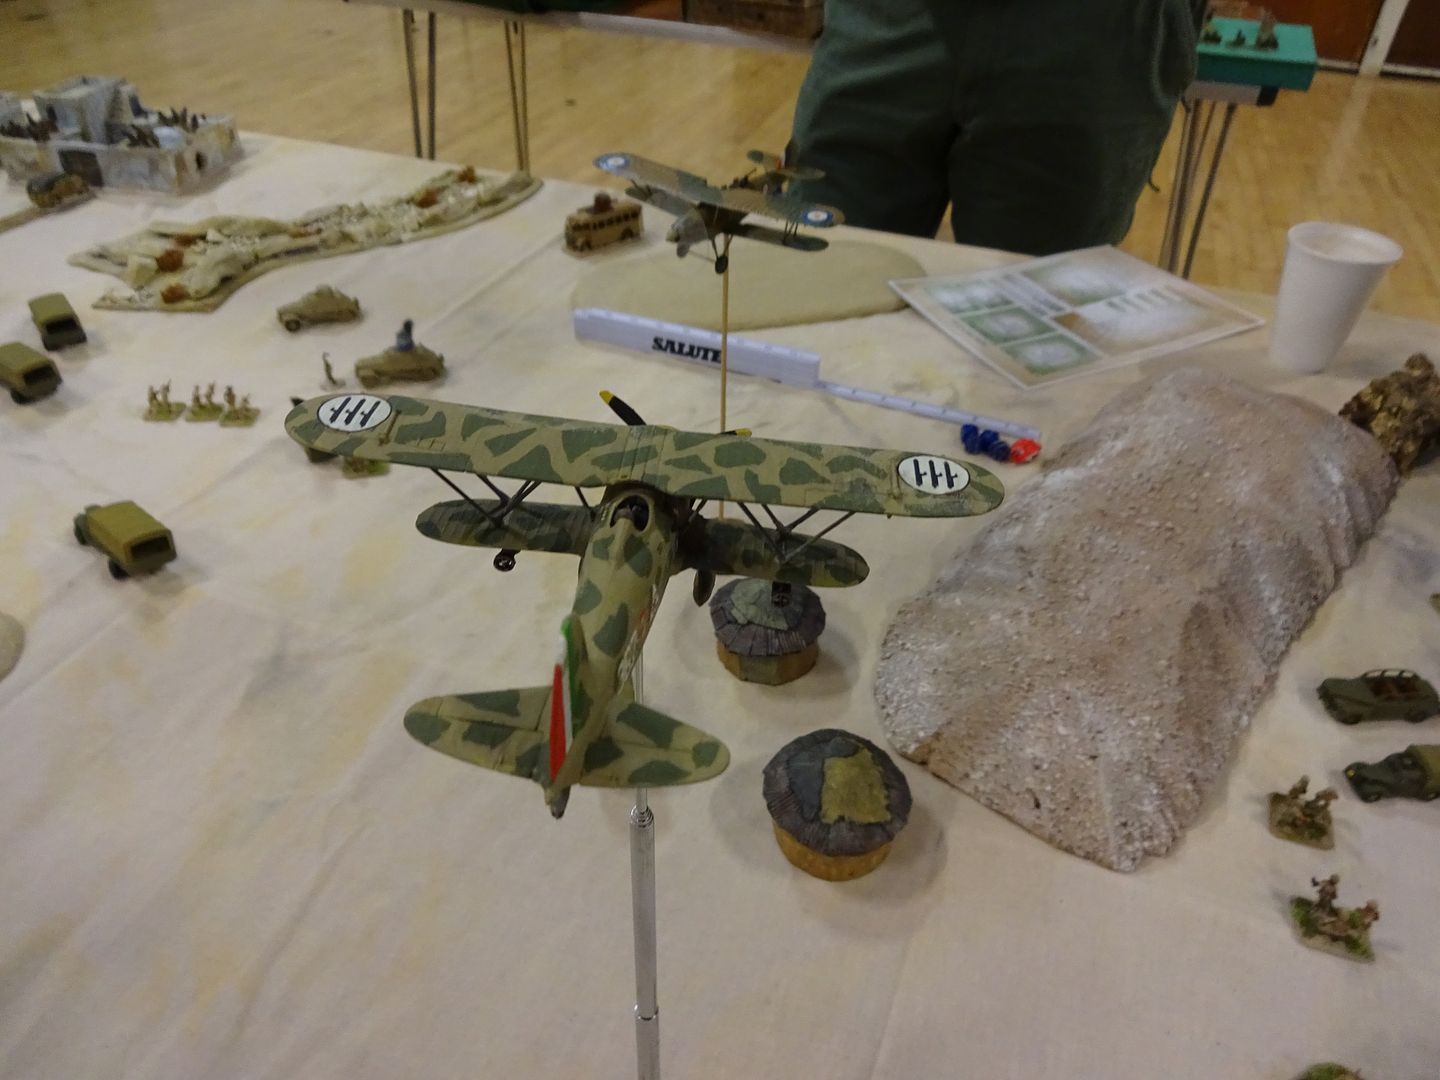
This was part of a fictional campaign where a British VIP's plane was shot down and a South African force was sent to recover them or the bodies. Set in pre-war 1939 in an area where the Bi-plane still ruled the sky and 2 pounder was the Queen of the battle.

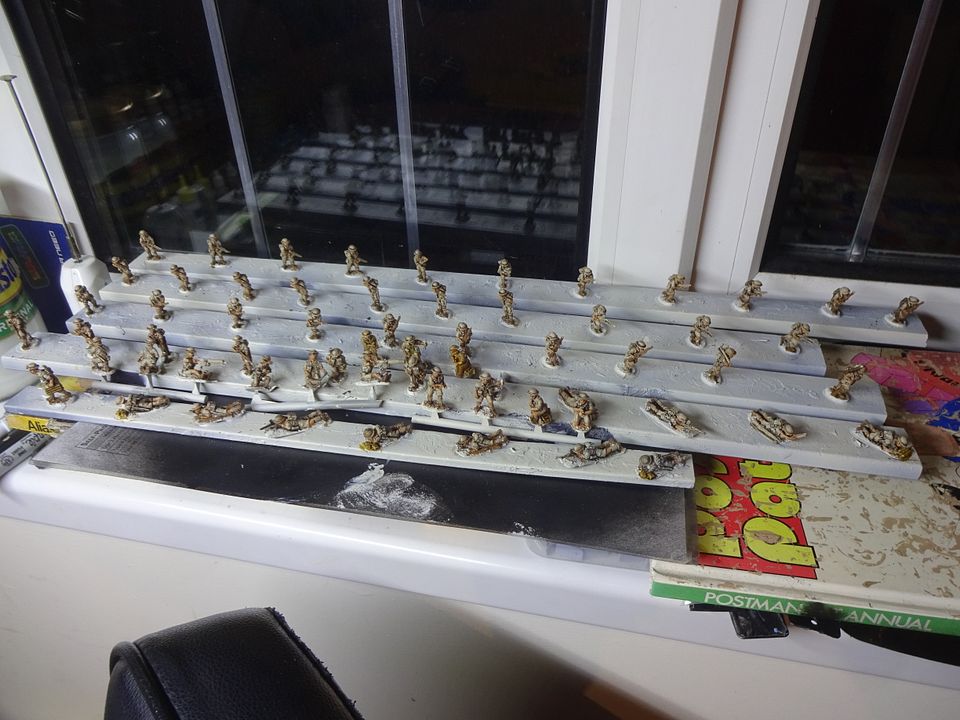
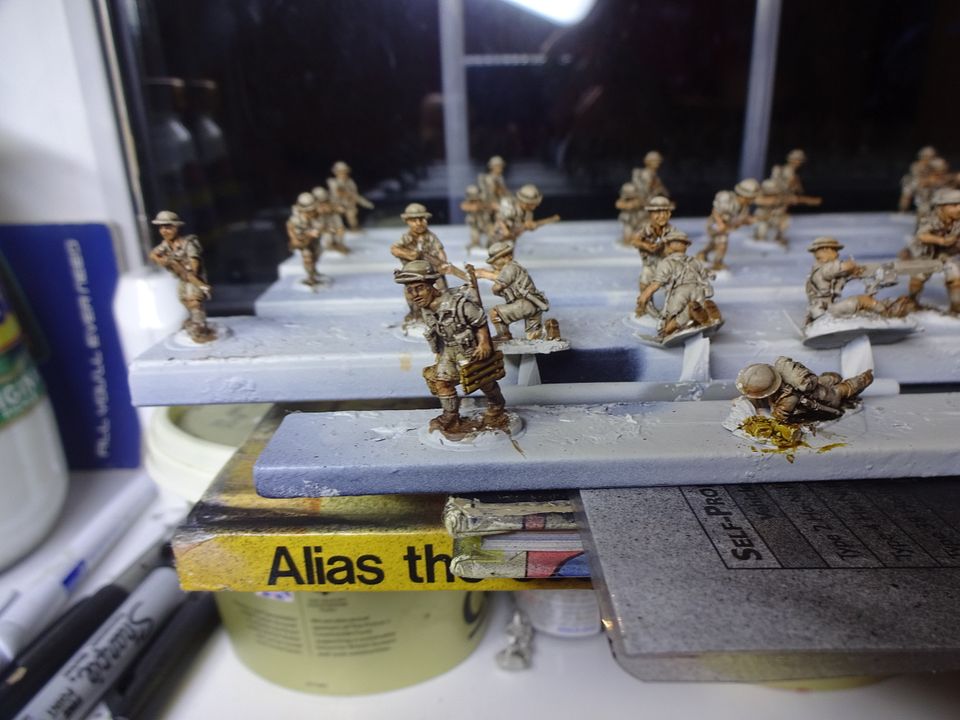
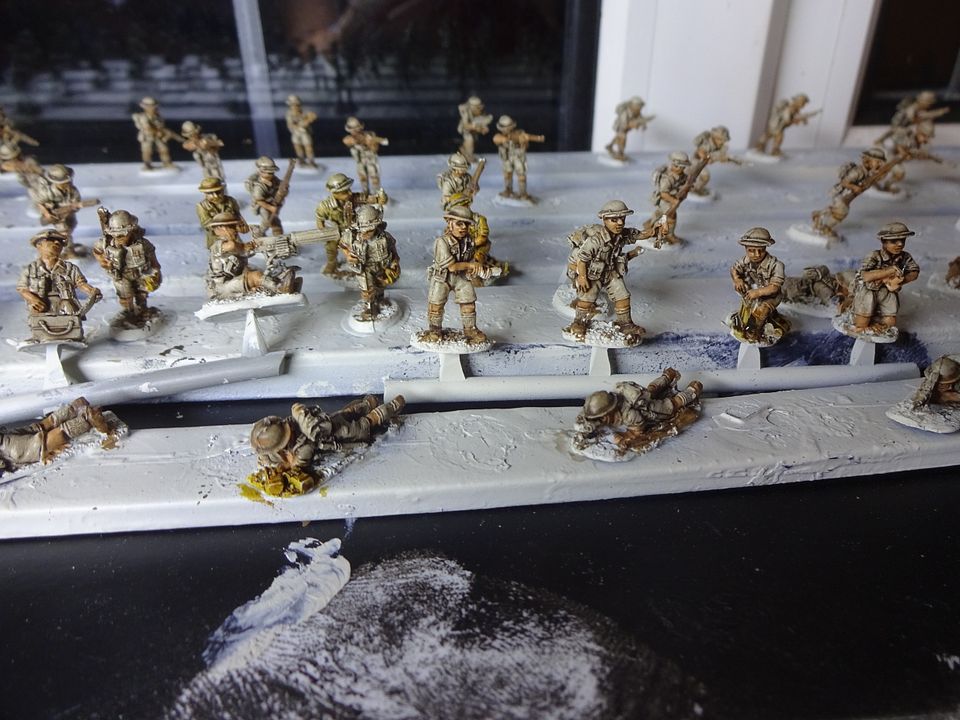
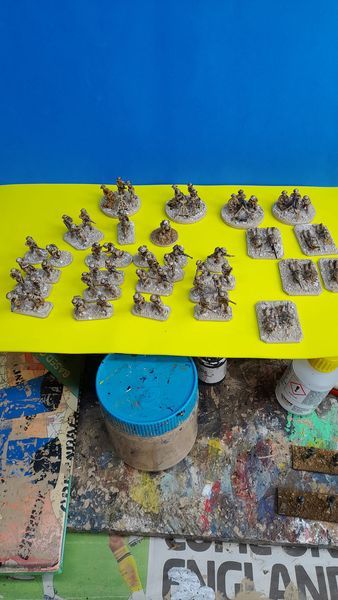
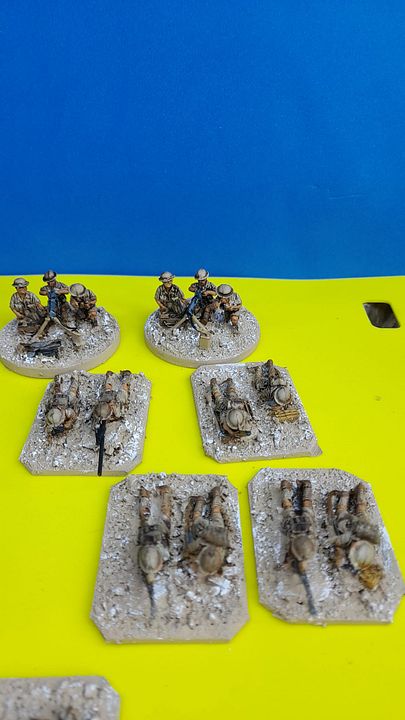
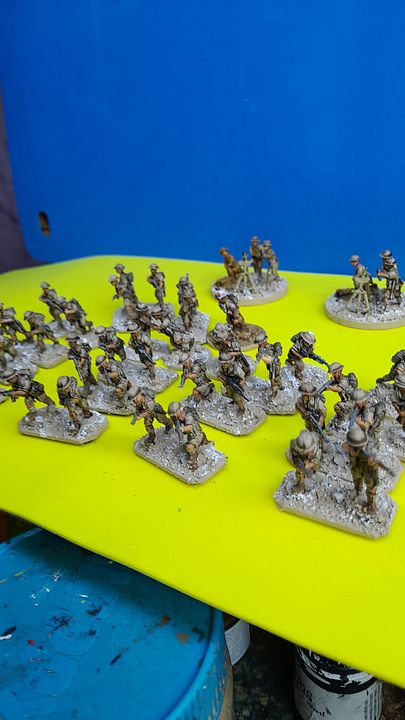
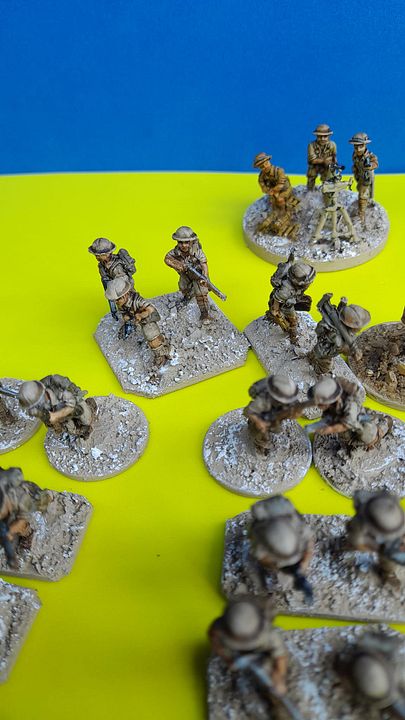
The South African/Kings African Rifles were from Alan Patricks collection. All the Italians, Germans and Native forces were from mine.  

It is July 1939, The Nazi war machine is building in strength in Europe, having reclaimed the Rhineland and the rest of Europe is seeing military activity on Germany’s eastern border, and in Libya, North Africa. The Italian army is now secretly mobilising in Abyssinia and Eritrea since their invasion four years earlier.

British Intelligence in collaboration with the RAF has been flying photographic reconnaissance missions over North Africa coastal regions and Italian held East Africa. One Aircraft lost communication and is believed to have been shot down over Eritrea. On board was the new commanding officer of British forces in Africa, Brigadier General Sir Norman Averley Smythe-Jones and is now MIA.

A South African Infantry Brigade is moving North along the Sudanese/ Eritrean border making its way to Cairo, Egypt as part of a show of force against building Axis and Italian troops in Libya and surrounding countries. They have been assigned to send a force to search and recover all the occupants of the plane, dead or alive and to bring them back across the border and to Kassala with all intelligence and equipment from the wreckage.

The commander of this SA force is Lieutenant Colonel Alan Patrick. Here is what is to be his brigades first actions of World War II, which no one will hear about if he is successful.

A message has arrived at SA Brigade HQ from HQ Cairo:

From British High Command, Egypt.

An allied aircraft was reported to have been fired on and has crashed close to the village of Keru, Eritrea 50 miles into enemy territory. You are to base your main force at Kassala in Sudan and send a probing force into Eritrea, search and locate and passengers and important documents that are on board.

You will leave at 2300hrs under the cover of darkness and should arrive in the vicinity of Keru at approx 0300hrs. Search the area at first light which will be at 0500hrs. Locate aircraft and any survivors and dead and return to Kassala. There were 6 VIPs on board and 6 crew.

This is a very delicate situation as no aggression on the Axis part has yet to be proven. The safe and fast retrieval of all concerned is of prime importance. Being caught in enemy territory could have dire consequences, utmost secrecy & stealth is required by all involved.

Italian and local militia patrol the border, so pick a small mobile force and good luck.

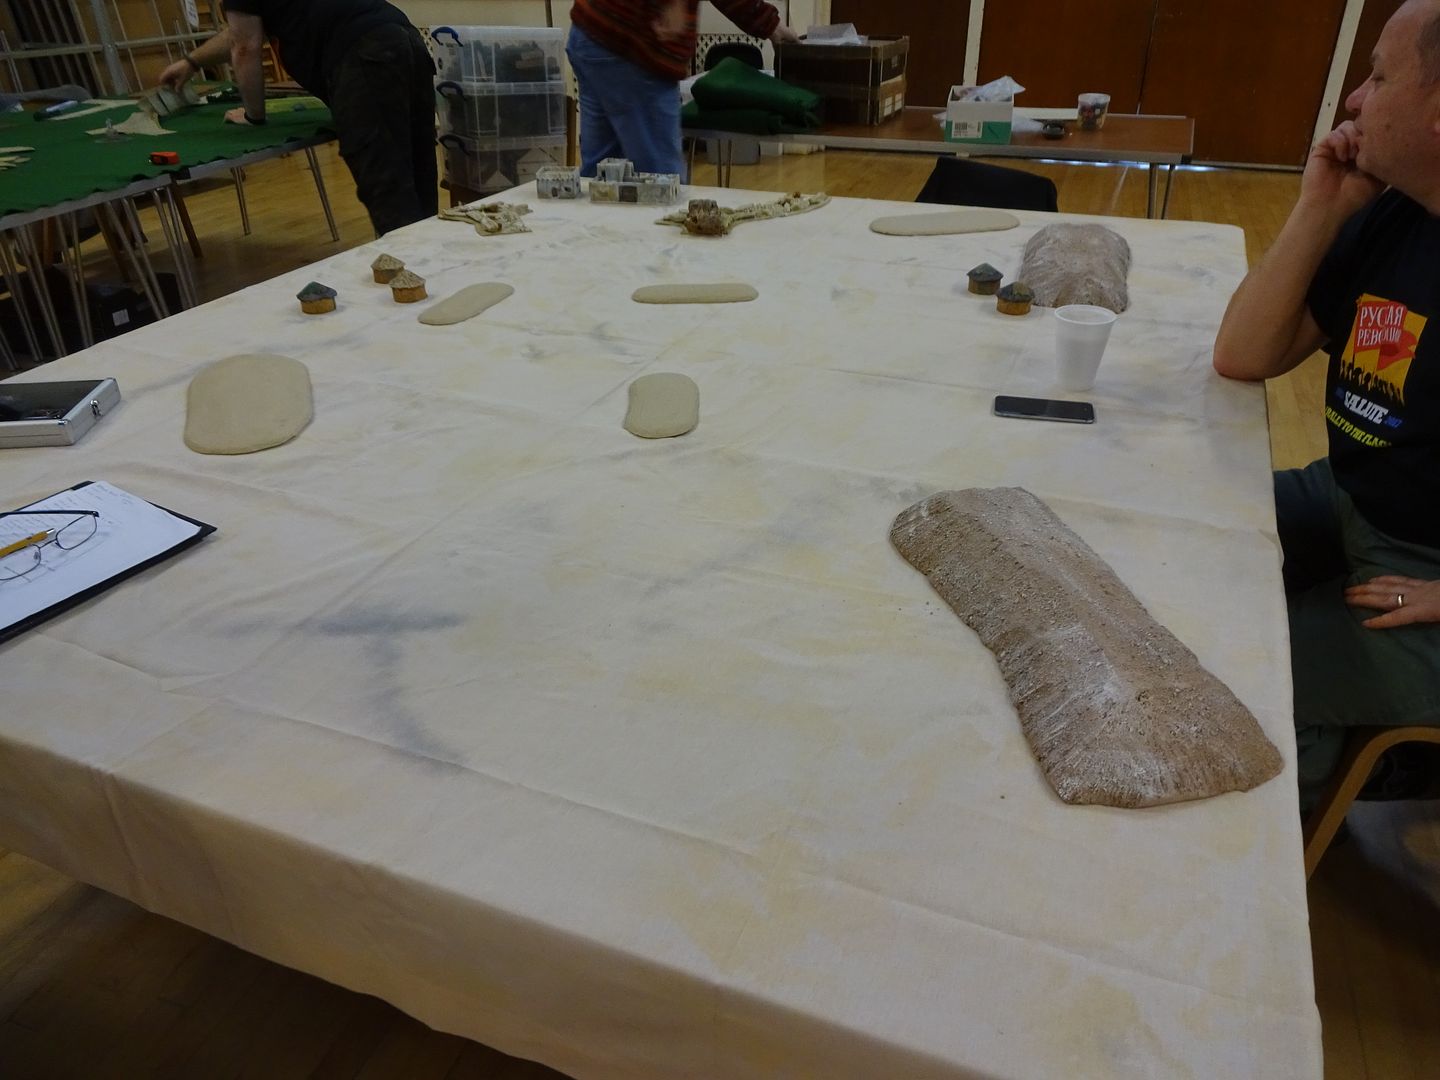
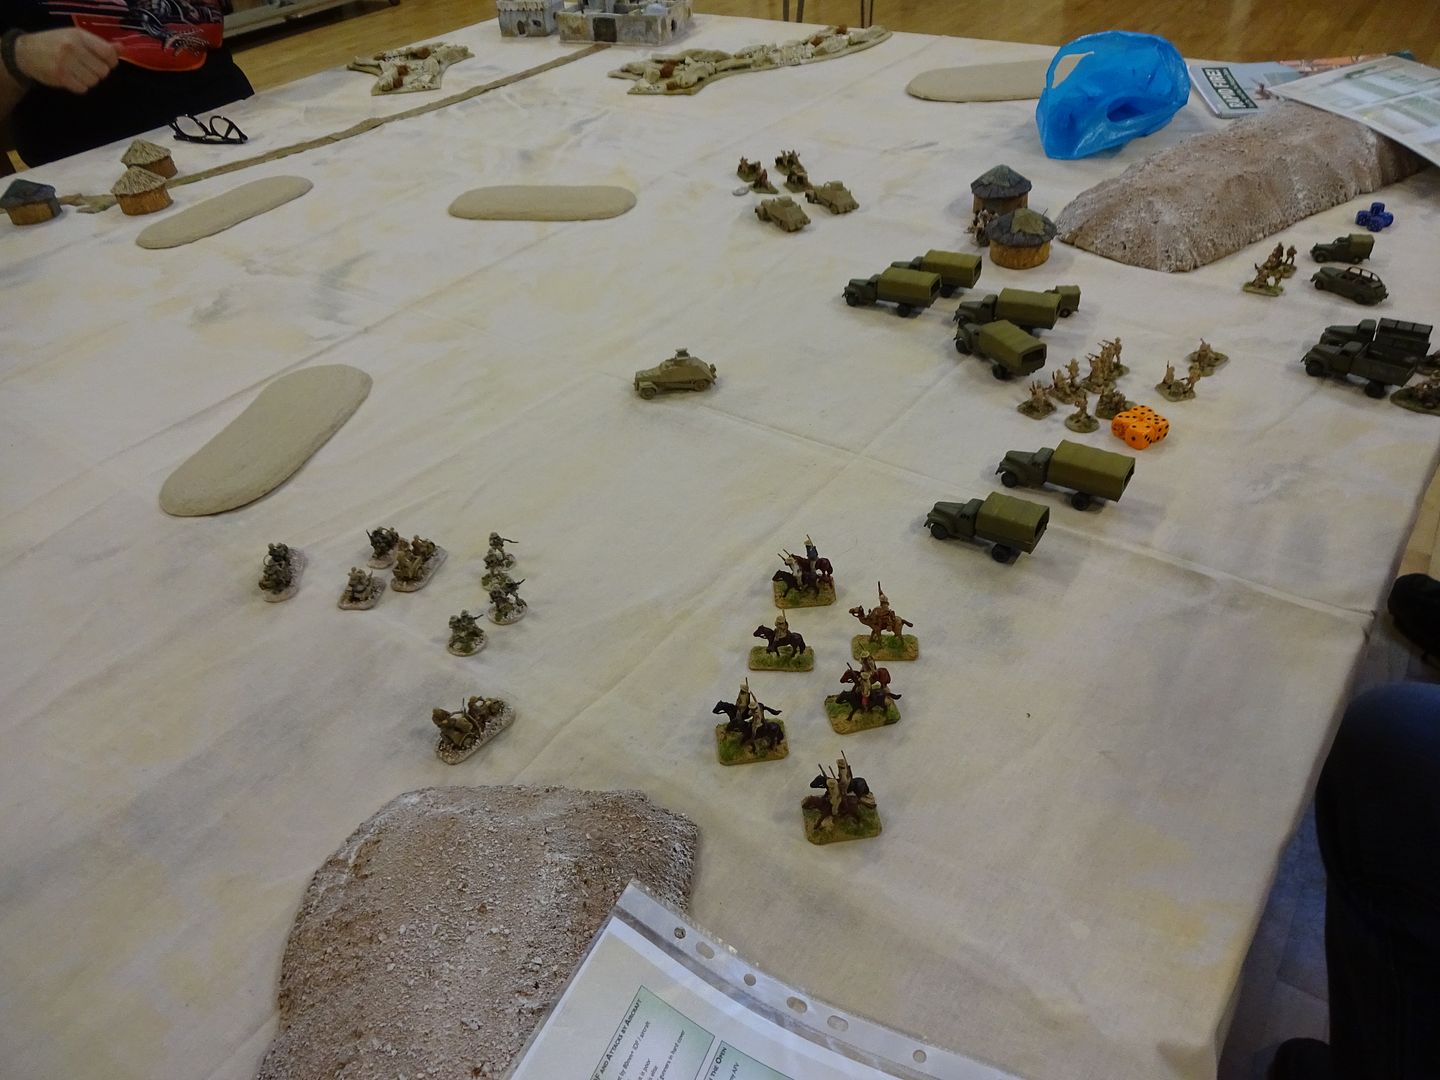
The Saffas received  some intelligence that the crew were being held in a small border fort occupied by the National Guard. The Commonwealth forces were to enter from the Valley to the right.
 

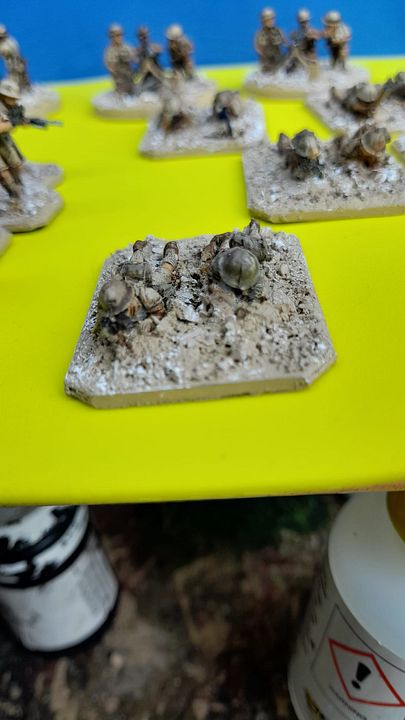
Mounted rifle scouts to the fore.

But as always in heroic films, they had not envisiged an Italian column coming from the north to collect the lost crew/ prisoners.  

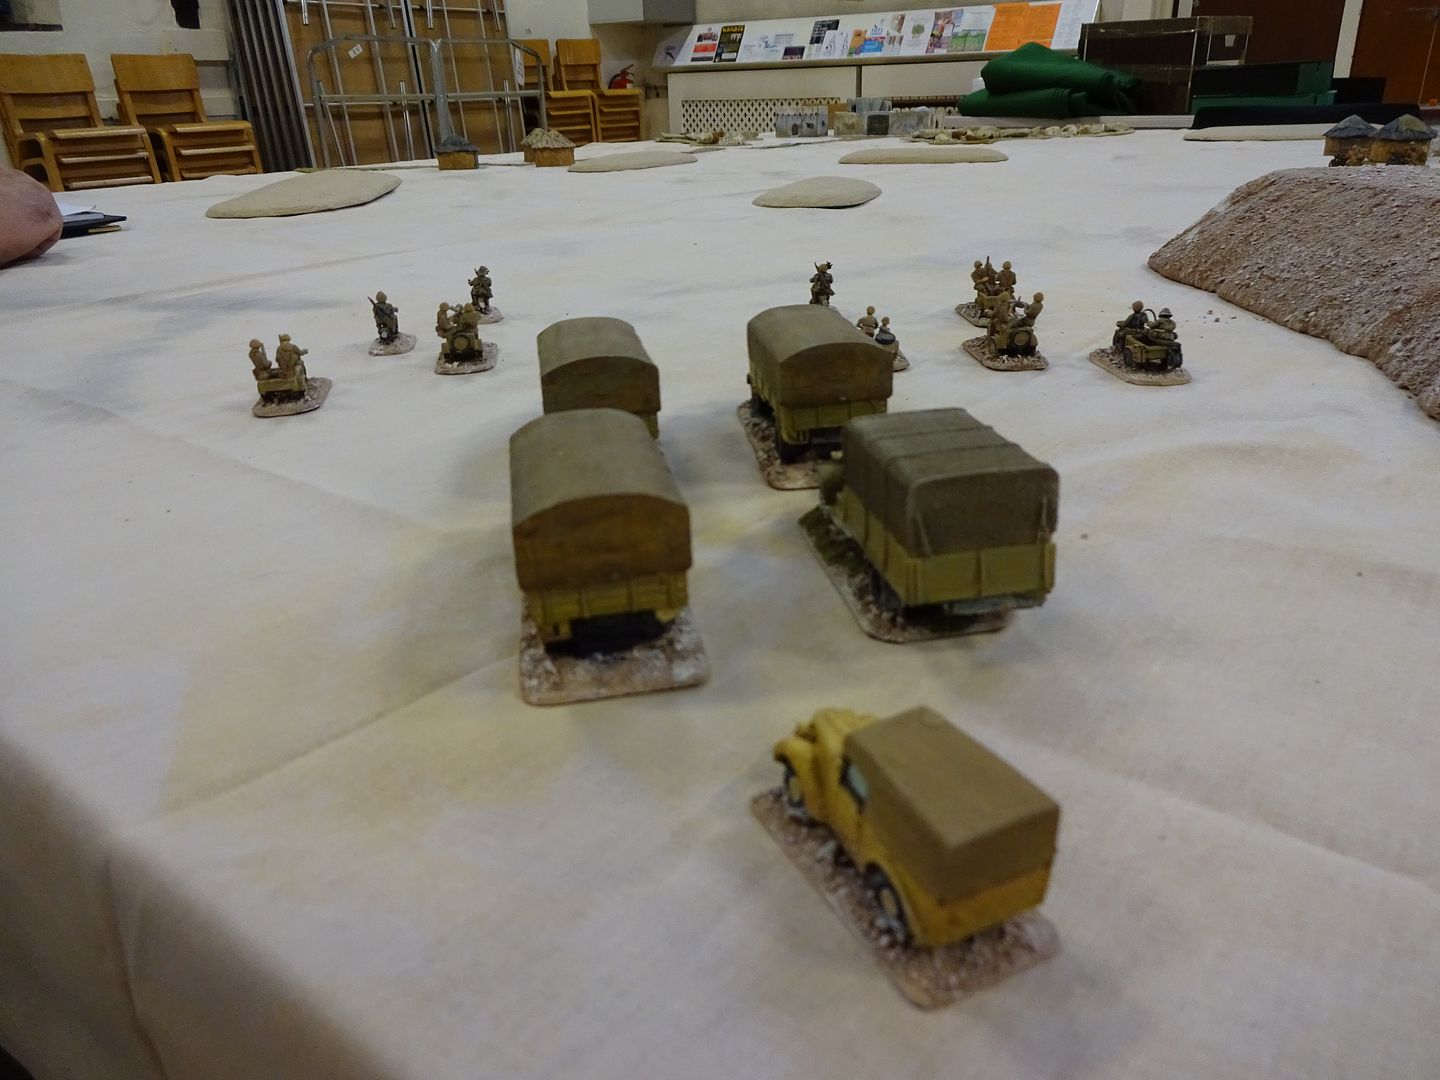
Situation, end of turn 1, lead elements spotted each other, but the Italians thought the scout as locals.

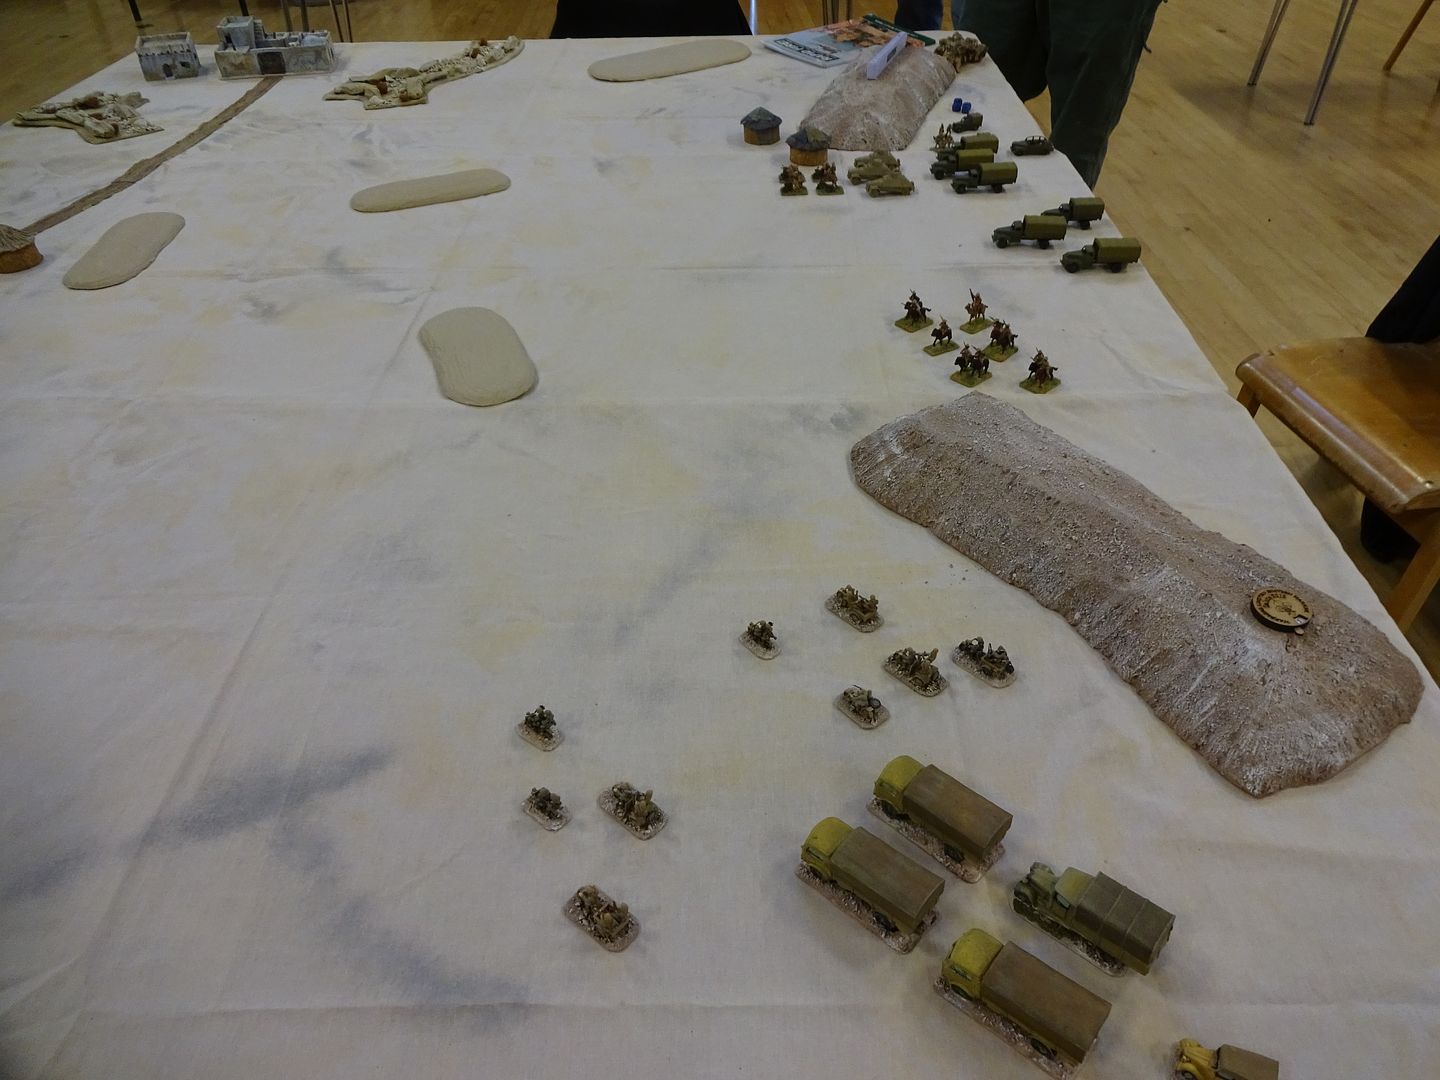
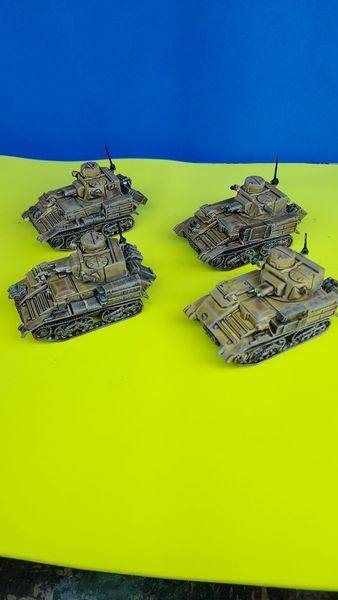
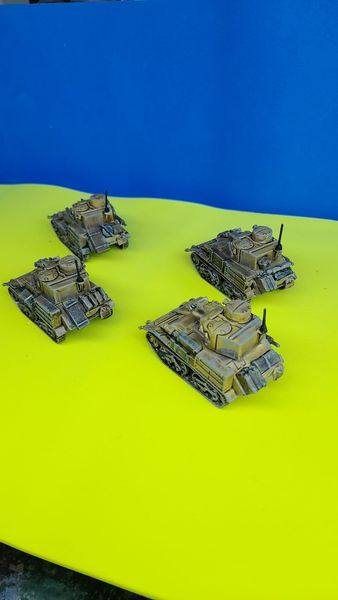
Turn 2: The Italians now realise the scout are not locals and dismount to hold them up. As the column enters the valley Tanks are visible ( don't giggle, they're armoured units)
 

The noise of the Marmons wake up some unfriendly local Abyssinian tribesmen, which the Saffas have to deal with before moving on to their objective. 

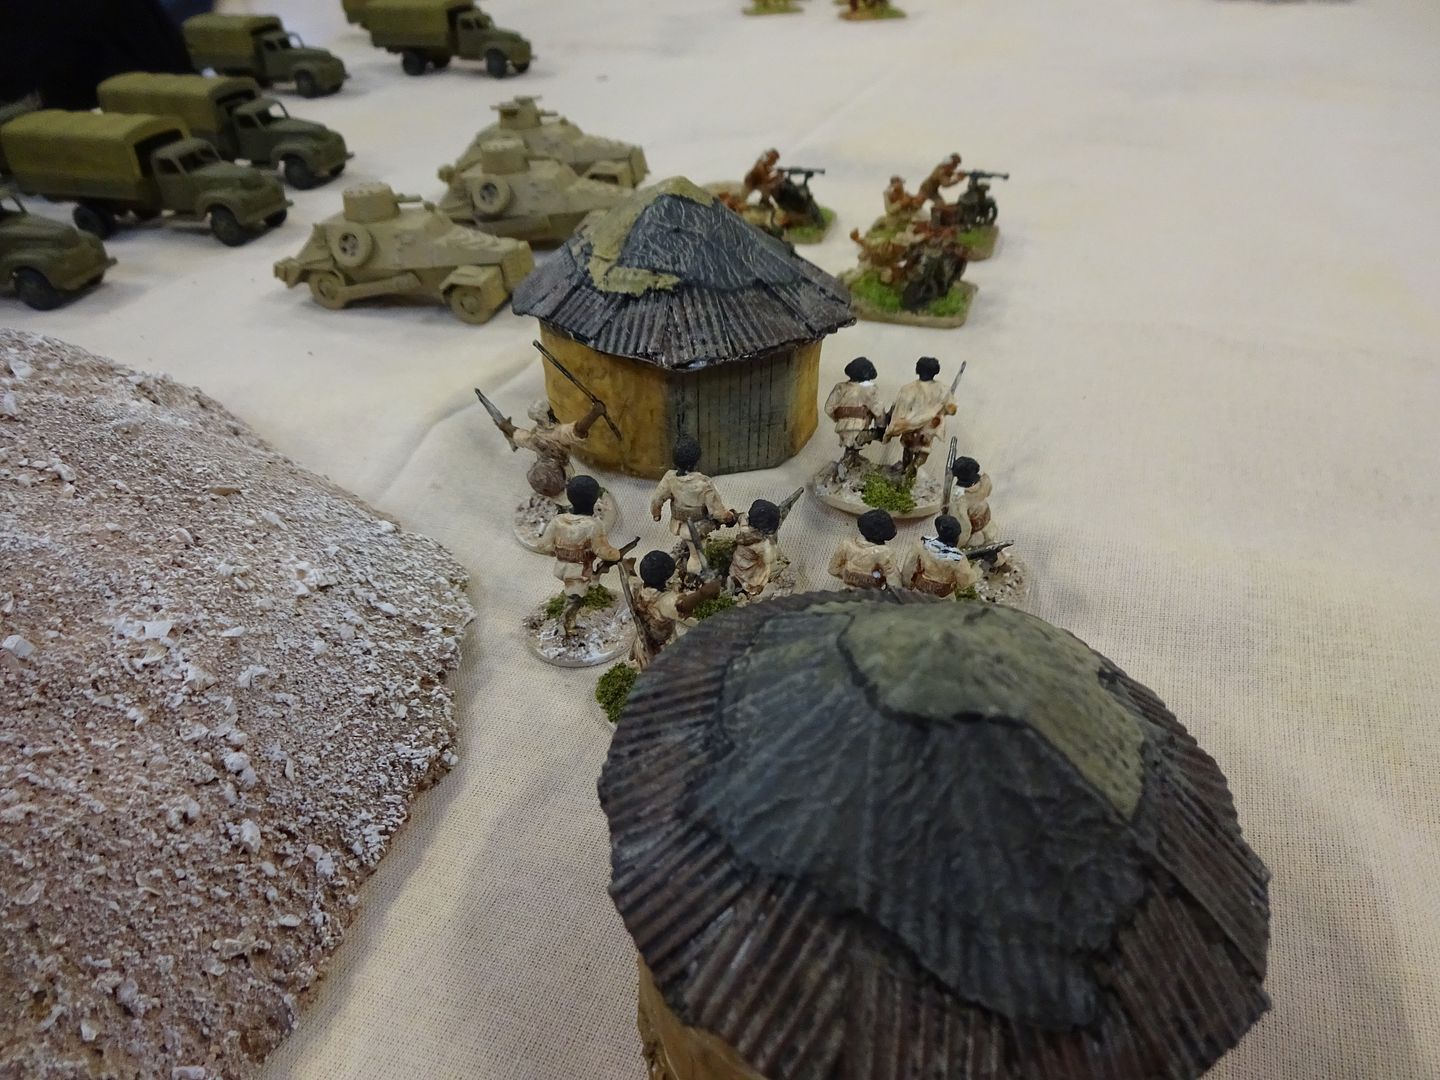
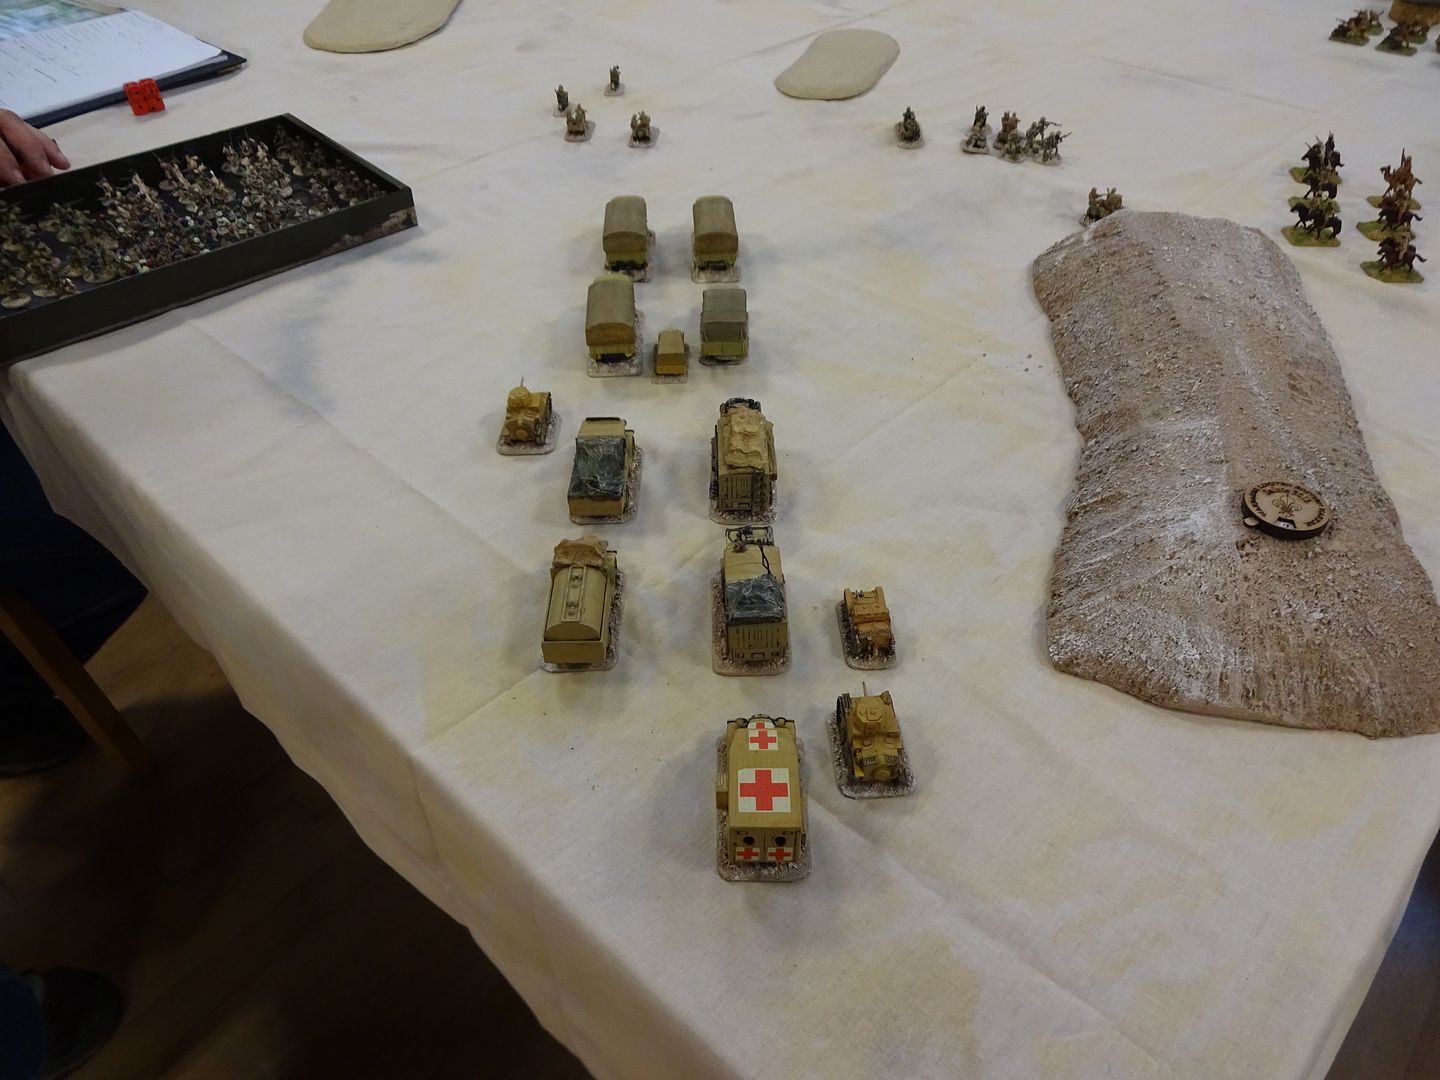
Turn 3 : The SA/KAR scout ACs move on and leave the infantry to chase off the locals.
 

The Column is getting longer and this worries the CO of the SA/KAR. one af the SA ACs becomes the first casualty. 

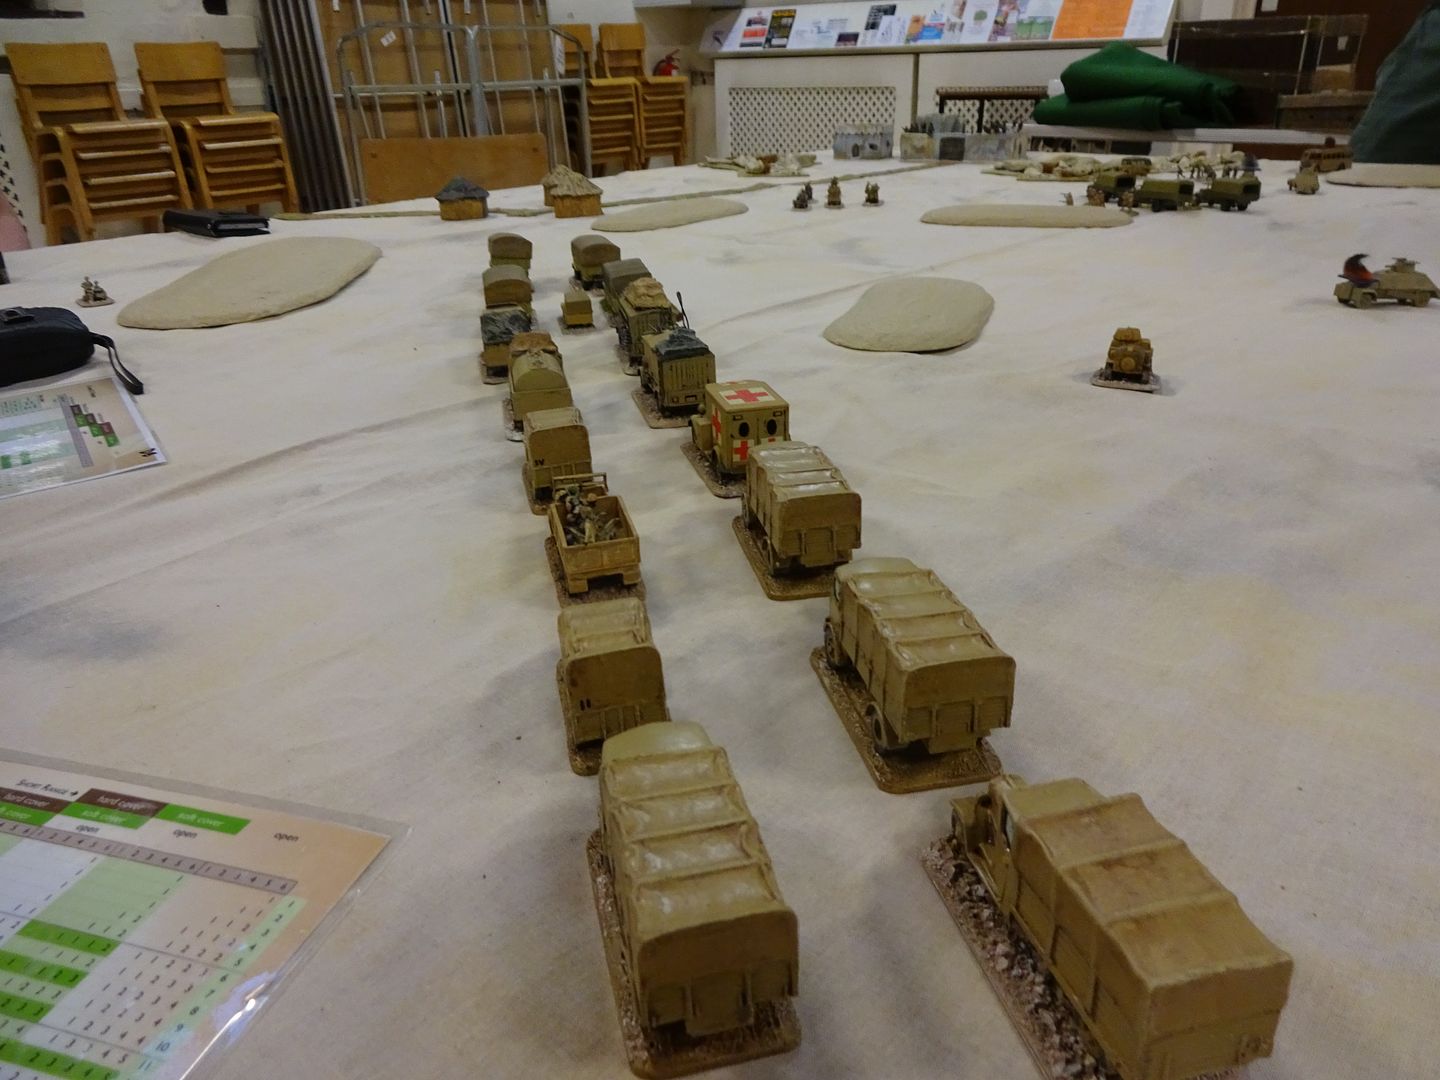
It's not looking good for the SA/KAR as a bus load of German Soldiers of the newly formed German Expeditionary Force turn up for the same thing the SA's are after.
 

They Mounted KAR scouts are killed to a man. The Boyes AT Rifle causes a Light Damage on the L6 
 

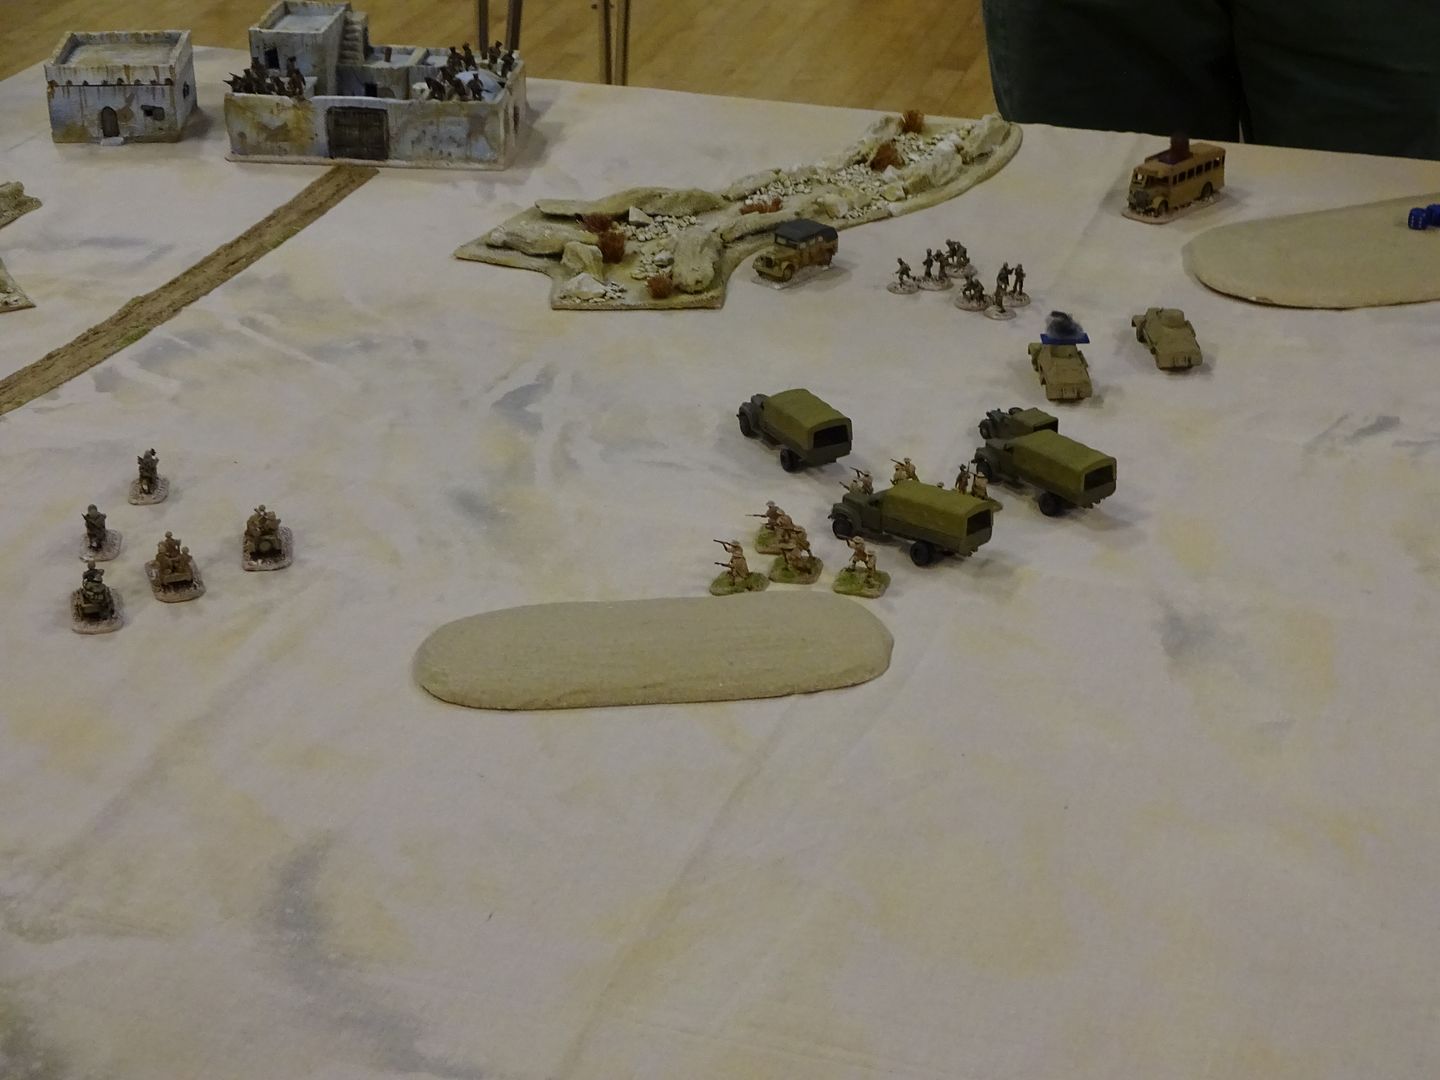
Turn 5: The local Abyssinian tribe rout (eventually). The SA/ KAR can move in force on the fort. 

They take another hit to an AC on the way, from a German AT Rifle and lose a transport to infantry fire. There is a race for the fort.
 

Turn 6: At the beginning of the game the SA/KAR stated what turn they required air support (they chose turn 5 which it failed and was delayed one turn). The Italian had to roll two D6 and rolled 6. Ooops!
 

View form the fort. Neither the SA/KAR of the Axis force knew who the fort was occupied by, friendly or not and to whom would they ally? The first Italian scout trike was allowed in, looked ominous for the Allies. 

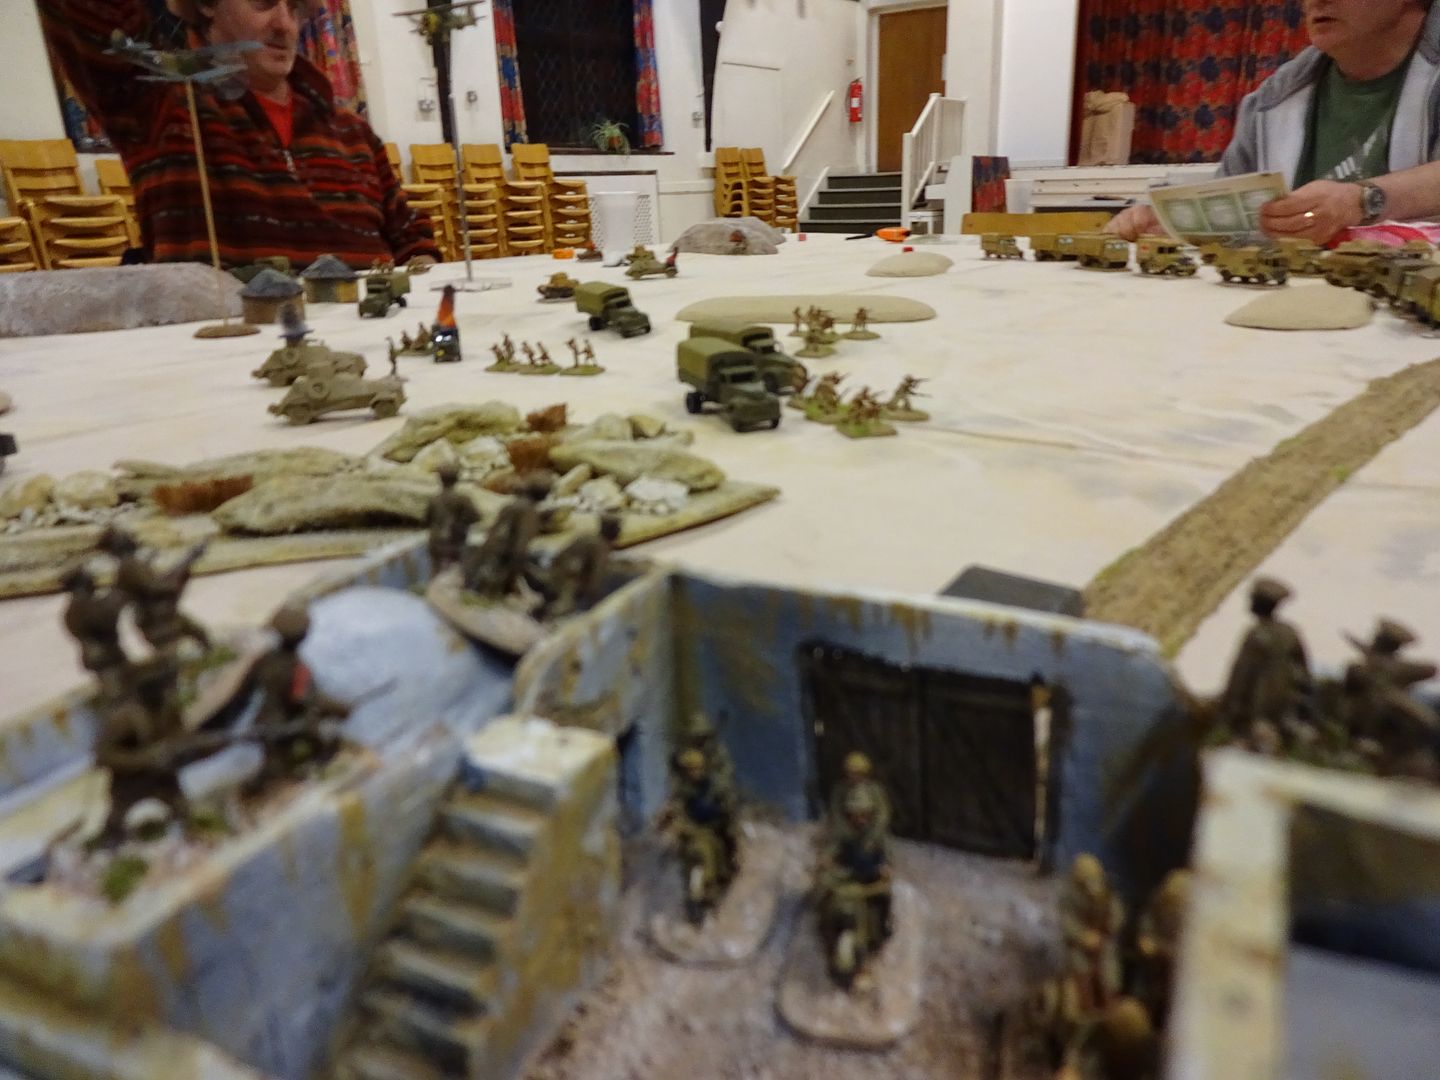
From the fort, which was purchased from Andy Grub @ Grubby Tanks. 

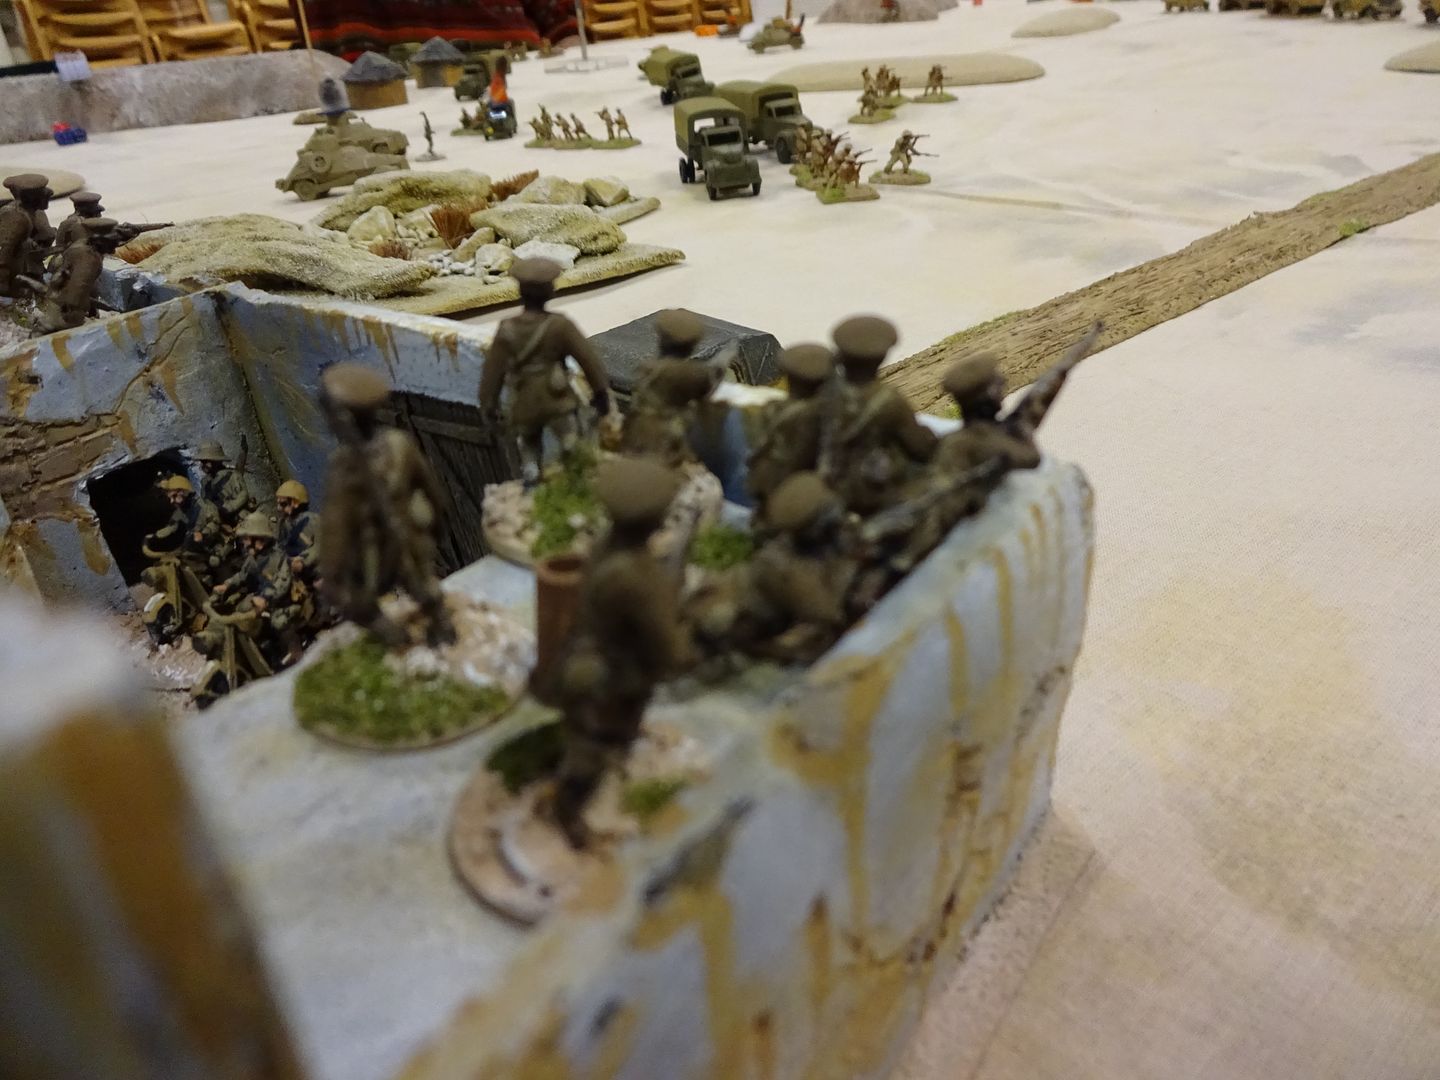
The Column plods on through another village. 

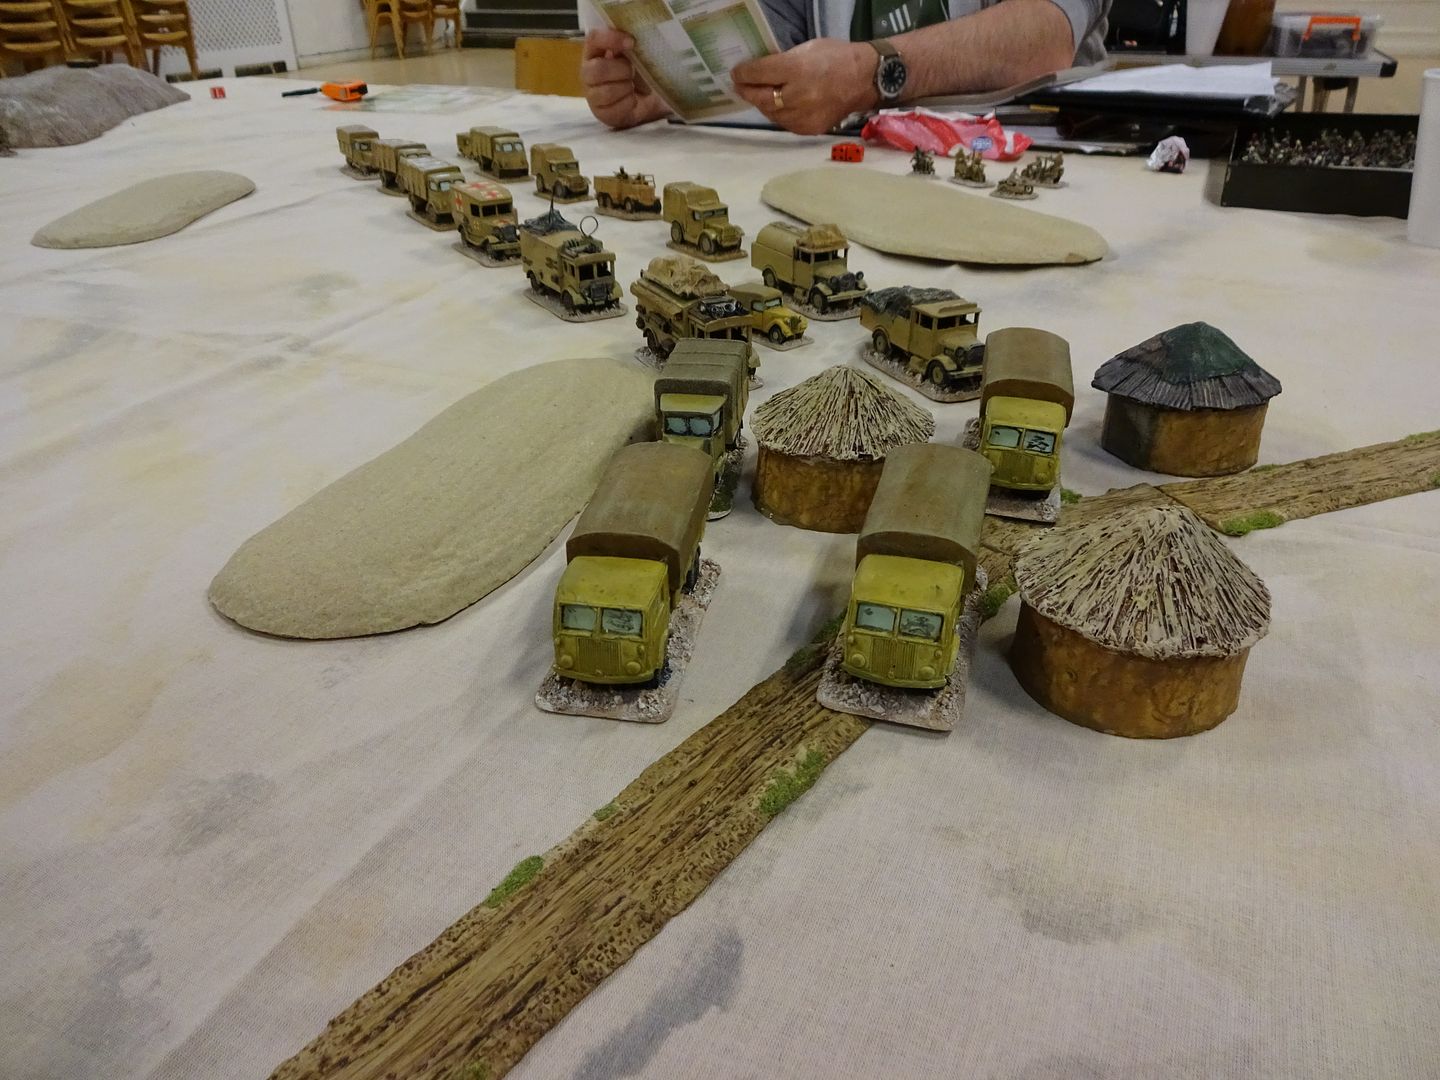
The SA/KAR 2 pounders are having a Turkey Shoot. 

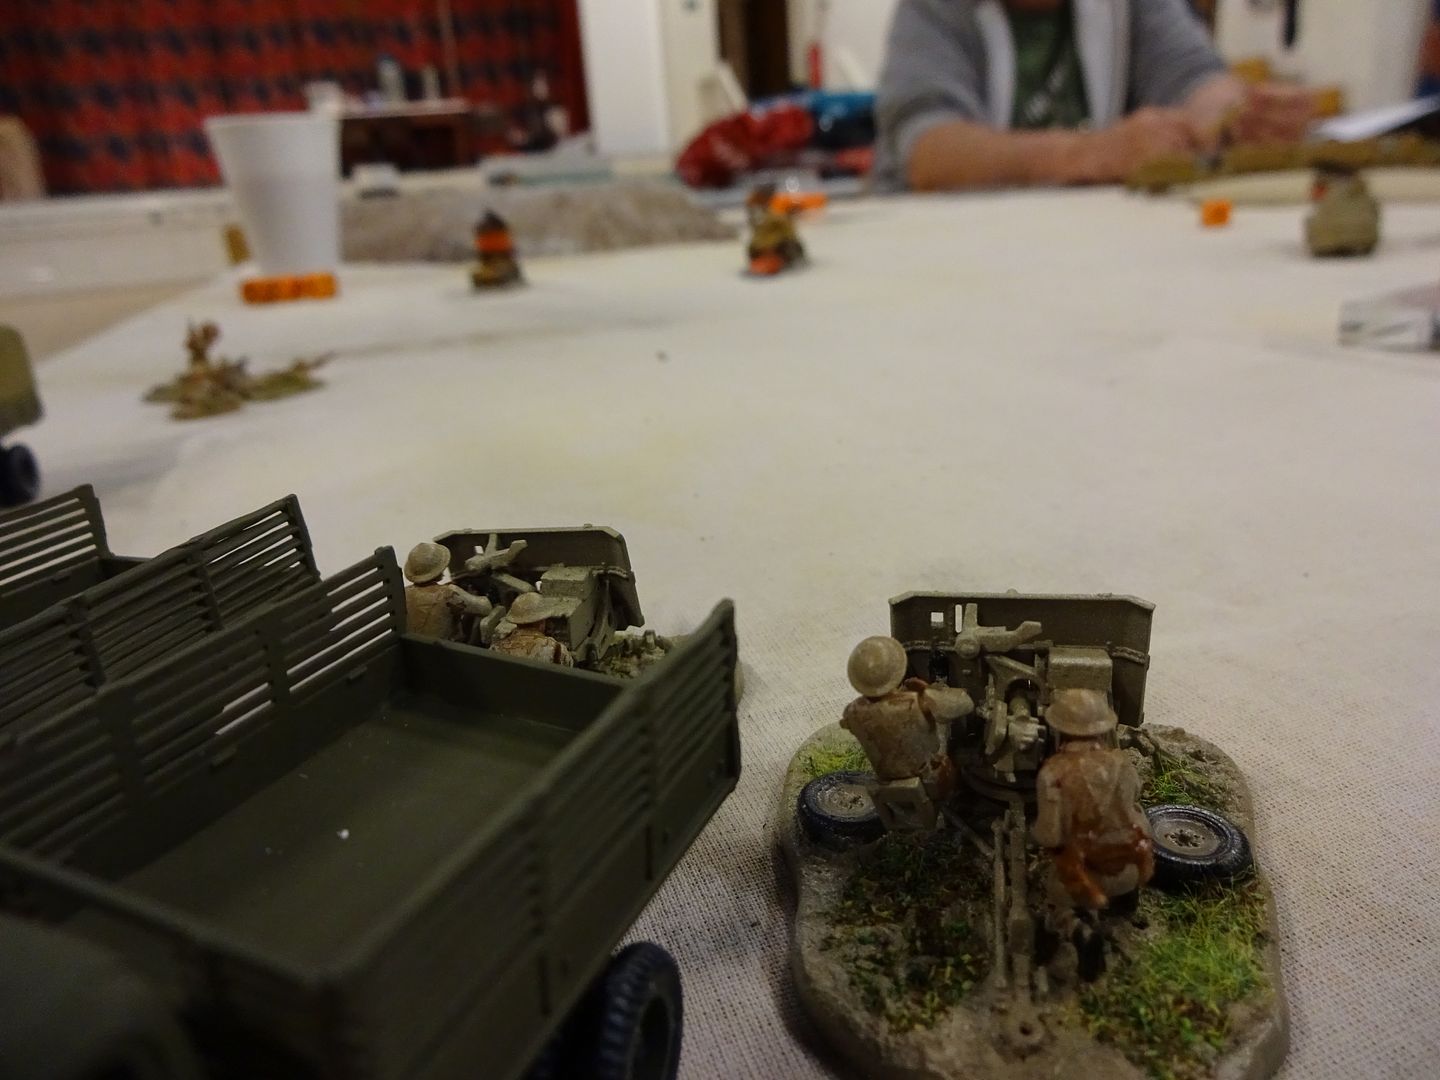
Turn 7 : Lots of firing above but missing. 

Some Italian Colonial Infantry debus to aid the Germans. 

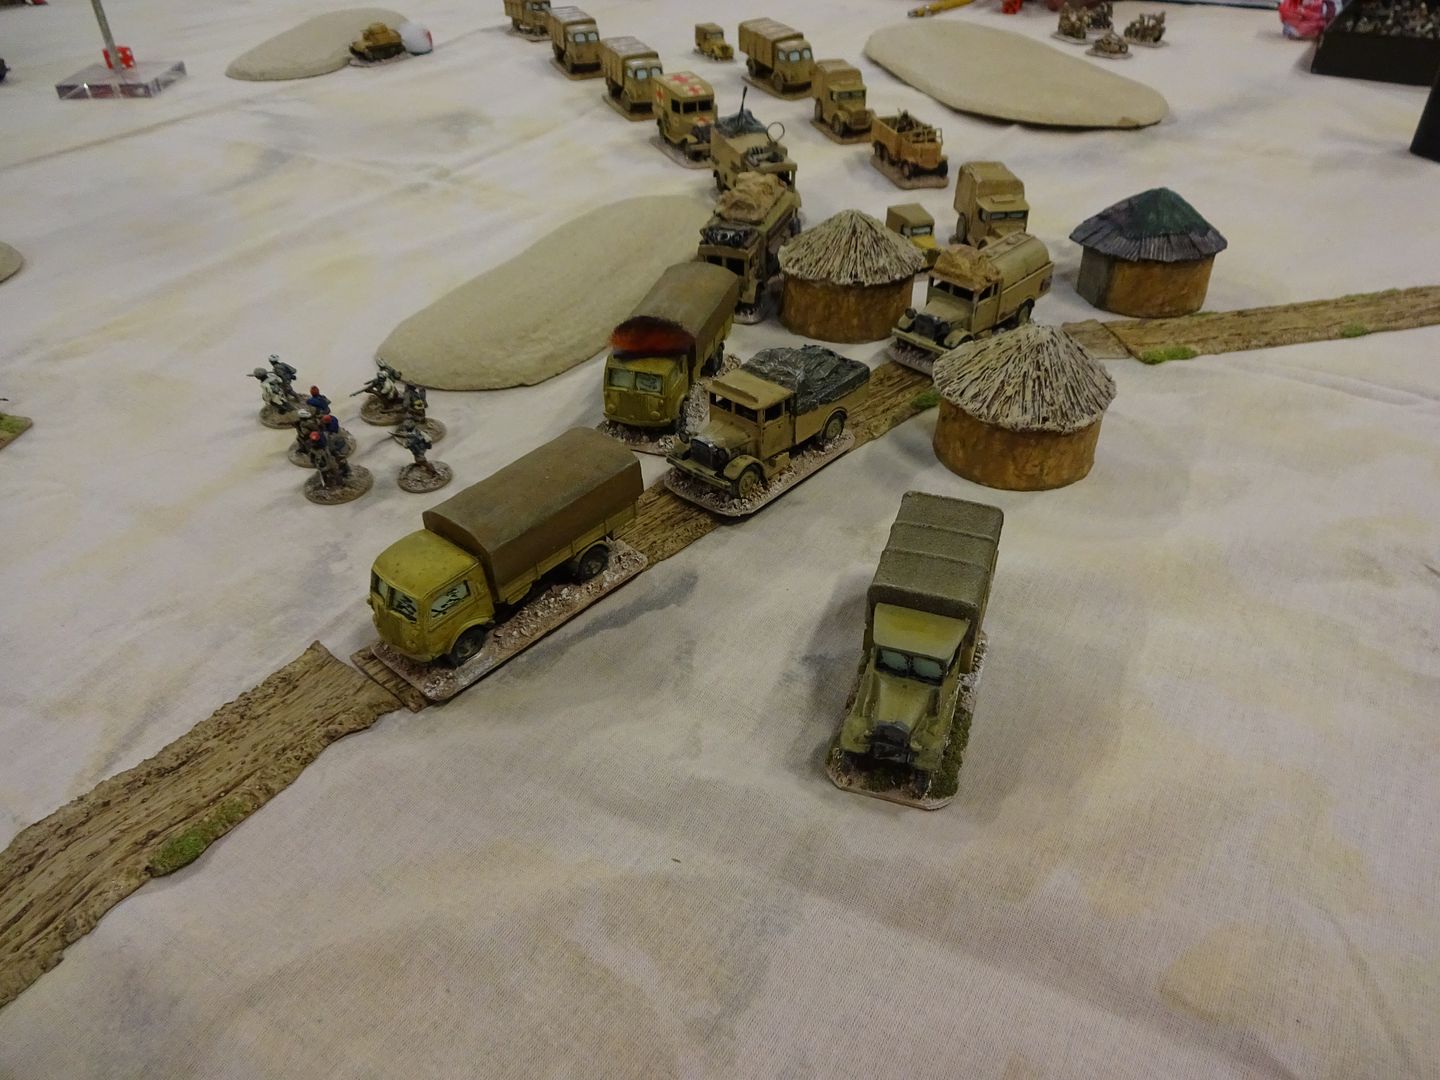
Could only fire at short range this turn.  

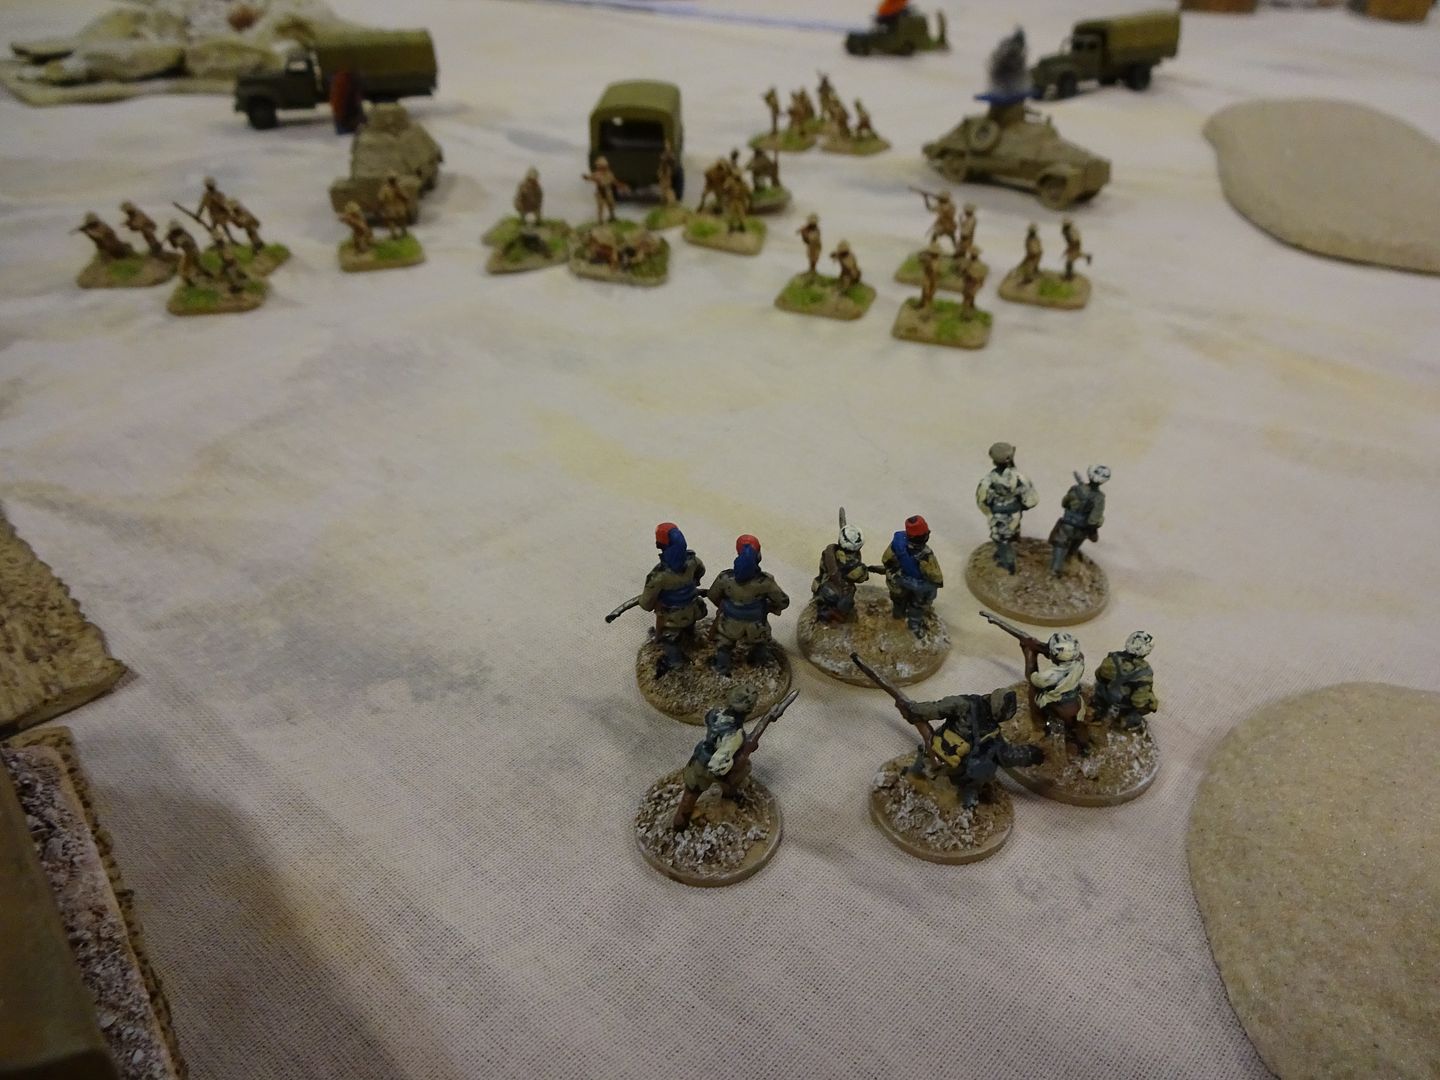
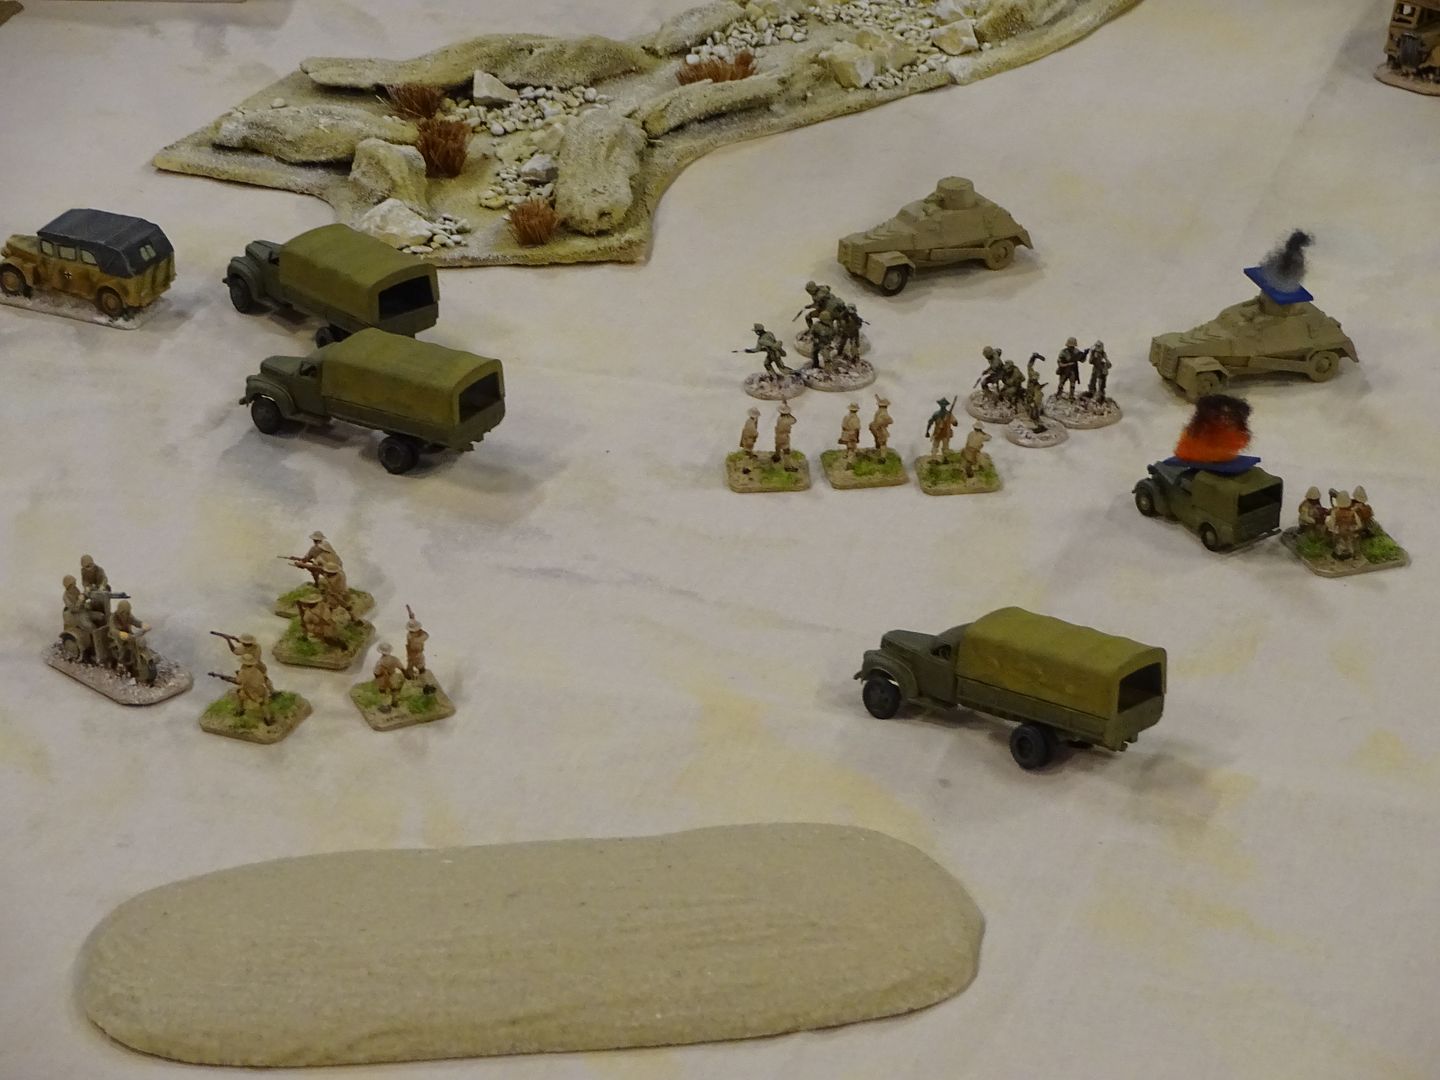
All getting to close quarters. The SA/KAR then realised if they stay in their transports, the transports become target and they have no means of getting away, so they start to debus troops. 

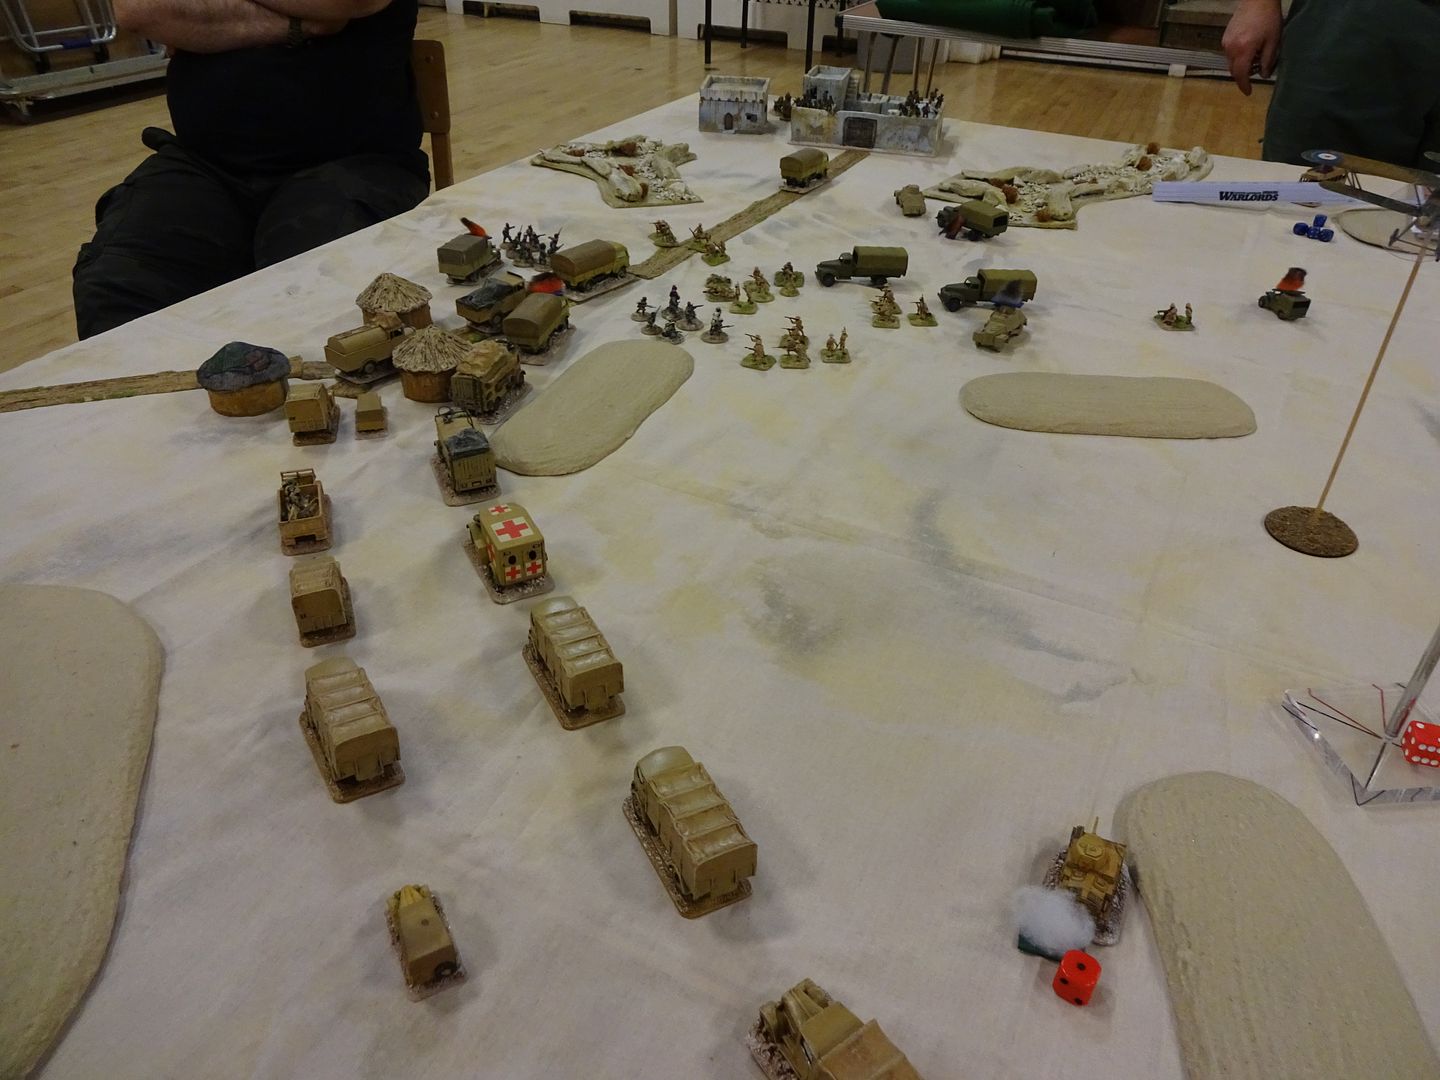
Italians transports going up too!  

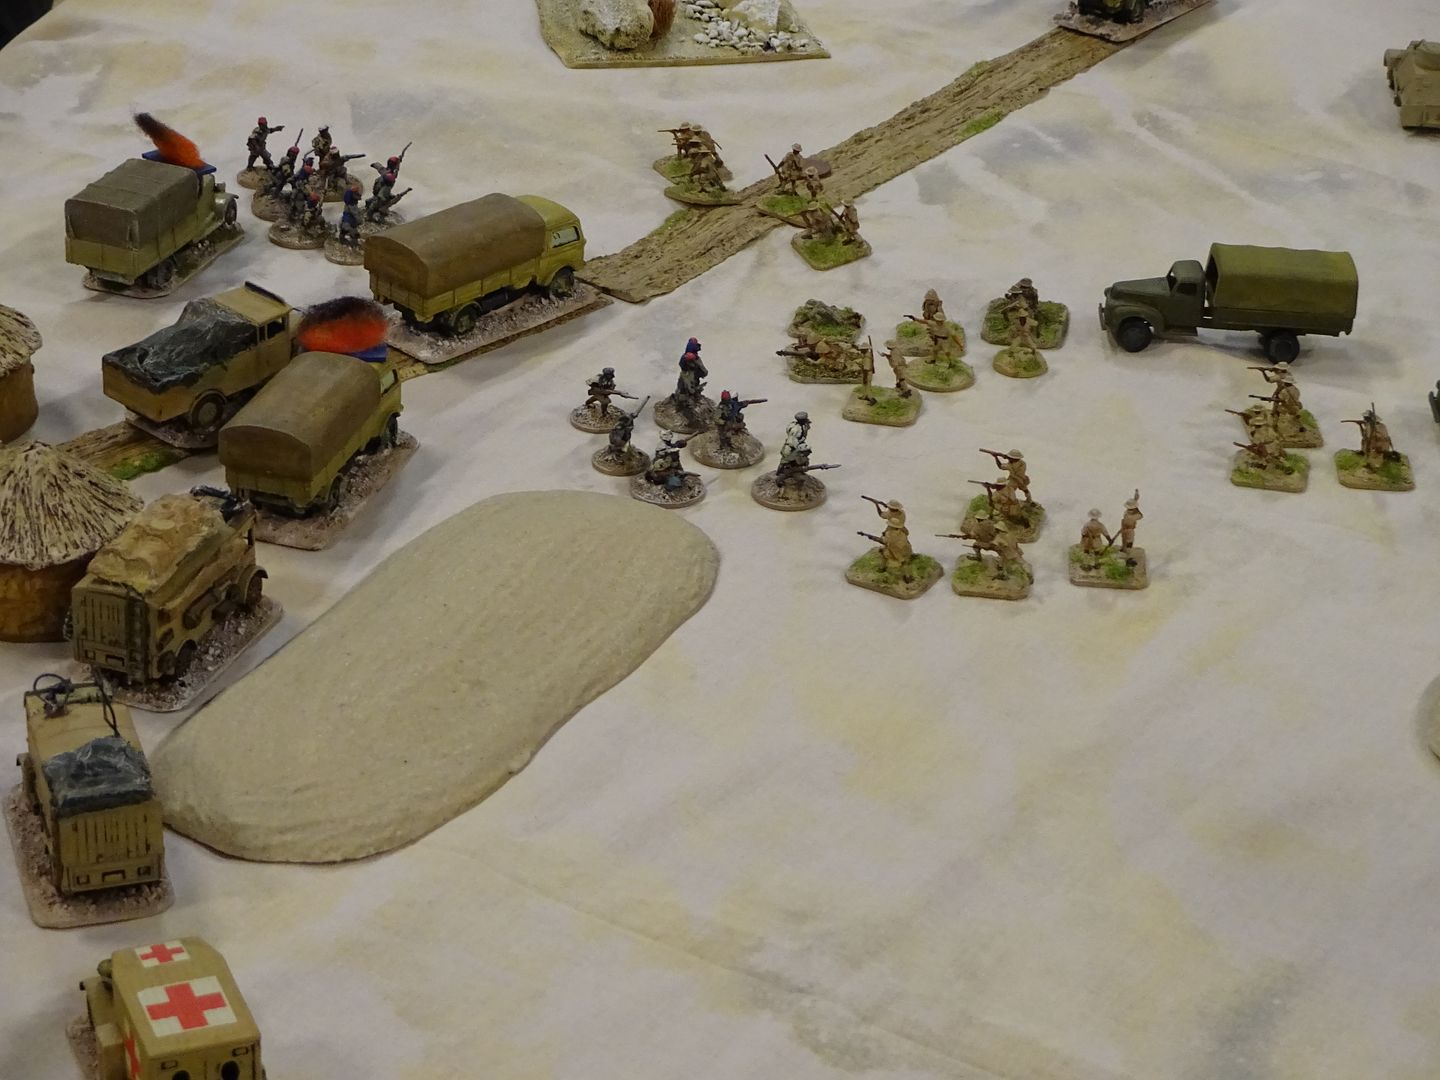
Turn 8 : Guess who are still up their above missing each other.

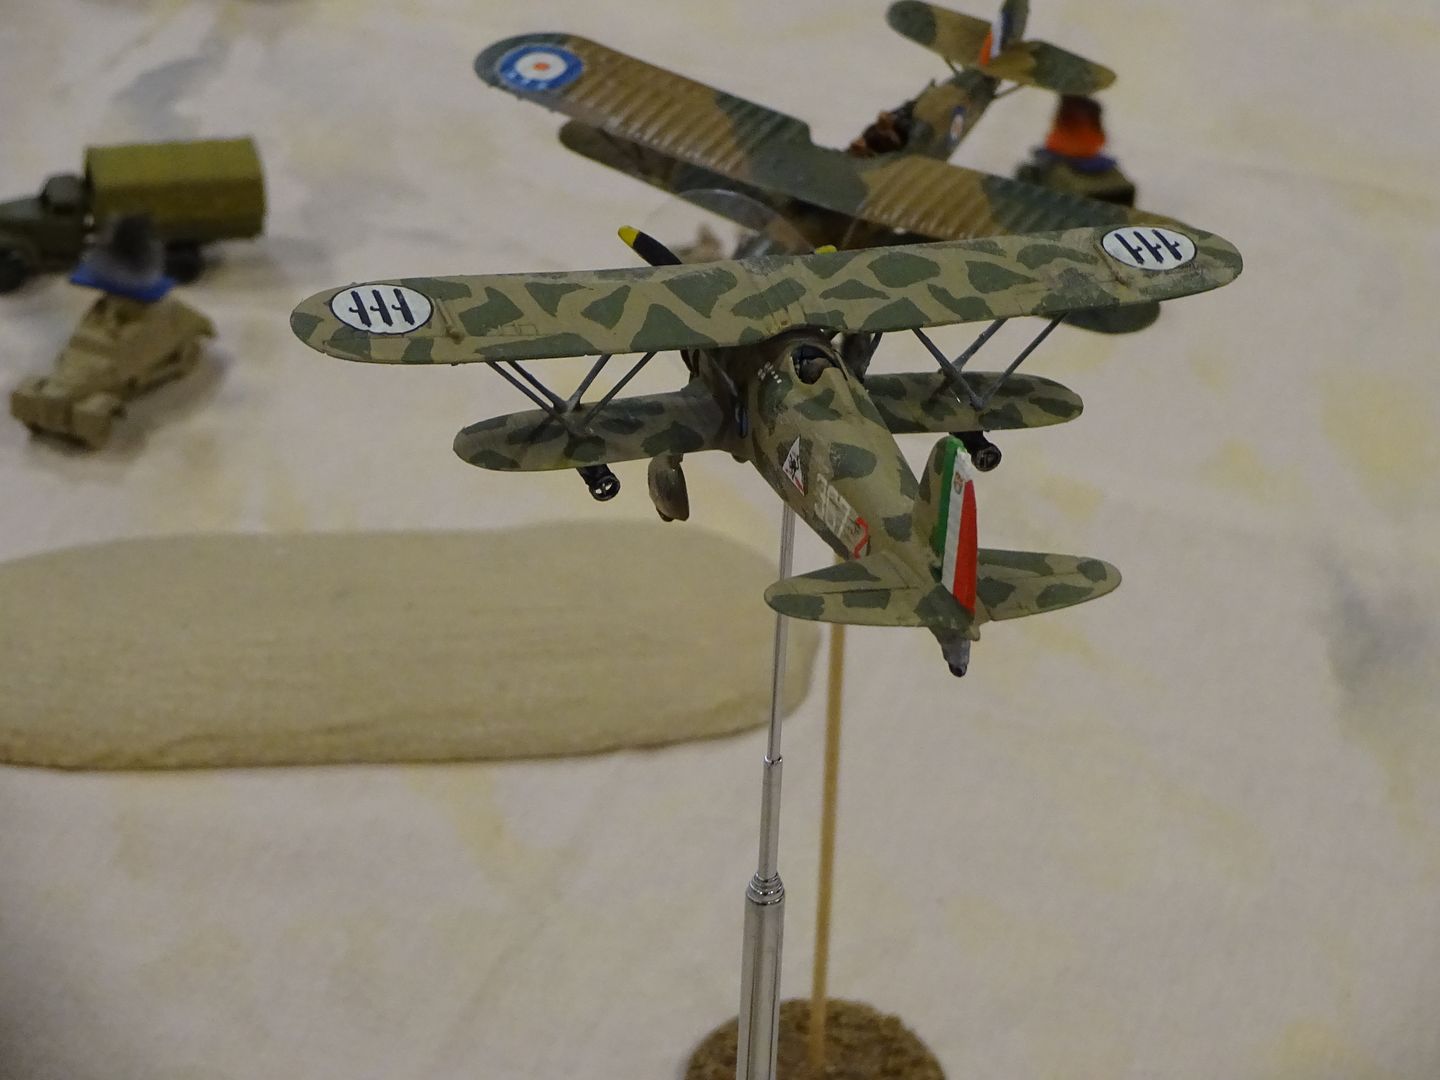
The Italian troops are making for the safety of the fort.

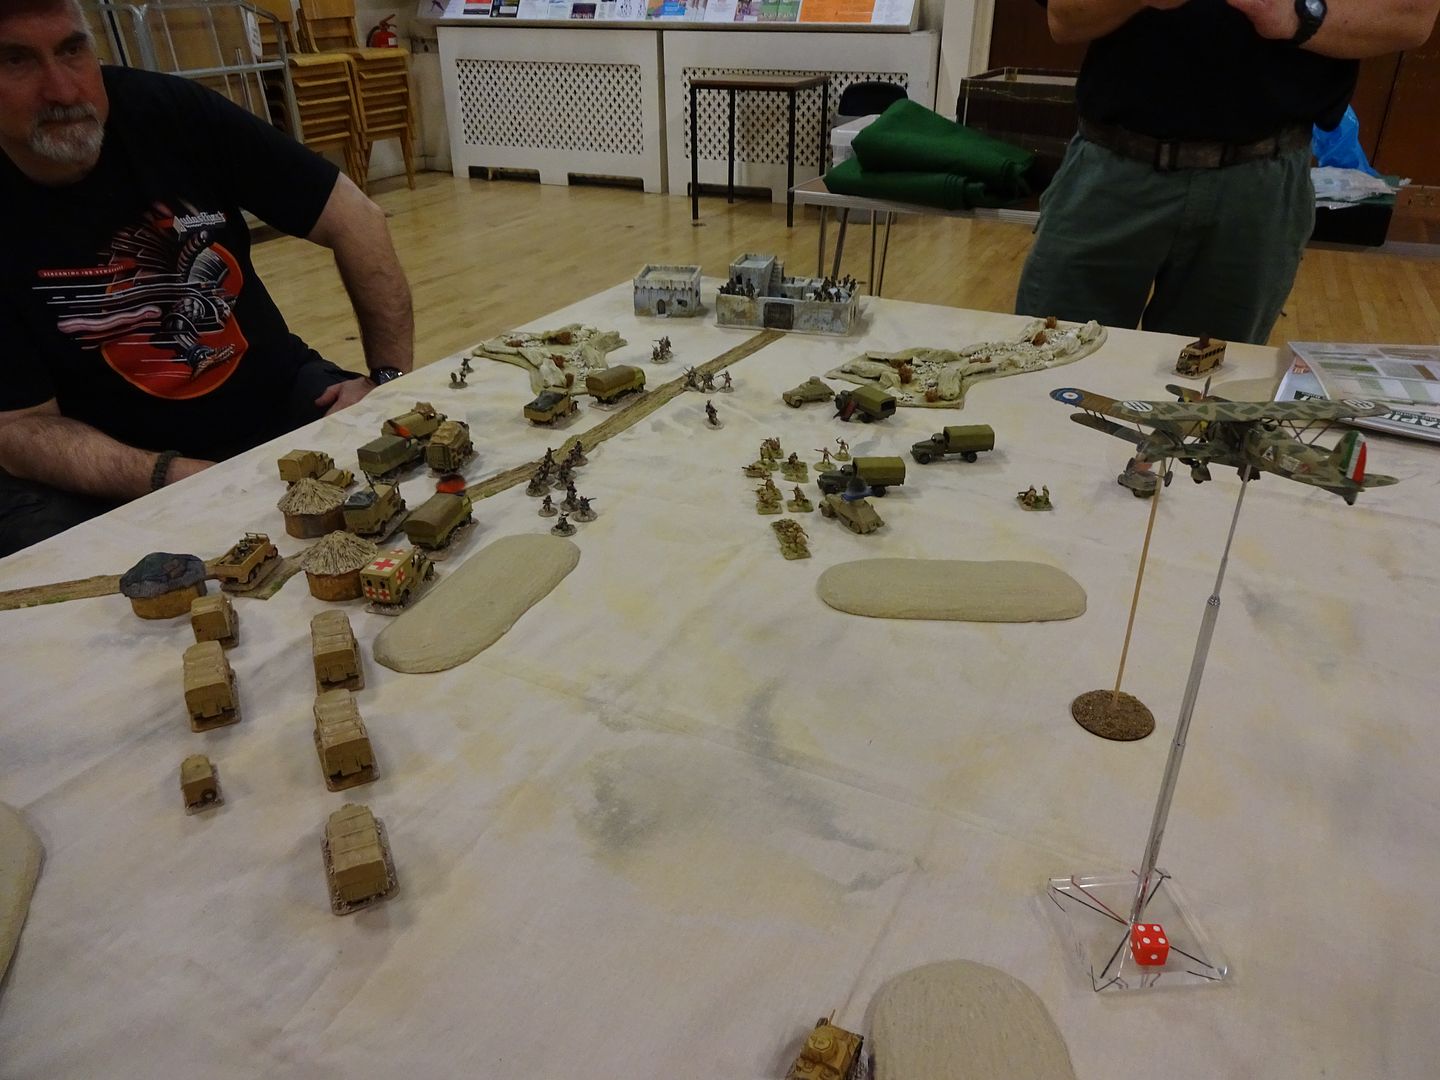
 As it was the last game turn of the evening. It turns out that the crew and VIPs escaped the night before, for campaign purposes. What was left of the SA/KAR made a fight withdrawal and back into the valley. MEANWHILE UPSTAIRS:  still never actually hit each or drove the other off!