The Battle at Arracourt September 9144
US Forces CCA (Clarke) Initial Defending forces
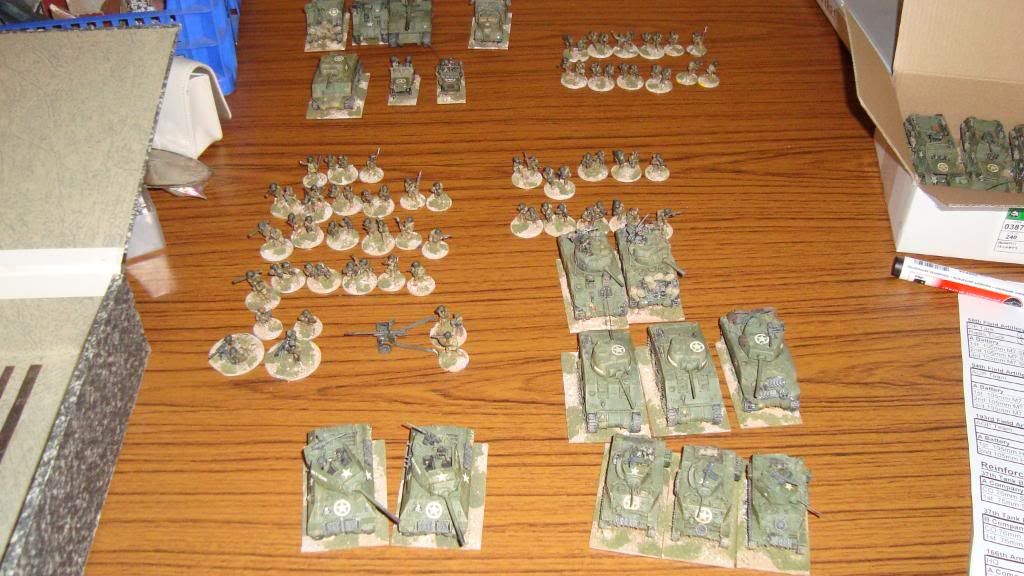
HQ Company
CO 75mm Sherman C 24 / 12 Gun 3 HE - 10 Points Table 4
105mm Sherman C 24 / 12 Gun 3 HE - 12 Points Table 4
ARV Sherman C 24 / 12
A Company
CO 76mm Sherman C 24 / 12 Gun 2 HE - 8 Points Table 4
1st 75mm Sherman C 24 / 12 Gun 3 HE - 10 Points Table 4
2nd 75mm Sherman C 24 / 12 Gun 3 HE - 10 Points Table 4
Light company
M5 Stuart D 30 / 15 Gun (4) HE - 6 Points Table 4
M5 Stuart D 30 / 15 Gun (4) HE - 6 Points Table 4
M5 Stuart D 30 / 15 Gun (4) HE - 6 Points Table 4
53rd Armoured Infantry Battalion 36 Figs
HQ CO + 3 figs M3 H/track E 30 15
A Company 10 figs M3 H/track E 30 15
Bazooka Gun Class 2 6 Points Table 4 Range 6"
B Company 10 figs M3 H/track E 30 15
Bazooka Gun Class 2 6 Points Table 4 Range 6"
H/WEAPONS 12 figs M3 H/track E 30 15
.30 cal MMG 8 Points
.30 cal MMG 8 Points
81mm Mortar 8 Points Table 4 M3 H/track E 30 15
57mm AT M3 H/track E 30 15
Gun Class 3 HE - 6 Points Table 4
10th Armoured Infantry Battalion
A Company 9 figs M3 H/track E 30 15
Bazooka Gun Class 2 6 Points Table 4 Range 6"
24th Armoured Infantry Battalion
B Company 9 figs M3 H/track E 30 15
Bazooka Gun Class 2 6 Points Table 4 Range 6"
704th T D Battalion C Company
1st M18 Hellcat D 30 / 15 Gun 2 HE - 8 Points Table 4
2nd M18 Hellcat D 30 / 15 Gun 2 HE - 8 Points Table 4
66th Field Artillery Battalion ON TABLE
OP Tank C Armour 24 12
Radio Truck F 24 12
A Battery D Armour 9 figs
1st 105mm M7 SP HOW HE - 12 Points Table 4 Gun 3 24/12 3 Crew
2nd 105mm M7 SP HOW HE - 12 Points Table 4 Gun 3 24/12 3 Crew
3rd 105mm M7 SP HOW HE - 12 Points Table 4 Gun 3 24/12 3 Crew
94th Field Artillery Battalion
AOP Team 2 Figs ON TABLE Jeep F 30 18
A Battery D Armour ALL OFF TABLE
1st 105mm M7 SP HOW HE - 12 Points Table 4 Gun 3 24/12 3 Crew
2nd 105mm M7 SP HOW HE - 12 Points Table 4 Gun 3 24/12 3 Crew
3rd 105mm M7 SP HOW HE - 12 Points Table 4 Gun 3 24/12 3 Crew
193rd Field Artillery Battalion
AOP Team 2 Figs ON TABLE Jeep F 30 18
A Battery Truck F 24/12 Gun 3 ALL OFF TABLE
1st 105mm HOW HE - 12 Points Table 4 3 Crew
2nd 105mm HOW HE - 12 Points Table 4 3 Crew
Reinforcements Task Force Hunter
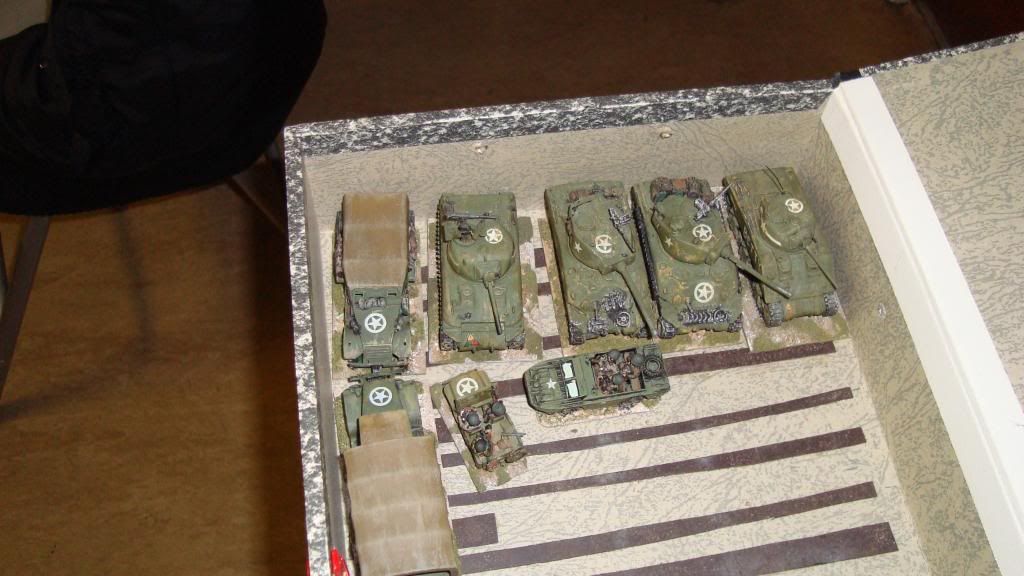
37th Tank Battalion
A Company
CO 76mm Sherman C 24 / 12 Gun 2 HE - 8 Points Table 4
1st 75mm Sherman C 24 / 12 Gun 3 HE - 10 Points Table 4
37th Tank Battalion
B Company
CO 76mm Sherman C 24 / 12 Gun 2 HE - 8 Points Table 4
1st 75mm Sherman C 24 / 12 Gun 3 HE - 10 Points Table 4
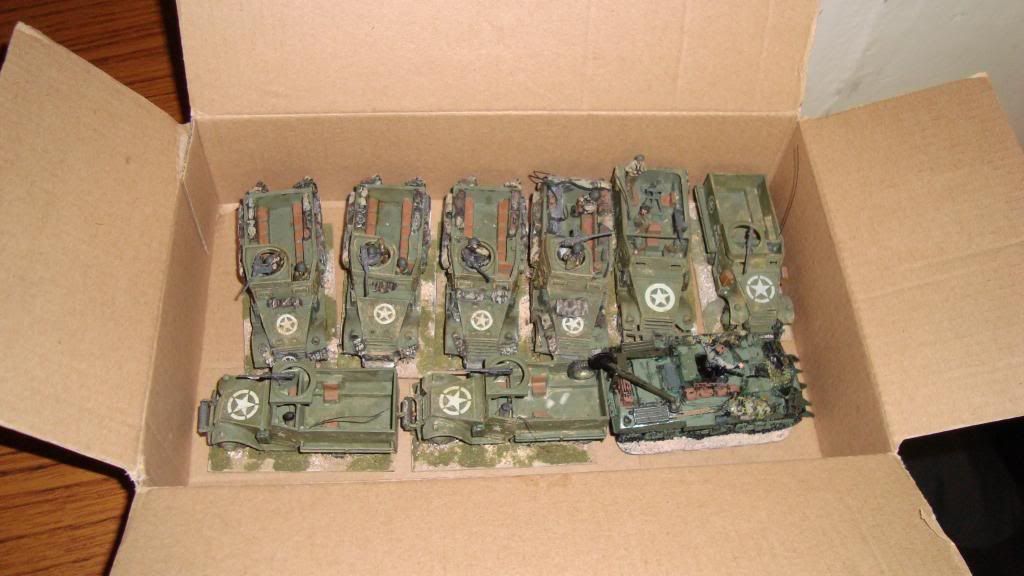
166th Armoured Engineer Battalion 24 Figs
HQ CO + 3 Jeep F 30 18
A Company 10 figs M3 H/track E 30 15
Bazooka Gun Class 2 6 Points Table 4 Range 6"
B Company 10 figs 2 1/2 Ton Truck F 24 12
Bazooka Gun Class 2 6 Points Table 4 Range 6"
German Forces 113th Panzer Brigade (Seckendorff)
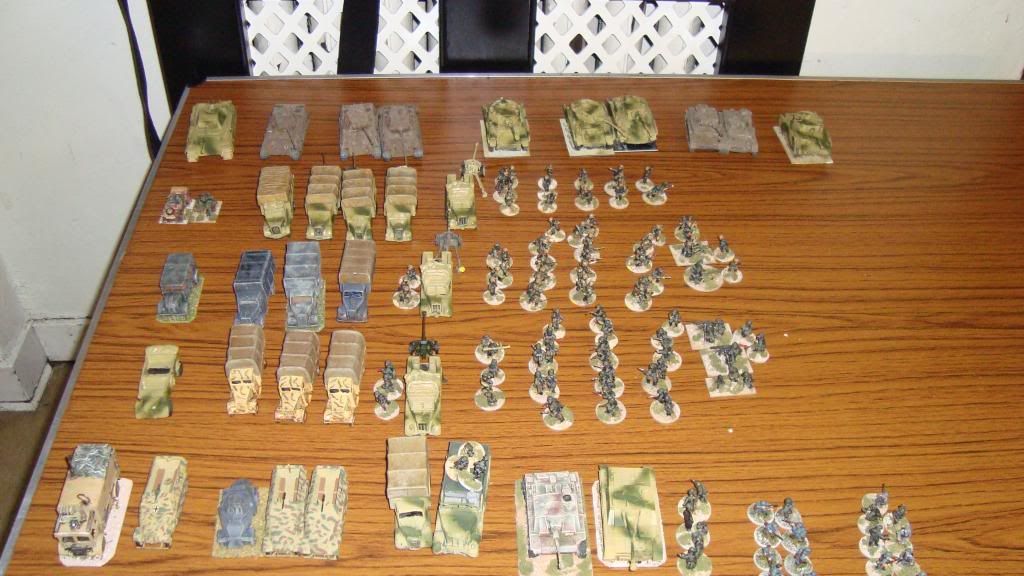
Brigade HQ 27 figs
HQ Coy. CO + 5 figs Sdkfz 251 E 30 15
Radio Truck F 24 12
Recce Coy. 8 figs Sdkfz 251 E 30 15
Sdkfz 251 E 30 15
20mm Autocannon Sdkfz 222 E AT 6 8points 30 15
STuG 75mm L48 C Gun 2 10 Pts Tab 4 24 12
STuG 75mm L48 C Gun 2 10 Pts Tab 4 24 12
Eng Coy. 8 figs Truck F 24 12
Workshop Coy. 3 figs Famo 18Tonne Recovery H/Track E 24 12
1st Panzer Battalion From Panzer Lehr
Bn HQ Panther V 75mm B Gun 1 8 Pts Tab 4 30 15
1st co. Panther V 75mm B Gun 1 8 Pts Tab 4 30 15
2nd Co. Panther V 75mm B Gun 1 8 Pts Tab 4 30 15
Panther V 75mm B Gun 1 8 Pts Tab 4 30 15
2nd Panzer Battalion Replacement Bn 35
Bn HQ Panzer IV H 75mm L48 C Gun 2 10 Pts Tab 4 24 12
4th Co. Panzer IV H 75mm L48 C Gun 2 10 Pts Tab 4 24 12
Panzer IV H 75mm L49 C Gun 2 10 Pts Tab 4 24 12
5th Co. Panzer IV H 75mm L48 C Gun 2 10 Pts Tab 4 24 12
Panzer IV H 75mm L48 C Gun 2 10 Pts Tab 4 24 12
6th Co. Panzer IV H 75mm L49 C Gun 2 10 Pts Tab 4 24 12
2113th Panzer Grenadier Regiment 6 Figs
Regt HQ CO + 5 figs Horch F 30 15
M/C combi F 30 15
2113th Panzer Grenadier Regt Heavy Co. 15 figs
5 truck/ HT tows F 24 12
20mm AA Gun Class 6 8Pts
20mm AA Gun Class 6 8Pts
120mm Mortar 12 Points Table 4 Fires twice
75mm PaK 40 Gun Class 2 HE - 10 Points Table 4
75mm IG Gun Class 4 HE - 10 Points Table 4 Range 6"
2113th Panzer Grenadier 1st Battalion 41 figs
HQ CO + 4 figs Horch F 30 15
Panzerschrek 3 Rds Gun Class 2 6 Points Table 4
A Company 8 figs Must ride on Tanks (4 figs per tank)
Panzeraust Gun Class 2 6 Points Table 4 Range 6"
B Company 8 figs Opel Blitz F 24 12
Panzeraust Gun Class 2 6 Points Table 4 Range 6"
C Company 8 figs Opel Blitz F 24 12
Panzeraust Gun Class 2 6 Points Table 4 Range 6"
Support Co 12 figs Opel Blitz F 24 12
MMG 8 Points
MMG 8 Points
81mm Mortar 8 Points Table 4 Fires twice
Sdkfz 3 HT F 24 12
75mm PaK 40 Gun Class 2 HE - 10 Points Table 4
2113th Panzer Grenadier 2nd Battalion 41 figs
HQ CO + 4 figs Horch F 30 15
Panzerschrek 3 Rds Gun Class 2 6 Points Table 4
A Company 8 figs Must ride on Tanks (4 figs per tank)
Panzeraust Gun Class 2 6 Points Table 4 Range 6"
B Company 8 figs Opel Blitz F 24 12
Panzeraust Gun Class 2 6 Points Table 4 Range 6"
C Company 8 figs Opel Blitz F 24 12
Panzeraust Gun Class 2 6 Points Table 4 Range 6"
Support Co 12 figs Opel Blitz F 24 12
MMG 8 Points
MMG 8 Points
120mm Mortar 12 Points Table 4 Fires twice
Sdkfz 3 HT F 24 12
75mm PaK 40 Gun Class 2 HE - 10 Points Table 4
First 5 turns are in mist and all visibily is reduced to 12".Germans had to get off the Northern edge of table with 1 tank and a compant (8) figs by turn 20. Germans had hidden movement in the form of playing cards per unit with six dummy cards
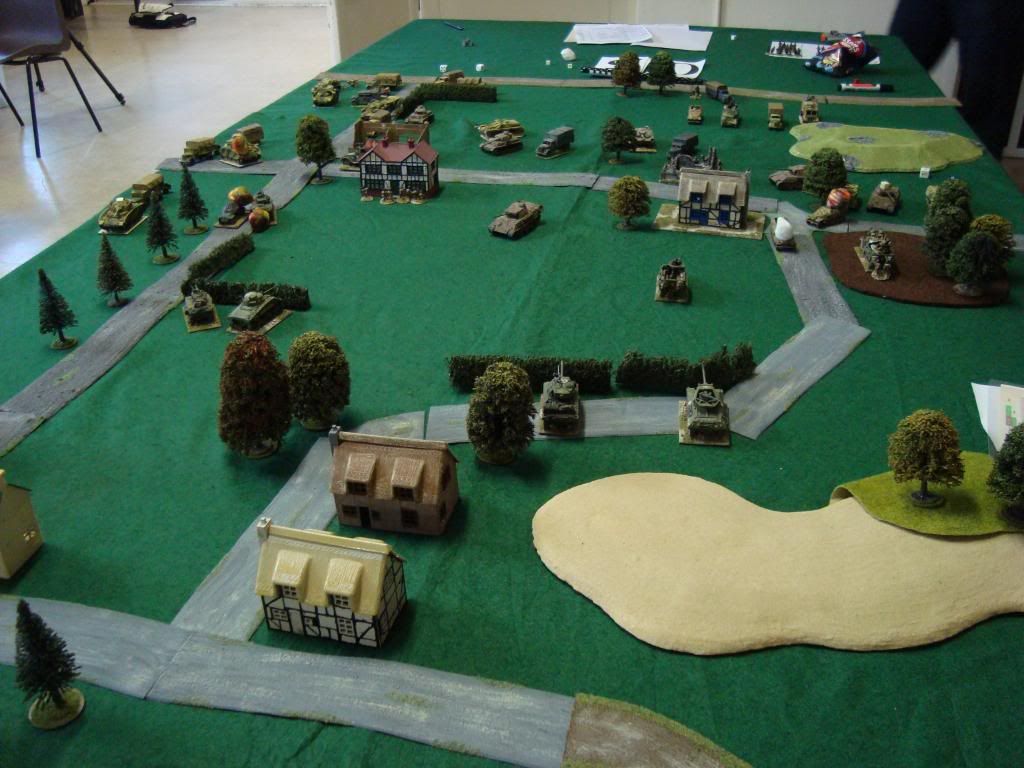
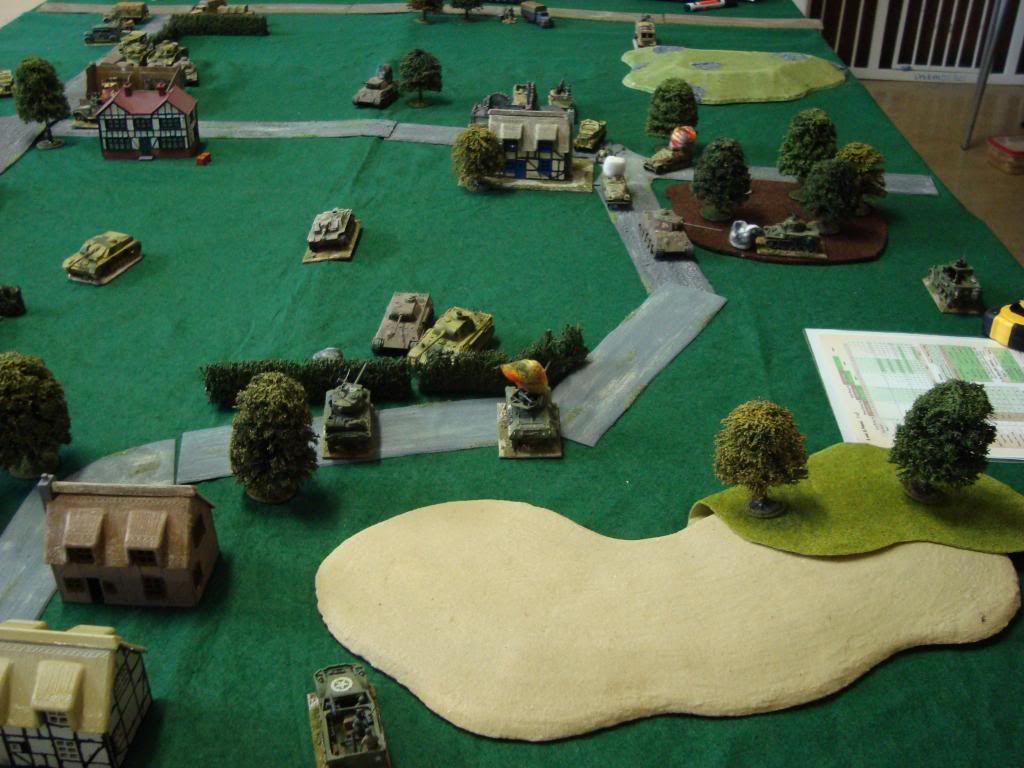
Table German side looking north
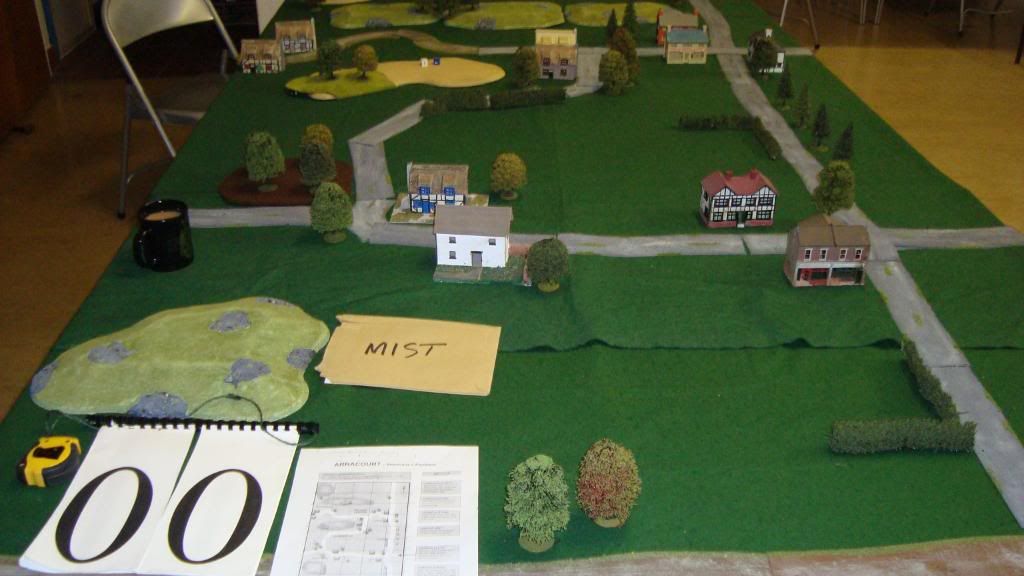
Turn 1 - German Hidden columns in the mist (not gorillas)
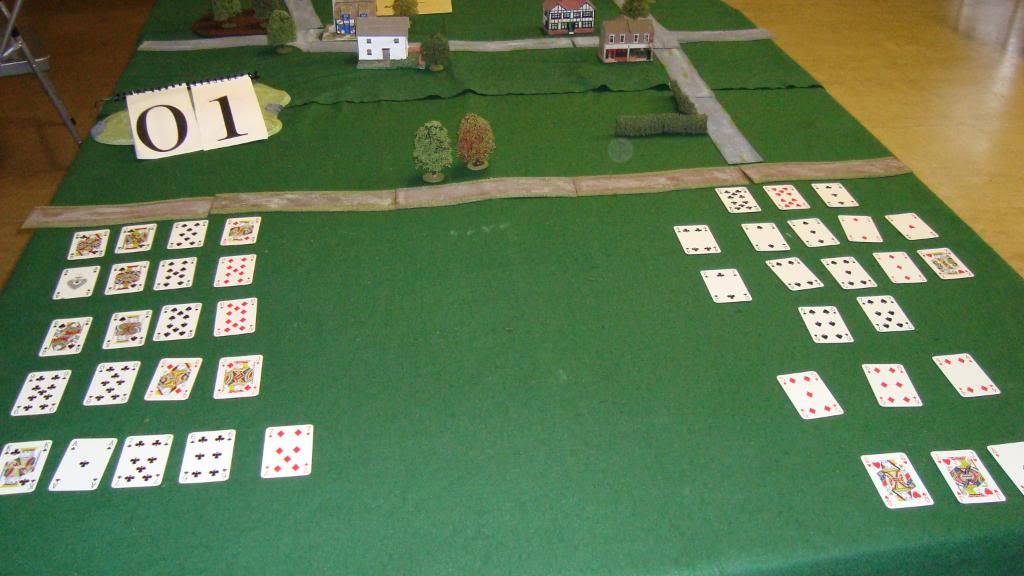
Turn 2 - the Germans become spotted by my two vanguard Battalions
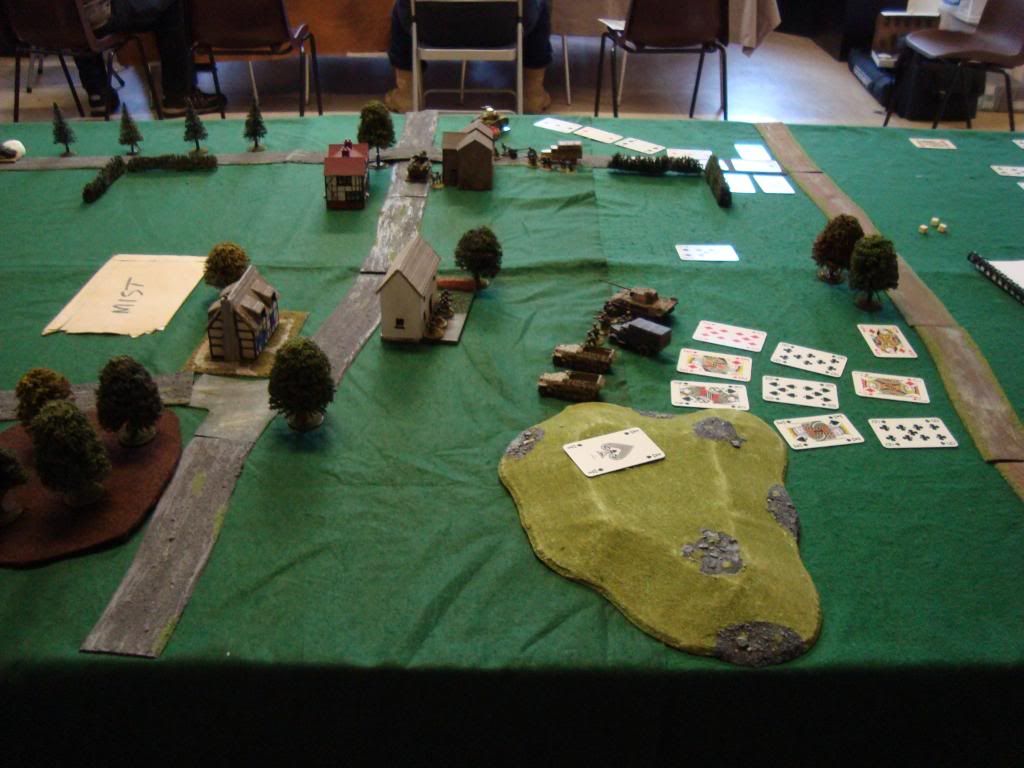
Turn 3 - M5 Stuart brews up a PzIV, even though I missed it twice with a Bazooka.
Turn 5- Mist clears to expose US dispositions within spotting range.
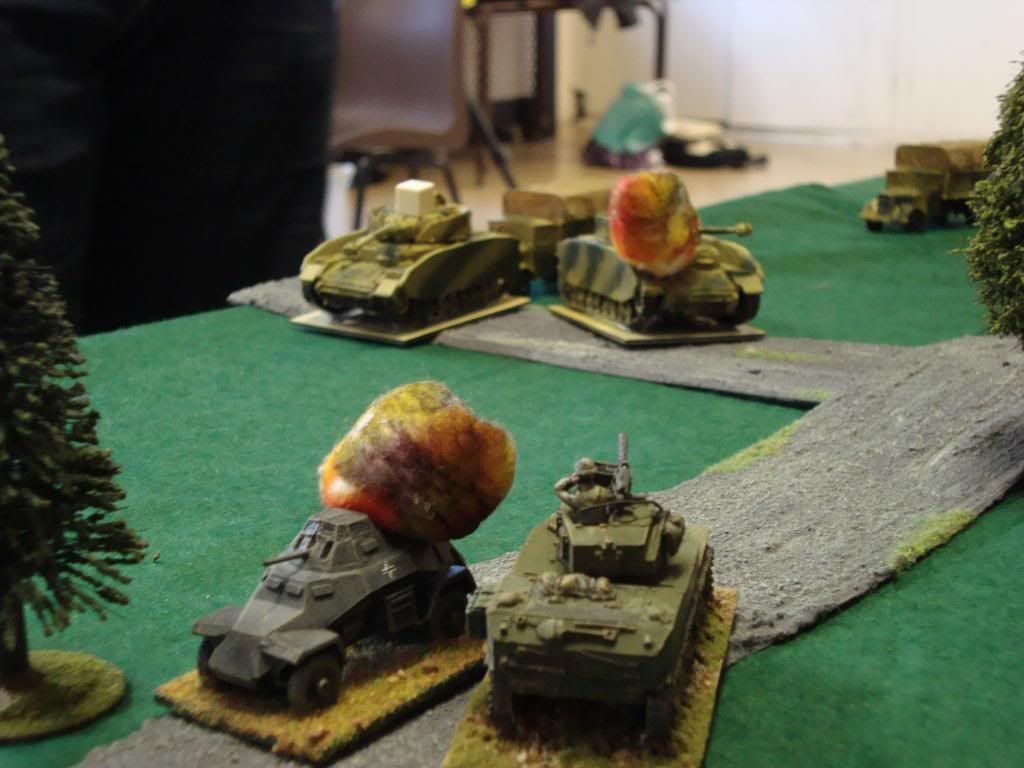
A brave Stuart took out two armoured vehicles before becoming a brewed road block (Sorry about the blurred pic)
The US Artillery was not very effective but managed to take out one Panther and another Bazooka hit caused a Morale check on the PIVs and they retired for two moves.
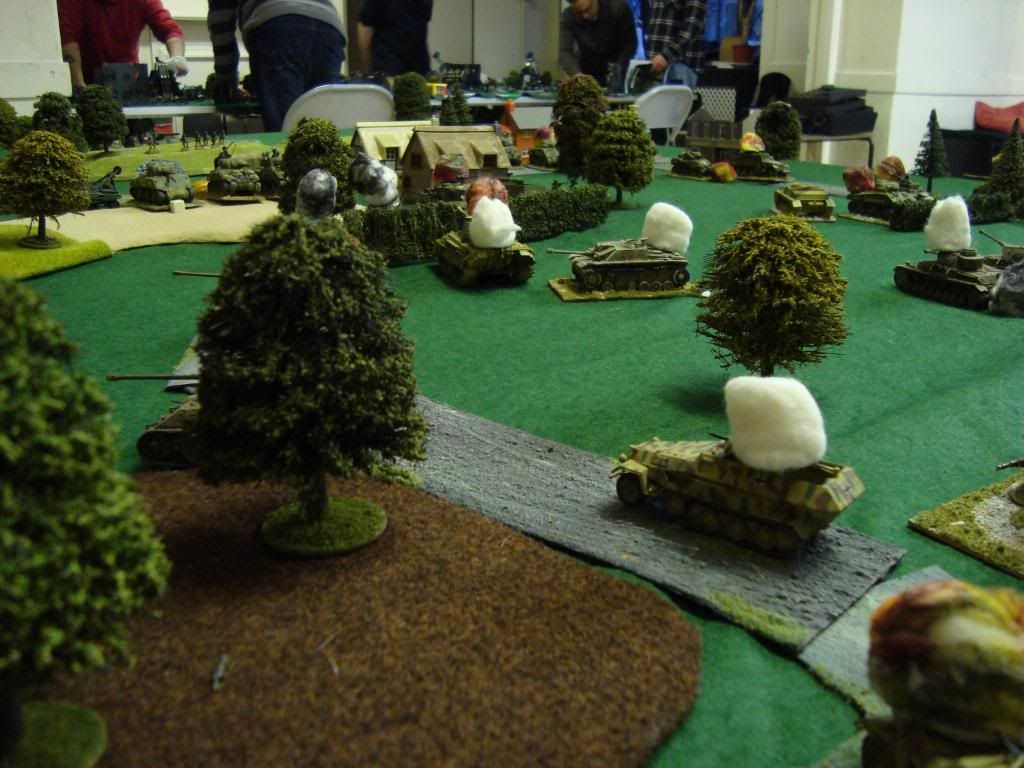
Turn 7- Saw the Panthers push the American lines leaving its grenadiers to mop up the US vangurd units. The PV destroyed 2 Shemans and a Hellcat and Heavy damaged a Sherman 105 (was the tide turning in favour of the Germans). The US Artillery then in turn Destroyed a Panther and a Sherman caused a HD on another causing the crew to bale for two turns
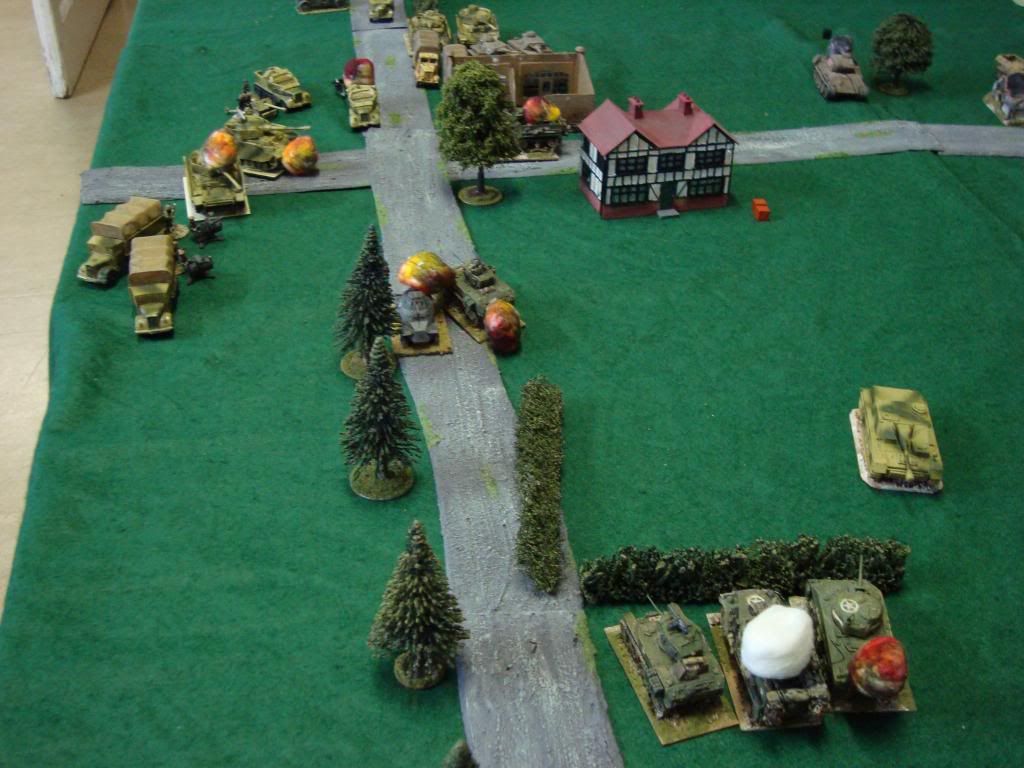
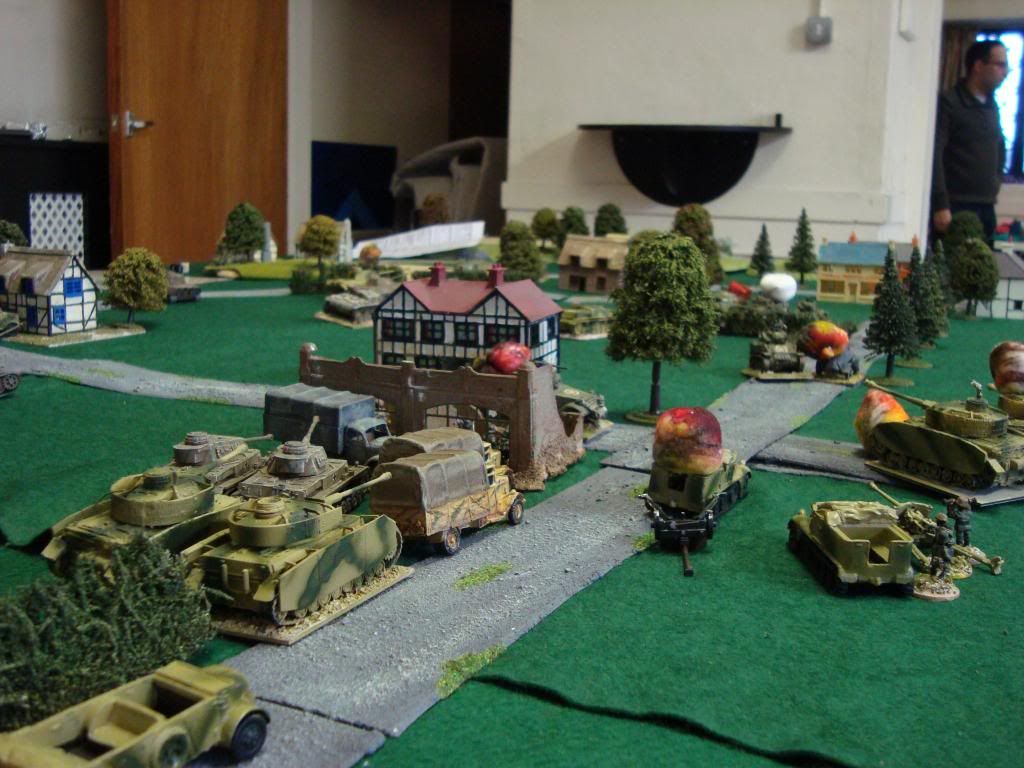
Turn 8 - Task Force Hunter advance to plug the gap on the left flank.
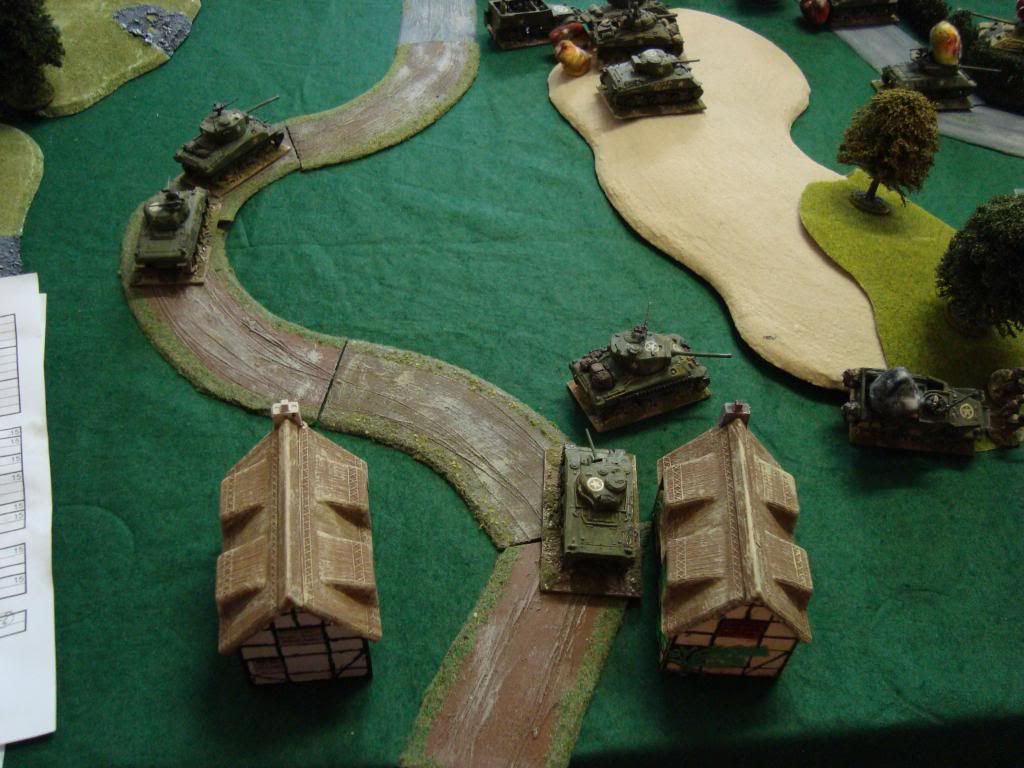
meanwhile the Germans regroup, ready for another "push" up the center with the StuG company from Brigade HQ. Lead tank of Hunter is taken out early in the turn, but US artillery then take out the Panther that caused it.
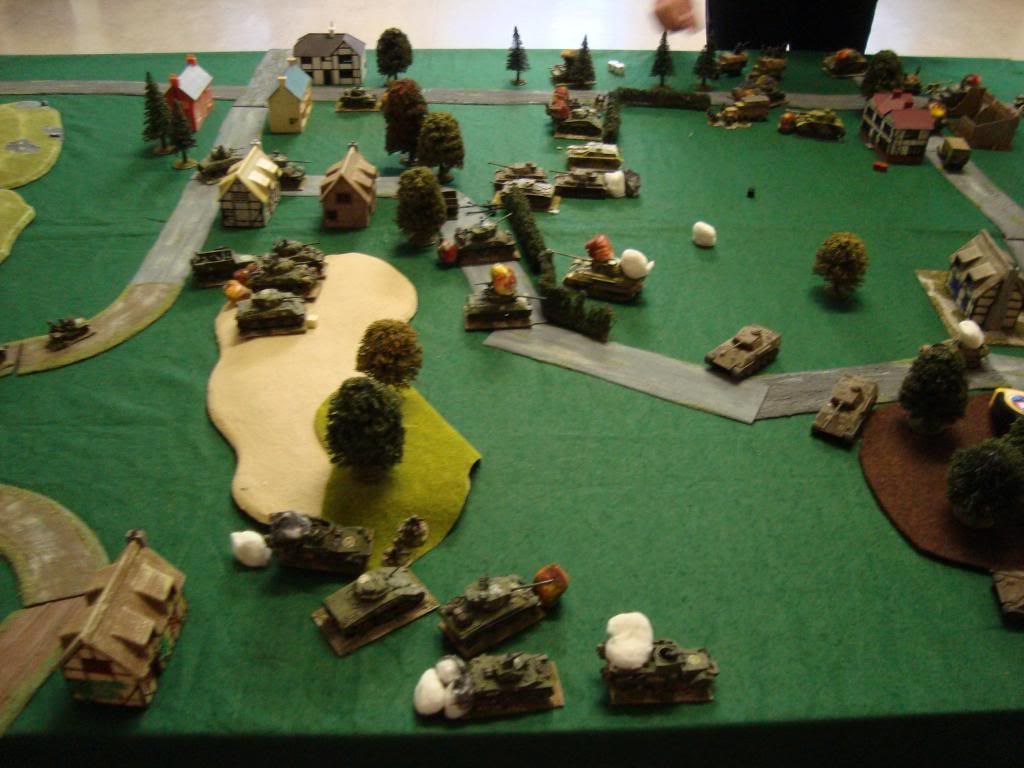
Turn 9- Saw another Force Hunter tank left on brewed on the battlefield
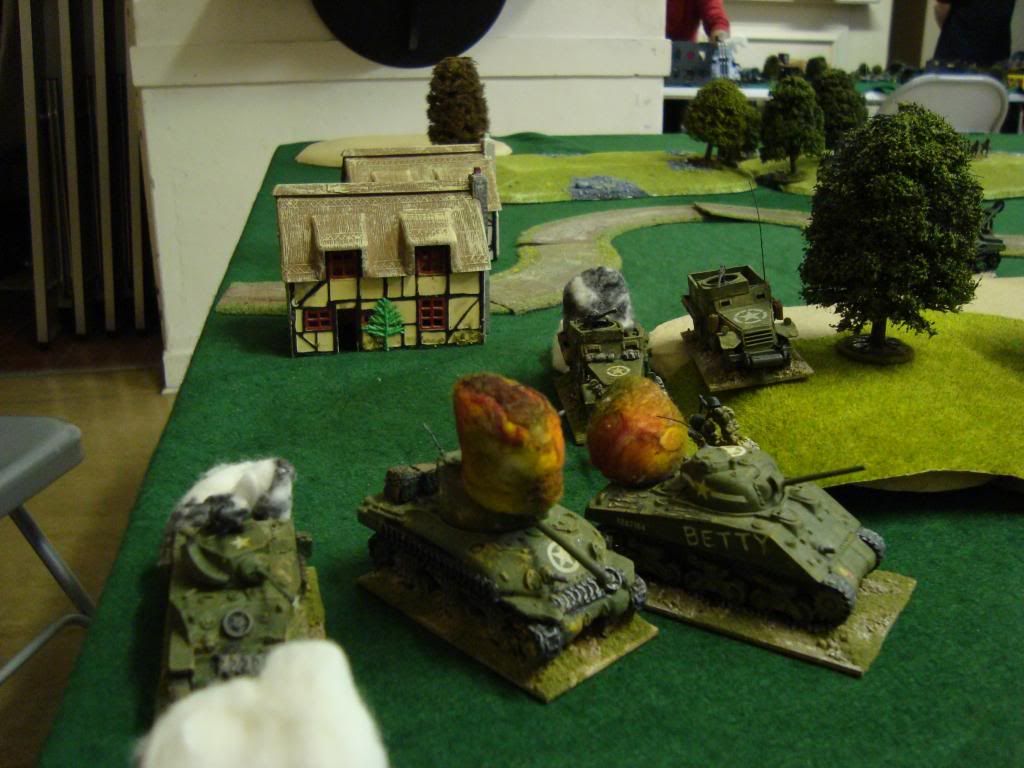
Turn 10- Force Hunter attack the STuGs in center with infantry support.
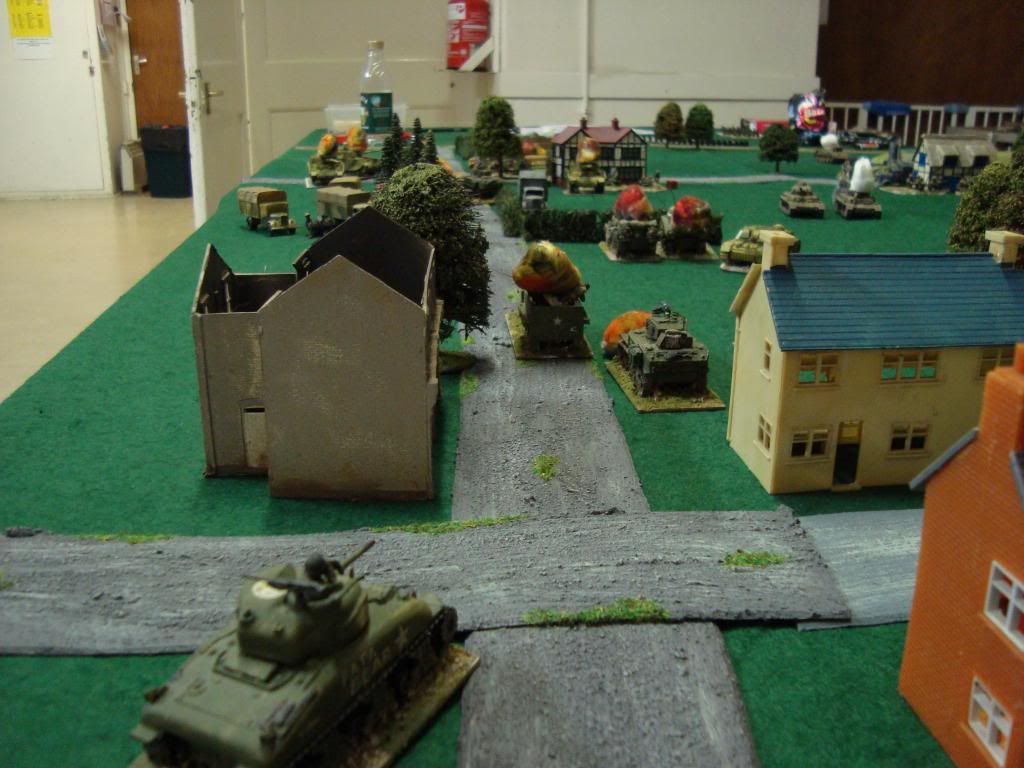
Turn 11 Lots of misses from both sides. Dirty rotten Germans gang up on a Bazooka team
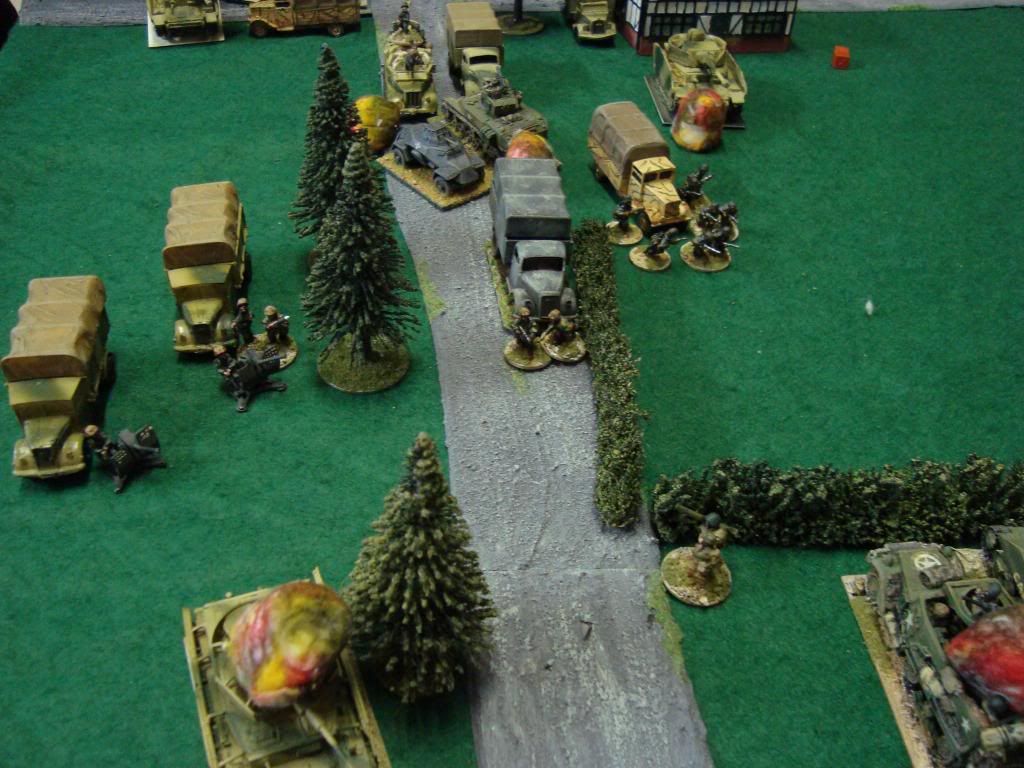
Turn 12- Saw US Artillery most devasting turn , taking out two more Panthers (photo from German lines looking north)
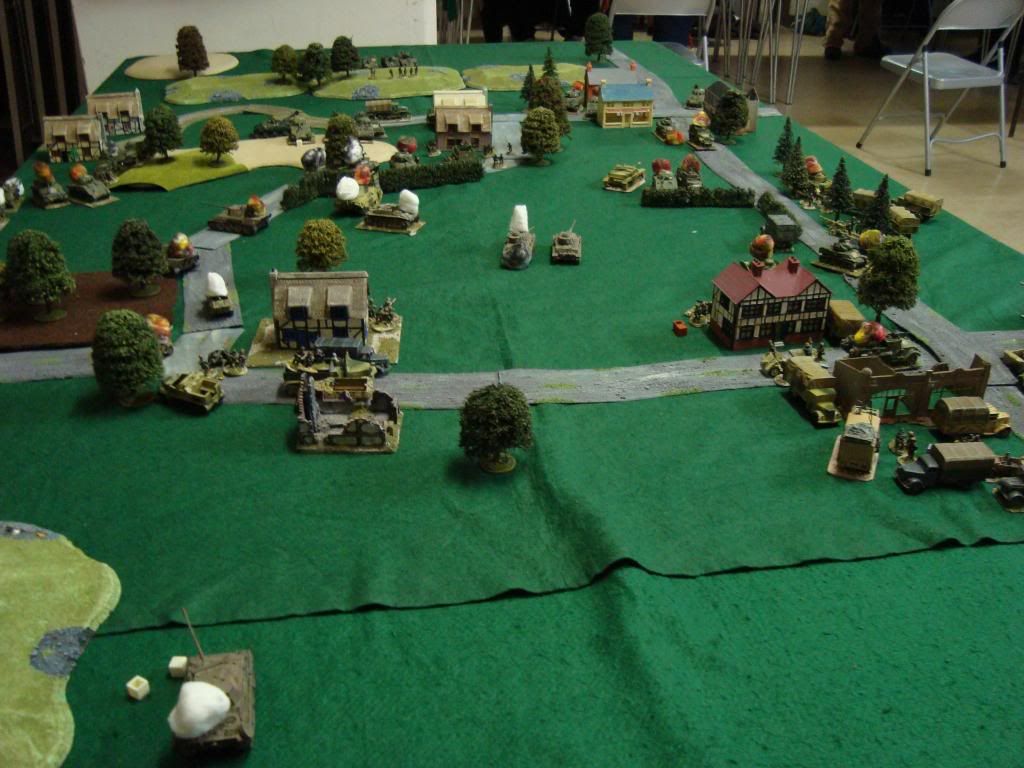
view from German left flank looking east

Turn 13- Saw 1 Pzr Grenadier Battalion Rout off through morale and the Pivs took morale and had to retire. The PIVs on the right had no infantry support to push through the town in front of them, so waited for the engineers from Brgade HQ to help, but they were shot up as they debussed by MMGs in the town. The center was now being secured by the US engineers
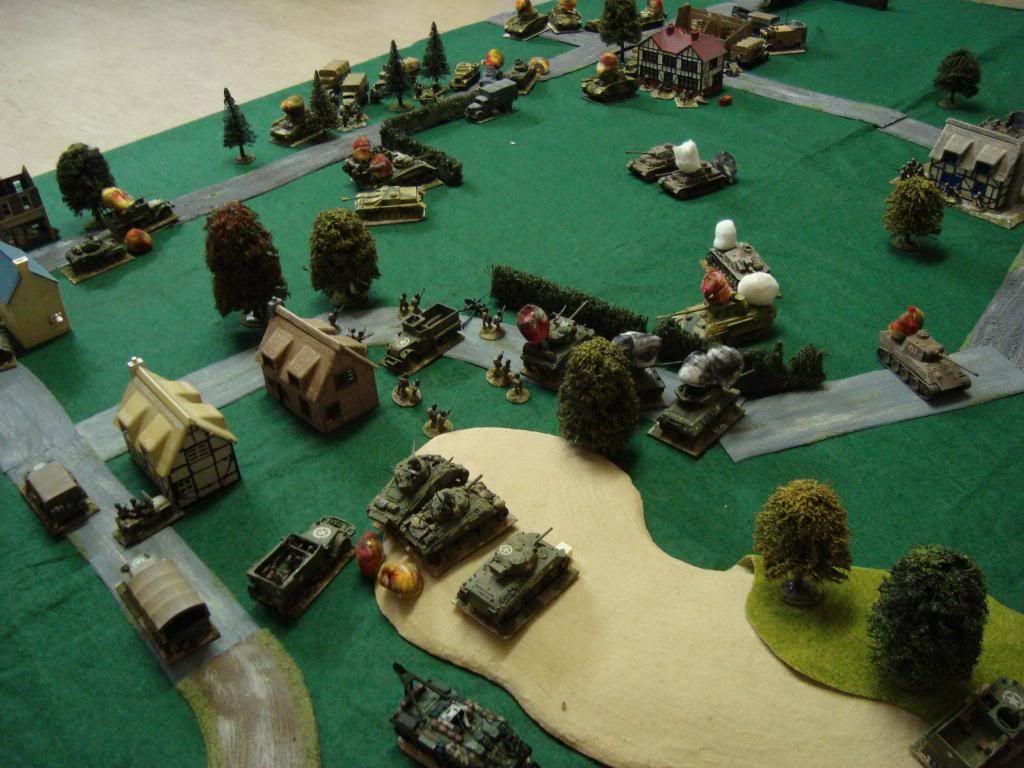
and the last remaining tank from Hunter looked through the town shoring up the US left, and he will claim all the glory.

View from the hill where the Arty Observers were positioned
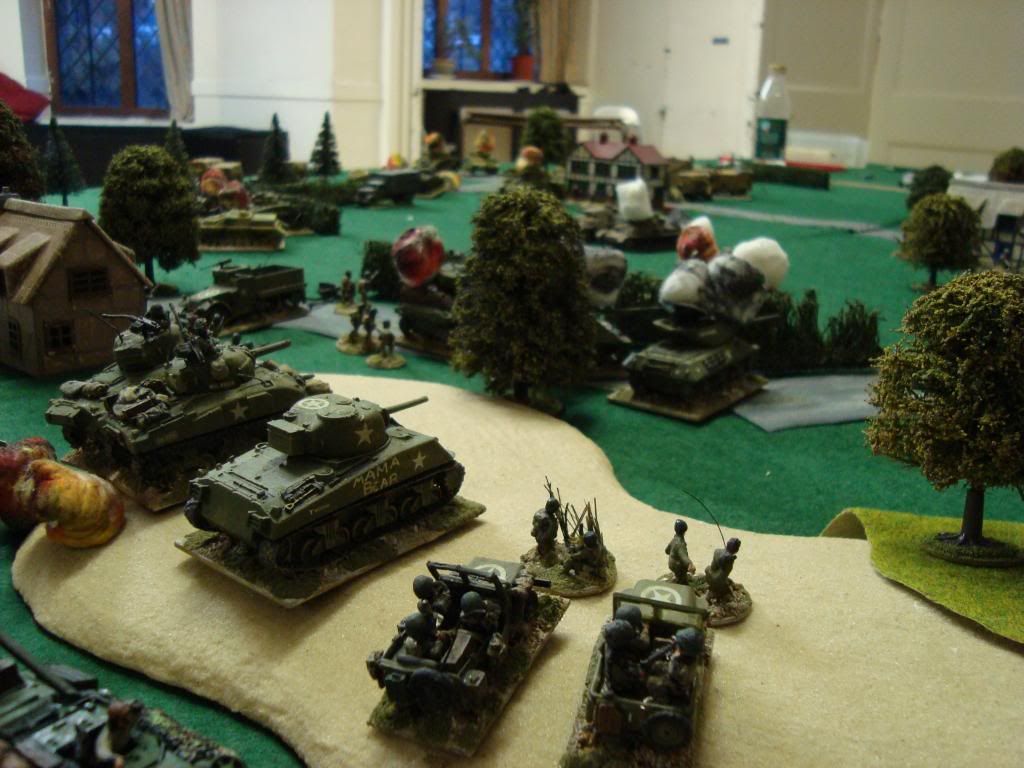
The Germans at this point conceded defeat as it was losing to much infantry that it could ill afford to lose, if it was to complete its mission.
Conclusion-
The Germans had a strong force which was nullified by mist, hidden units and the Heavy artillery against it. It could have been worse for both side if less 1s were rolled.
A great game that be able to would play again and again with differing results each time.
No comments:
Post a Comment